
How to: Replacing Super Duty Emblems
#1
 08-28-2007, 03:04 PM


Join Date: Aug 2007
Posts: 40
Likes: 0
Received 0 Likes
on
0 Posts
How to: Replacing Super Duty Emblems
Anyone that has a 2006 F-Series Super Duty most likely has emblems where the black paint is peeling off of them. Ford will warranty these emblems. Some of you don't have the time to go to the dealership and leave your truck at their body shop until they can get them emblems replaced with new one's (that are going to peel again). So you can either remove the paint and have solid chrome emblems (which look good) or remove them and replace them with emblems you like (what I did).
Tools needed:
Clean cloth rags
Clean towel
Chisel
Plastic scraper
Drill & Bits
Scratch remover and/or buffing compound
Alcohol (isopropyl) + I also went through a six pack of Coors Light...
Gasoline (Goo Gone doesn't work on this stuff)
Rubber Gloves
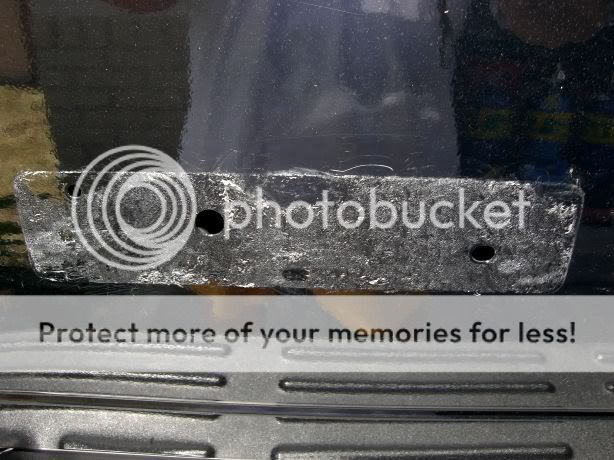
Step 1.) Place thin bladed chisel with cloth rag placed over blade and end and GENTLY slide it in between the body and emblem. GENTLY apply pressure in a rocking motion and at the same time keep pushing chisel under the emblem. After the emblem comes off about an inch you can remove it with your finger by applying controlled steady pressure so as not to break the emblem while removing it. Once the emblem is removed you will be left with a rather thick coating of rubber in the shape of the emblem. This has to be removed no matter what.

Step 2.) To remove the rubber coating you will take the plastic scraper and carefully scrape the rubber off by using a controlled jabbing motion and doing this while keeping the scraper scraping only the area with the thick rubber on it. Don't slip all over or you may scratch the paint outside of the area the new emblem or replacement emblem is going to cover. As you work your way across the emblem area you will find the rubber has been pushed into a glump. Rip the glump off with your fingers to keep it from gumming the scraper edge up and blocking your line of sight. Slow and steady is what we want here. Don't get too aggressive during the process.
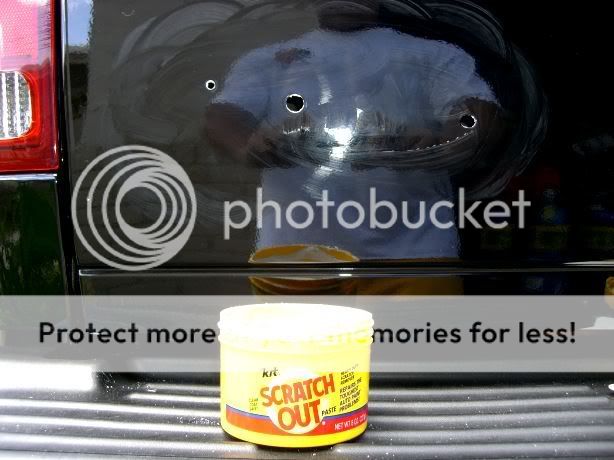
Step 3.) Put your rubber gloves on and get one of your shop rags out. PUT OUT YOUR CIGARETTE and then douse the rag with a generous amount of gasoline. Hold the gasoline soaked rag over the residual gummy stuff that was left over from step 2 and wait a few minutes. Now take the plastic scraper again and do the same as you did in step 2. You will notice the residual rubber is also being pushed by the scraper into a little mound. Remove as much as you can of these little mounds with your fingers until you have as much gone as possible. Then take the gasoline soaked rag, re-soak it and use a clean area of it to wipe the area where the label goo was. The gasoline now should remove all of the goo and goo residue. Scrub in a circular motion and scrub aggressively.
Step 4.) Remove your gloves and get a new clean shop rag. Use the Isopropyl alcohol to Wipe off a 1x1 foot square around the entire emblem area. Now is a good time to get another cold beer too. Make sure all of the old goo / glue / residue is gone while you are enjoying your cold beverage. I wanted to be absolutely certain so I looked long and thoroughly enough to be able to enjoy another cold beer during this step. Even after all of the goo is removed and the area is clean you will probably see a little line around where the old emblem was. Use your Buffing compound / scratch remover and go over the one foot square you just prepped previously. This will get rid of these lines and any small scratches you put on the paint while removing the goo with the scraper.
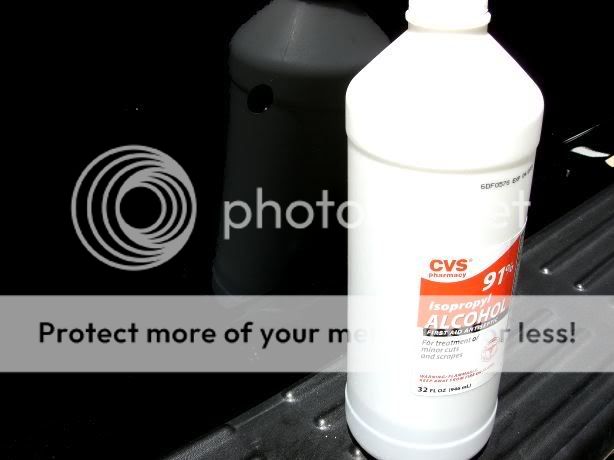
Step 5.) Take your cloth you used for the isopropyl alcohol, wet it with some more isopropyl alcohol and remove any compound or wax residue left on the paint from step 4. Even if you can't see any DO NOT skip this step.
Step 6.) Take your New Emblem, peel the back and stick it on. If it is a replacement the holes will match right up. be careful to have the emblem level as you place it onto the paint. The stuff on the back is very sticky and once it touches the clean paint it can NOT be lifted back off (to re-align for instance).
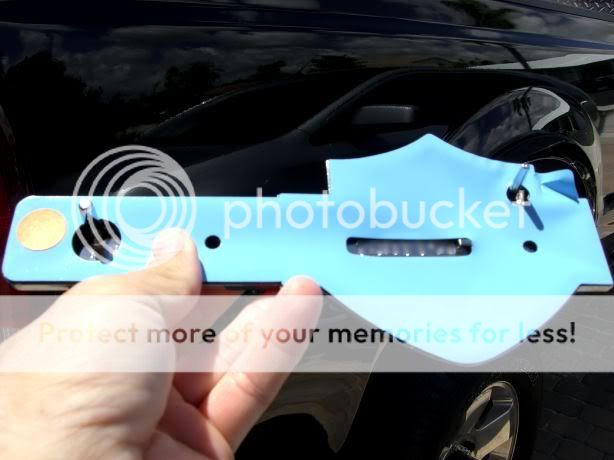
(Optional) If you went with different emblems you may need to do some drilling like I did. I needed to open the holes already in my body to be able to level the new emblem. Had I not put it up to the body I would have stuck it on and it would have been way crooked. Make sure you check your emblem position BEFORE you peel the back and stick it on! I VERY CAREFULLY drilled the new holes and then covered the very little bit of bare metal with a permanent marker (an old gunsmith�s trick) you could do better. I cleaned the area with alcohol once more. Then checked the alignment once again and finally carefully placed the new emblem on making sure that they were placed LEVEL. You only get one shot at this! Once you�re done, open up another cold beverage, stand back and enjoy your work! Total time is about 2 hours. Good luck! It's not too difficult as long as you have the things I mentioned.

Tools needed:
Clean cloth rags
Clean towel
Chisel
Plastic scraper
Drill & Bits
Scratch remover and/or buffing compound
Alcohol (isopropyl) + I also went through a six pack of Coors Light...
Gasoline (Goo Gone doesn't work on this stuff)
Rubber Gloves
Step 1.) Place thin bladed chisel with cloth rag placed over blade and end and GENTLY slide it in between the body and emblem. GENTLY apply pressure in a rocking motion and at the same time keep pushing chisel under the emblem. After the emblem comes off about an inch you can remove it with your finger by applying controlled steady pressure so as not to break the emblem while removing it. Once the emblem is removed you will be left with a rather thick coating of rubber in the shape of the emblem. This has to be removed no matter what.
Step 2.) To remove the rubber coating you will take the plastic scraper and carefully scrape the rubber off by using a controlled jabbing motion and doing this while keeping the scraper scraping only the area with the thick rubber on it. Don't slip all over or you may scratch the paint outside of the area the new emblem or replacement emblem is going to cover. As you work your way across the emblem area you will find the rubber has been pushed into a glump. Rip the glump off with your fingers to keep it from gumming the scraper edge up and blocking your line of sight. Slow and steady is what we want here. Don't get too aggressive during the process.
Step 3.) Put your rubber gloves on and get one of your shop rags out. PUT OUT YOUR CIGARETTE and then douse the rag with a generous amount of gasoline. Hold the gasoline soaked rag over the residual gummy stuff that was left over from step 2 and wait a few minutes. Now take the plastic scraper again and do the same as you did in step 2. You will notice the residual rubber is also being pushed by the scraper into a little mound. Remove as much as you can of these little mounds with your fingers until you have as much gone as possible. Then take the gasoline soaked rag, re-soak it and use a clean area of it to wipe the area where the label goo was. The gasoline now should remove all of the goo and goo residue. Scrub in a circular motion and scrub aggressively.
Step 4.) Remove your gloves and get a new clean shop rag. Use the Isopropyl alcohol to Wipe off a 1x1 foot square around the entire emblem area. Now is a good time to get another cold beer too. Make sure all of the old goo / glue / residue is gone while you are enjoying your cold beverage. I wanted to be absolutely certain so I looked long and thoroughly enough to be able to enjoy another cold beer during this step. Even after all of the goo is removed and the area is clean you will probably see a little line around where the old emblem was. Use your Buffing compound / scratch remover and go over the one foot square you just prepped previously. This will get rid of these lines and any small scratches you put on the paint while removing the goo with the scraper.
Step 5.) Take your cloth you used for the isopropyl alcohol, wet it with some more isopropyl alcohol and remove any compound or wax residue left on the paint from step 4. Even if you can't see any DO NOT skip this step.
Step 6.) Take your New Emblem, peel the back and stick it on. If it is a replacement the holes will match right up. be careful to have the emblem level as you place it onto the paint. The stuff on the back is very sticky and once it touches the clean paint it can NOT be lifted back off (to re-align for instance).
(Optional) If you went with different emblems you may need to do some drilling like I did. I needed to open the holes already in my body to be able to level the new emblem. Had I not put it up to the body I would have stuck it on and it would have been way crooked. Make sure you check your emblem position BEFORE you peel the back and stick it on! I VERY CAREFULLY drilled the new holes and then covered the very little bit of bare metal with a permanent marker (an old gunsmith�s trick) you could do better. I cleaned the area with alcohol once more. Then checked the alignment once again and finally carefully placed the new emblem on making sure that they were placed LEVEL. You only get one shot at this! Once you�re done, open up another cold beverage, stand back and enjoy your work! Total time is about 2 hours. Good luck! It's not too difficult as long as you have the things I mentioned.

#3
08-28-2007, 06:41 PM
Logistics Pro
Great post and pics. One thing to add. If you want to get it level, test fit it first. When you are happy, take some good quality masking tape, I use the Blue 3M type, and tape the emblem down, going across the emblem. Then you can tear the tape, leaving it on the truck and on the emblem. Remove the backing and realign the tape edges and press it down permanently. You can also use tape along the underside of straight emblems like letters etc to get it lined up.
#4
08-28-2007, 07:08 PM
#5
08-28-2007, 07:16 PM
Posting Guru
Join Date: Jan 2007
Location: Millersburg, OR
Posts: 2,174
Likes: 0
Received 0 Likes
on
0 Posts
Nice post... you should also add some more into the removal of the badges... You make it look too easy. Plus I would get rid of the scraper and use some 50+ lbs fishing line and saw the badge right off. It will work even with the alignment pins...just have to work around it...
another thing... you could just remove the newer alignment pins... they are not necessary. That way you do not drill out any more holes in the paint. All you need to do is tape off two sides of the badge and leave the tape all the way through the process...then use that tape to align the newer badges.
nice work,
Steven
#6
08-28-2007, 08:29 PM
Join Date: Aug 2007
Posts: 40
Likes: 0
Received 0 Likes
on
0 Posts
6.0 Superduty
Yes, I spear fish. I also tech dive although I haven't been over 150' in about a year now. Spearfishing is awesome. I only kill what i eat Now please no nasty responses from PITA! I respect all the wildlife and fishes and I am responsible with my hunting
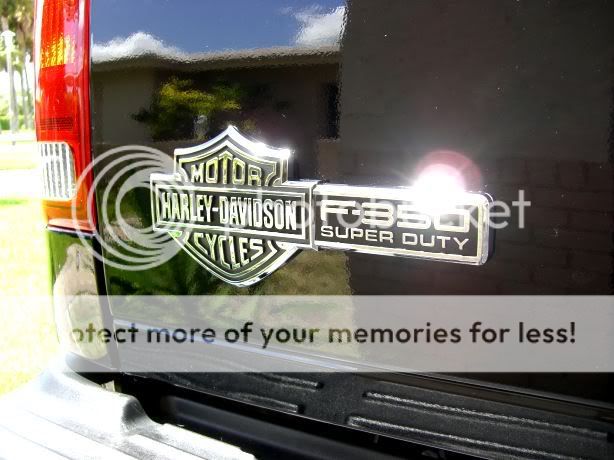
Layson the removal of the emblems was really easy the way I did it. I rapped the chisel in a towel, pushed it under the emblem and within about 2 seconds i had it lifted enough to pull the whole emblem off with just my fingers. That part took about 60 seconds in it's entirety. getting the goo off takes some time and care. The badges I used which are the original Harley emblems were expensive (3 of them) and I did not want to mess with cutting anything off. I did not drill out any more holes I just enlarged two of them. Not a difficult process but I could see if one wasn't careful how within the slip of a drill bit it would be time for a trip to the body shop and a few months in therapy! The way I did it is most definitely not the only way or the best way but it worked well enough to share it with my fellow forum brothers.
Yes, I spear fish. I also tech dive although I haven't been over 150' in about a year now. Spearfishing is awesome. I only kill what i eat
Now please no nasty responses from PITA! I respect all the wildlife and fishes and I am responsible with my hunting Layson the removal of the emblems was really easy the way I did it. I rapped the chisel in a towel, pushed it under the emblem and within about 2 seconds i had it lifted enough to pull the whole emblem off with just my fingers. That part took about 60 seconds in it's entirety. getting the goo off takes some time and care. The badges I used which are the original Harley emblems were expensive (3 of them) and I did not want to mess with cutting anything off. I did not drill out any more holes I just enlarged two of them. Not a difficult process but I could see if one wasn't careful how within the slip of a drill bit it would be time for a trip to the body shop and a few months in therapy! The way I did it is most definitely not the only way or the best way but it worked well enough to share it with my fellow forum brothers.


Thread
Thread Starter
Forum
Replies
Last Post
1Aauto
Vendor Specials, Discounts, Product Announcements & Group Buys
2
04-28-2017 02:02 PM
sammie0126
Excursion - King of SUVs
36
12-21-2016 12:24 PM
Millinex
Ford Truck Parts for Sale
0
11-12-2016 09:08 PM
MAR-Ktech
Vendor Specials, Discounts, Product Announcements & Group Buys
1
01-28-2010 02:47 PM