When you click on links to various merchants on this site and make a purchase, this can result in this site earning a commission. Affiliate programs and affiliations include, but are not limited to, the eBay Partner Network.
I guess I didn't realize that my images from postimage.org weren't working right on FTE this whole time.
You're supposed to be able to click on those thumbnails and see a very large version of that pic in a new window. Instead, when I click on them, it just brings up the small thumbnail with a large black background border.
I'm finally getting around to fixing up and swapping in my dana 60 front axle (king-pin and high pinion, from a 1979 4x4 F350), into this truck:
I'm also getting ready to stuff a Cummins 6bt 12v diesel into this truck, along with its NV4500 5spd manual tranny, and swapping out the rear axle with a Dana 80 & 3.54 gears (to hold up to the cummins torque, and it's low RPM rev range)
After I get this front axle fixed up, I'll start tearing into the cummins and swapping it in. I already have a swap threadhere on FTE and at the Cummins forum.
Here's the Dana 60 front axle affixed to my vehicle lift before I tear into it.
I took a lot of pictures of disassembly, here's the driver side:
And here's the passenger side:
I haven't taken apart the king pins yet, because I'm not sure there is a need to. Both sides seem to rotate fine, with no discernable noise/grinding, and they seem to have zero play or slop too.
I initially planned on replacing and redoing everything in this axle, but now I'm trying to not fix what ain't broken, LOL, because the Cummins swap is going to be a money pit as well...
If my kingpins needed attention, it should be fairly obvious shouldn't it? I'm thinking I'll just grease them up and leave them be. I wouldn't think they'd be too hard to rebuild in the future while the axle is under the truck. Their rebuild kits, and if needed, the pins themselves, are quite costly. The top pin is also put on with 600lbs of torque!!
Whoever was in this axle last used the wrong spindle lock washers I think. I'm pretty sure these are the kind used in a rear dana 60 with the hex-flat type spindle nut. The driver side appears to have worked itself loose over time; I was able to remove both nuts with only my fingers.
The passenger side was much tighter. I already had a 4-tab spindle nut socket for use with my trucks existing dana 44 front axle; even though it didn't fit the 6-slot spindle nuts on this front dana 60, I was able to make it work to take off the passenger side nuts.
I'm going to get new spindle nuts and washers, and I think I can get the 4-slot kind to work with my existing socket.
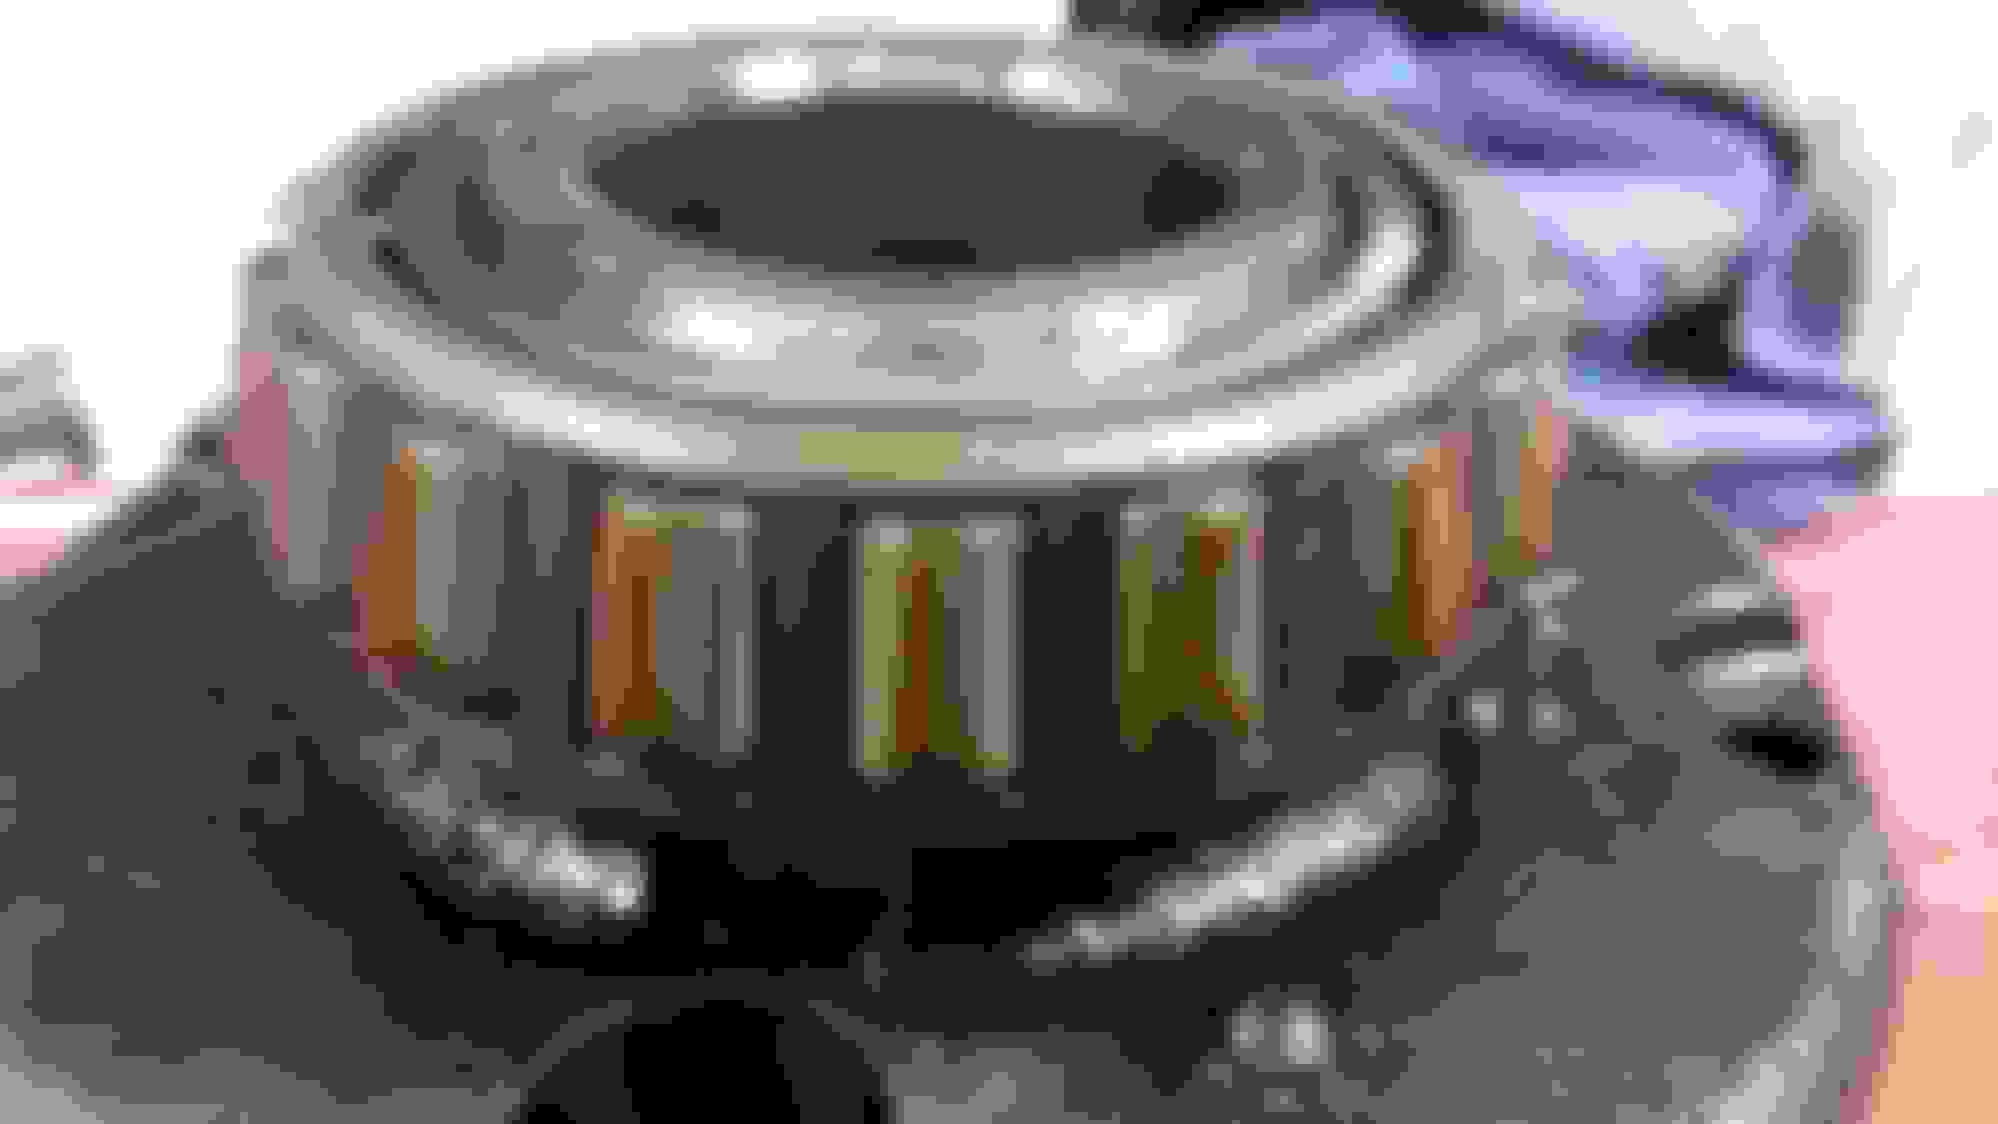
All the bearings seem to be in good shape. They sounded and felt fine when spinning the wheels, and looked fine when I examined them in hand. I haven't pulled out the back bearings yet because of the seal in the way, but from what I could see/feel, I think they're fine too.
The spindles appear fine to my untrained eye, what do you all think?
Once again, I'm trying to save money where I can and only spend it where I have to or where it makes good sense to. I'm thinking the bearings are at least good enough to repack and re-use them for now. They are easy to change while the axle is under the truck if/when needed.
The driver side universal joint was dry as dust, and would not flex by hand. The passenger side one flexed easy, but since I need to replace one, I will just replace both.
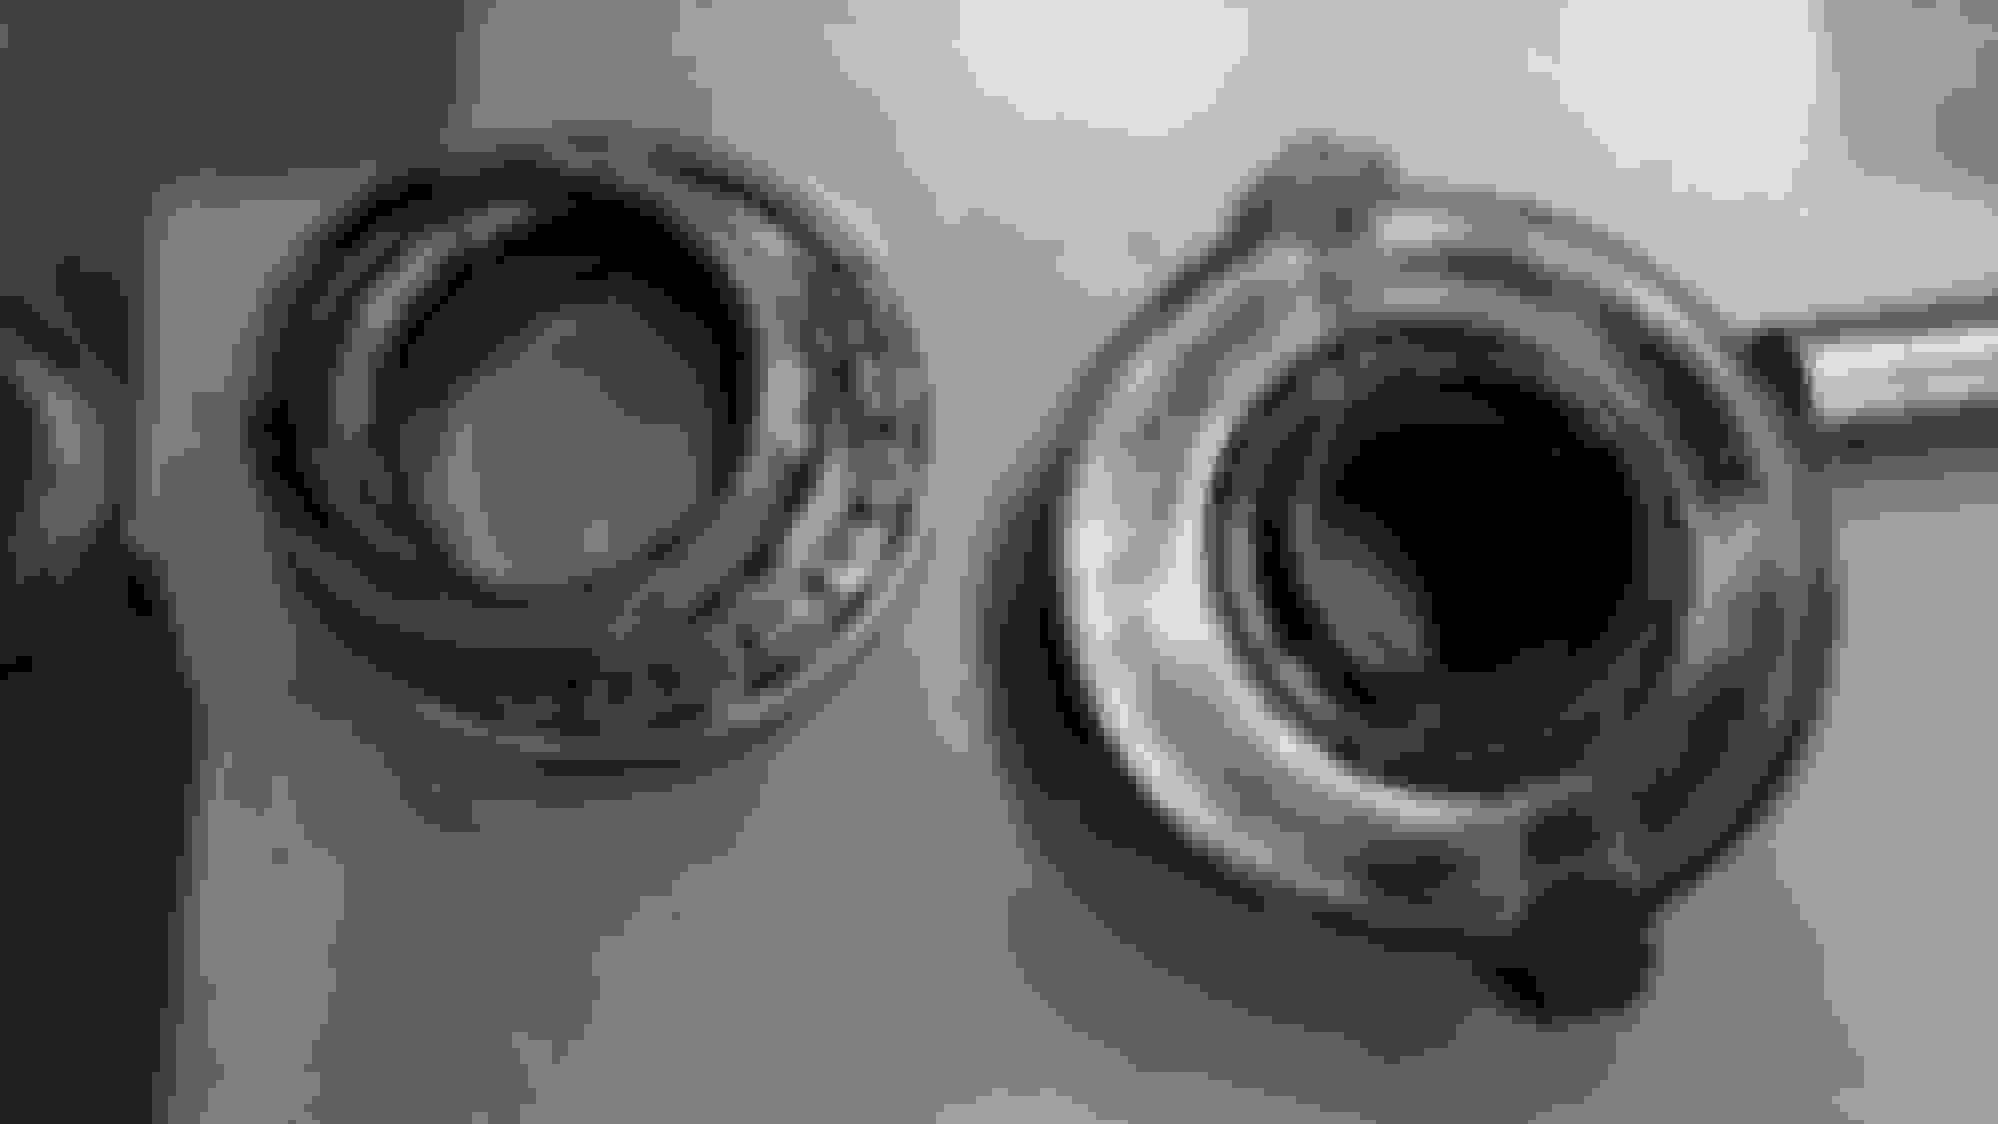
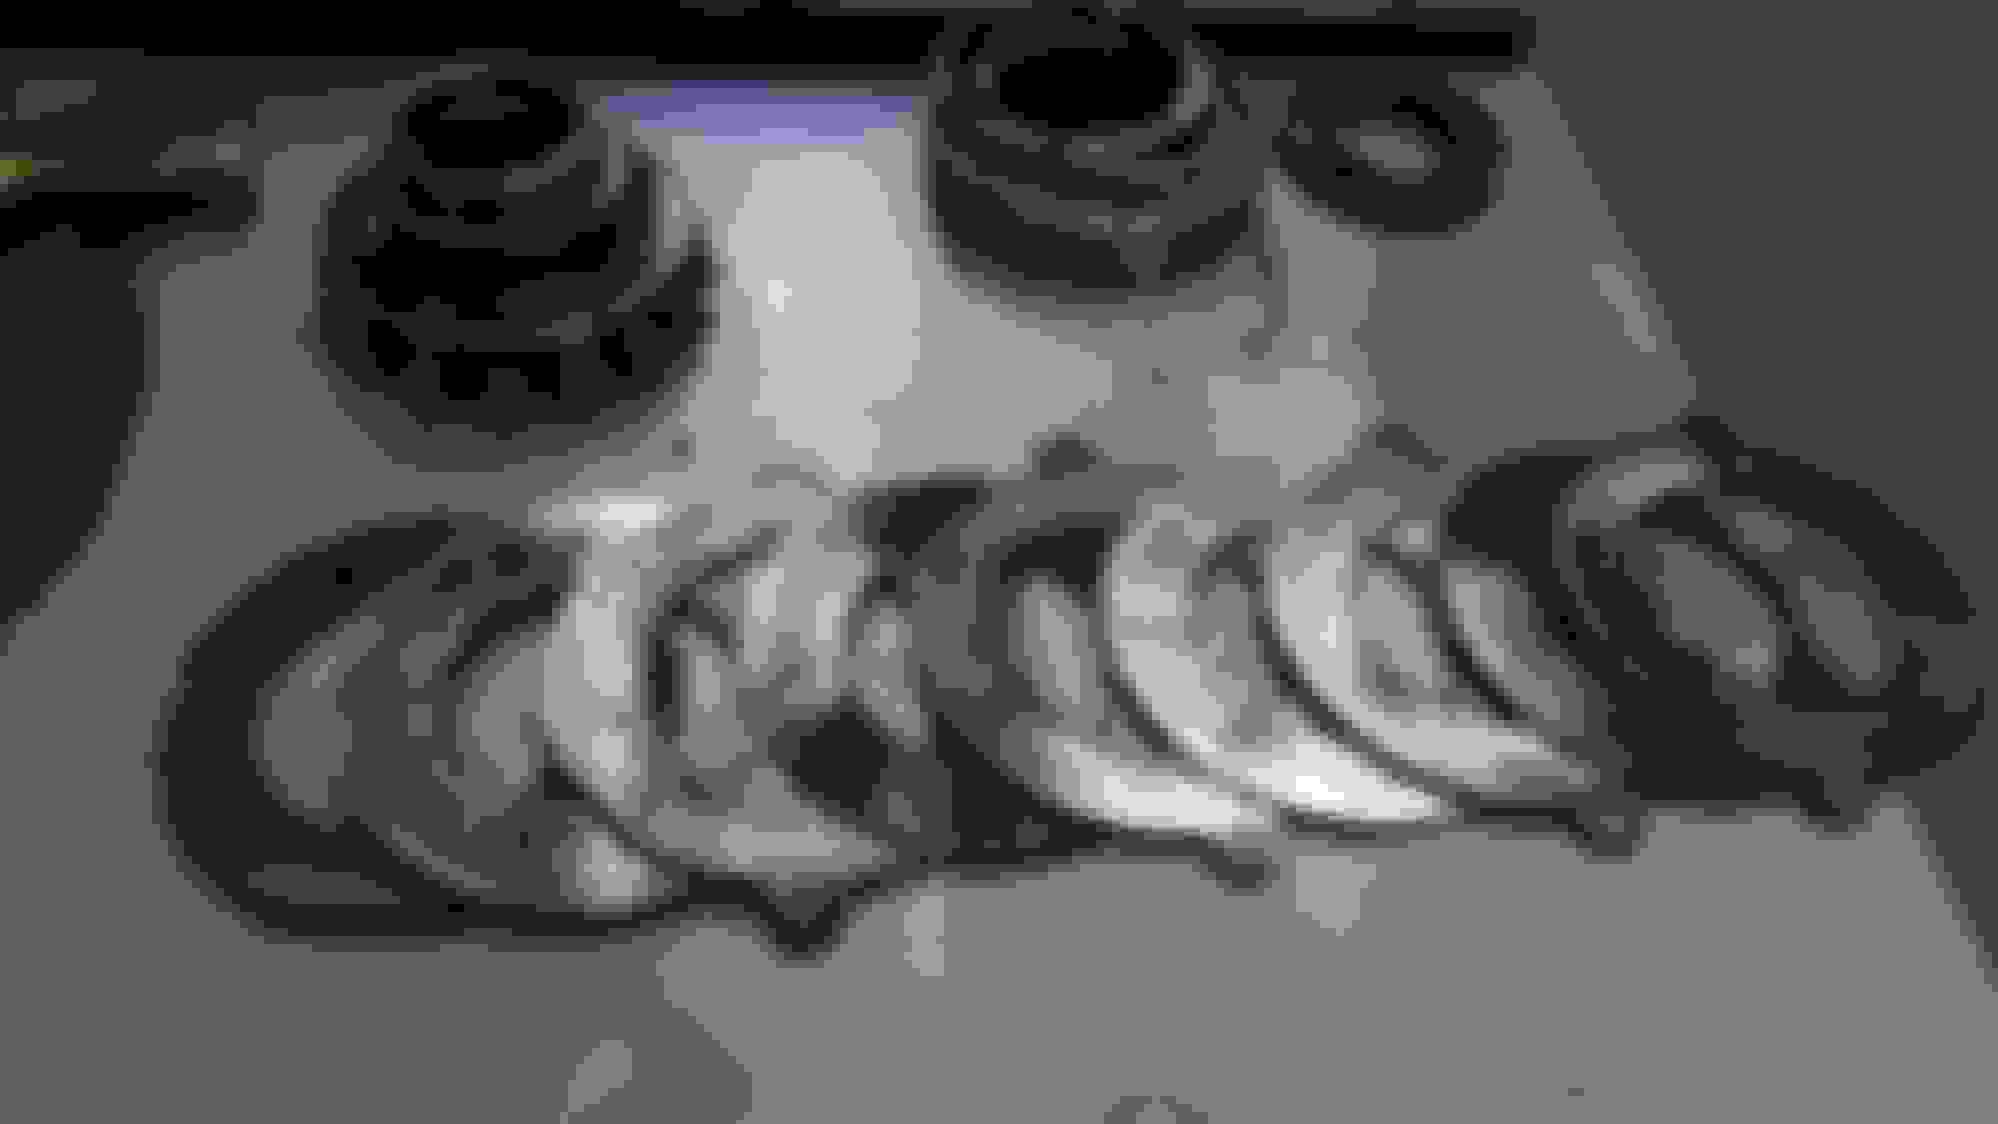
In the interest of saving money, do you guys think these rotors can be resurfaced and re-used? Or should I just get new ones?
driver side passenger side
Supposedly, the calipers and brake pads are the same as dana 44 ones. So I will probably re-use the ones currently on my trucks d44 axle. I've read conflicting opinions on whether the rotors are the same or not. If it turns out they are, then I will probably just re-use those from the d44 too. I'll compare them and find out soon.
My impact wrench started to round off one of the spindle mounting nuts on here, so I hammered on the next size smaller metric socket to take it off:
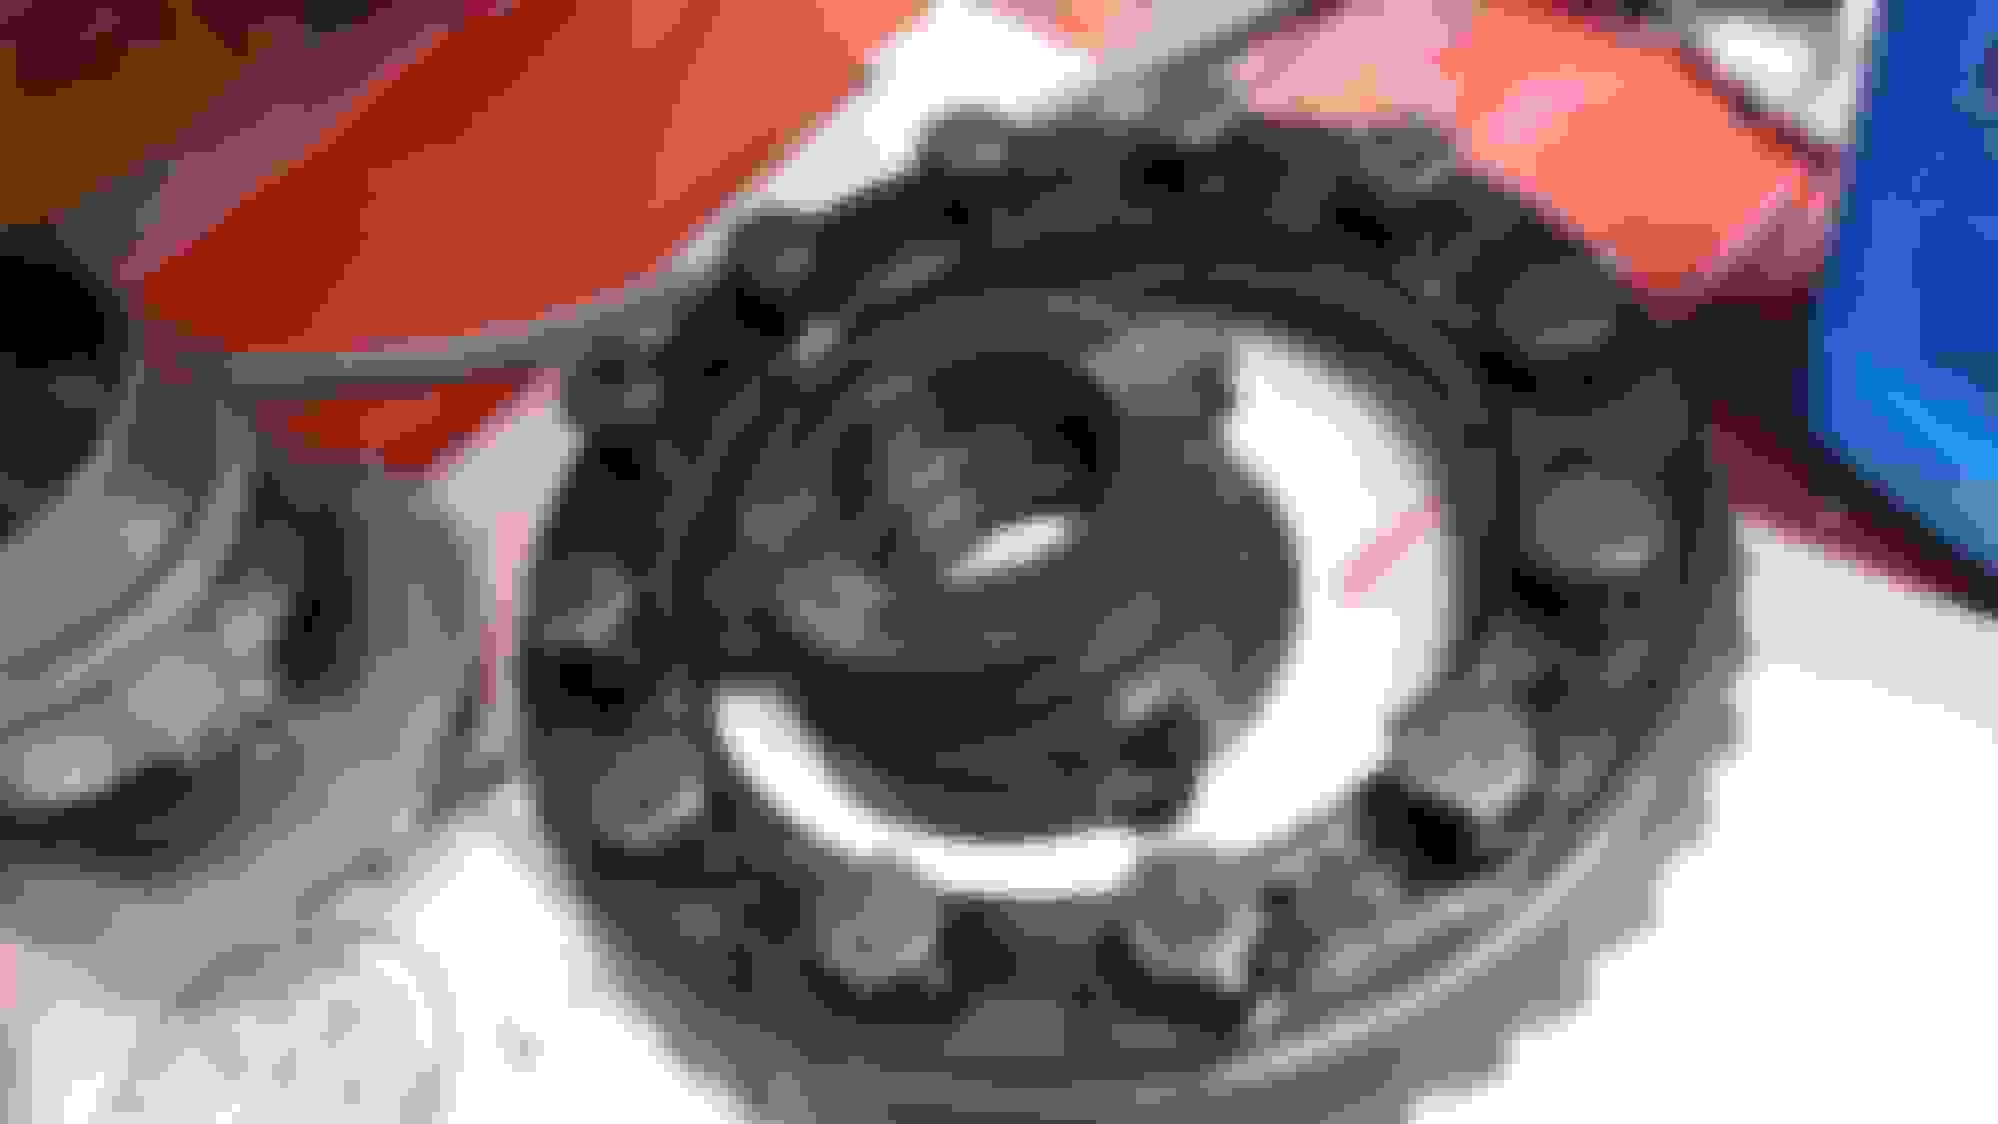
I also opened up the differential.
Trak-lok limited slip clutch packs behind the right & left spider gears, right? I pretty sure they need replaced, the wheels were easy to turn against each other. Although, now that the axle shafts are removed, I can't budge the spider gears with my fingers...
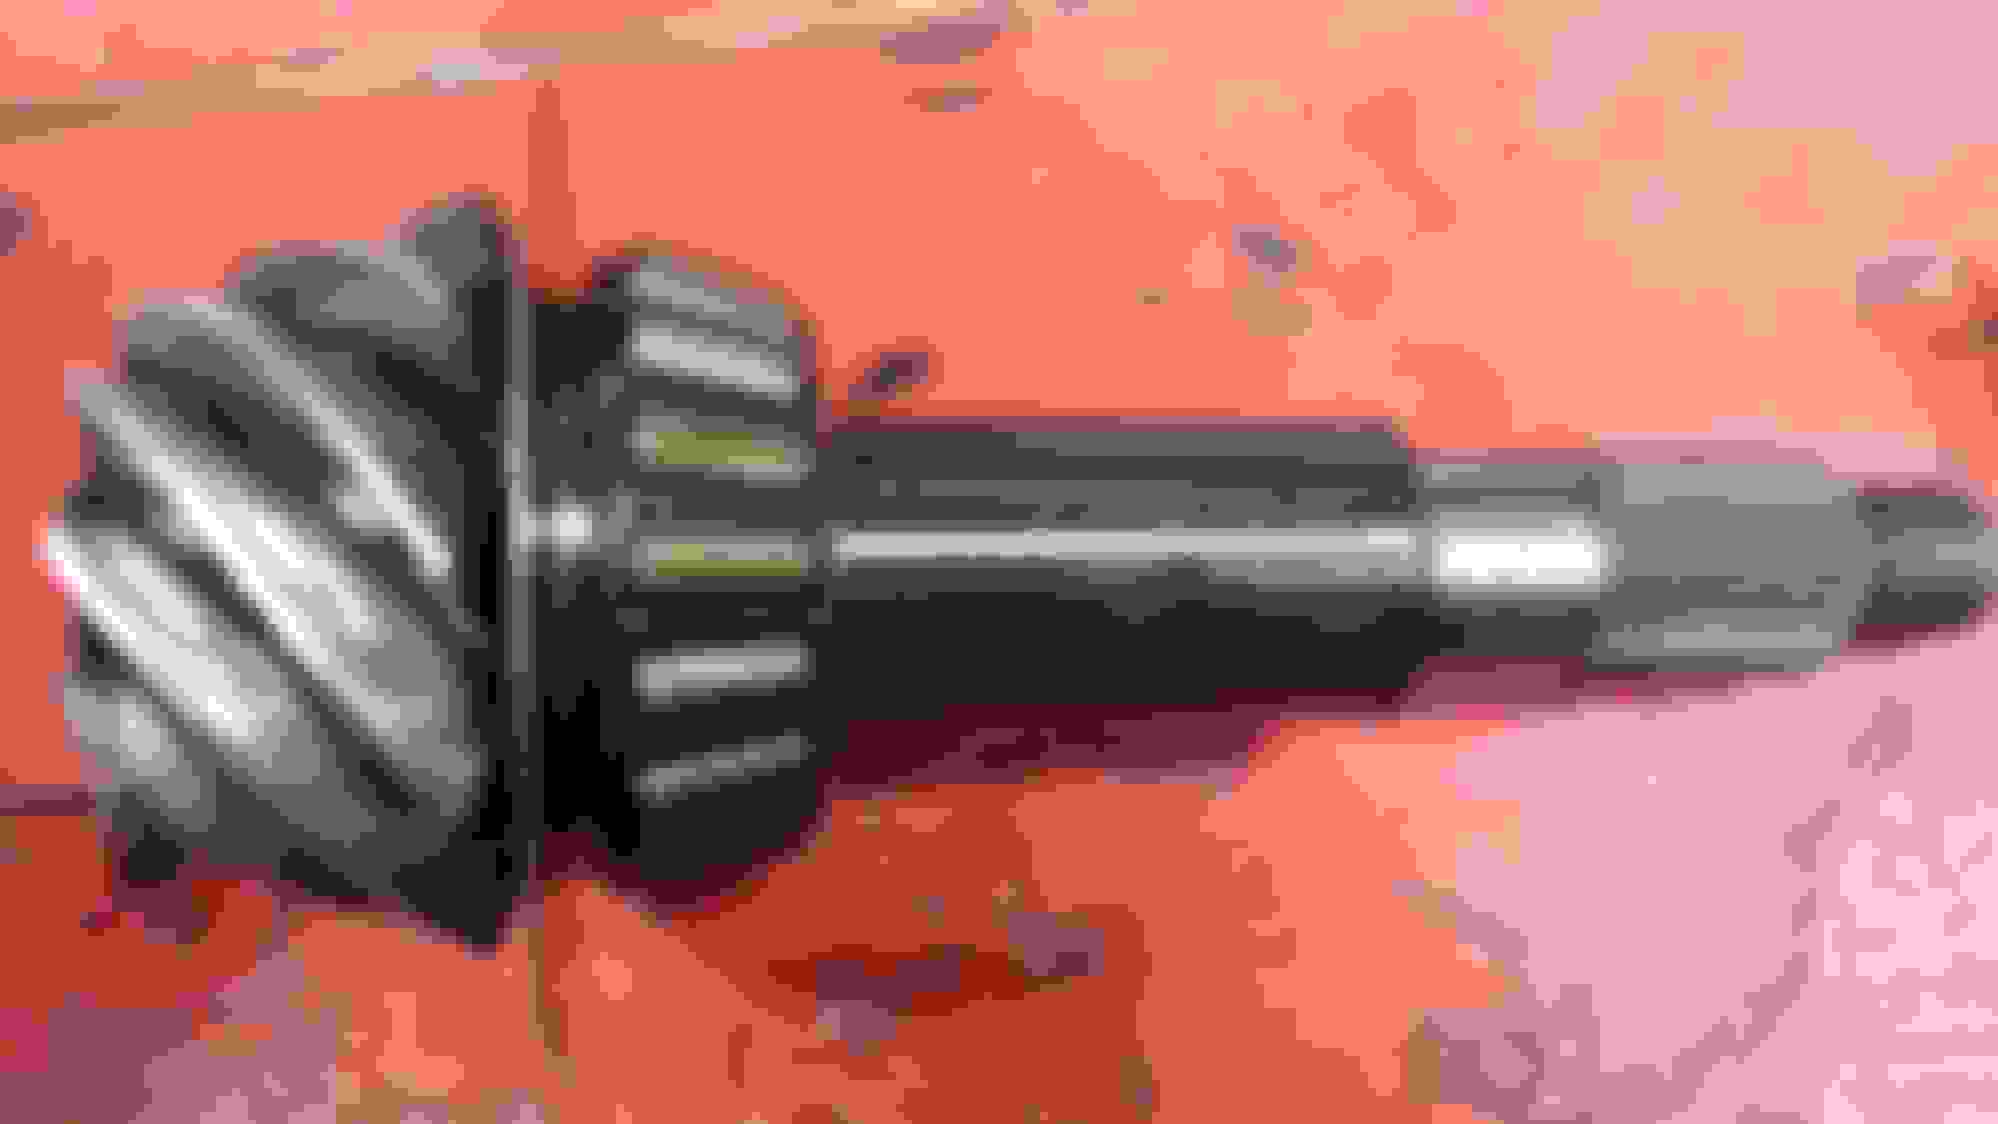
I bought a used high pinion dana 60 front 3.54 ratio ring & pinion, to place into this front axle so that it will match the gearing in the dana 80 rear that I will be swapping in eventually. It's my understanding that 3.54 gearing will be much better suited to the power-band and rpm range of the cummins diesel, as opposed to the 4.10 the axle originally had.
In these pictures, I was comparing the 3.54 gear to the 4.10, to make sure it looks compatible. The cut and direction of the teeth look the same. However, there seems to be a difference of thickness in the ring gears. I know that there are two different carriers used in these axles. One for 4.10 and taller gearing (like my 3.54), and another for 4.54 and lower gearing. Then some rings were made thick, to work with the wrong style of carrier. It's all pretty confusing to me. I also got to thinking, there's might naturally be a difference in thickness between different gear ratios. If you have more or less teeth, would that require a thicker or thinner ring to compensate maybe? Maybe to compensate for the pinion being wider? I don't know lol.
If someone knows for sure and can set me straight, I'd greatly appreciate it.
Right now, my plan is:
new u-joints
new seals everywhere
re-using the bearings, re-packing with new grease
thoroughly cleaning out the axle housing, and then coating the outside of it with black POR-15.
a master install kit to install the 3.54 ring & pinion correctly (that will be a learning process for me lol)
I just want to make sure to do the work that I can easily do while the axle is outside of the truck, and while the gears are pulled. Bearings and king-pins won't be any harder to work on while the axle is under the truck, and I think they're fine to use as-is for now. And I really need to save money lol. The cummins swap, and nv4500 rebuild will cost quite a bit I'm sure.
I will also need new leaf spring packs. The ones on the front of my truck already appear to be sagging some. And having a cummins in there will only exacerbate that problem. I will probably flip the u-bolts at the same time.
That's it for now. What are all of your guys opinions? See anything in the pictures that I've missed or mis-judged? I'll be back later with more questions, pictures, etc. Thanks for looking!
Badass truck, and nice work! I'm loving all the upgrades except the diesel. Your truck,but I wouldn't want it.
It took me a while to warm up to the idea, but in the end I realized that it is not a Dodge motor, it's a Cummins motor. Ford used them in their bigger trucks too. For what I'm using my truck for, the extra power and fuel savings makes a lot of sense. Not to mention the lack of electronic controls and simplicity and durability. I believe I'm also saving money compared to what I originally planned to do with a 460 swap.
It took me a while to warm up to the idea, but in the end I realized that it is not a Dodge motor, it's a Cummins motor. Ford used them in their bigger trucks too. For what I'm using my truck for, the extra power and fuel savings makes a lot of sense. Not to mention the lack of electronic controls and simplicity and durability. I believe I'm also saving money compared to what I originally planned to do with a 460 swap.
I'm a huge fan of ease of maintenance and reliability. If I can't fix it it with 2 wrenches and a screwdriver for under 100 dollars, it's not worth owning to me. I ran the crap out of my last 351M for over 350k, cross country, all weather, deep woods and swamp,pulling overloaded dump trailers and full beds full of fresh wet oak and maple, and it did things that shamed late model trucks, and it did it for over 40 years, effortlessly. Ran fine when pulled, but low oil pressure. I considered going stroked 460, but this 351/400 has proven itself indestructible so I built a 408 out of it Now wish I'd built a 460, because I wanted huge neck snapping torque and instant throttle response for what I do with my rig. I worked on and operated diesel equipment for years in the military, and didn't care for them much. In fact, they damn near got us killed a few times. So, I am biased against them, personal preference I guess. If I lived in a warmer climate and it wasn't 3.59 a gallon where I live, I might like them more. Diesel does tow pretty well, and can't beat the MPG.
Regardless, dig your rig, and jealous of your Dana 60. Did you say you've got an 80 out back?
I've got the dana 80 rear from the donor dodge.
My current 60 rear will tear up quick from the cummins, especially when i turn it up some.
Got the gears and pinion pulled out, along with the bearing races and seals. Other than the king-pins and the vent-nipple, the axle housing is completely stripped.
In an effort to save money, I decided to not tear into the king pins. They feel pretty good as-is, with no discernable play or slop in them. I will just grease them up some. If they cause trouble later, I should be able to open them up just as easily under the truck.
As soon as I get a gun sold, I should have enough cash to buy the gear master install kit, u-joints, new pinion yoke & straps (mines boogered up), a limited slip trac-lok clutch rebuild kit, along with some other odds & ends, and a pint of POR-15 to coat the axle with.
According to my research, I should be able to swap the brake rotors, pads, and calipers from my dana 44 to this dana 60. That will save me some more money.
This next weekend, I plan on power washing off the crud from the axle housing, inside and out. Then I can coat it with the POR-15.
I've got to set up my parts washing bin so I can clean up the carrier and other things.
Then I just need to buy some special gear setup tools, like a magnetic base dial indicator, a stronger torque wrench, and a bearing separator clamp thingy. I might be able to borrow a lot of it from the auto part stores for refundable deposits.
After the axle is back together, I will need to find some stronger front leaf spring packs. This cummins motor is about twice as heavy as the 400 I'm pulling out, and I think the factory springs were already sagging some lol.
Where do you guys recommend getting leaf springs from? I will also need new u-bolts and plates. I plan to flip the bolts upside down.
I marked the caps and bolts to make sure they go back on the same way. The spring from the passenger side inner shaft seal has been floating around in here... The spring from the passenger side inner shaft seal has fell off... Time for a deap clean! I need to take this apart to replace with 3.54 gears and rebuild the trac-lok clutch pack.
I guess I didn't realize that my images from postimage.org weren't working right on FTE this whole time.
You're supposed to be able to click on those thumbnails and see a very large version of that pic in a new window. Instead, when I click on them, it just brings up the small thumbnail with a large black background border.
I just put two coats of POR15 semi-gloss black onto the axle. Here's a breakdown of what I did:
I first power-washed the axle as best I could with my shtity broken pressure washer. I don't think it really helped much lol.
After drying, I took a couple different wire wheels & brushes with my drill and scrubbed off any loose rust & grime.
Blew off leftover dust and debris with compressed air.
Sprayed the axle liberally with a 50/50 mix of POR15 Cleaner & DeGreaser (I think this used to be called Marine Clean).
After letting it sit for about half an hour, I liberally rinsed off the whole axle with the water hose and allowed to air dry thoroughly.
I then liberally sprayed the axle with POR15 Metal Ready. This supposedly removes rust (I couldn't tell that it did), etches steel, and leaves a Zinc Phosphate coating.
Keep the axle wet with additional Metal Ready sprayings as needed for about a half hour.
Once again thoroughly rinse off the axle with the water house, and allow to air dry thoroughly. After drying, there did appear to be a white chalky coating (Zinc Phosphate) left behind. Sorry I didn't think to take a picture of that.
Now I was ready to coat the axle with actual POR15.
I applied two coats, using a brush. Poured into a red solo cup to keep the can sealed and clean of debris. Used baggies between the lid and can to keep it from bonding itself closed.
I waited about 5 hours before applying the second coat. The first coat was tacky feeling. I probably could've done it sooner, but family comes first.
Using cotton daubers I bought from POR15, I also applied the coating inside the axle tubes (being careful not to get any in the inner seals and bearings areas, and wiping up anything that did get there). I found the metal stems on the daubers to be too flimsy to get the full circumference coated when reaching far down the long tube. So, I chucked them into my drill and spun them fast in the tube, causing them to wobble around the entire circumference like a blender, evenly coating the inside of the axle tubes. It left behind chunks of cotton/wool that dried in the tubes, but nothing that will hurt anything. Of course I punched the tubes with a wire brush on a long rod on my drill to knock everything loose, and then fully prepped their inner surfaces along with the rest of the axle.
This semi-gloss stuff looked like semi-gloss after the first coat dried some (no pics, sorry). But after the second coat dried, it looked a lot glossier than I expected. But, I think it looks great!
After drying, I had my hands all over the axle, amazed that I could now literally eat off of this thing that used to be a 40yr old rusty & greasy turd! I was fondling the curve of the diff cover like it was my wifes ***!
I really thought about adding a third coat, but got lazy and decided not to. I went through one can with these two coats. I probably used too much as it is, I usually am overkill on these kinds of things.
I'm really happy with how it turned out so far. I just hope my prep was correct and that it holds up long term. It will bug me to no end if the coating starts chipping off.
More to come: I've got a box of replacement parts from TorqueKing4x4.com.
Got the trac-lock limited slip rebuilt, and the replacement 3.54 ring gear installed (new ring gear bolts of course).
I didn't get as many pics as I probably should've. Was just making good progress, and didn't want to get my phone oily.
It was pretty easy, all things considered. For the parts you re-use (spider gears mainly), keep them on the same side that they came off of.
Also, when re-inserting the spider gears, get a pair of bolts and large washers to compress the clutch packs with. Otherwise you'll never get the spider gears in.
Another thing, get the spider gears in place first, before inserting their respective dished thrust washers. I tried to insert them at the same time, and it was way too tight. Much easier to slide the washers in place after the gears are already located.
It's a balancing act on how much to compress the clutch packs with the bolts. Too much, and you can't rotate the gears into place. Too little, and you can't fit the gears in.
Be sure to use a brass punch when getting the gears in place. And try to clean out any brass shavings left behind from your punch. I chewed mine up trying to insert the gears with their shims at the same time.
all disassembled, passenger side on left, driver side on right inside of carrier passenger side clutch and bearing driver side clutch & bearing spider gears and their thrust washers the new trac-lok clutch packs, soaking in dana friction modifier fluid (that stuff smells STRONG, don't get it on you, you'll smell for days! I started liking the smell, but it made my wife nauseous. old ring gear, bolts, and clutch pack retainers put an axle shaft into my vice, to hold the carrier on for reassembly. the old clutch packs. I think the friction material was completely gone. The discs had either spiral or tangential grooves, alternating. all put back together with the new clutch packs the old carrier bearings. the bearing cones will be ground out for an easy slip fit on the carrier, for setting up the gears. old 4.10 ring gear, bolts, clutch packs
I will make another post shortly, showing my process of setting up the gears.
Got the gears setup. Seemed like it would take forever at first. But I got so good at assembling and re-assembling everything that it wasn't so bad the further along I went.
I'm keeping my fingers crossed that I did it right. I followed instructions and torque values closely, and used the necessary tools.
I was happy enough with the gear contact pattern on the 3rd check. As you'll see in the google spreadsheet, there were several more "setups" than three, but I only checked the gear lash pattern 3 times, when all the other variables were tweaked right.
You definitely need a 250lb torque wrench, an inch-pound dial-reading torque wrench, a dial-indicator to read ring gear movement, and calipers to measure shim thickness.
You will also need to make a bracket or something to hold the pinion yoke still while taking the nut off and torqueing it precisely back on. I made my backet to only attach on half of the yoke, but I recommend taking the time to make one that attaches on 3 or all 4 bolts, because the torque was over-stressing the yoke ear bolts, breaking one, and bending others. I had to buy another set for when I attach a drive-shaft.
You will also need two pinion yoke nuts. Use a fresh one on final assembly. It's ok to re-use one multiple times during setup, but it's not recommended for long-term. Also loc-tite it when done.
Here's a link to the google spreadsheet showing all of my setup variables, and the gear lash measurements afterwards, for each setup iteration, until I finally got the results I wanted: https://docs.google.com/spreadsheets...it?usp=sharing
I tried to notate everything I changed and why.
new axle shaft seals on both sides of the carrier 1st check of gear pattern 2nd attempt at gear pattern 3rd and final setup pattern check dial indicator setup for checking gear lash
After I was satisfied with the measurements and gear contact pattern, I put on a re-useable gasket, and bolted the cover back on.
Currently, I got the axle shafts cleaned up, painted with rustoleum enamel black, new dana greaseable u-joints, and re-inserted into the housing.
Spindles have been cleaned up, new spindle bearings and shaft seals, and were coated with POR15 as well (taking care to not coat the bearing surfaces and threads).
Brake caliper mounting brackets were cleaned up and por15 coated as well. Found out someone re-cut threads on one of the brake caliper slide bolt holes to a larger thread size than factory. Hoping that doesn't cause me issues when I mount the calipers later.
I got the old spindle bearings out by using a tire iron my dad kept for his motorcycle. It was a long bar with a crescent moon shaped bit on the end. I simply wedged it in behind the spindle bearing, and then hammered a tube from the other end of the spindle against the wedged tire iron, and the bearings came out pretty easy. When I googled it, a lot of people have problems getting them out without making a fuss of it.
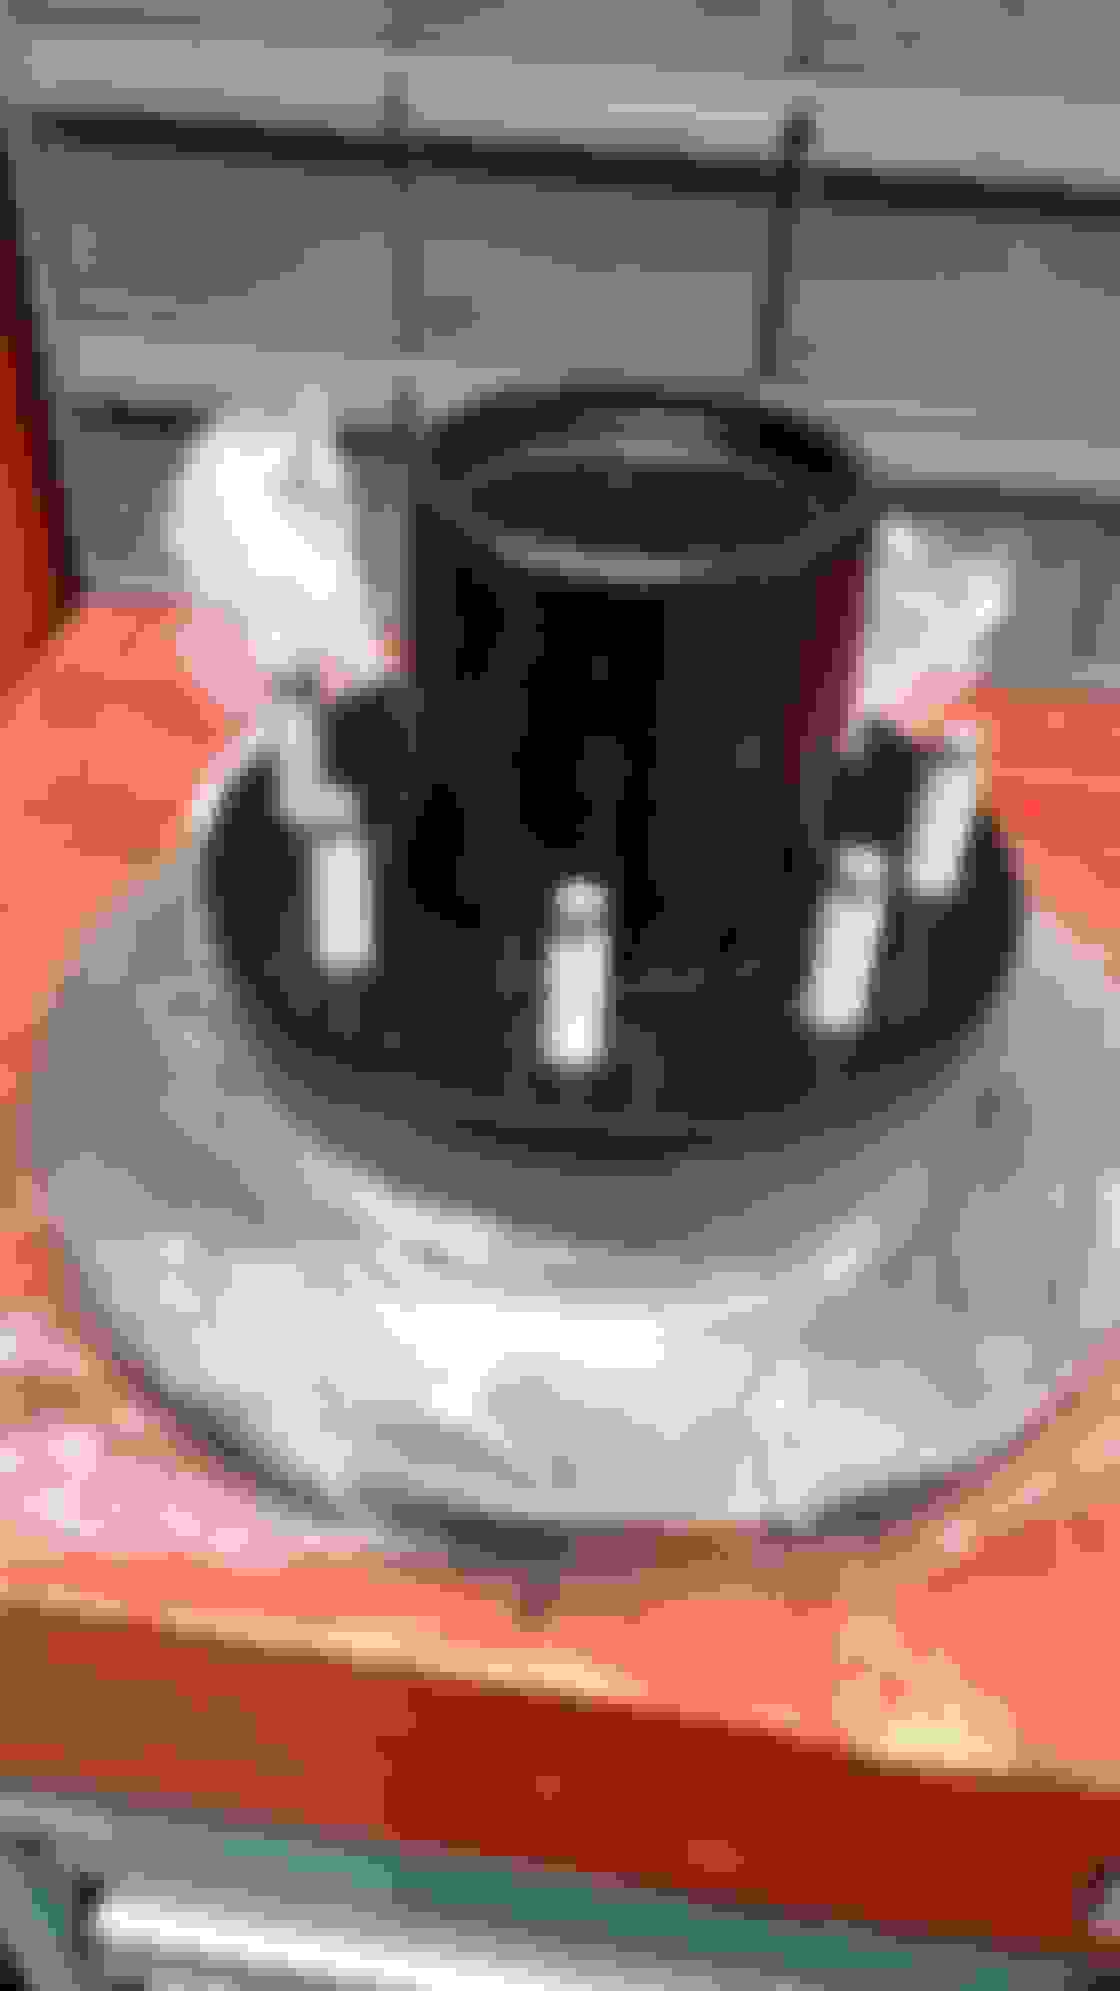
My hubs have been prepped and coated with por15 as well. I still need to replace their wheel bearings, races, and seals.
I got new brake rotors, and I'm installing 9/16" lug nut studs (dorman part # 610-278). I still need to drill out the hub lug nut holes with a 39/64" drill bit, so that I can press-fit in the slightly larger studs without cracking the hub flange. Using a drill press, I don't think that should be a problem.
After that, I'll be done with this axle. I'll wait to install it until I'm ready to drop in the cummins 12v at the same time. I'm wanting to clean up and coat the frame while everything is off the front of it.
If anyone has any insightful comments on my gear setup method and notes, please let me know. That's the only part that I'm not super confident in.
Got my hubs cleaned out of all their old grease, and the bearings/races/seals removed.
My drill press just wasn't gonna work to drill out the stud holes. 39/64" bit wouldn't fit the 3/8" chuck. Not enough height underneath. So I just free-handed it with a power drill. Went pretty easy. Pressed in the new 9/16" studs with new rotors, and all looks well!
I ordered new lug nuts to make everything match, but I'm wondering if they might be a bit short. Not sure if they will bottom out properly on my steel rims.
 09-27-2019, 10:55 AM