Frame Off Restoration, Ranger V8 Sport
#16
 01-29-2017, 09:16 AM


Join Date: Jan 2017
Posts: 157
Likes: 0
Received 0 Likes
on
0 Posts
The driver side of the truck has been block sanded with 180 grit paper and primed four separate times. It now sits perfectly straight in the 180 grit stage and all the gaps blend seamlessly from one panel to the next. The passenger side is about three days behind but coming along nicely. Once the passenger side has been brought to the same stage as the driver side the rest of the cab will be DA sanded with 320 dry and the sections currently in primer/surfacer will be recovered with two light coats of primer/surfacer to fill the 180 grit scratches. After that point the entire cab will be hand sanded with 400 grit wet and prepared for paint. I am still planning on getting paint on this thing around the first of September if all goes well.


#17
01-29-2017, 09:20 AM
Join Date: Jan 2017
Posts: 157
Likes: 0
Received 0 Likes
on
0 Posts
It is pouring rain outside and I am sitting here looking out the window like a little kid. I can’t go outside and play today with my toy truck so I guess I will think out loud and get my thoughts together about the upcoming paint work. Here is a tentative list of how it should play out.
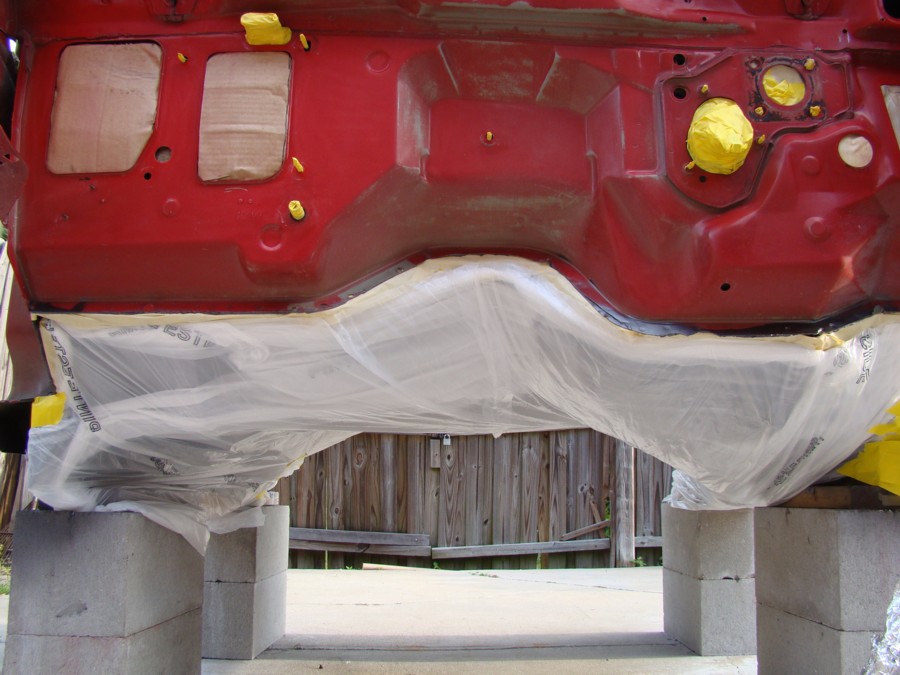
1. After the body work is 100% done I will wrap the cab and engine compartment with plastic sheeting and then spray the underside of the cab with some Dark Shadow Grey basecoat I have left over. This should give a nice contrast between the black frame and the floor pan without driving up the cost of the new color I will need to purchase for the truck.
2. I will need to spray stone guard on both rocker panels and lower fenders to achieve that OEM appearance.
3. The rear window and brake light will need to be removed and the rubber seal around the windshield will need to be trimmed back so paint can be blown into the jamb. A new windshield will be installed at a later date.
4. I will need to power up the door windows so I can place them in the down position before paint. This will need to be done the old fashion way with a car battery and some junk wire.
5. Unless something changes, at the moment I plan to remove the doors and fenders, wrap the cab in plastic sheeting from the firewall back and spray the engine compartment. At the same time I will spray the inside of both doors as they sit upside down on saw horses with the outside sealed in plastic.
6. A few days later I will wrap the engine compartment in plastic sheeting and spray the cab from the firewall back including the empty door jambs as well as the outside of both doors as they sit right side up, wrapped in plastic sheeting on the saw horses. Spreading the work out over two days should allow for a much nicer finished product with less “dry spray” falling on some of the hard to reach areas.
#18
01-29-2017, 09:23 AM
Join Date: Jan 2017
Posts: 157
Likes: 0
Received 0 Likes
on
0 Posts
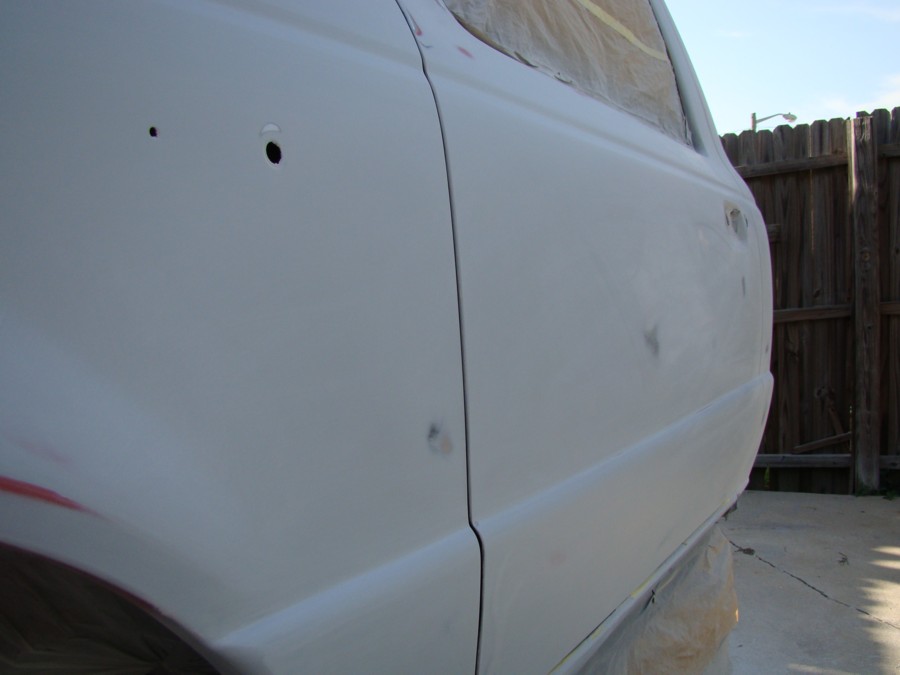
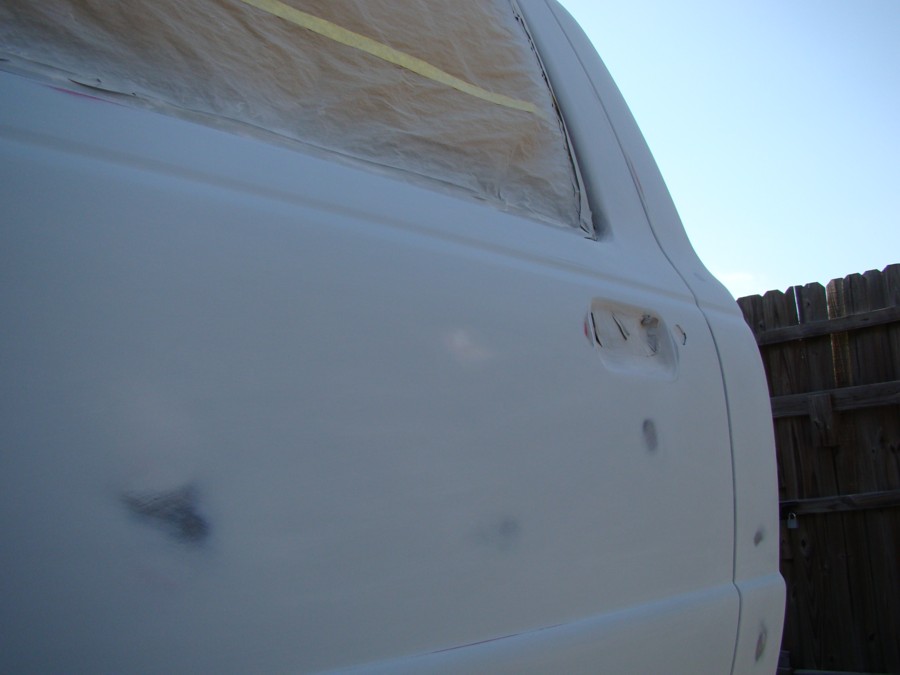
The passenger side has been a real pain in the aXX. Other than a lot of rain, this is what has been slowing me down.

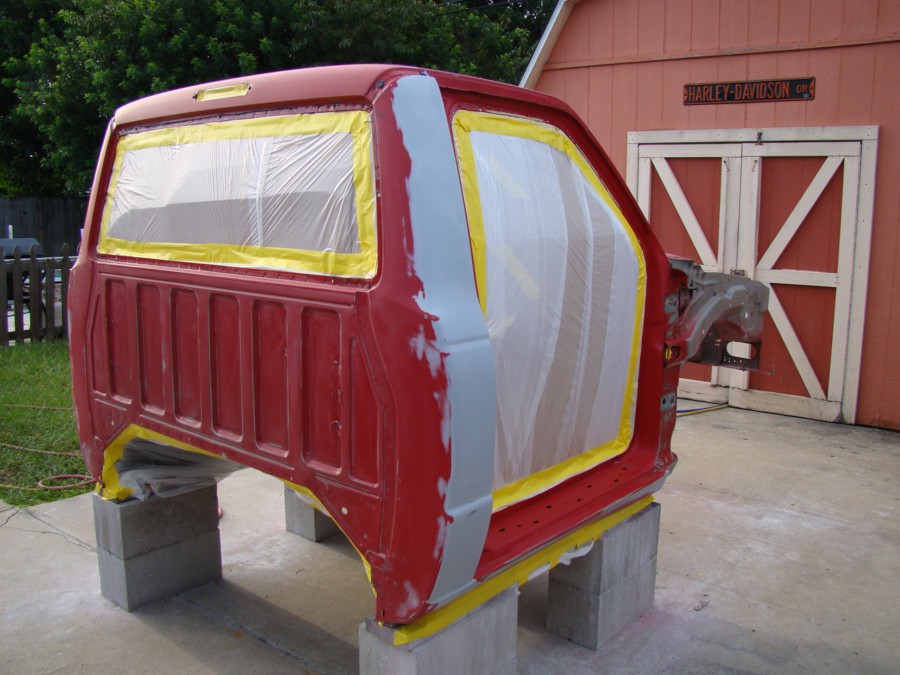
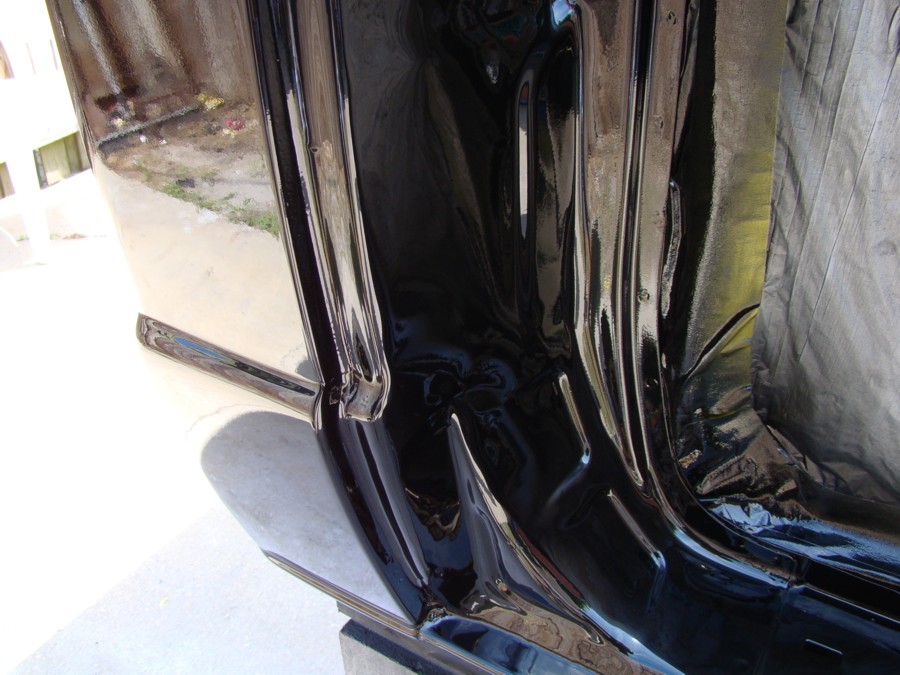
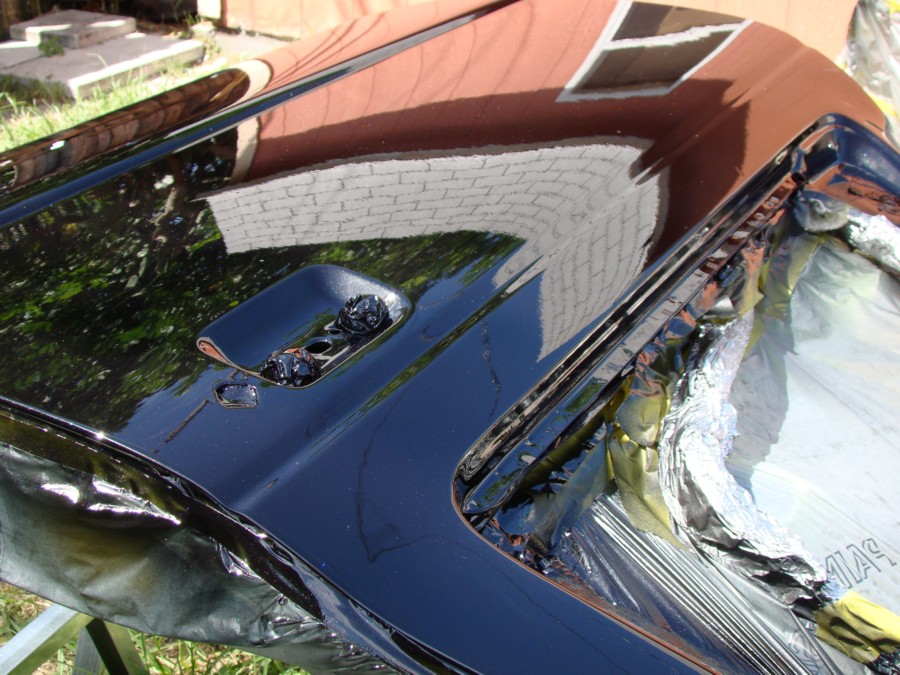
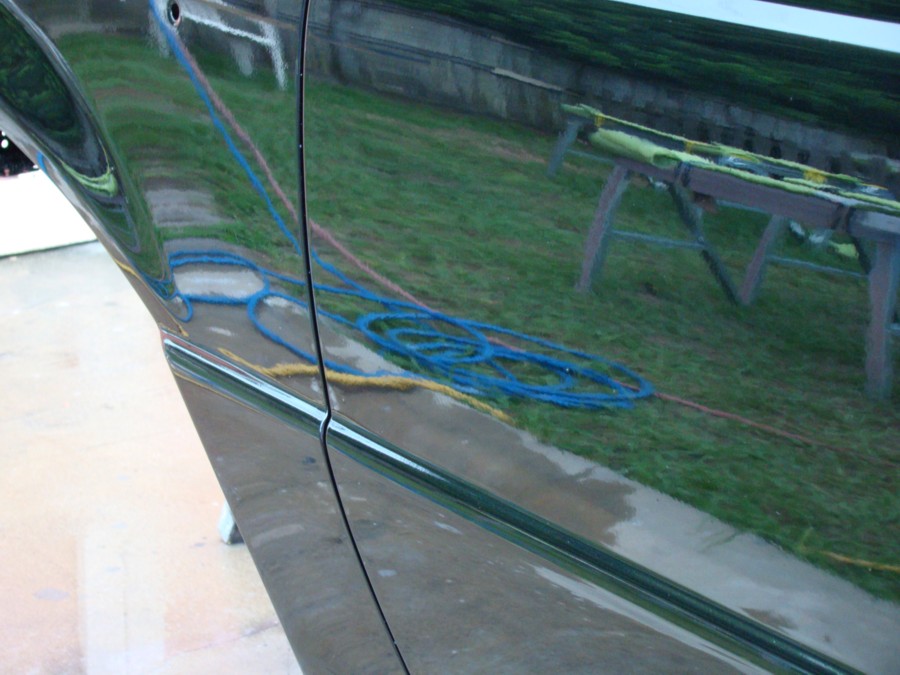
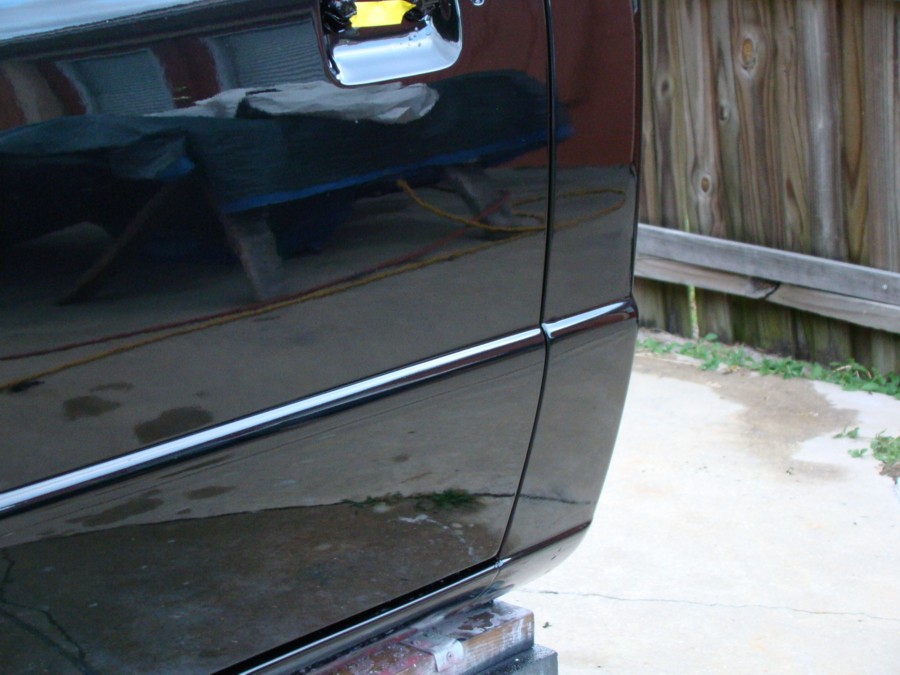
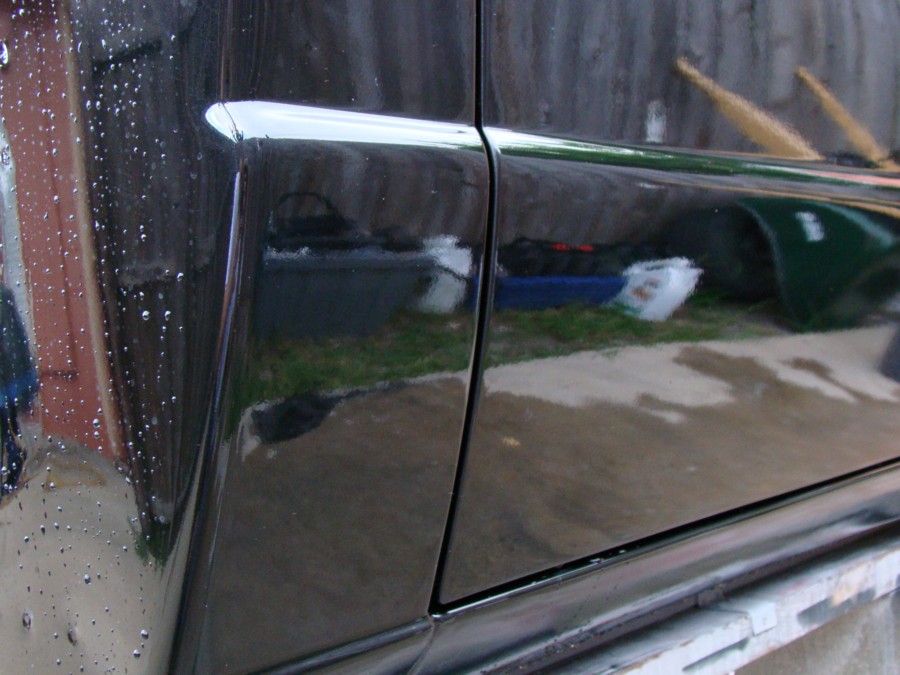
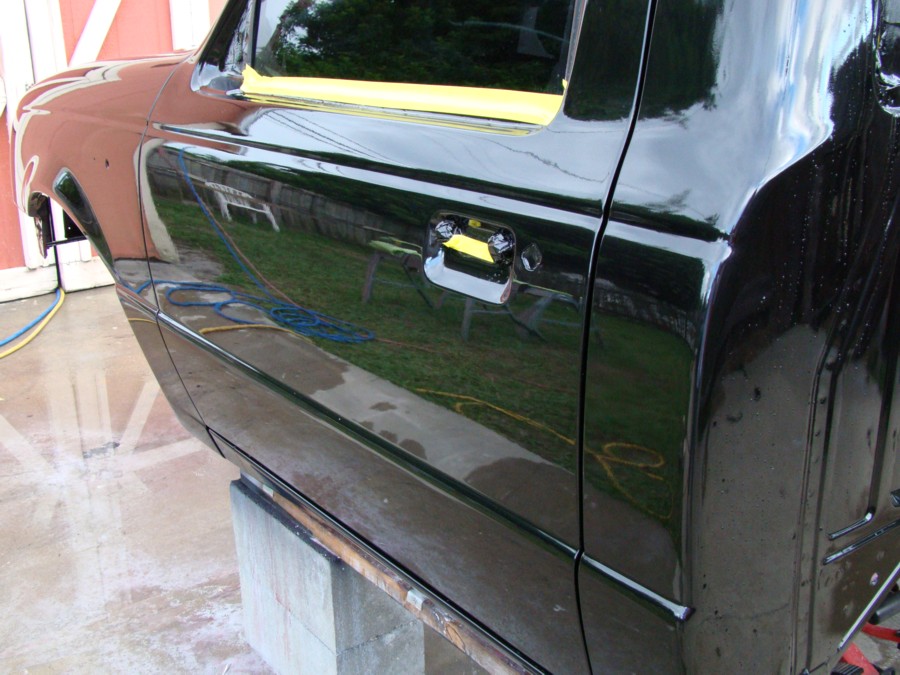
Trying to get the body lines on the passenger side to be perfect has taken more time than expected. The rear of the door and the cab panels line up fairly well but both roll off the edge slightly because of how the metal panels were stamped from the factory. This plays havoc with my “fit and finish”. After blocking and priming the area several times I still have a very slight low spot in two places. Although it doesn’t seem to be bad this is the sort of thing that will create a distorted line in the reflection of the paint. The panels need to be perfectly flush with one another in order to cast a clean reflection in the finished product.
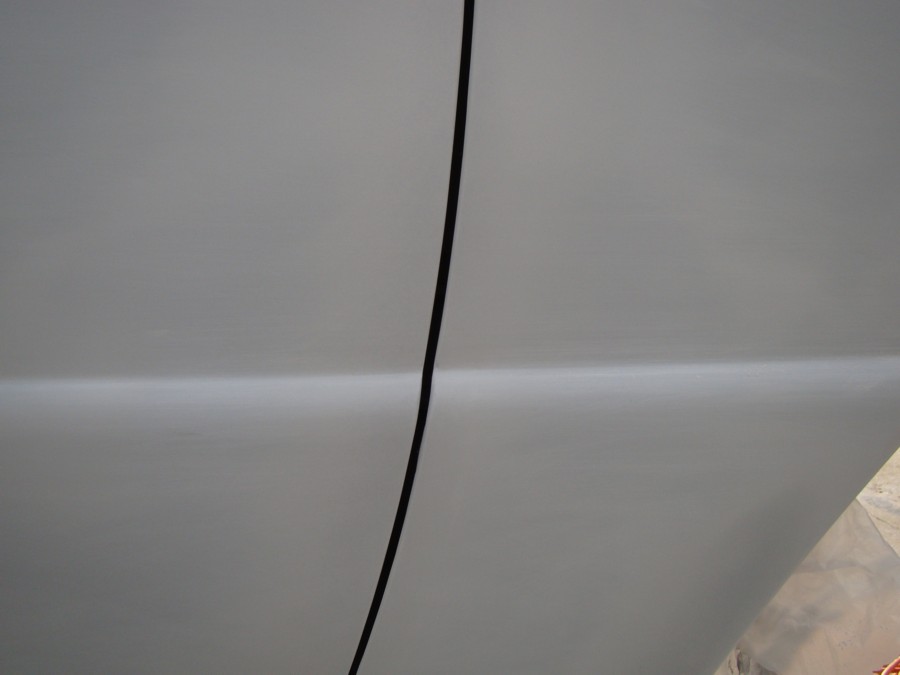
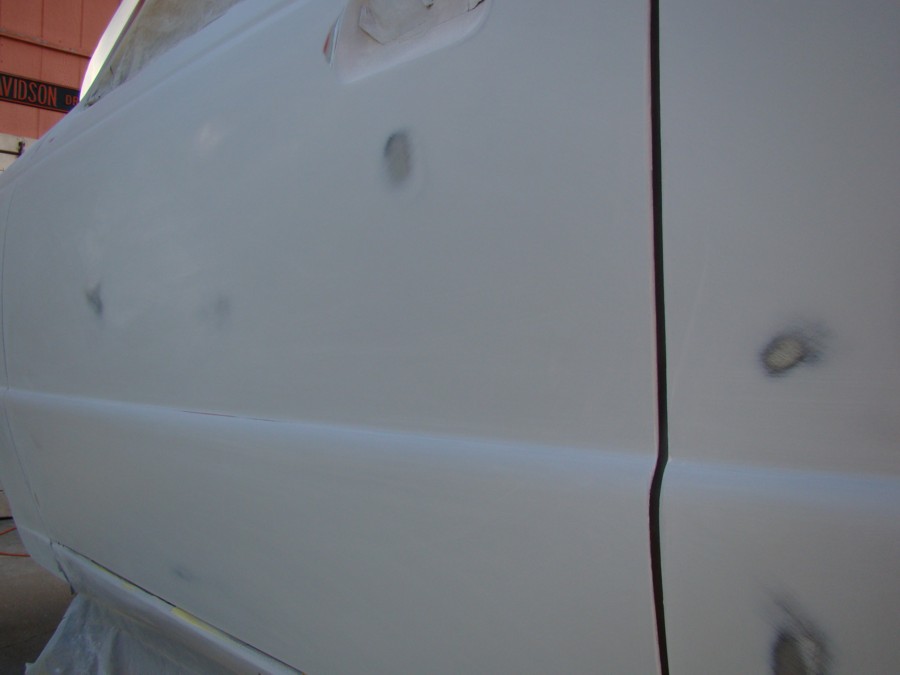
As you can see there is a small gap where the panels come together in this location. I will need to take a step back and add a very small amount of fill in these two spots to get it correct.
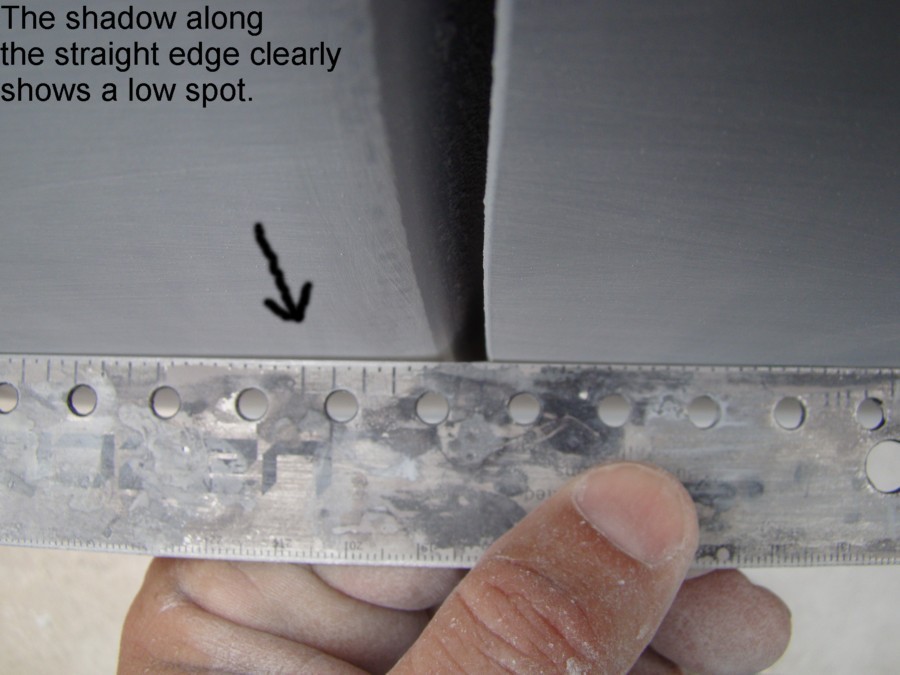
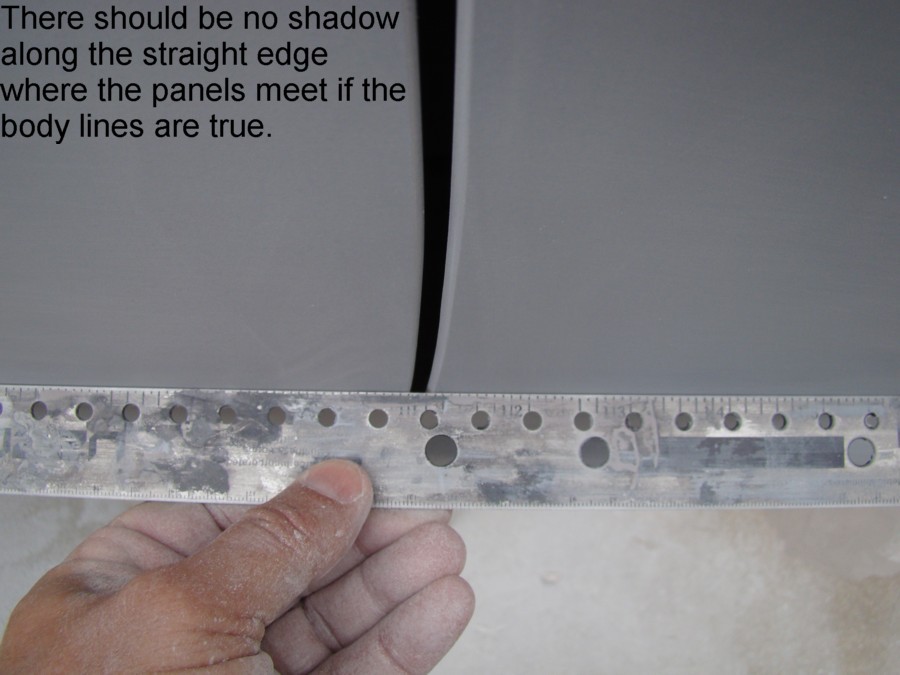
The extra time it will take will be worth it once the paint is color sanded and buffed out. The goal is to have the side of the truck look like it was cut from a single piece of billet on a CNC machine!! (Just joking, but you guys get the idea).
Here are two examples.
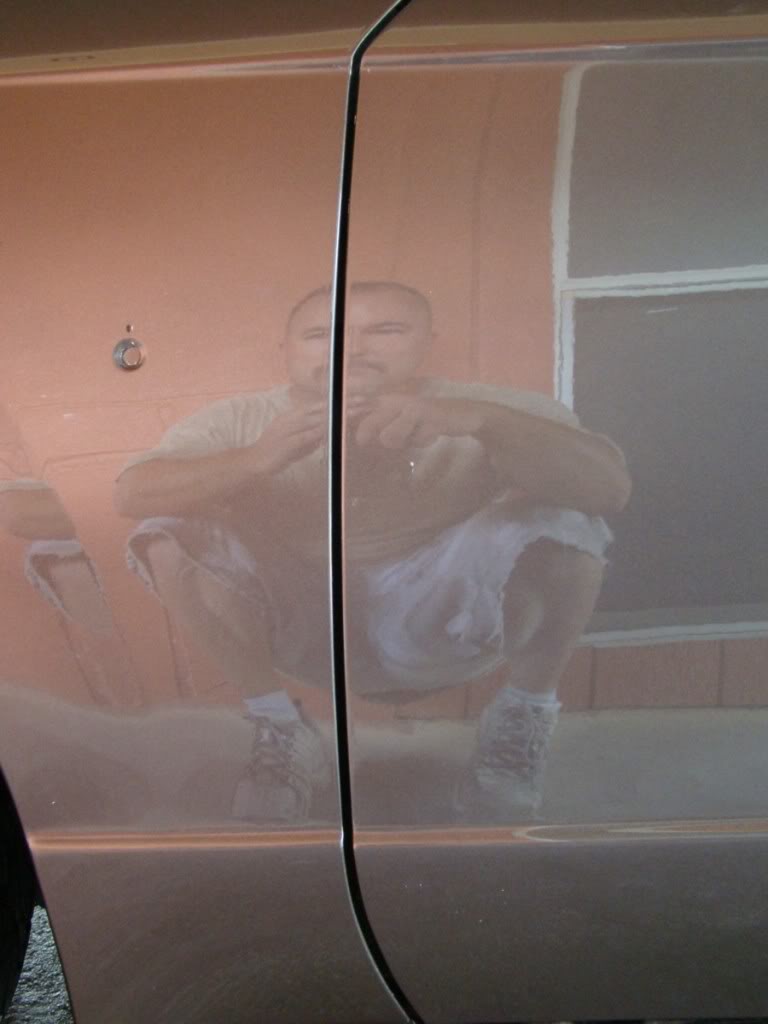
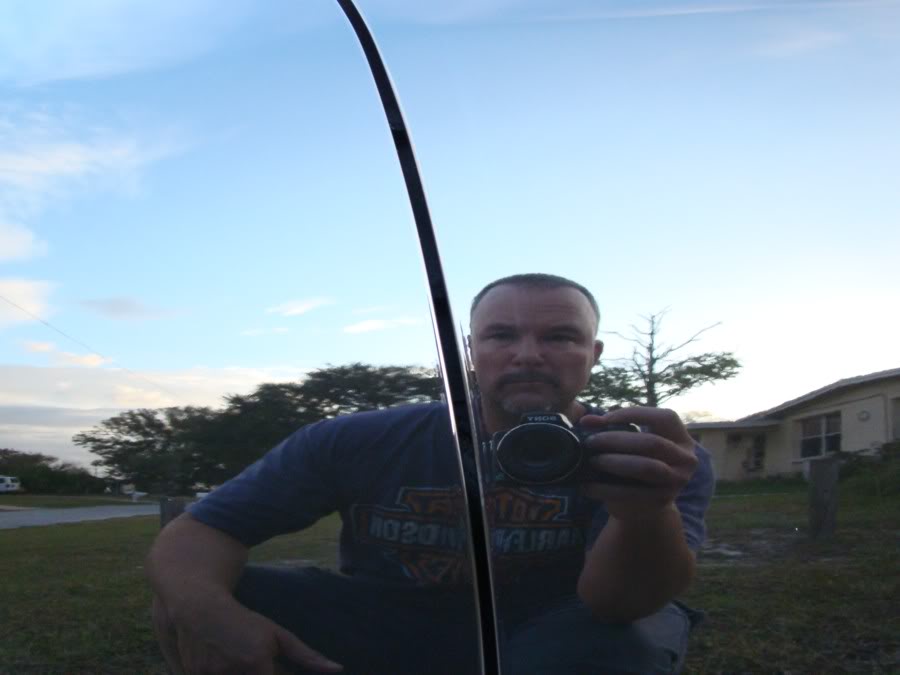

Trying to get the body lines on the passenger side to be perfect has taken more time than expected. The rear of the door and the cab panels line up fairly well but both roll off the edge slightly because of how the metal panels were stamped from the factory. This plays havoc with my “fit and finish”. After blocking and priming the area several times I still have a very slight low spot in two places. Although it doesn’t seem to be bad this is the sort of thing that will create a distorted line in the reflection of the paint. The panels need to be perfectly flush with one another in order to cast a clean reflection in the finished product.

As you can see there is a small gap where the panels come together in this location. I will need to take a step back and add a very small amount of fill in these two spots to get it correct.


The extra time it will take will be worth it once the paint is color sanded and buffed out. The goal is to have the side of the truck look like it was cut from a single piece of billet on a CNC machine!! (Just joking, but you guys get the idea).
Here are two examples.

#19
01-29-2017, 06:36 PM
Join Date: Jan 2017
Posts: 157
Likes: 0
Received 0 Likes
on
0 Posts
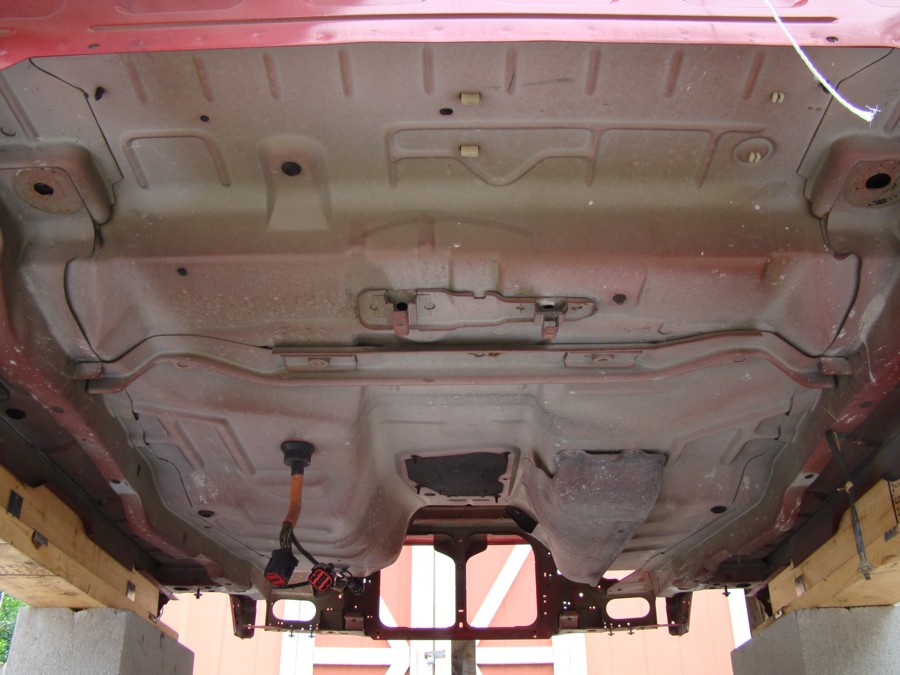
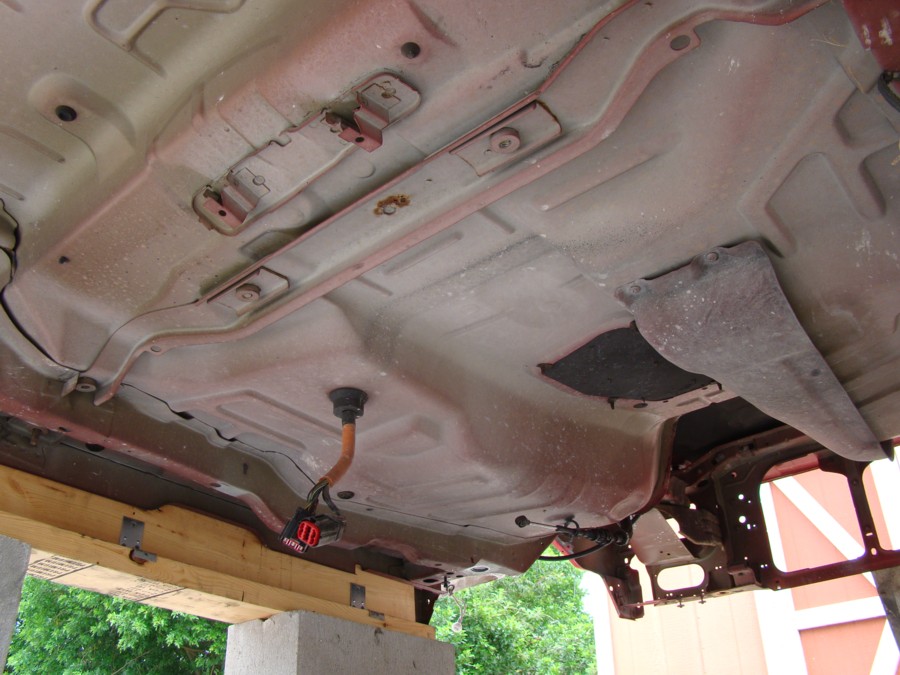
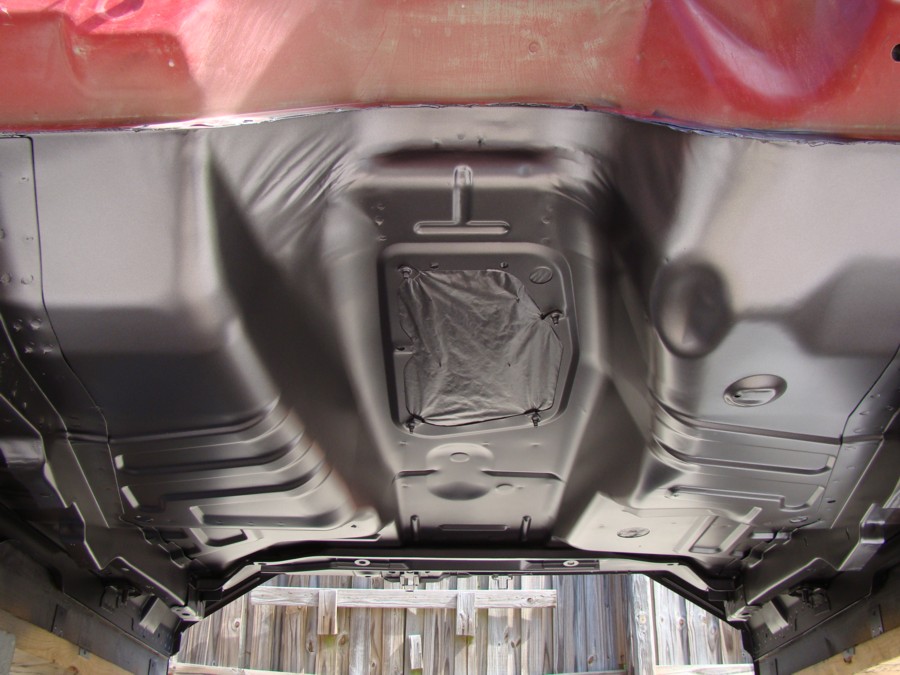
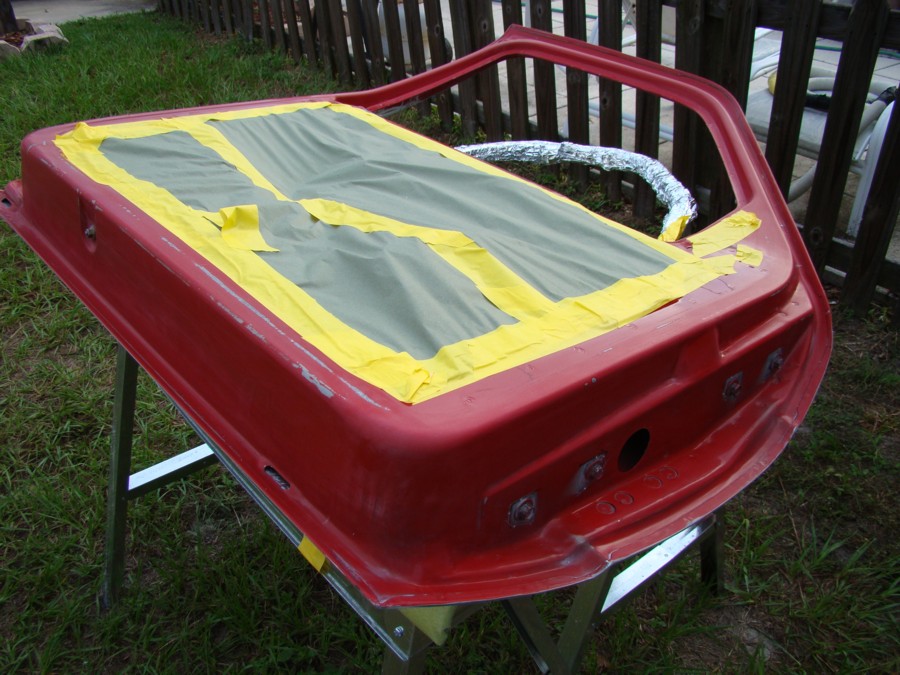
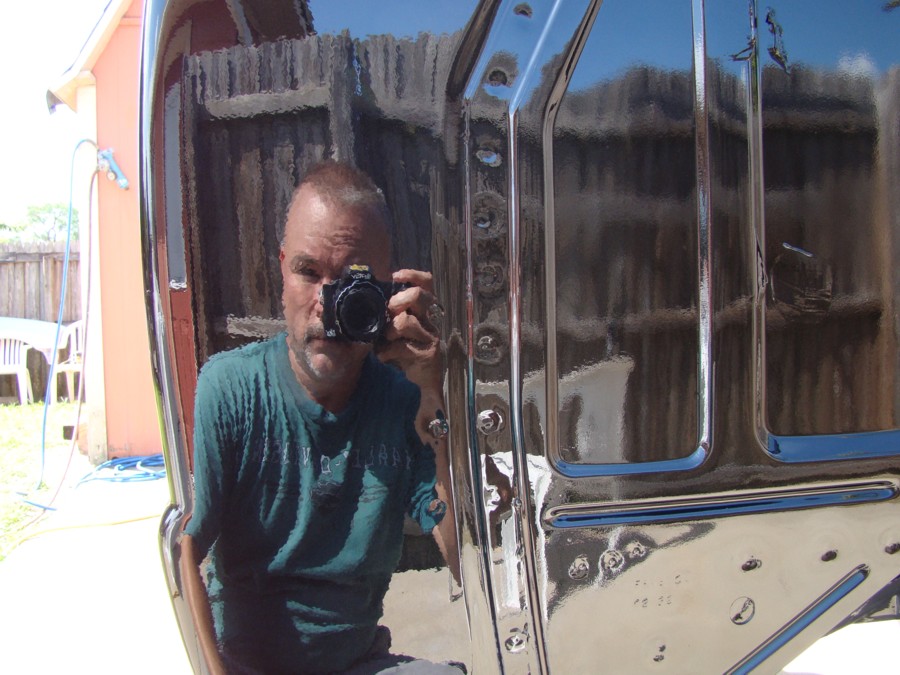
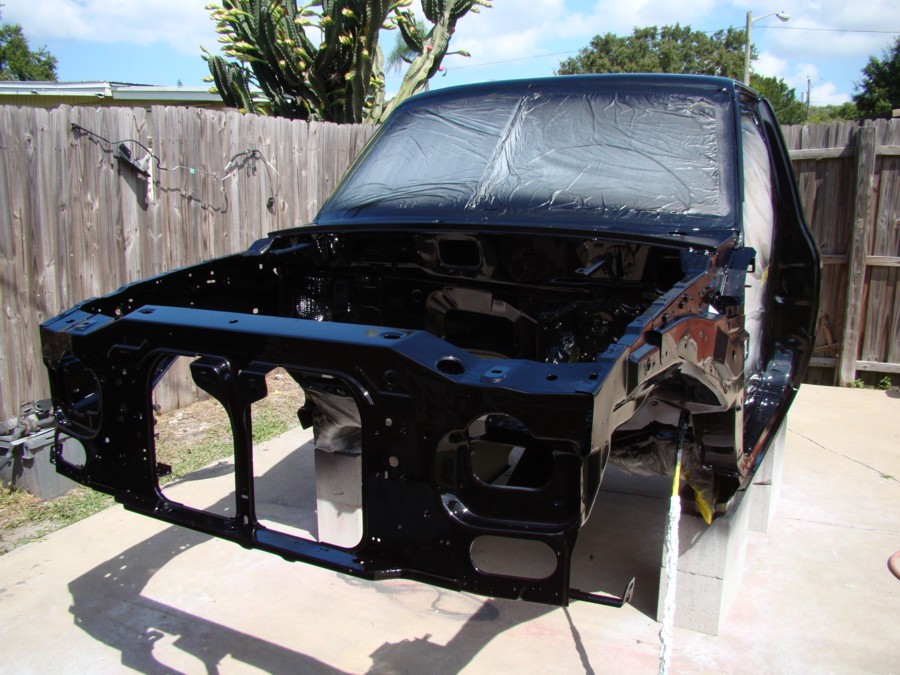
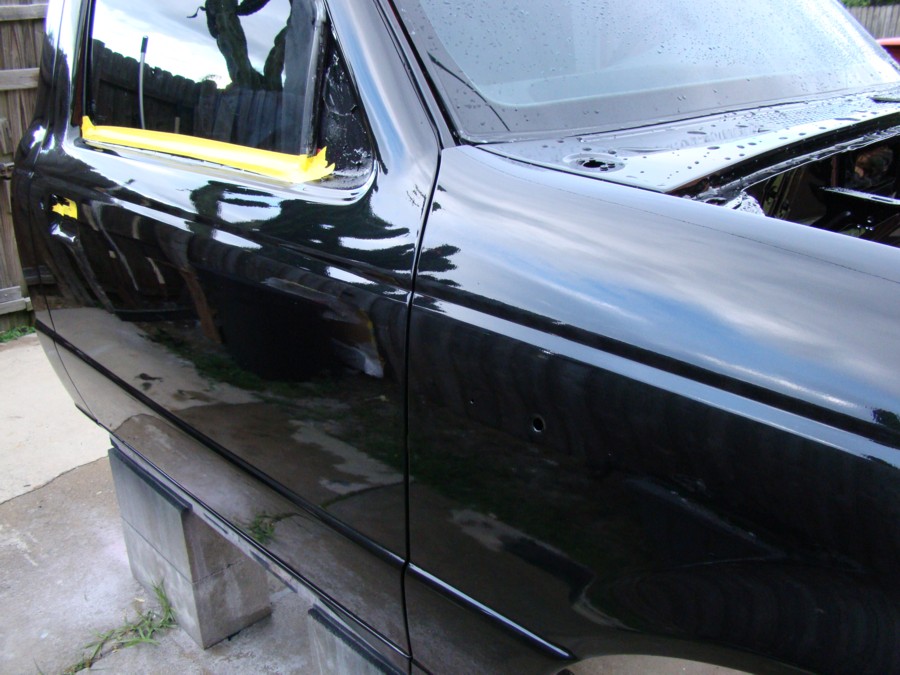
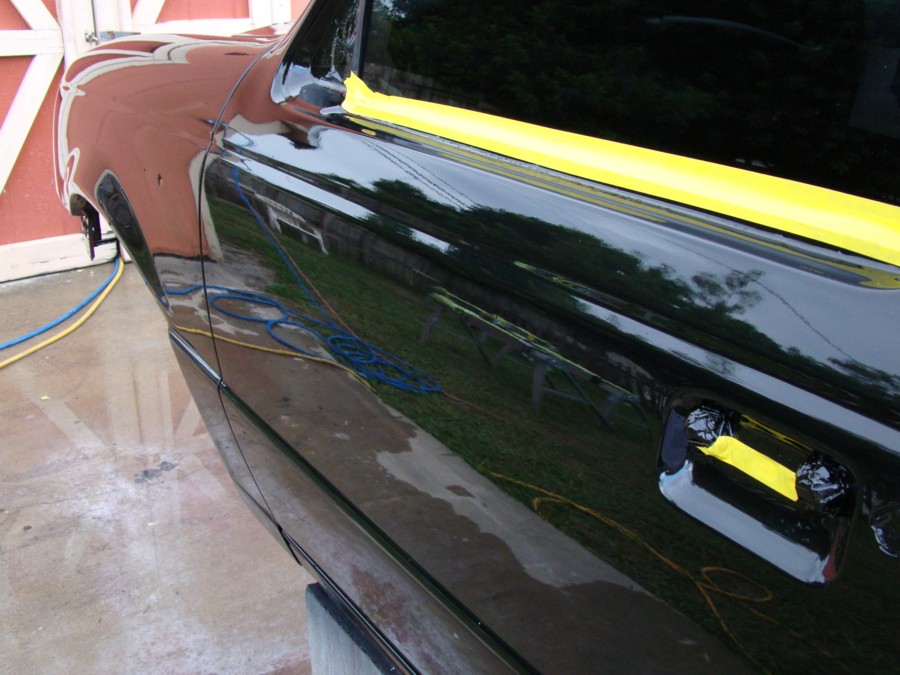
I promise these are the last photos before the truck is painted. The body work has been completed and the floor pan will be the first section to be painted. Let’s start there with a few before photos. After these two photos were taken the entire section was first washed and then dried with a clean towel. Then the floor was scratched with a scotchbrite pad and lightly dry sanded with 400 grit paper.


#20
01-29-2017, 06:38 PM
Join Date: Jan 2017
Posts: 157
Likes: 0
Received 0 Likes
on
0 Posts
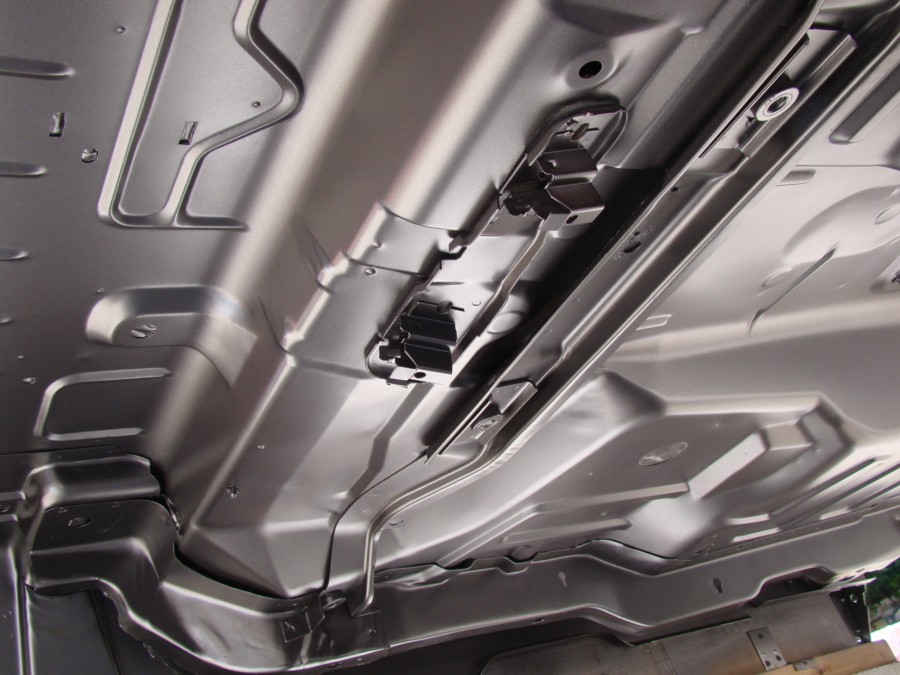
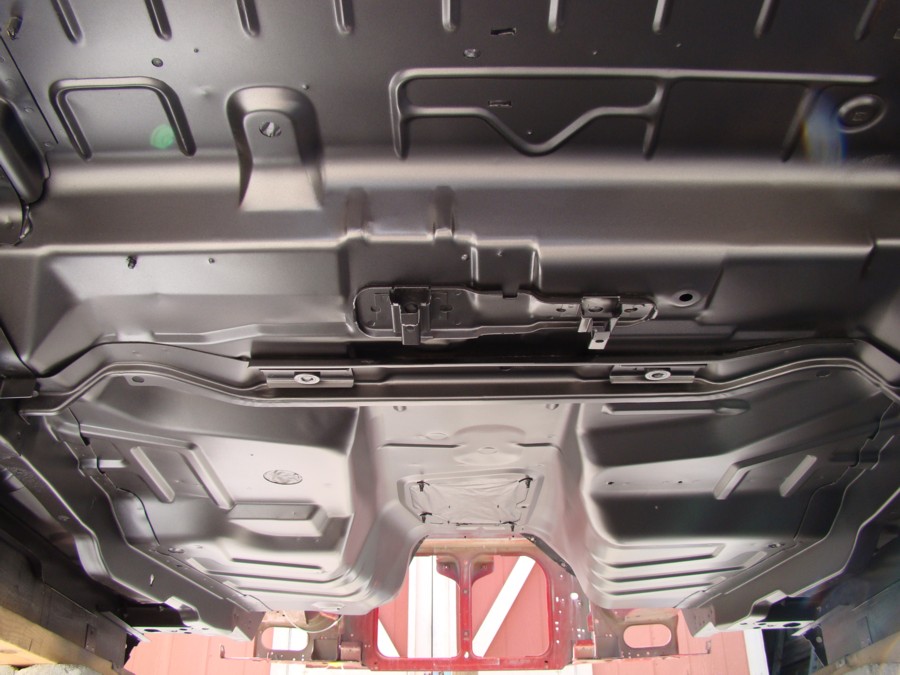
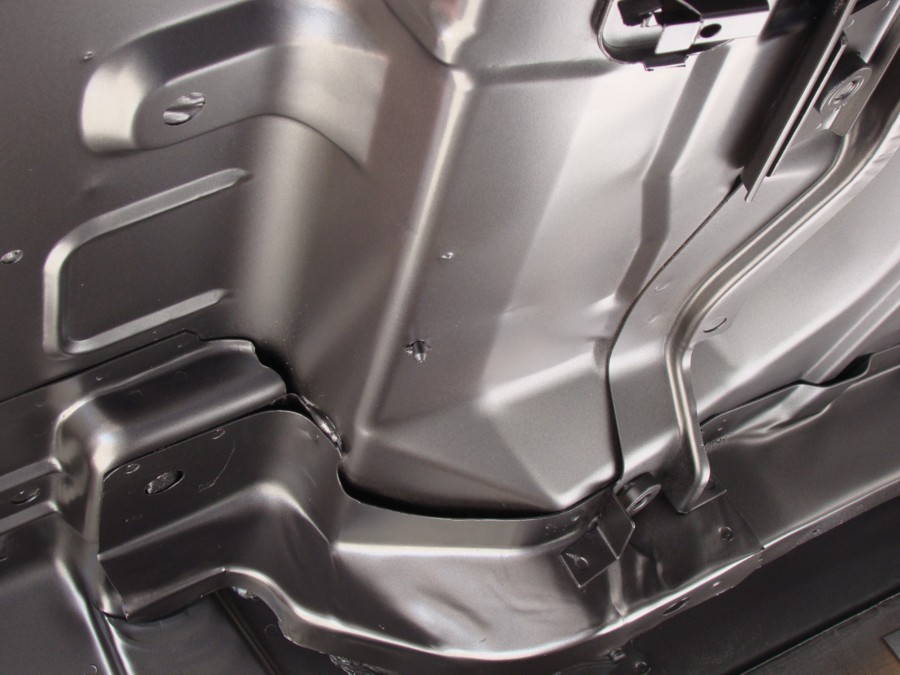
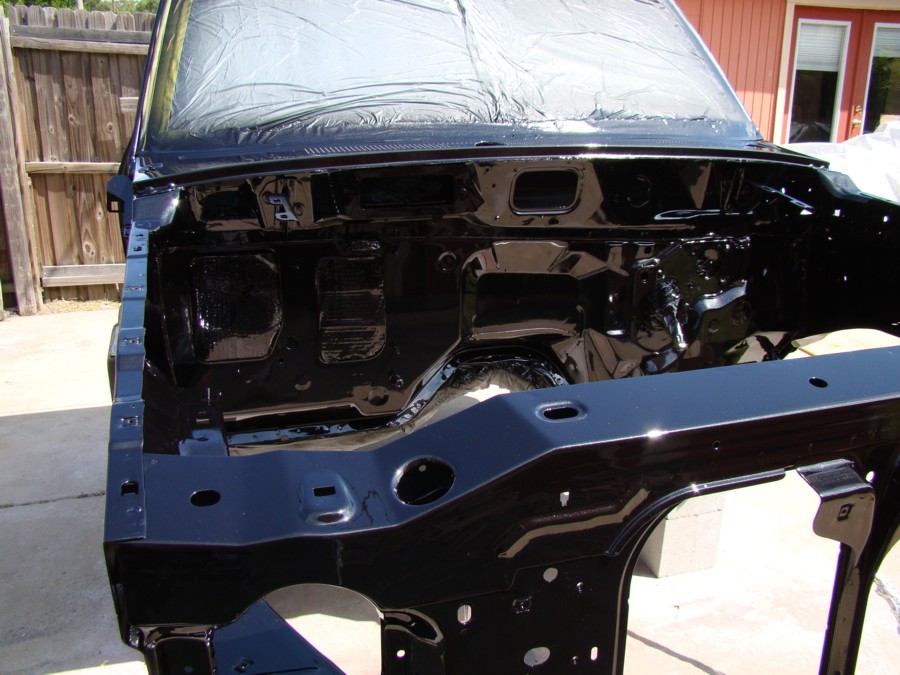
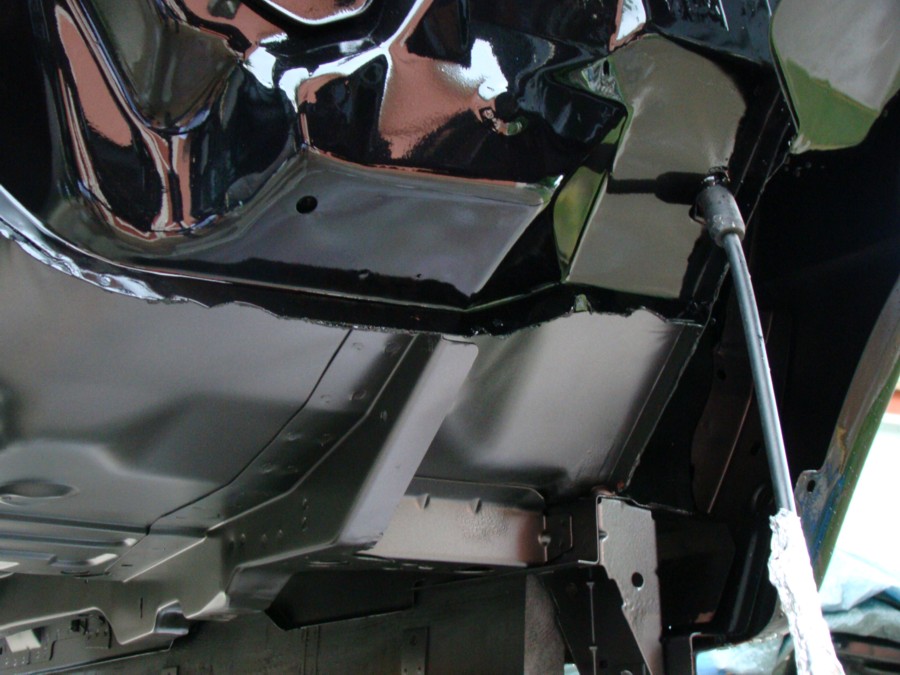
Here are a couple photos of the first section painted. The floor pan was sprayed with (3) coats of Shop-line JBP Basecoat (2003 Ford paint code CX, Dark Shadow Grey Metallic). This section will not be top coated with clear. It will be left in a semi gloss/satin finish from the basecoat color.


#21
01-29-2017, 06:40 PM
Join Date: Jan 2017
Posts: 157
Likes: 0
Received 0 Likes
on
0 Posts
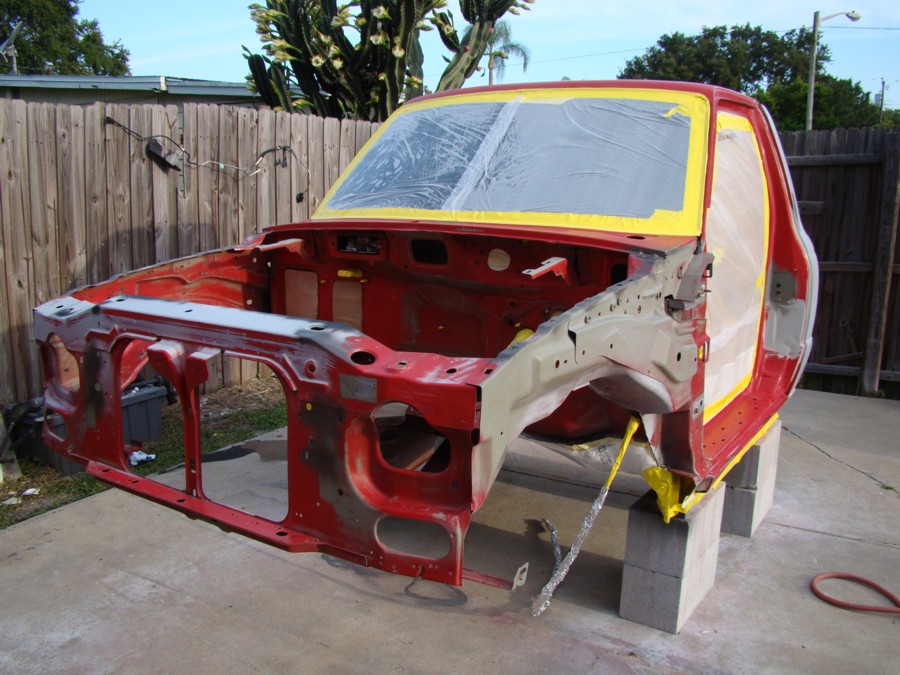
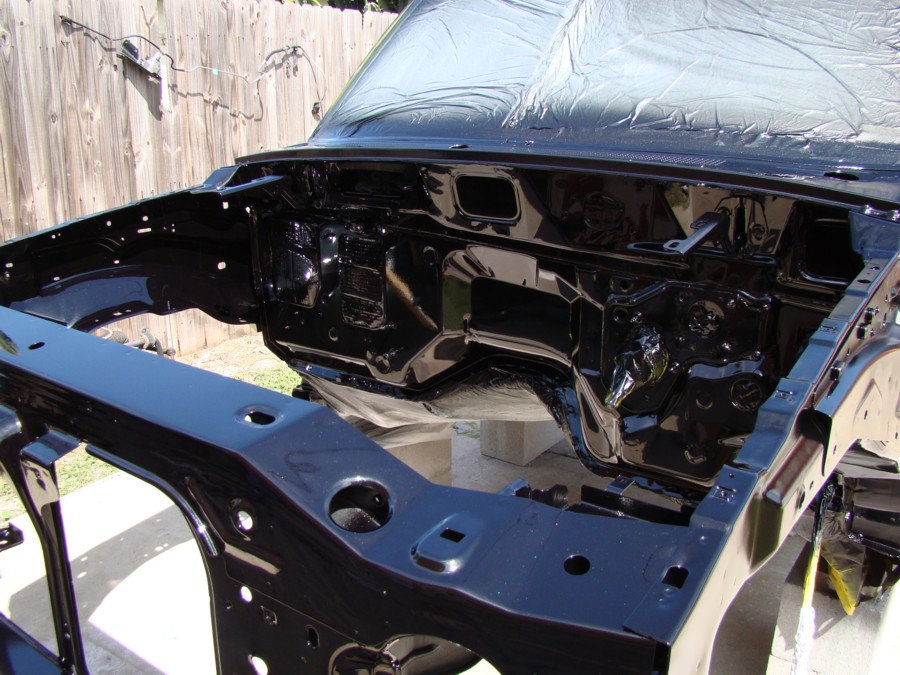
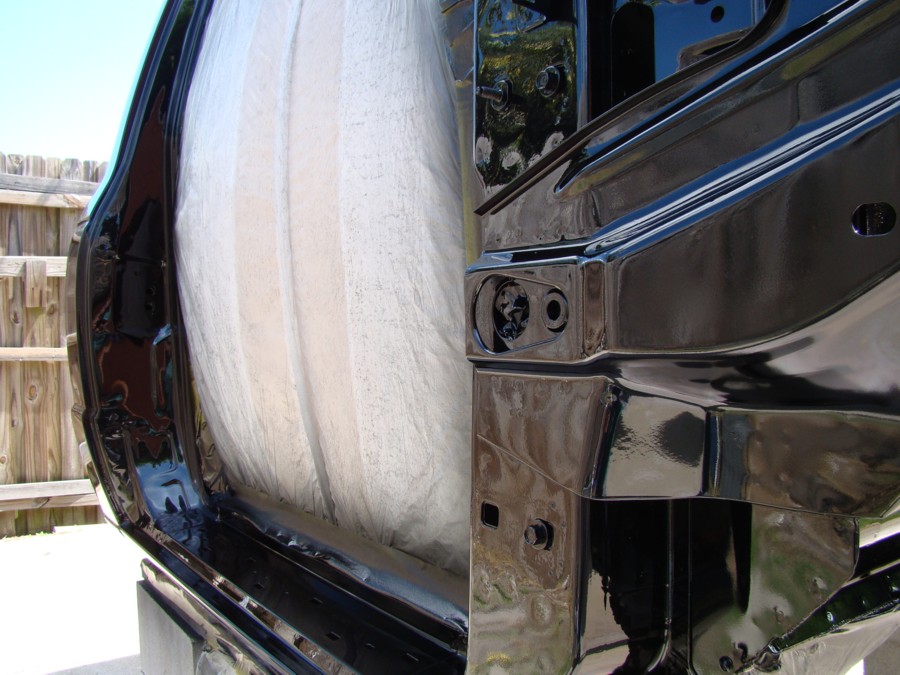
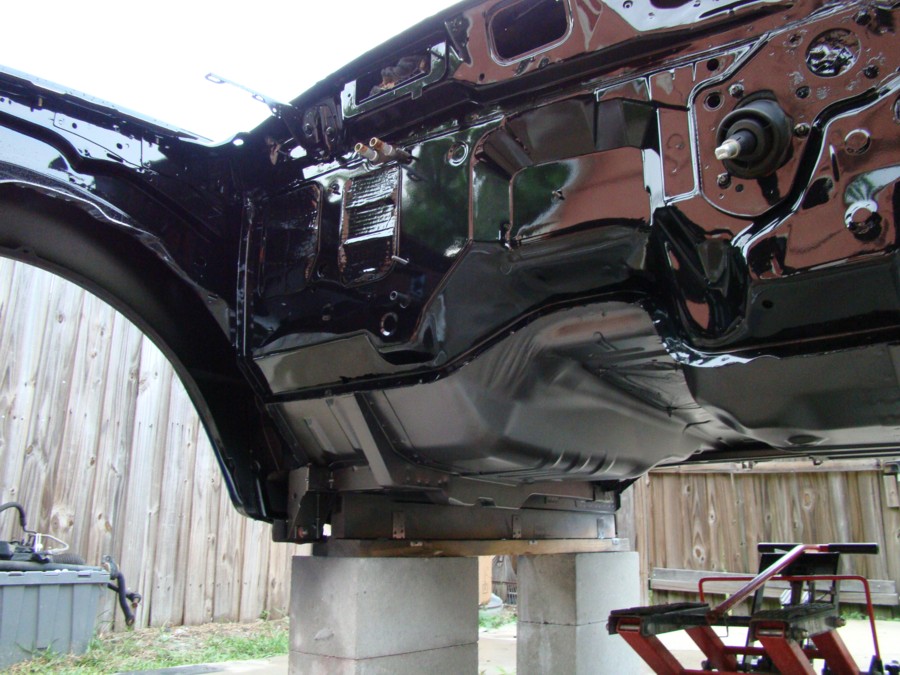
The engine compartment was prepared much in the same manner. First washed and then dried with a clean towel. Then the area was scratched with a scotchbrite pad and lightly wet sanded with 400 grit paper inside and outside.
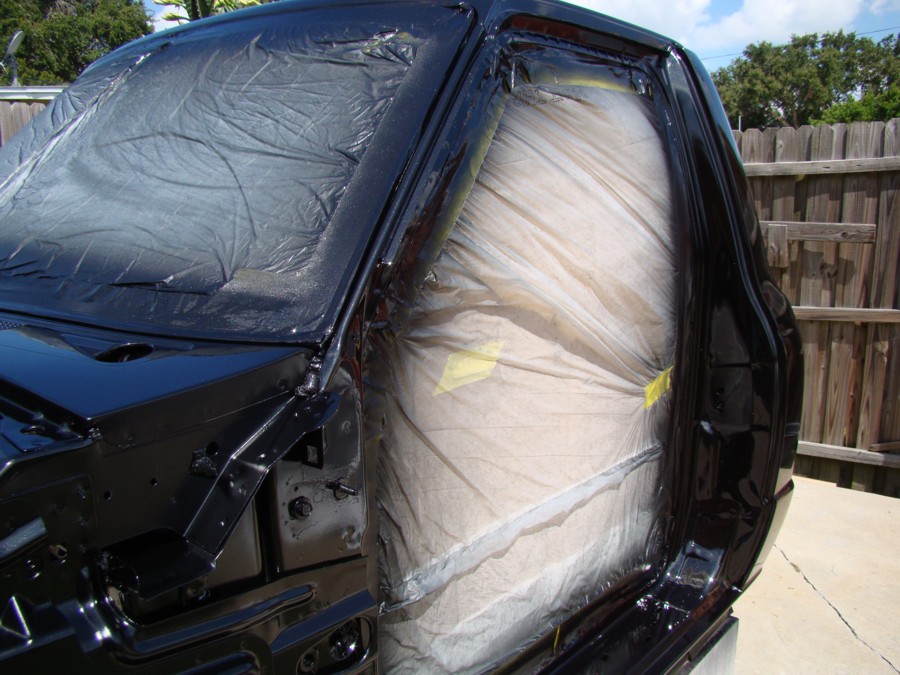
The door jambs have all been washed and then dried with a clean towel and wet sanded by hand with 400 grit paper. Everything has been removed including the door strikers and weather stripping. The door openings and rear window opening were all masked from the inside of the pinch weld. The entire cab will receive a basecoat/clearcoat finish.

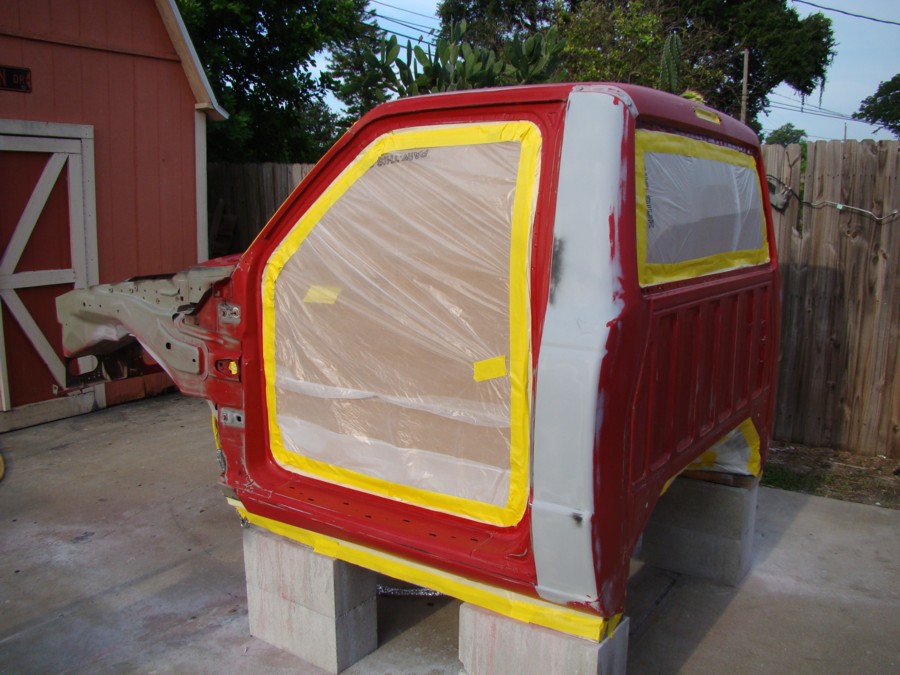
It is now 7:15 am on Sunday morning. Everyone near by is still asleep in their bed, the air is still and the paint gun is loaded. The next four hours belong to me.
.
#22
01-30-2017, 02:50 PM
Join Date: Jan 2017
Posts: 157
Likes: 0
Received 0 Likes
on
0 Posts


#23
01-30-2017, 02:52 PM
Join Date: Jan 2017
Posts: 157
Likes: 0
Received 0 Likes
on
0 Posts
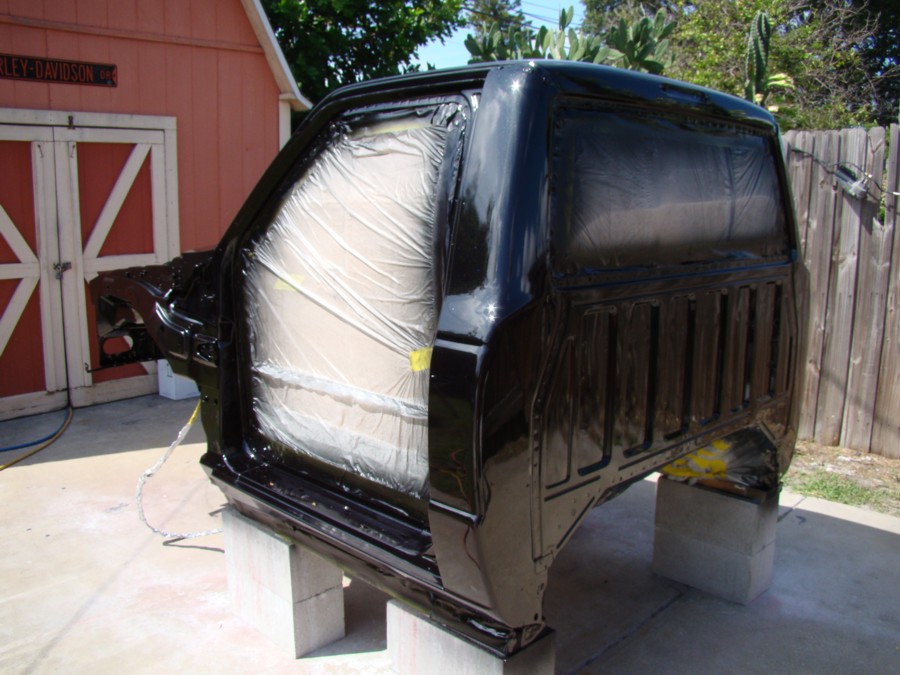
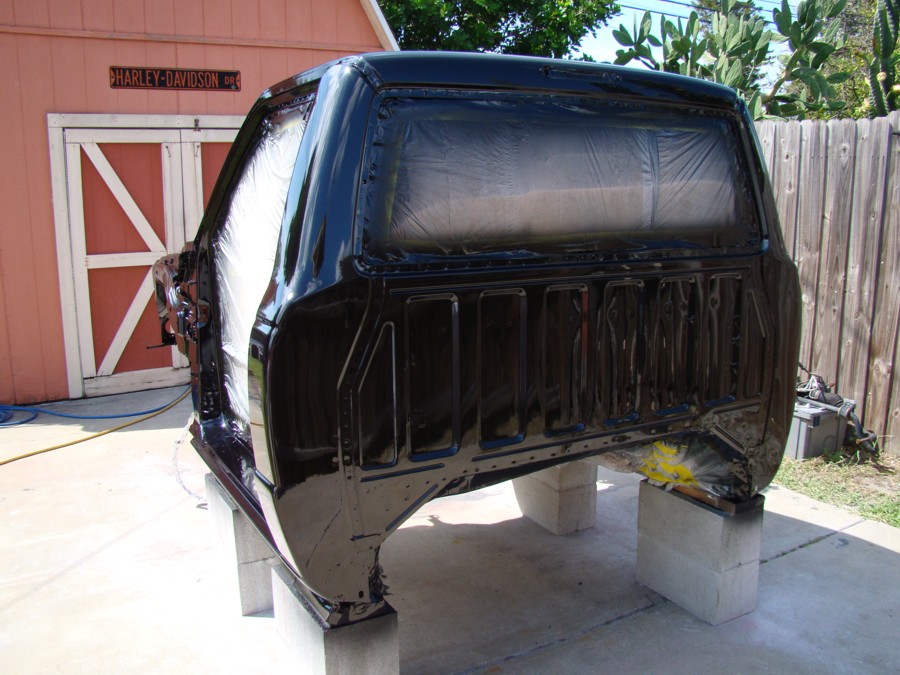
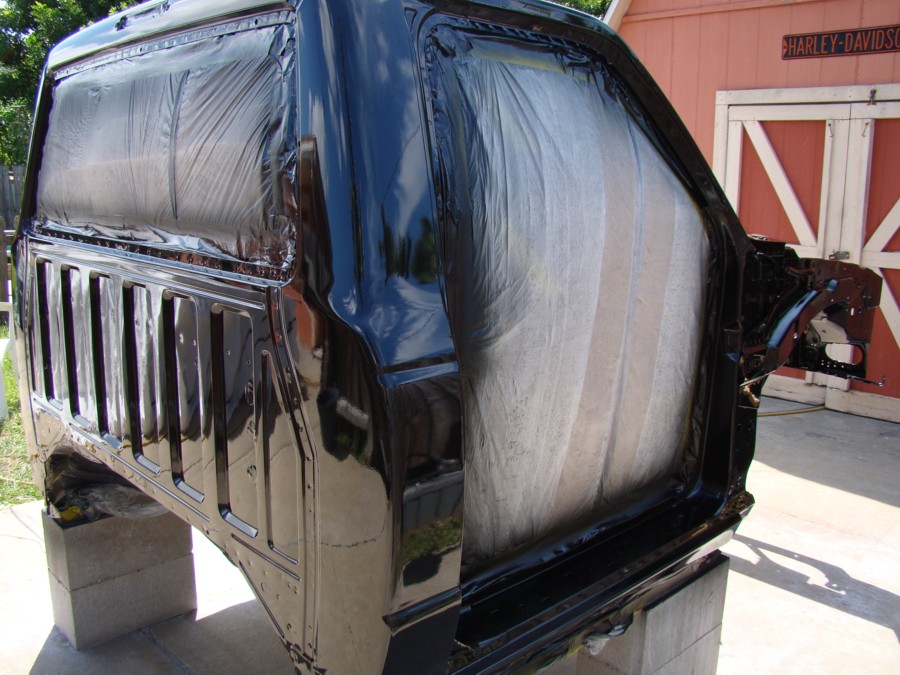
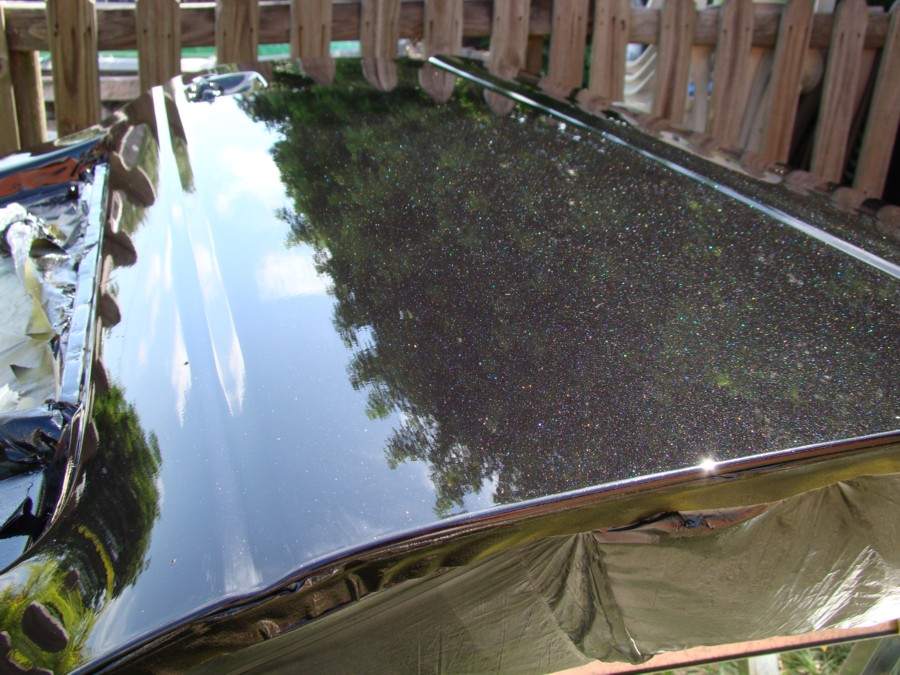
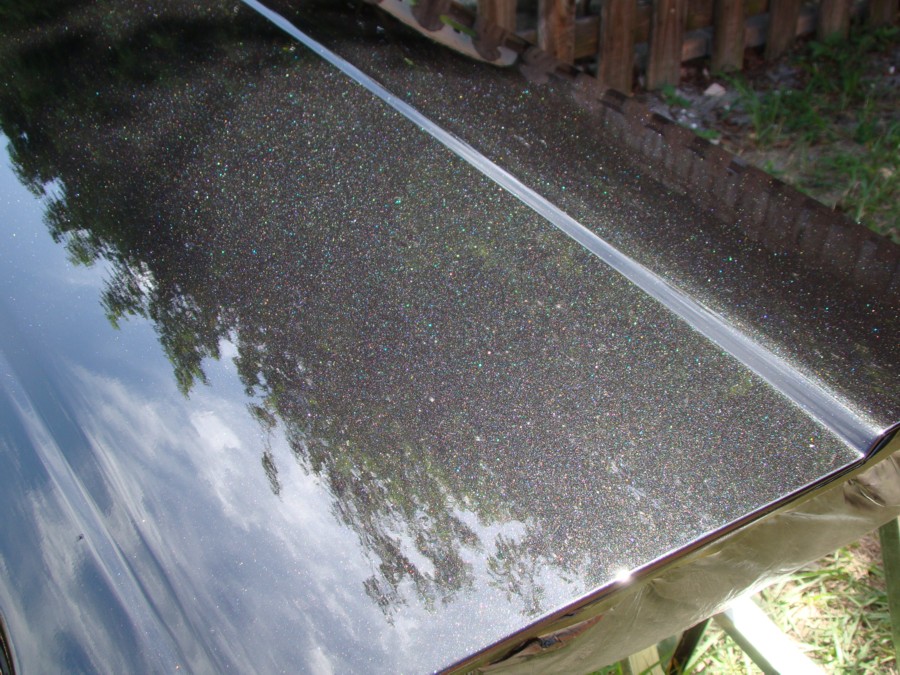
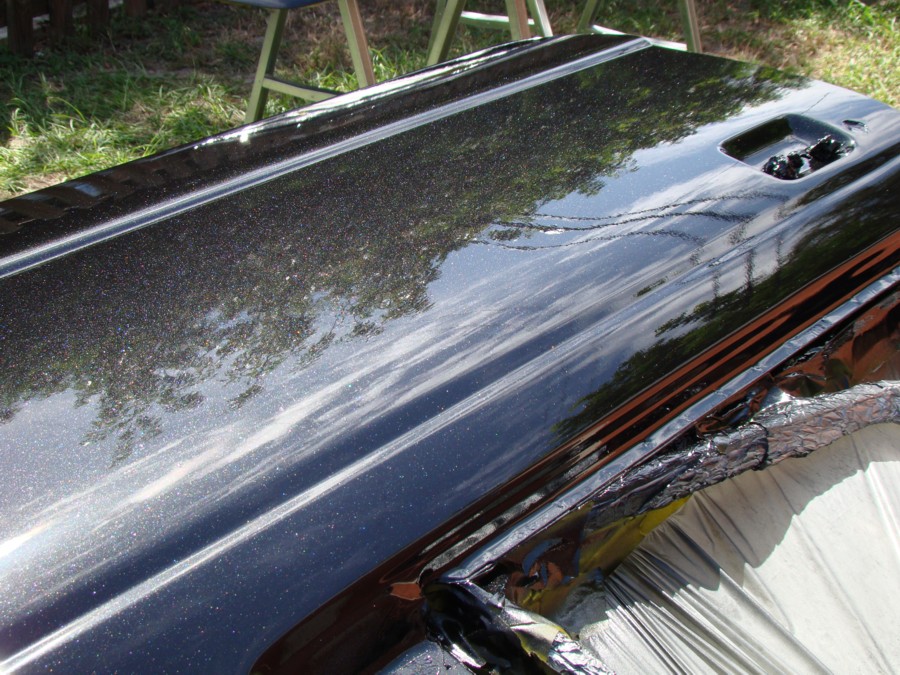
The entire cab and doors have been top-coated with (3) coats of Shop-line JC 630 Urethane Clearcoat. The clear is only minutes out of the gun at this point. It has not completely flowed out yet and should continue to move slightly over the next few hours as I used the ultra slow catalyst.


#24
01-30-2017, 02:53 PM
Join Date: Jan 2017
Posts: 157
Likes: 0
Received 0 Likes
on
0 Posts


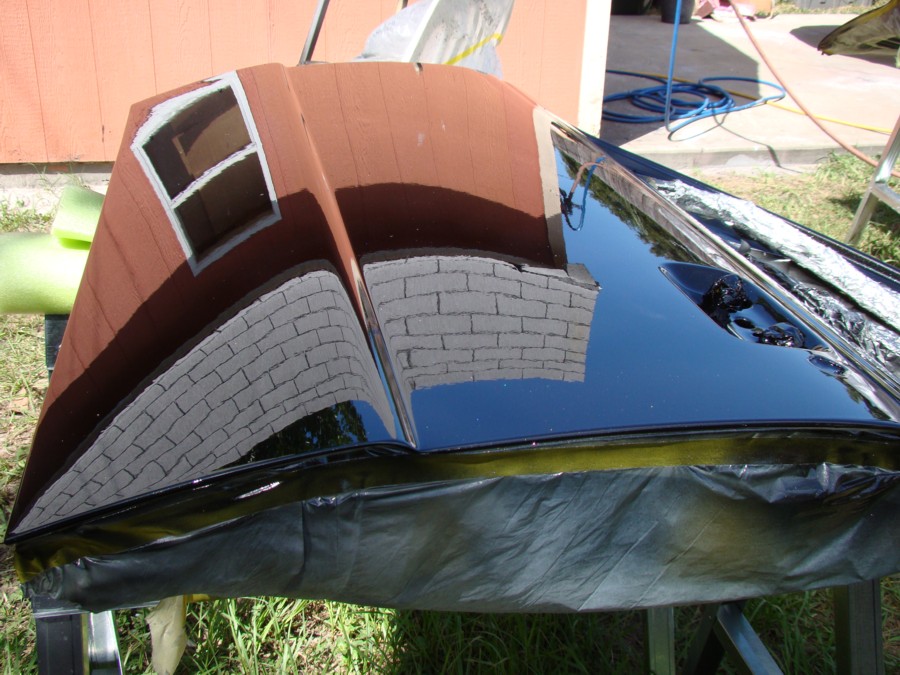
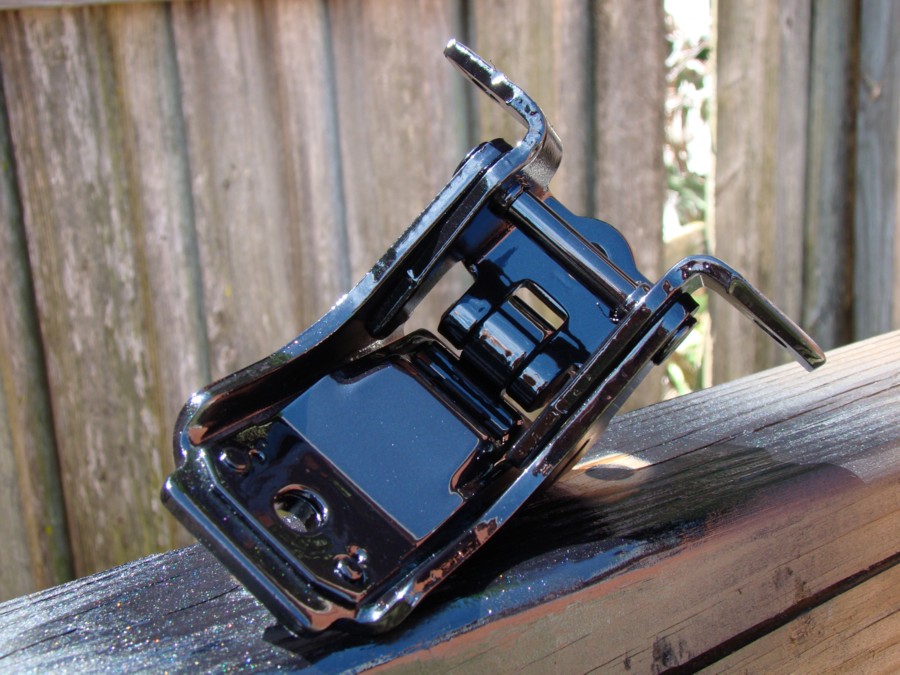
One latch fastener on each door was sacrificed to hold the latch in alignment. Once the other two fasteners are returned to there original position the one that was sprayed will be replaced with a new piece. The latch could have been removed completely but you need to have a stopping point somewhere. I felt leaving it in place was safe and would create less problems when trying to align the door. The exposed portion of the latch was swabbed with Vaseline prior to spraying paint. Then the Vaseline was wiped clean after the paint had dried.


#25
01-30-2017, 02:55 PM
Join Date: Jan 2017
Posts: 157
Likes: 0
Received 0 Likes
on
0 Posts
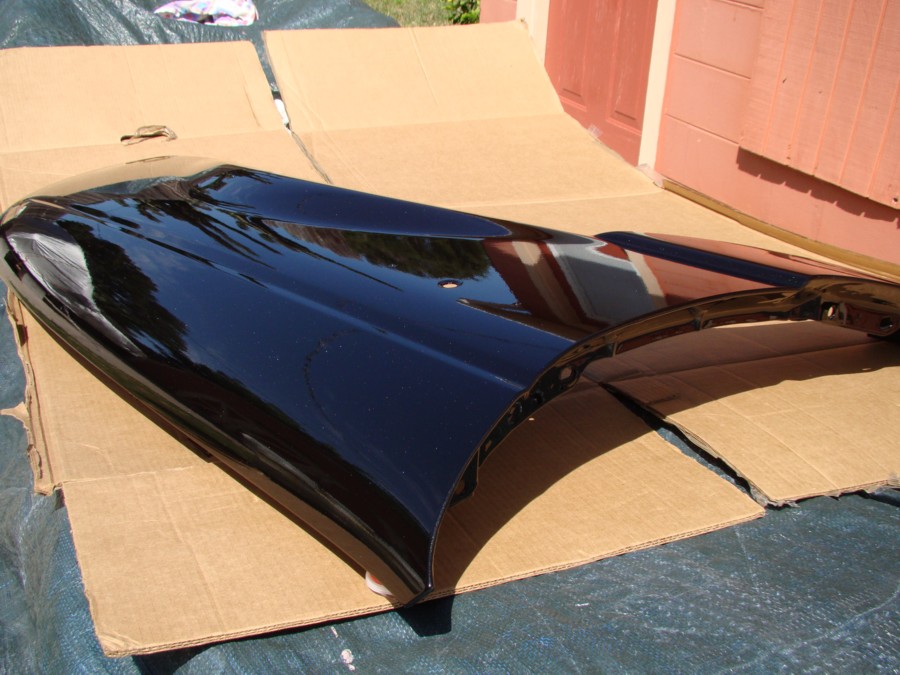
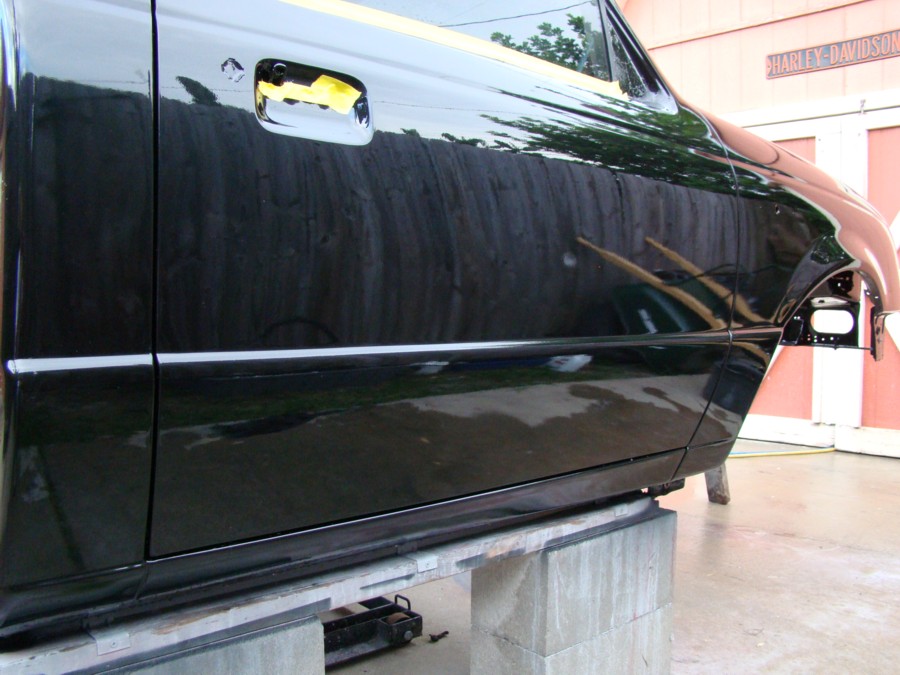
Early this morning I sprayed the outside of both doors and fenders. Even though the inside of the fenders are not visible when installed I did decide to spray that section Dark Shadow Grey to match the floor pan. Now they just need to dry for two days and I can go ahead and hang them back on the cab. I can’t wait to get the cab weather tight. After the doors are hung the solid rear window will go in next weekend. Just a quick color sand and buff around the window opening and I will be good to go.
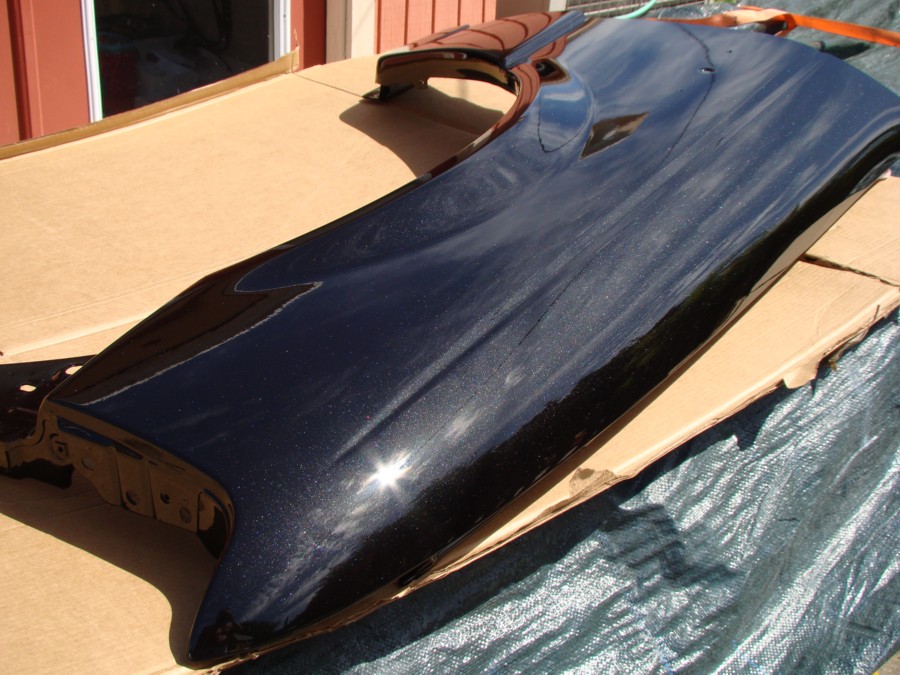
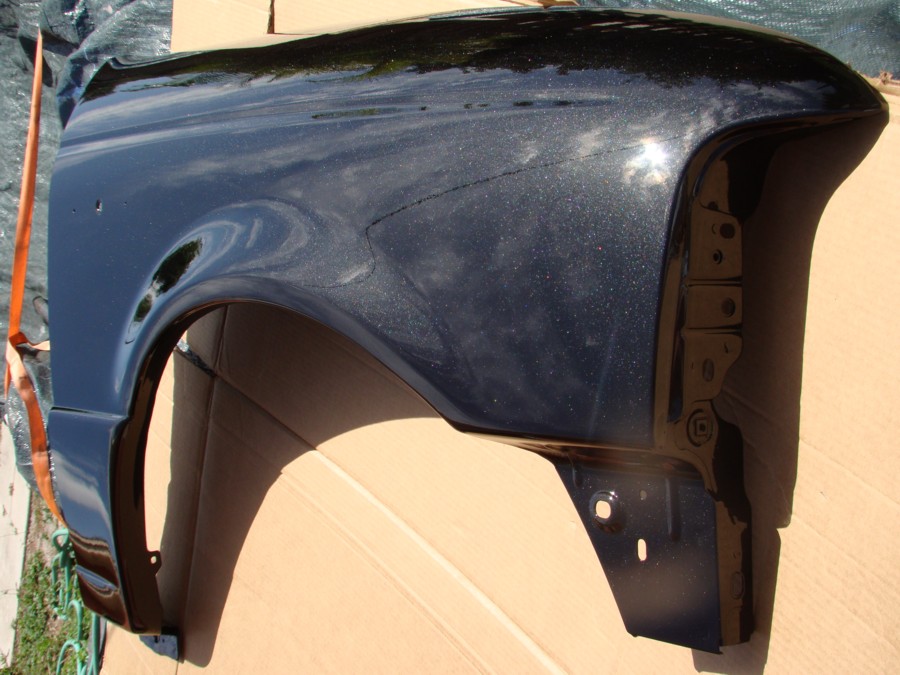
I paid special attention to the jamb along the hood opening and the door opening of the fender. The outside of the fender will be color sanded and polished but the jambs will be left with what ever comes out of the gun. I wanted to make sure these areas went down wet so there would be plenty of gloss and a very slick finish when the job is done. That way the towel will slide freely for years to come when I dry the jambs after washing the truck each week. : )


I paid special attention to the jamb along the hood opening and the door opening of the fender. The outside of the fender will be color sanded and polished but the jambs will be left with what ever comes out of the gun. I wanted to make sure these areas went down wet so there would be plenty of gloss and a very slick finish when the job is done. That way the towel will slide freely for years to come when I dry the jambs after washing the truck each week. : )


#26
01-30-2017, 02:58 PM
Join Date: Jan 2017
Posts: 157
Likes: 0
Received 0 Likes
on
0 Posts
I managed to get the sheet metal hung today and aligned. I also got the windows rolled up and the doors “sealed” so no rain should get inside the cab. I am still working between the rain drops trying to get a little done each day as I am able.
The motorcycle jack and the removable guide pins in the door hinges really helps make the removing/installing of the doors a one man project. Keep your fingers crossed! So far no nicks or scratches.
The motorcycle jack and the removable guide pins in the door hinges really helps make the removing/installing of the doors a one man project. Keep your fingers crossed! So far no nicks or scratches.


#27
01-31-2017, 05:58 PM
Join Date: Jan 2017
Posts: 157
Likes: 0
Received 0 Likes
on
0 Posts
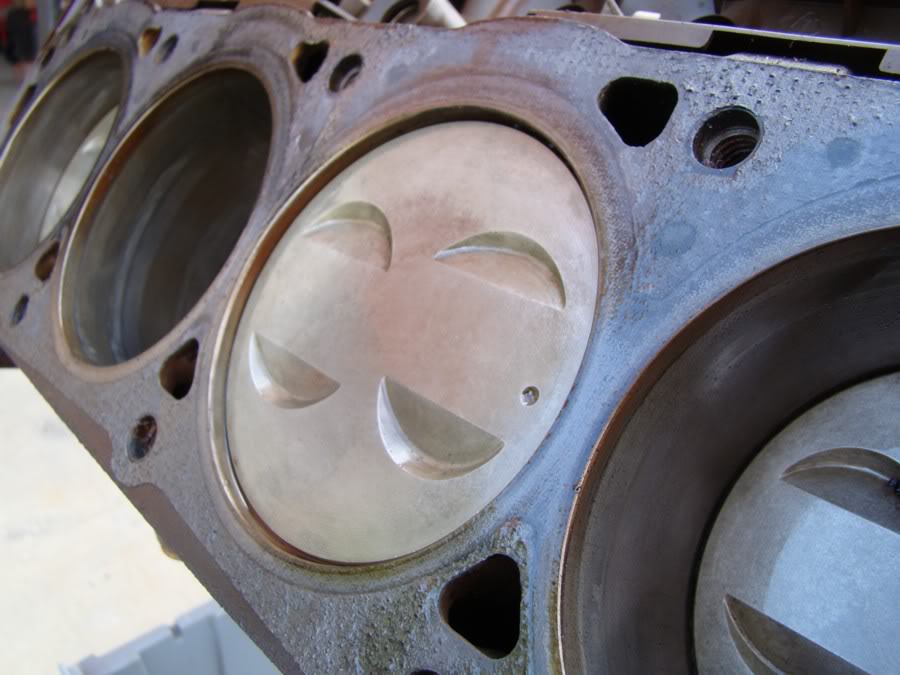
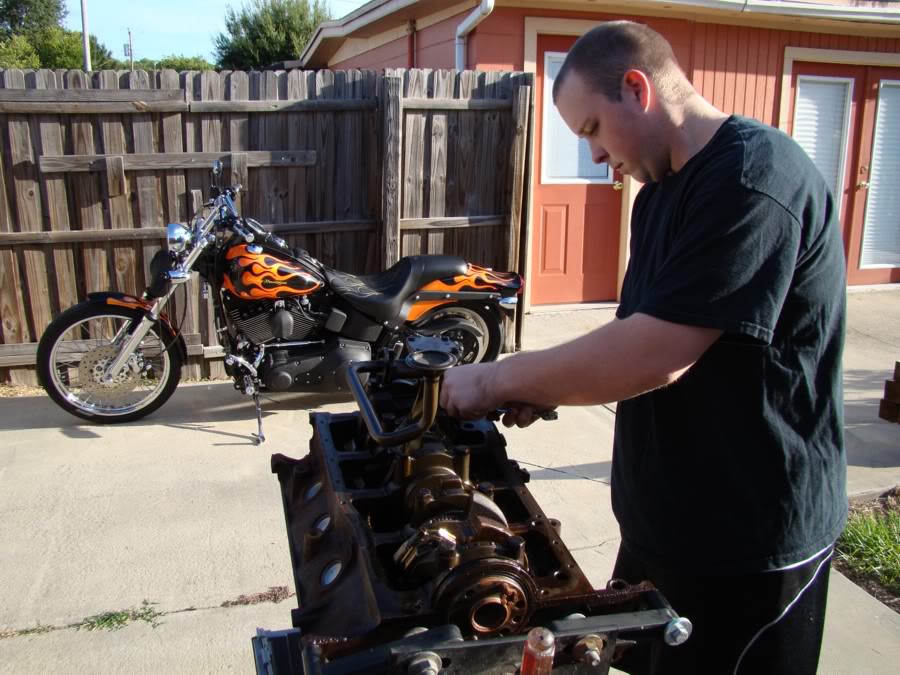
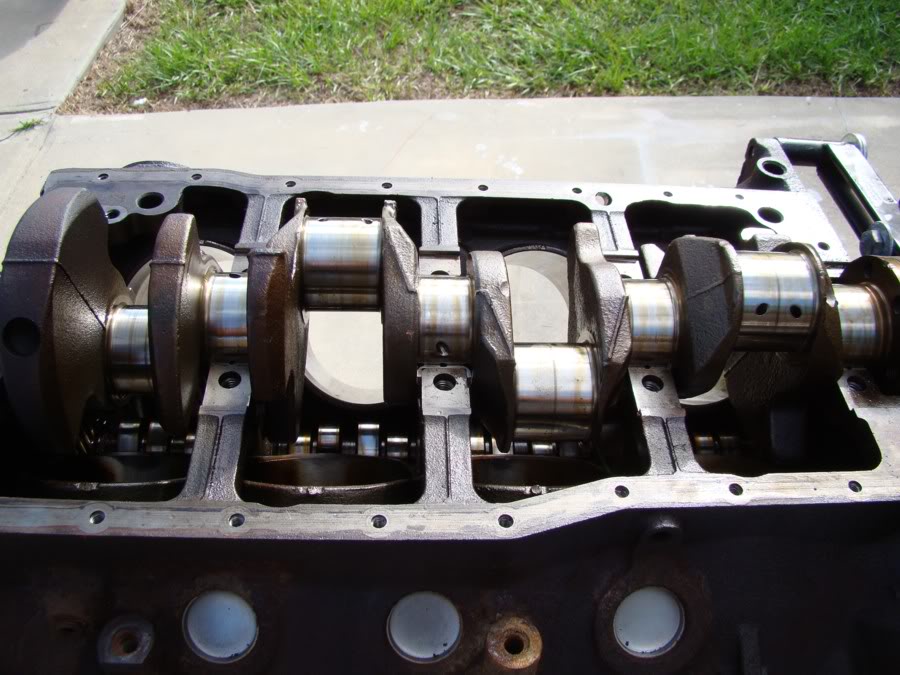
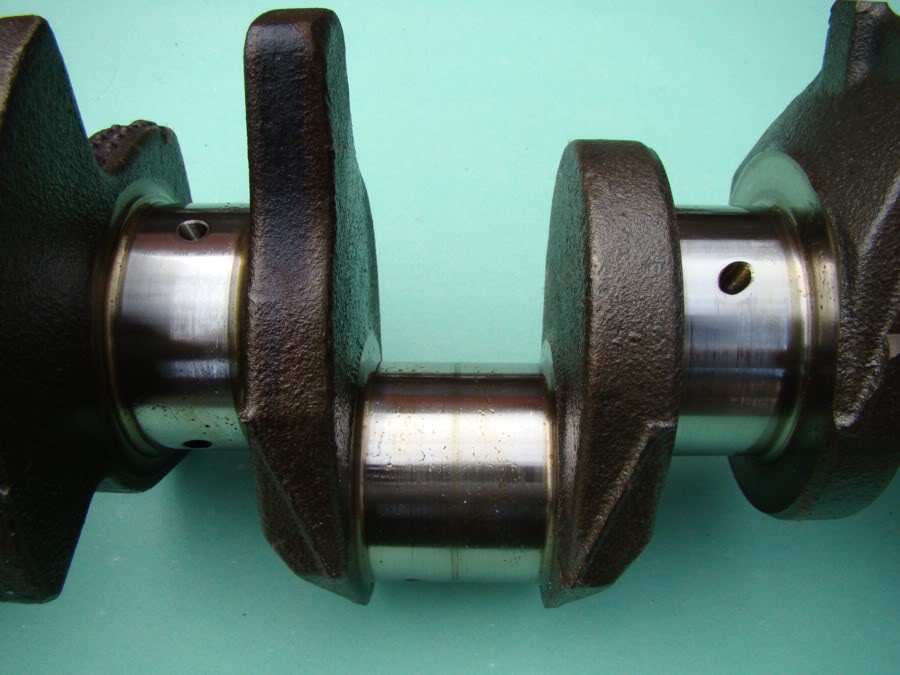
This weekend my son was visiting home from Gainesville and the two of us disassembled the Explorer short block preparing it to be dropped at the machine shop for inspection. If everything checks out it will probably end up being the foundation for the 99 Ranger. This 100,000 mile engine is very clean inside and the pistons wiped clear with brake cleaner, a shop cloth, and very minimal effort.

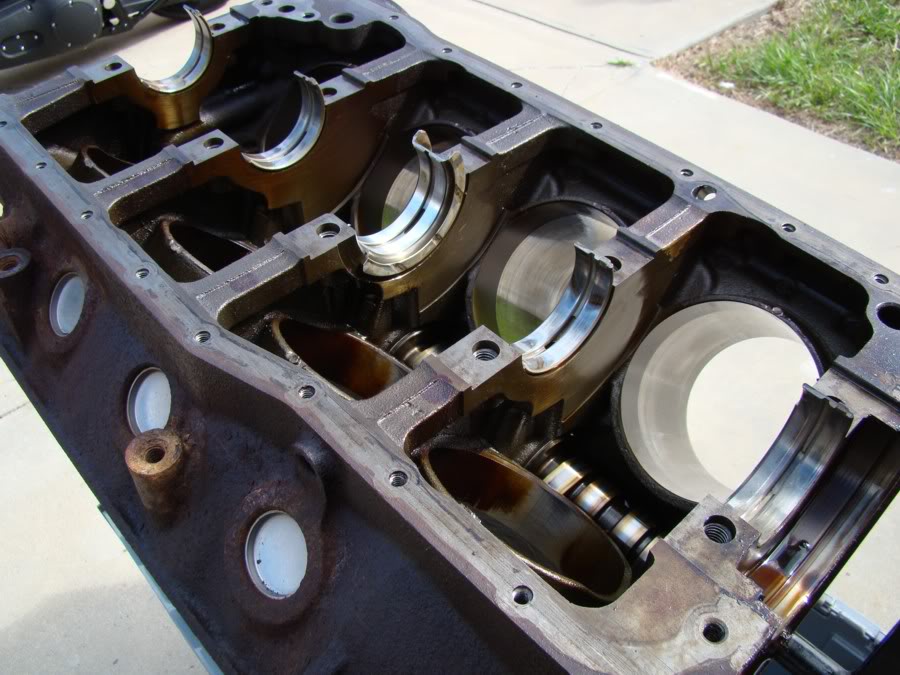


Today I went ahead and tapped the oil galley holes. It was the last thing on the list before the block goes out for machine work. I started with a 1/4 NPT-18 tapered tap and cut all three holes under the timing cover. Now I can skip the press in plugs and go with a more secure alternative.
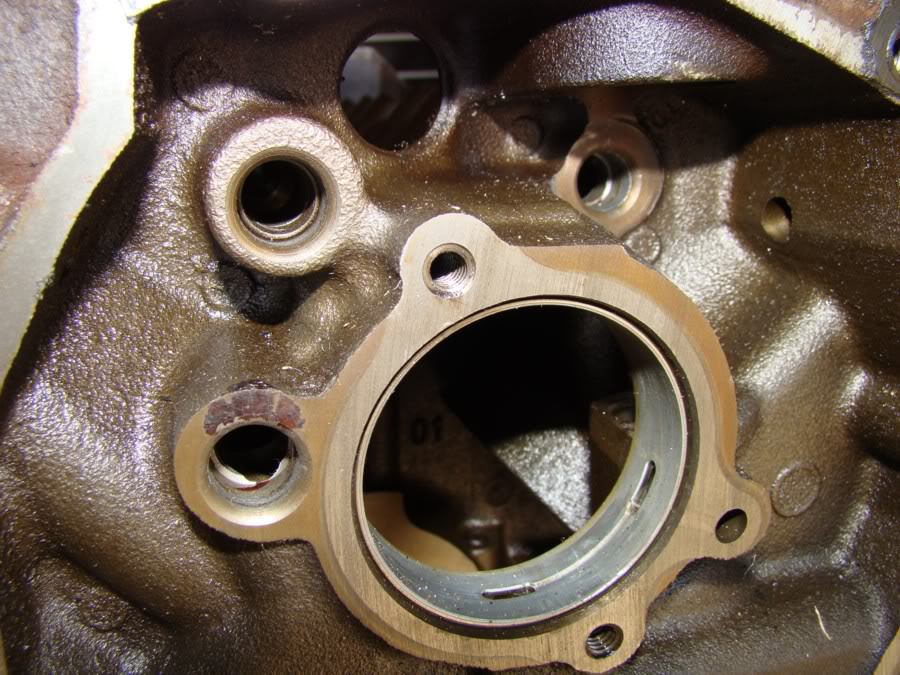
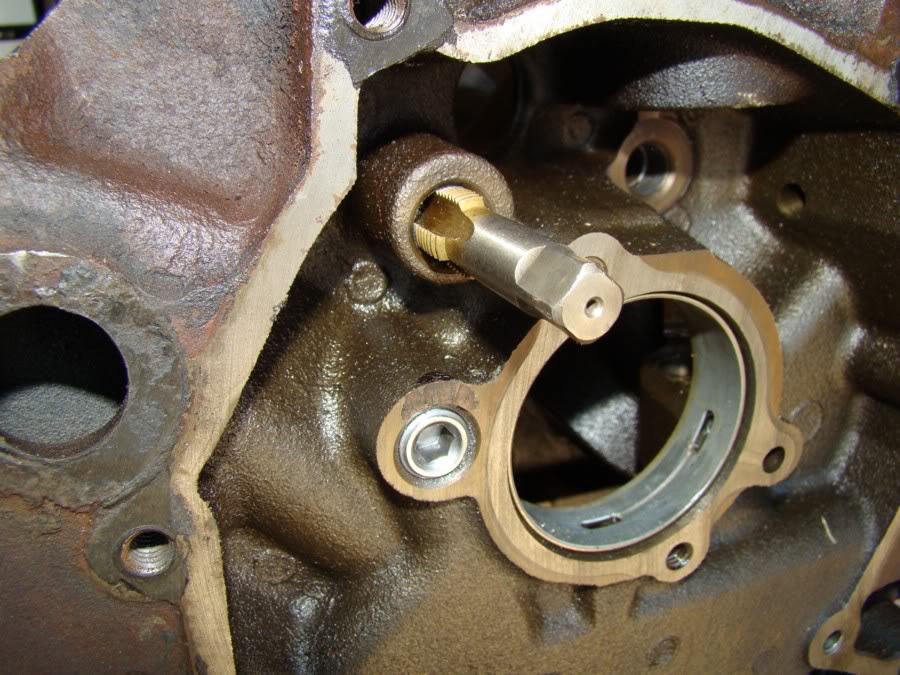

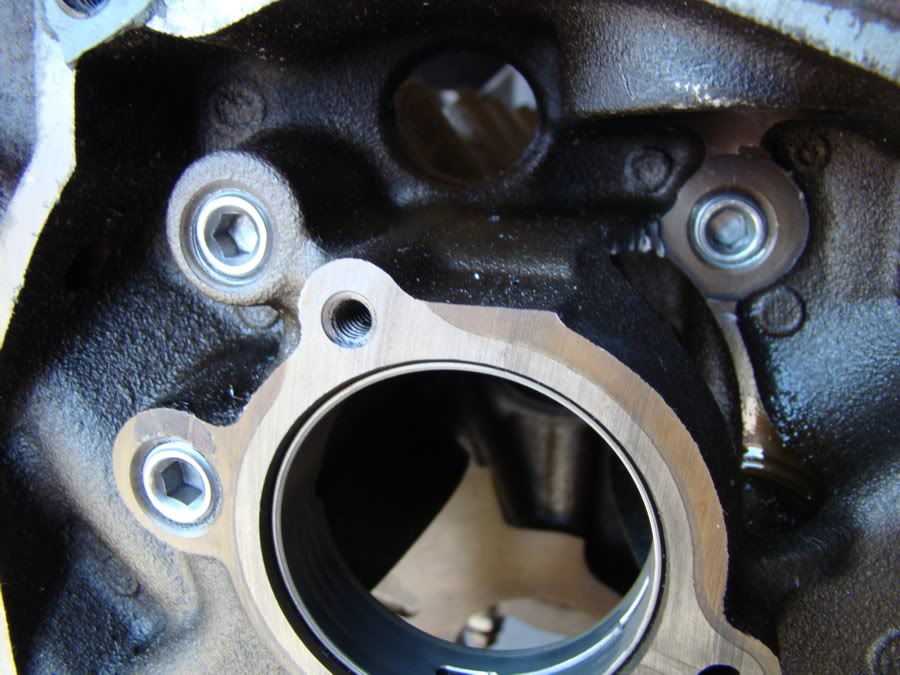
I then test fit the NPT tapered pipe plugs to make sure they mounted flush to the block. Once comfortable with the fit I removed them and stored them away until the block is ready for assembly.
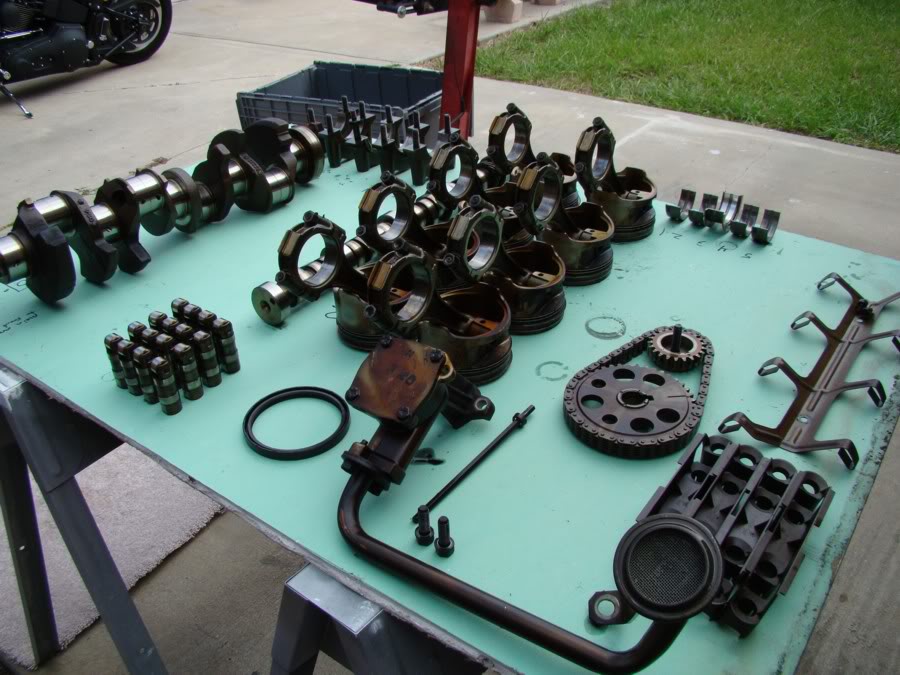
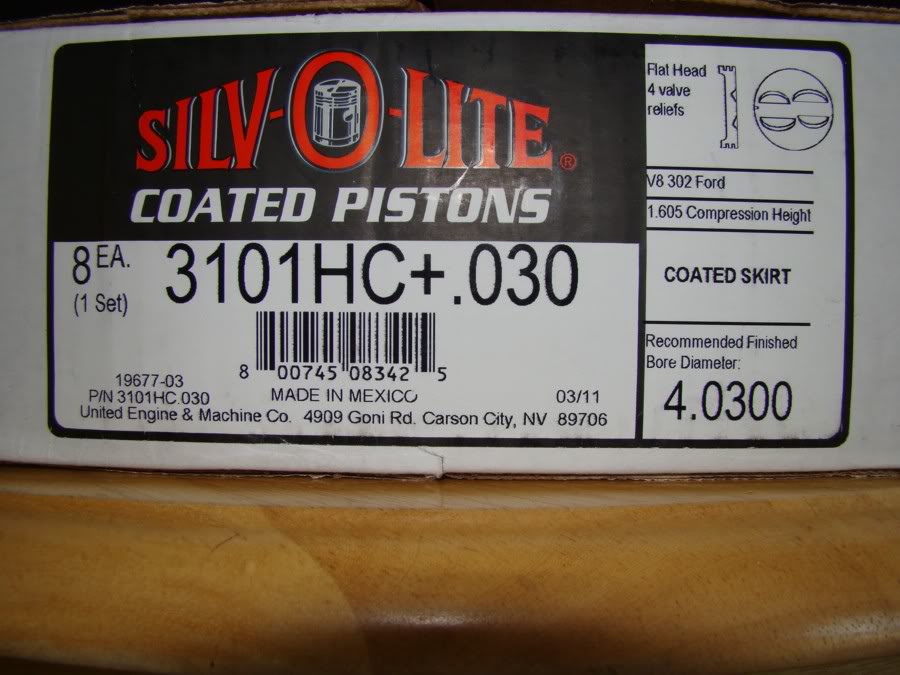
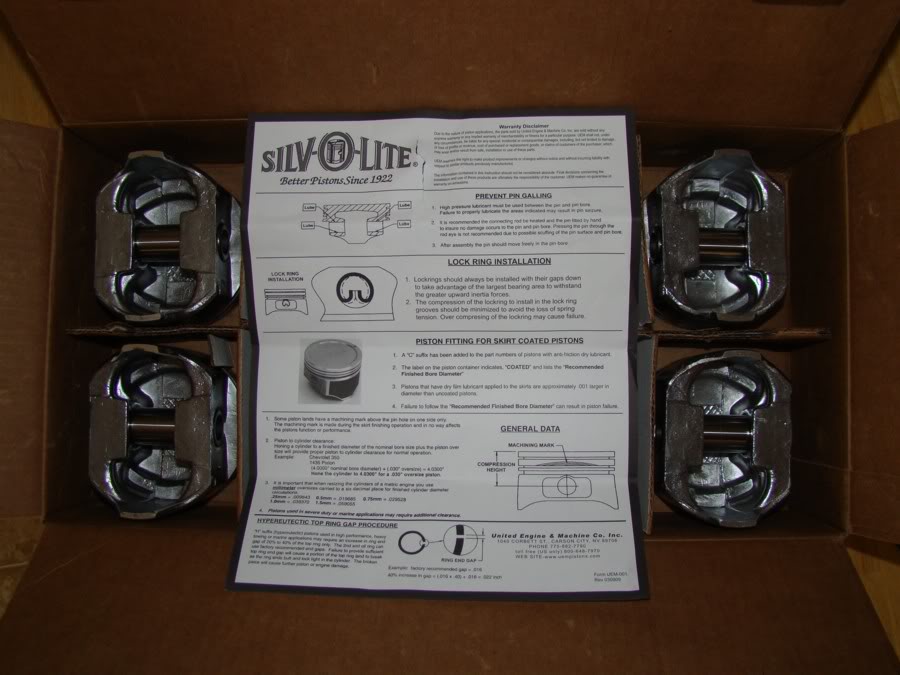
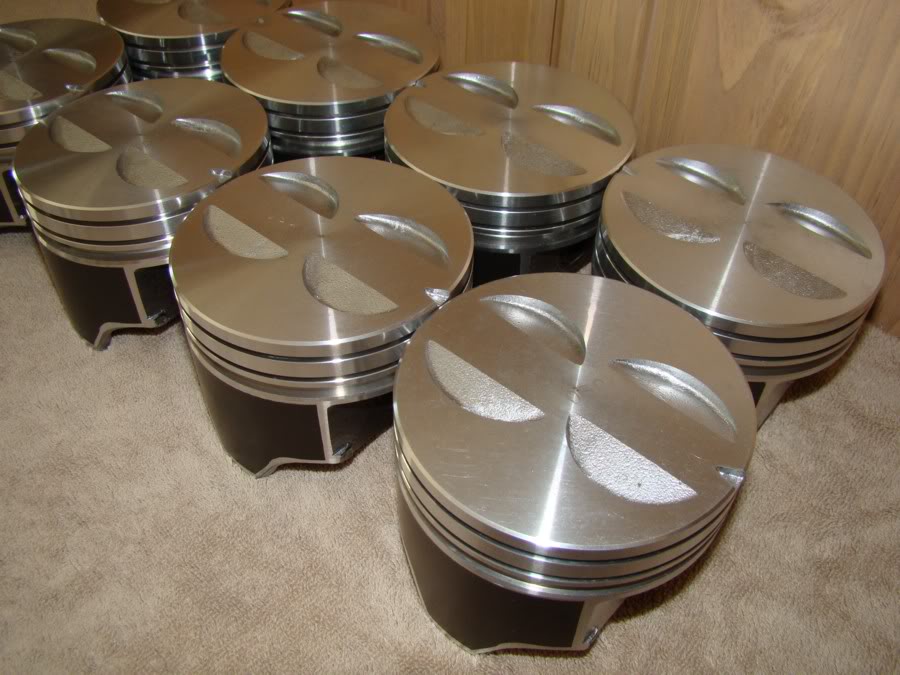
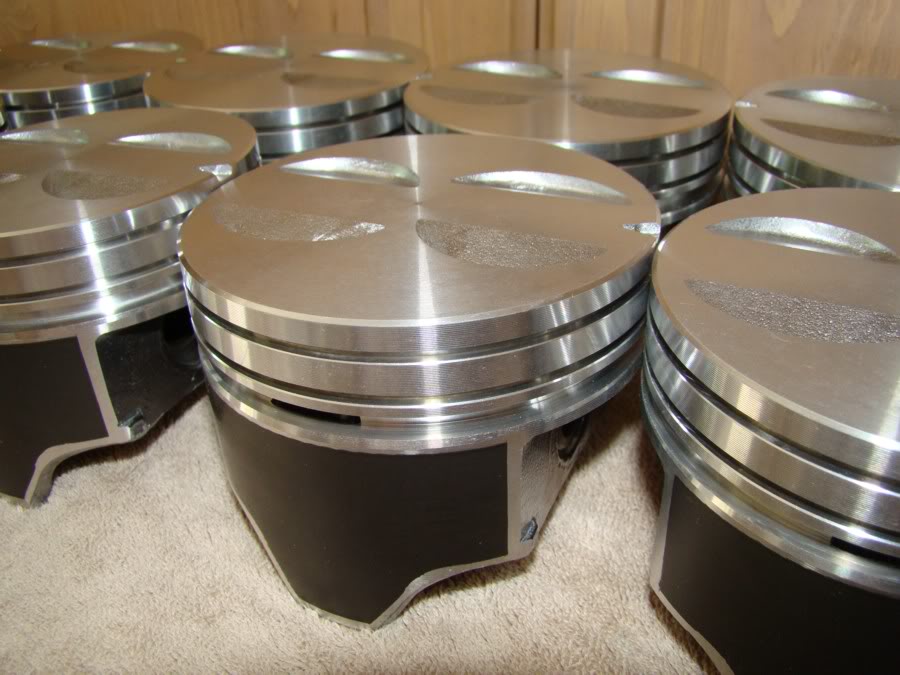
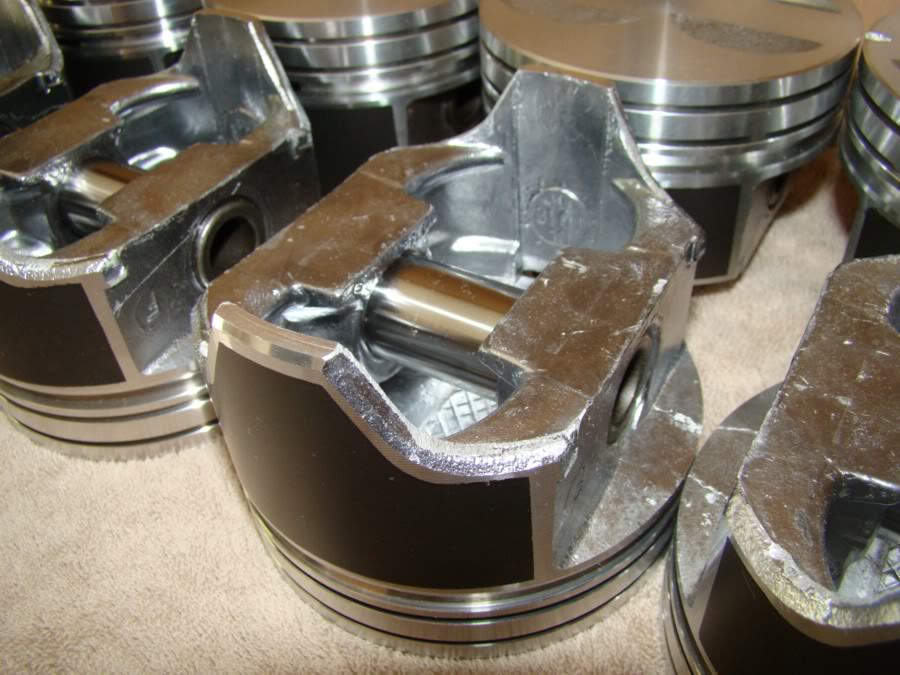
While I was outside working on the block Fed Ex showed up with my Silvolite Pistons. I have been waiting for these for a long time. They have been "out of stock" at most suppliers for a while now.
Today I went ahead and tapped the oil galley holes. It was the last thing on the list before the block goes out for machine work. I started with a 1/4 NPT-18 tapered tap and cut all three holes under the timing cover. Now I can skip the press in plugs and go with a more secure alternative.
I then test fit the NPT tapered pipe plugs to make sure they mounted flush to the block. Once comfortable with the fit I removed them and stored them away until the block is ready for assembly.
While I was outside working on the block Fed Ex showed up with my Silvolite Pistons. I have been waiting for these for a long time. They have been "out of stock" at most suppliers for a while now.
#28
01-31-2017, 05:58 PM
Join Date: Jan 2017
Posts: 157
Likes: 0
Received 0 Likes
on
0 Posts
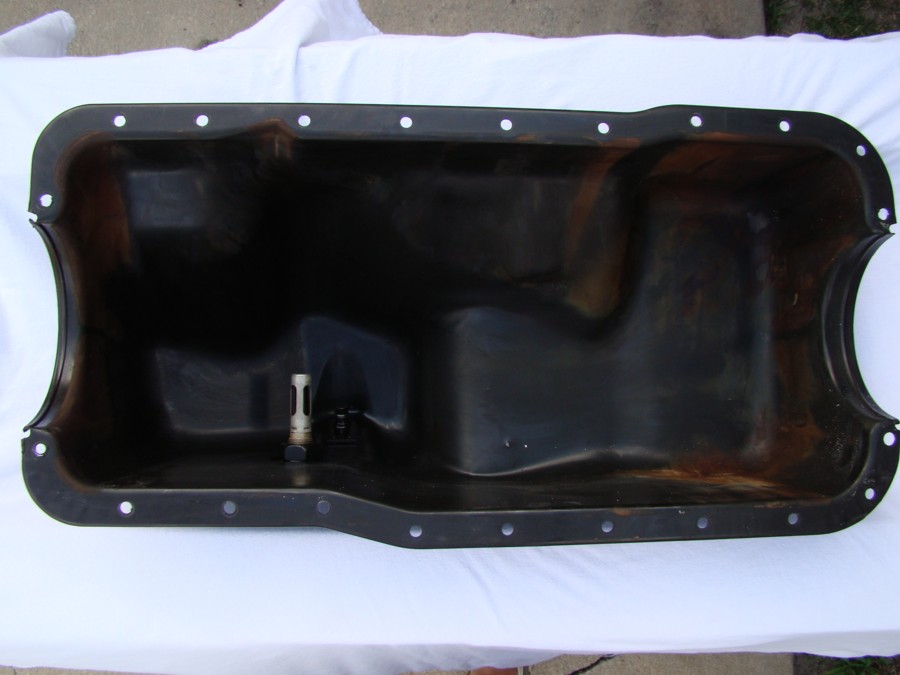
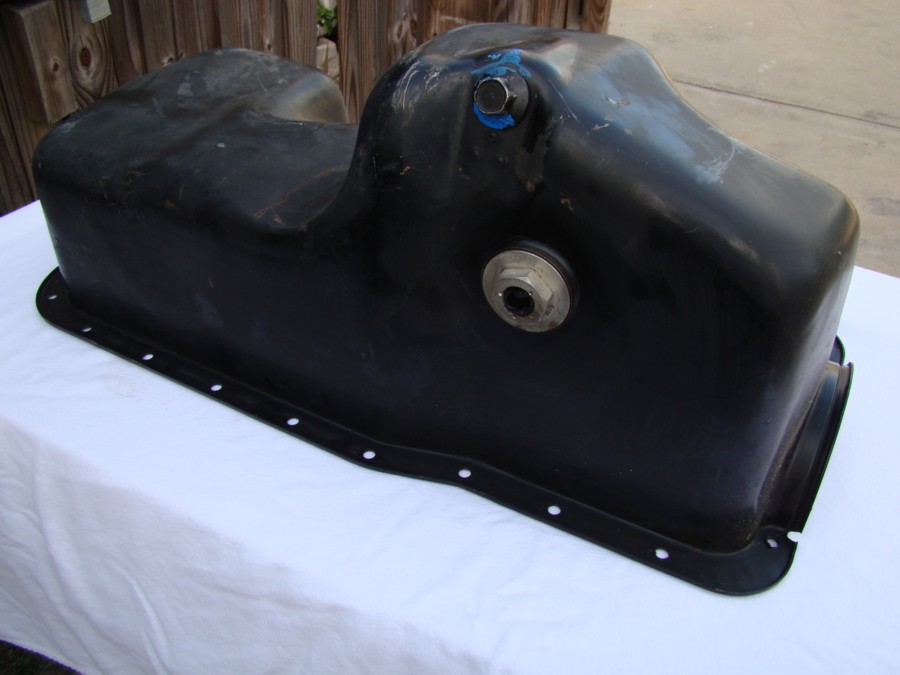
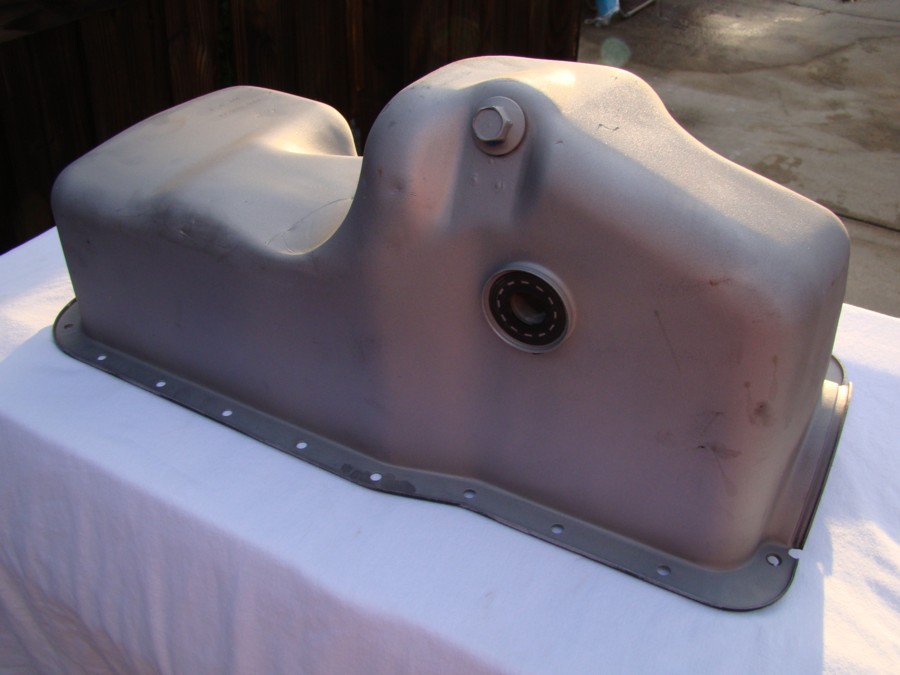
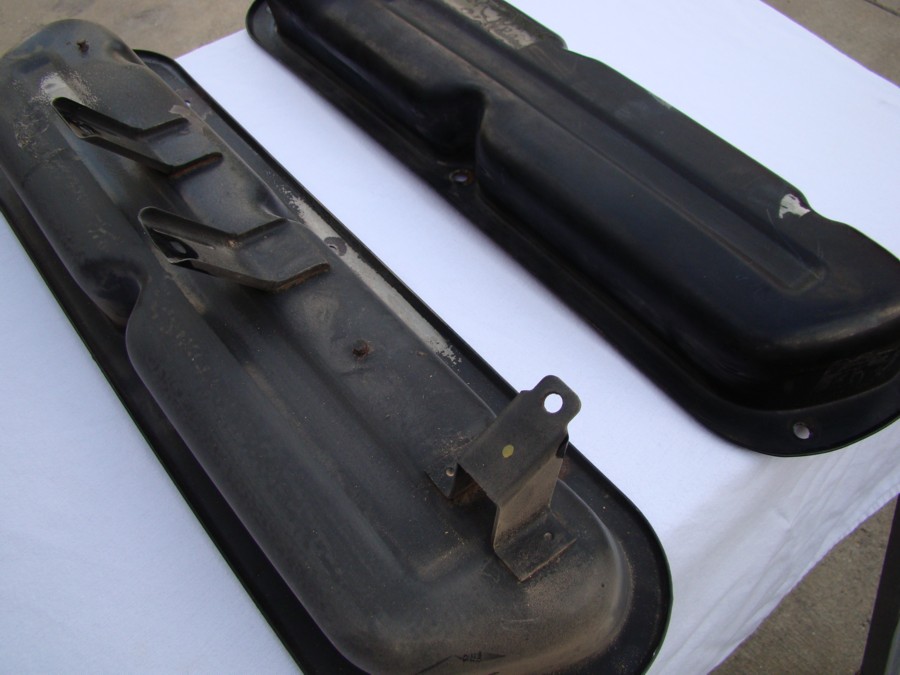
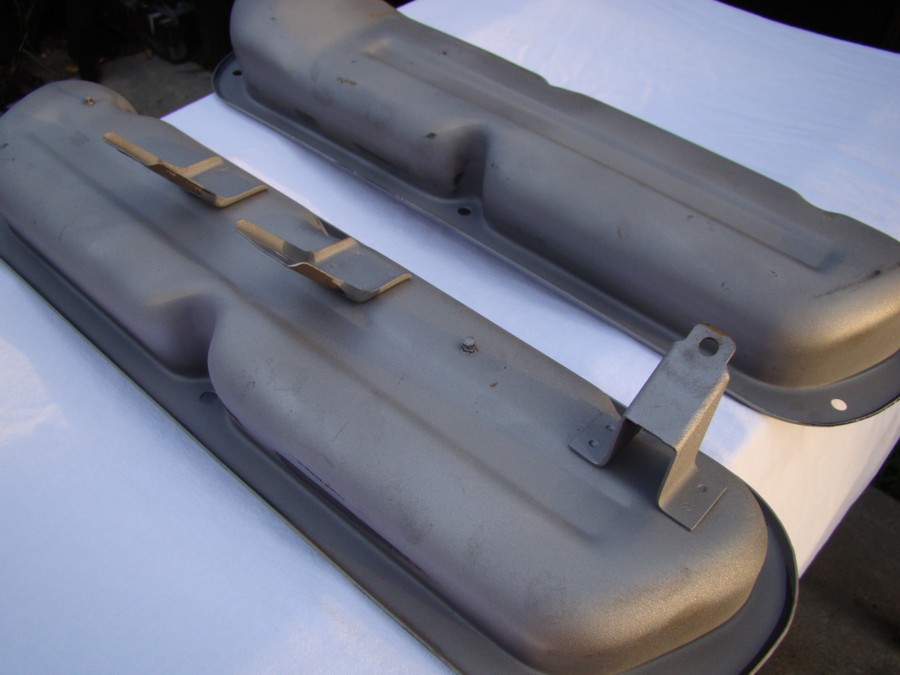
In between a busy work schedule this week I had a little time to media blast the oil pan and valve covers. With a little luck I will get a coat or two of primer and some color on them before the end of the week. I am still waiting for a break in the work schedule to get the block in for machining. I am just having trouble setting time aside during business hours to drop it off. My son will not be back from basic training until mid December or mid January. That is when we are planning to assemble the motor so I guess there is no real hurry on the machine work.
#29
01-31-2017, 05:59 PM
Join Date: Jan 2017
Posts: 157
Likes: 0
Received 0 Likes
on
0 Posts
#30
01-31-2017, 06:00 PM
Join Date: Jan 2017
Posts: 157
Likes: 0
Received 0 Likes
on
0 Posts
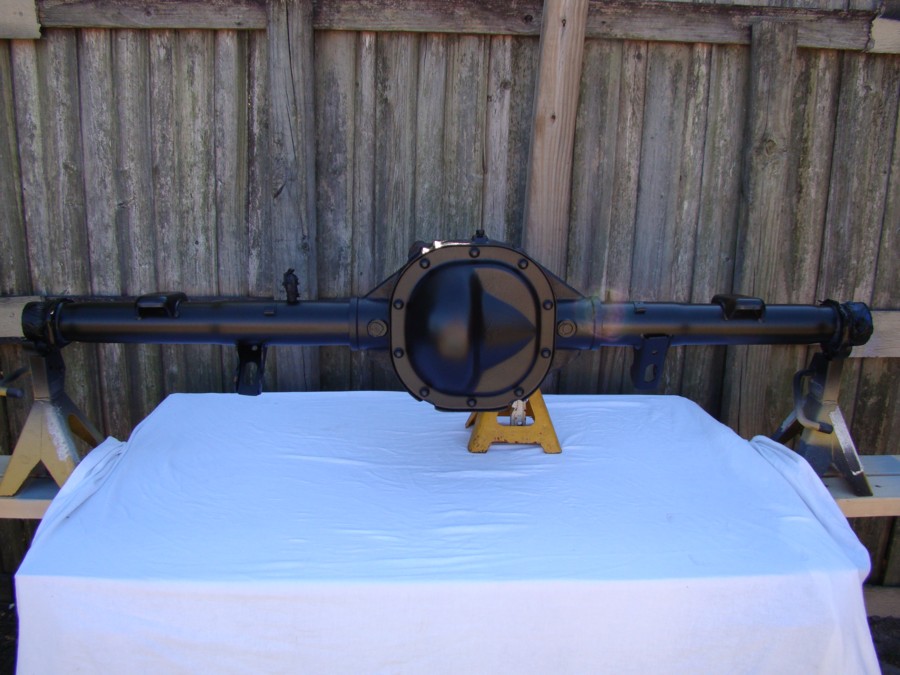
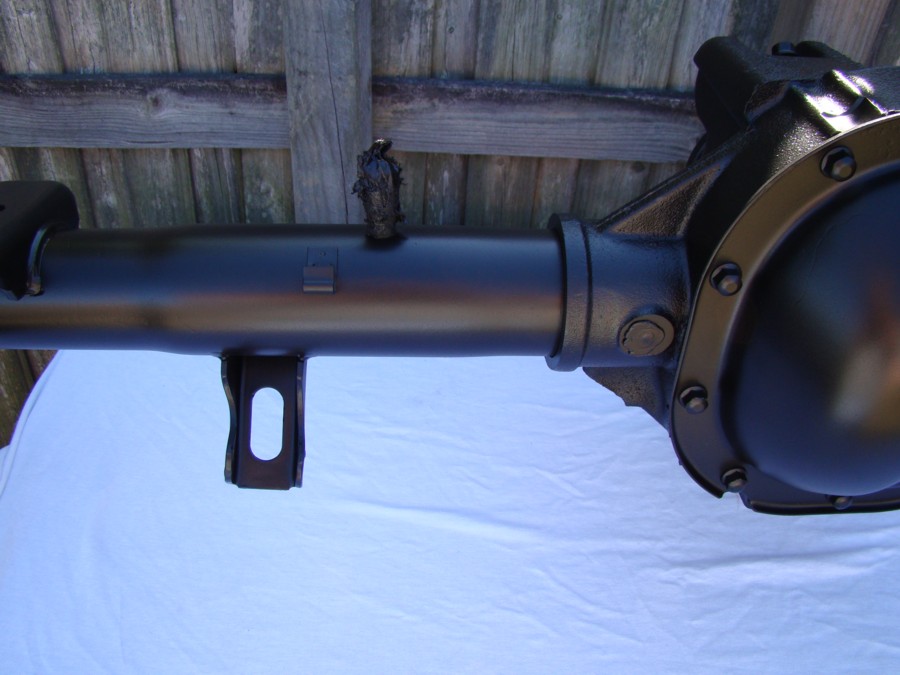
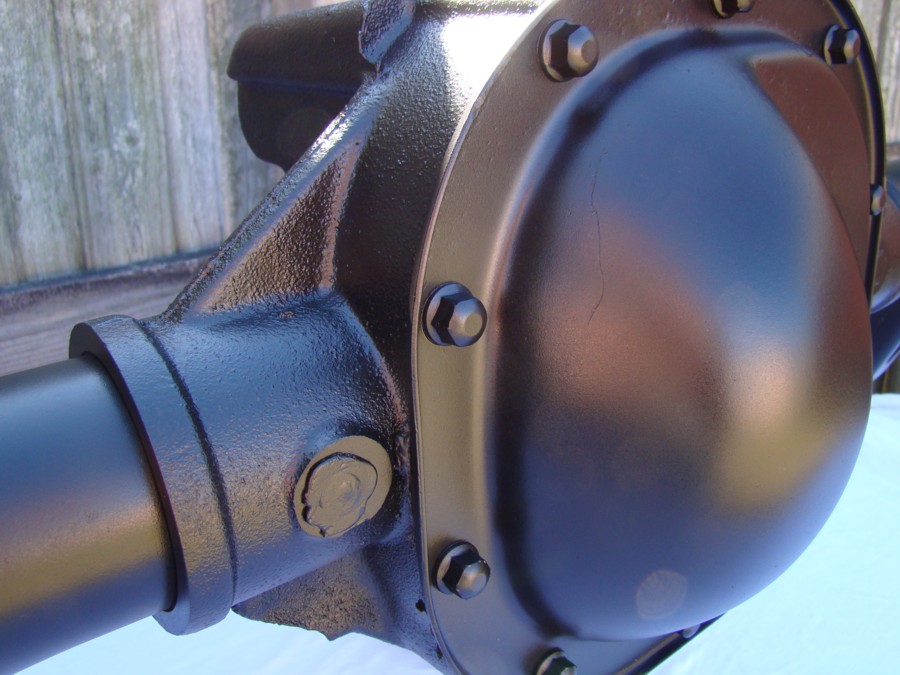
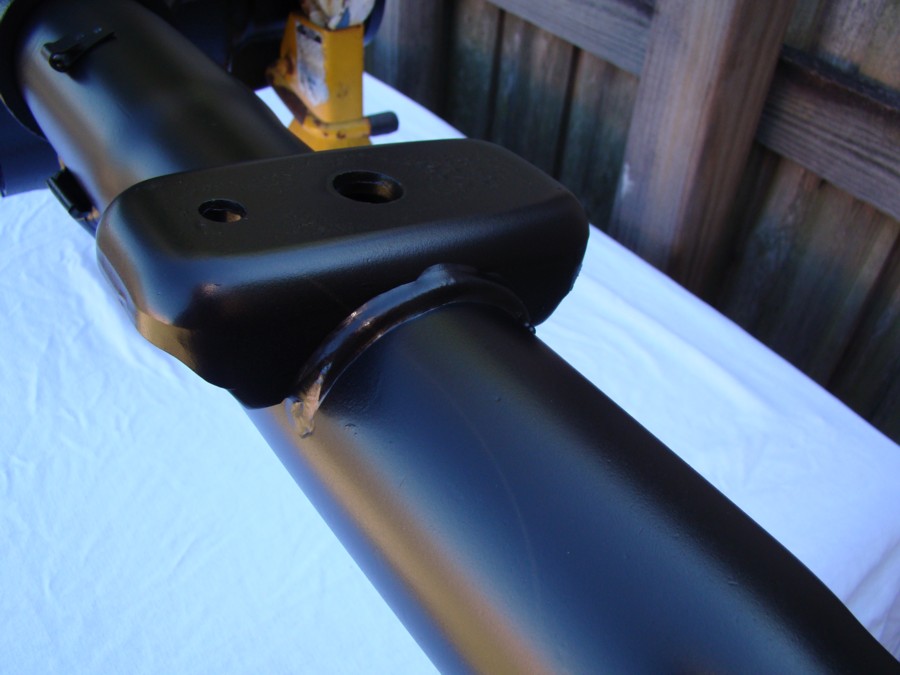
After a quick dry scratch with 320 grit the black base color went on. Now the housing will be shelved until it is ready to go out and have the axle tubes trued and welded. Once that has been completed it will be rebuilt and then touched up with a final coat of paint before being installed.