When you click on links to various merchants on this site and make a purchase, this can result in this site earning a commission. Affiliate programs and affiliations include, but are not limited to, the eBay Partner Network.
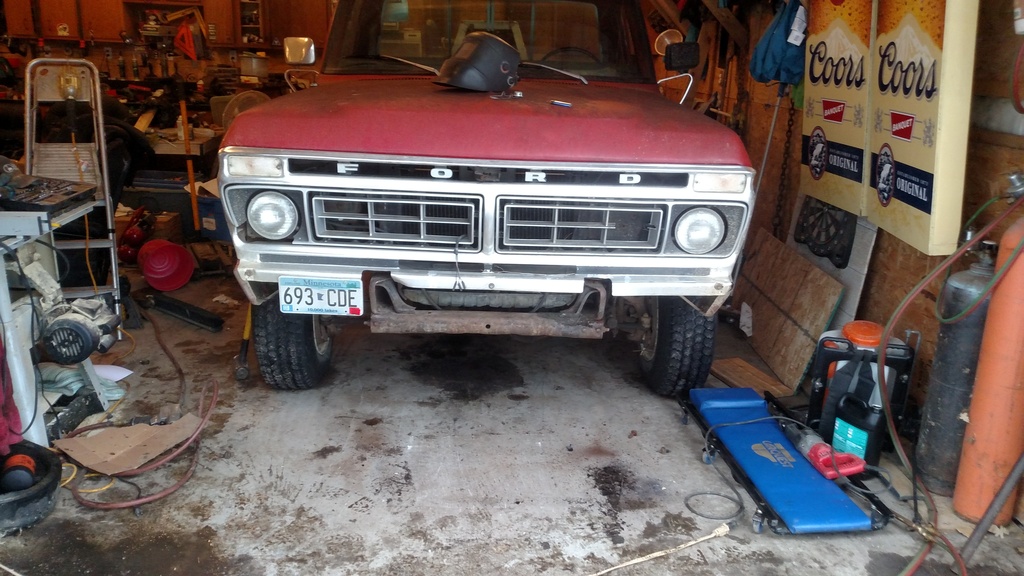
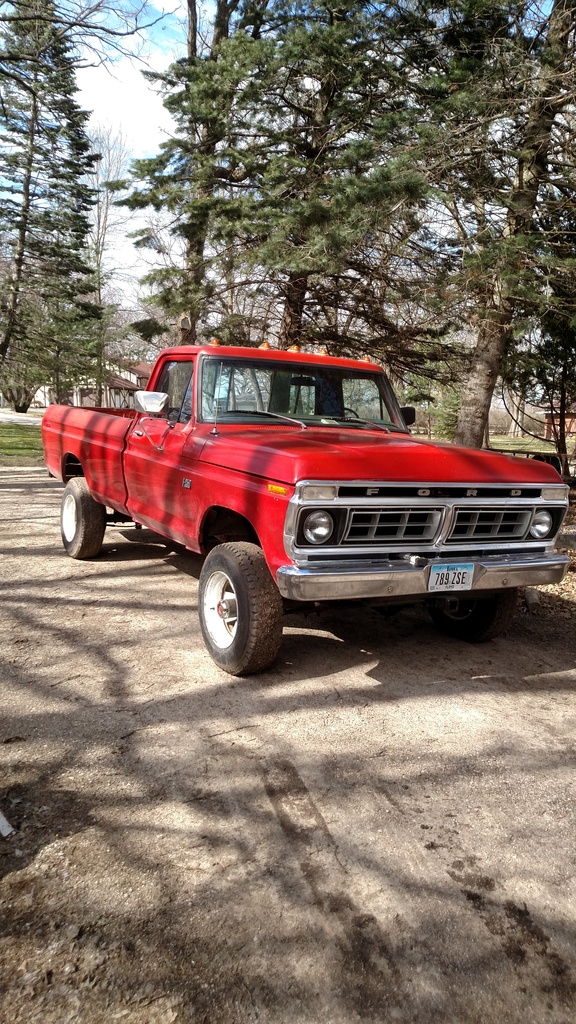
So, a build thread is asked for so here it is. To start, here is a pic of Bueford, my 79 F-150. I wanted a 360/390 4 speed but found this one at the right price and it was a 351m/auto. Had it for a few years and then got the itch for an FE/stick
Listed it on a Thursday, sold it Friday, left Saturday to pick up Ginger
Here's the add, sounds good, right?
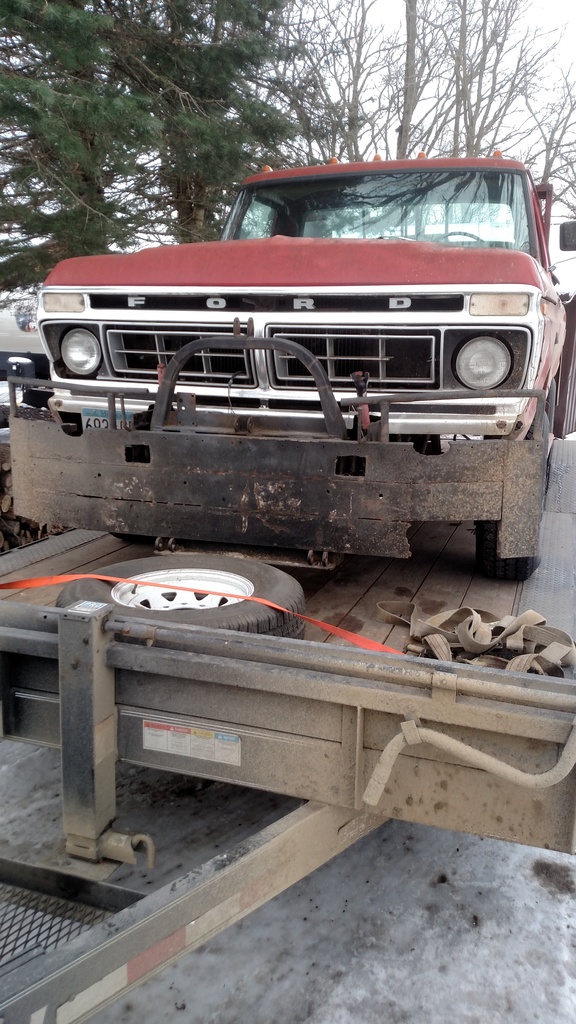
Well, I took a trailer, glad I did, and here's what I drug home.
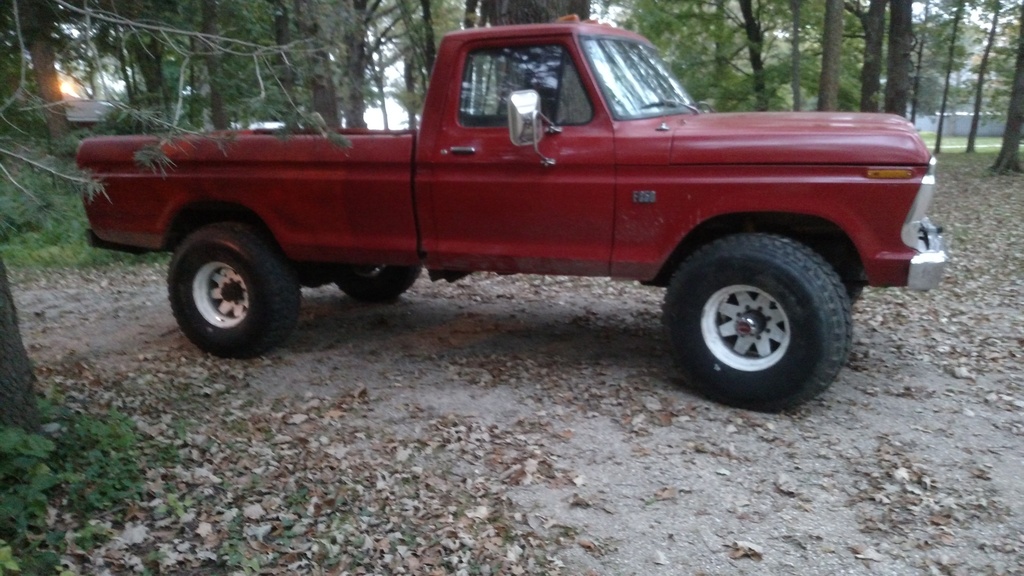
I knew that ugly was only skin deep on this rough old girl!
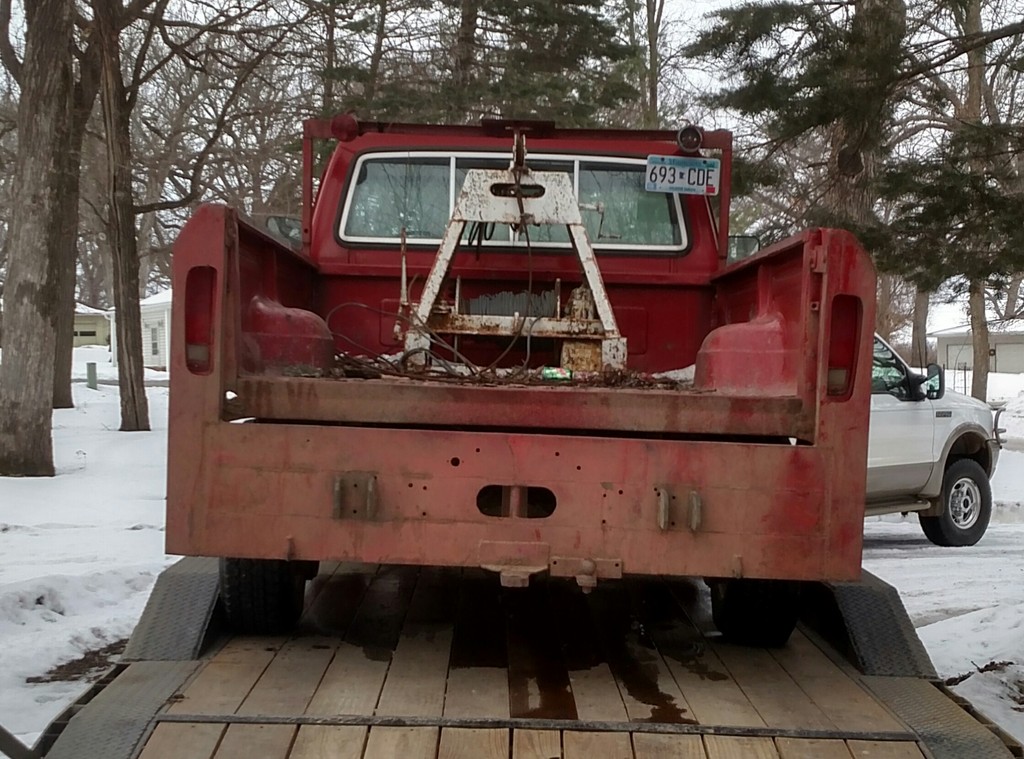
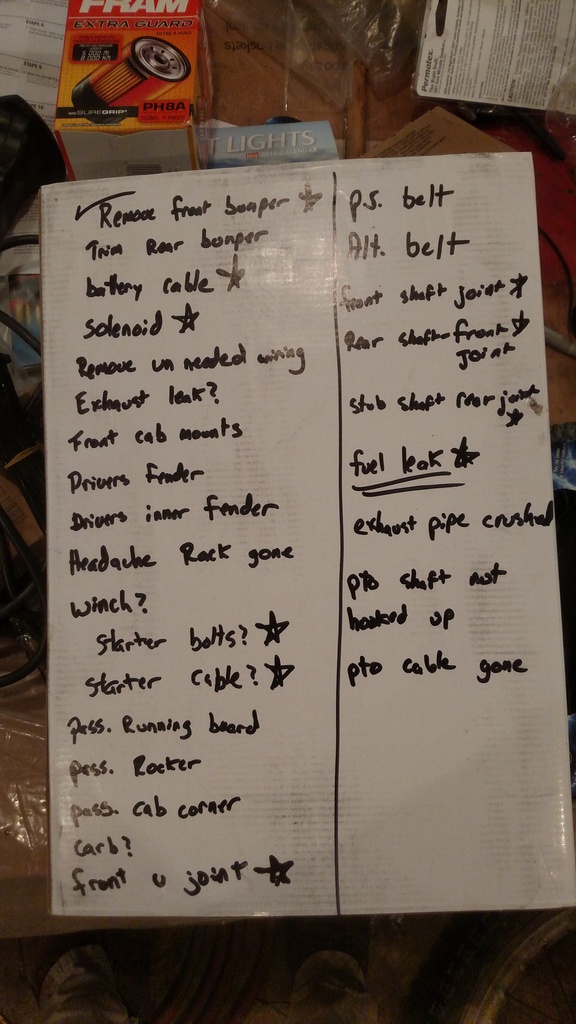
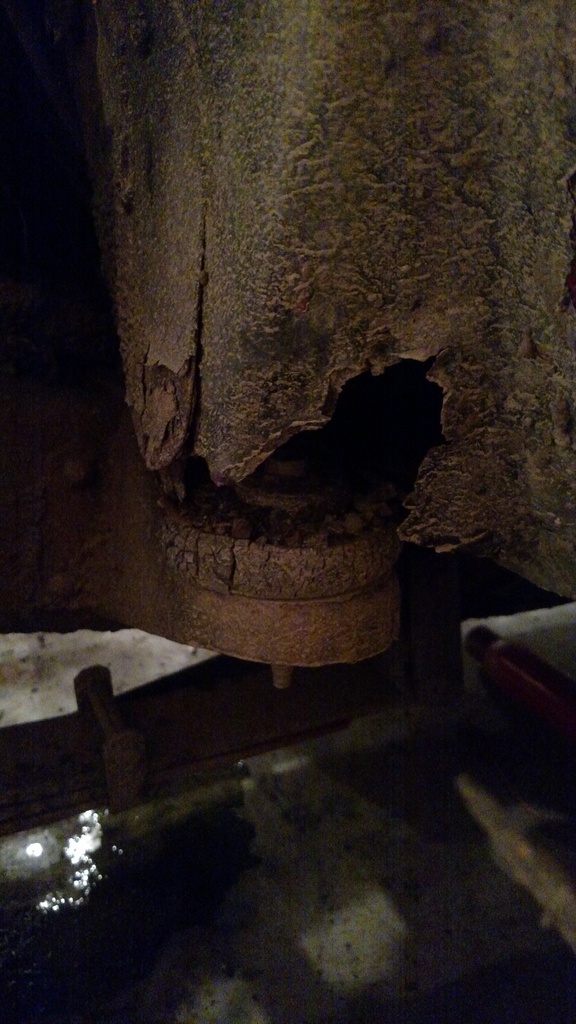
As you can tell, the body is in pretty good shape with some, uh, interesting modifications. Of course, like any good purchase, I had to jump it to even get it off the trailer. I drove it for the first time 60' into my shop to see how bad of a decision that I had just made. Then, like all projects, came the dreaded fix it list. The first one.
Great, I bought a turd. It ran like garbage, leaked exhaust, brake fluid, fuel in two different places, and otherwise had some serious issues. Well, I'm glad I trailered it home or I would have either died in a fire ball, or a wreck when the rear passenger wheel exploded from the bearings being trashed. Or the carbon monoxide. Take your pick!
I'm not one to back down from a challenge, and I REALLY wanted this configuration of a truck so to work I went. STAY TUNED!
Looks like you've got an interesting project, especially if you like a challenge.
I love how "creative" Craigslist adds can be.
Yeah, the trailer was a good call. You've done some nice work so far, keep it up and be sure to keep the build thread going.
Wow that's a lot of rust. I'm gonna stop complaining about what I'm dealing with. Good job on the repairs. Nice truck you Will have you want when you are done. X2 on the trailer. Keep up the good work
LOL. It's as purty as ig shiny diamond stuck in a goat's butt!
Good call on making a list.
I'd divided it into systems so it is more mentally manageable - engine, electrical safety, electrical convenience, interior, steering/suspension, body, and trim.
List looks about like mine as I looked at the pics. It's one of those "and I'm not even that familiar with the vehicle yet" lists. The list will grow, but as long as it doesn't get too expensive or out of your realm of expertise, then that's sometimes a tangible element of the multitudes of fun of getting a fixer-upper!
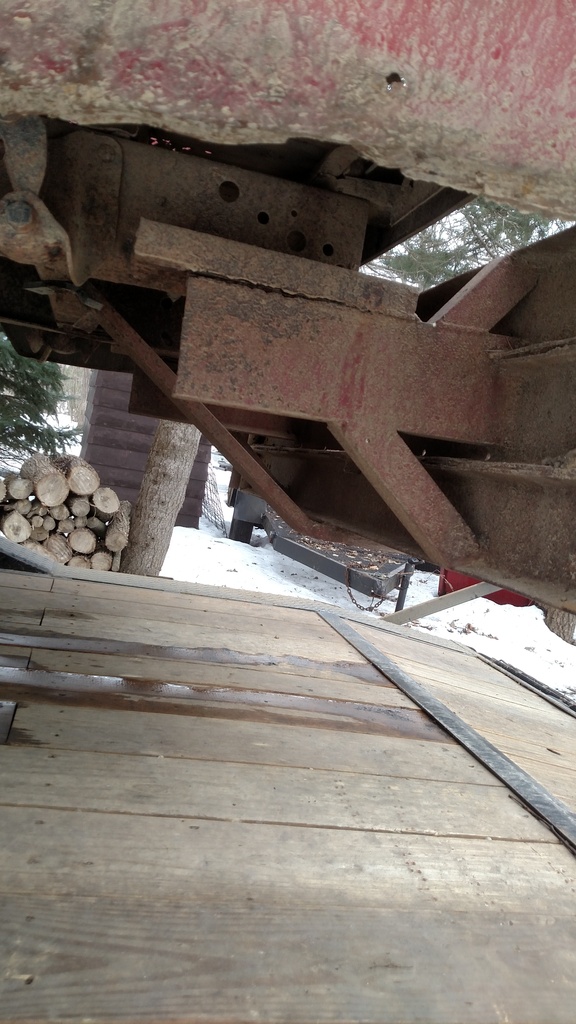
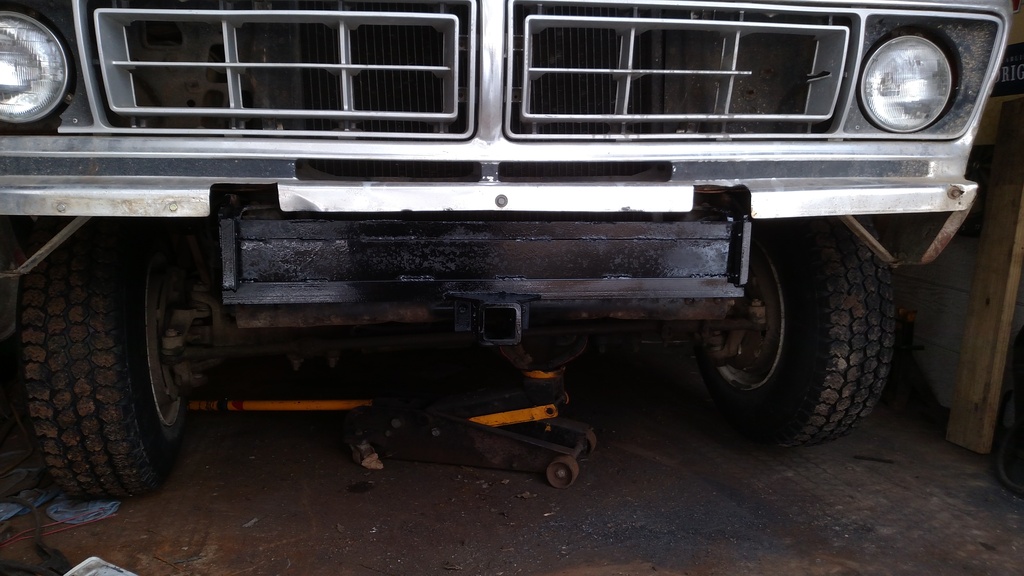
That bumper! There is surely some solid practical reason behind it. It looks like it would be heavy! Is it solid metal plate? It can't be wood - I wouldn't think.
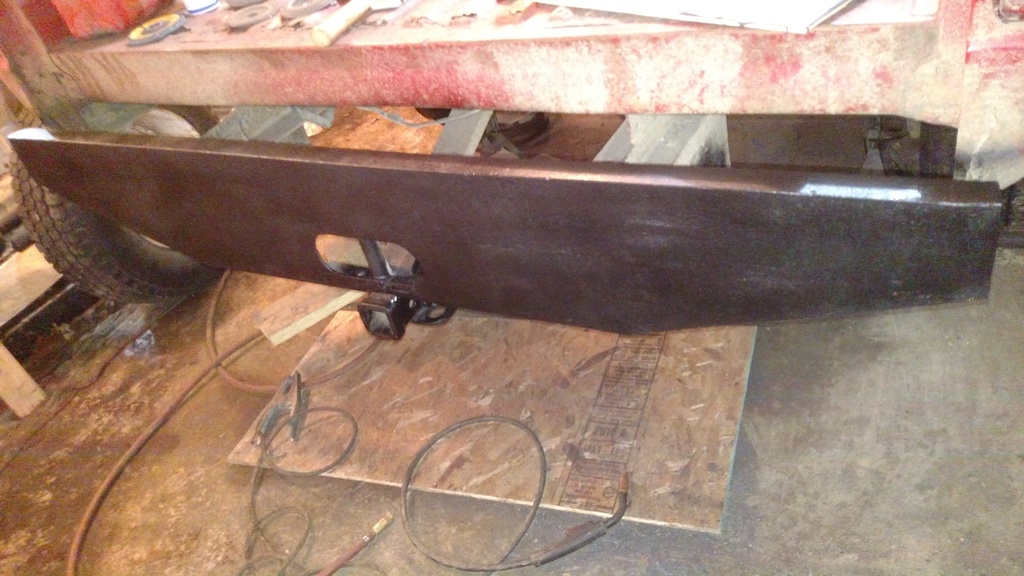
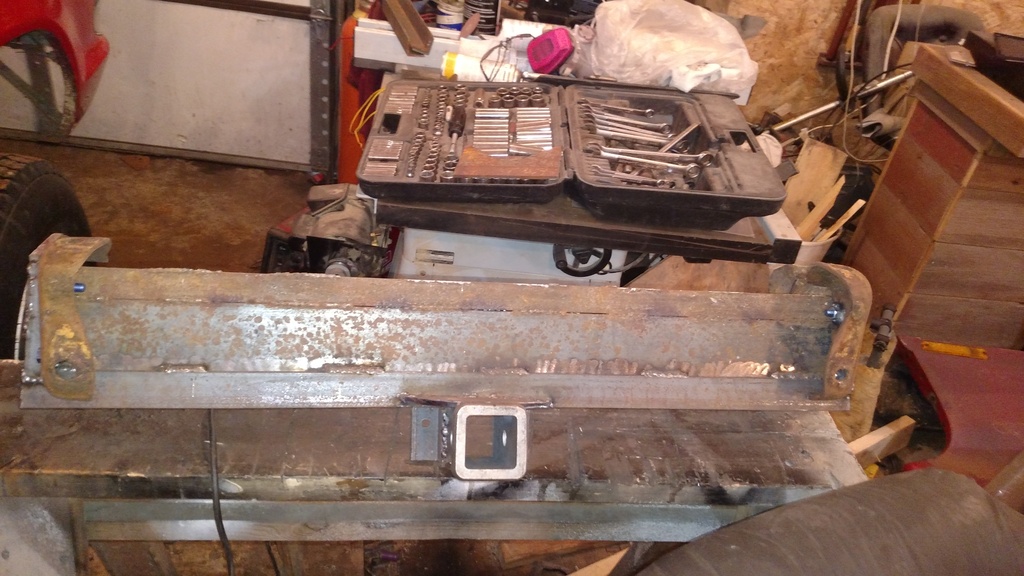
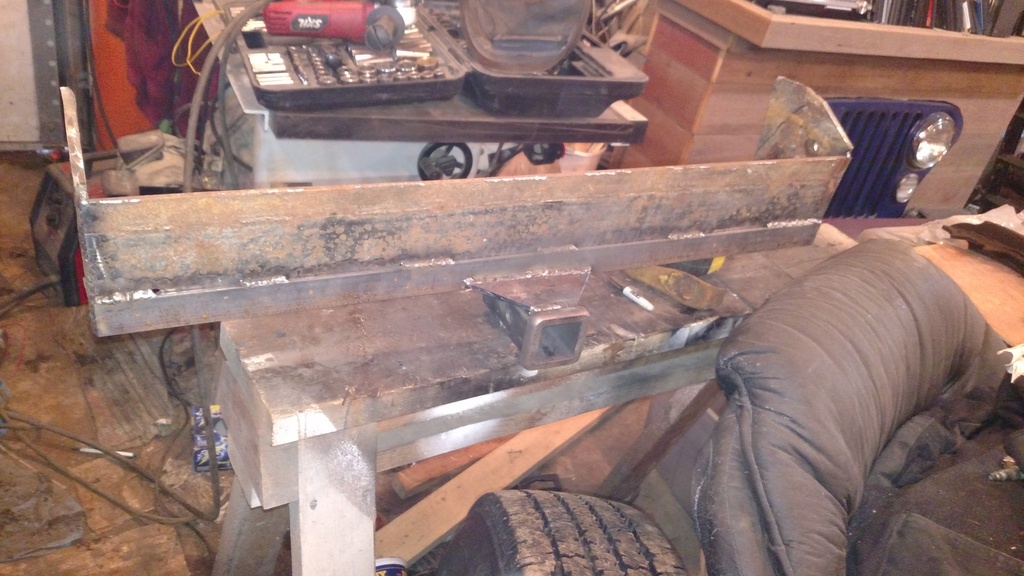
The bumpers are all steel. Stacked u channel butt welded together!
She's Ginger because, like the redhead stereotypes, it's extremely moody with a little stepchild mixed in.
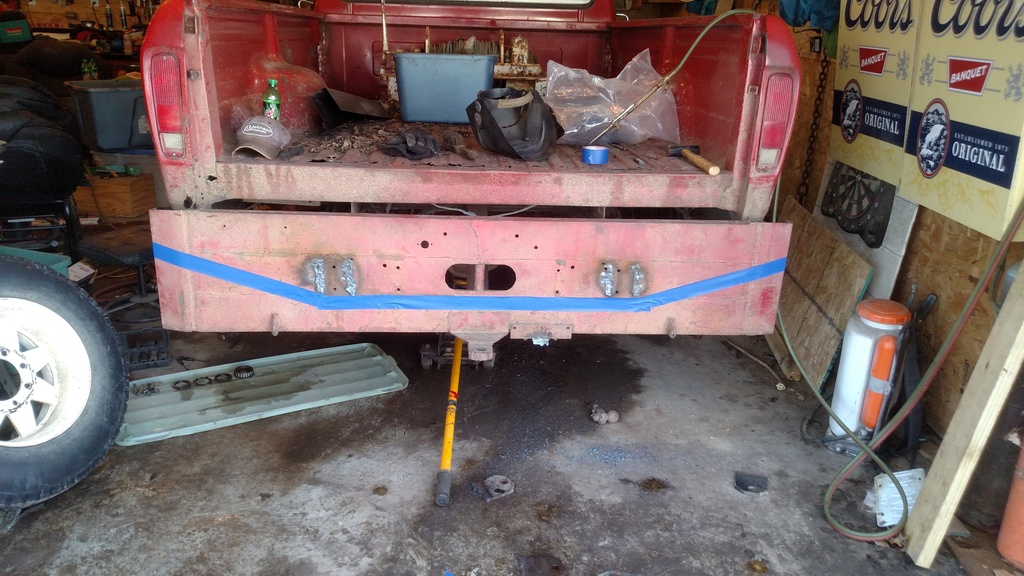
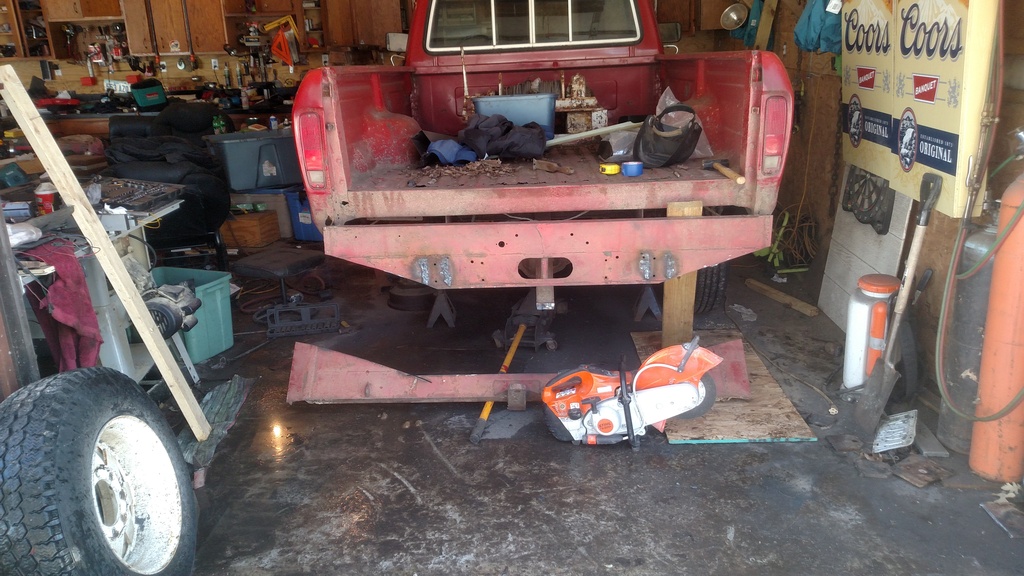
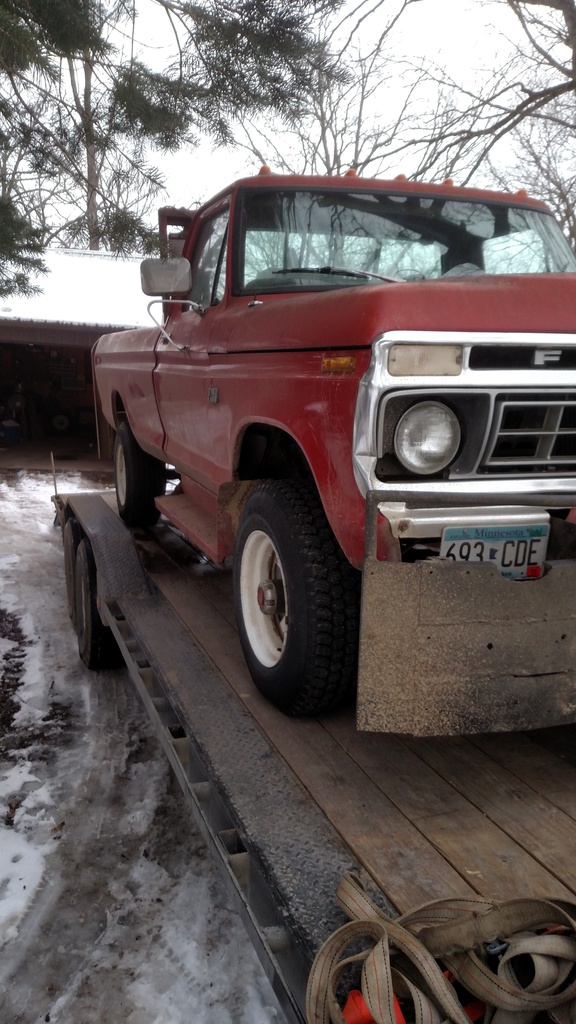
Front bumper had to go. HEAVY!!!!
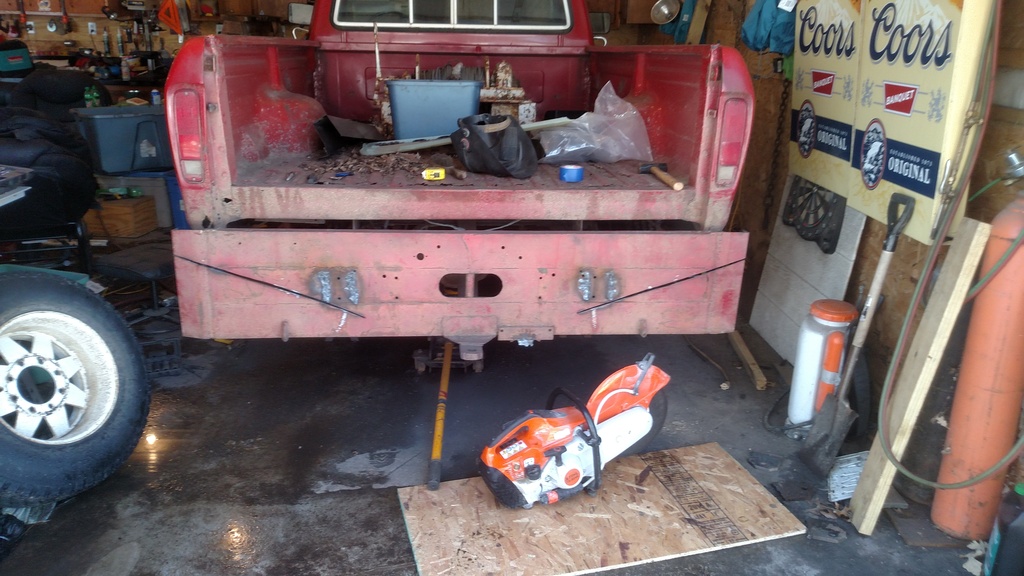
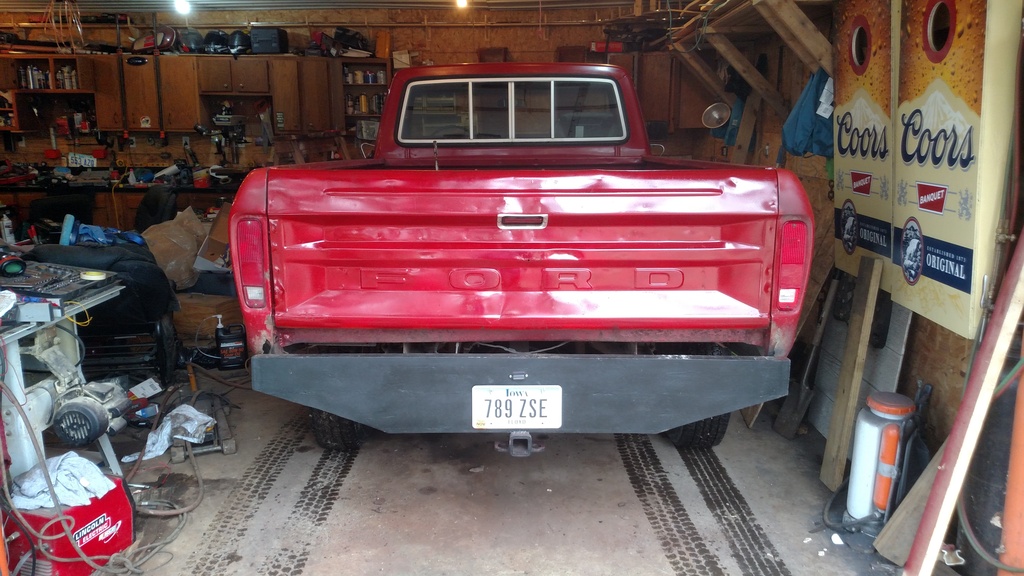
Rear bumper got a trim job with the help of a cut off saw, torch, and grinder. Also cut the top a frame off of the winch.
Cleaned up and painted
My license plate is just on with wing nuts and covers the tow pin so it's easy to get to and use.
I noticed in one of your former pics that the bumper mount was about torn loose from the frame.....might want to weld that back up before you hook up to a trailer.....just an observation....
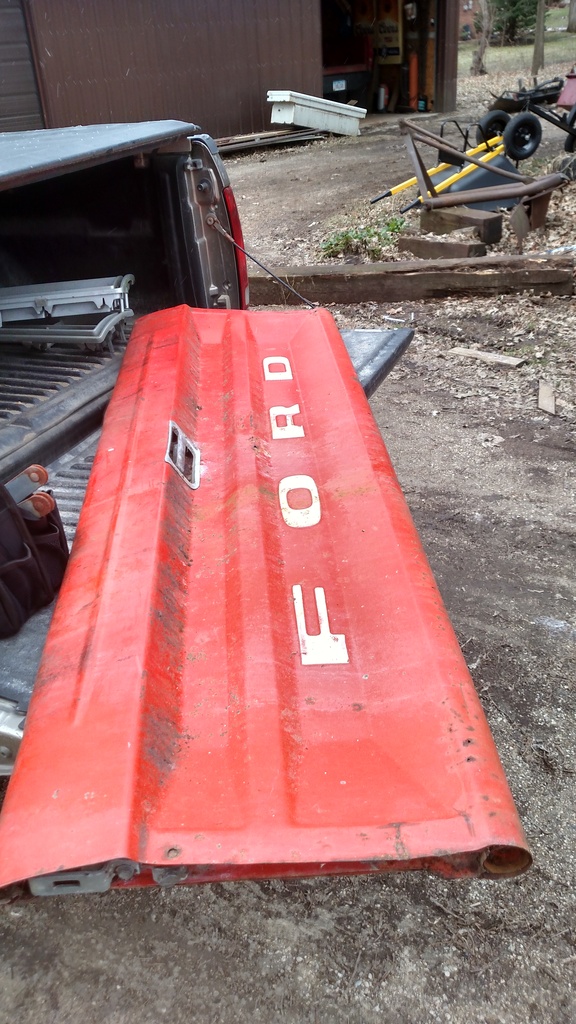
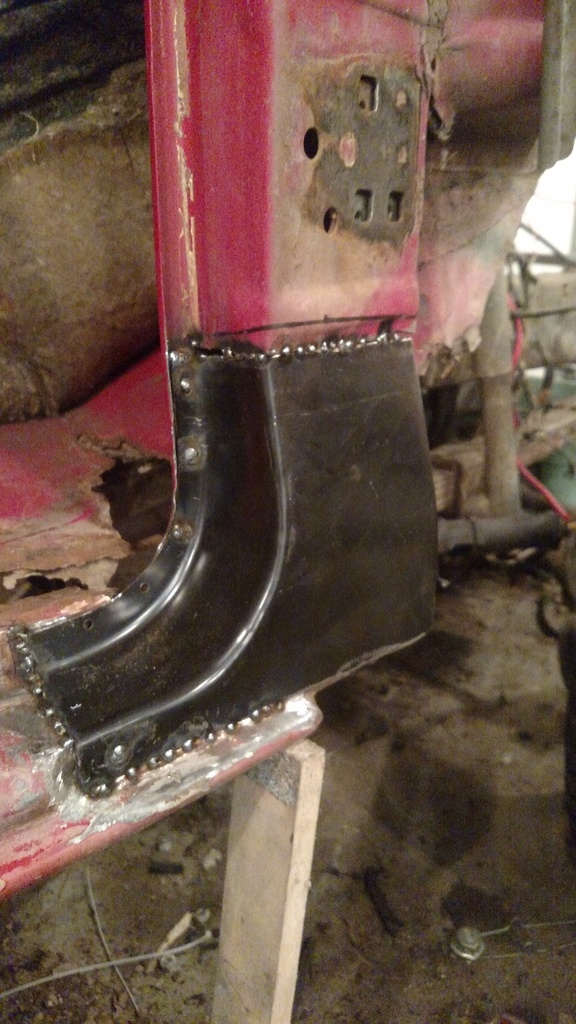
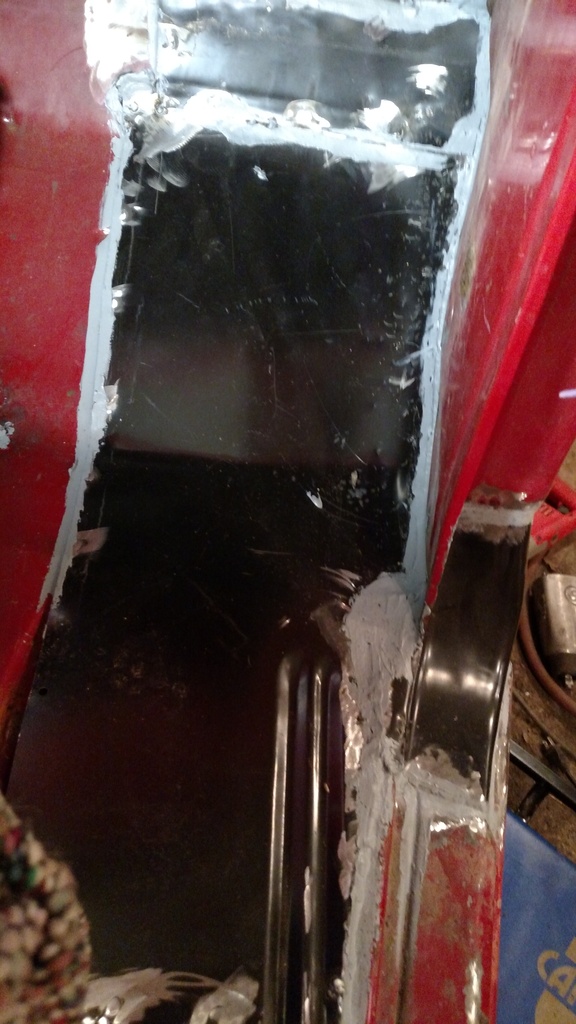
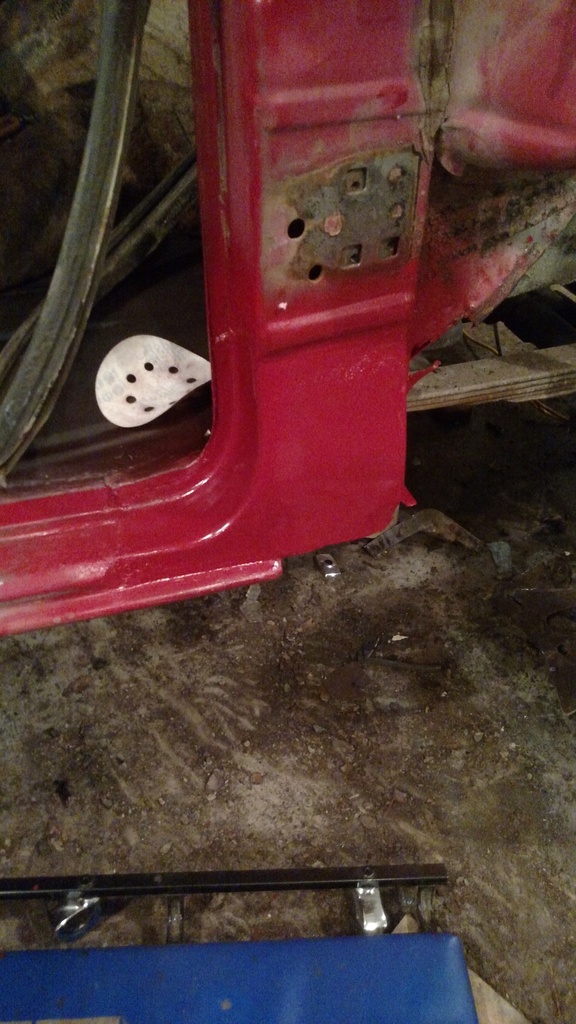
The bracket got braced and rewelded, I thought it looked sketchy too! I trip to the salvage yard got me a good fender, front bumper, and good grill inserts since mine were cracked. I also got a useable tailgate.
The bumper was off a non highboy so I had a width issue. I wanted a front receiver for my winch so I built a hitch and widened for the normal bumper. Thankfully when the cut it off the lopped off the front frame horns with it. A fabricating I went!
I used what I had so it's 2-1/4x4 flats stitched together with a 1/4x1 angle on the bottom for strength. I also bolted the center to the factory cross member.
The paint had countless years of crud built up on it. It was needing a serious bath!
A lot of scrubbing, cleaning, and scrubbing, then waxing later I finally found my diamond in the rough!
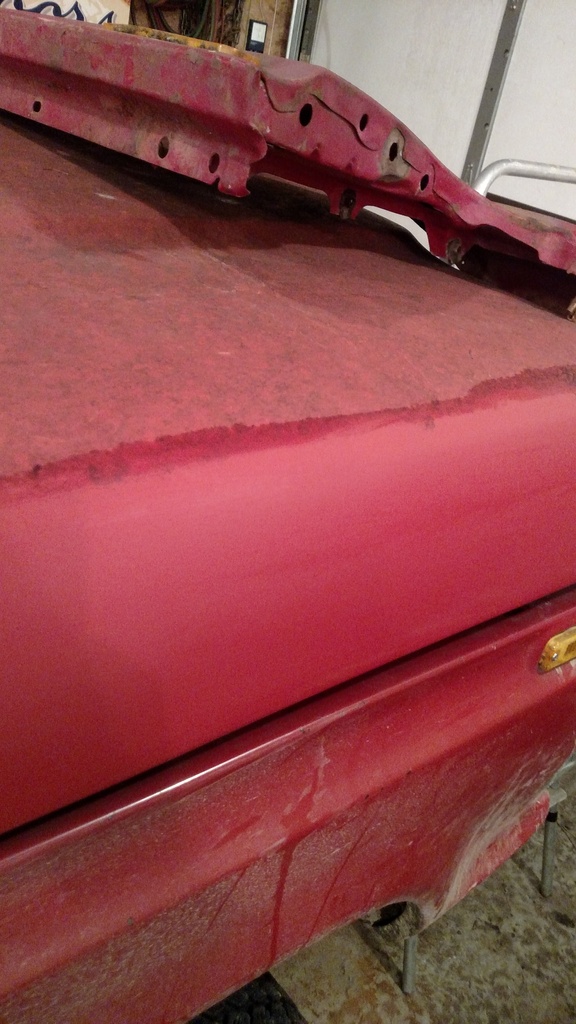
Thats pretty much it as far as the body/cosmetics go. Still needs a cab corner, might replace the core support and inner fender someday but they're not critical right now. Sliding rear window sucks but that's not a biggie to swap to a newer one.
Next up will be the mechanicals, and man were they in need of help!!! I didn't necessarily do it all in this order, but when doing a build thread it's easier to go in stages to completion.
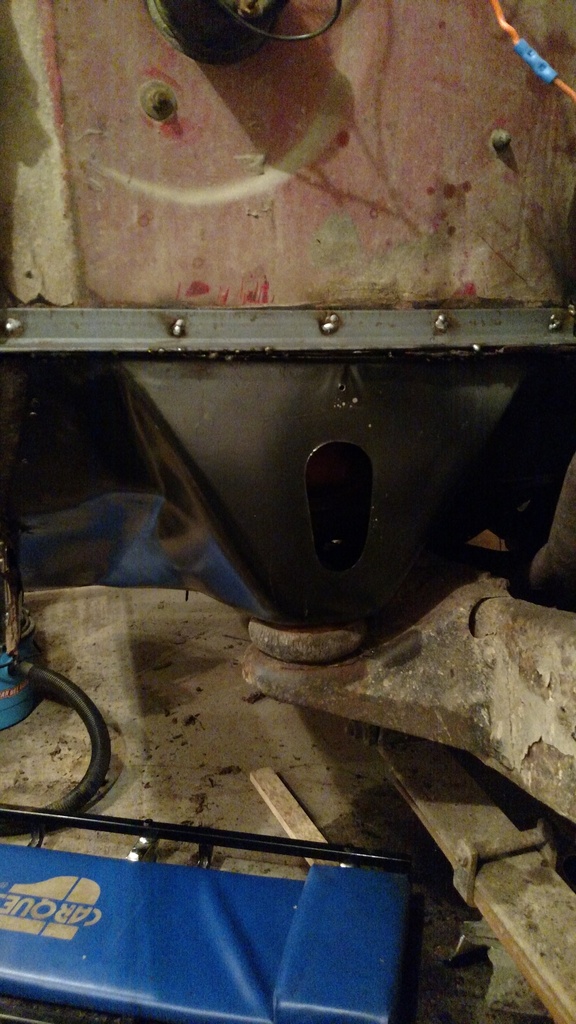
Mechanicals: well, there's not much for pics, because it is hard to see bad parts.
I had to replace:
Speedometer cable
4 u joints
Complete rear brakes including wheel cylinders and brake lines
Entire e brake cable set
Rear passenger side wheel bearings and hub. completely roached, came out in pieces
Passenger exhaust manifold gasket. I highly recommend Rimflex, worked awesome
Rebuilt carb
Vacuum advance in distributor was siezed up
Plugs
Wires
Cap
Rotor
radiator shroud
Starter gear on flywheel- p.o. put a new starter in without lockwashers/locktite. Starter came loose and ate the gear. That was a treat!
Replaced all vacuum lines
Valve cover gaskets, leaked terrible!
Other than that it was mechanically sound.......
Electrical I put in the time to fix all grounds and wires. I'm happy to say EVERY light works. All dash, running, and even reverse lights!
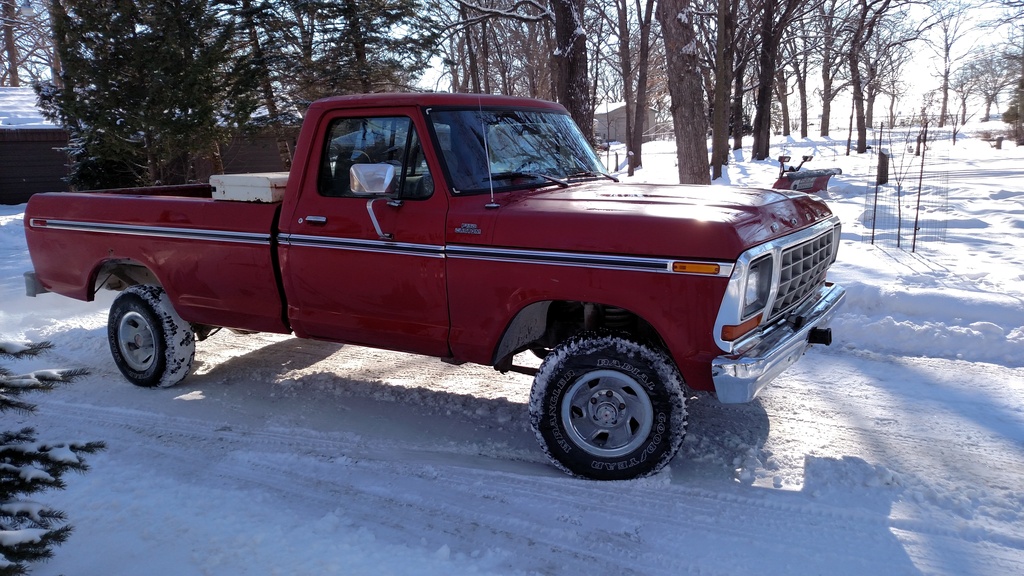
The last mod was tires. Someone put the better 16.5x10 wagon wheels on it. But 3 out of the 4 9.5x16.5 tires were weather checked and junk.After a bunch of looking I decided on surplus 37" mt Hummer tires. My highway gearing sucked with stock tires and it's hard to argue with the price of surplus tires. I just had to do light fender trimming and life was good.
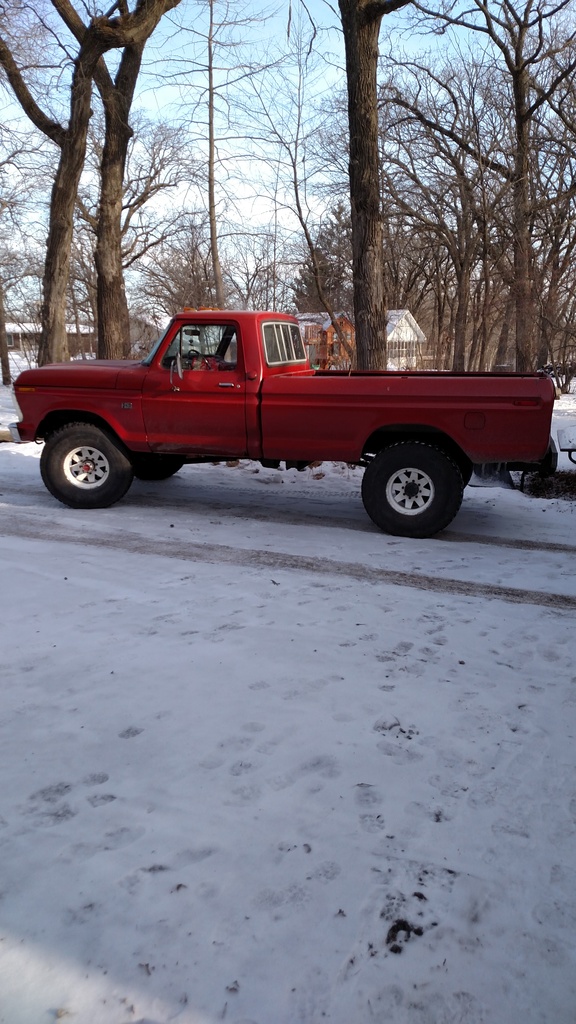
Here is Ginger today!
Before front fender trimming
After fender trimming
And for those wondering about the giant winch. It is a Garwood PTO driven unit. There is a PTO drive on the 205 driving a shaft with a bearing and a gear. That drives a chain running to the winch. I have no idea how big it is, the data plate is unreadable. But it's a stud and pulls stumps like nobody's business!
Ginger is a working truck that I'm not afraid to use! Future plans are to replace the sliding window, bench seat, cab corner, and maybe spray the whole truck. I'm hesitant to paint it though, don't want it too nice and be afraid to really use it.

 01-20-2017, 08:36 PM


 There is surely some solid practical reason behind it. It looks like it would be heavy! Is it solid metal plate? It can't be wood - I wouldn't think.