When you click on links to various merchants on this site and make a purchase, this can result in this site earning a commission. Affiliate programs and affiliations include, but are not limited to, the eBay Partner Network.
Well, I missed a step I think. I didn't check the threads on the rear of the oil pan and I think they are stripped (a find after almost buttoning it up), looks like a course thread was used. Plus the holes don't line up with bellhousing, a little off. Thoughts on starting with another pan or drilling out the threads in the oil pan nut and using a longer bolt and nut?
I think drilling them out and putting longer bolts with nuts should prove to be satisfactory, unless you are working on a 100 point concourse restoration
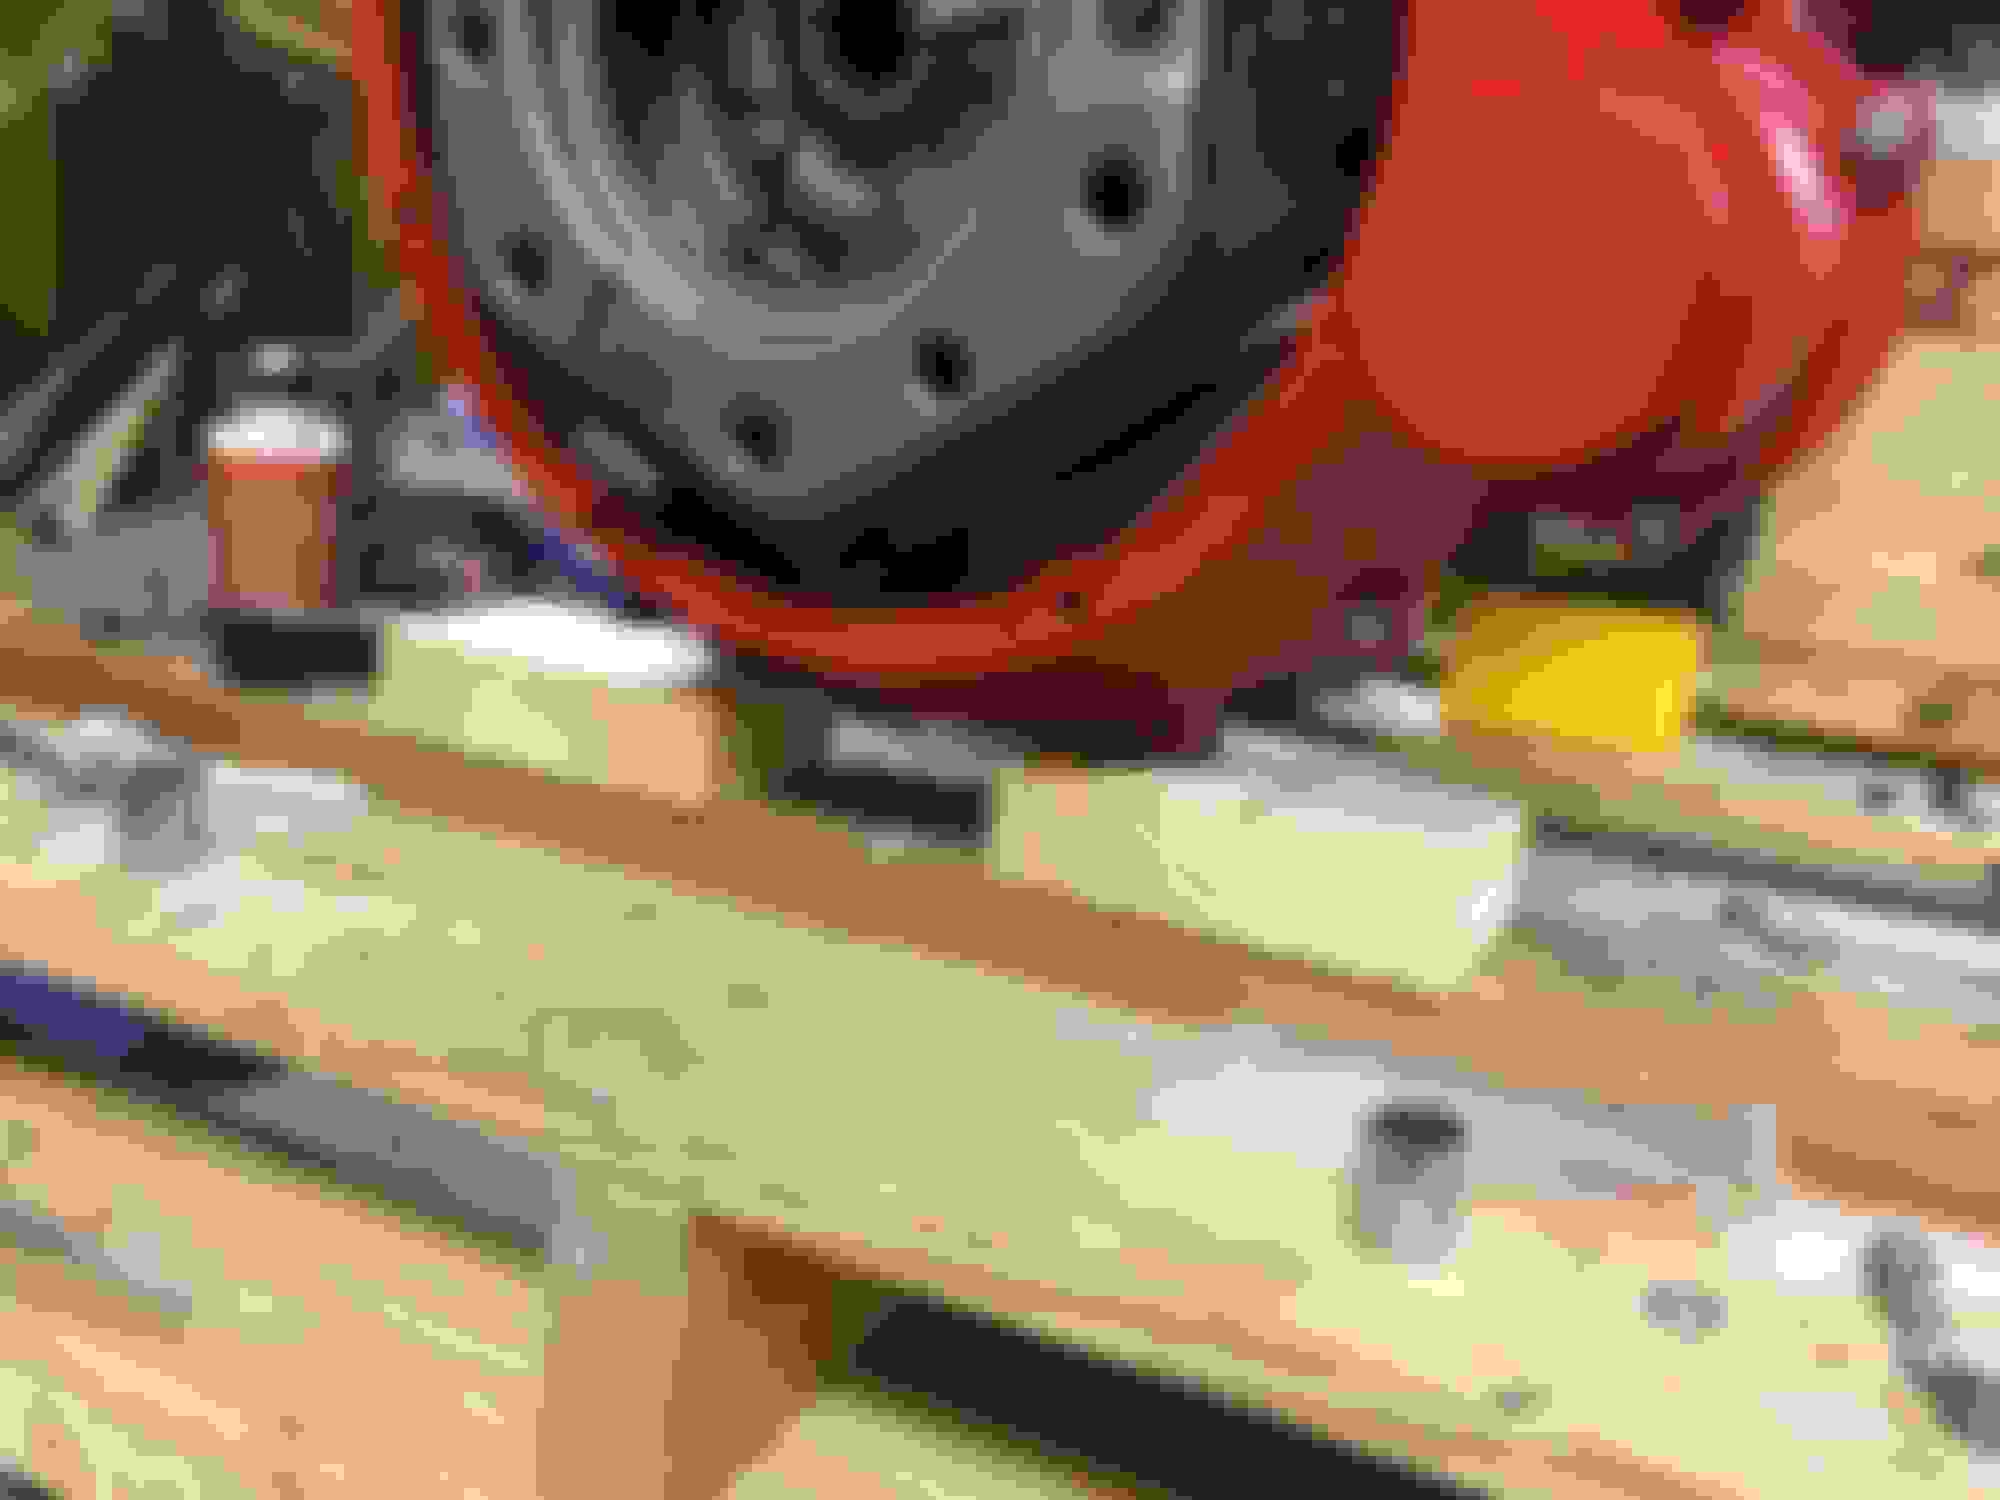
Ended up putting fine thread helicoils in the oil pan threads. First try was a little long so I trimmed a little off the front side on the second try. Everything snugged up nice and the bolts held 15lbs fine. Moving on to the oil lines.
When I started the oil lines I had visions of using stainless 1/4 but that was almost impossible to flare at least for me, so I switched to steel brake line, much easier.
Wen end with the elbow on the block along with a 1/4 to 1/8 adapter and the combination let me tighten the fittings to get a good straight run. I used permatex aviation on the threads of the pipe fittings and left the flare fittings dry.
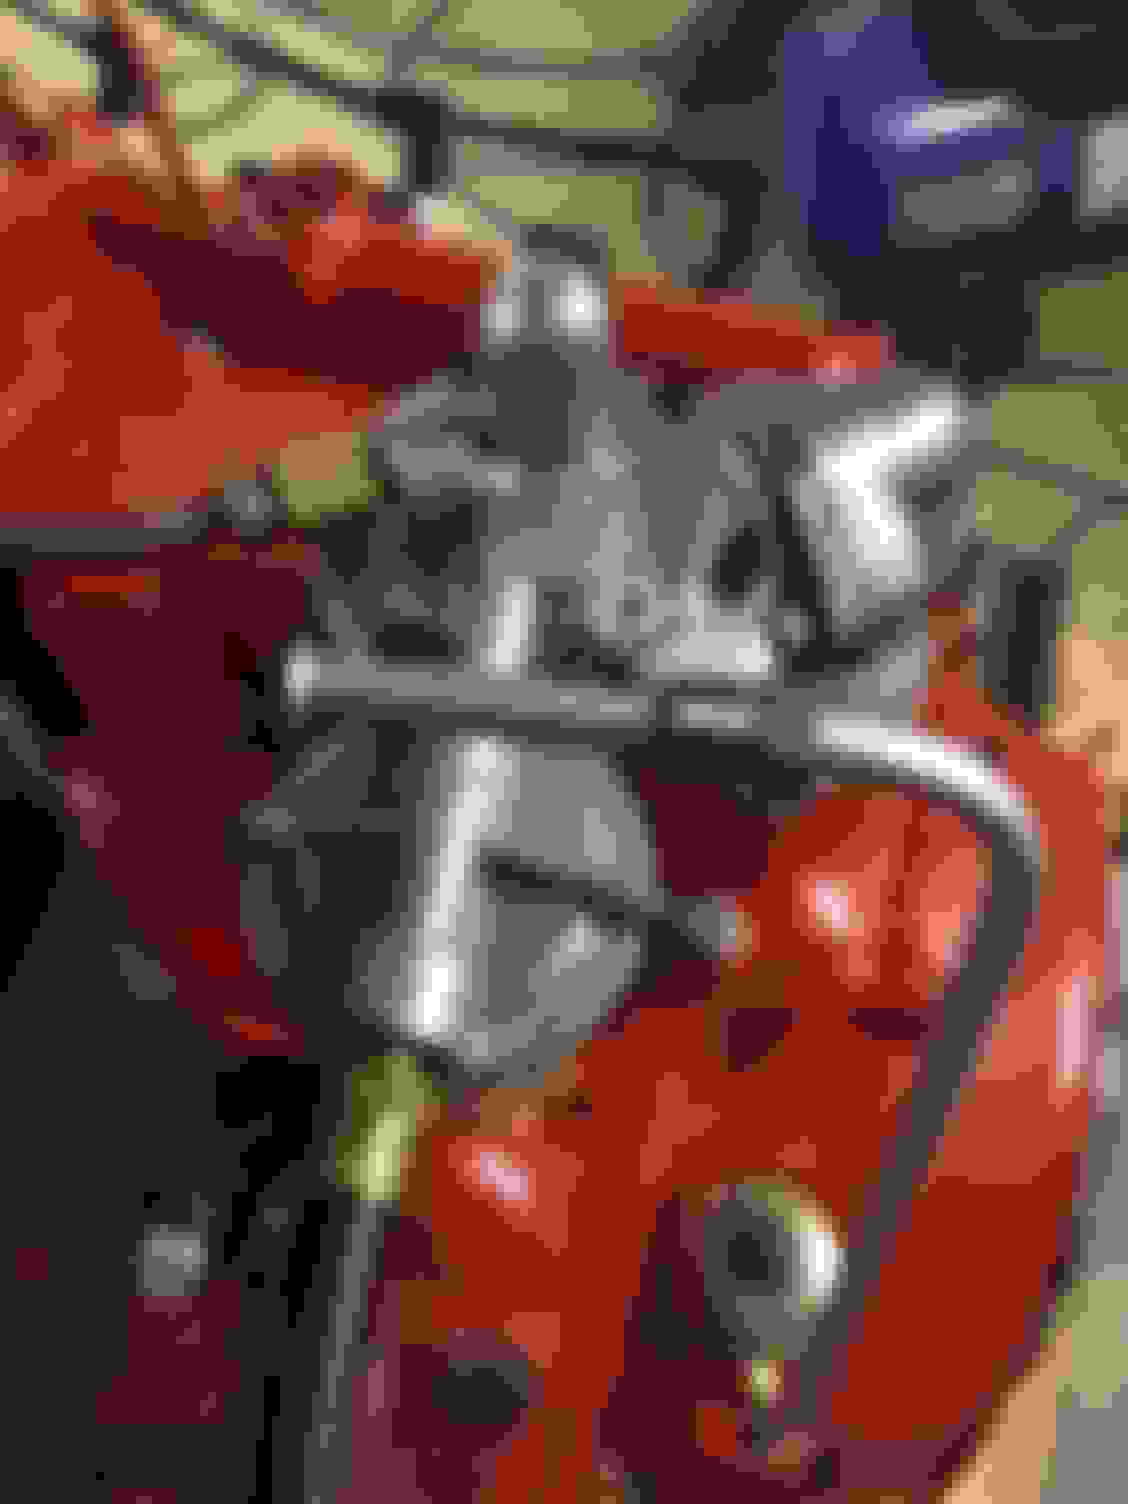
I put the restrictor going into the canister and was generally happy with the input line. The return line was tougher and I nicked the pipe with the curve tool so not 100% happy but I think it will do. I may get a new piece of line tomorrow and redo it since I have a pretty good template now. Once my canister bolt gasket gets here I think the oiling system is complete.
I worked up a new return line from the canister and this one looks better, happy with it.
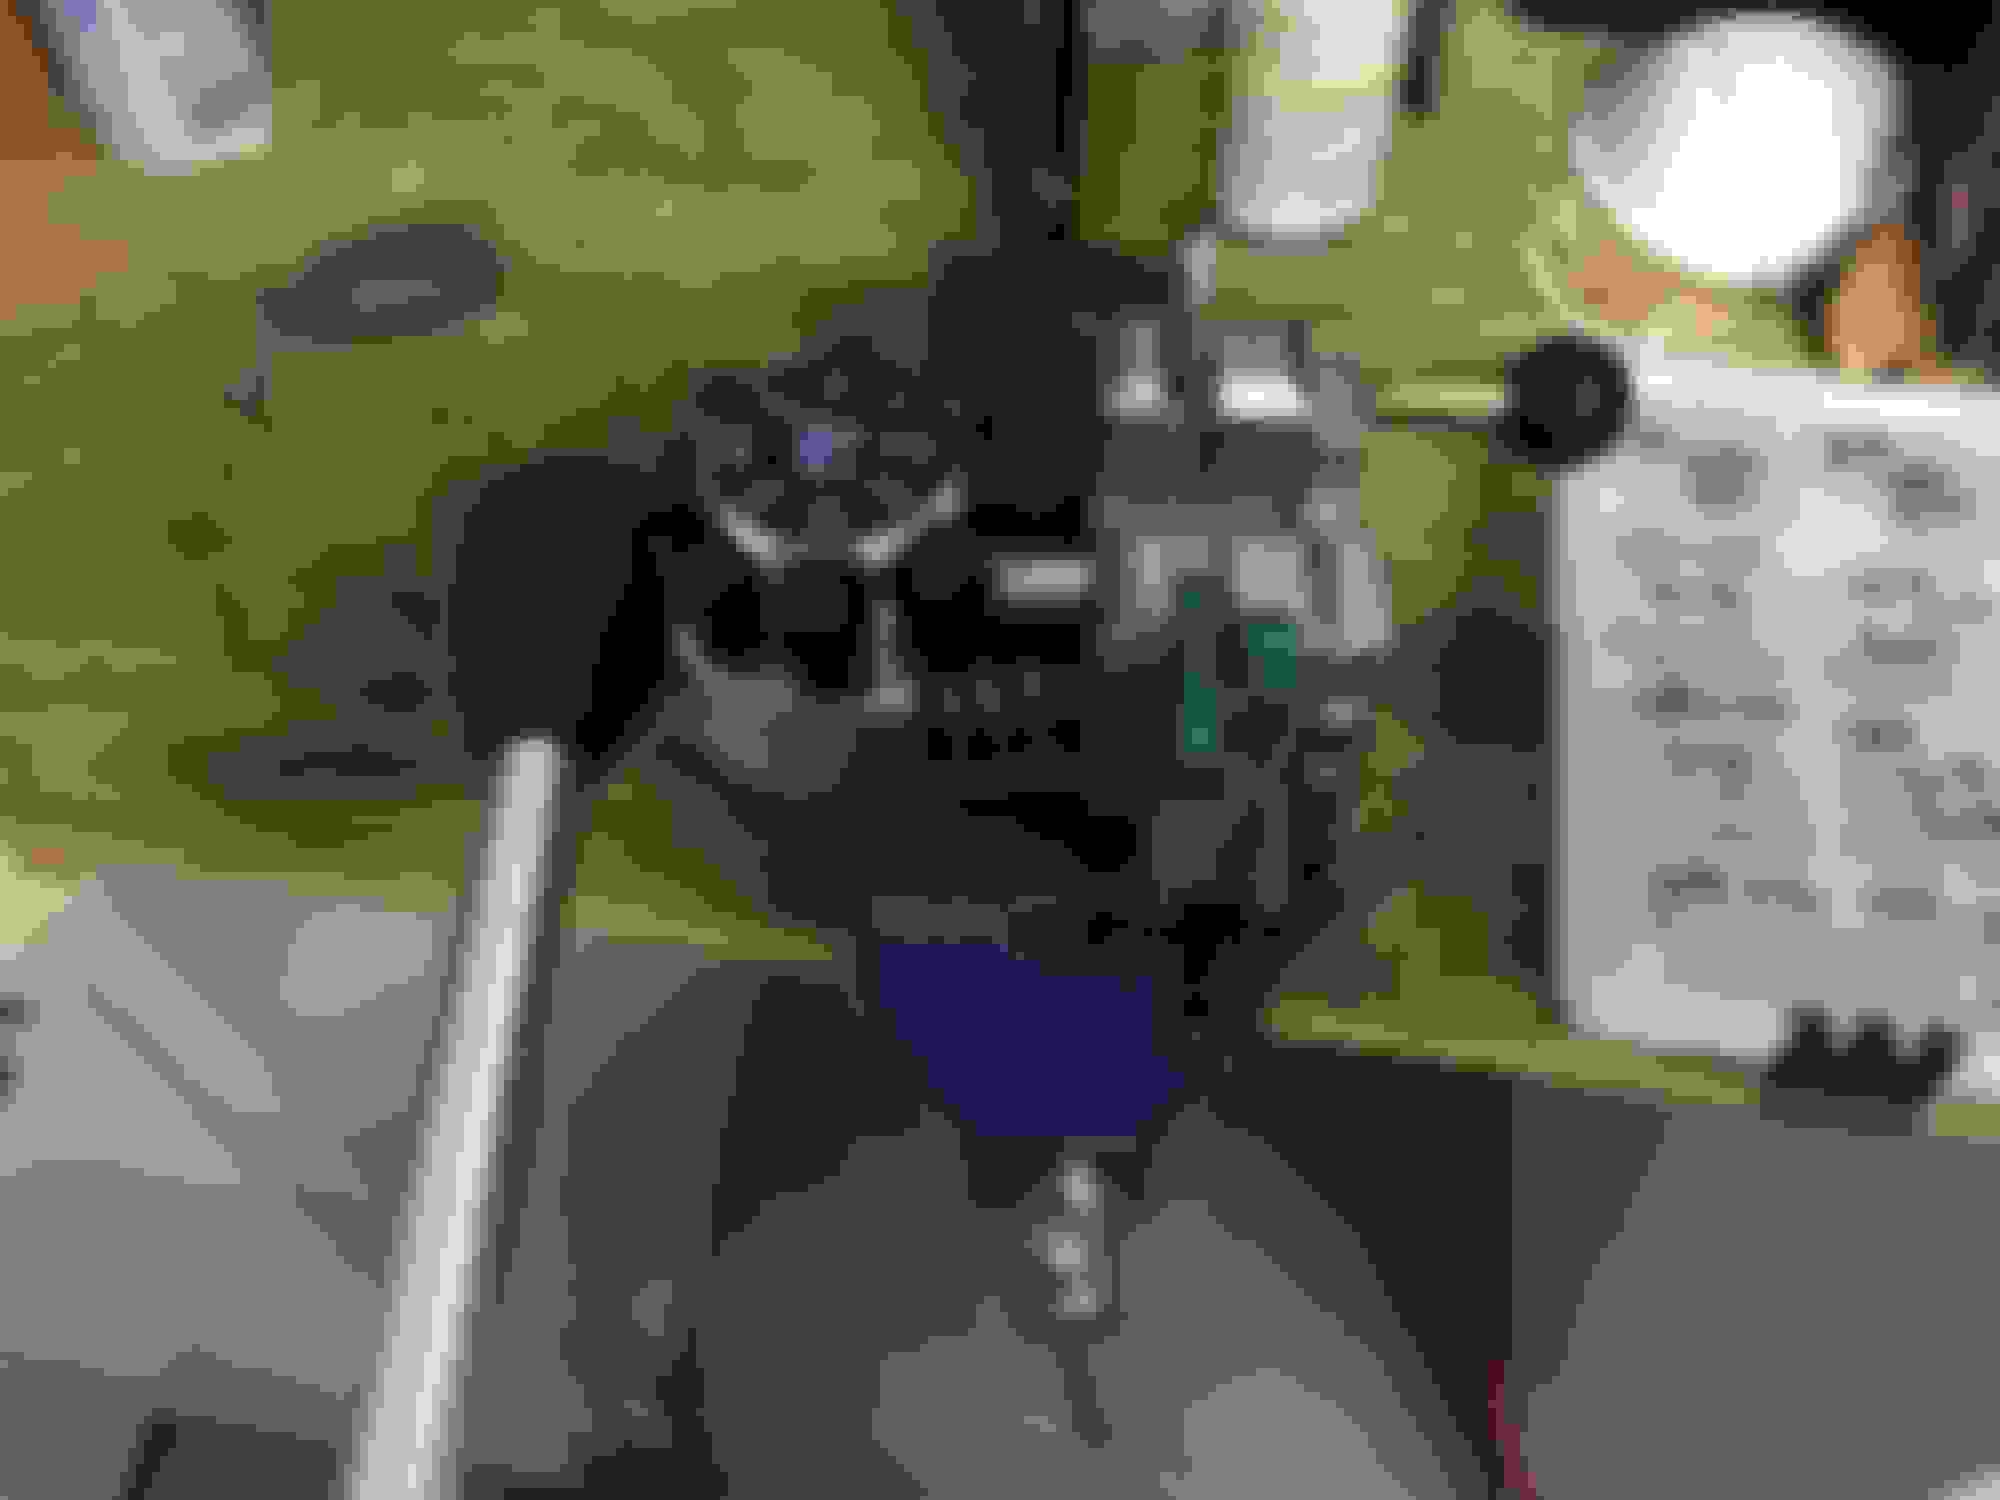
The holley 6v coil is just a little too long, it puts the terminals right up against the distributor and plug wires. Thinking about going with a yellow top even though I think that was the replacement version.
Something doesn't look right on that coil situation. It should be tight clearance but that looks hopeless. If by "yellow top" you mean the later Ford coils with a yellow top, they aren't any shorter from the top crimp to the top of the secondary terminal, and they are smaller diameter, so you have to modify the coil bracket.
The bracket should put the coil perfectly vertical, it looks like yours is bent forward. Straightening it looks like it would be worse for clearance. Maybe you just need to yank it towards the rear? That would swing it out too.
Thanks guys for confirming the coil bracket being wrong, I ordered the correct one today.
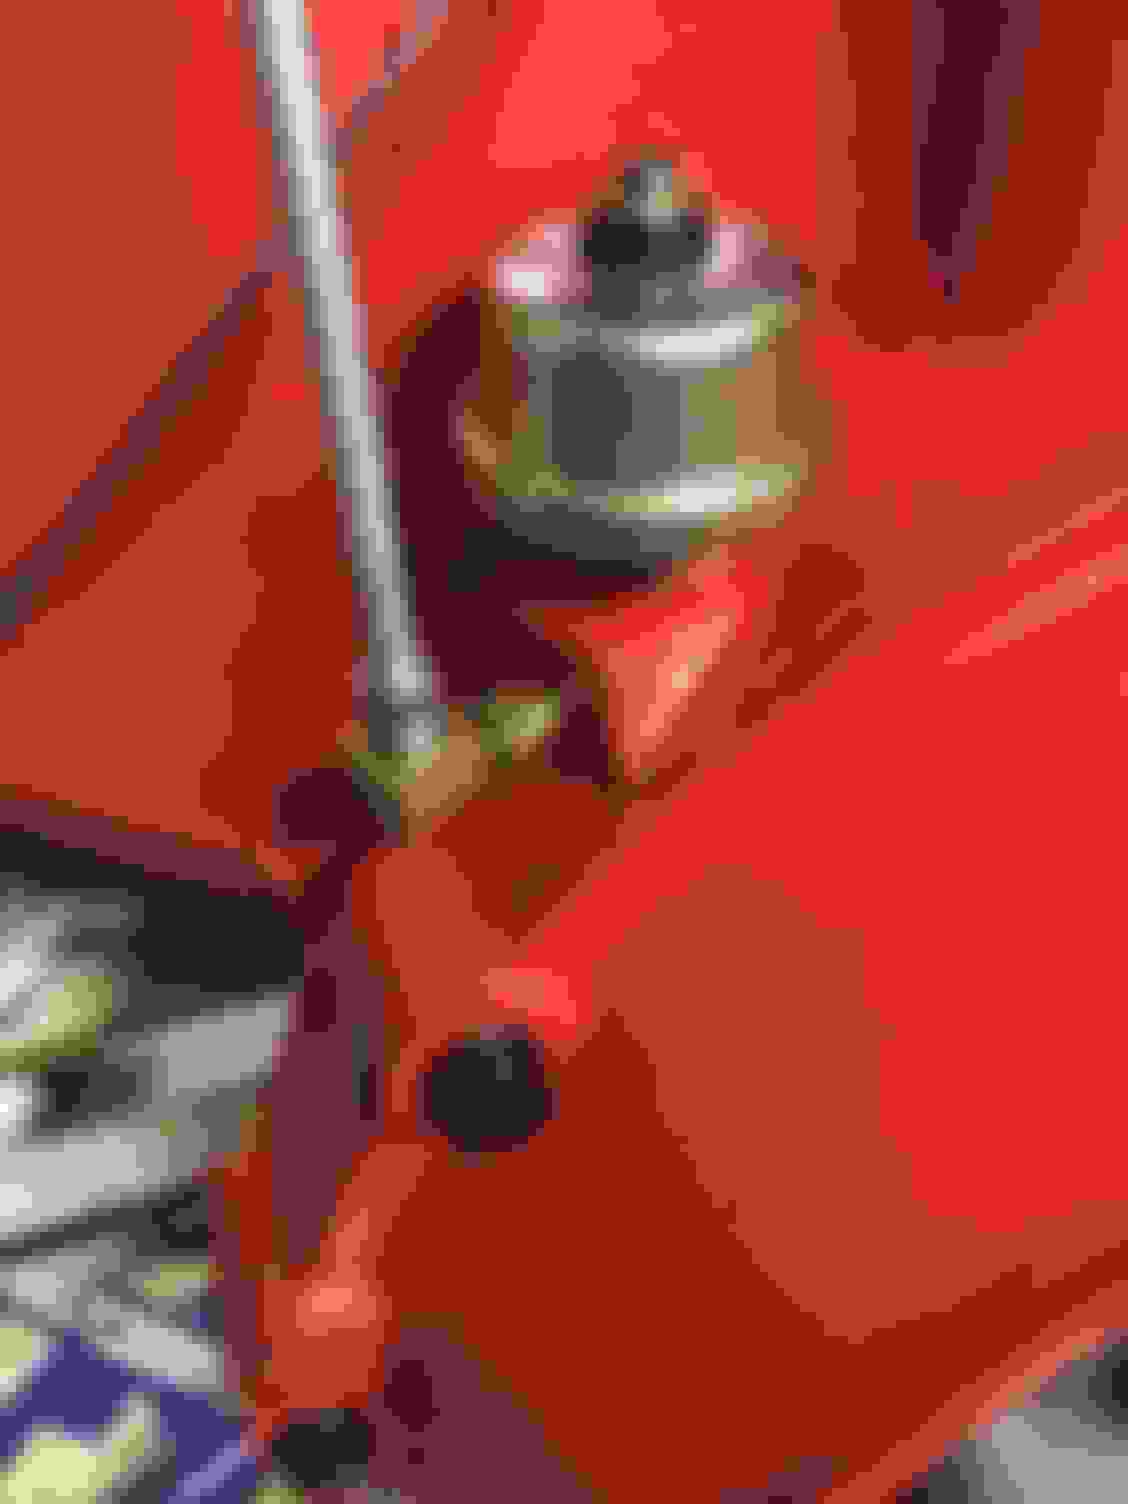
The draft tube came today and it fit like a glove, I liked the shelf wear and just cleared it to lock it in. Tried the third oil pan bolt first and the clamp hit the pan. So the second back was the best fit.
The draft tube came today and it fit like a glove, I liked the shelf wear and just cleared it to lock it in. Tried the third oil pan bolt first and the clamp hit the pan. So the second back was the best fit.
Belt tension set and coil installed tonight
. Does the distributor wire routing look correct?
I need to seal the temp sender threads and the heater outlet hose. Which direction should the heater outlet hose face? 90 degrees out our angled 45 either toward the front or the back?
The heater return fitting back to the water pump, was that inlet tube straight or angled originally? Macs has them both but sure which is correct.
 02-12-2017, 09:54 PM