When you click on links to various merchants on this site and make a purchase, this can result in this site earning a commission. Affiliate programs and affiliations include, but are not limited to, the eBay Partner Network.
I could not really find a good explanation on how to replace a later model ('86) Bronco or F150 so I thought I would document my experience. I may not have done it correctly, but it seems to have worked pretty well. Let me know if y'all have any other tips as well.
#1<br/>Remove the window handle.
#2<br/><br/>
#3<br/>Remove the door panel working your hands around it slowly disengaging the push-in-pull-out type clips. Re-install window handle and roll down window as far as it will go.
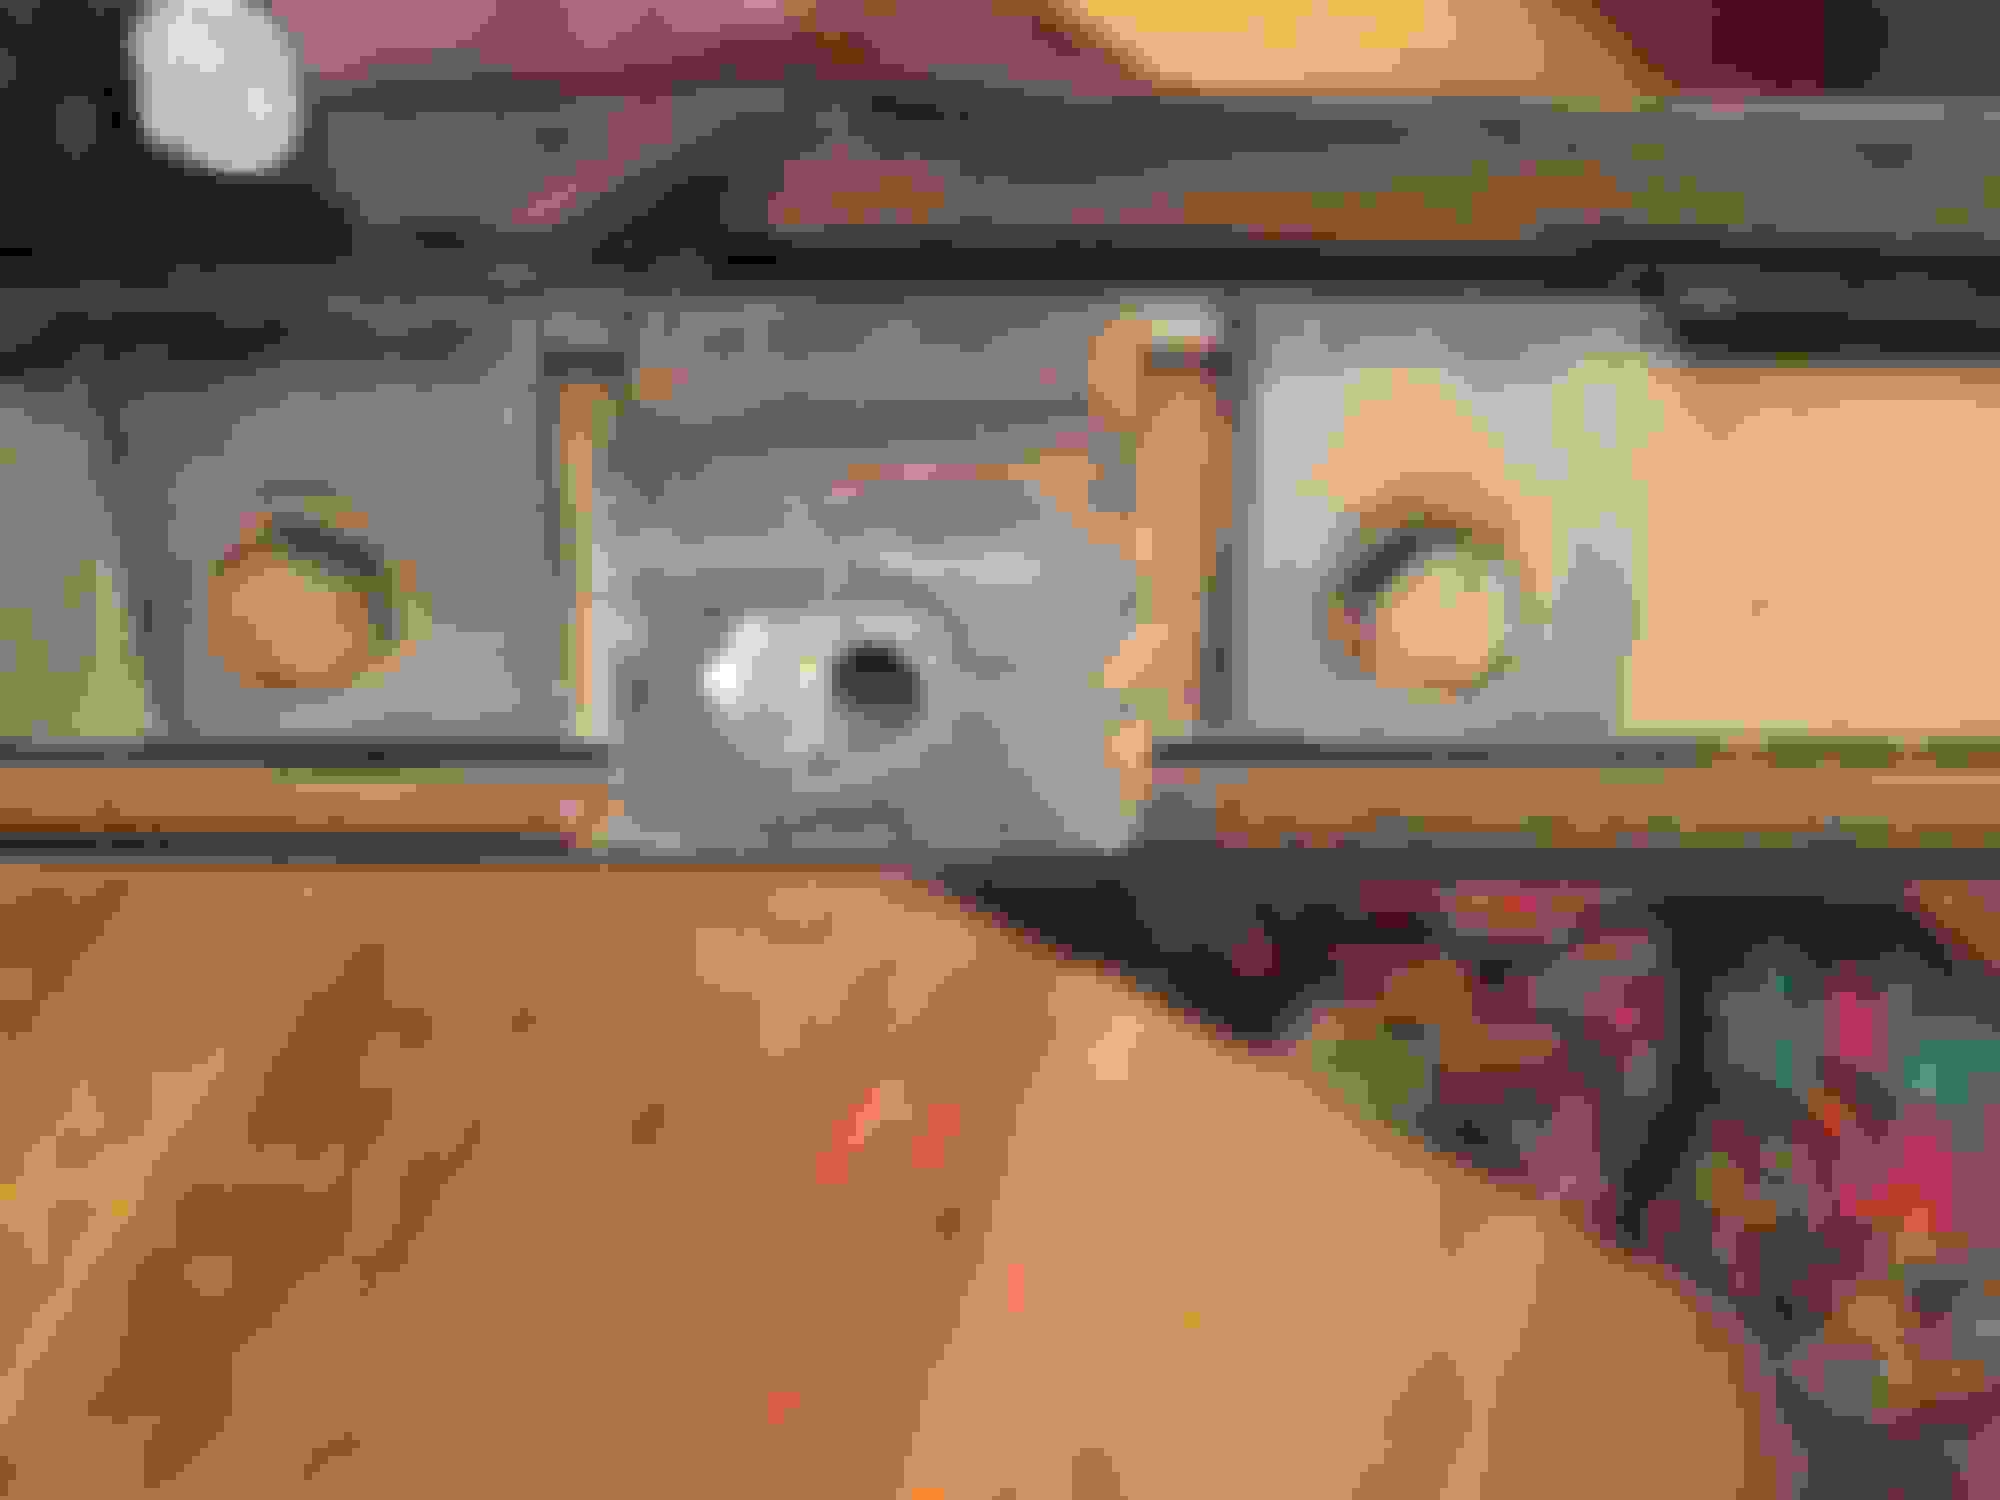
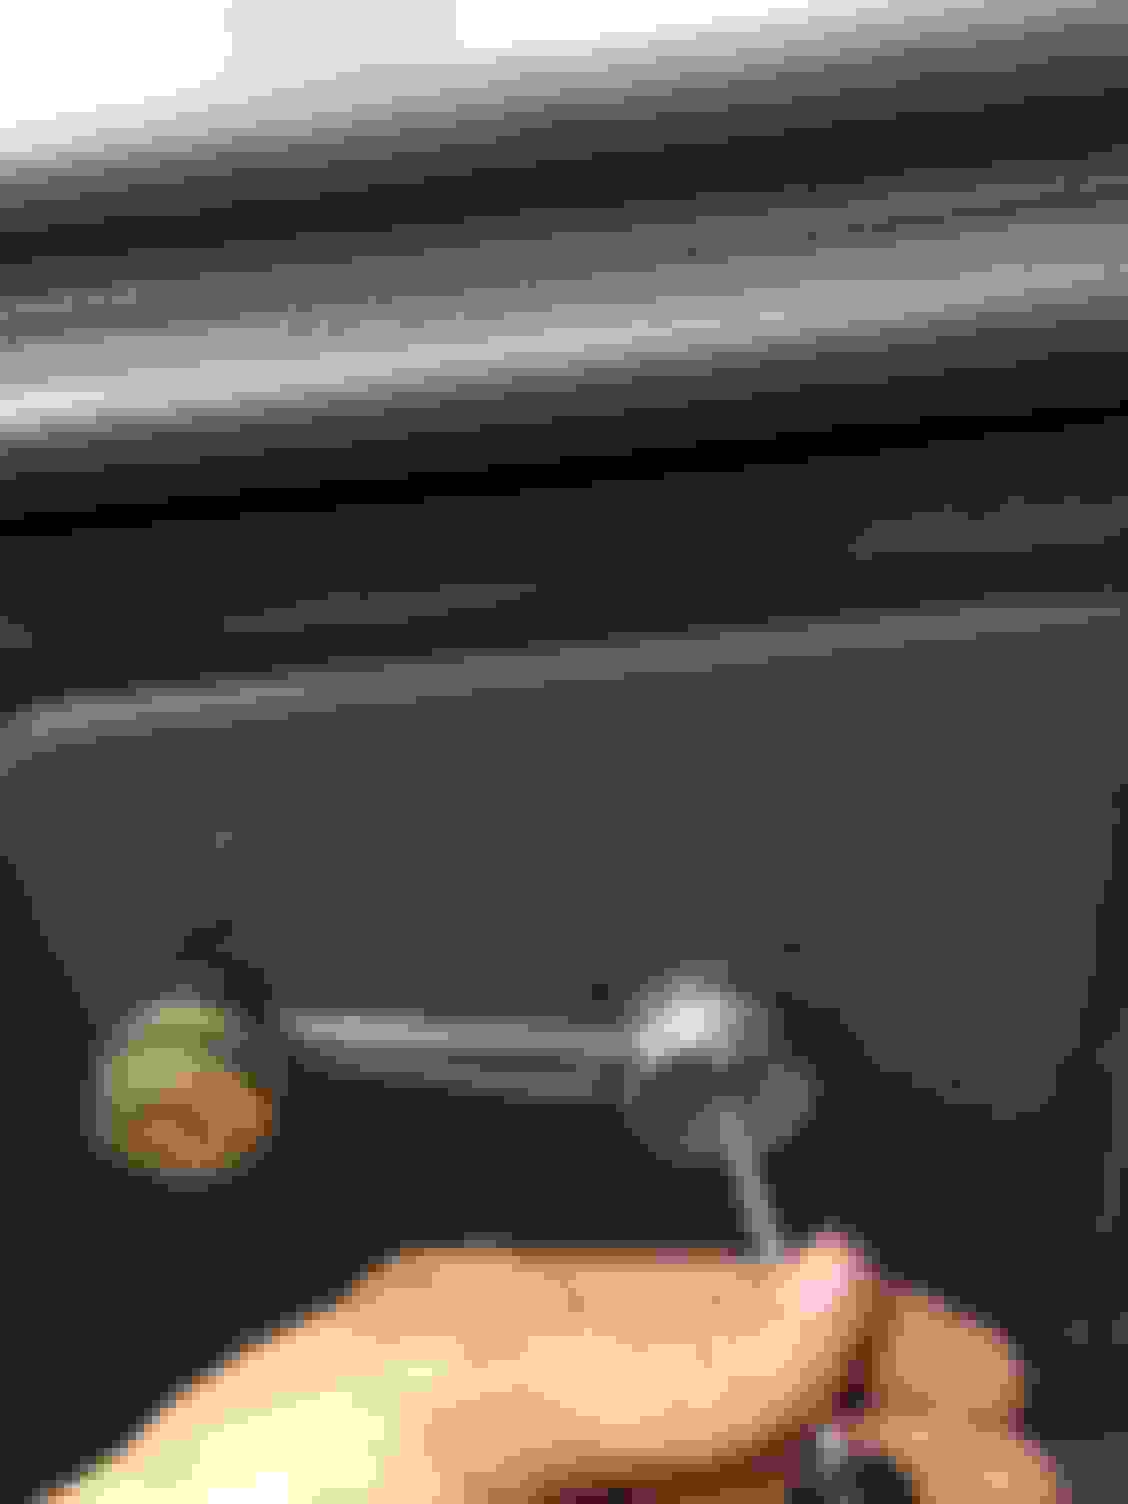
#4<br/>Remove the bolt in the middle of the picture.
#5<br/>Remove the two screws within the indentions on the top of the door.
#6<br/>Remove the weatherstrip for the main window. (You can see my daily driver in the rear view window.Cannot wait until this truck is my daily driver!)
#7<br/>Pull backwards.
#8
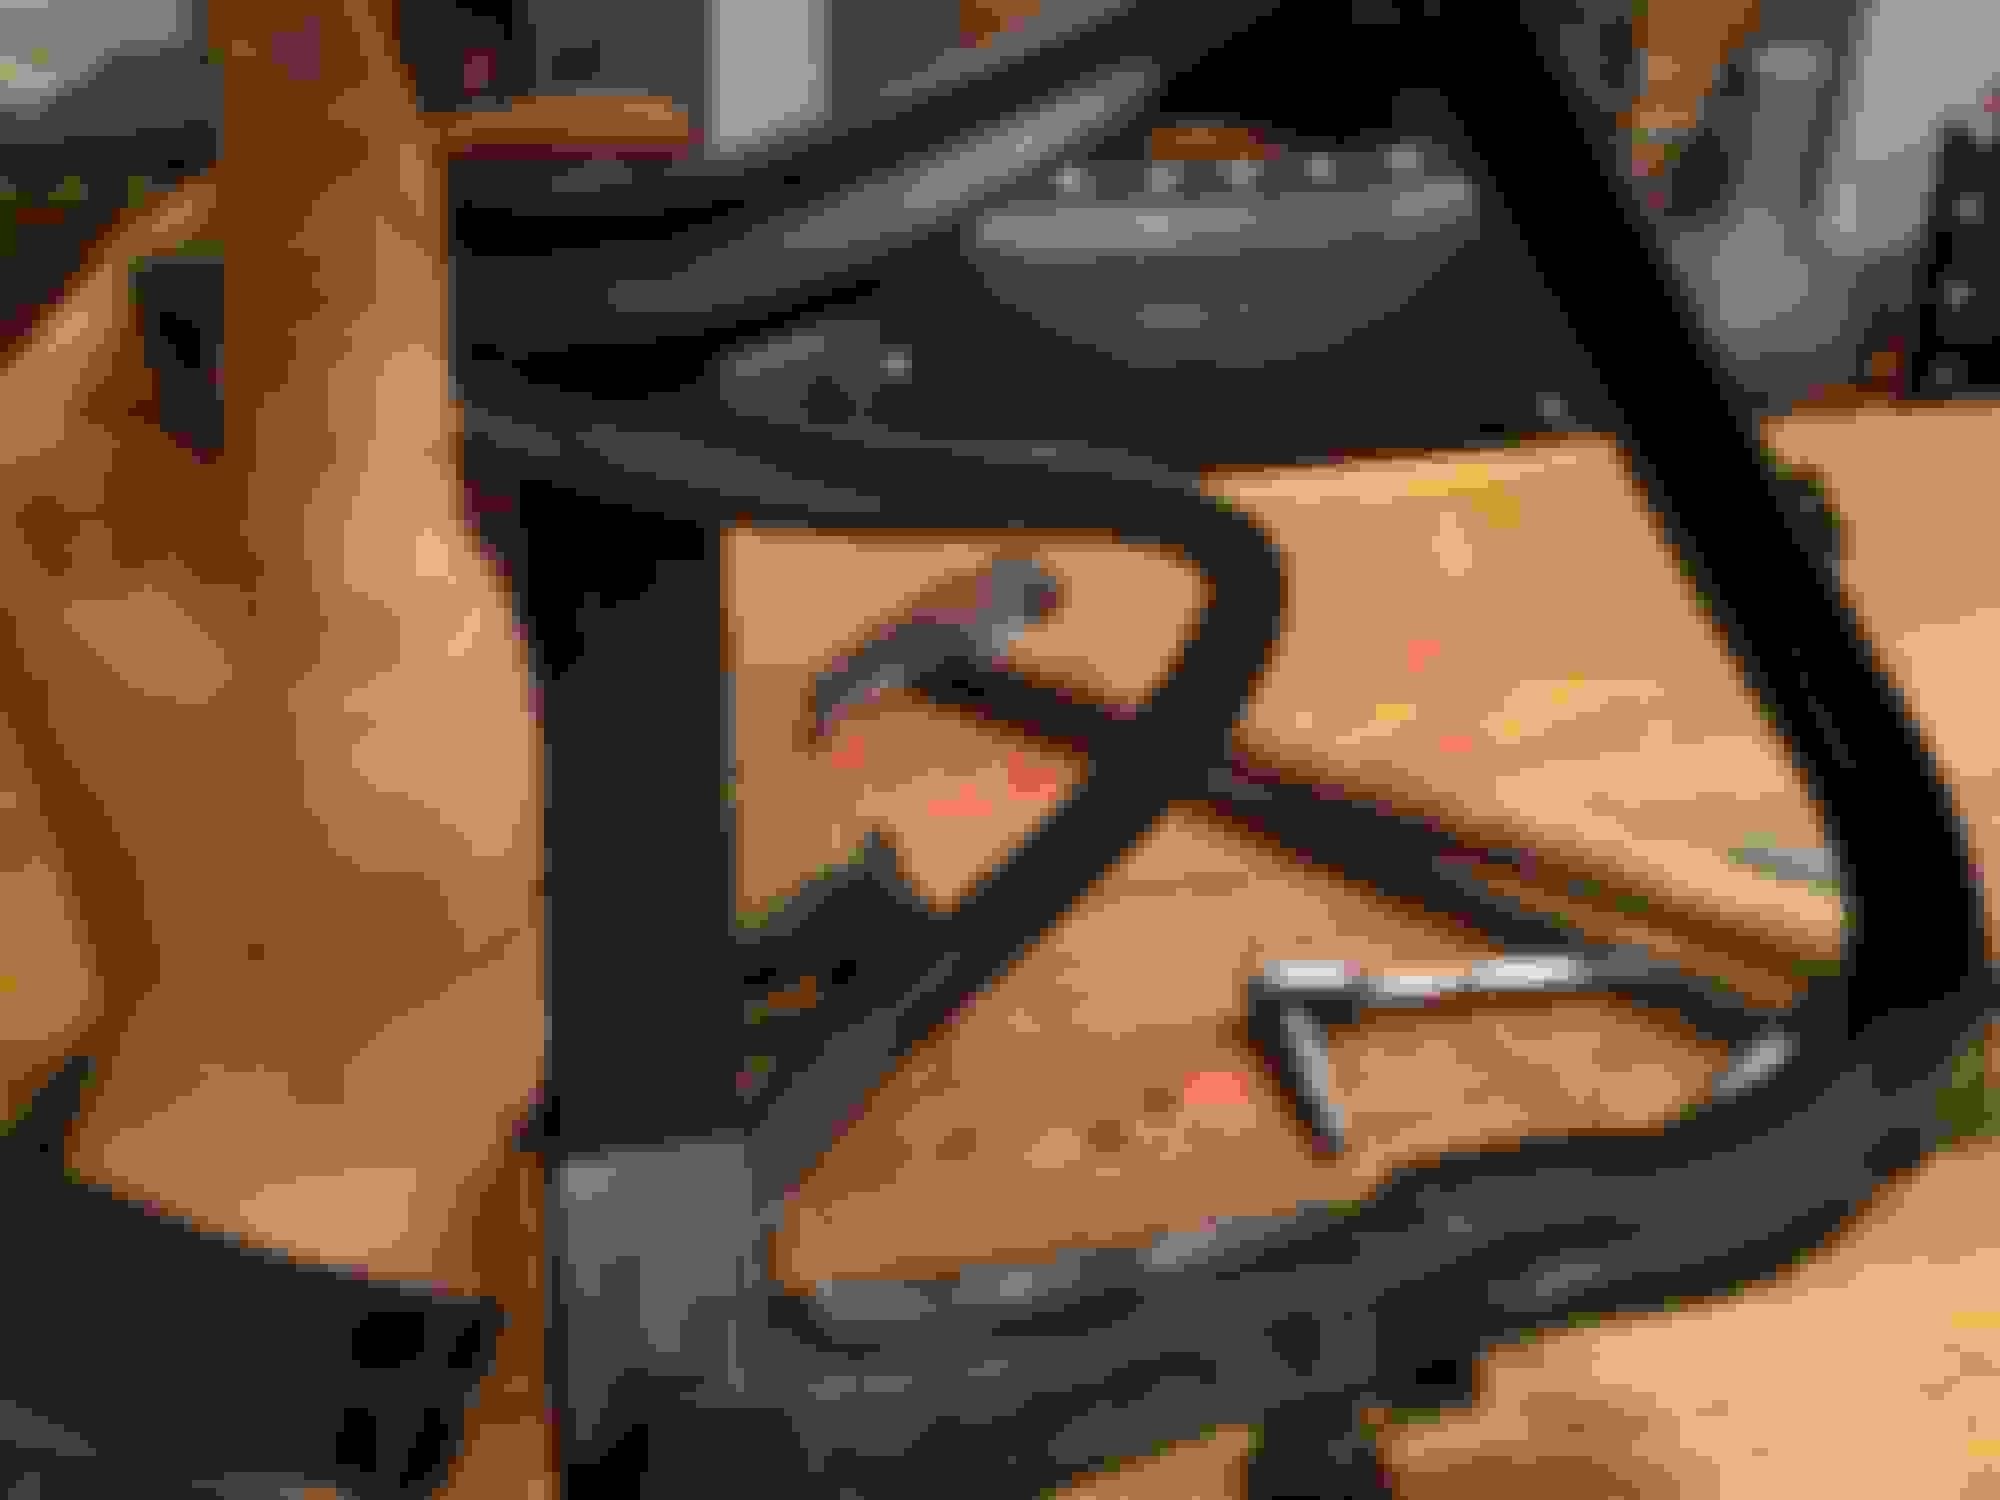
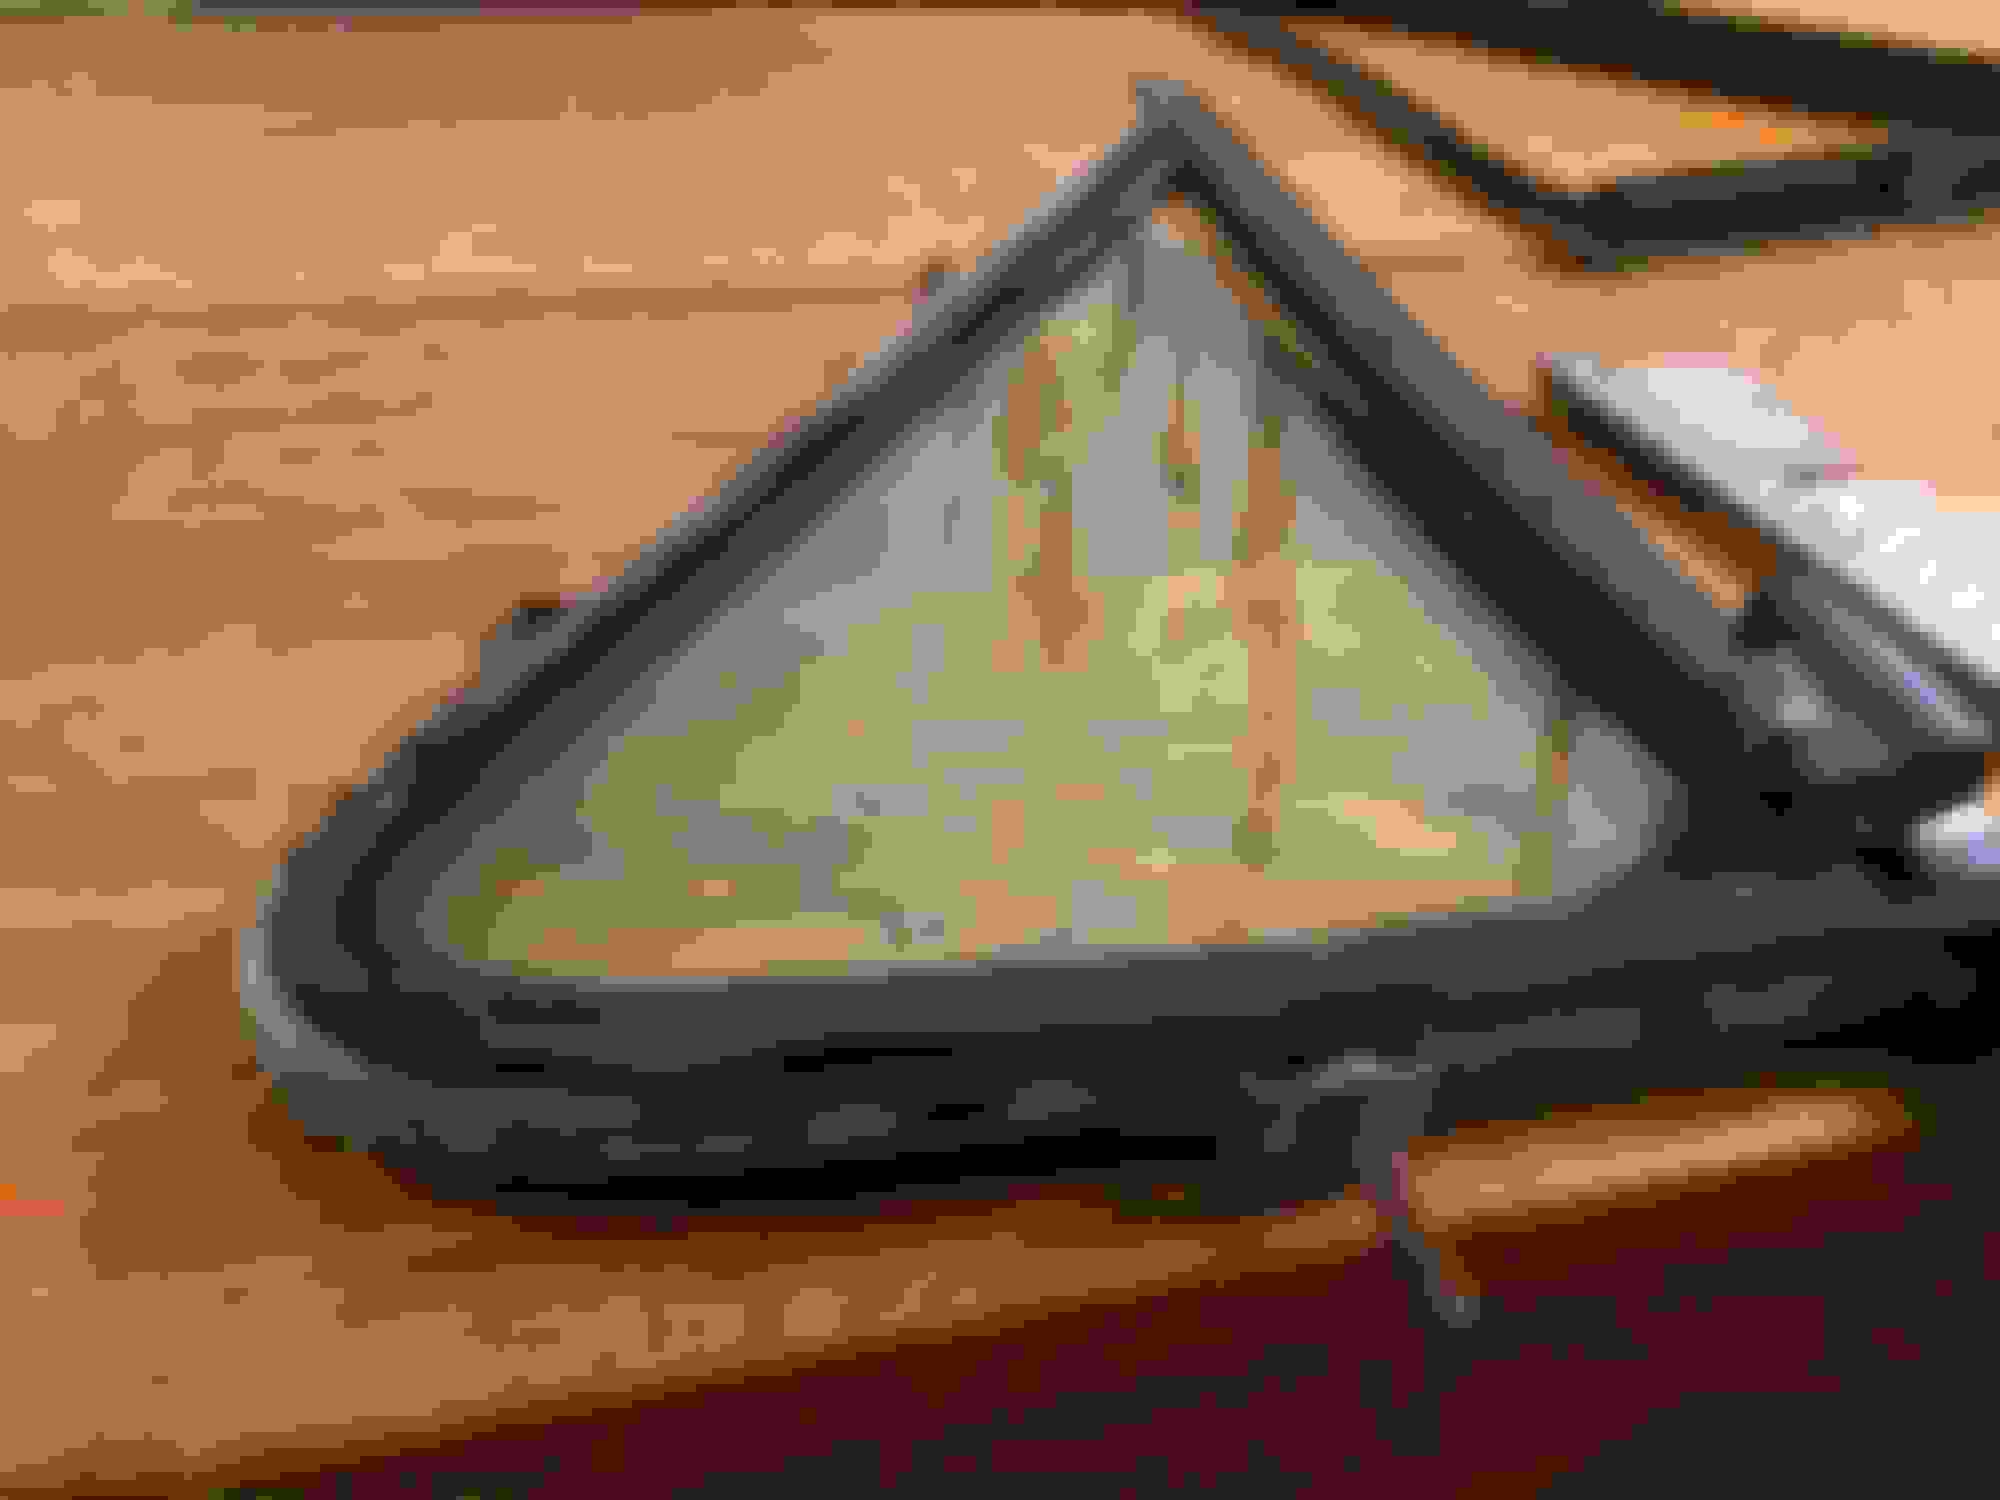
#9<br/>Turn window to allow the brackets to fit out of the slot being careful not to chip the window.
#10<br/>
#11
#12<br/>Remove the two screws on the bracket (size if I remember correctly (don't hold me to it) 7/64)
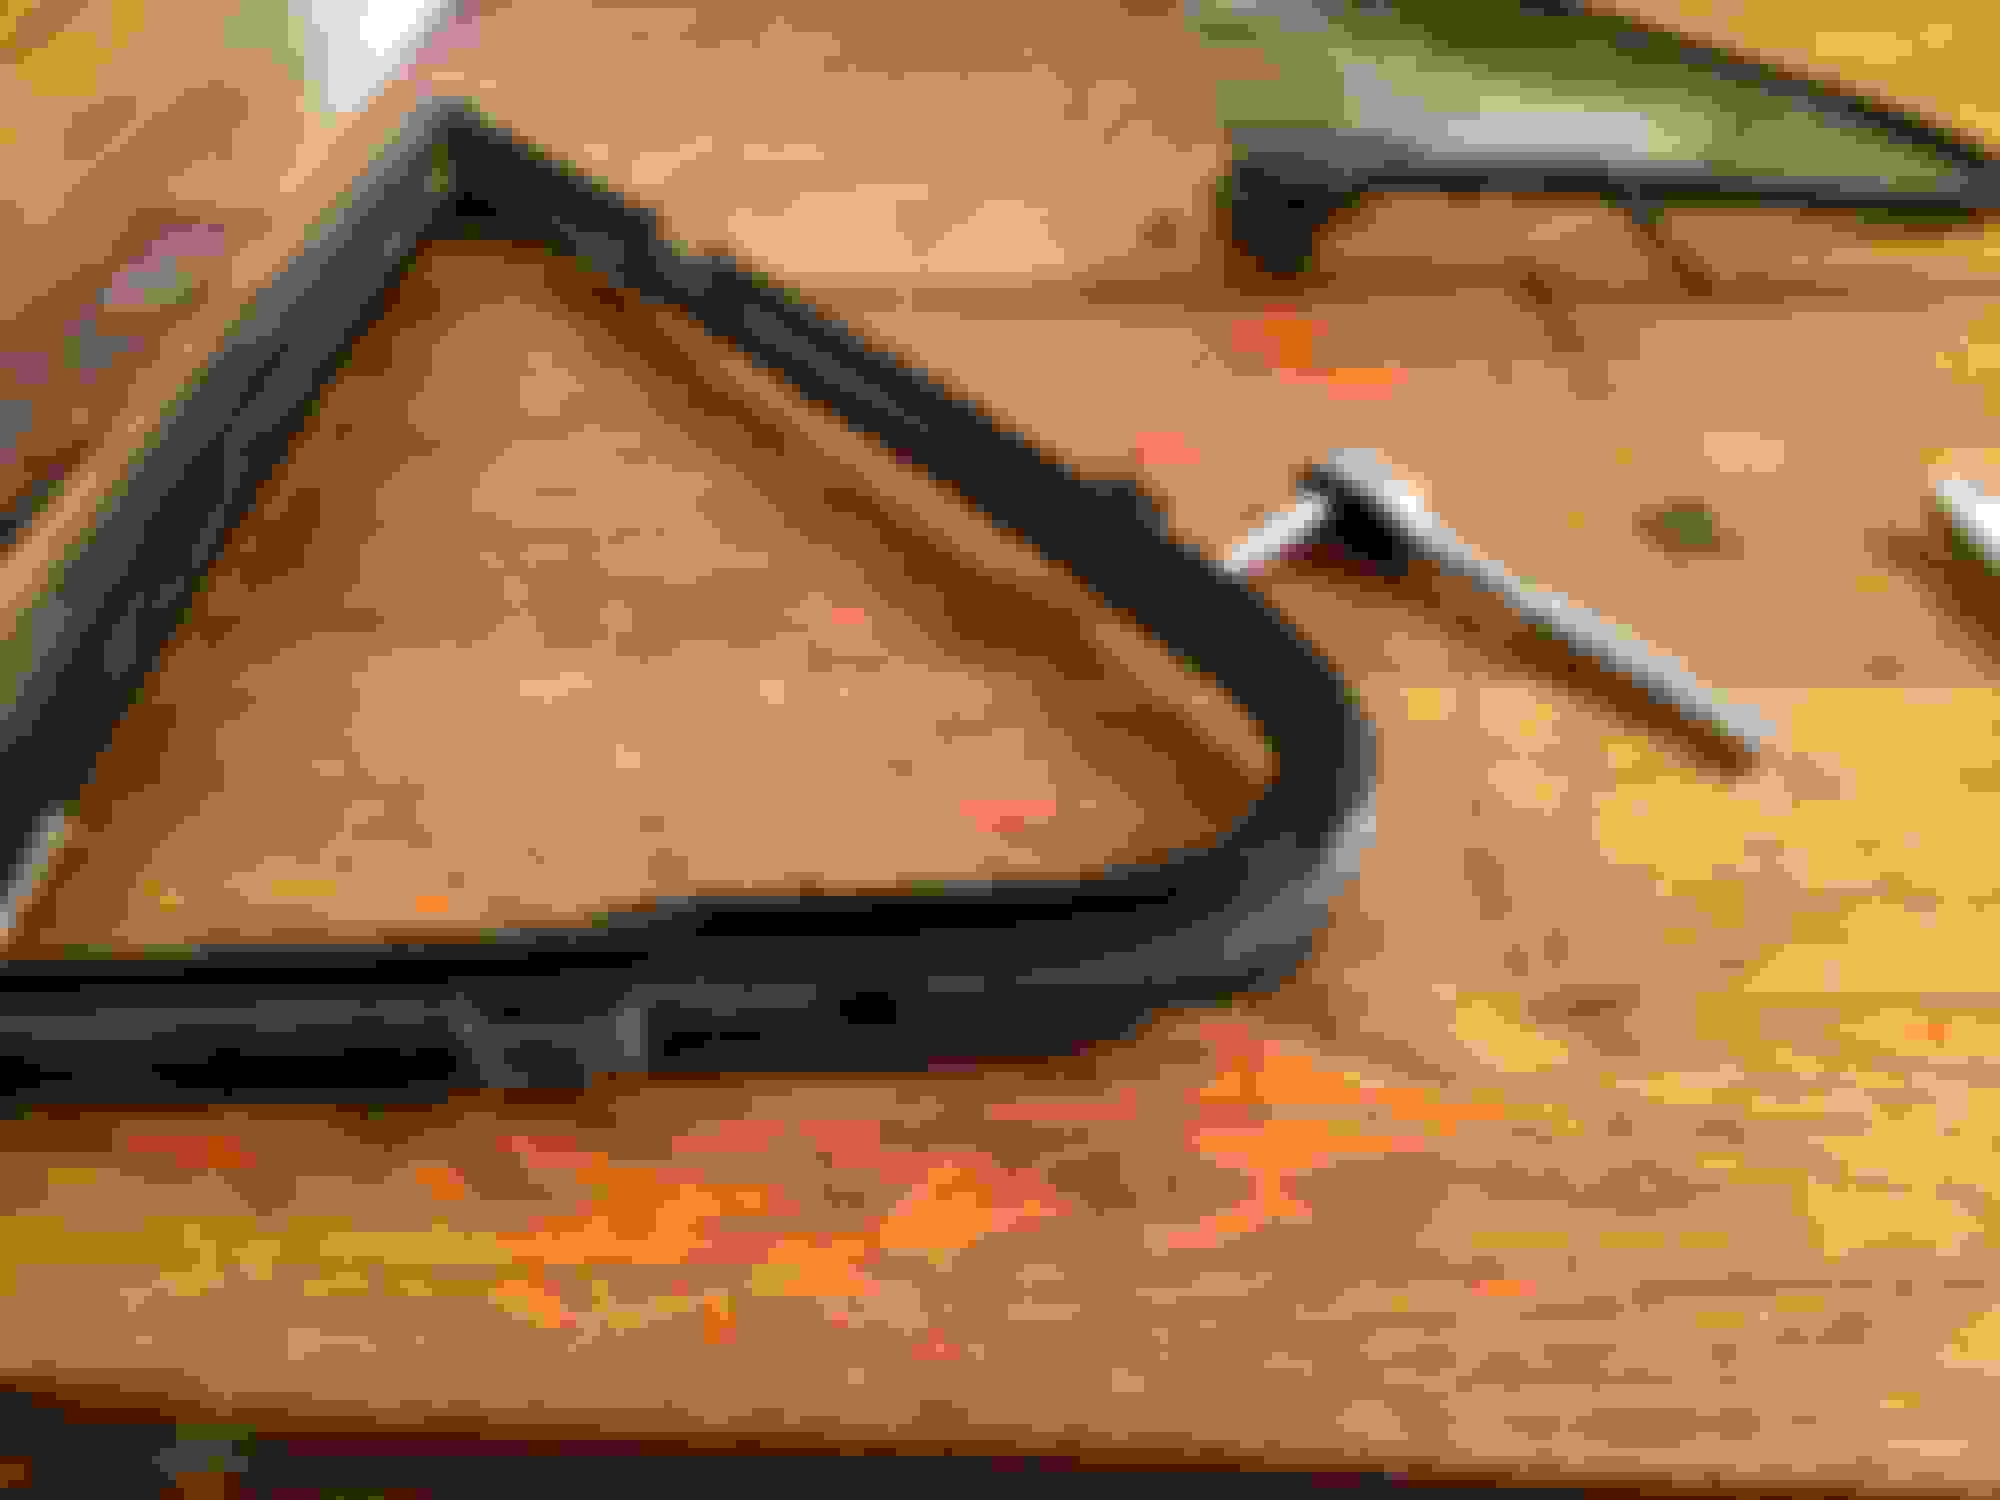
#13<br/>Remove the bolt on the bottom of the vent window using a 1/2" deep socket (socket pictured will not work).
#14
#15<br/>Slide the window upwards out of the frame removing the washers as it goes up. They may need some persuasion using a screwdriver (or, as I had to use because of rust, a hammer). The metal washer is longer on one end that keeps the window from over rotating and must be re-installed the correct way. Watch how it is installed when taking apart. The longer side goes towards the front of the window.
#16
#17
#18
#19<br/>Remove the old weatherstripping.
#20<br/>As with replacing all parts, make sure the new weatherstripping matches the old one.
Removed
#21<br/>Begin to install the new weatherstripping making sure the thick portion is fitting into the slot all the way around (except on the rear edge of the window where you push a smaller ridge into a slot.) Using a flathead screwdriver really helps.
#22<br/>The thick portion being inserted into the slot can be seen in this picture.
#23<br/>
#24
#25<br/>Re-install the spring and nut. I usually grease (di-electric (because it has a brush to apply it with)). the stud and, after tightening, the spring and nut. Tighten it to your liking by testing the amount of resistance the window has when you open it. If you over tighten it will squeak though so it is best to check before completely installing or you will be stuck with the squeak (once again, do not ask how I know).
#26
#27<br/>Re-install the vent window taking care not to hit the glass with the bracket. Be sure the window is in the track on both sides of the window or the top rear part of the main window can be chipped when installing the main weatherstripping (probably other places on the window as well, but I know that can happen in that location. Again, do not ask how I know).
#28<br/>Apply some removable thread locker to the bolt that goes to bracket on vent window ( a drop will do, you do not have to spill it like me).
#29
#30<br/>Re-install the two screws on the door being careful not to over tighten. The screw holes will strip very easily (do not ask me how I know).
#31<br/>Run a screw driver under the rubber to make sure it lays on top of the door frame.
#32<br/>The rubber goes between the door and window up to the flap and then the rubber goes on top of the door frame.
#33<br/>Run the screw driver under the rubber on the outside as well to make sure the rubber sits on top of the door and not inside allowing water to leak through. Be careful not to scratch the paint.
#34<br/>Re-install the weatherstripping for the main window.
#35<br/>Push the weatherstripping between the window and frame. Sometimes it helps to roll up the window slightly and push the weatherstripping down while rolling the window down at the same time using the window to pull the weatherstripping down.
#36
#37<br/>Remove the window handle again.
I am replacing the vapor barrier. If you do not need to do this then skip to picture 42.
#38<br/>Grease all moving parts within the door. Wipe down surface with alcohol.
#39<br/>Use duct tape to tape up some plastic being careful not to put it where it can be seen with the door panel installed.
#40<br/>Use a razor blade to cut in the areas needed (around the handle, window handle, speakers if you have them, plastic clips, etc.)
#41
#42<br/>Insert the handle first when installing the door panel. Pull handle open while working at pushing on the panel to get it on. This is a little tricky.<br/>
#43<br/>Make sure the lock goes into the hole.
#44<br/>The weatherstripping on the panel slips between the door frame and the window.
#45<br/>Install the screws in the door panel (one in the door handle and in the right side of the pic.)
#46
#47<br/>Re-install the window handle with the clear plastic washer between the panel and handle.
Nice write up.
Only thing I would do is use Never Seize or Anti Seize on the bottom pivot/spring assy. over the grease you used.
Grease overtime dries out and gets hard, besides it also holds dirt. Never Seize does not dry out overtime but may hold dirt but I would use over grease.
Dave ----
Nice write up.
Only thing I would do is use Never Seize or Anti Seize on the bottom pivot/spring assy. over the grease you used.
Grease overtime dries out and gets hard, besides it also holds dirt. Never Seize does not dry out overtime but may hold dirt but I would use over grease.
Dave ----
Thanks. I will use that next time.
Originally Posted by kr98664
Great writeup! The only thing I'd suggest is never post pictures showing dirty car parts spread out on the dining room table...
On a related note, please send $100 cash or your significant other gets copies of those pictures.
Great writeup! The only thing I'd suggest is never post pictures showing dirty car parts spread out on the dining room table...
On a related note, please send $100 cash or your significant other gets copies of those pictures.
Funny you say that about the table as I was thinking the same thing when I saw the pictures.
Originally Posted by hharris8
Thanks. I will use that next time.
Ah, the bliss of being a bachelor.
If it makes you guys feel better tonight I put kick panels on the dinning room table (we don't use) to get numbers off of for Gary.
The wife went crazy, Told her they would be off tomorrow early.
She said if not the house goes up for sale!
Dave ----
He's an 18 yo college kid who most likely needs to worry about his mom more than anybody.
Aint that right. I have definitely heard some lectures on filling the entire house with boxes of parts and leaving tools everywhere. (and yes, I did have to wipe the table after that project).
And Gary, you have some good friends. Dave is going homeless for you.
Not off table yet.
It is slow at work so took the day off to rest up from this sinus infection I have. After work yesterday I hit the urgent care and got drugs and think it is worst today than a few days ago.
Told wife next time I am out side, walked the dogs at 5:30 but did not have numbers from panels yet, I would take them back to my garage.
Now that it is light out we can let the dogs out in the yard and just keep eye on the foster dog, our dog has invisible fence.
Guess I should walk them out soon as she is cleaning the house now.
Dave ----
And not even new or clean!
Did she send you to your room after that?
oh
let me guess you were waiting for the dish washer to finish the dishes to throw that cover in to clean it LOL
BTW table is clean kick panels back to my garage and house pulled off the market!
When I was real young UPS dropped 4 truck tires, think 22", off at the house and the guy asked where to put them. Mom said wheel them into the living room till dad got home! They were there for a few weeks so it is in my blood LOL
Dave ----
Good write-up Hampton ! I'd rep you but i need to distribute it a 'lil.
Maybe I should rep Chris' Mom for puttin' up with that ! She have an account on FTE ??
Good write-up Hampton ! I'd rep you but i need to distribute it a 'lil.
Maybe I should rep Chris' Mom for puttin' up with that ! She have an account on FTE ??
Appreciate it. I hope it can be of some help to someone.
 12-06-2016, 05:23 PM