When you click on links to various merchants on this site and make a purchase, this can result in this site earning a commission. Affiliate programs and affiliations include, but are not limited to, the eBay Partner Network.
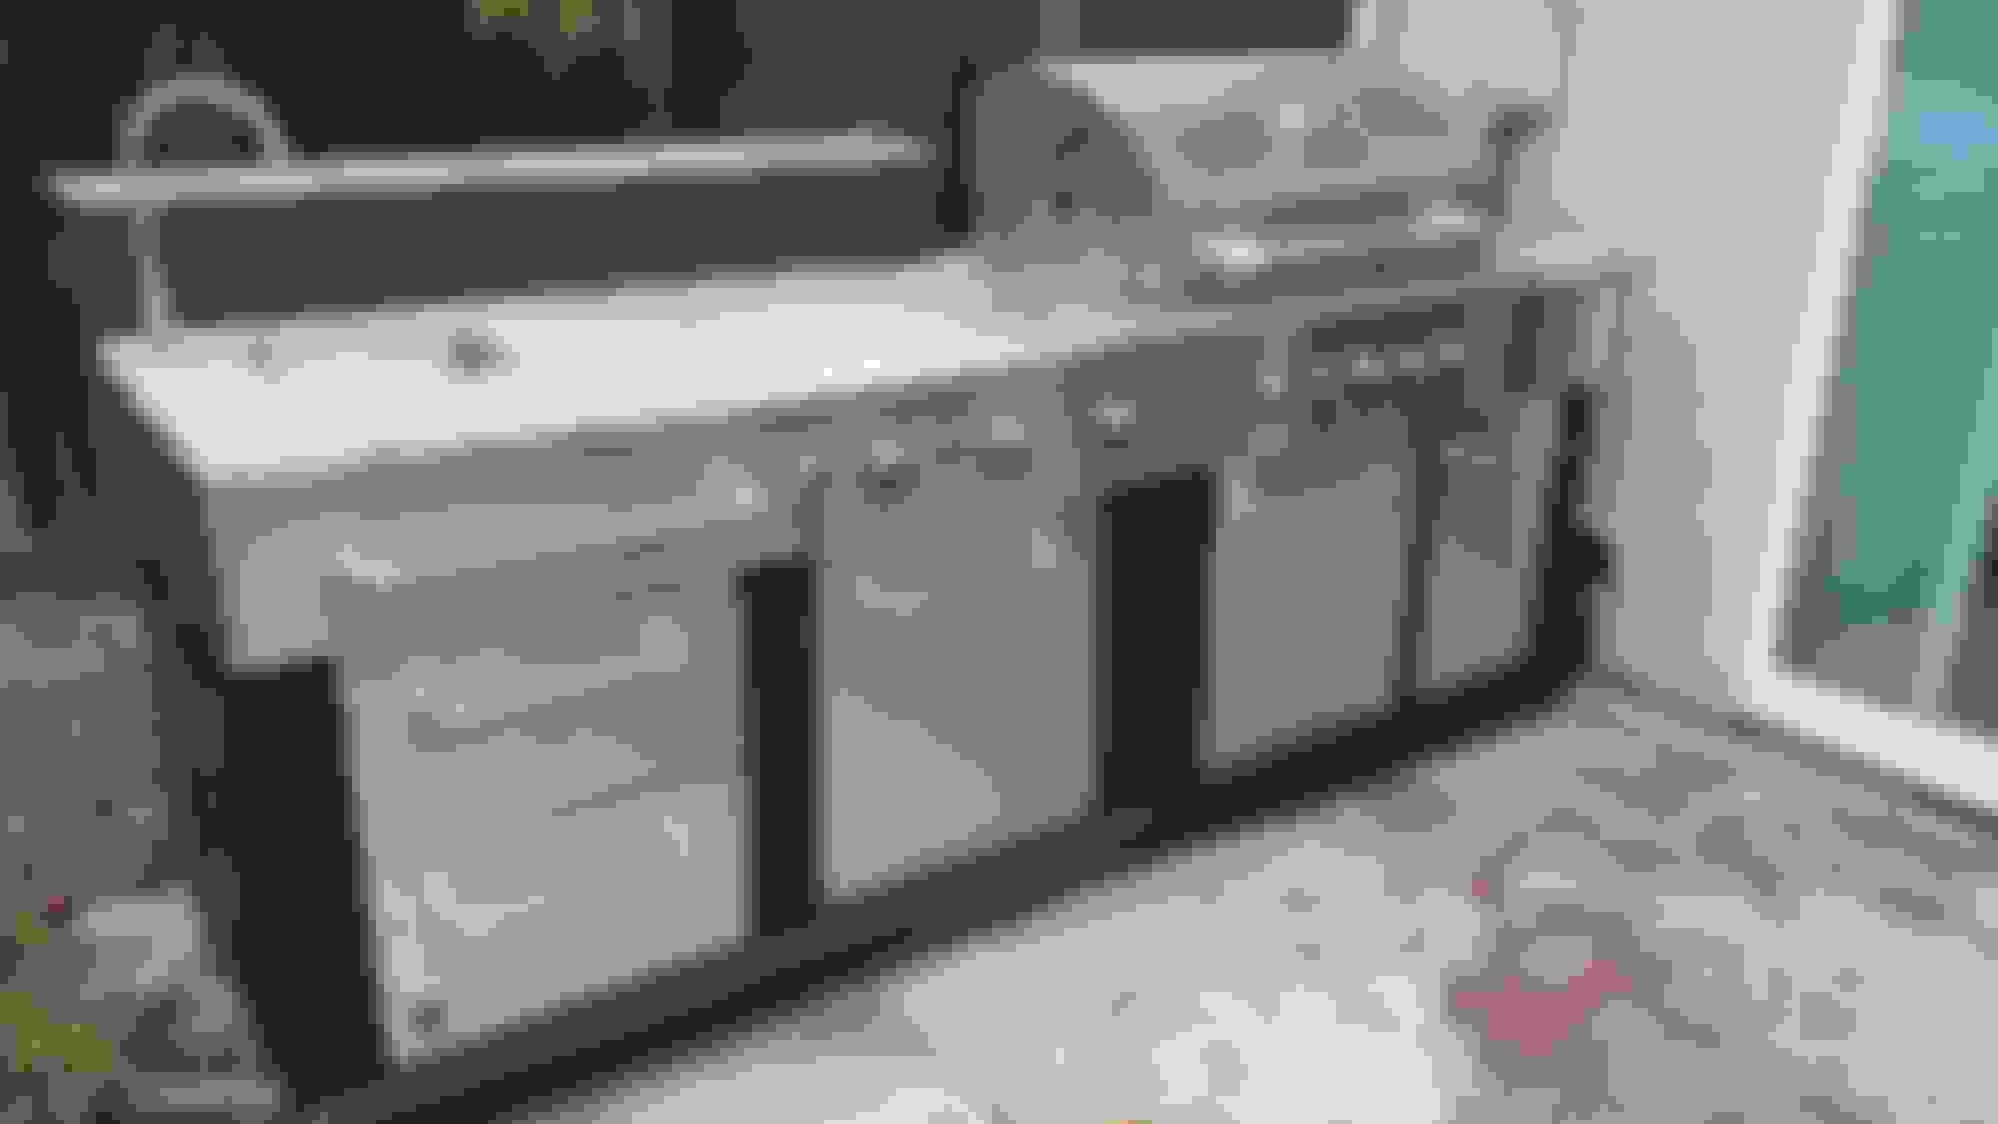
I found what I think will be a decent 'base' for one...at Lowes they have the Master Forge modular setup...you can get a 3 or 5 burner grill rolling unit (with granite countertop), a sink/cooktop unit (granite again, stainless sink, griddle/2 burner cooktop), and a fridge unit.
Grill is stainless and has cast iron burners:
...so it SHOULD last a while if I take care of it.
I live in CA where the summer temps get up into 100 pretty often, so trying to work in the under powered fridge unit just doesn't make $ sense (reviews on the fridge unit were poor as well - no light, difficult to control the temp).
My idea is to use these two units (3 burner and sink/cooktop) and build around it. Maybe make one of those rolling teak units where you build a cooler into the unit:
I found a granite place nearby that has the same granite in stock. I bought a vertical smoker (Char Broil gas unit) to add to the mix. We already have a turkey fryer that can also be used to steam crab, etc. that I'll try to factor in as well.
Plan is to build an additional "return" section on the left (coming off the sink unit) that will have matching granite. Propane tank will go in the blocked space and be accessed via the "outside"...I'll have a cutout made in the granite and build it so the section they cut out can be set up in-line with the counter top (to resemble a continuous counter top), be lowered onto rails that will leave top of the fryer level or just a touch above the counter top...or lowered onto the bottom of the unit and the smoker set on to that (raising the bottom of the smoker a bit).
Smoker Configuration:
Fryer Configuration:
Counter Top Configuration
Anyone here build their own outdoor kitchen that can share any tips/tricks?
Very cool project for sure!! It's been my experience all through the years that the weakest link in any grill no matter how much it costs is the burners, they just can't handle the heat.
My recommendation is to source new burners as replacing the entire grill set up is futile after this amazing project is finished.
source new burners as replacing the entire grill set up is futile after this amazing project is finished.
...what kind of burner will last longer than ceramic coated cast iron? I've heard stories of how the tube burners rust out after a short time (although living outside of Sacramento I've never had that happen to me).
I was under the belief that coated cast iron or cast brass burners should last the life of the grill - provided you clean them properly and coat them with a light spray of oil.
I wonder if I can find cast brass burners of the same size...
You can order cabinets made for outdoor kitchens and build it how you want. What I would do is build a large shelter so there's lots of shade. You can lay it out it like an island so people can sit across from you while you're mixing drinks at the wet bar.
I prefer having a BBQ I can move around so the wind isn't blowing smoke in people's faces and I don't have to stand next to it while I'm doing something else.
I love granite but a large slab needs a very solid surface or it will crack. And I would want something that's easy to clean because anything outdoors is going to get dirty. I'd do the whole thing in stainless so you can just hit it with the power washer before company comes.
...what kind of burner will last longer than ceramic coated cast iron? I've heard stories of how the tube burners rust out after a short time (although living outside of Sacramento I've never had that happen to me).
I was under the belief that coated cast iron or cast brass burners should last the life of the grill - provided you clean them properly and coat them with a light spray of oil.
I wonder if I can find cast brass burners of the same size...
Ceramic coated? You probably won't have an issue then.
...and does anyone have any electrician type experience? I have a question or two about adding 110v to this little project.
So after a bit of web sleuthing I discovered you can get 110v from a 220v box by wiring in to one phase wire and the neutral wire (had no idea 220v was really two 110v systems in opposite phase)...but the question I now face is if I were to have an electric fryer plugged in and the AC kicked on, would the circuit handle the load (I need to pull the fryer out of the box to figure out how many amps it draws).
My other option is to just run an additional outlet from the existing outdoor outlet (extend the outlet box and run it in conduit). That's a less aesthetic option and it would cost a little more (additional copper, conduit, etc.), but it would work fine.
The 110 outlet for the deep fryer has to be GFI protected. Kitchen circuits are 20 amp with #12 romex. Max 2 receptacles per circuit.
If you're planning a fridge, microwave or any other large appliance those have to be dedicated circuits too so make sure the conduit's big enough to hold all the wire you're gonna need.
If you're planning a fridge, microwave or any other large appliance those have to be dedicated circuits too so make sure the conduit's big enough to hold all the wire you're gonna need.
Nope, no fridge, no microwave. The only items I can imagine this circuit being used for would be this fryer, blender, the two small halogen lights in the grill itself. ...maybe an iPod charger/speakers.
I am tinkering with the idea of a plug in small water heater (to have hot and cold water at the sink)...maybe a 2.7 gal 110v size. Idea I had was if I can't run from the 220, then extend the outlet already on the outside of the kitchen. There are three existing kitchen circuits...this circuit has 2 outlets - one inside on the kitchen wall (currently blocked), and this one on the outside wall.
My thought is to extend the outside box, wire in a waterproof switch that would then power the circuit I'd run to the module where the fryer would be used.
GFCI outlet at that module, with a junction box between so if I needed to move it for whatever reason I could de-engergize it at the switch, disconnect it at the junction box, then move the module...do the work...reconnect and re-energize at the switch.
You can't use the 220. The AC has to be on a dedicated circuit.
The fryer and the water heater are heavy loads. You can't have all that on the same circuit coming from your kitchen. You need to pull a new wire from the panel. Maybe look at putting a subpanel can handle any future upgrades.
So I finally had a Saturday with some free time, so it's time to break in the smoker!
Simple unit from CharBroil, gas powered, 3 racks plus a section for water/wood chips. Every review posted said don't bother trying to keep water in the tiny center portion of the water/wood chip tray. Most people reported they just used a small brownie tin to hold the water and just filled up the tray with all wet wood chips.
As I was in a local Smart and Final looking for a spray bottle, I stumbled on one of those pans you put in a steam tray. I didn't think it would fit in the rails, but it looked like it would sit on one of the grates perfectly.
As it turns out, it fits right in the unit like it was made for it...lucked out big time. I didn't need it this time, but now that I have it, I don't have to waste the third rack just to hold water.
Filled the pan, filled the tray with apple wood chips (soaked in water for a good 3 hours), and off to the races.
I wanted to try to hold around 250, but for some reason I couldn't get it to really get below 290...damper closed, fire on low...and it was something like 40-45 degrees out. Curious if I can keep it that low in the summer when it's around 100 outside.
To provide some back story - I am NOT a veteran around the grill or any part of the kitchen...my highest culinary accomplishment has been a tri-tip on the grill, so smoking ribs is like me going on Top Chef...but something I wanted to master before I die.
I seasoned the ribs with Grizzly Joe's Chipotle rub (http://www.grizzlyjoes.com/)...after some research on line a guy down in Florida put up a YouTube video of 3-2-1 ribs. He used a light coating of yellow mustard to help keep the rub on while in the smoker. I have a tendency to throw up in my mouth a little when I think of mustard in anything but deviled eggs, but figured I should follow the instructions before I start tweaking.
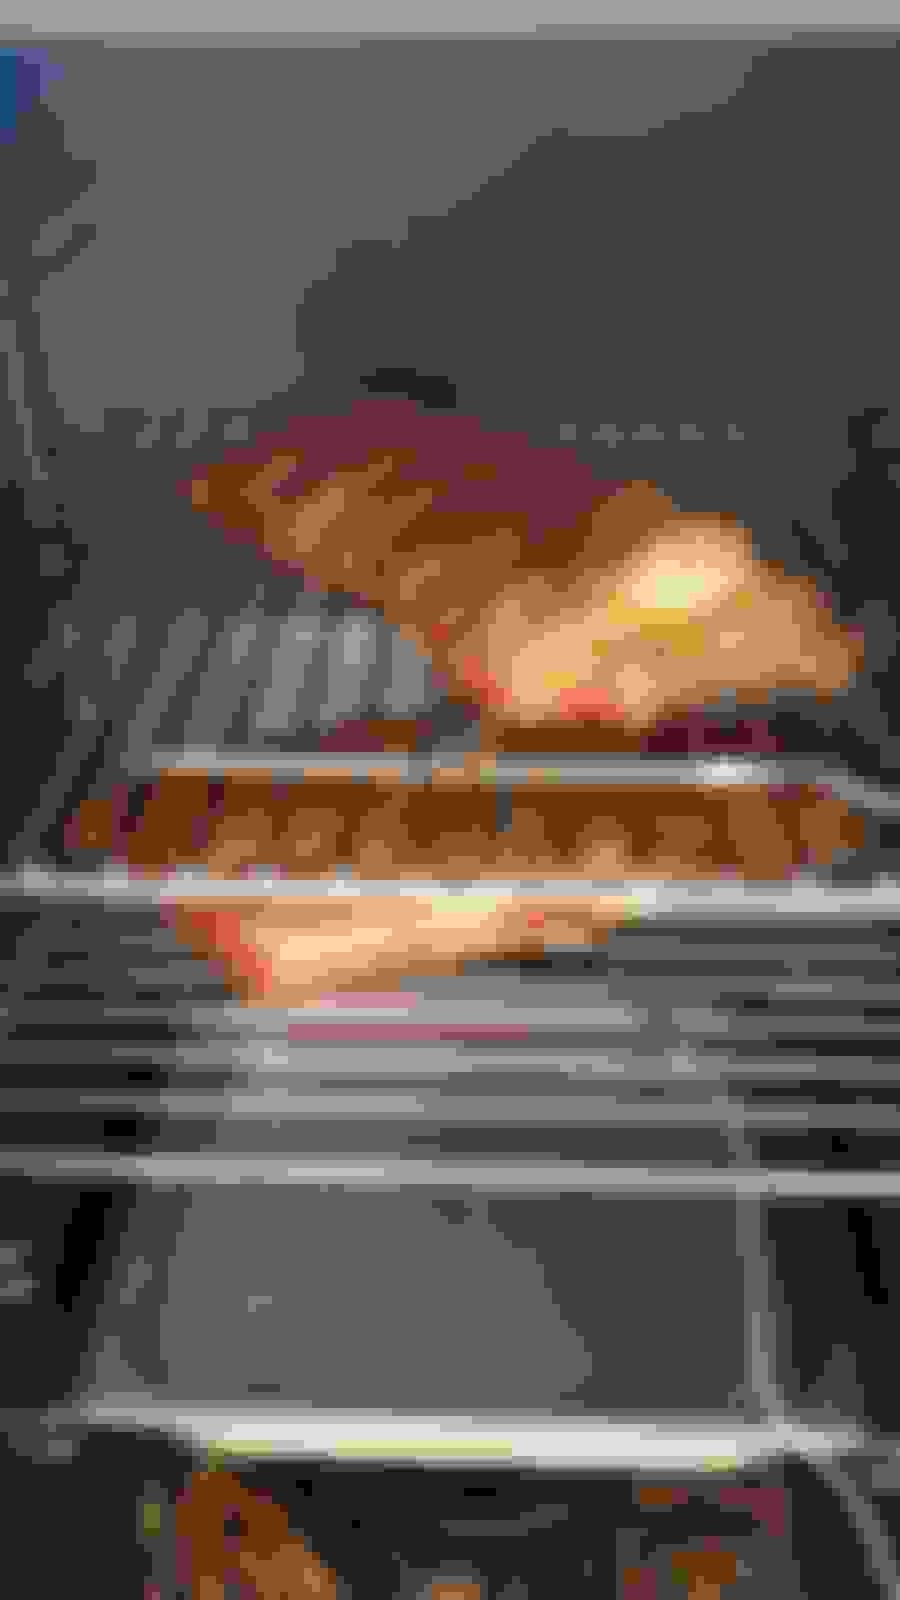
A light coating of mustard, rubbed the crap out of the ribs with the Grizzly's, and into the smoker. This unit is vertical, so I had to cut the racks in half to fit (luckily now that I have that water pan, I have three racks to play with instead of two...but today the third wasn't needed).
The temp probes you see are from a wireless unit I have...one probe can monitor the grill temp, the other can be a separate area of the grill or the food...I ran the grill temp and the upper rack.
Into the smoker they go for 3 hours. Had one flare up of the wood chips about 2 hours in. I meant to add chips at the 1.5 hour mark but they looked pretty good. I thought I'd need two small bags, but actually got away with one bag. Decided to break out the stainless polish while I waited...not sure I'll keep the grill and cooktop laid out like this, but I've got all winter to play around with layouts.
I made up a spray of 6oz apple cider vinegar, 6oz pinapple juice, and 6oz water. Sprayed this on the ribs every 30 minutes or so.
...about 2 hours in and things are looking good.
3 hours in the smoker, time to wrap them for the oven (could put them back in the smoker, but wrapped in foil they won't get any more smoke - and why not save the propane for the next set?). Double wrapped in foil, added some honey (about 2-3 tbsp worth), brown sugar (about 2 tbsp worth) both drizzled on the top, and about 2-3 tbsp of the apple cider mix. Wrapped them tight and into the oven, 250 for 2 hours.
Out of the smoker:
2 hours in the oven...pulled them out and some good pull back from the bones, and plenty of juice in the foil, so I was confident that they would NOT be dry by the time I was done...
On to the grill for an hour with the bbq sauce to set it. This was the very first time I have fired up the grill, so I had no idea how hot it burns.
Initially I thought I may have burned the bone side, but that was just the bbq sauce burning a little - it looked charred but it wasn't.
This grill burns CRAZY hot compared to my now dead CharBroil apartment one...1 hour on the grill with the burners barely on...could have done it in 30 minutes but I wanted the bbq sauce to caramelize like the guy on the video said to do.
Final product!
I broke out the knife to cut them up, but in reality they almost fell off the bone. Had NO idea making these was as easy as this...7 hours of time with prep and cook, but really probably no more than 2 hours of actually doing anything...90% of it was just waiting for the process to run it's course.
So now the wife and I are recovering from our pork-induced comas...I've cleaned up everything and am debating if I want to make another rack tomorrow for a buddy of mine or not. Going from barely mastering burgers to making these home-run ribs on the first try and I'm feeling pretty good all told.
For those curious, here is the YouTube video I found that got me started on building this outdoor kitchen project. I didn't trim the ribs like he did, nor did I use the same rub or sauce, but everything else I tried to follow as much as possible, and the result was AMAZING.
 12-06-2016, 01:31 PM