When you click on links to various merchants on this site and make a purchase, this can result in this site earning a commission. Affiliate programs and affiliations include, but are not limited to, the eBay Partner Network.
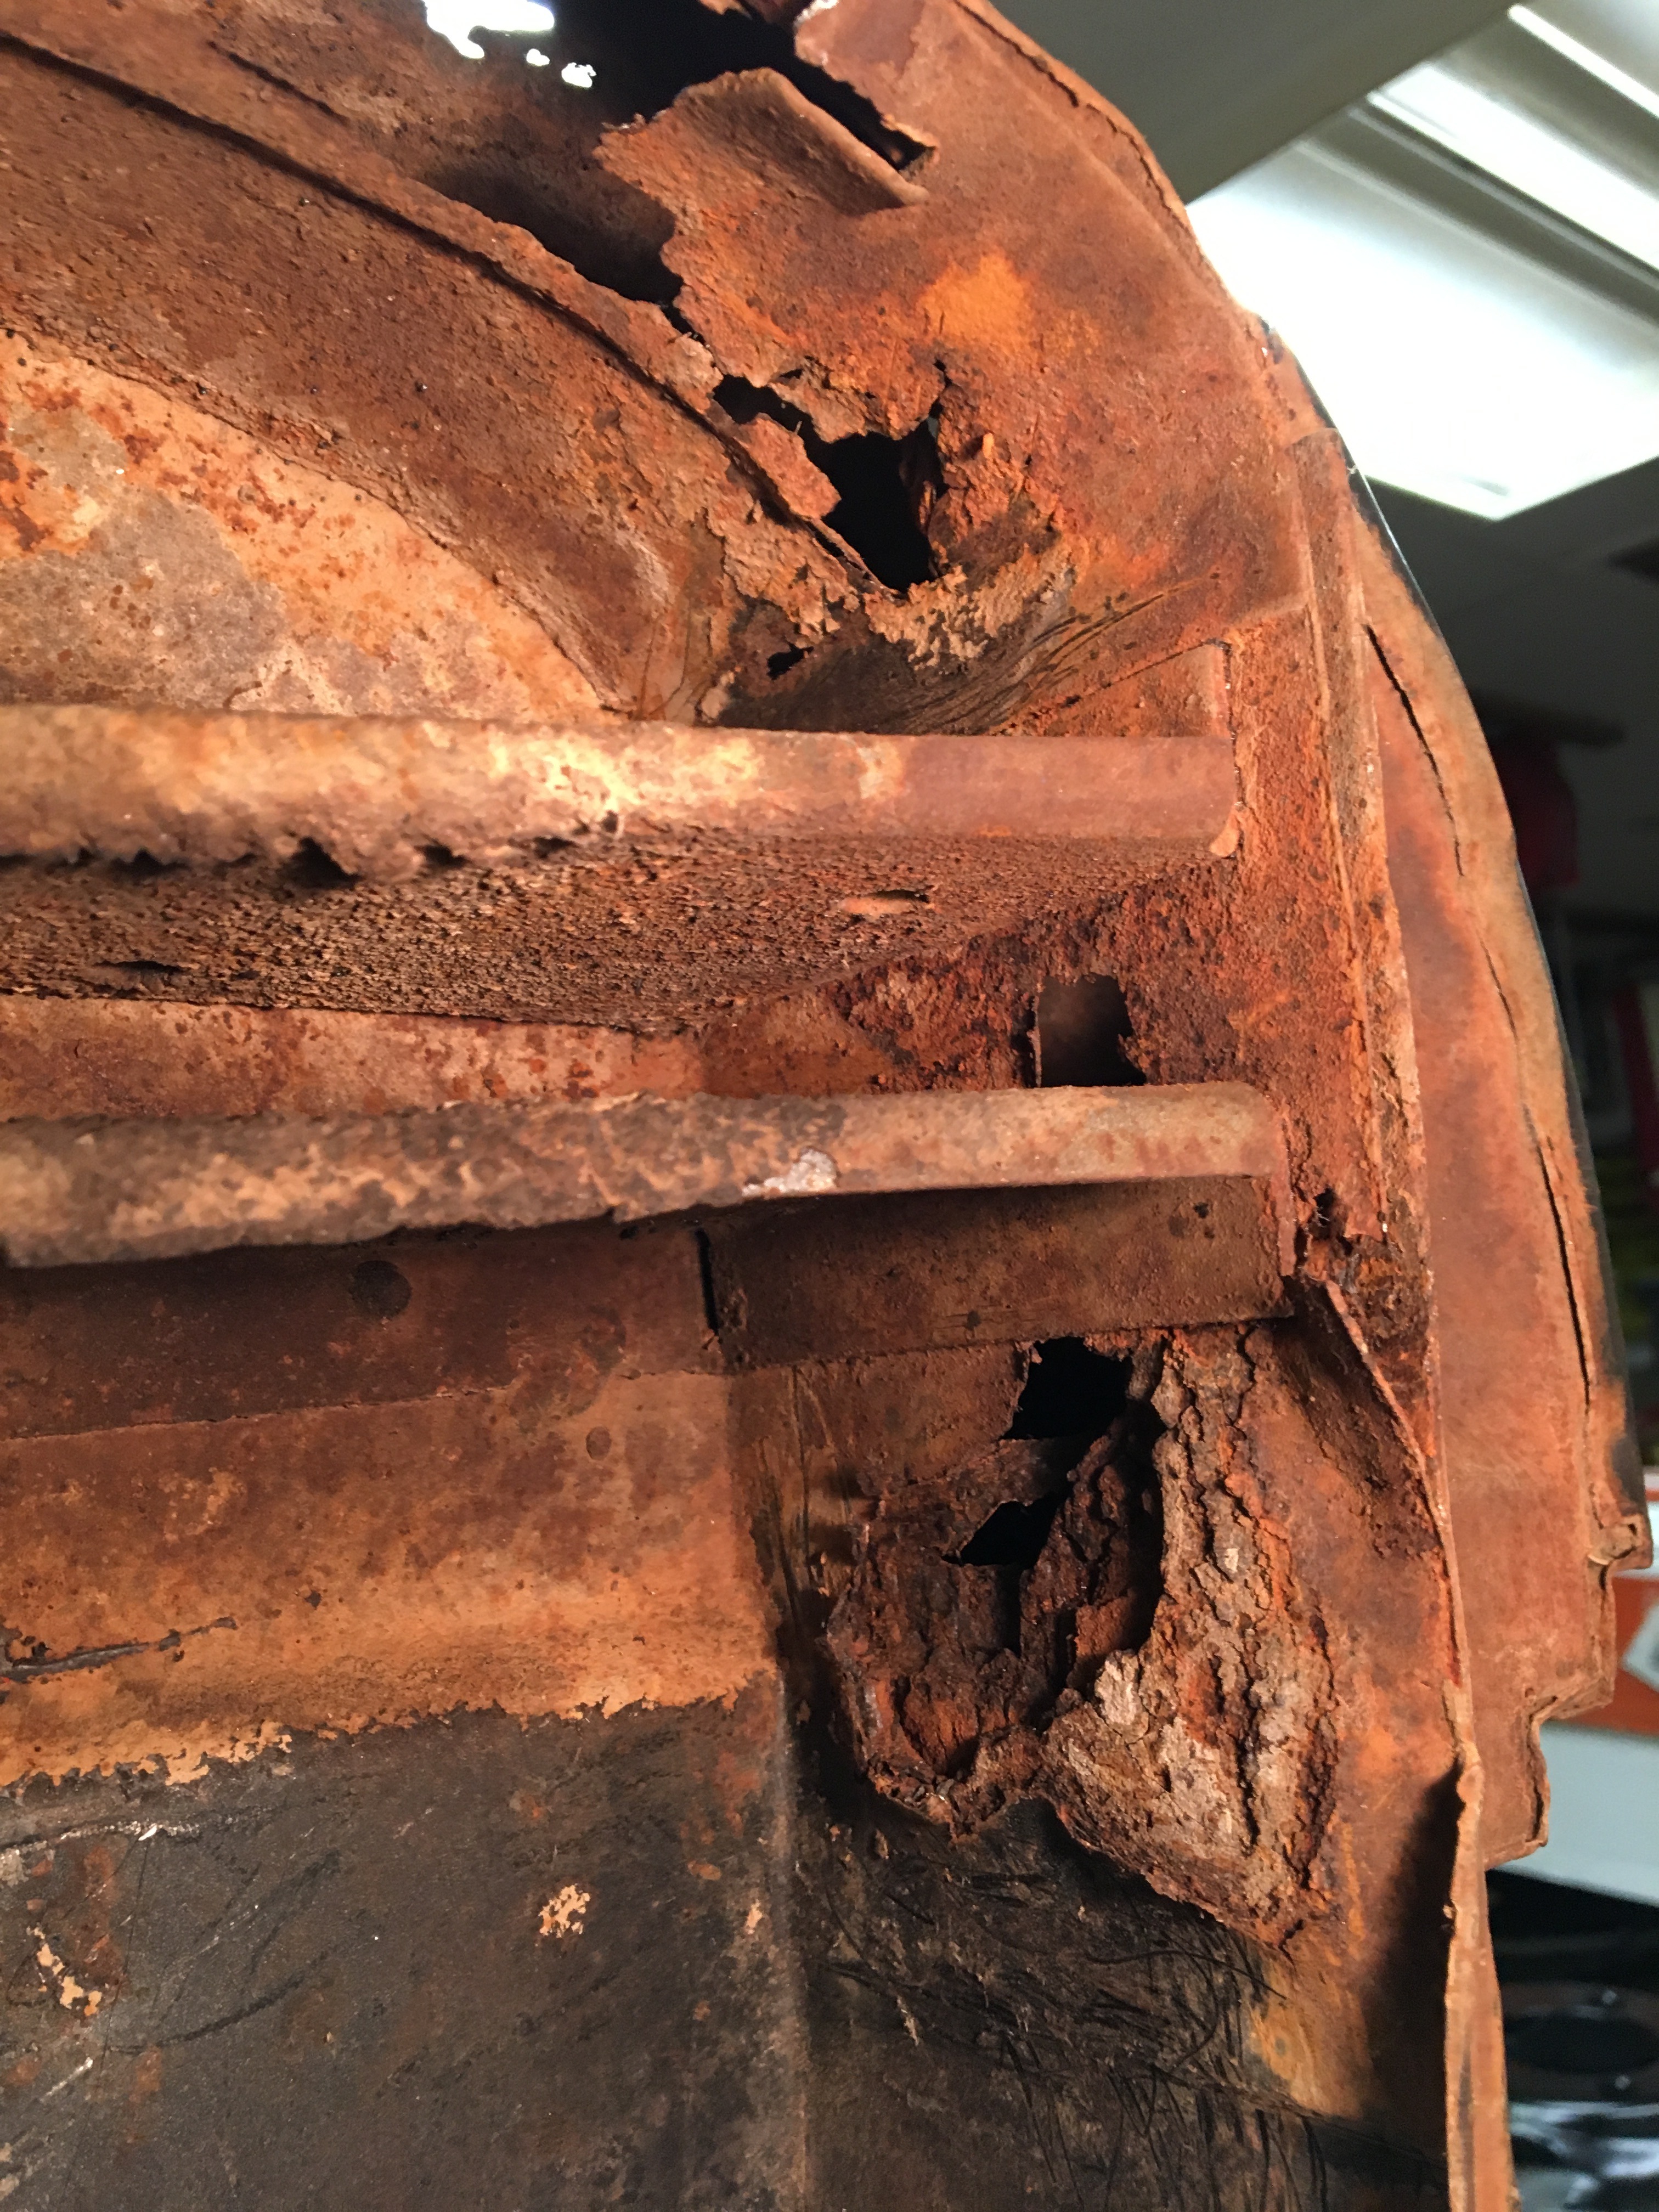
Does anybody have a photo record of the repair of their inner rear cab corners on a 48-52? And any guidance on their step-by-step rust repair attack in that area? I have a set of Reamer's nice outer corners, which look straight forward to weld in. The inners, however, include a sandwich that ties in the "B" pillar gusset and door sill. My Google and YouTube searches didn't yield much on the inners. Before I take a meat ax to the worst of my two I sure would appreciate input. Stu
i'm not too much help, heres a bump. I checked the doors to make sure that I didn't need to move the A/B pillar for the door to work good then put brace's to hold the in side of the cab. stu maybe read john's(56panelford) first page in his 56 pickup build he has great pic
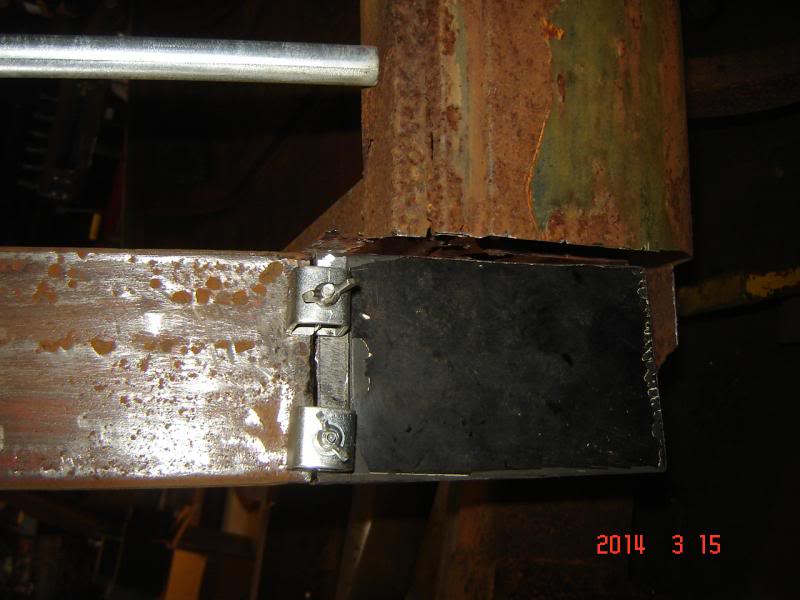
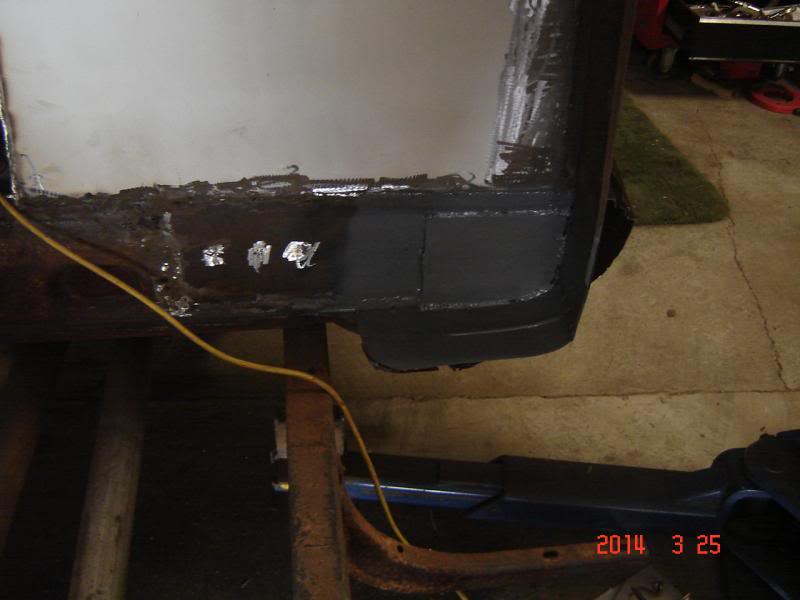
Thanks. I cut a window in the outer curve and see that my "B" pillar gusset is hurt. So figure the only way to remedy this is to brace things and work from the outside to build the inner. You'd think an Arizona cab would have survived better. Stu
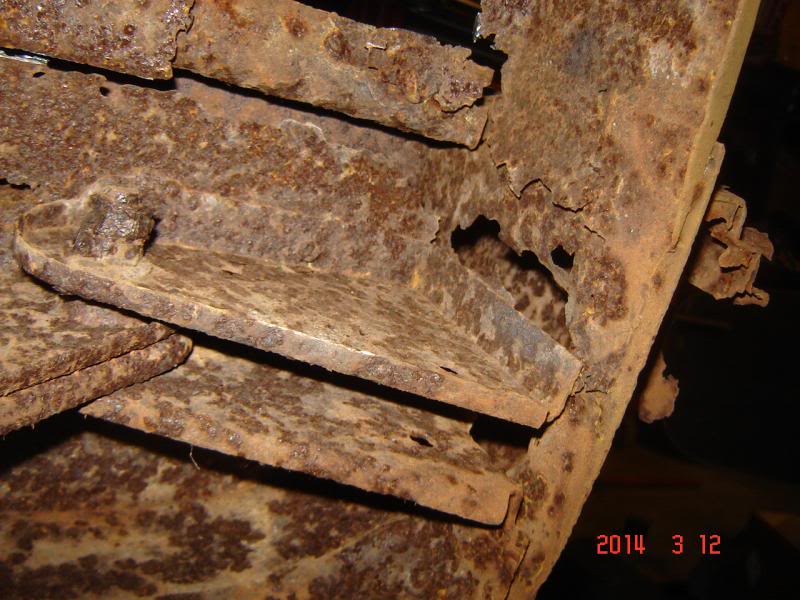
The lower section in your picture Stu is part of the end of the rocker panel. If your rocker panels are OK then just patch those spots. Luckily I didn't have to remove my mounts as roy did and I didn't have to replace the outer panels just patch them but once you have the outer sheet metal off it looks like you can get to the spot welds much easier. Make sure that you either provide a hole (obviously larger than the one originally provided in bottom of the rathole) or fill them with foam so water can't get in there. I guess these old trucks were expected to leak.
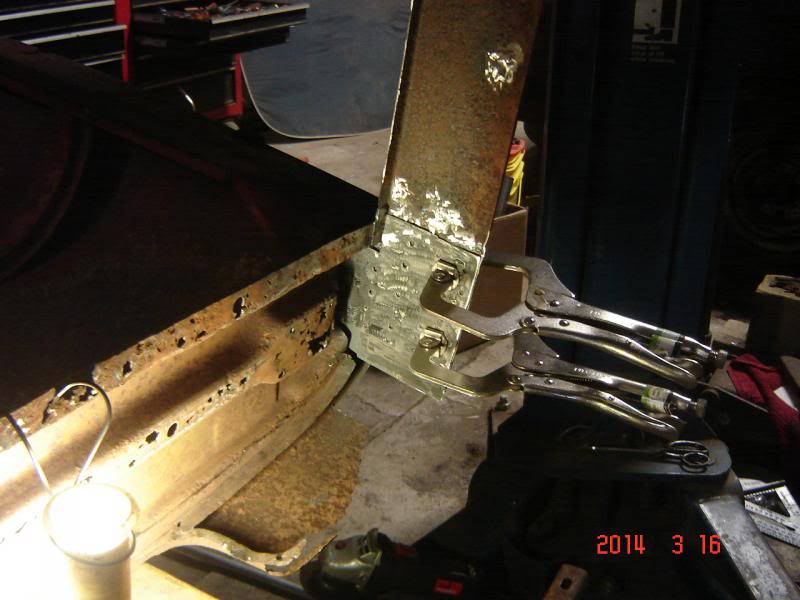
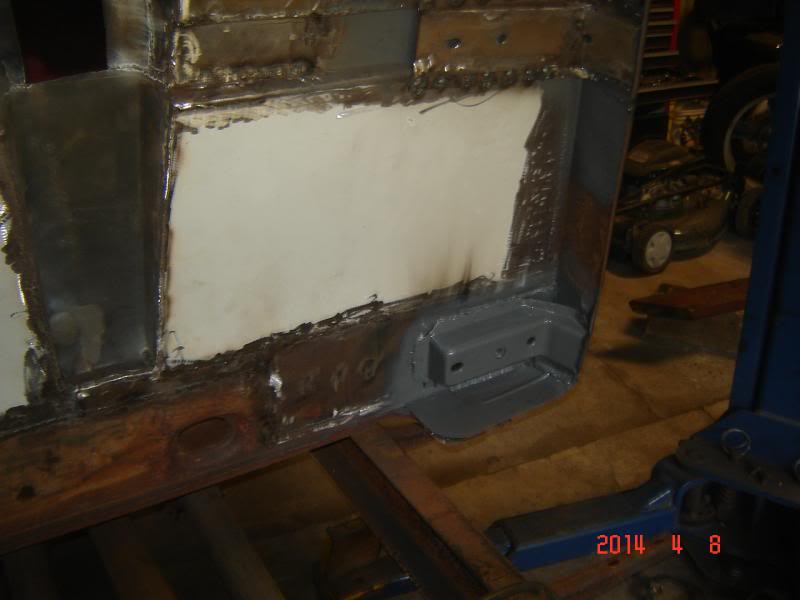
Here are some pictures of how I did mine. I believe I fixed the rocker panel first, then the piece that connects to the B pillar. You can see that I did 6 rossete where it attaches to the cab mount and then did more to connect the b pillar to the rocker.
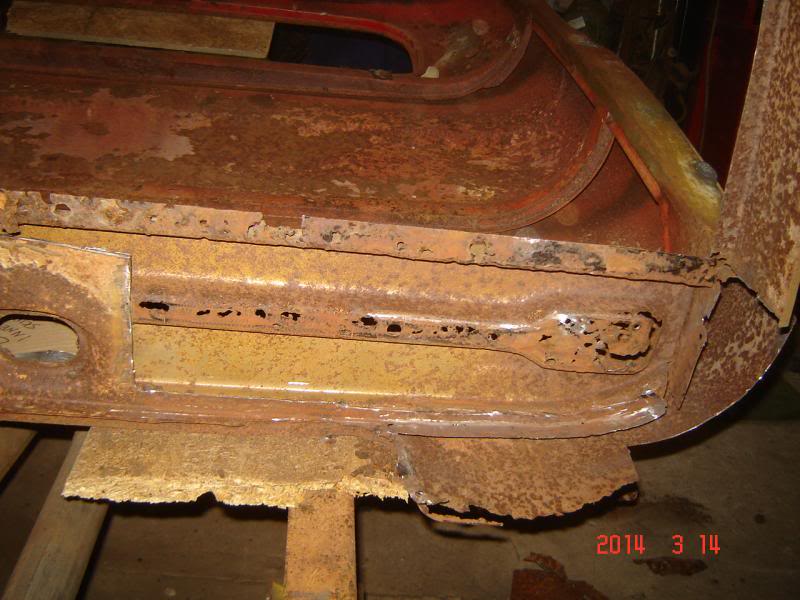
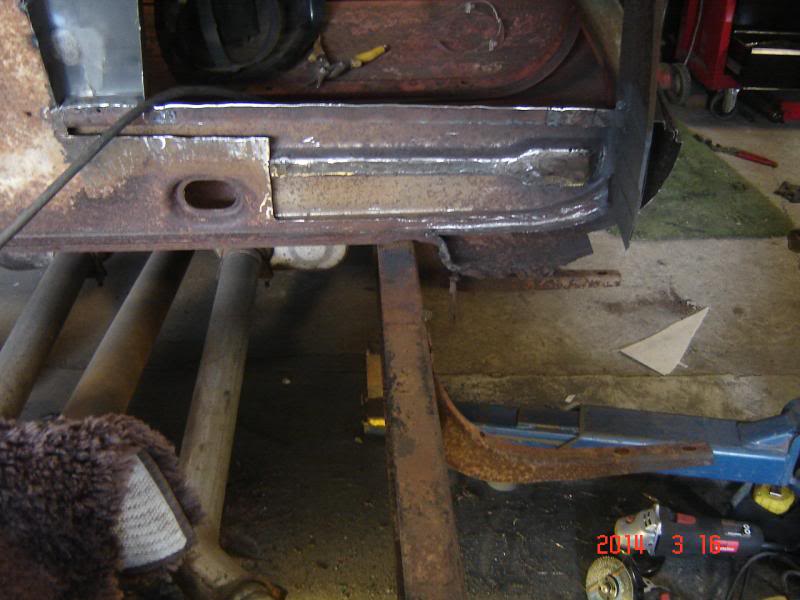
Nick - looks like you fab'd a new lower section to your door jam. Mine isn't hurt there but there's no way to get to the damaged gusset without sacrificing that area. The gusset is in the middle of that metal sandwich. Really appreciate the pictures guys. Stu
Nick - looks like you fab'd a new lower section to your door jam. Mine isn't hurt there but there's no way to get to the damaged gusset without sacrificing that area. The gusset is in the middle of that metal sandwich. Really appreciate the pictures guys. Stu
The passenger side lower door jam didn't need to be replaced like the drivers did, but like you said, you cant reach the areas that need to be replaced with out taking it out. I ended up cutting the lower door jam and just welding it back in on the passenger side.
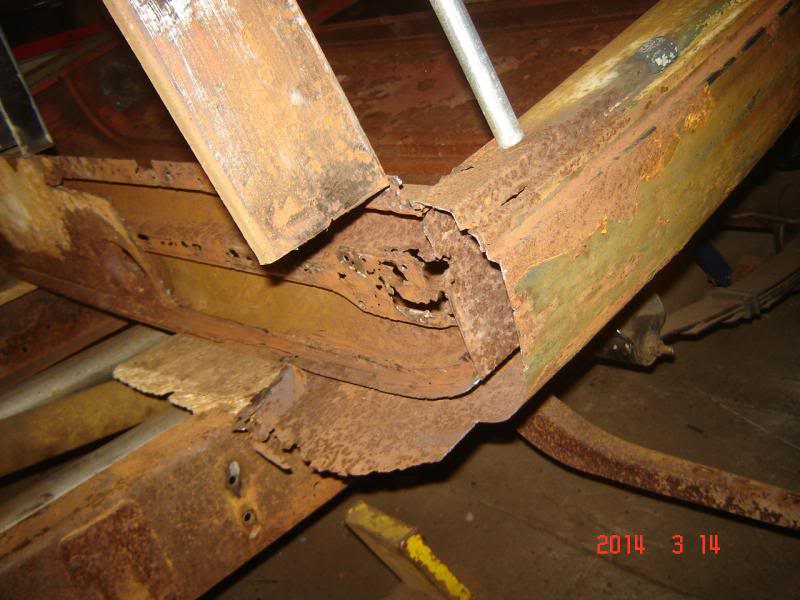
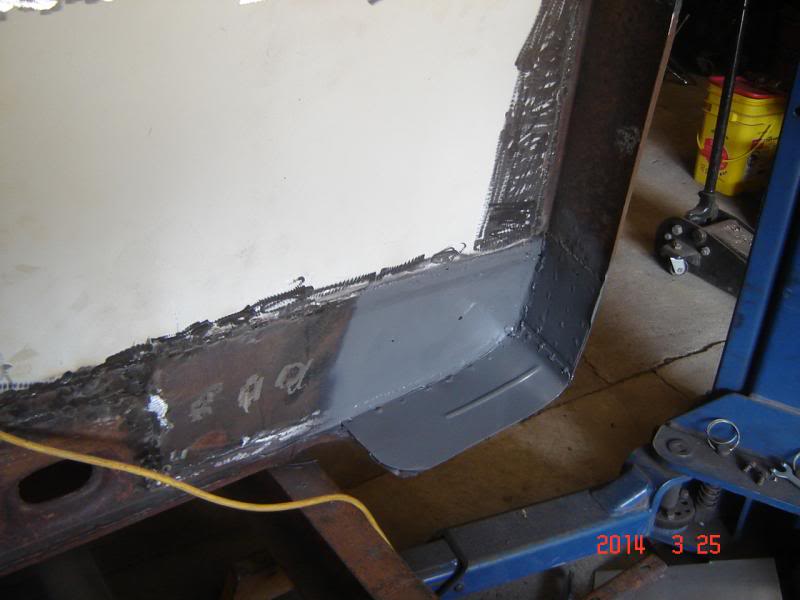
lots of pics of major rebuild in my truck #1 build, link is in my signature. I had to replace everything so I got rid of the lever mounts and went with a more modern design. My cab was total garbage but I saved it with my usual low buck low budget fixes. There was 3 layers of steel in that area.
I'd think you would also want to keep a good eye on your door gap during the project...even weld some bracing in the door area temporarily if the gaps are good, or correct the gaps as part of the repair.
Often in this type of work you will need to remove perfectly good steel to get at the repair area. Cut it out with reinstallation in mind...use spot weld cutters on seams, and carefully cut with the thinnest wheels you can get .
Some very nice work up above!
*one pro friend of mine that routinely does this type of repair often tries to reengineer the parts so there are no more rust traps, like double or more thickness or lack of drainage.He will often butt weld in a thicker flange instead of using the rosette welds on an outer piece.....clear as mud, I know..
 10-13-2016, 10:45 AM