When you click on links to various merchants on this site and make a purchase, this can result in this site earning a commission. Affiliate programs and affiliations include, but are not limited to, the eBay Partner Network.
So I had some extra time in my CAD mechanics design class today and decided to start a rough Idea of the headache rack I want to build. So it's not done being designed yet but here's a start and a rough Idea. Might still add a winch as well.
Alright, so today I got both axles out of each truck. Really simple, I had to undo the mechanical and hydraulic brake lines, shocks, driveshaft on the 83, and the swaybar on the crew cab. Then it was just the 4 leaf spring bolts. Now I'm also going to be using the 1 ton springs from the 83. But I needed the lift blocks off the 74s axle. now those bolts were stuck on there really well(the u-bolts). So if any of you are having the same sort of situation here's a little tip to get them off. Now usually its easier with two people, but one can do it. So basically you need a torch (I used an oxy-acetylene) and you heat up the nut and U-bolt until they are starting to glow red, be careful to not get them too hot or you can melt the nut to the U-bolt. Once that hot a wire brush can help by brushing the bolt part and getting all the crud off. With a long breaker bar you should be able to break it lose much easier. It may take a few times of heating but makes it much easier then doing it without. If you want to make it easier you can even melt some wax on the bolt and nut.
Once I had both leaf springs off both axles I swapped the lift blocks and started putting them back together. Now I'm fairly sure the axle is a dana 70, maybe one of you can confirm it by pics. Soon I'll have the rear axle installed, then its time for the engine!
Most likely a 70. Check your axle code on the drivers door. Then you can find out gear ratio as well. If you have the axle code you can always call a Ford dealer as well to confirm. I found out my Axle/GR via this chart below. Lookin good man!
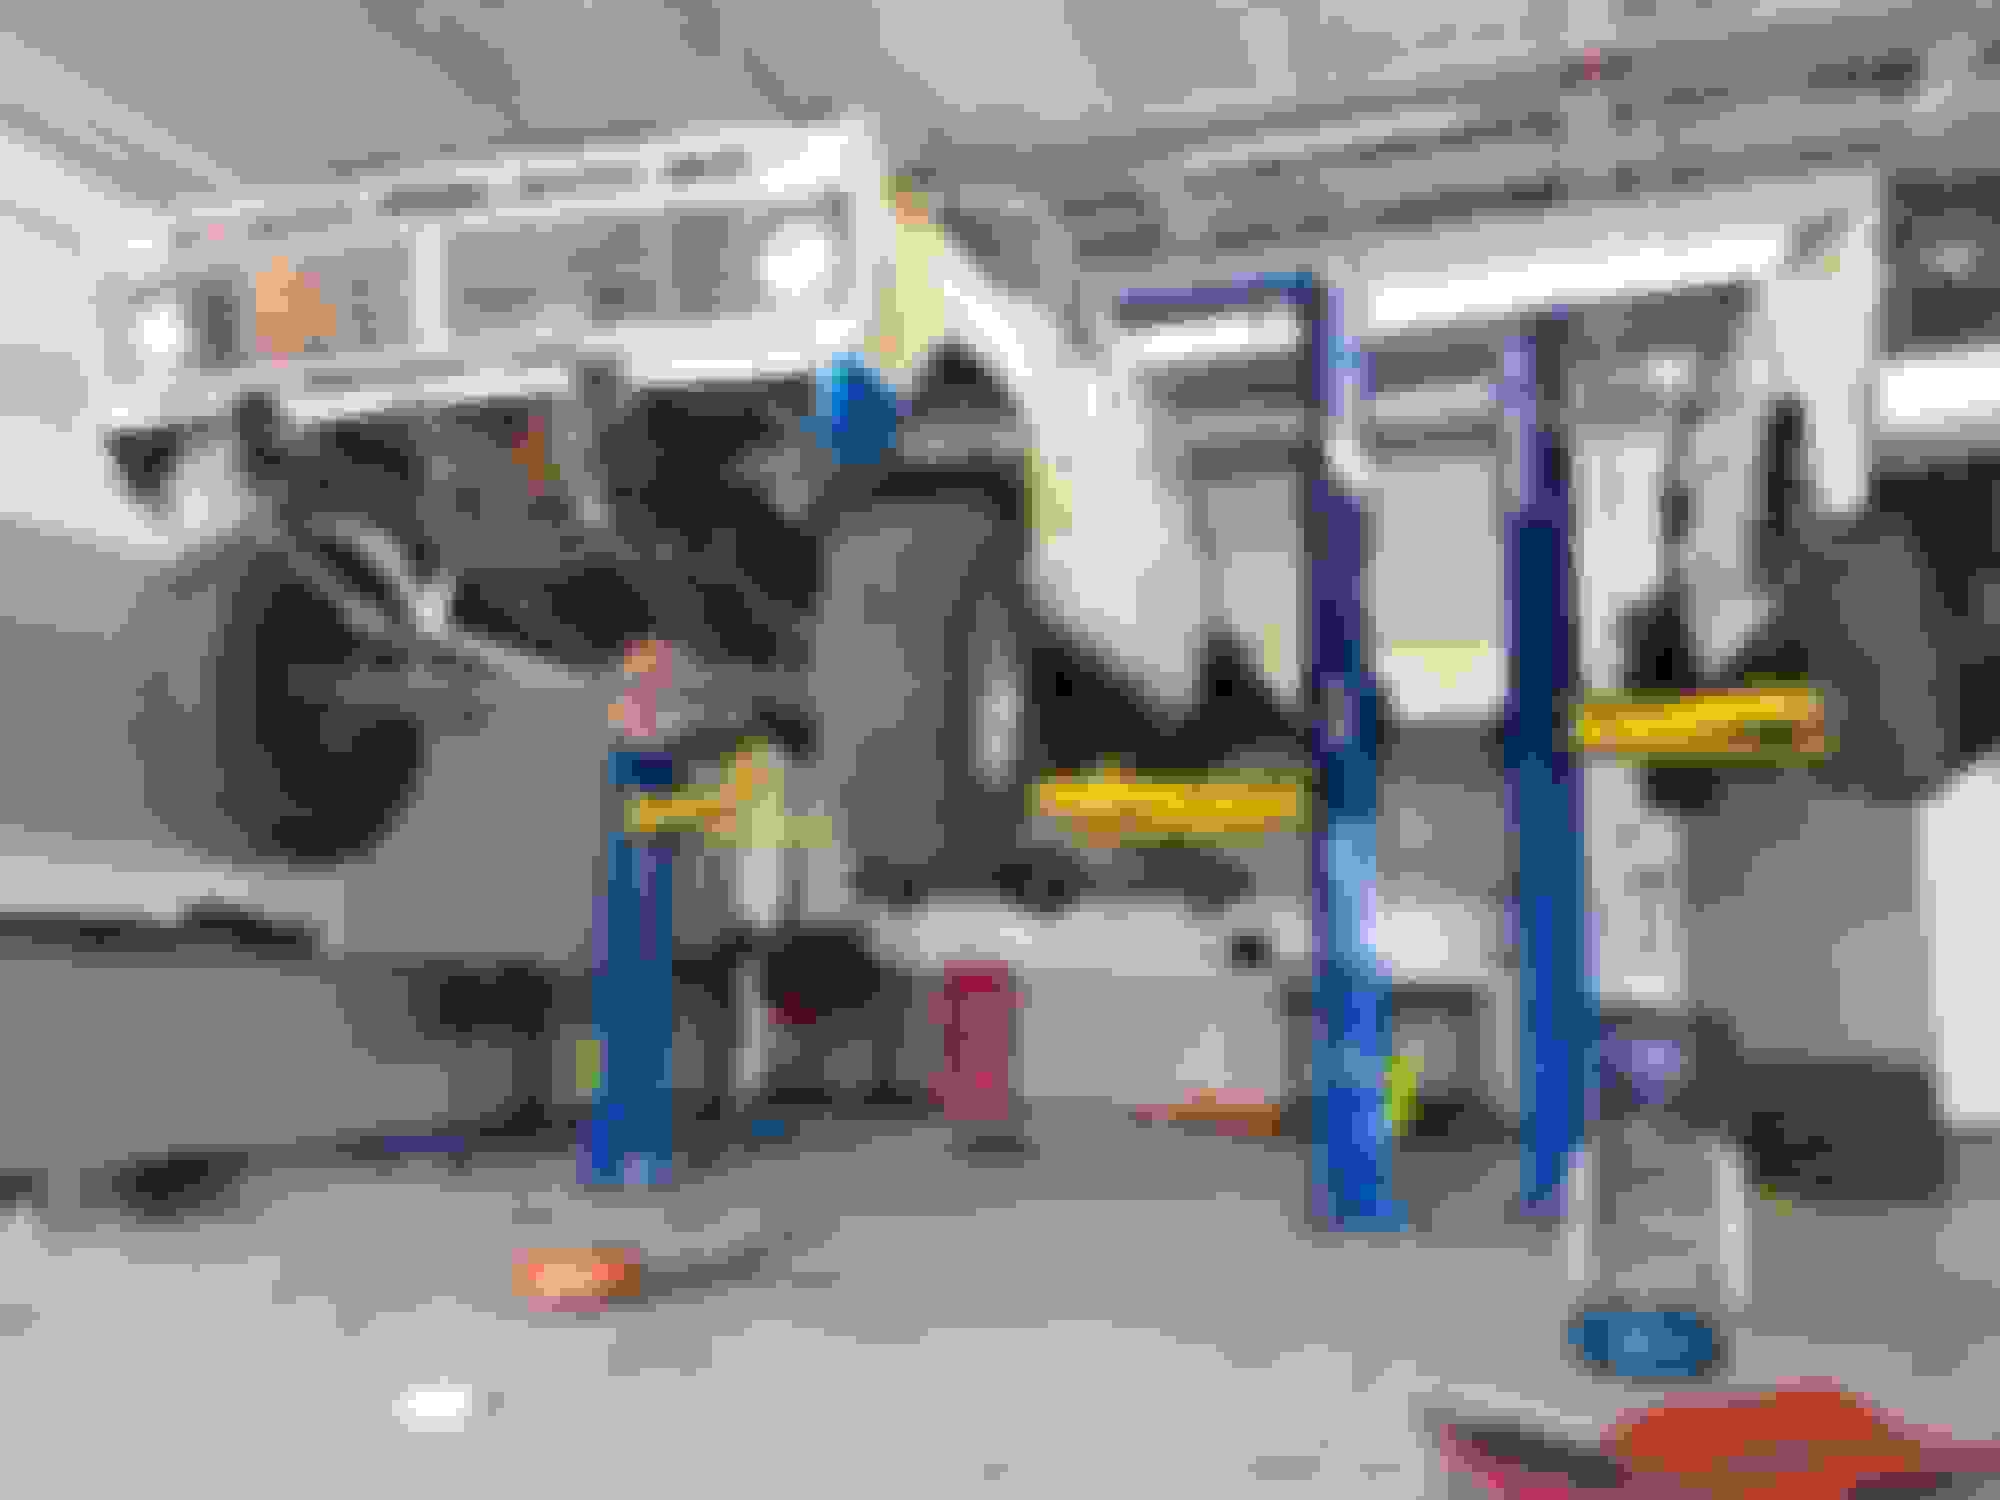
The axle is in! After much fiddling and and adjusting the leaf springs and lift blocks were installed. Since the new axle is wider than the old one, the longer u bolts didn't quite fit, it skewed them apart at the top by maybe 1-2 inches. Que the oxy acetylene torche and some really big brake pliers, we managed to bend them inwards to fit. With the lift blocks and leaf springs installed, rolled the axle under the truck and lowered the truck down. With some creative hammering and prying I got the rear shackles bolted in place, lowered the truck more and got the fronts in place in a similar fashion. Brakes still aren't hooked up but that will happen next. I'm also planning on reinstalling the engine next week depending on a few factors.
The axle is now fully installed and ready to go(minus brakes...that'll come later)
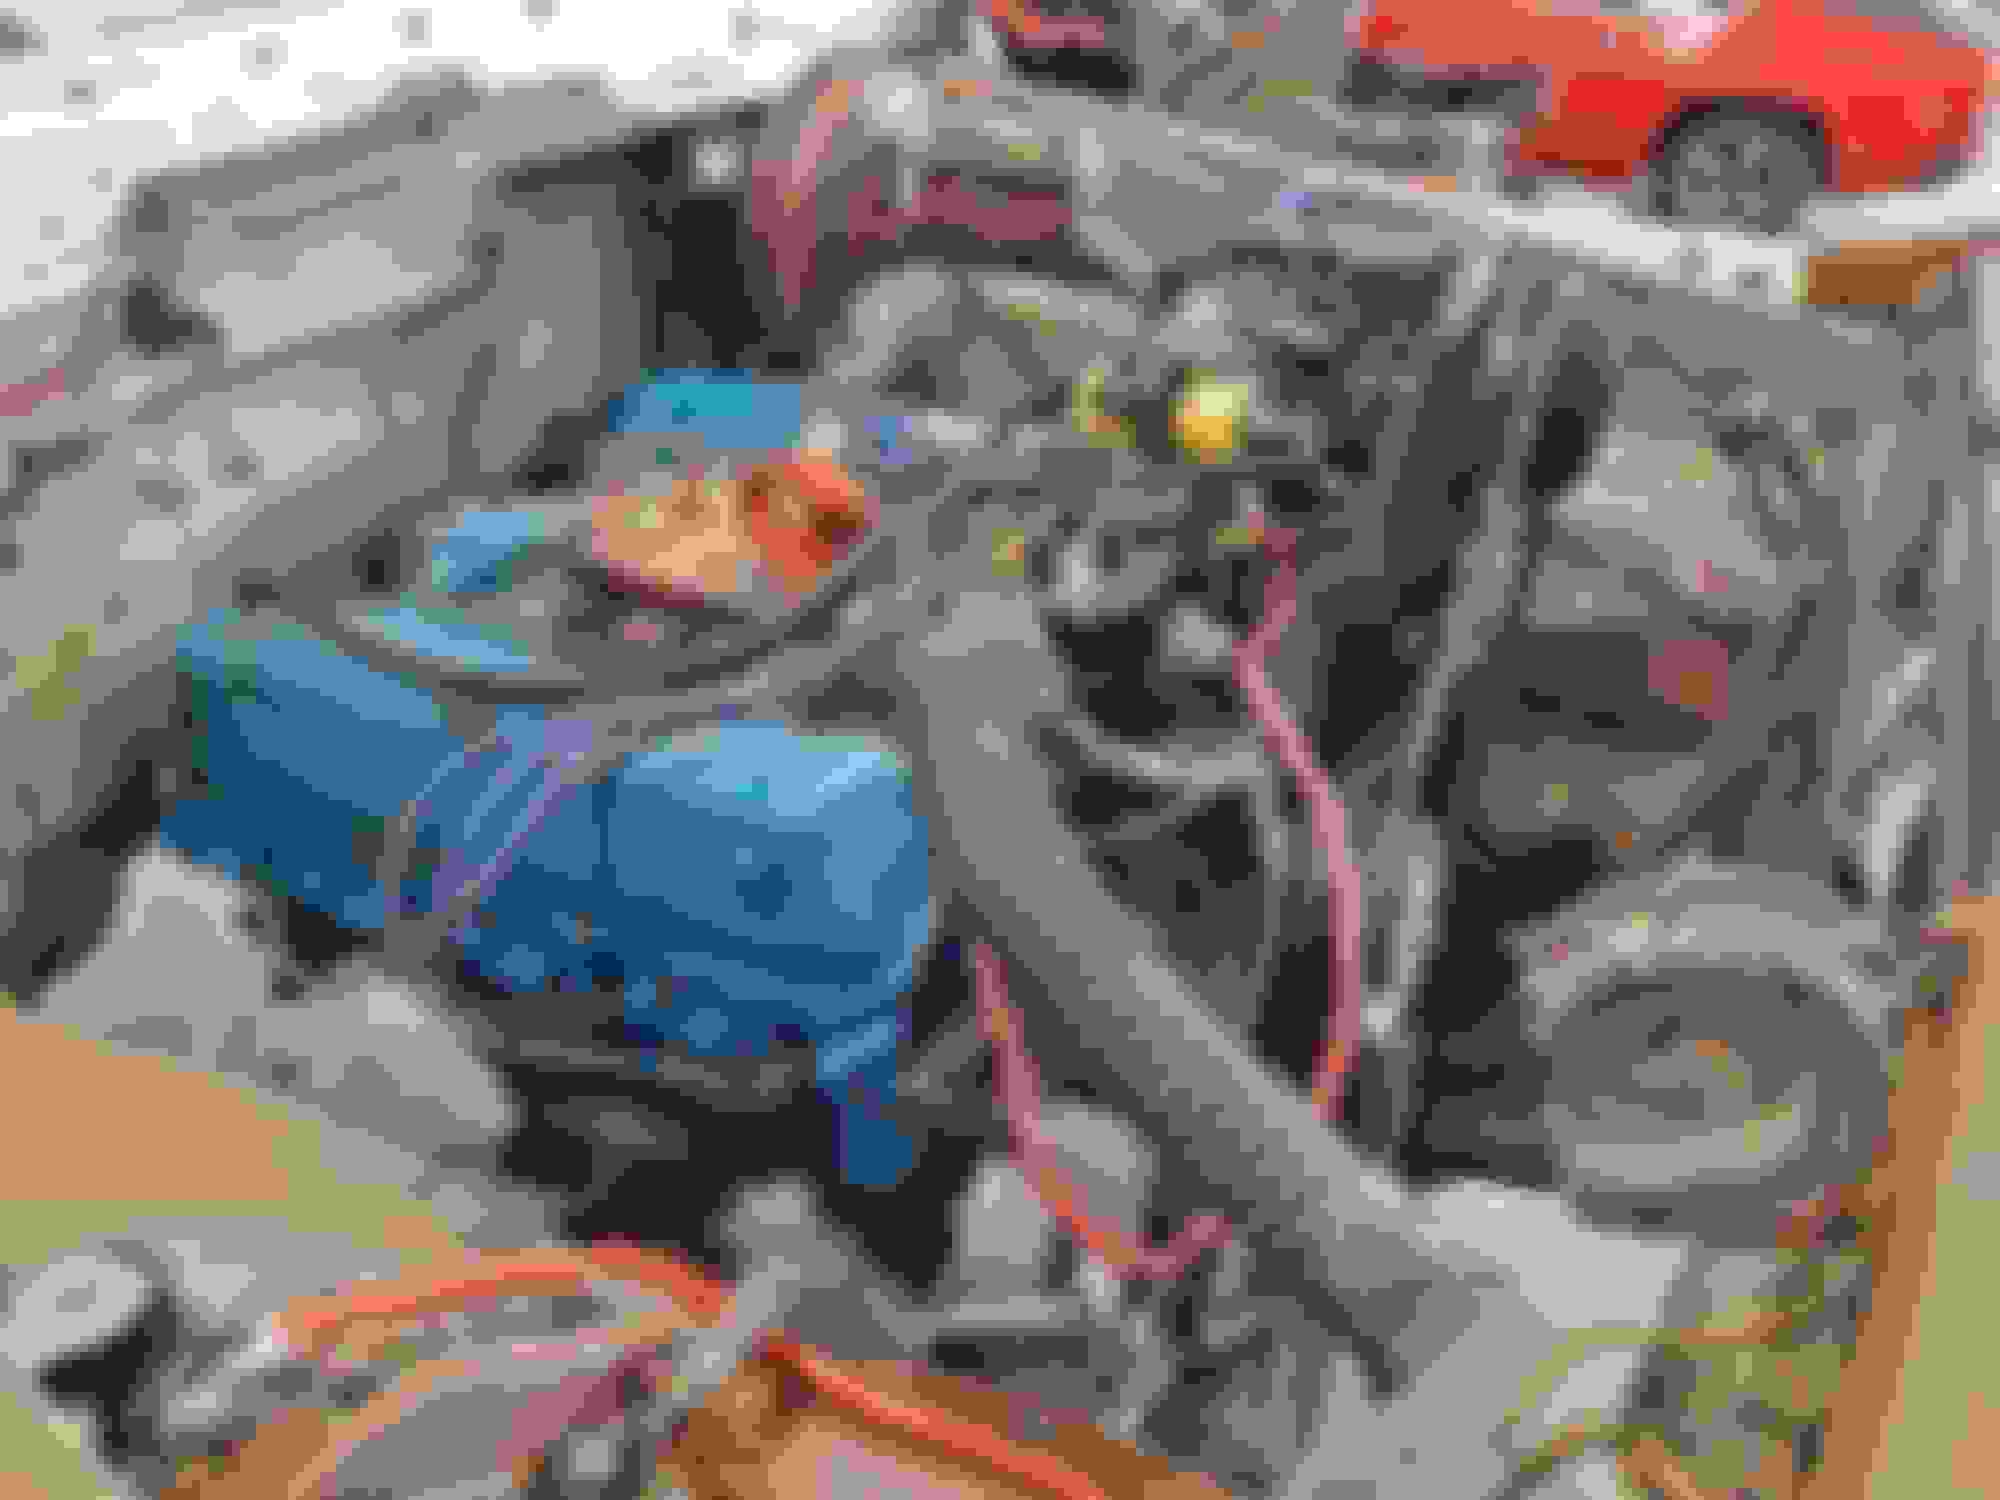
I also decided to put the engine is, but upon doing that I realized the engine mounts aren't the same and I need to make custom engine mounts also due to the power steering pump location
The plates that are on top of your springs that have the u bolts going through are on sideways, they should be turned the long side front to back. The way the plates are on might cause a problem with bending and the axle coming loose.
The plates that are on top of your springs that have the u bolts going through are on sideways, they should be turned the long side front to back. The way the plates are on might cause a problem with bending and the axle coming loose.
The plates that are on top of your springs that have the u bolts going through are on sideways, they should be turned the long side front to back. The way the plates are on might cause a problem with bending and the axle coming loose.
Ya good eye! Now that you say that I realize you're totally right. Thought they seemed a little weird..thank you for pointing that out! Guess I know what I need to fix
Glad someone saw that haha
So a little more of the update on the truck, the engine mounts on the 400 that came out had 1 stud on each side. The 429 has 2. I'm looking to see if I can find mounts that will work with the engine and only have 1 stud. If anyone knows please let me know!
Even with that I still need to make custom engine mount brackets mainly due to the power steering pump location and it hitting the steering box. But also part of it is the trans location. I think I've got a basic idea of what we need to do, the engine needs to move slightly up not too much. I think I'll be doing it with 2x4 square tube. Maybe something else. I'll keep you all updated.
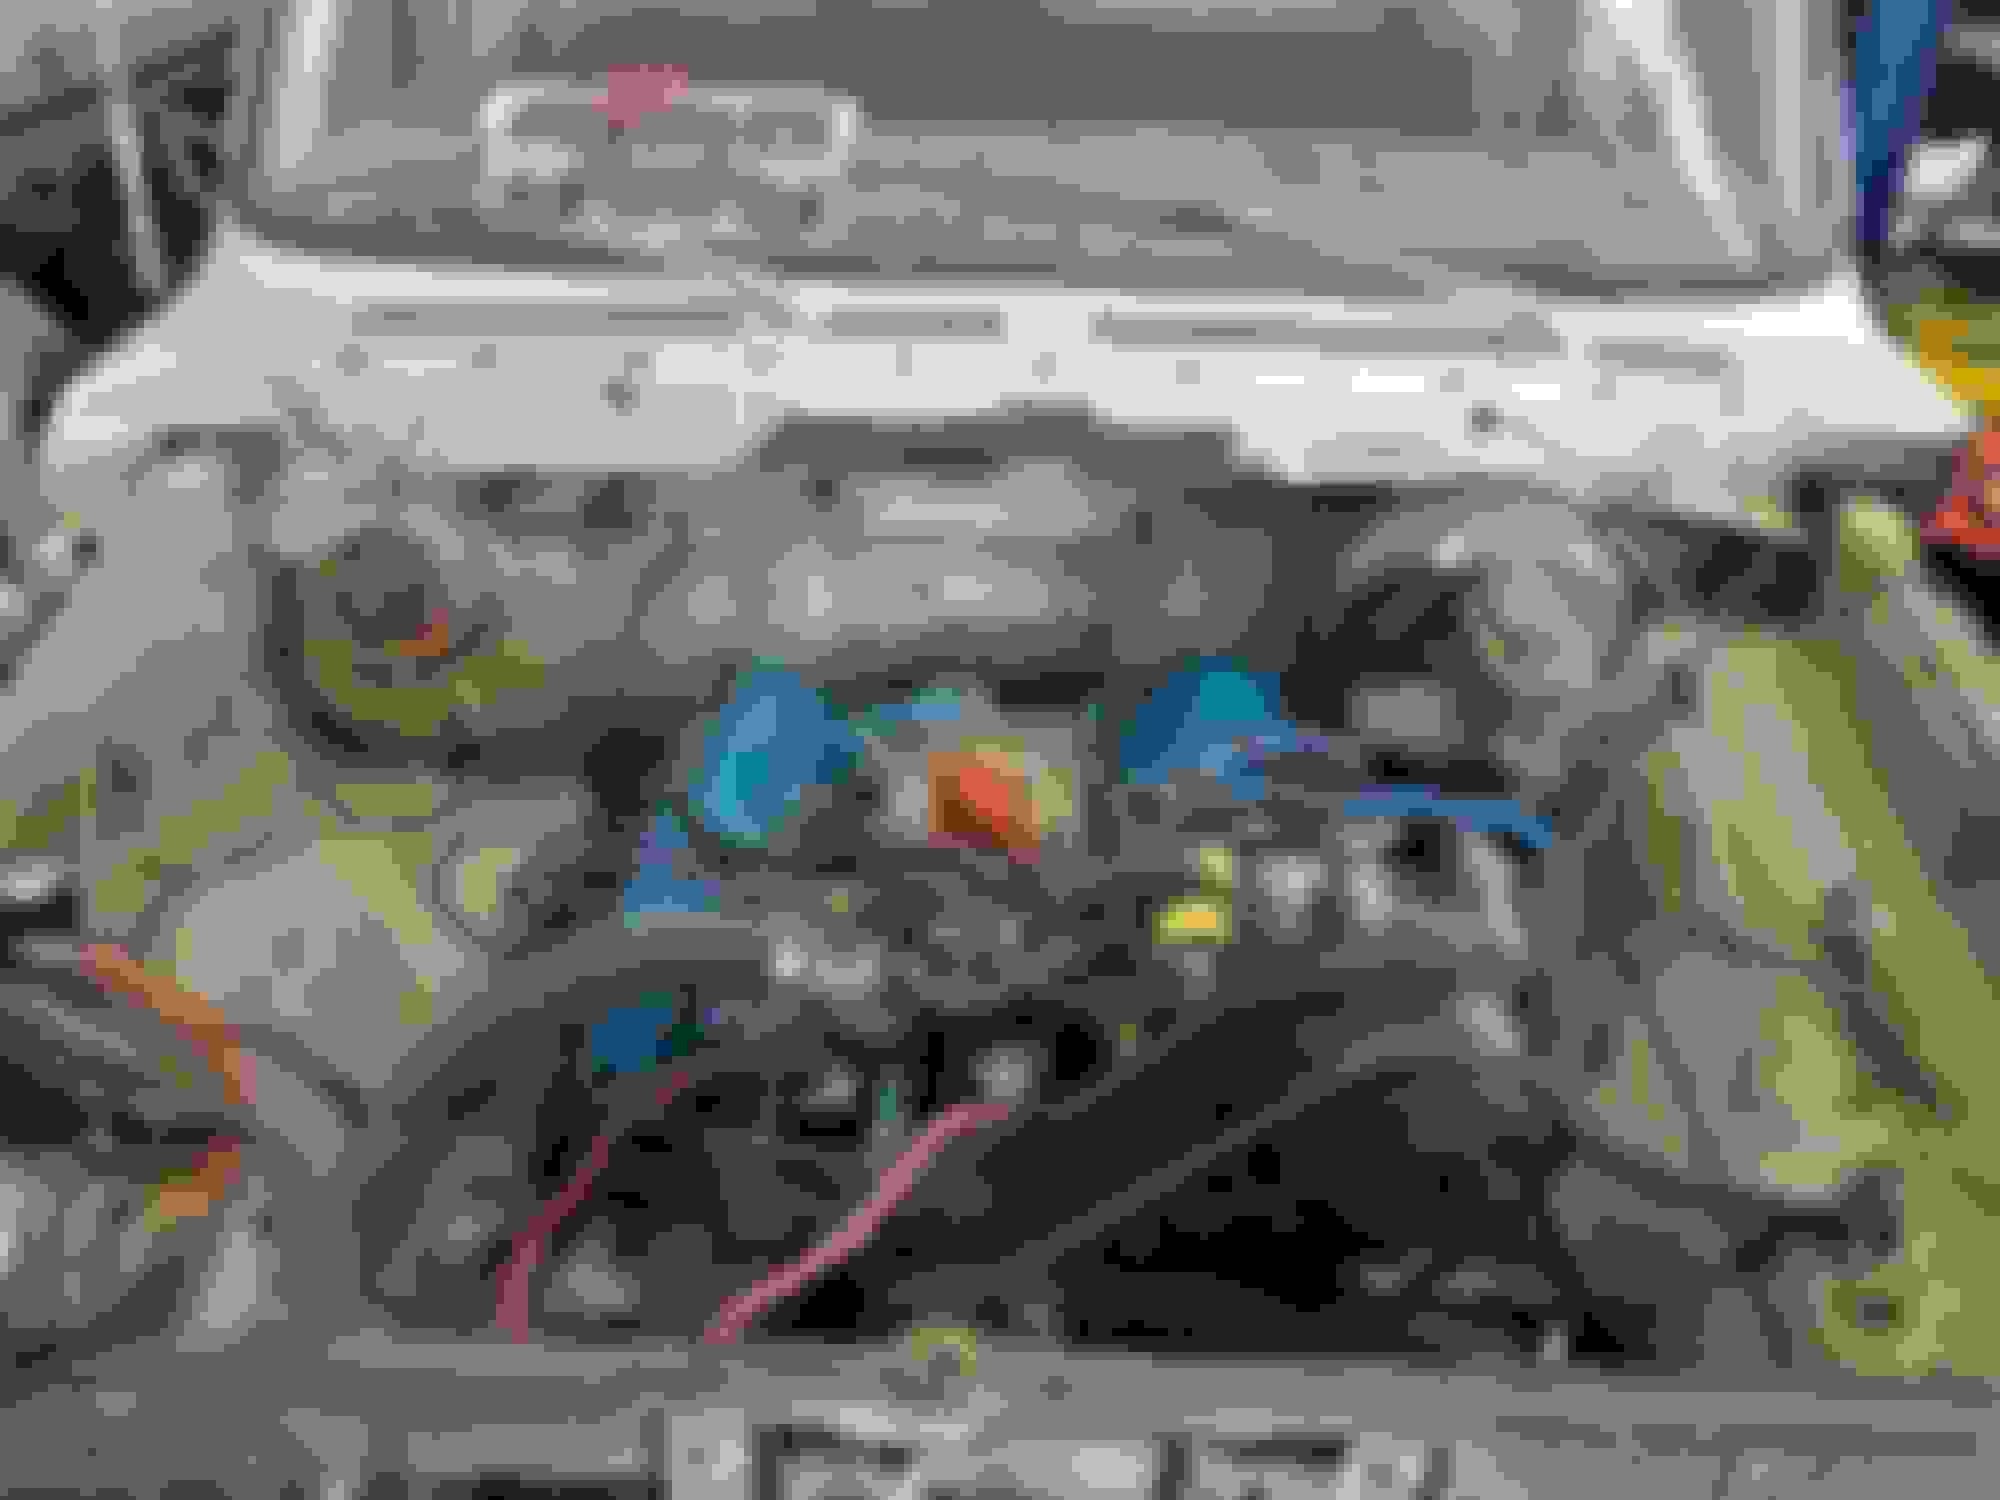
The engine is now bolted in
In order to get the engine to bolt in to the frame I had to make a spacer/adapter. I ended up using 1 1/2" by 3" steel with 1/8" walls. I started out using a drill press, only to find out someone had broken it, I wasn't even able to complete one hole. So what ended up happening was just using the oxy-acetylene torch to cut the proper holes and slots. Not the cleanest or the most accurate cuts and holes but they work perfectly. I had to cut out two holes for the engine side, and a longer slot on the back so i could slide the engine around for adjustability. Then cut off some of the material to help give more access to the nuts. It was a very slow process making turn by turn with an open end wrench but it eventually got there, dropped a bolt in the slot and lowered the engine into place. The engine once bolted in clears everything, the power steering no longer hits as well. Time to start hooking everything up
This is before i went and cleaned up the mounts with a grinder and a file so they look very rough in this picture.
I also received my flywheel for the truck, all 40 pounds of it..sheesh I'm not going full detail on this page but I plan on doing a full write up on the zf5 to 429 on a new page. The flywheel is from an early 90s F-250 460. It's currently at a machine shop where they are zeroing out the balance for the 429. I think that's all for now, I'll keep you all informed.
I like the crew cab build it looks good. Real curious as to late fly wheel external balance working after machining. I noticed in your post that your frame looks to be from a 78-79 based on front spring perches bolting on different than a high boy frame. I'm not sure if it matters to you but the frame may have been swapped prior to you purchasing. The later power steering is also better than earlier high boy power steering setup. Keep us FTE junkies updated with the build.
Have you looked into the L&L motor mounts? I'm pretty sure they make mounts that will fit your application. Awesome build so far. I'm enjoying seeing it come together.

 09-25-2016, 11:50 AM


 After much fiddling and and adjusting the leaf springs and lift blocks were installed. Since the new axle is wider than the old one, the longer u bolts didn't quite fit, it skewed them apart at the top by maybe 1-2 inches. Que the oxy acetylene torche and some really big brake pliers, we managed to bend them inwards to fit. With the lift blocks and leaf springs installed, rolled the axle under the truck and lowered the truck down. With some creative hammering and prying I got the rear shackles bolted in place, lowered the truck more and got the fronts in place in a similar fashion. Brakes still aren't hooked up but that will happen next. I'm also planning on reinstalling the engine next week depending on a few factors.


 I'm not going full detail on this page but I plan on doing a full write up on the zf5 to 429 on a new page. The flywheel is from an early 90s F-250 460. It's currently at a machine shop where they are zeroing out the balance for the 429. I think that's all for now, I'll keep you all informed.