When you click on links to various merchants on this site and make a purchase, this can result in this site earning a commission. Affiliate programs and affiliations include, but are not limited to, the eBay Partner Network.
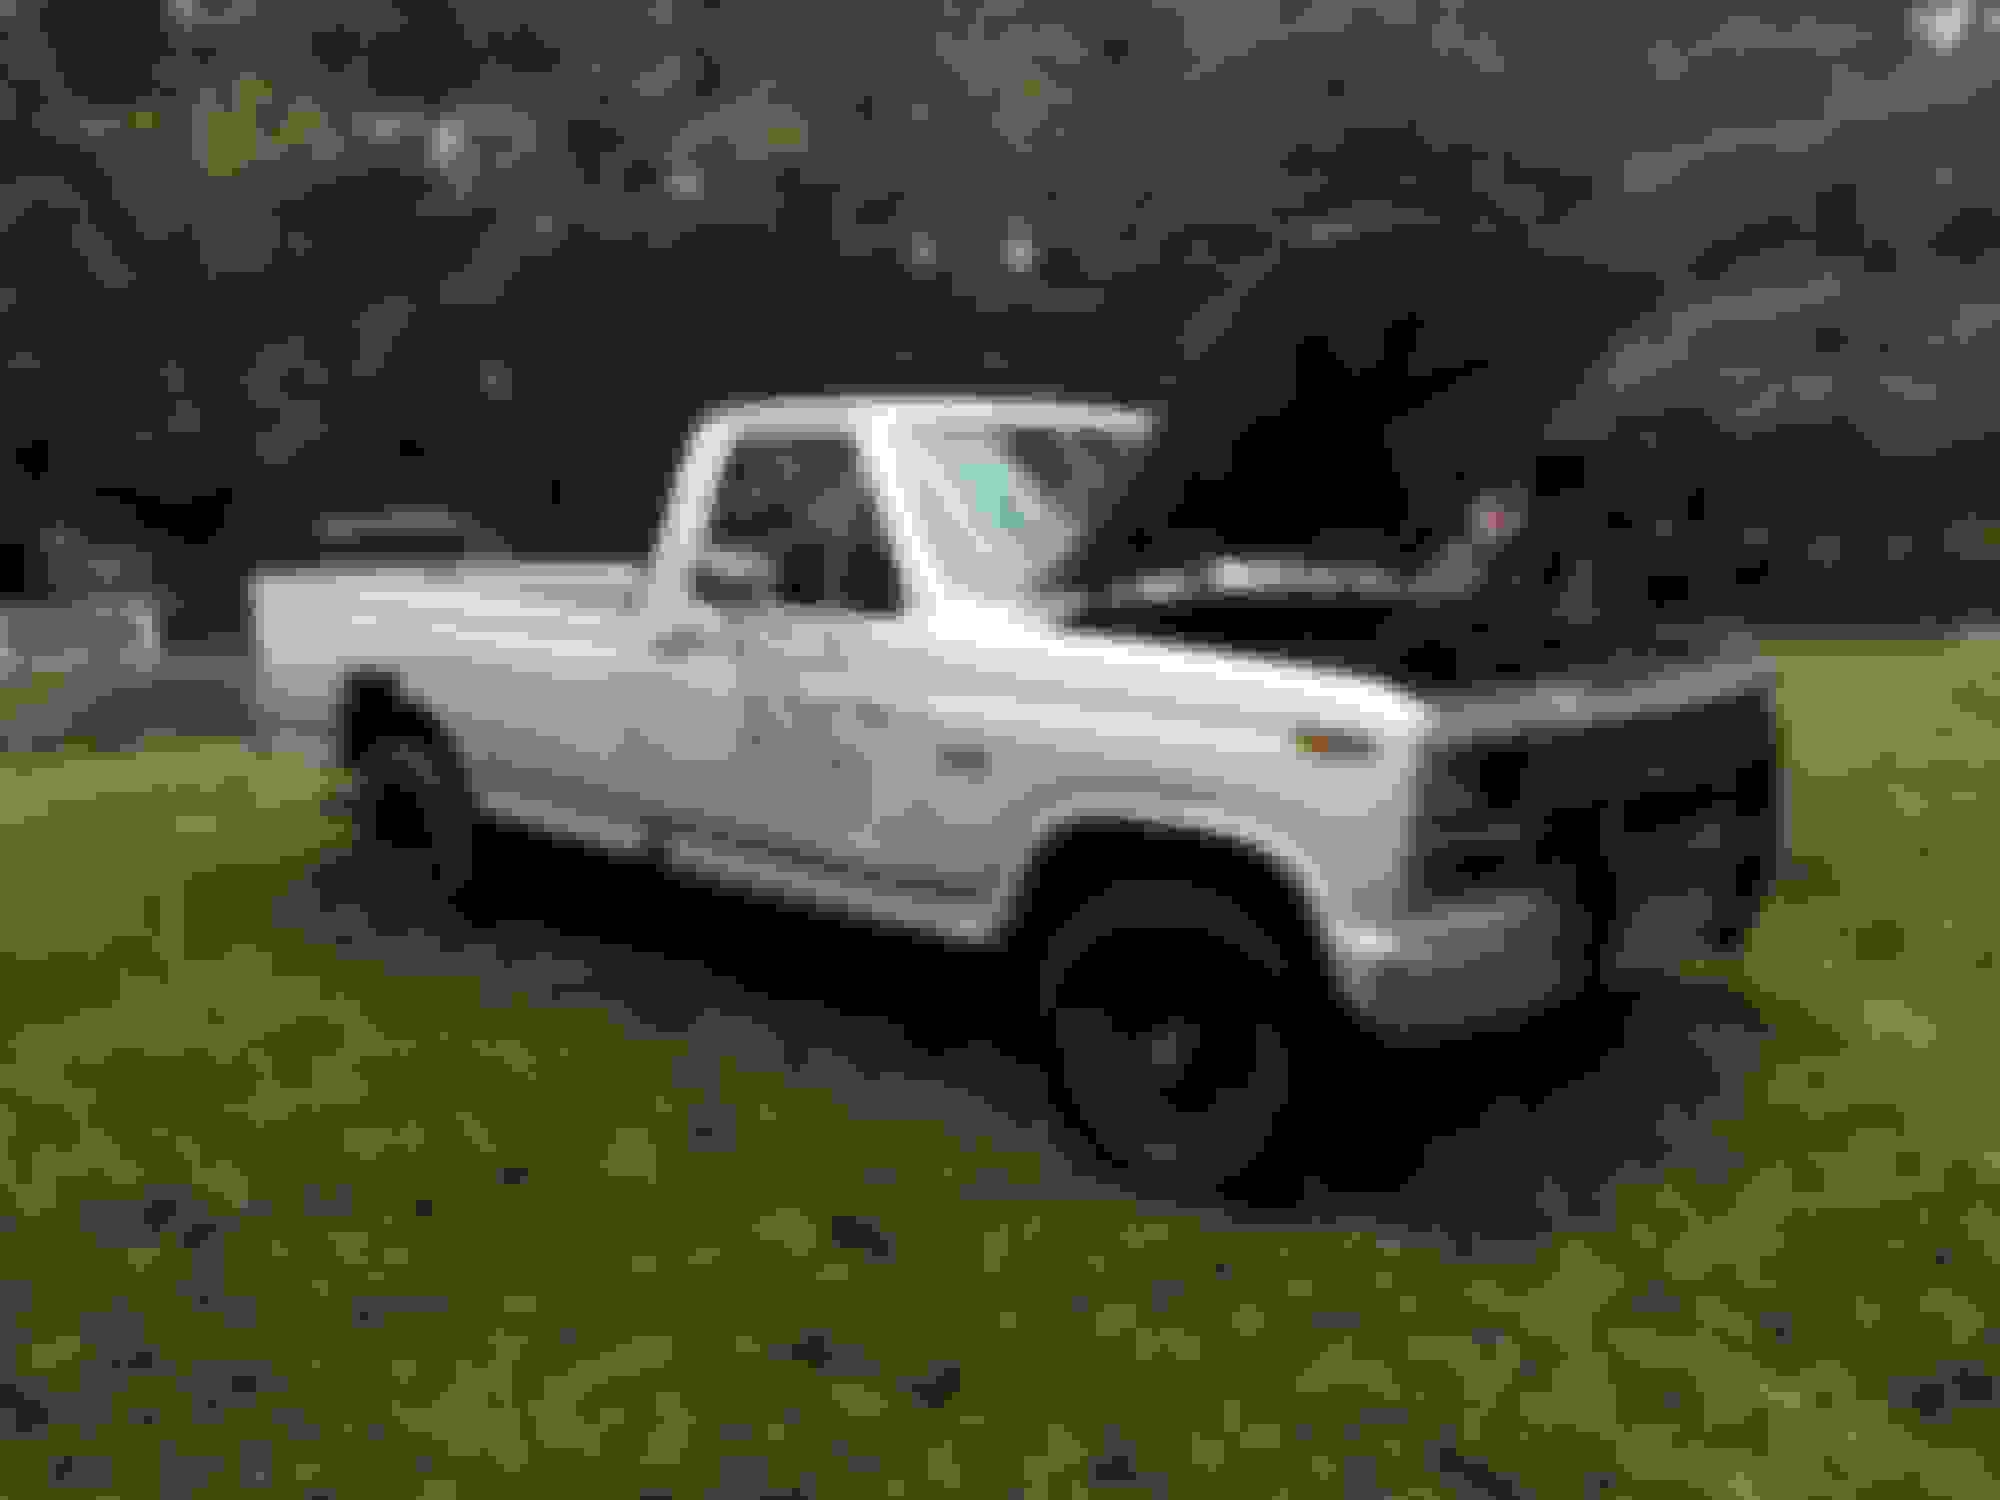
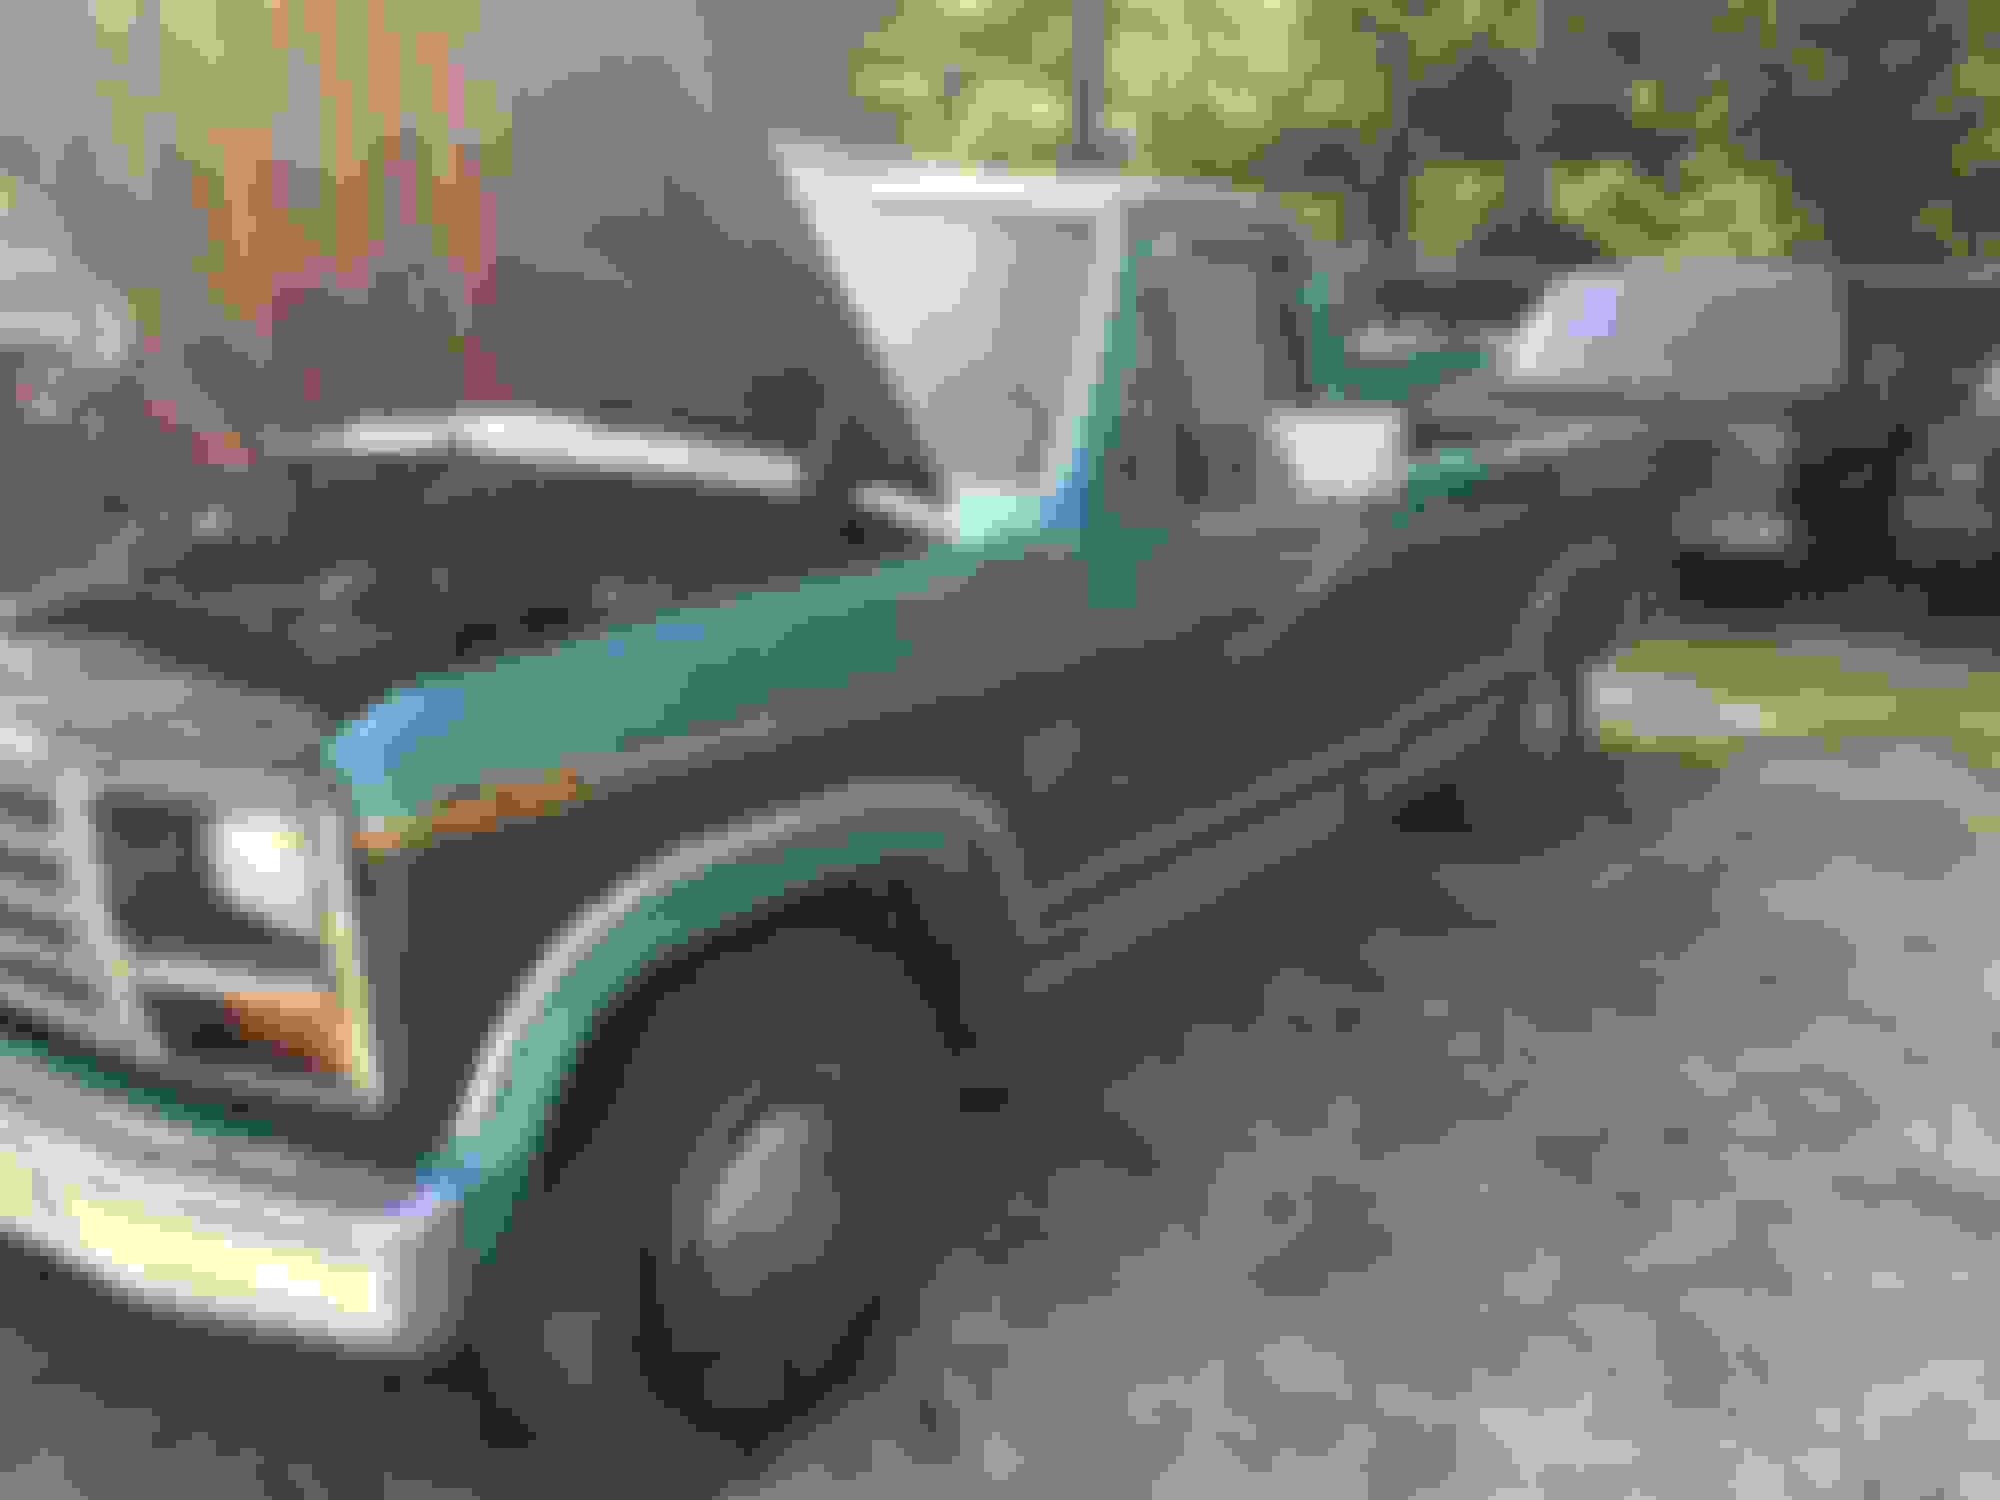
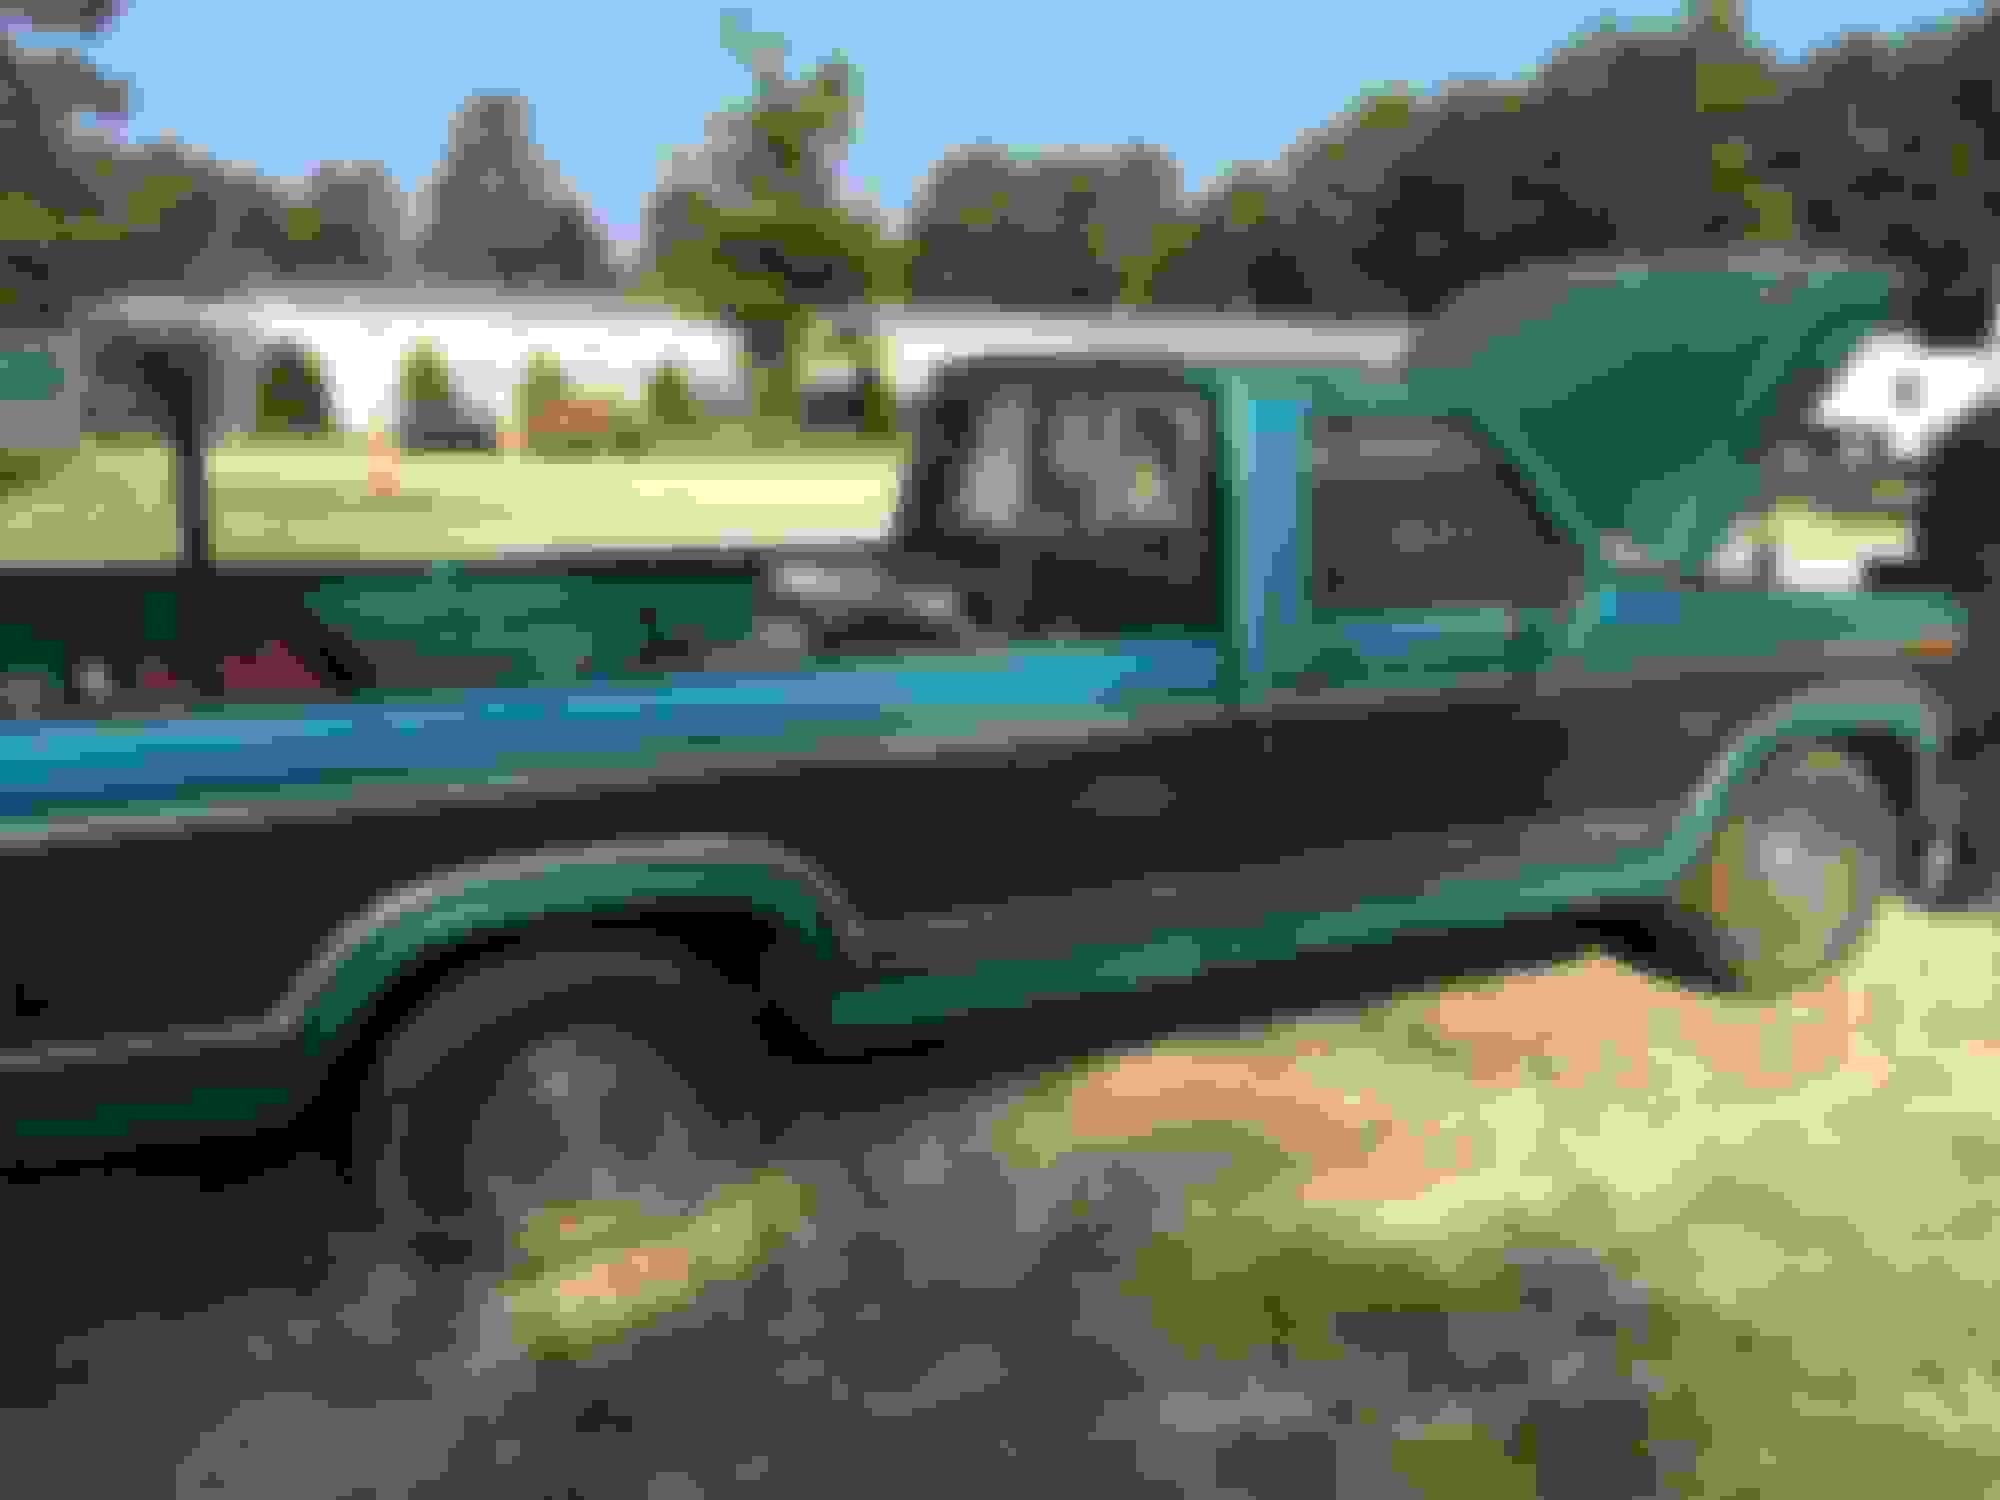
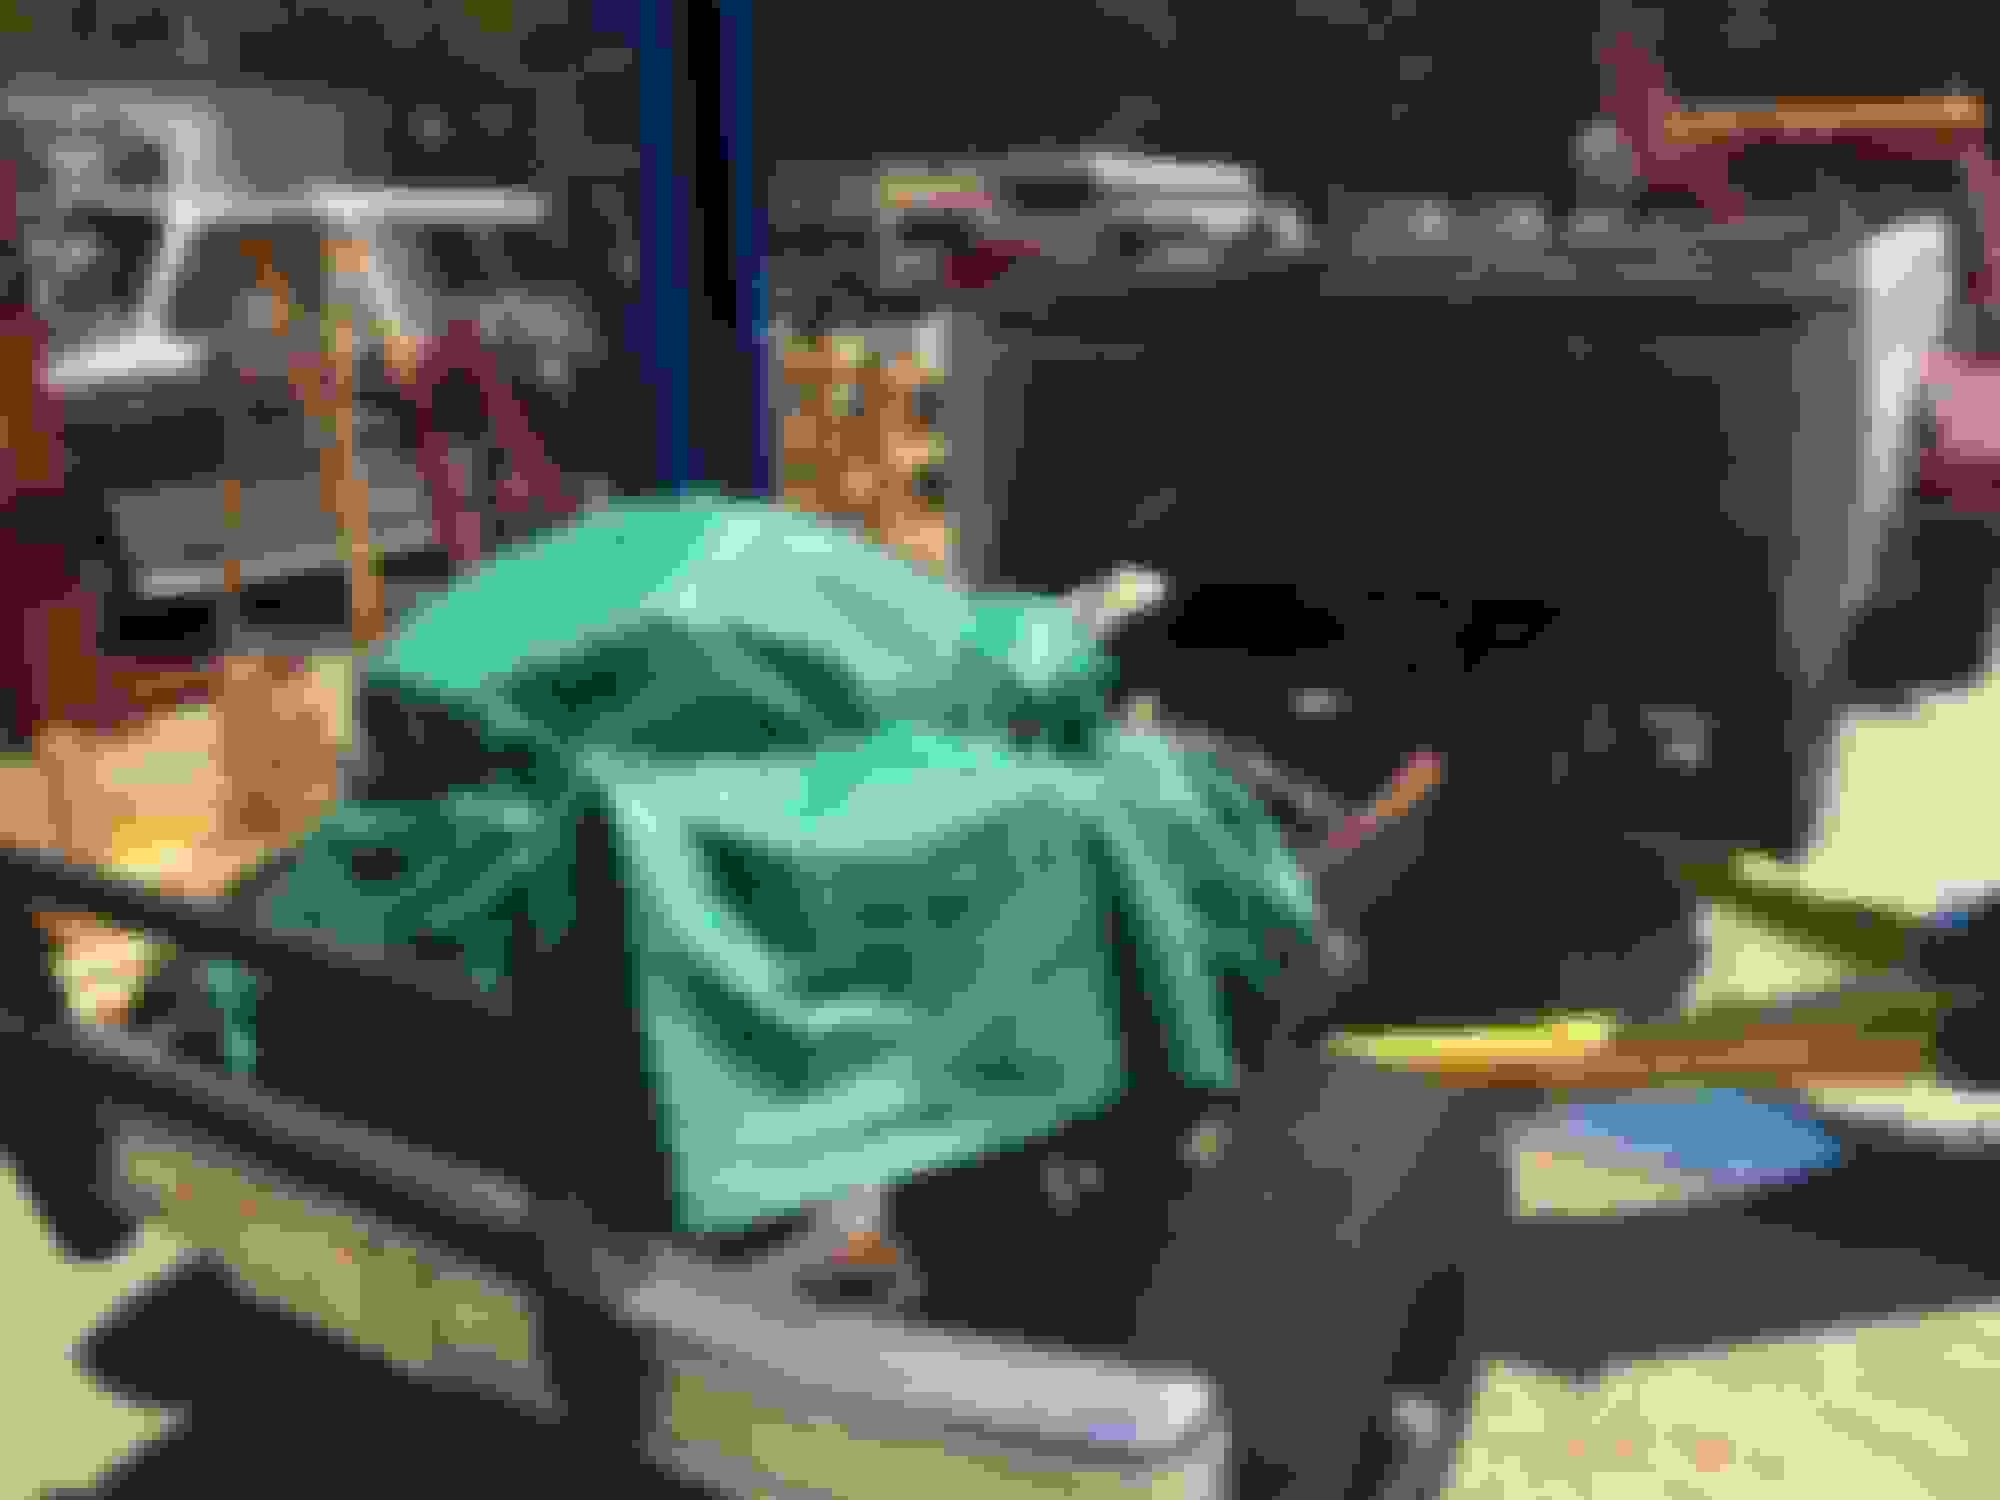
A little back story, I purchased my first F-150 in May 21st. I purchased the second, donor vehicle May 26th. The first one (white one) is a 4x4, 4 speed, with the inline 6. The second one (green one), is 2WD with a Windsor I believe...it's an automatic.
The goal is to take the body and interior of the green truck and put it atop the white chassis. I've been working off and on, with work and some vacation throughout, and have managed to take the white truck down to the frame. Just yesterday I removed the clutch/flywheel/etc.
I was able to have a friend of mine tow this truck from Pittsboro to Cary,NC (about 30 miles) fo freeeee. The gentleman I bought it from had a 2003 Ford Taurus that he was trying to sell as well. Eventually I talked him into letting me have the truck AND the Taurus for $400! So I basically made a deal with my buddy; you get me the tow and you can keep the car.
Everybody was happy. I got a free tow and he got the money for the scrap metal for the Taurus.
So this was 2 months ago, in May/June time frame. I spent about an hour a day on my days off, usually Weds-Fri, removing the trim and interior pieces that were in good condition.
After I removed all that, I then spent several days on the wiring harness. That was a huge pain in the ***. I'd never done anything remotely close to that. I was able to remove everything without breaking any wires. I did ruin some connector clips, but I believe those are mostly replaceable. I think they are made to break anyways....at least judging by the crappy design. The thing is 30 years old, so I'd imagine that the plastic is probably pretty brittle at this point.
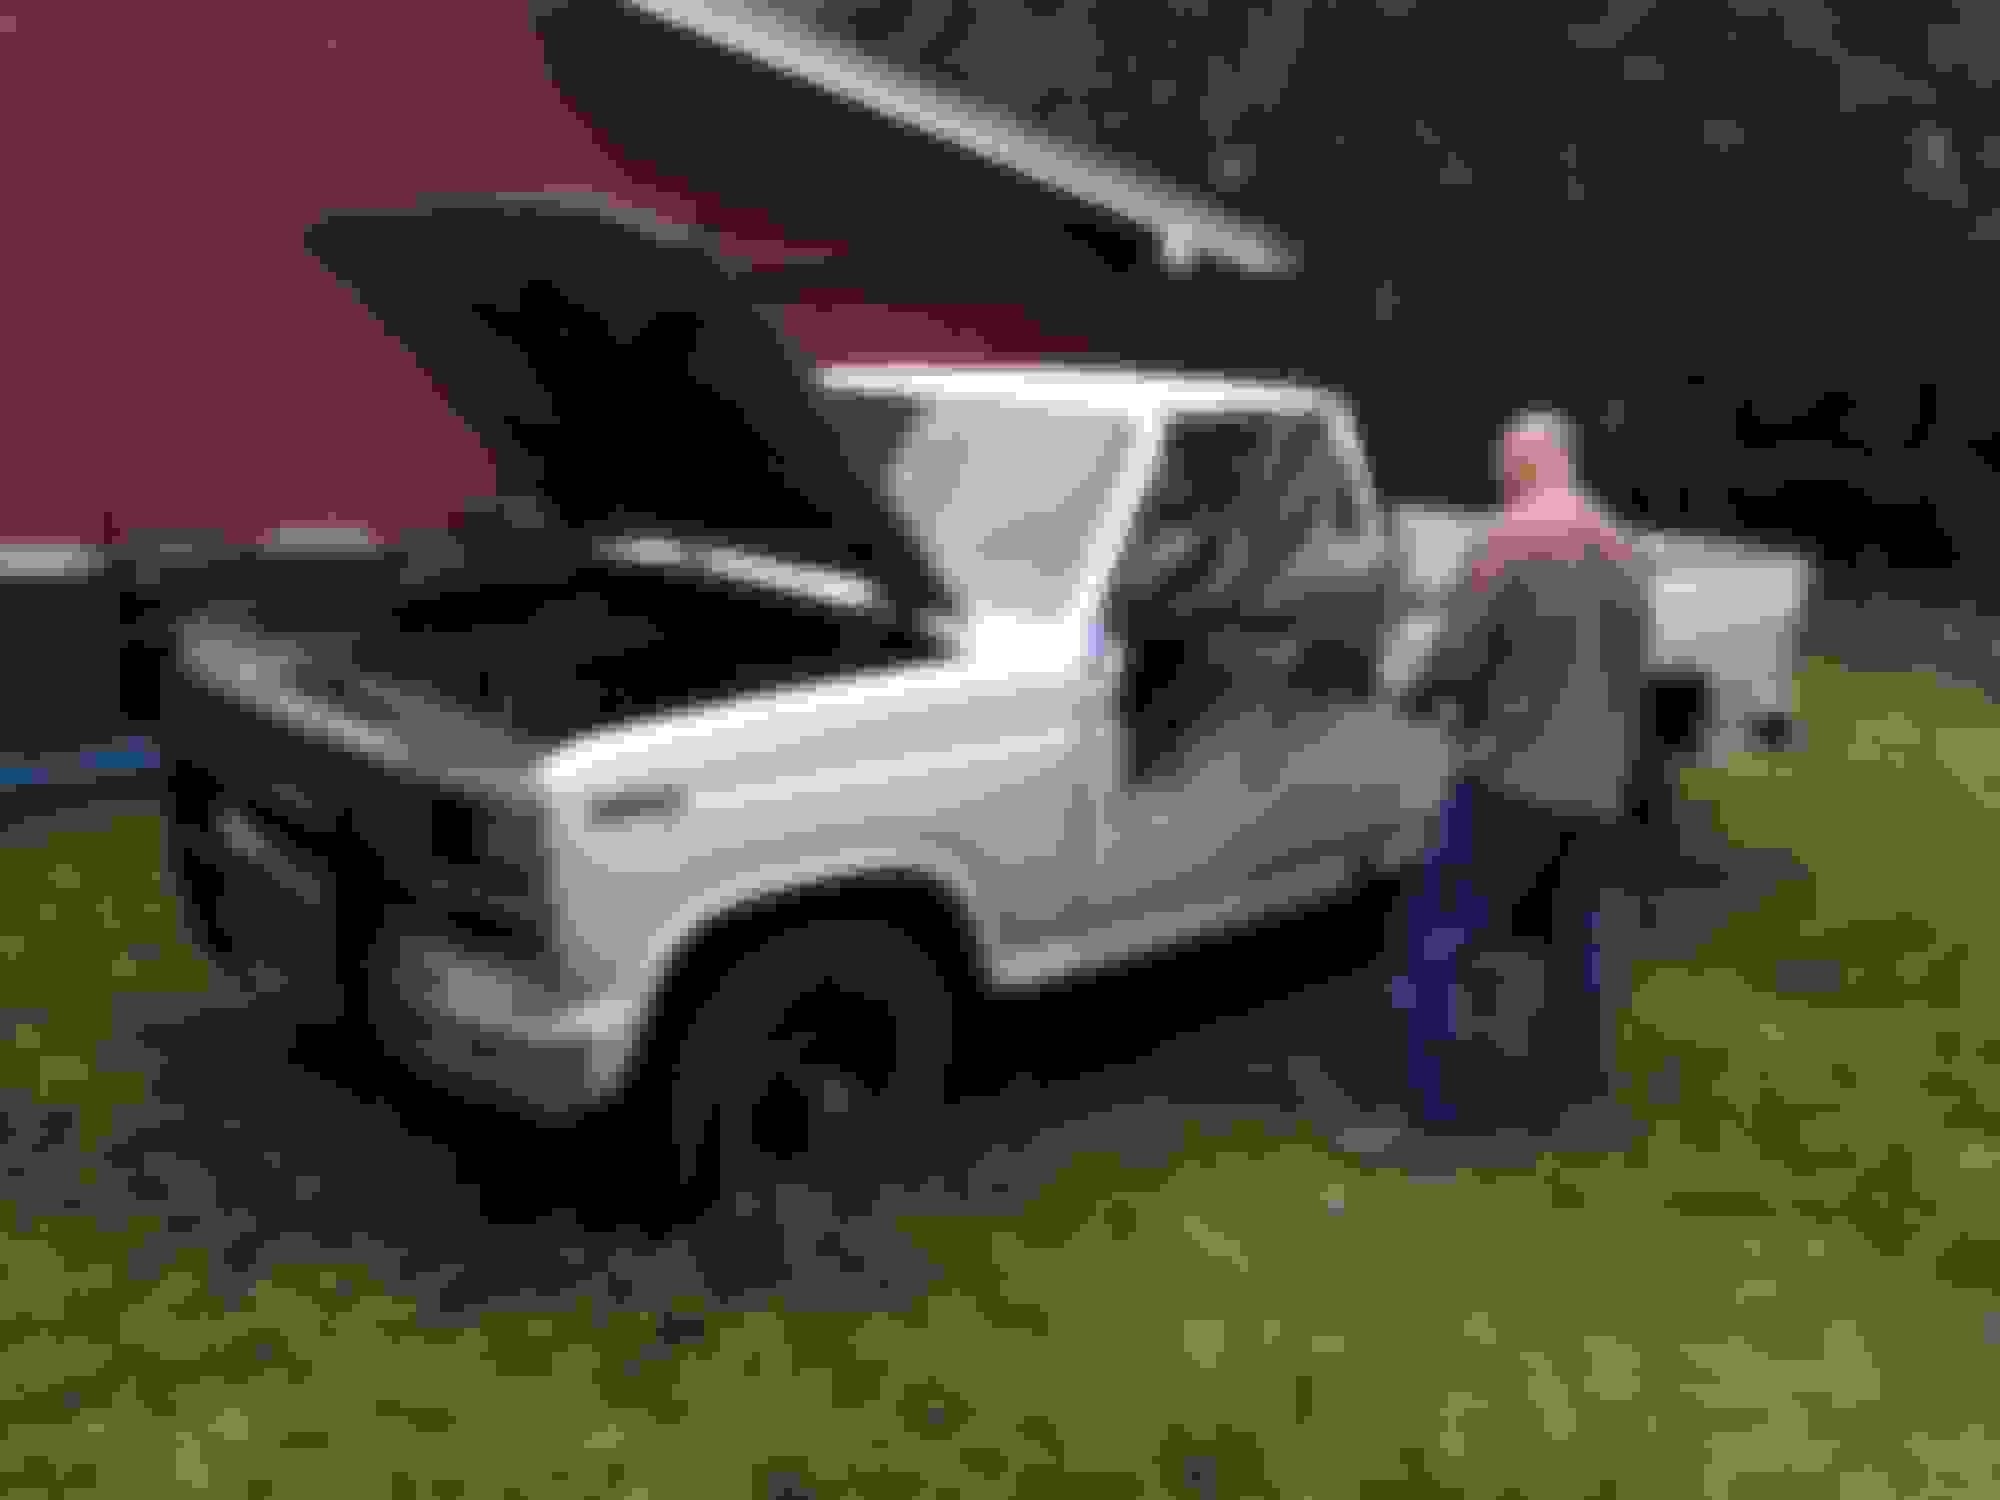
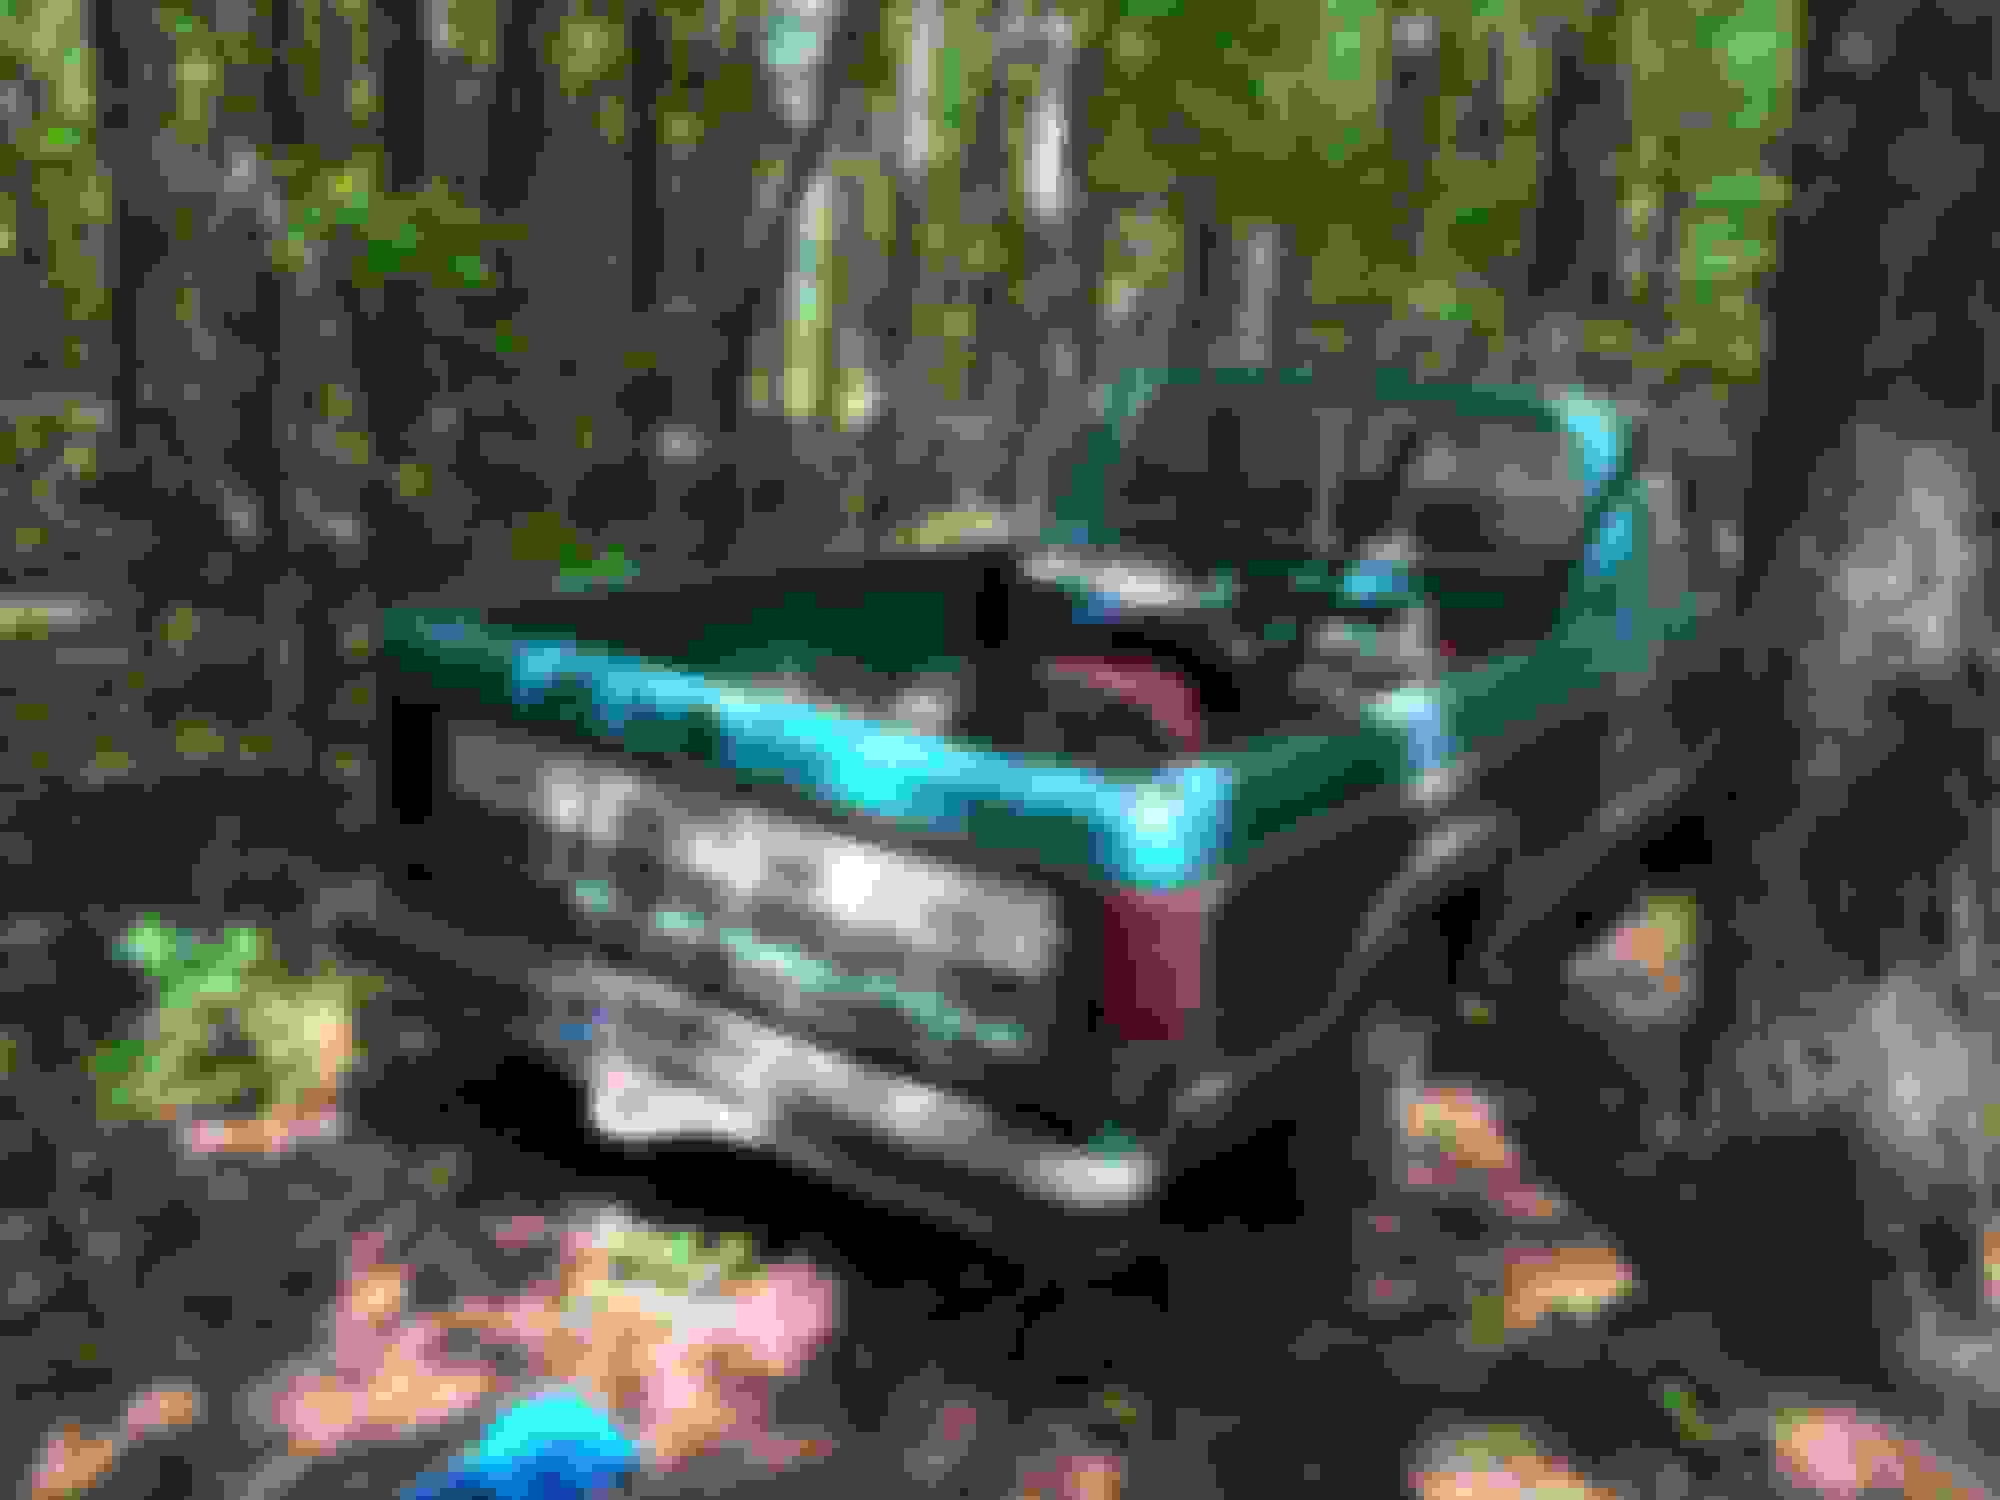
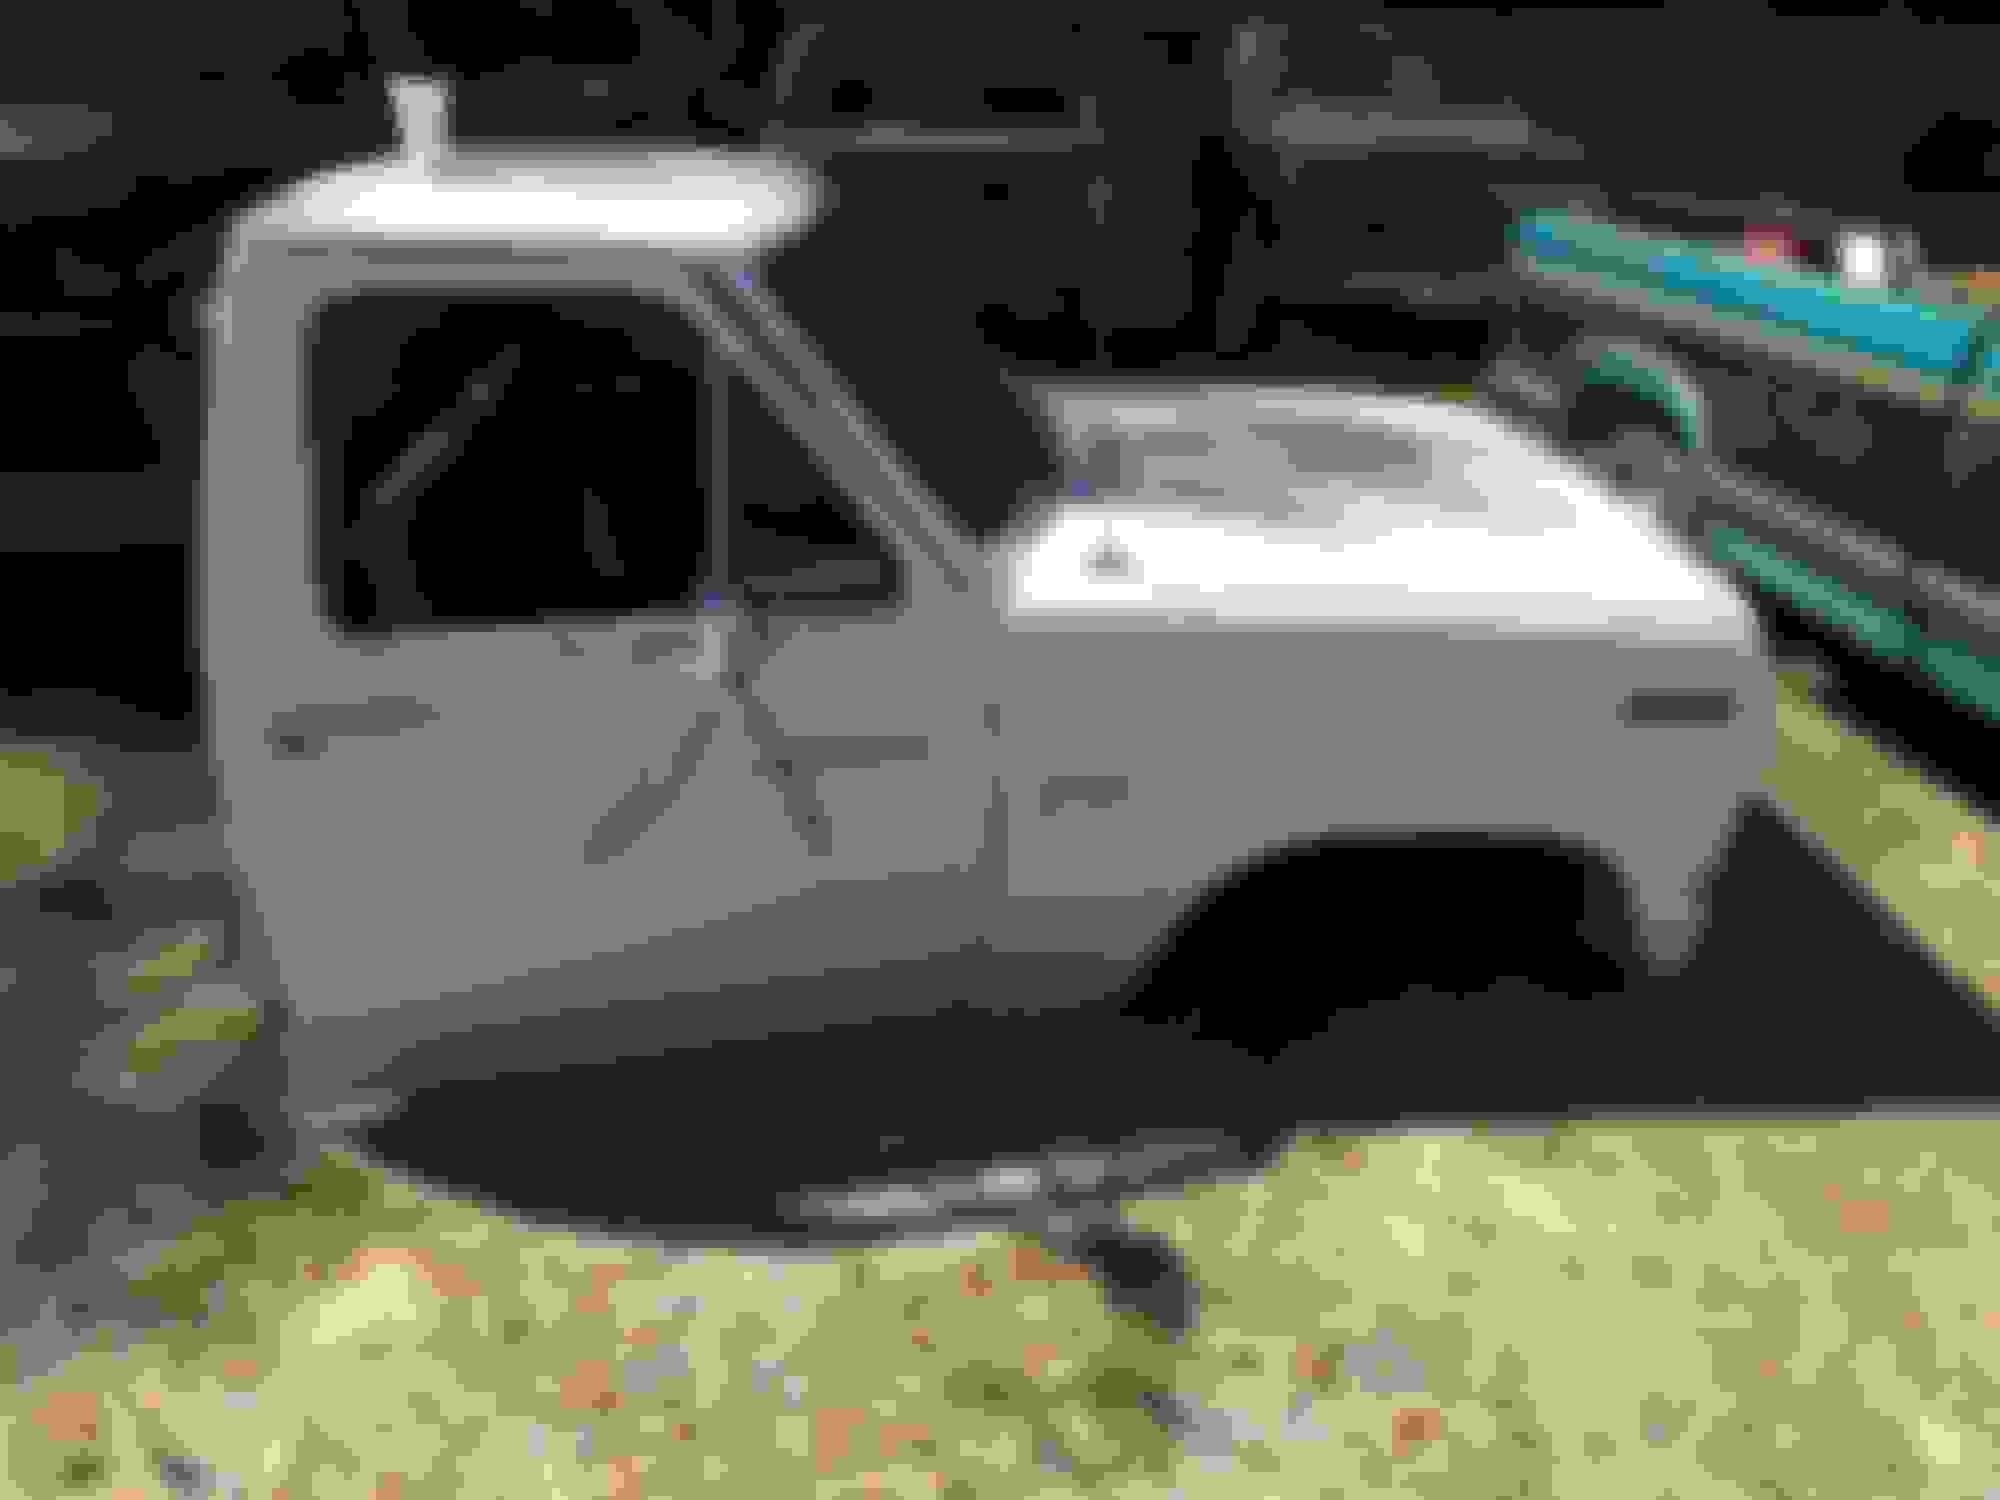
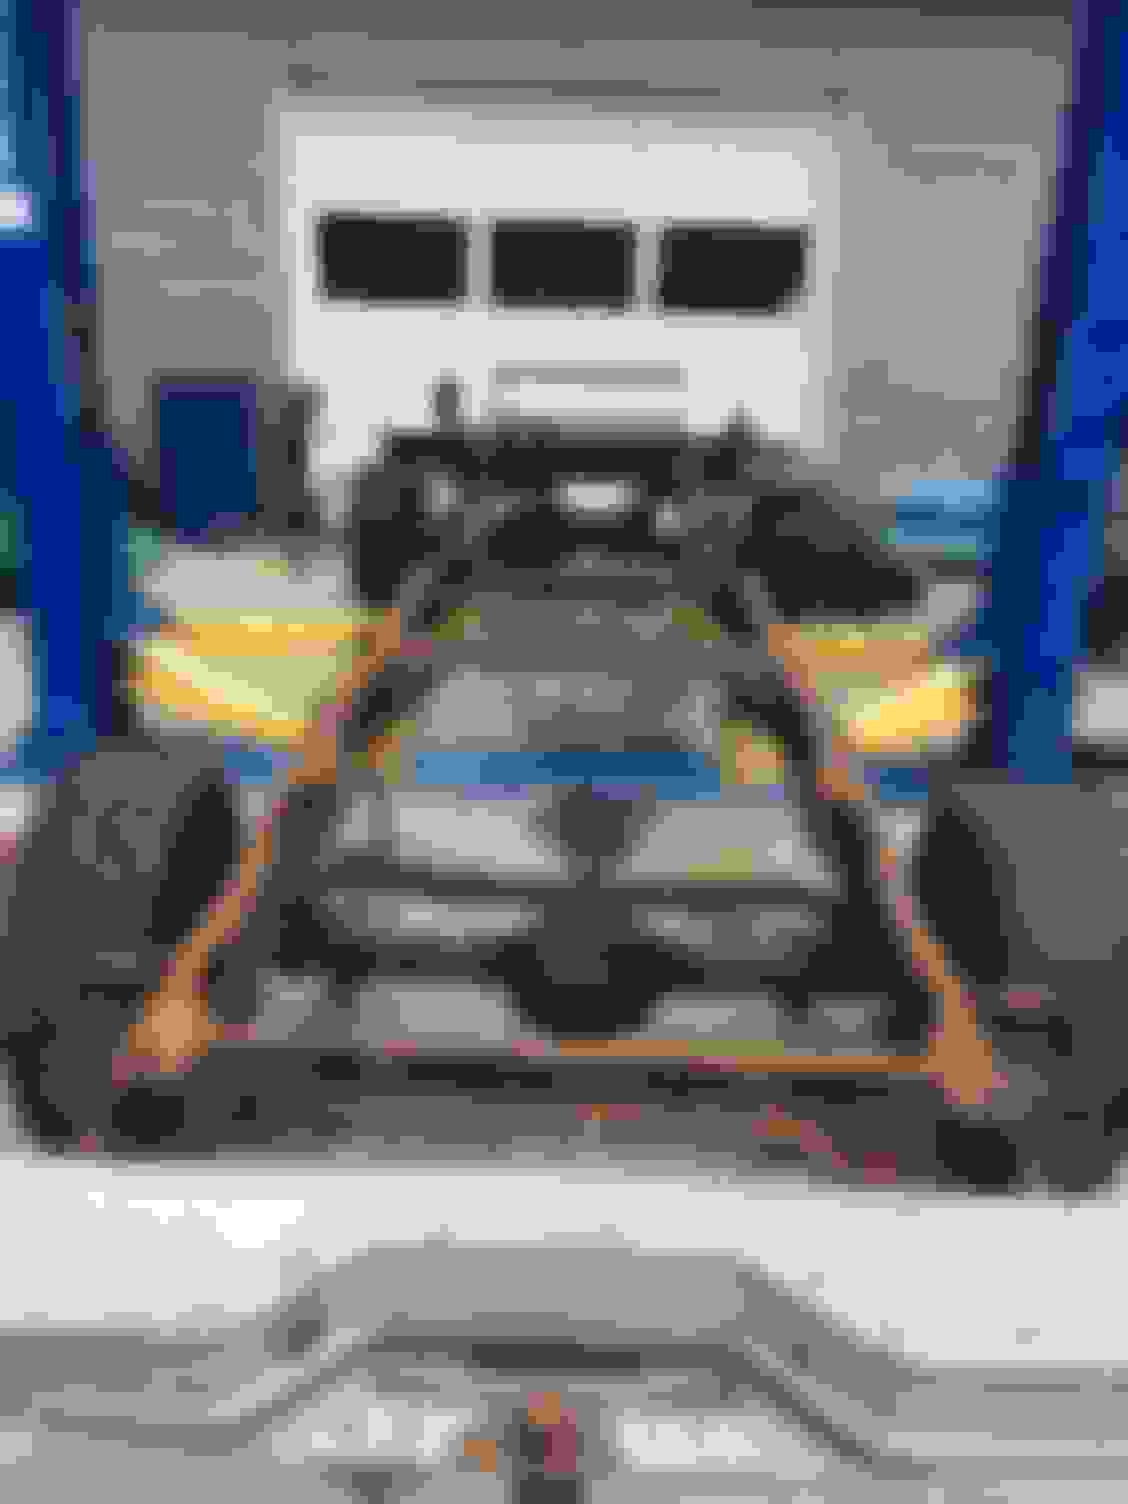
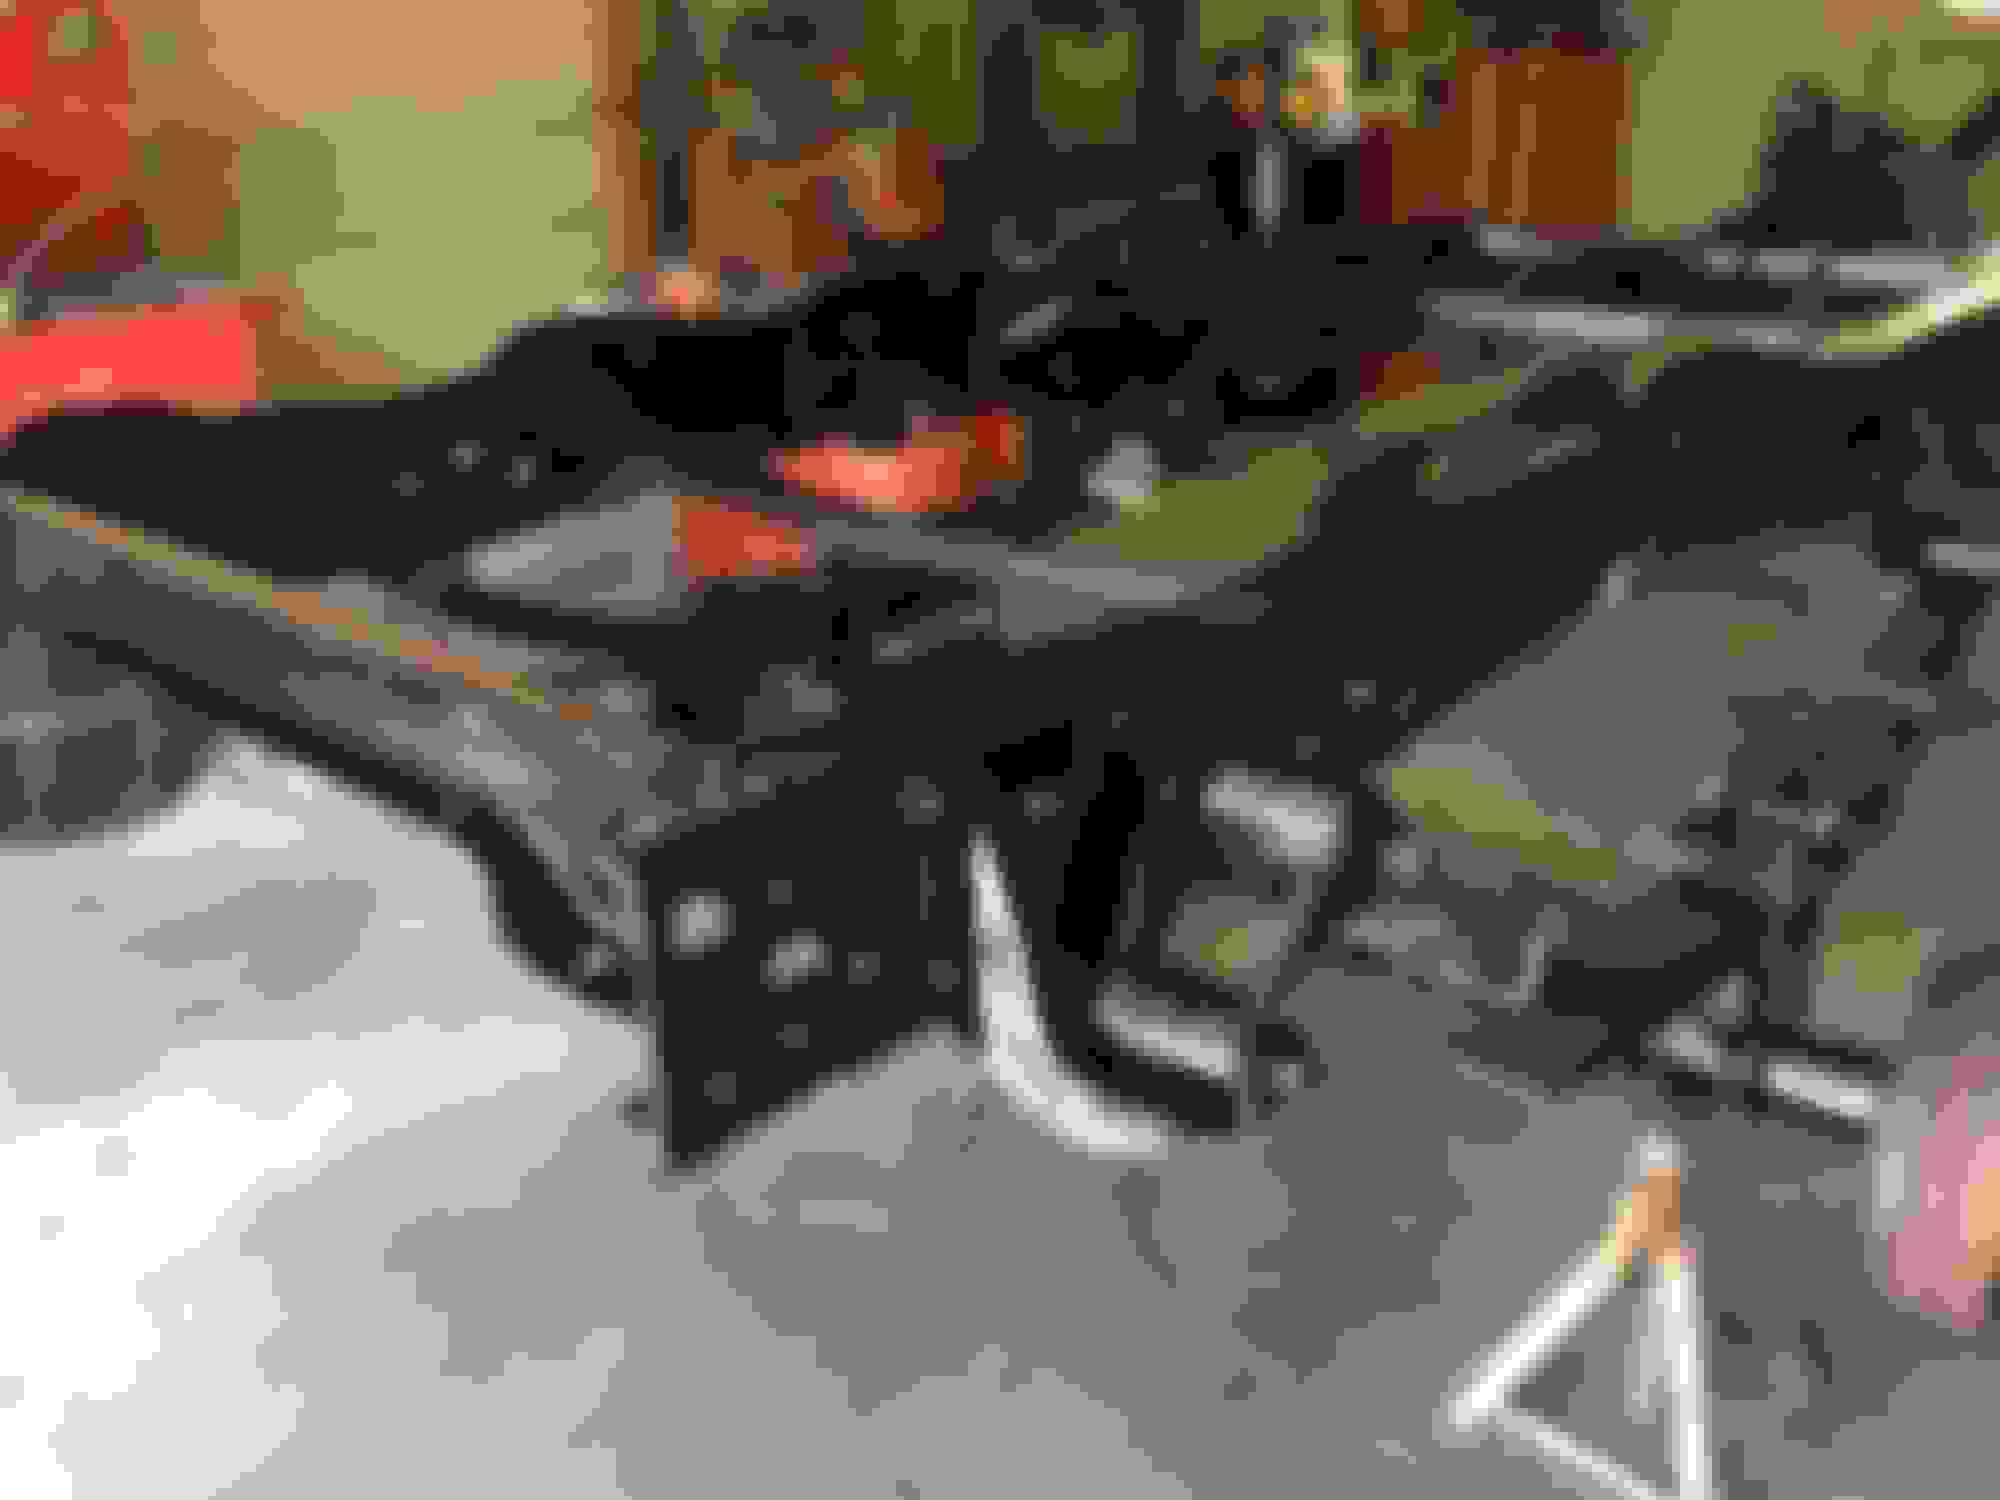
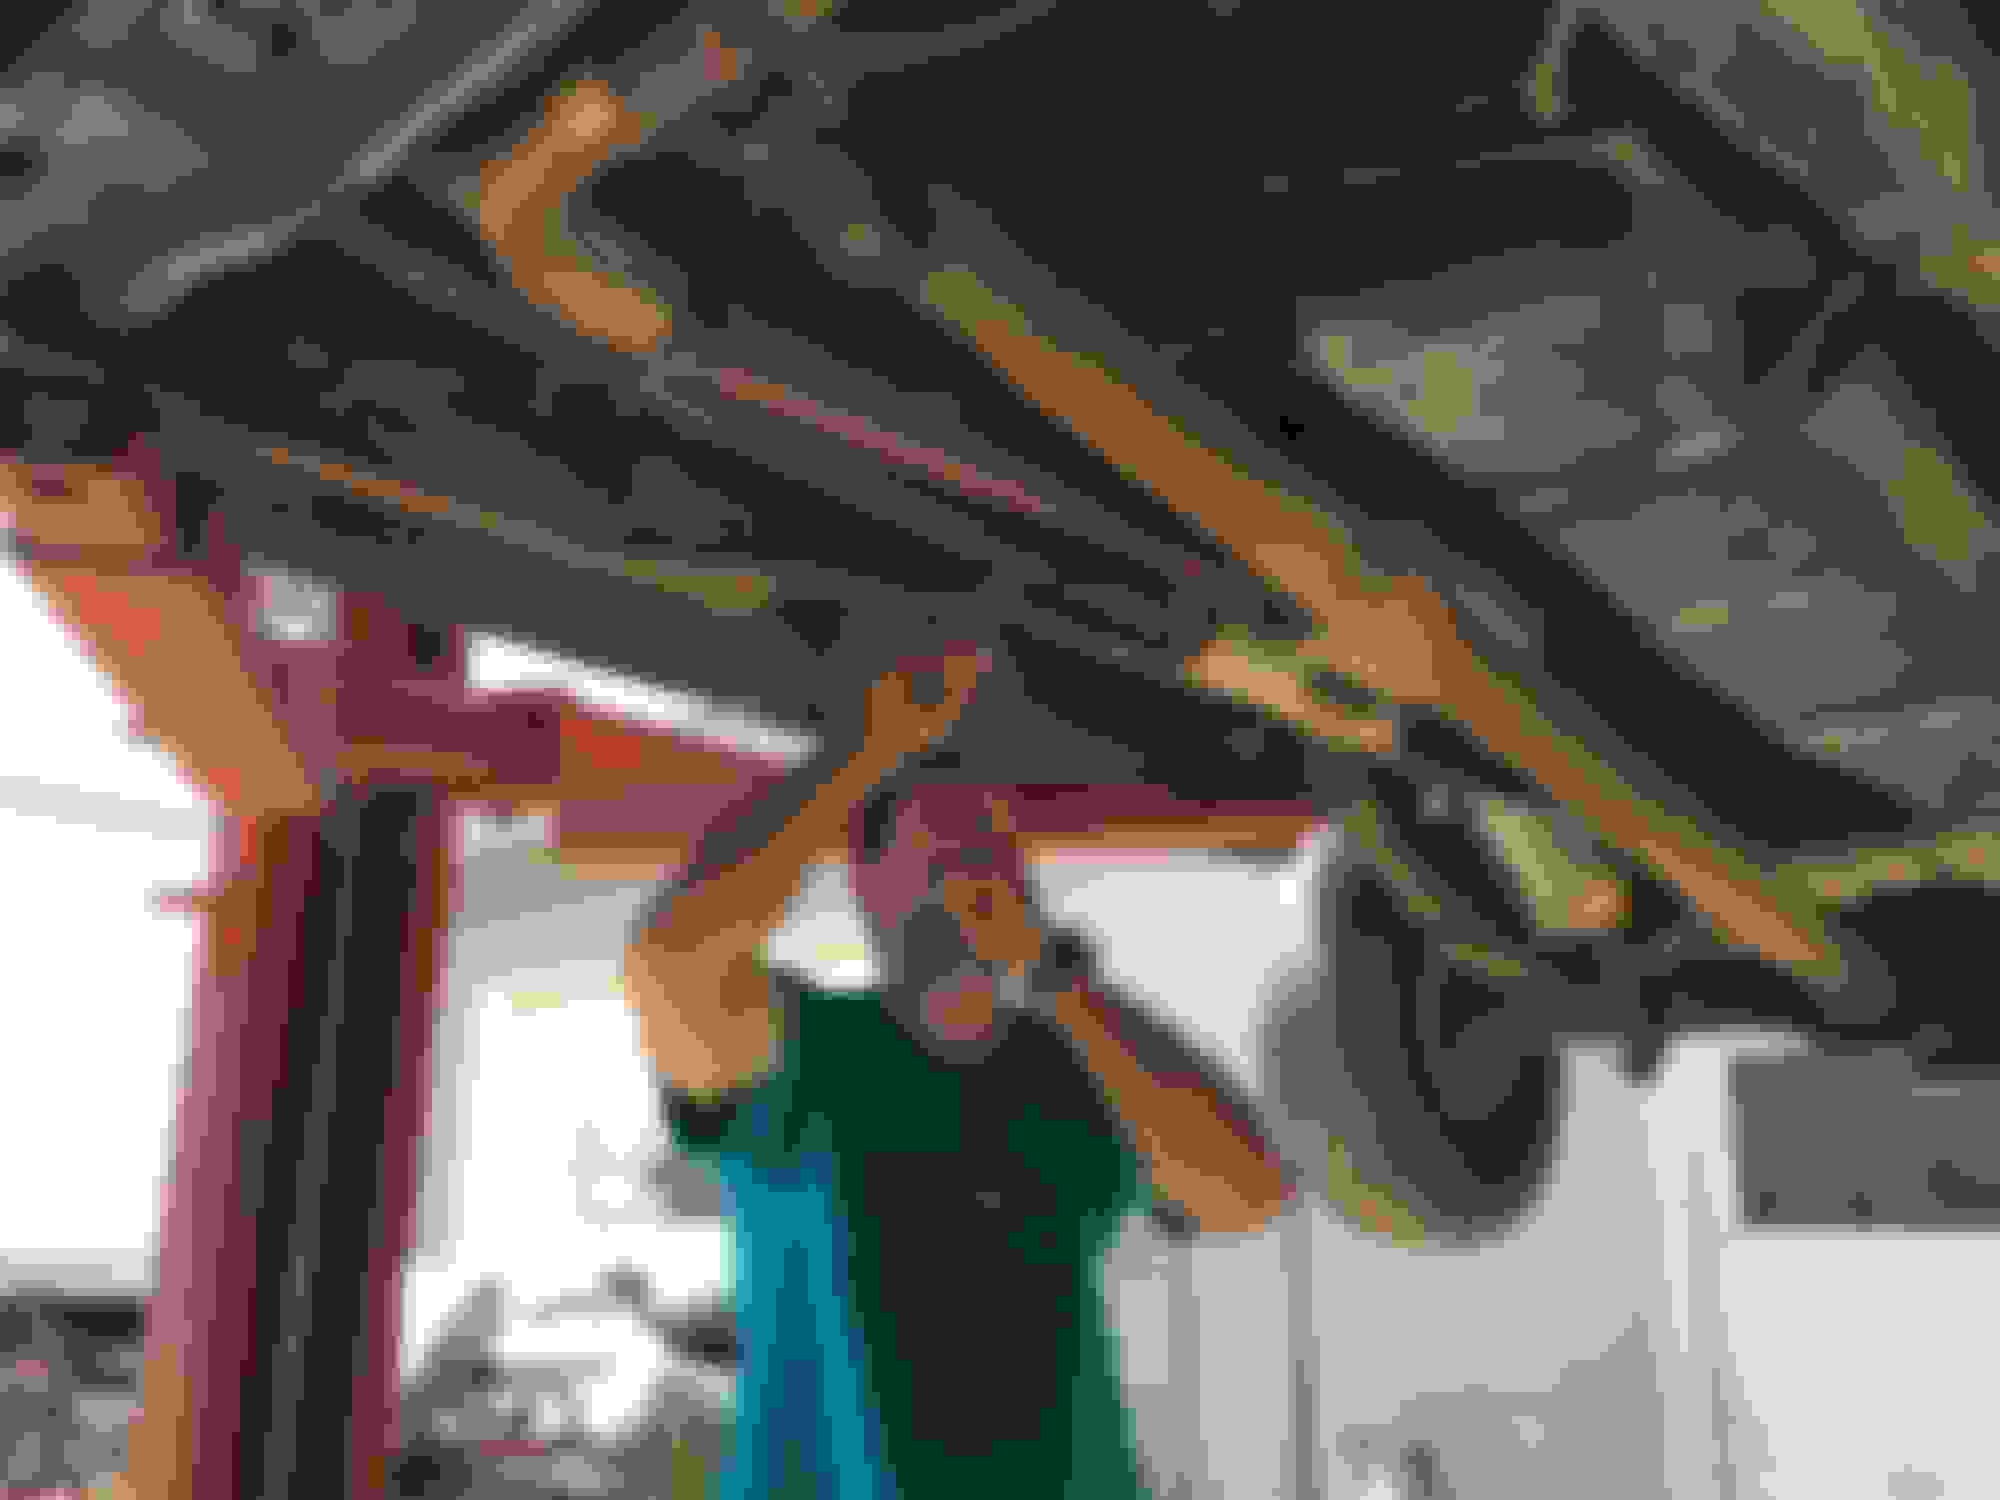
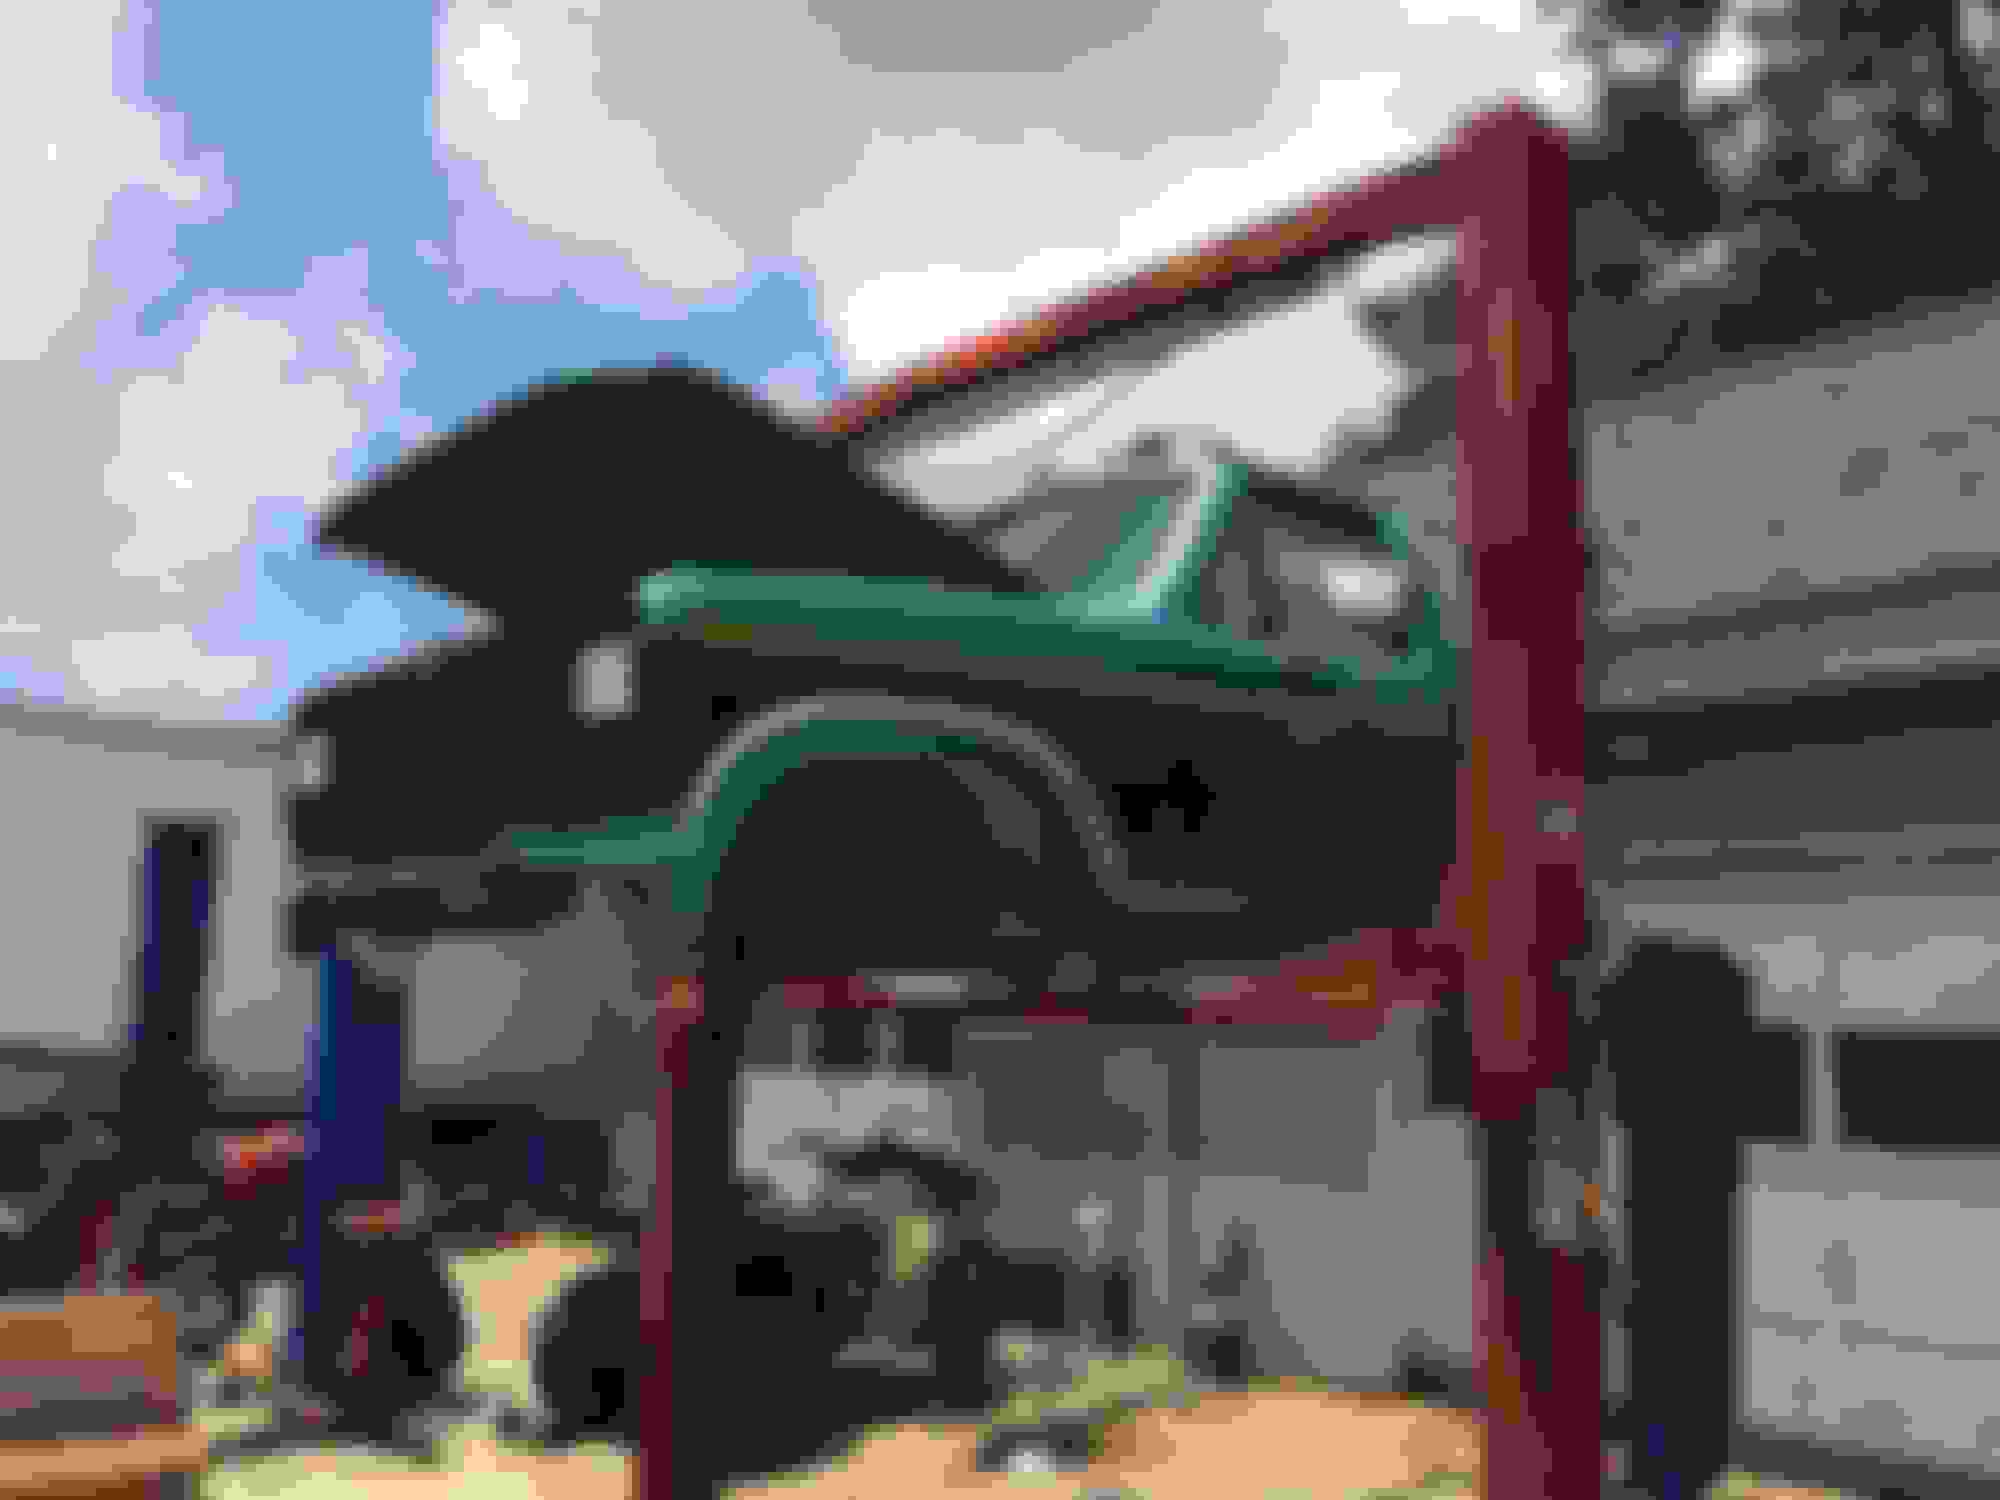
After removing all the wires, the spedo cable, e-brake, gas tank, and other things I'm forgetting, we were able to remove the nose and cab.
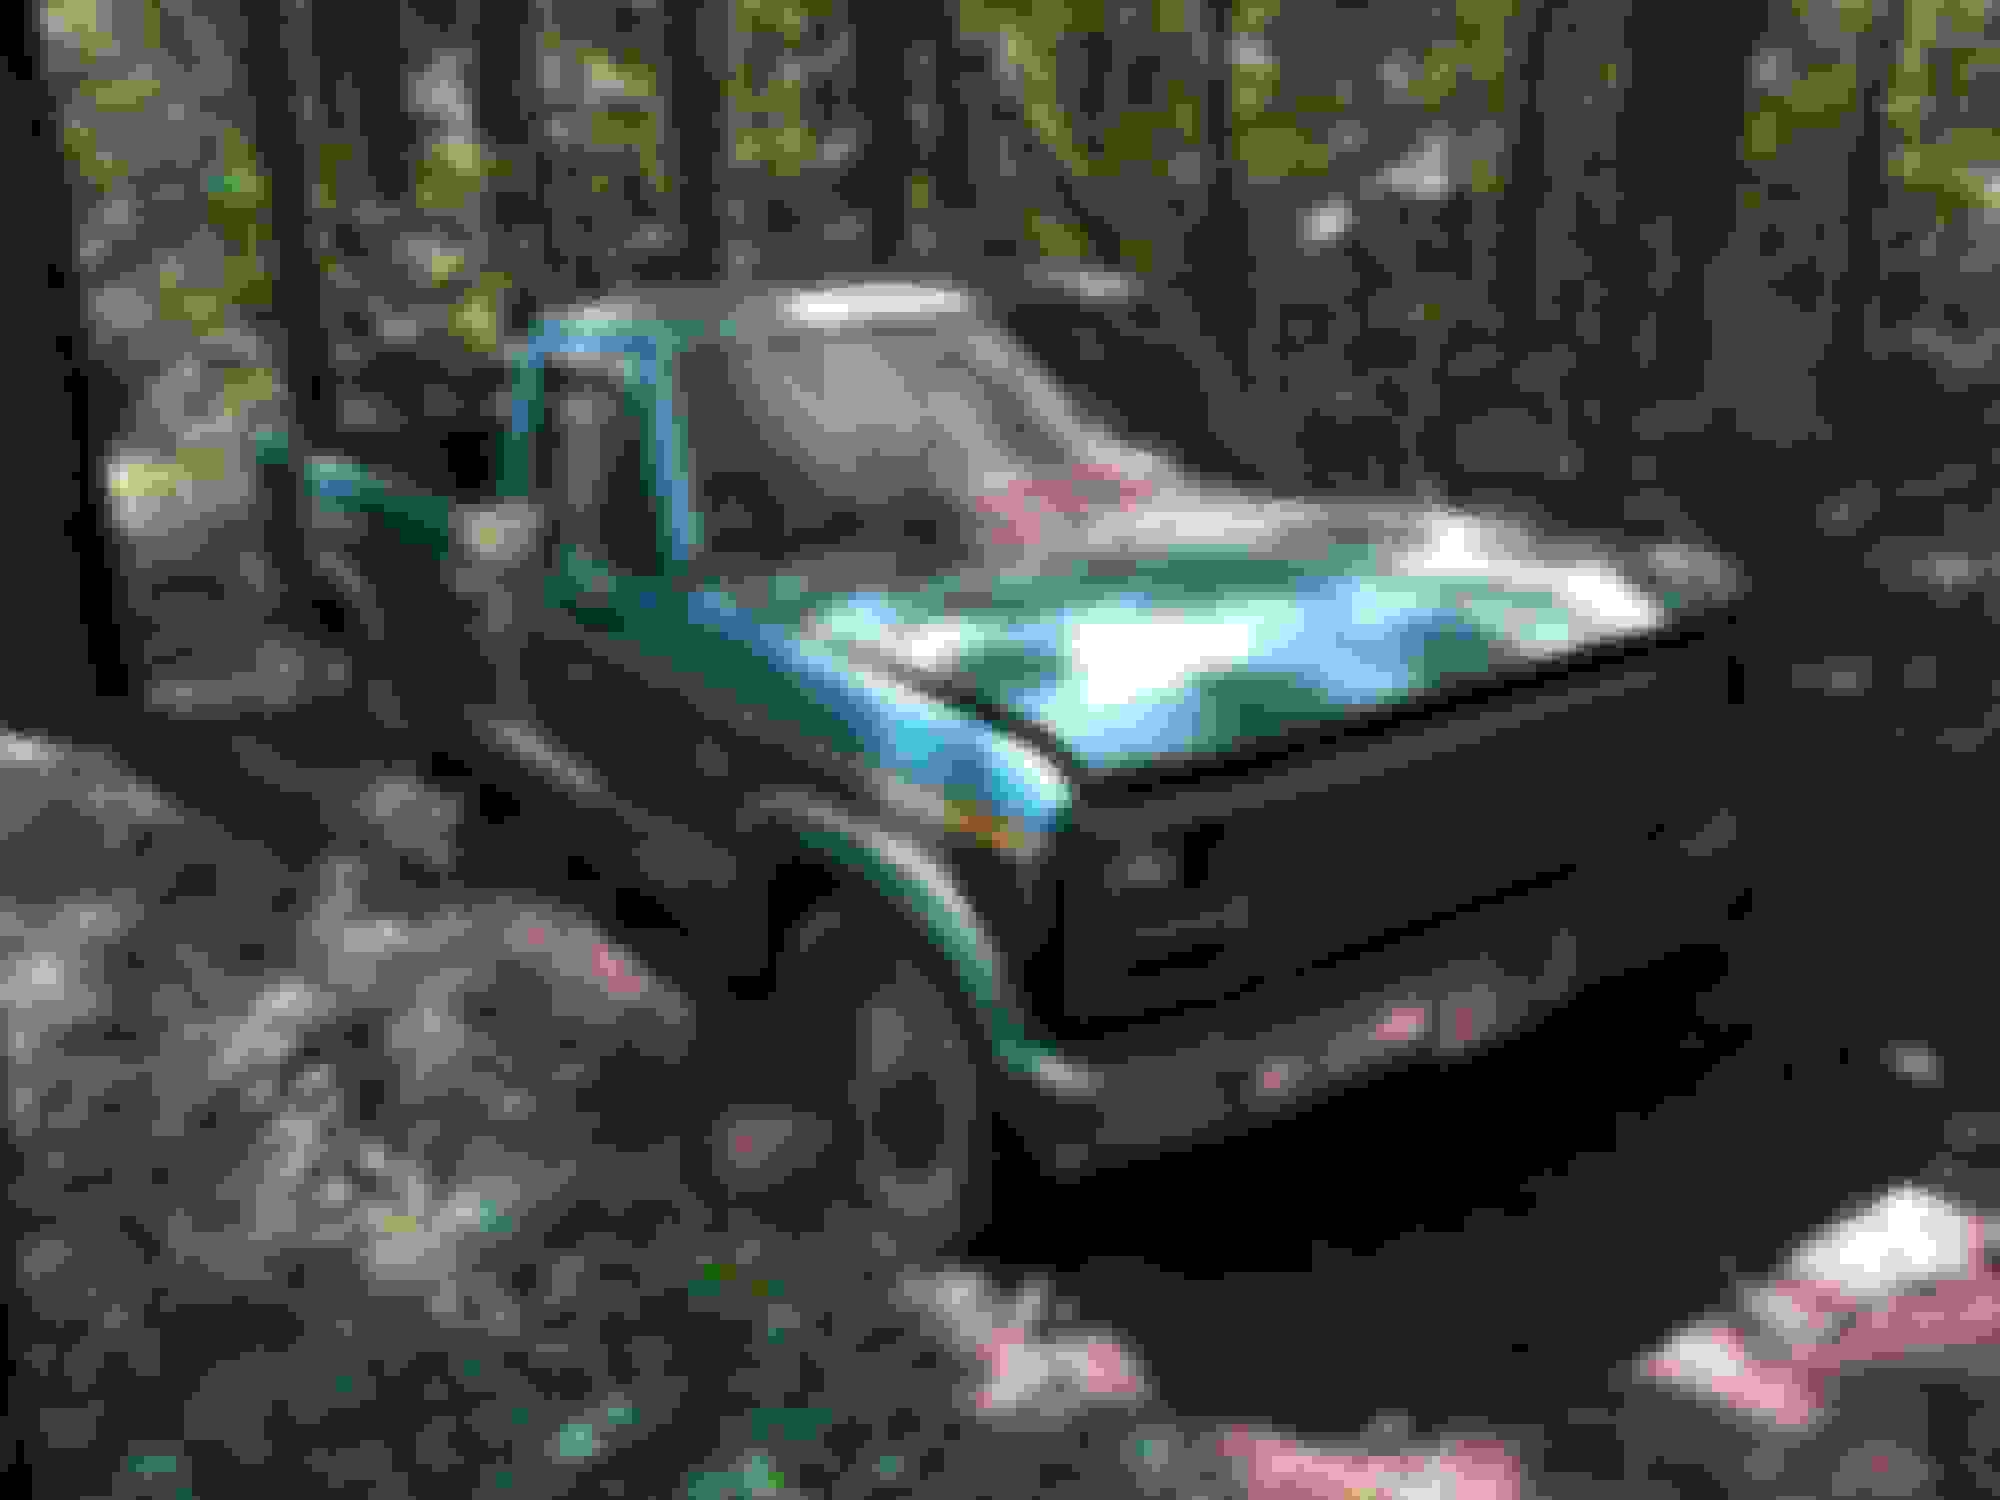
In case you were wondering, it was crap and has since been shipped off to the graveyard. The tub was completely rusted and the nose section had way too many imperfections.
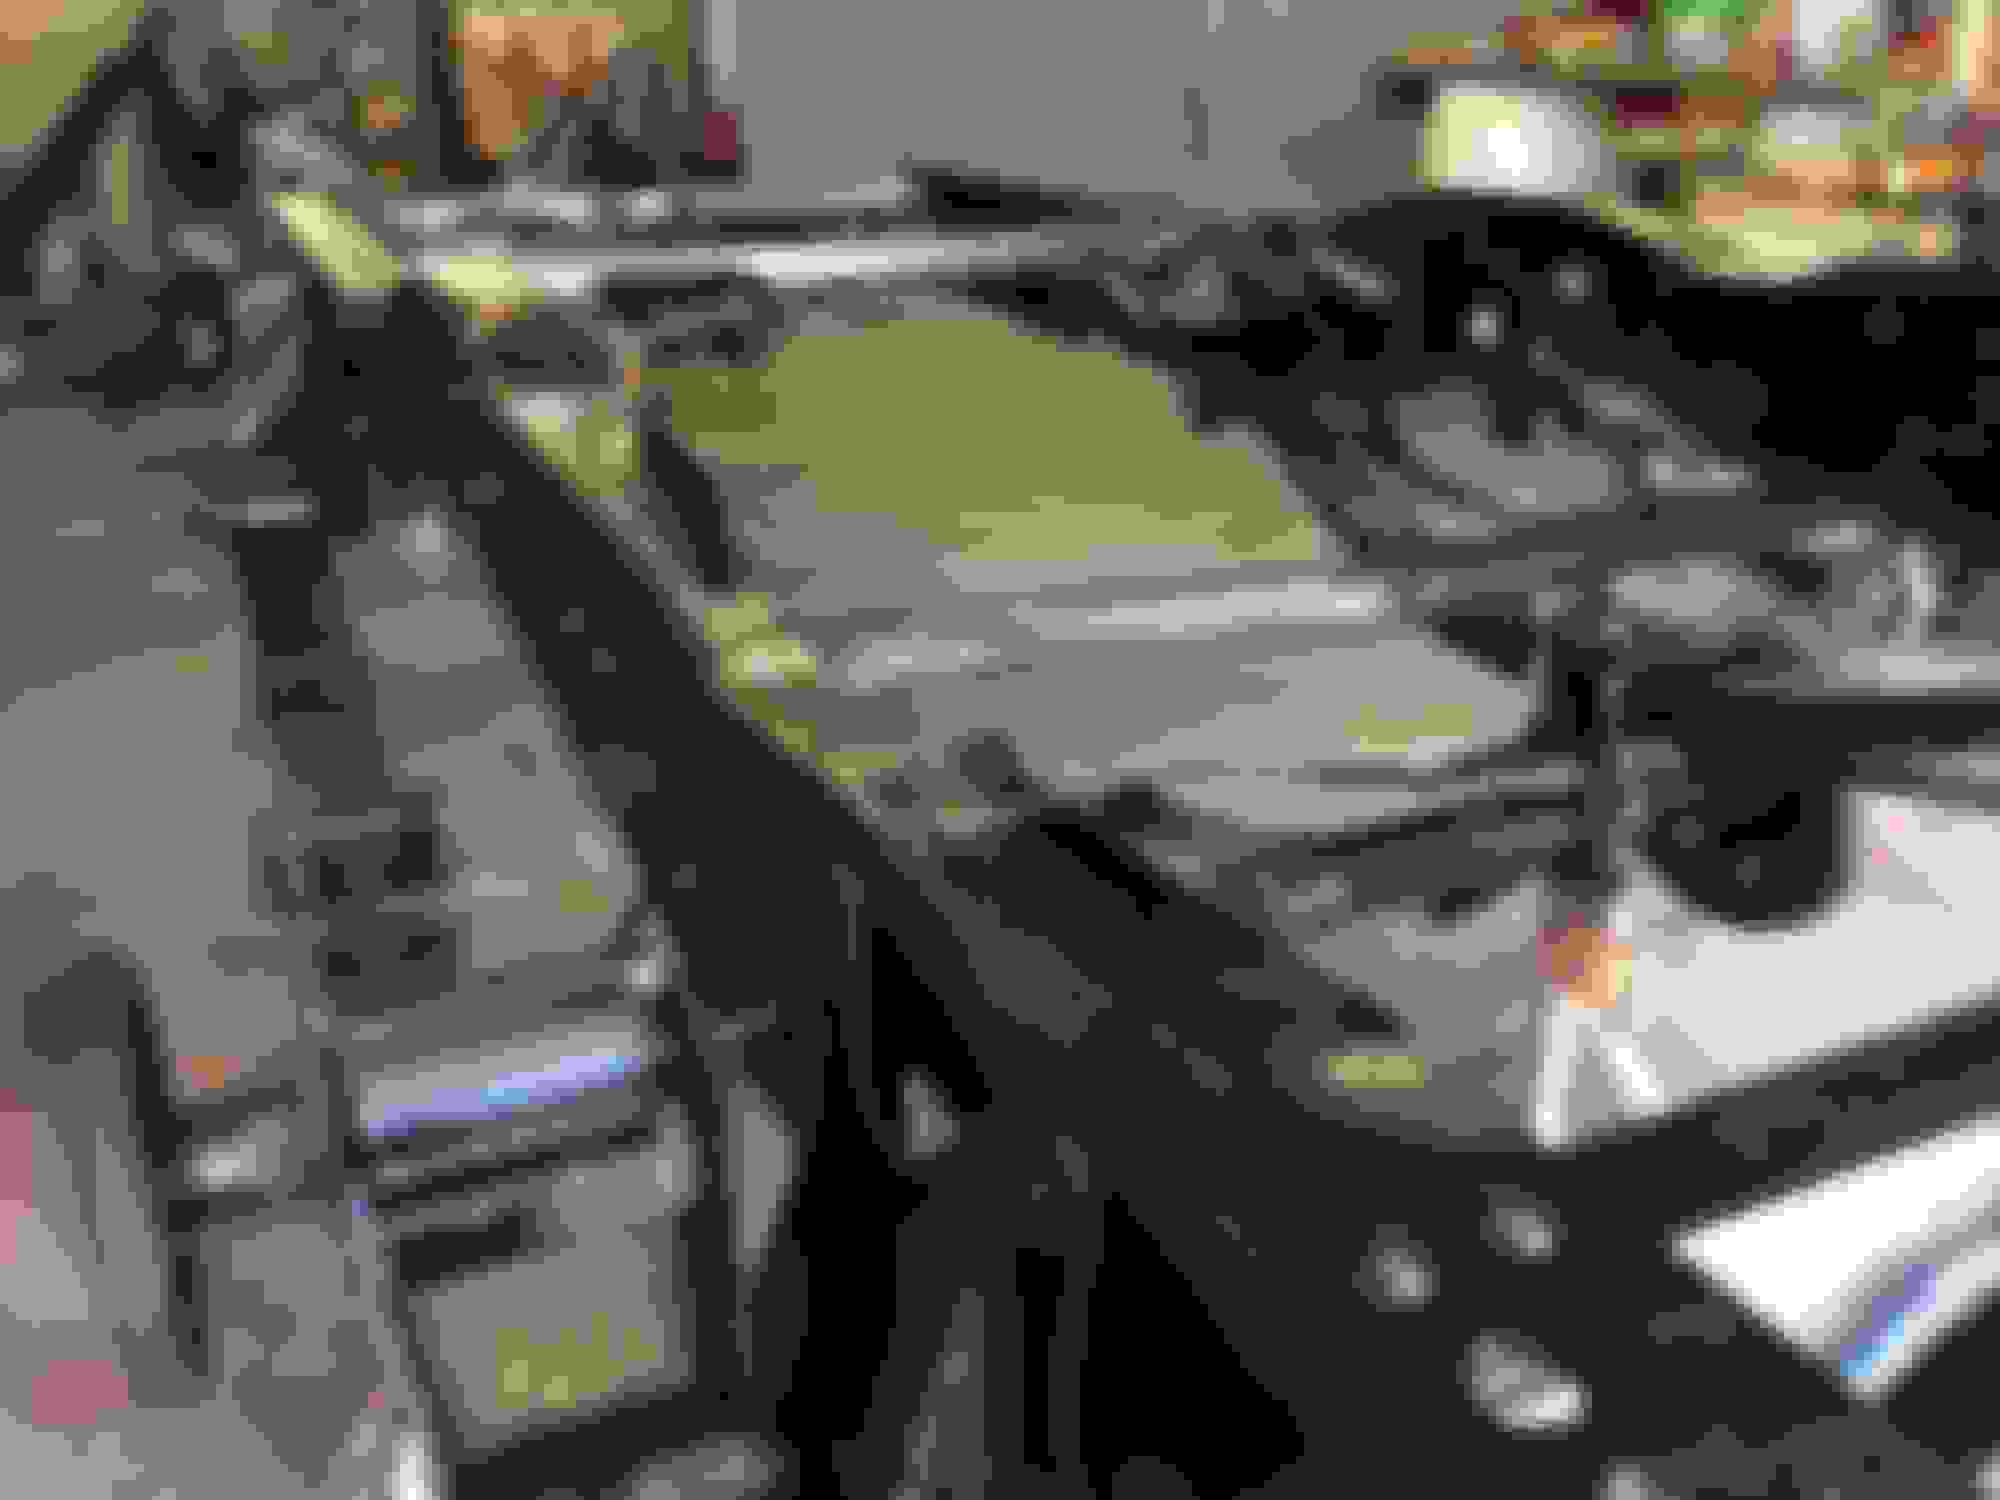
Removed the trim/lights, etc. Most of it was salvagable.
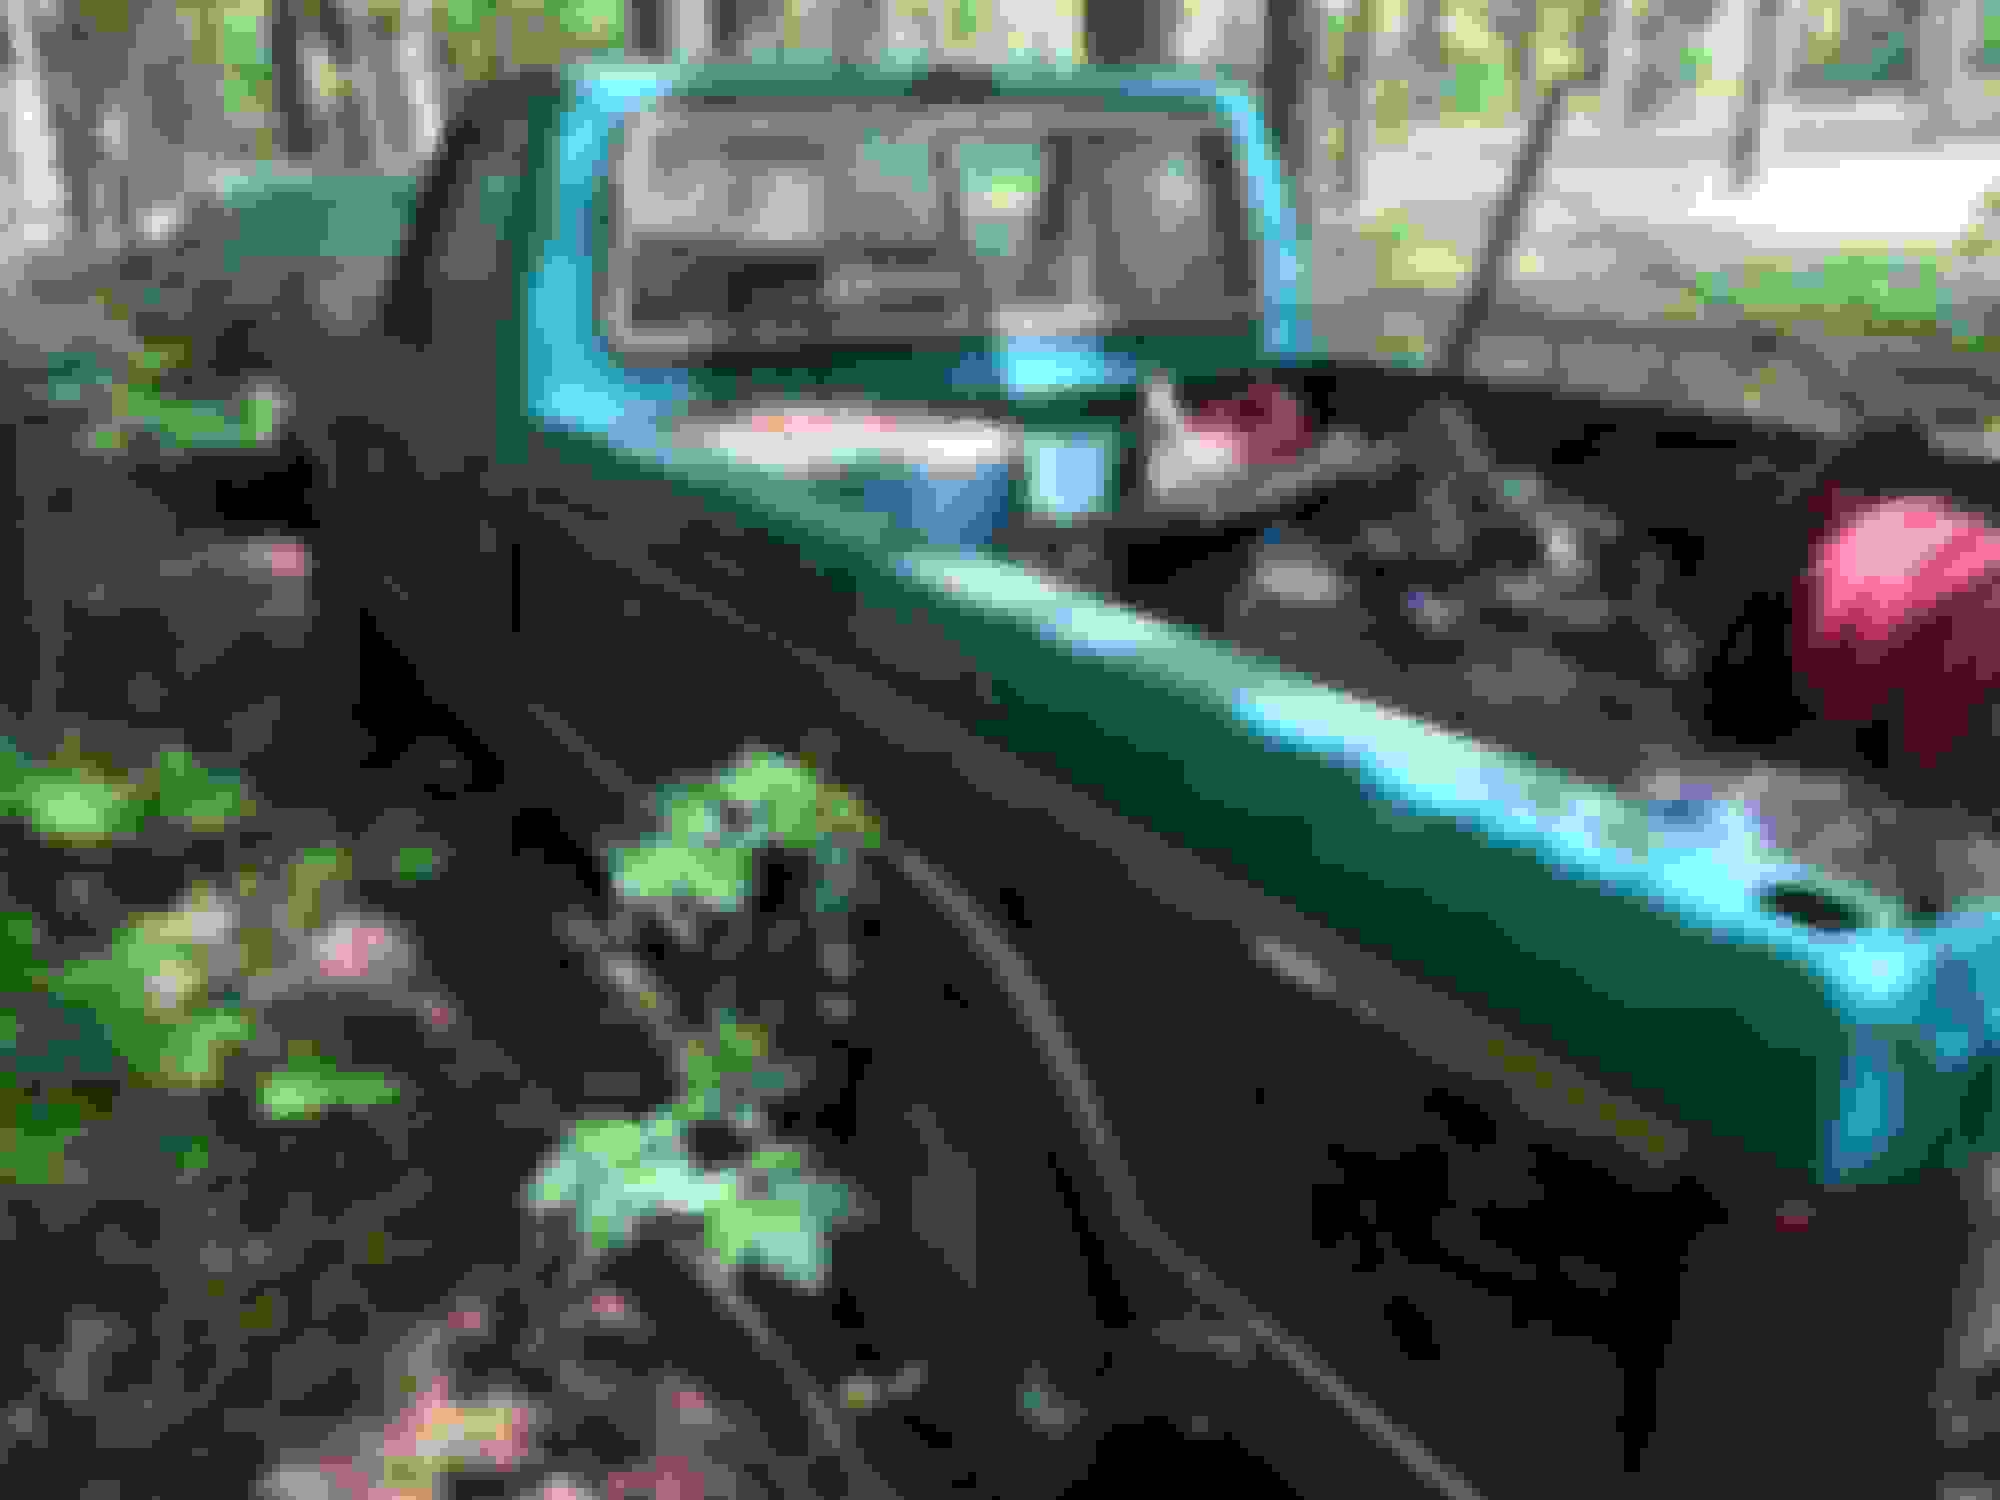
Side view, with wiring.
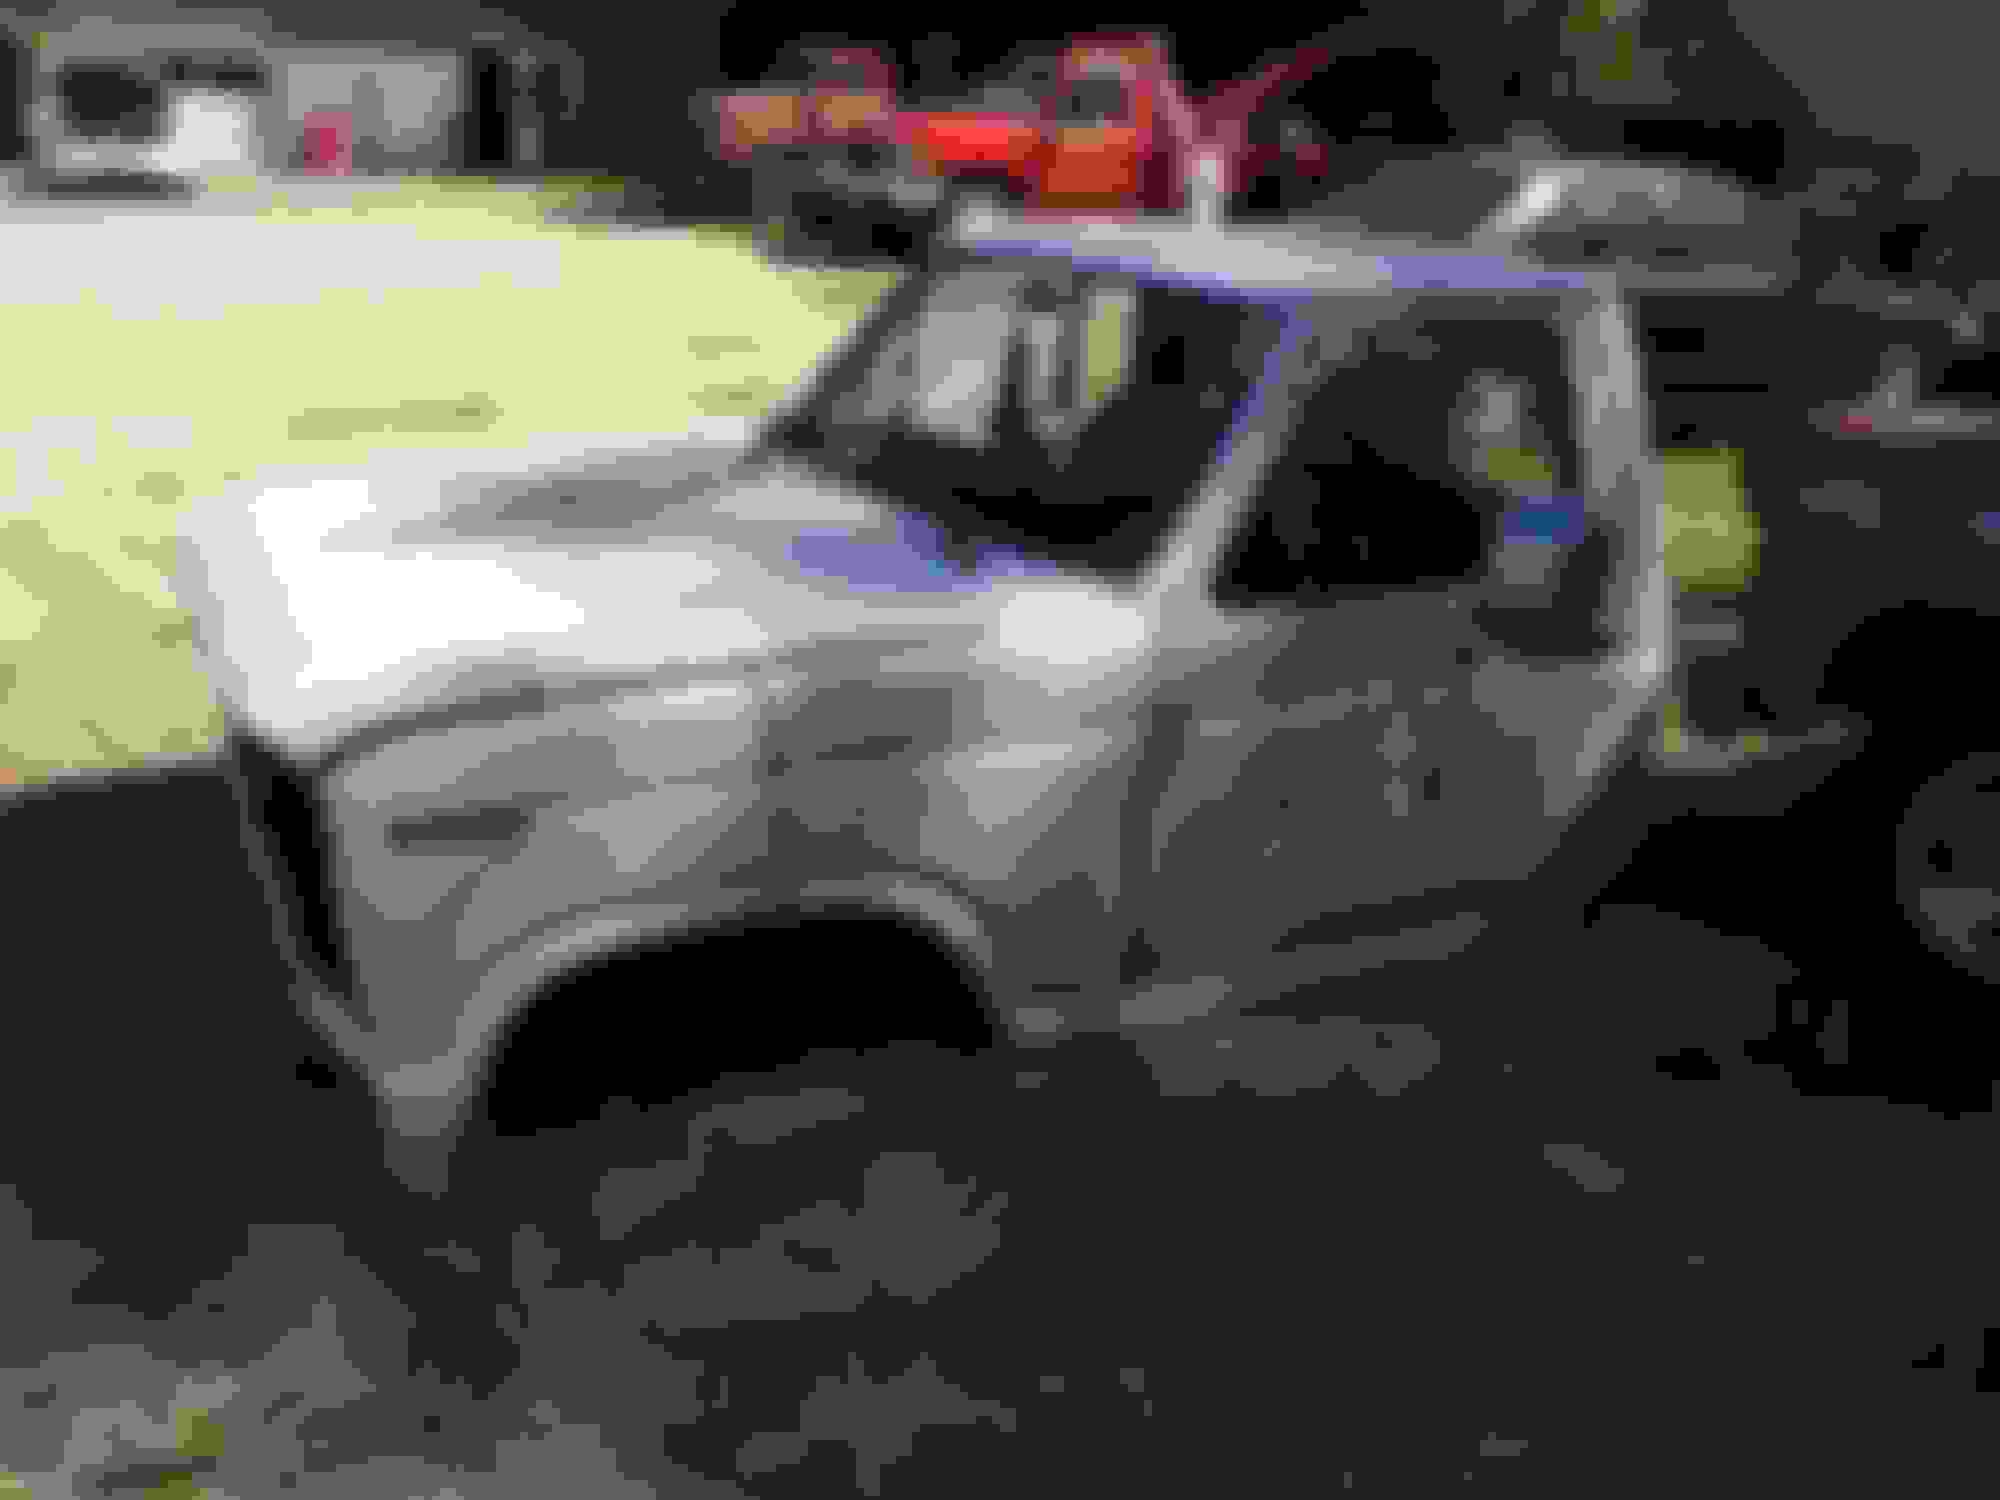
Removing the nose and cab. Very non-traditional approach.
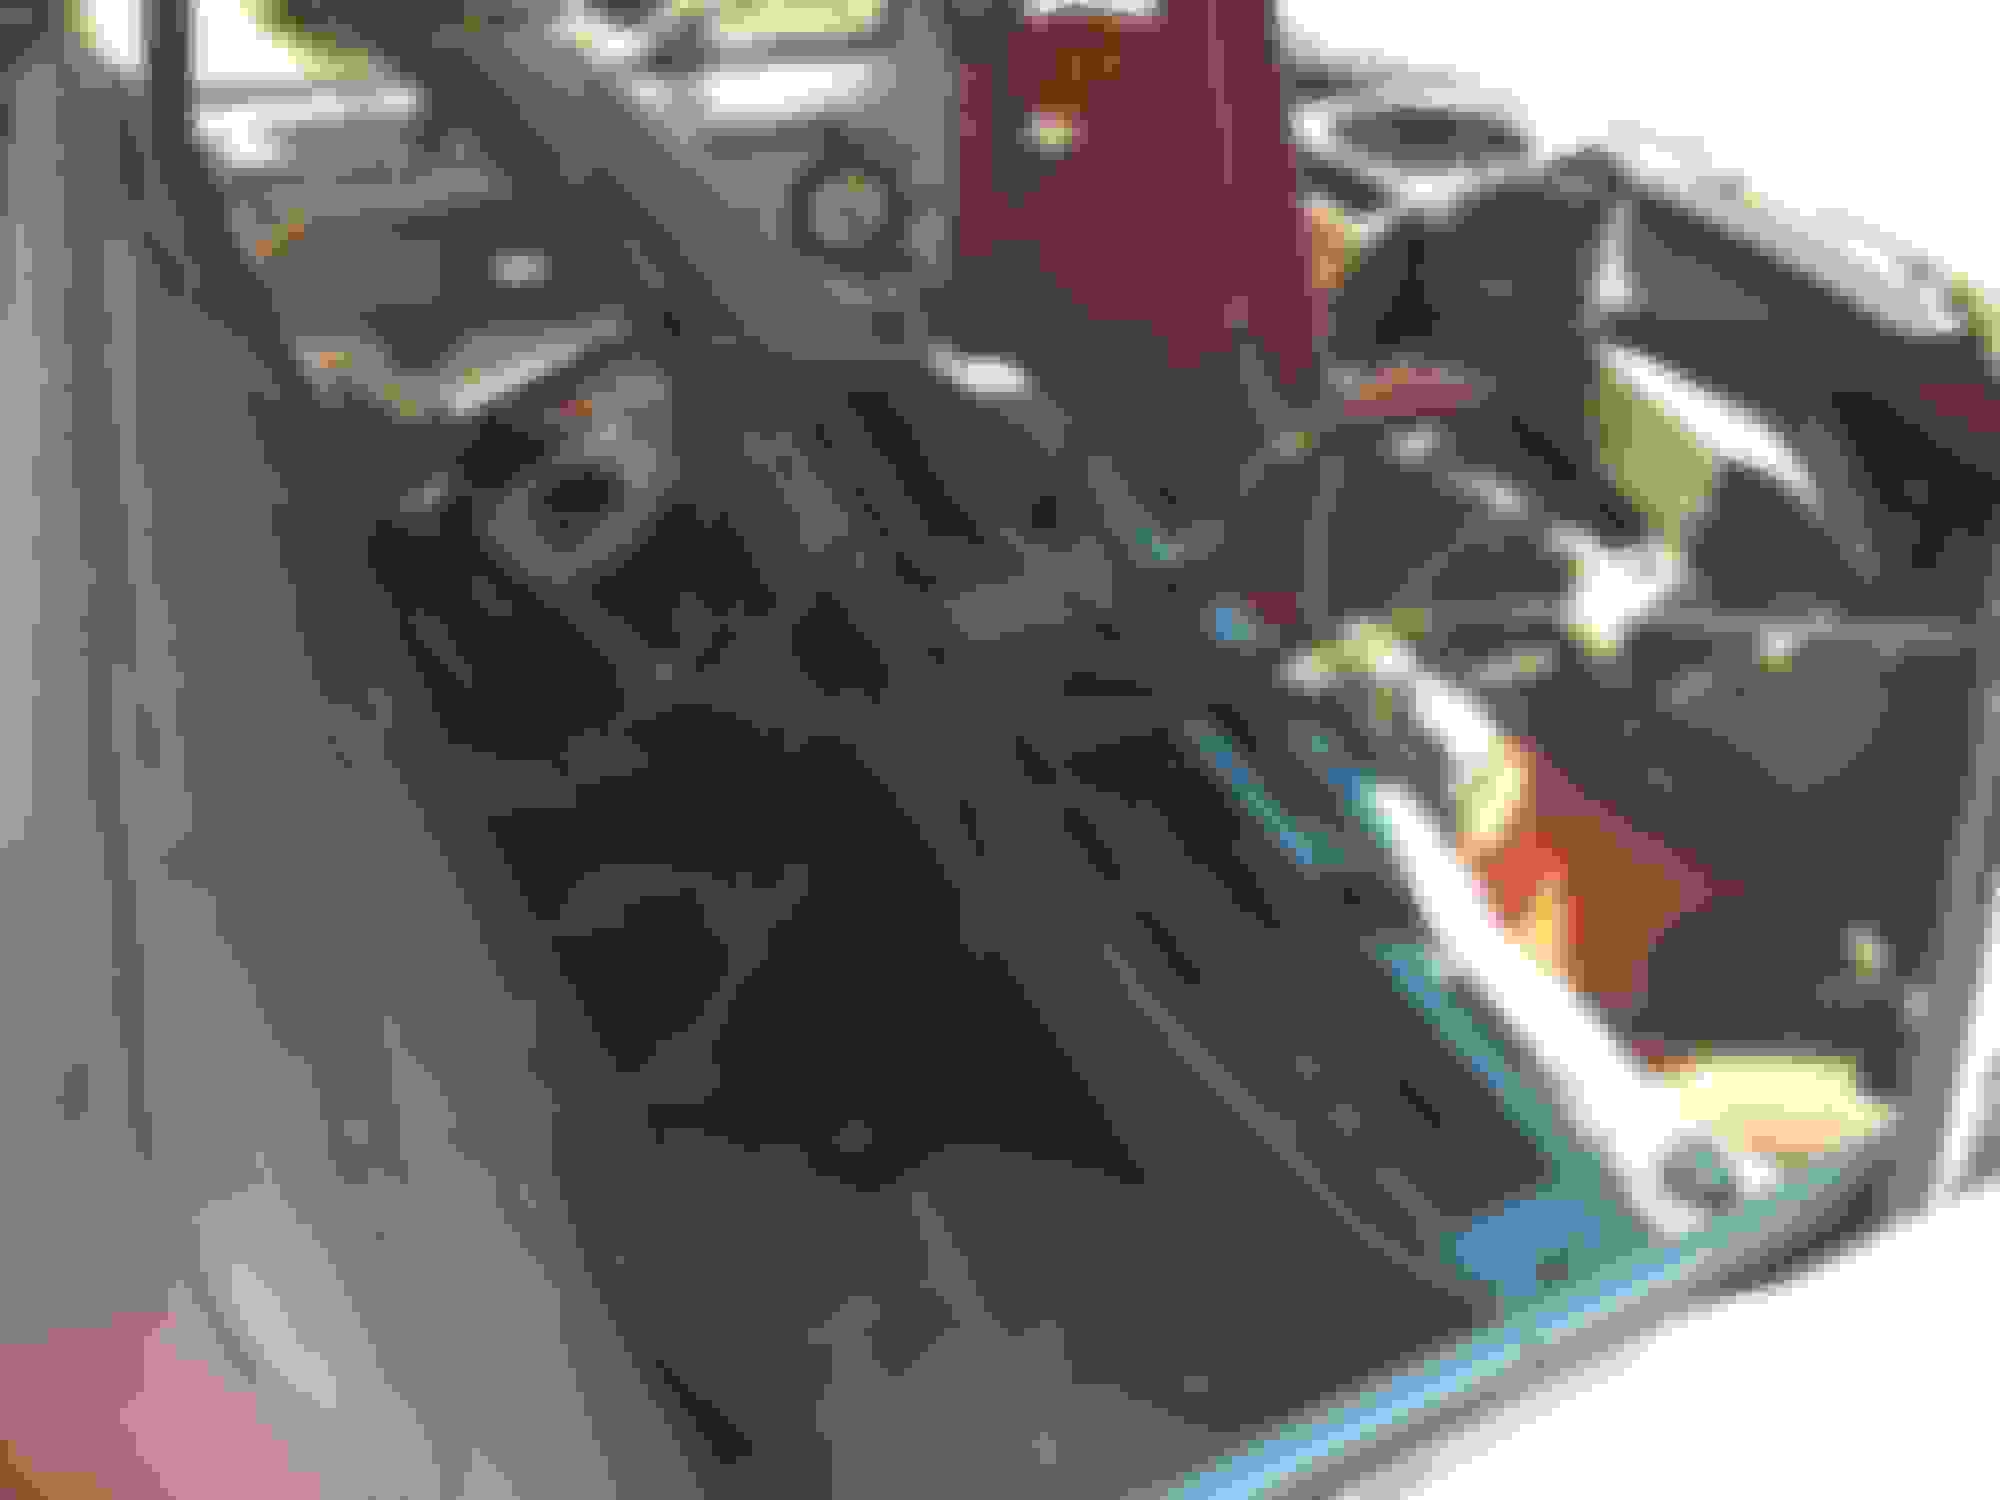
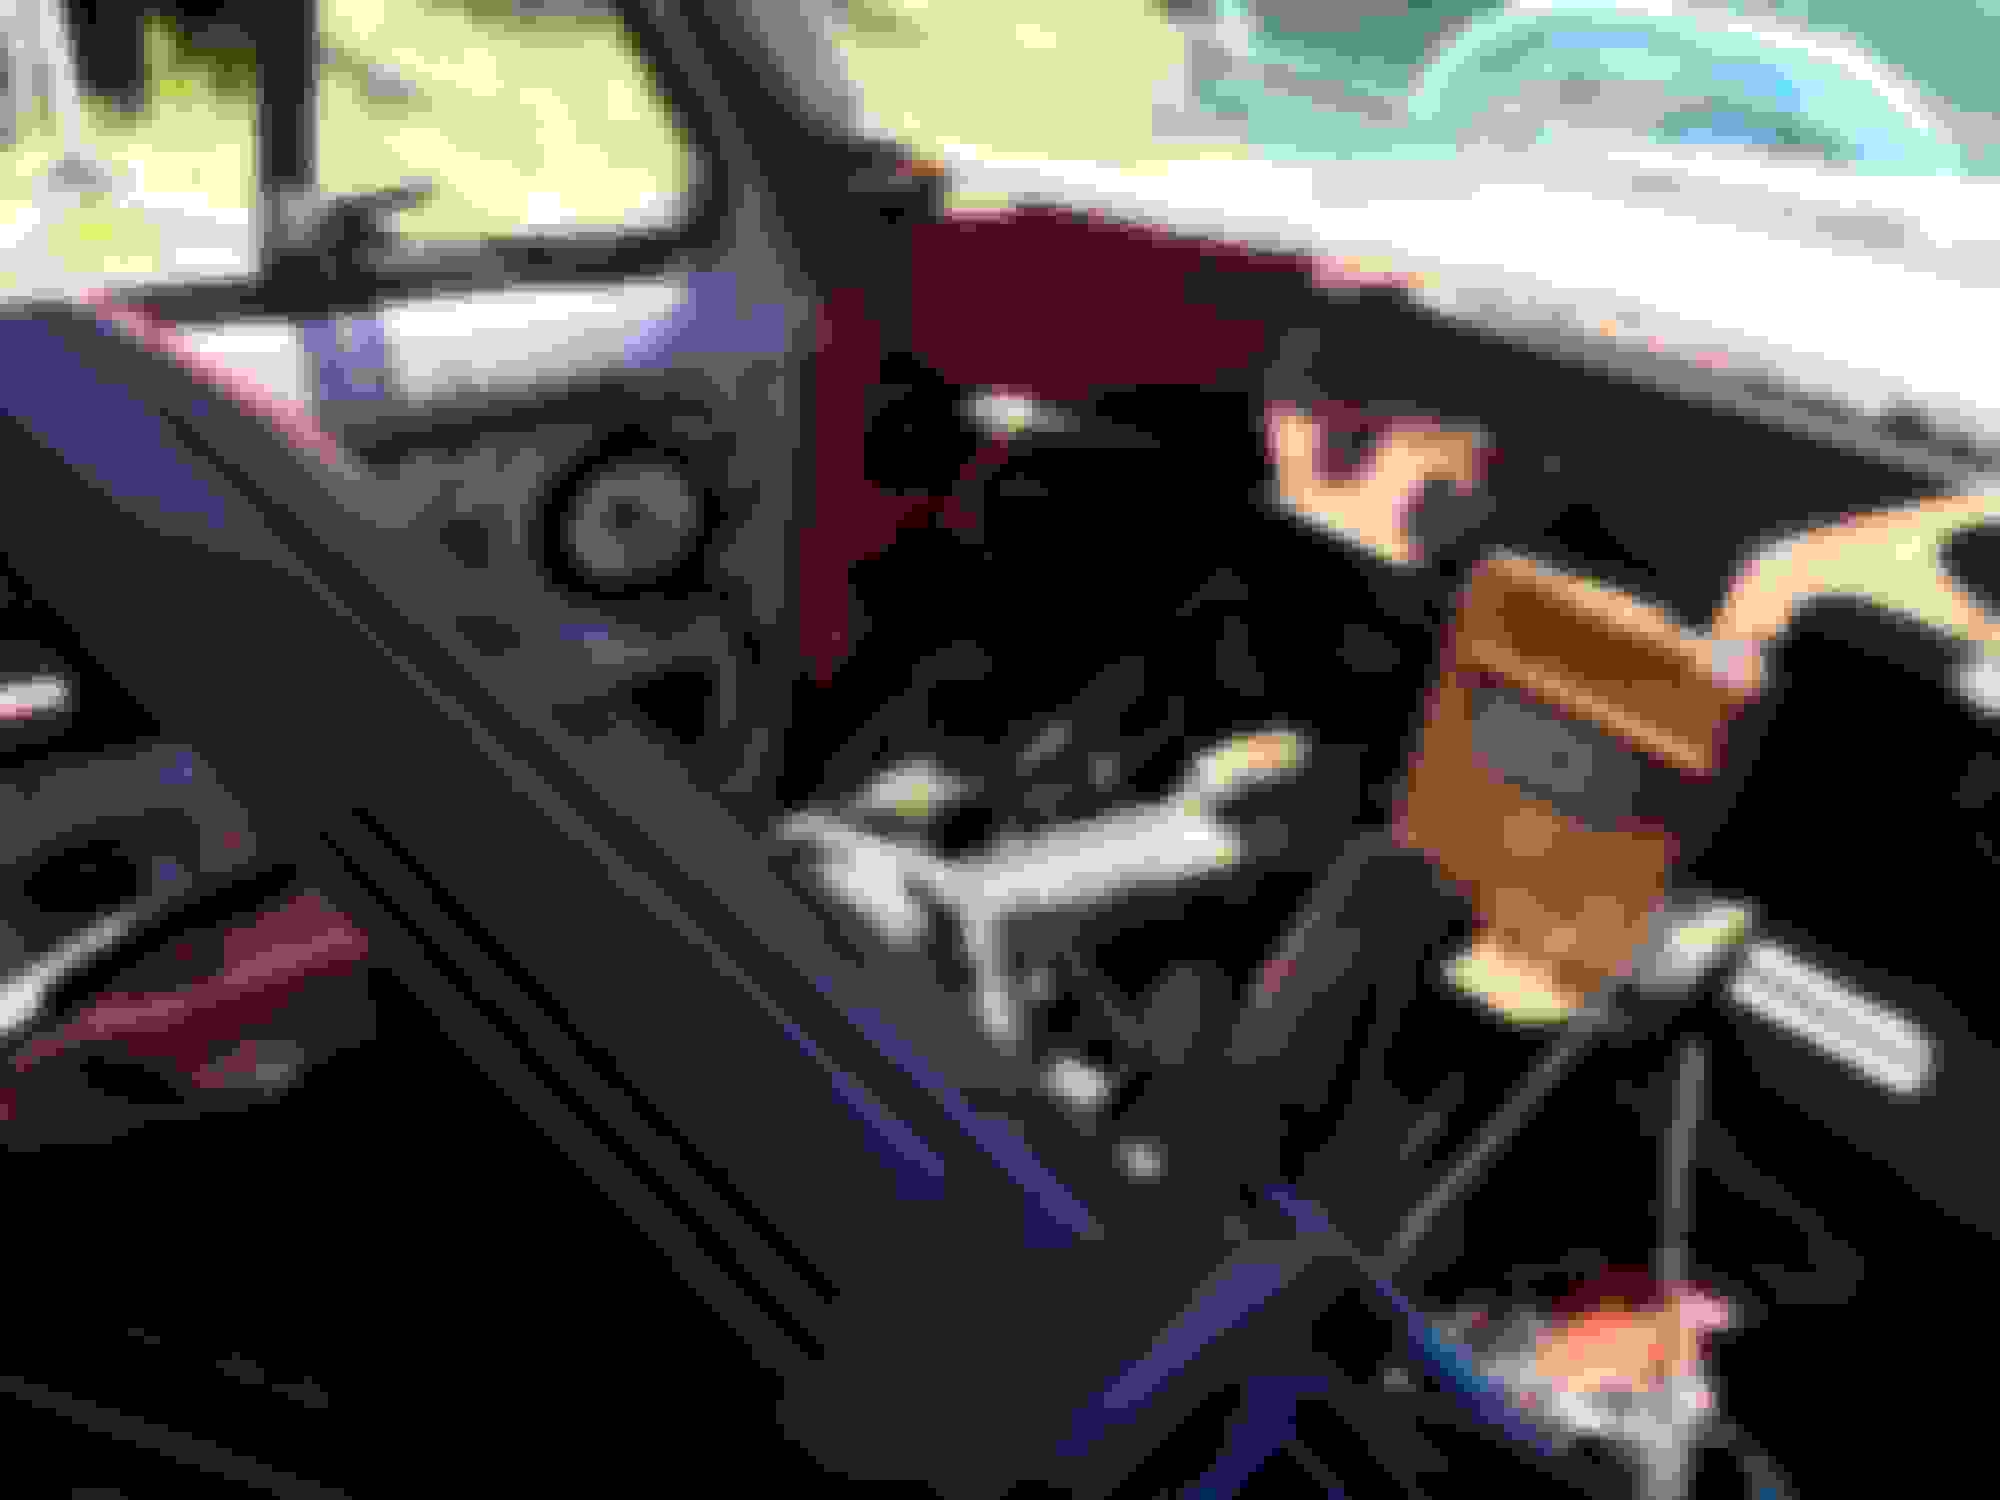
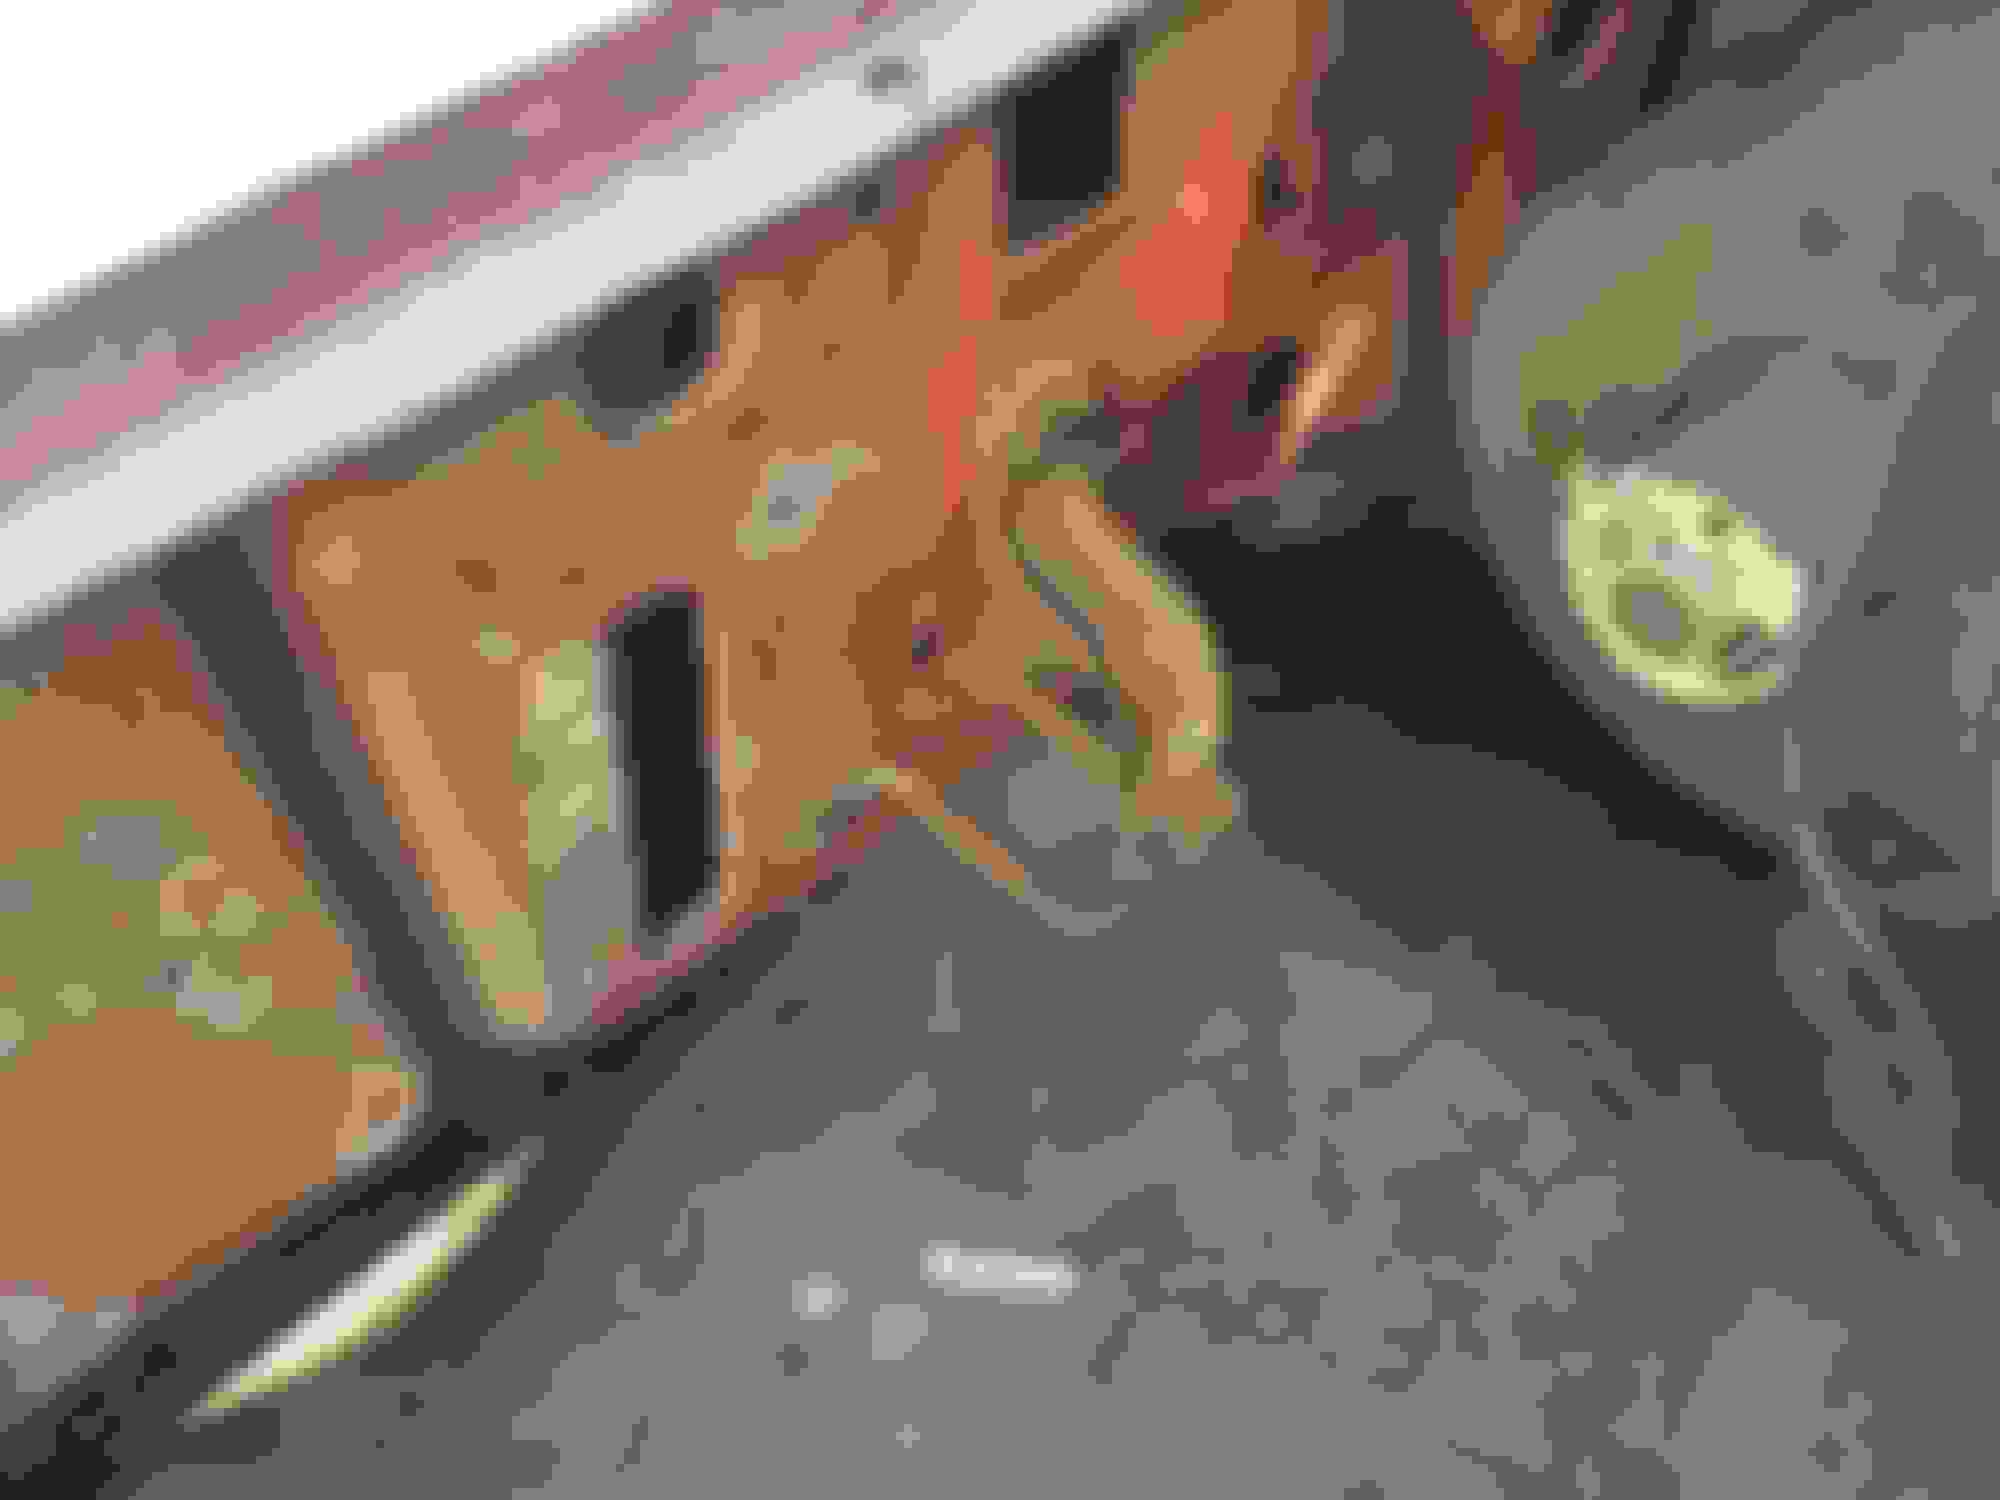
Inside of the cab, most of this was saved. A lot of it was thrown out due to the condition.
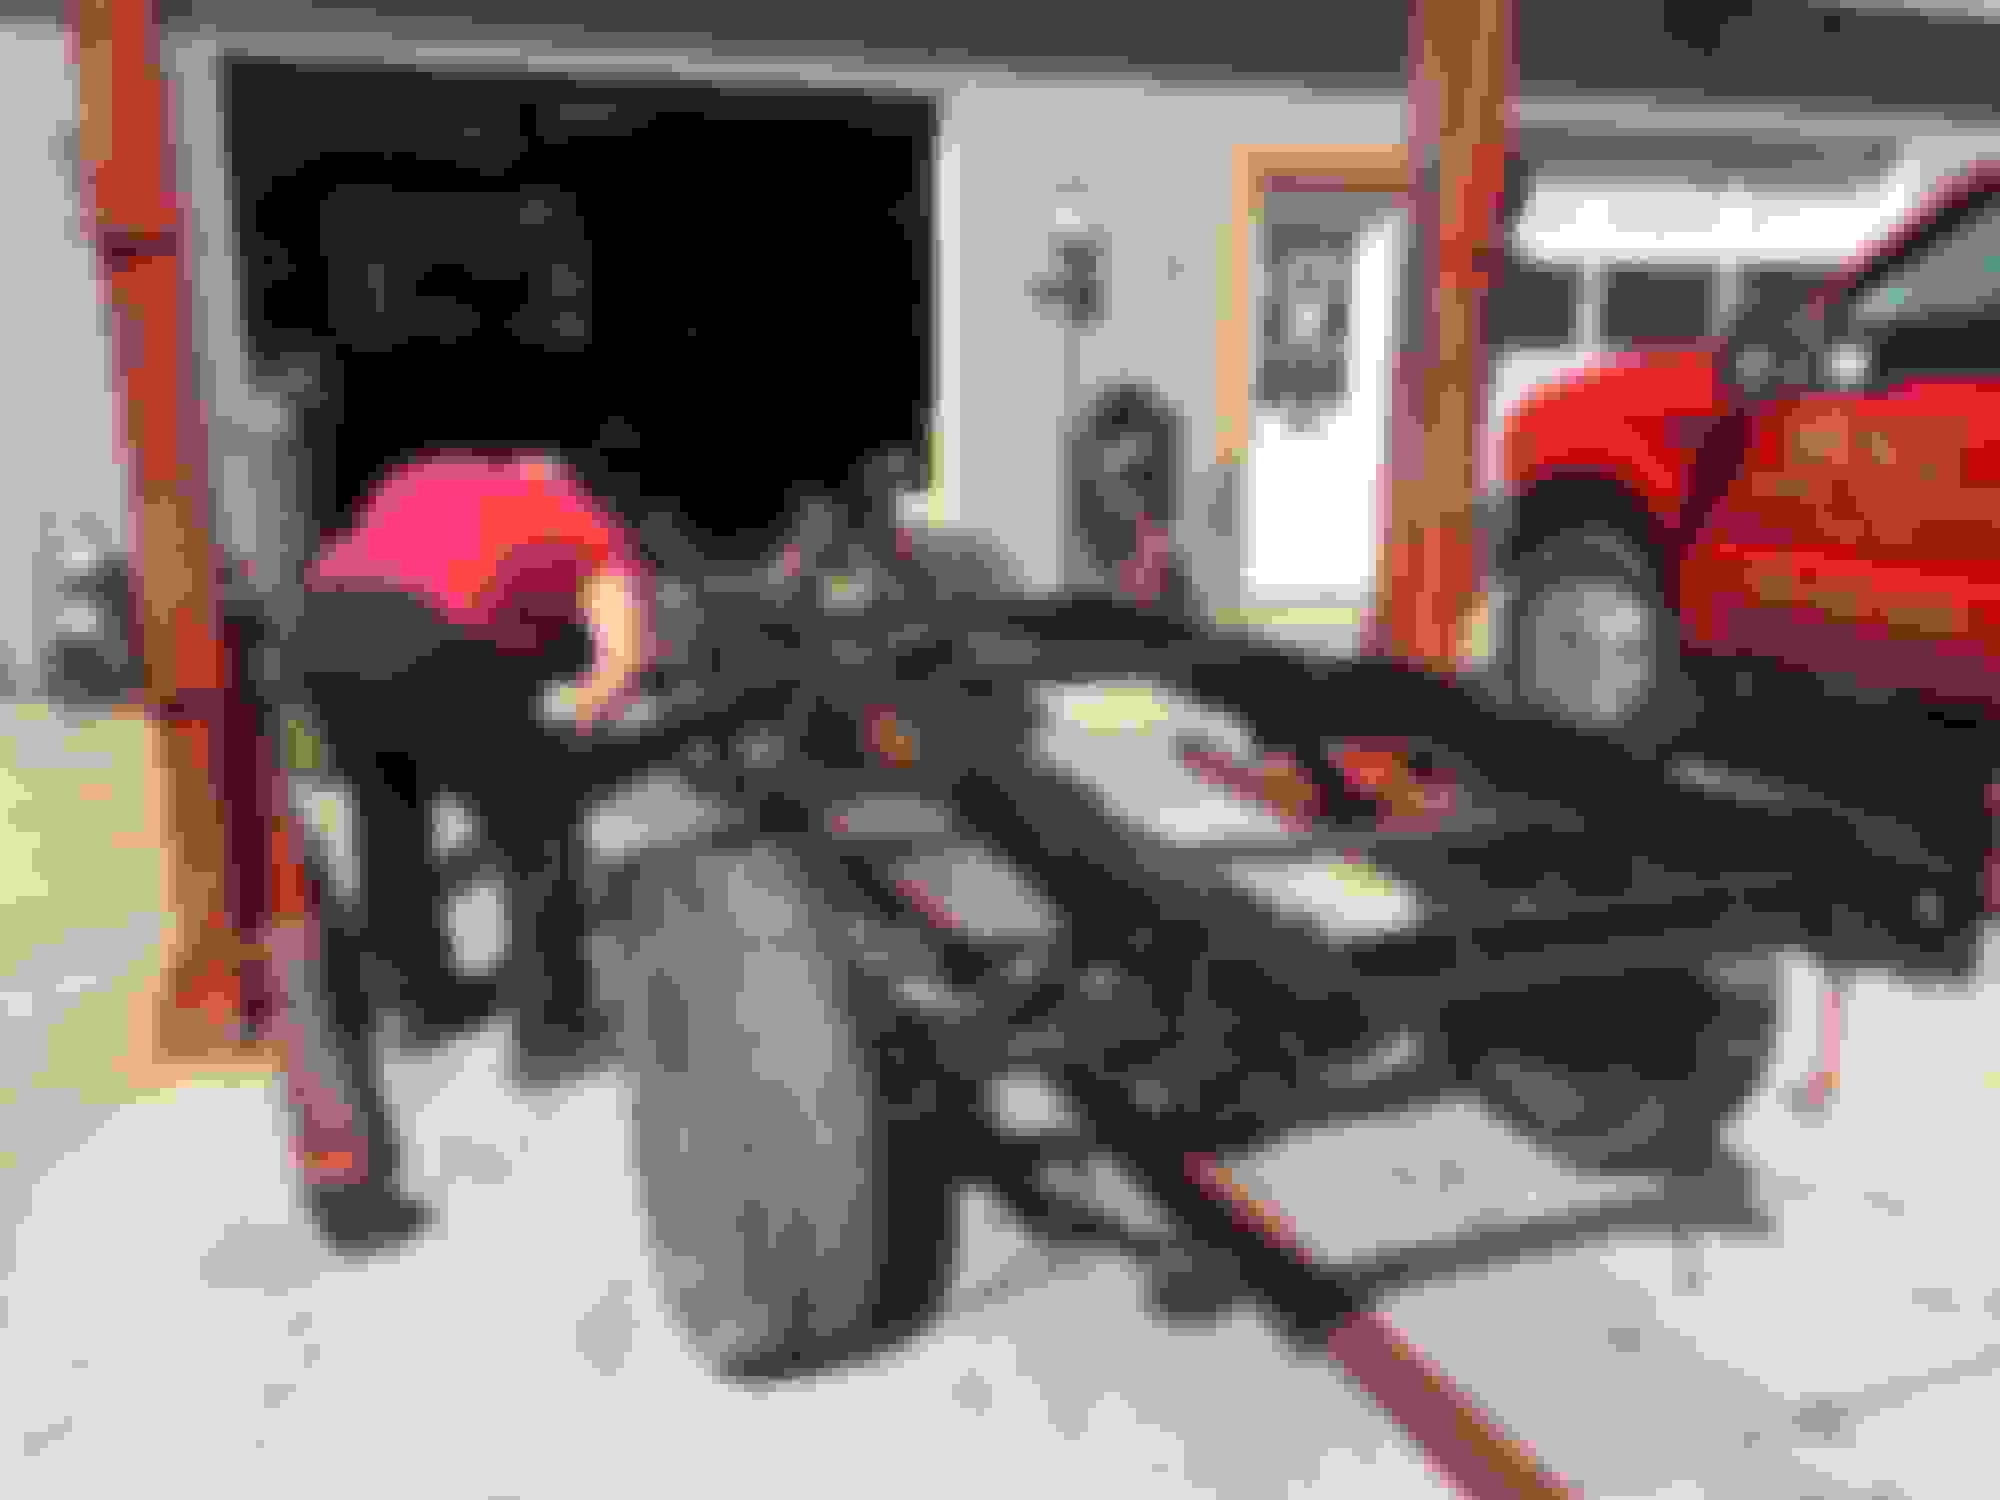
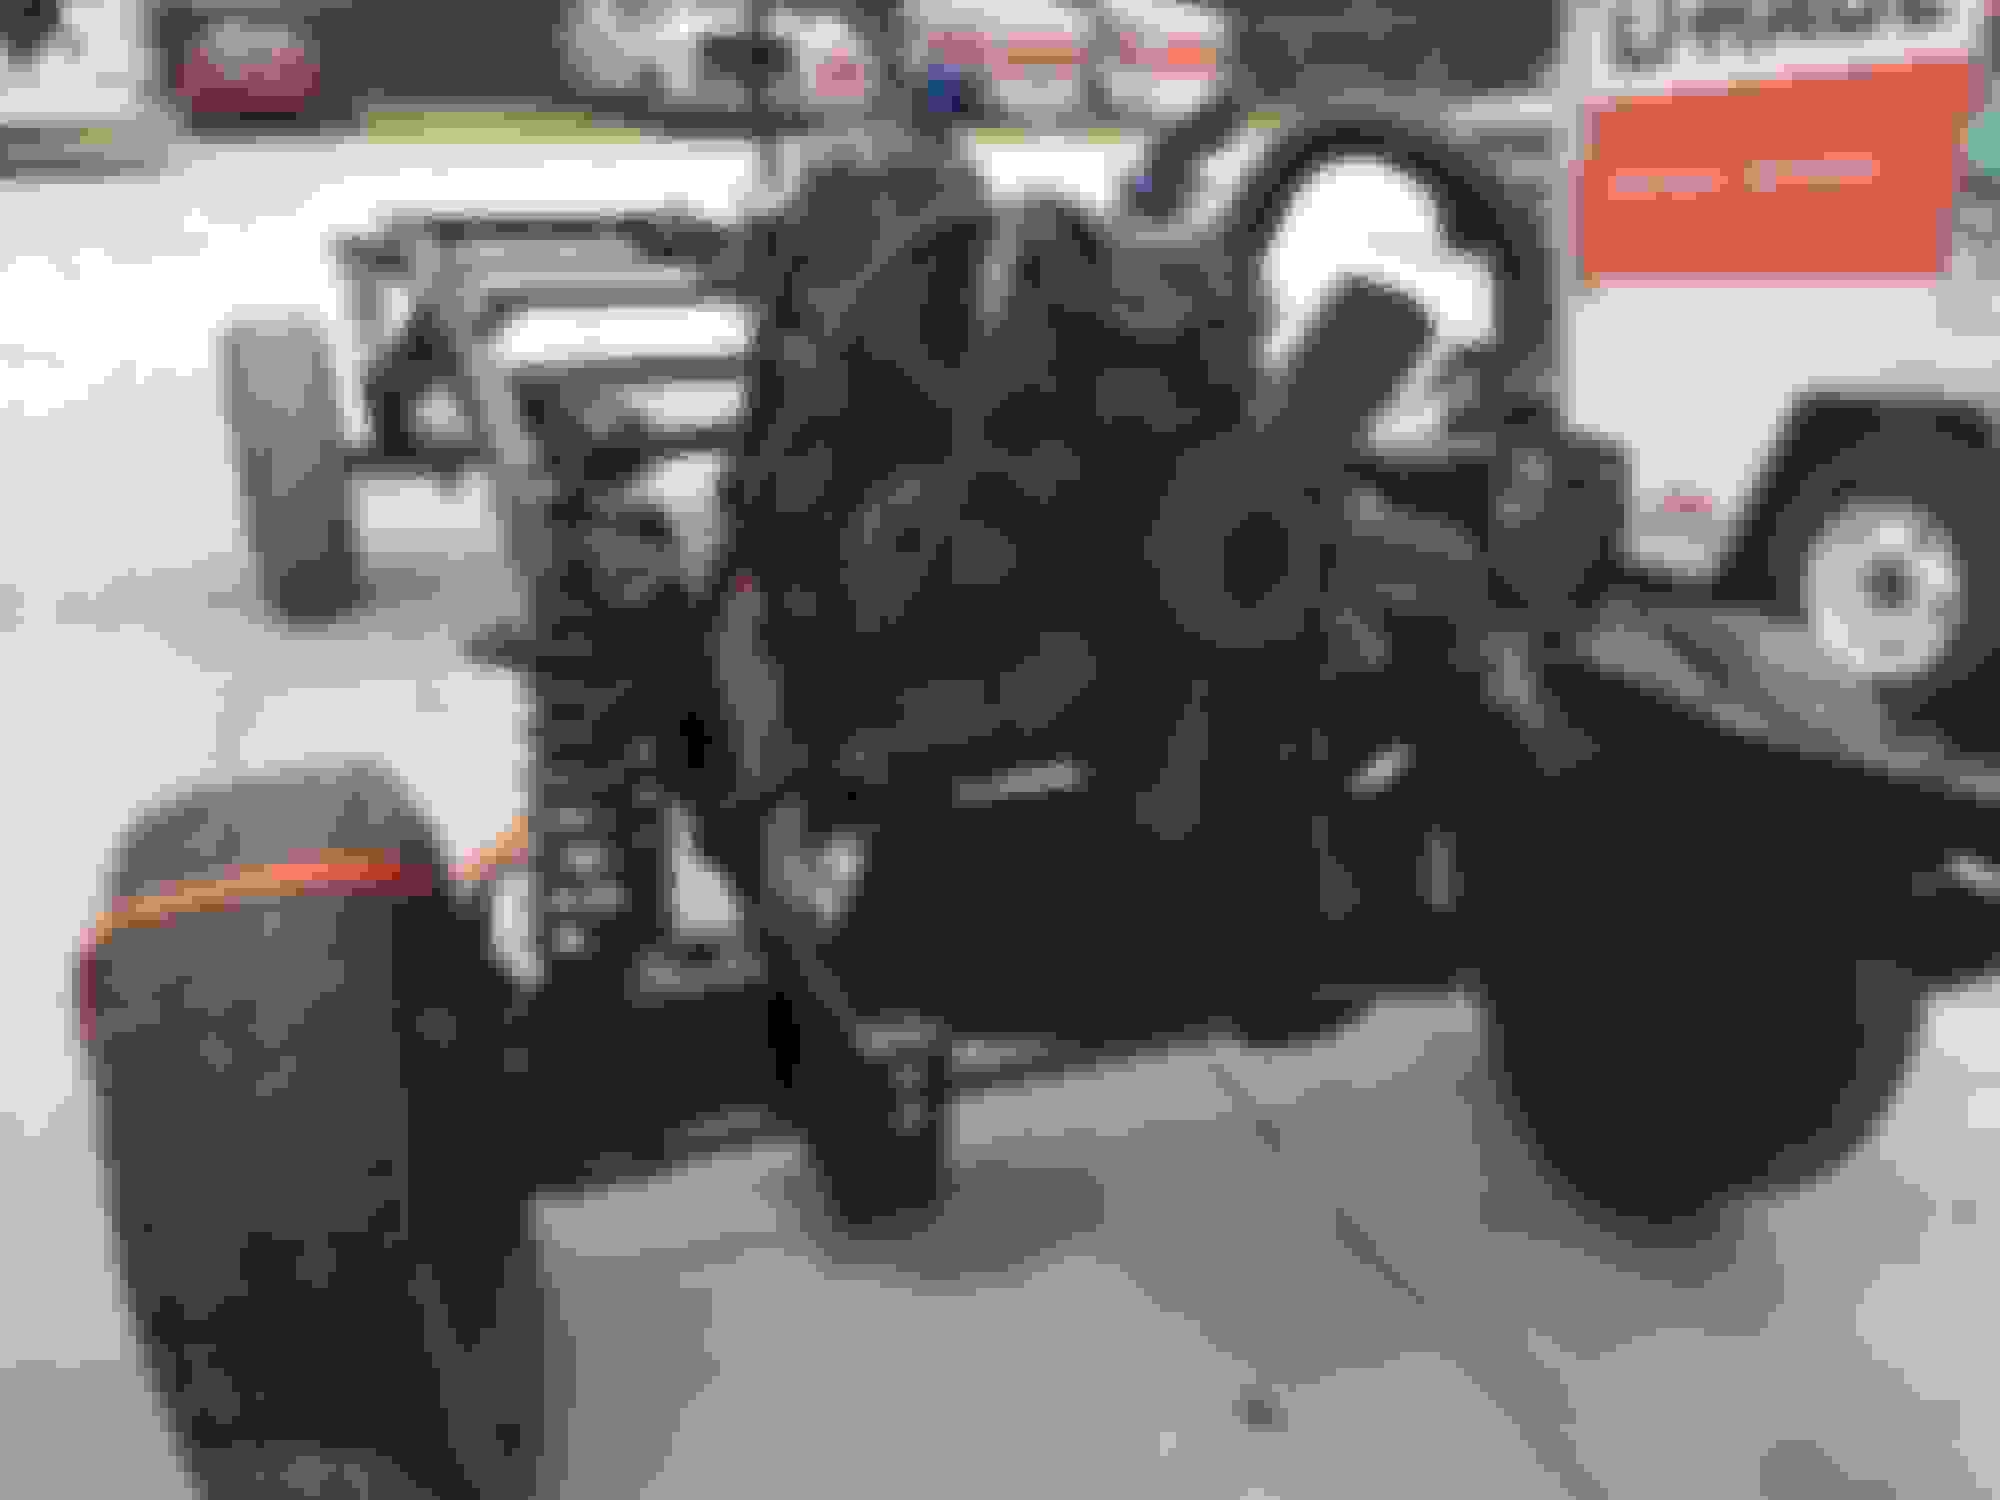
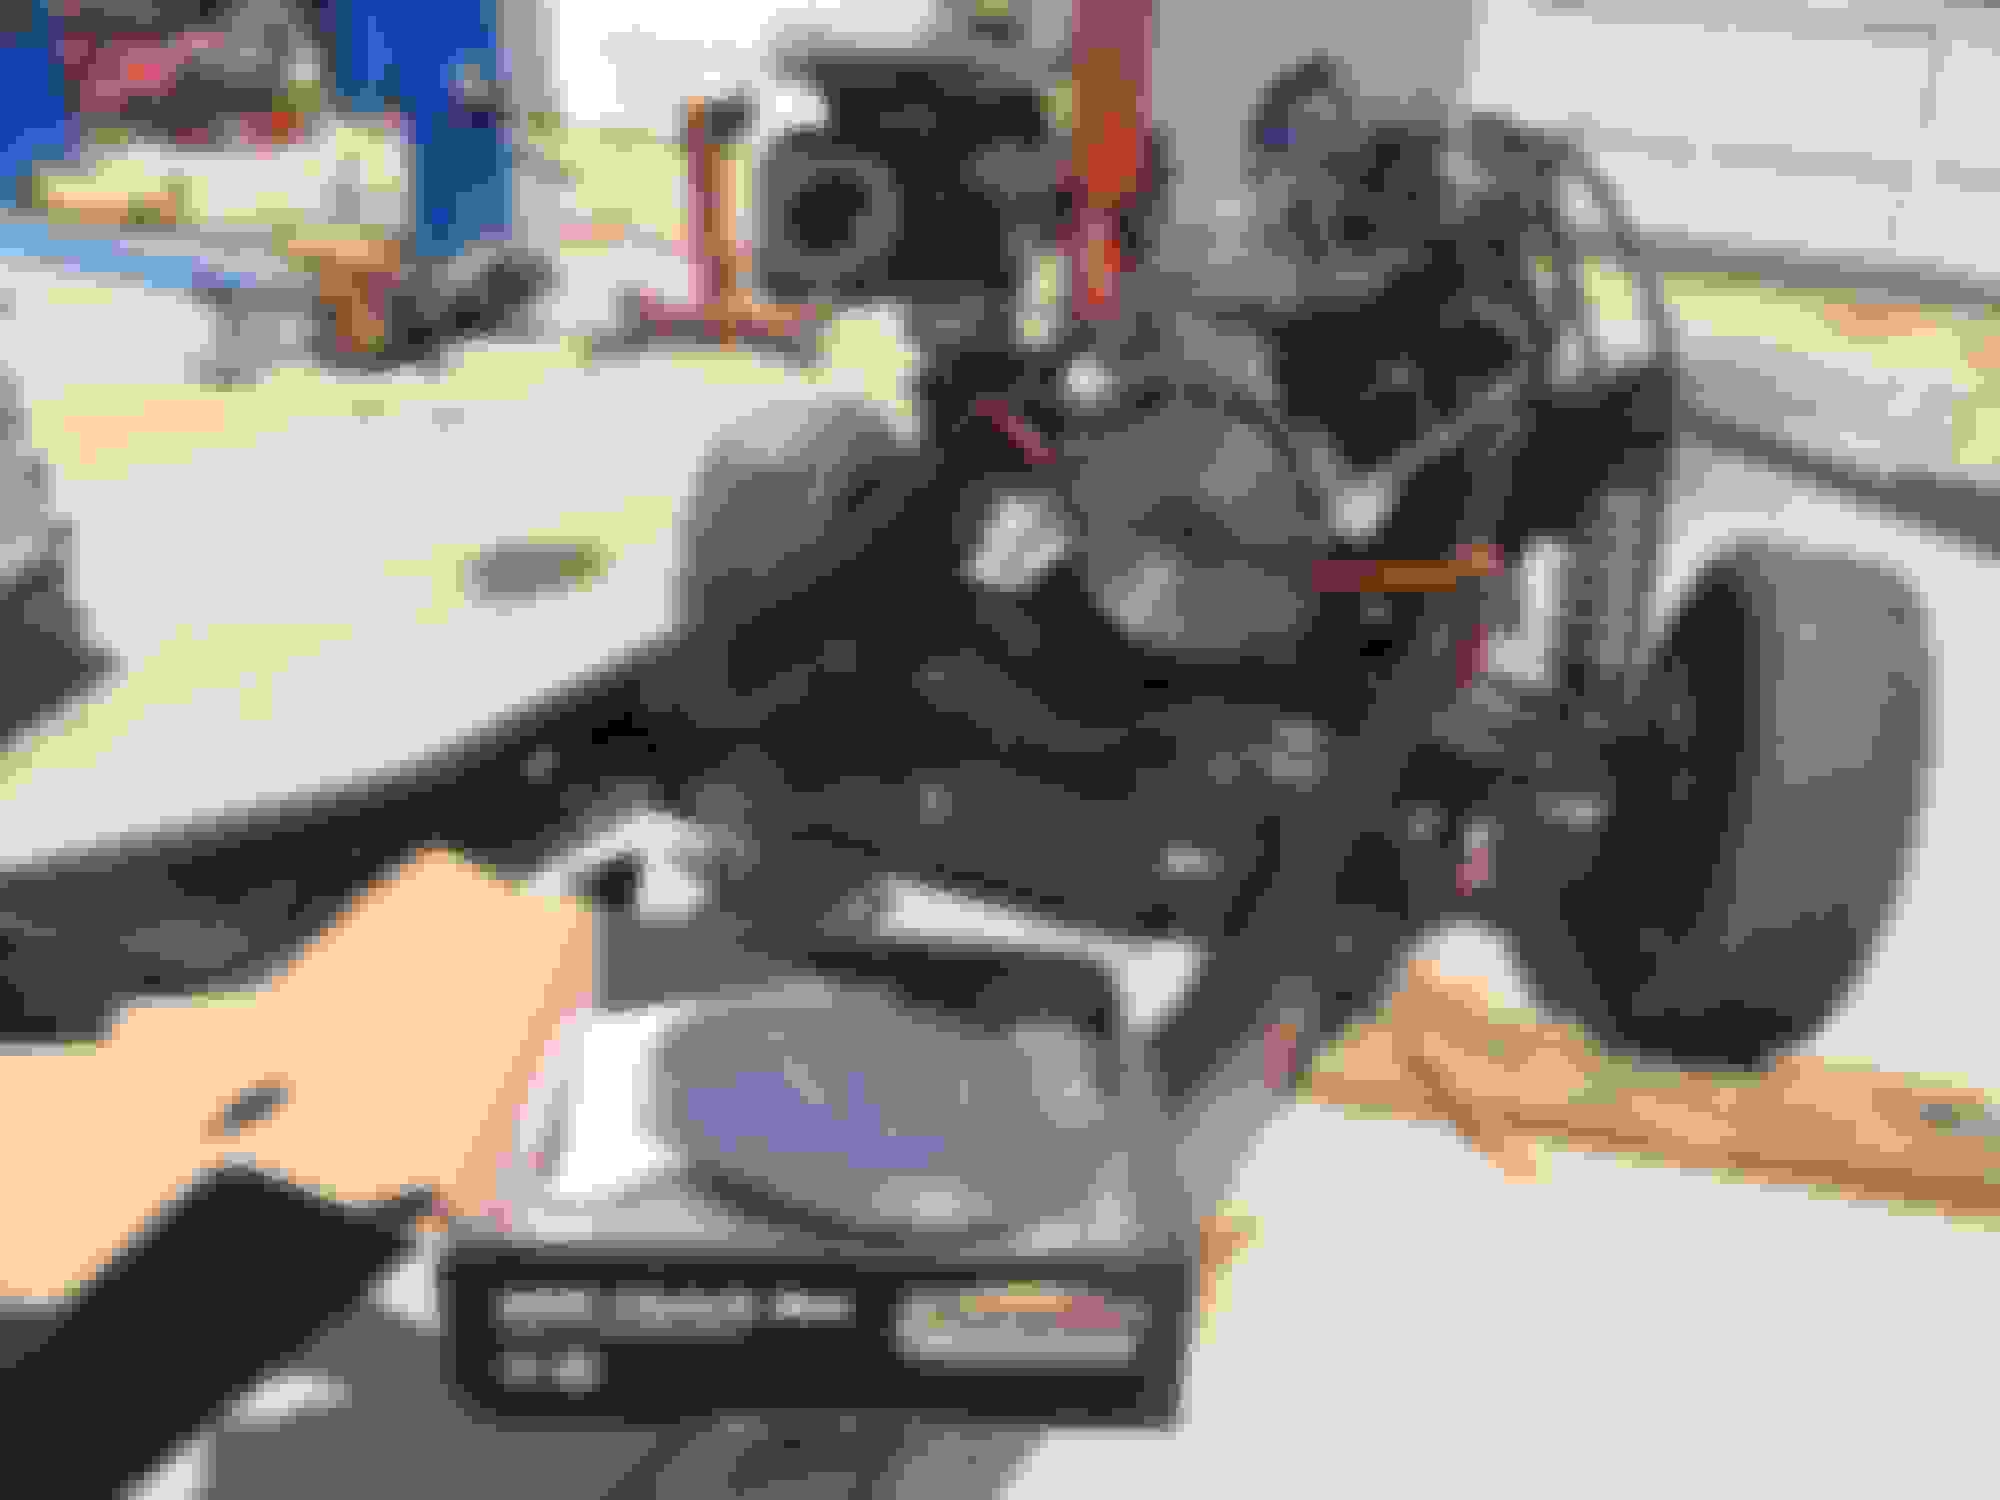
So, most of these pictures are from this week. Just yesterday, were were able to remove the engine/trans/etc. I think on 8/9 I removed the driveshafts. Those look good, we'll probably just paint and reuse them.
Yesterday was spent removing the transmission from the engine. I then removed the clutch, fly wheel, pressure plate. We figured that now would be a good time to turn the fly wheel and put in a new clutch. From the looks of the ring gear (flywheel), we're going to go ahead and install a new one.
Next time I hope to have some pictures of us prepping the frame for paint. We have to install a right side spring perch and the engine mounts, but that should be complete next week. We've been having good weather, and we're going to try and take advantage of it.
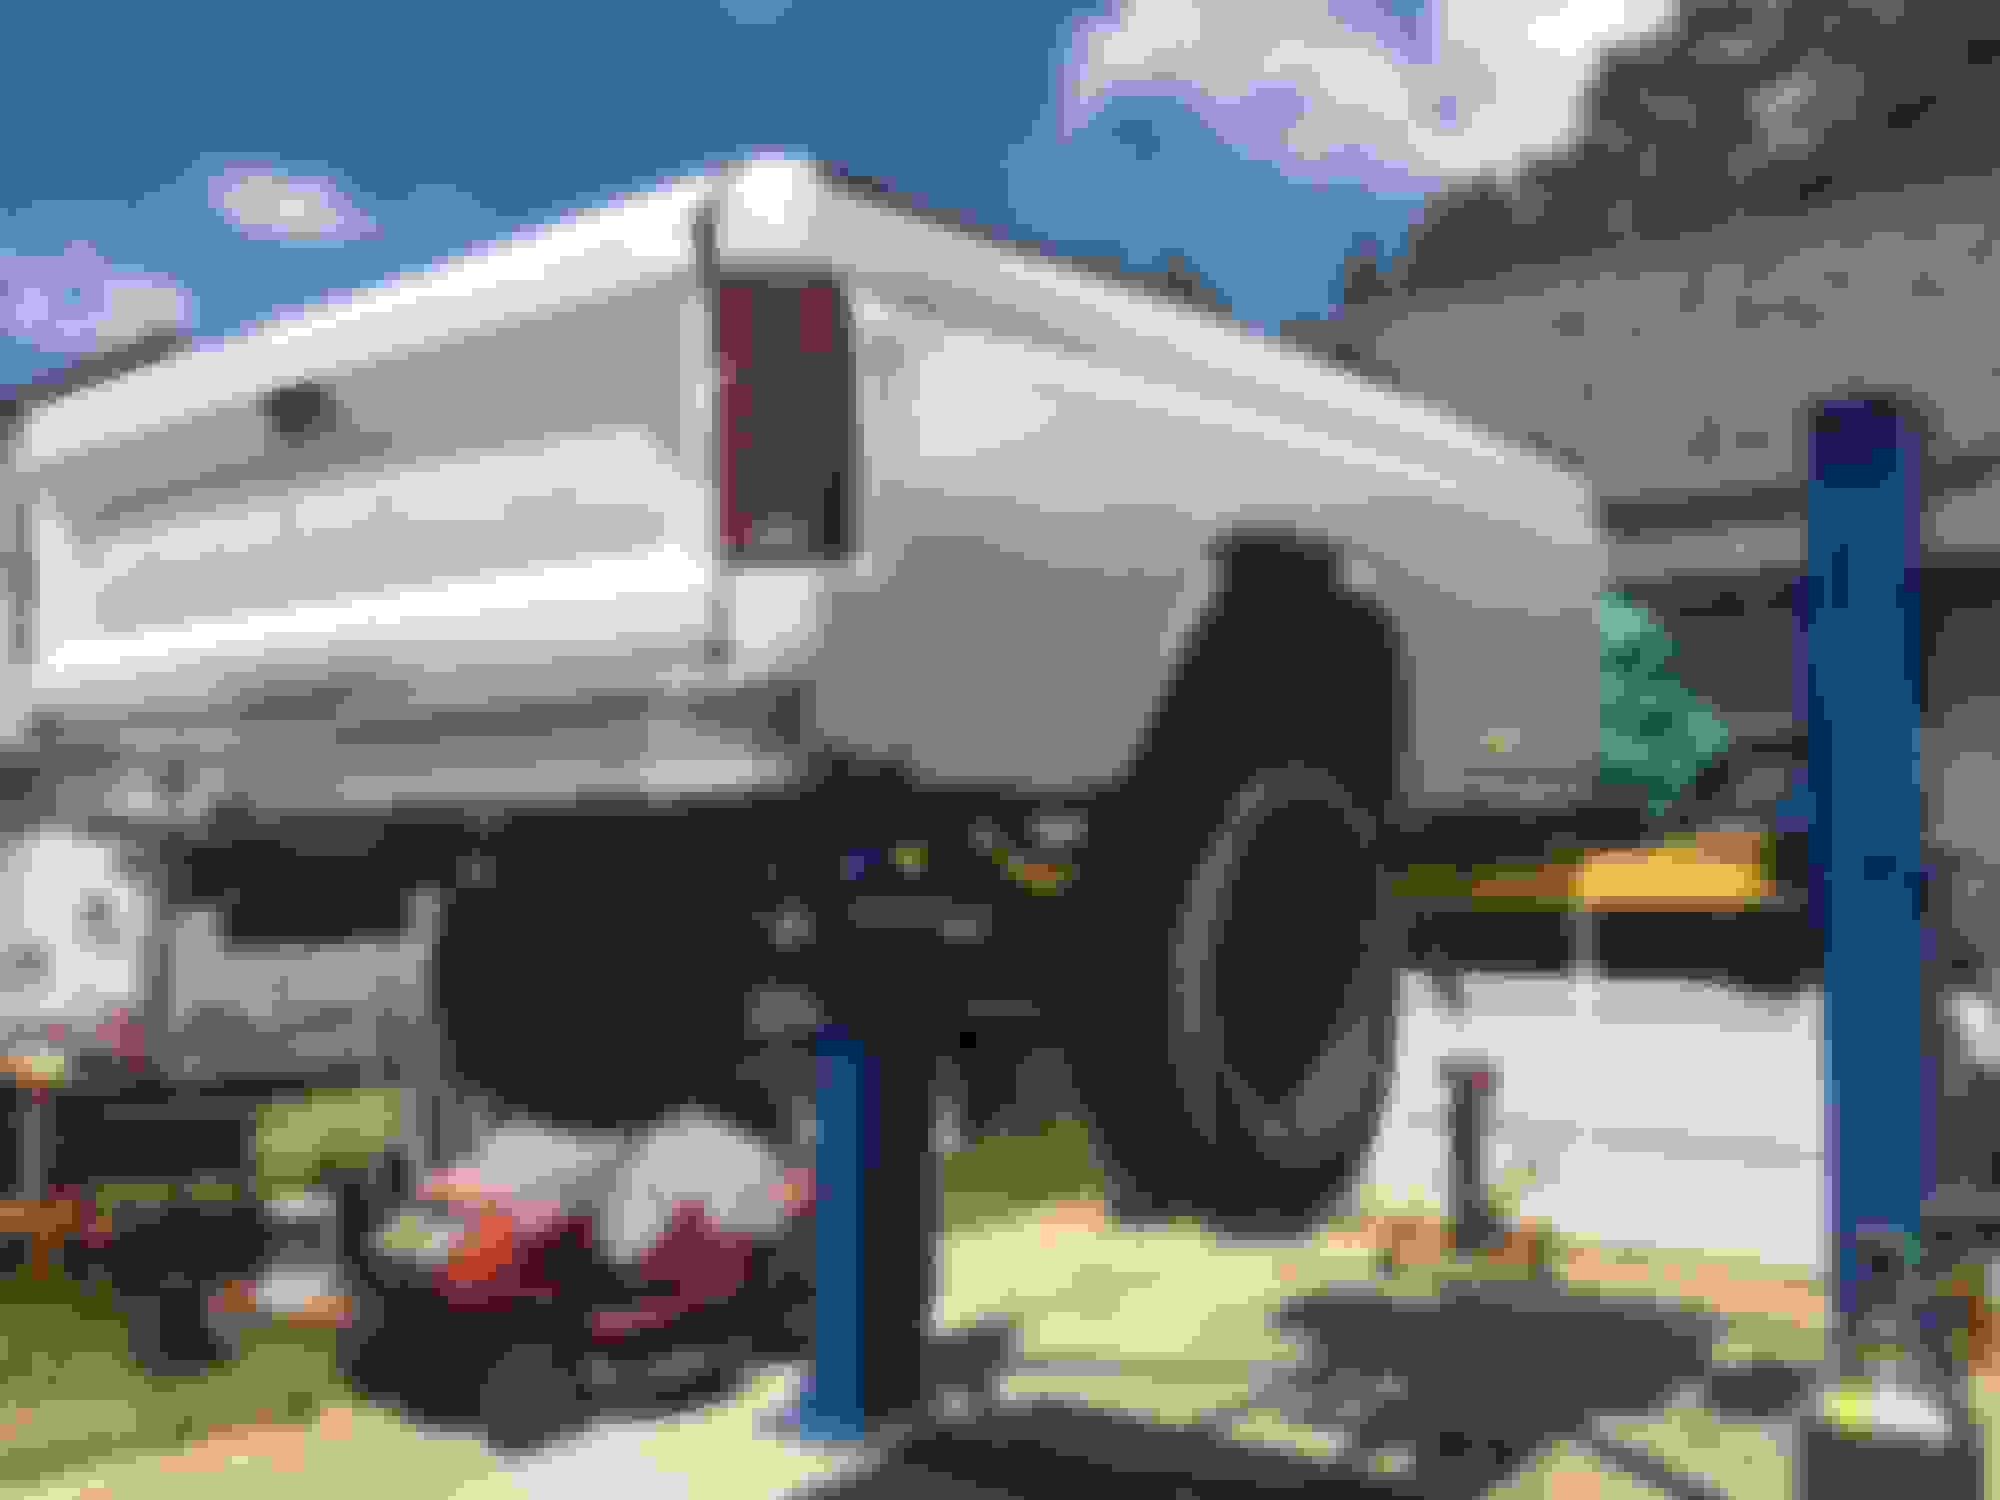
Bed on the lift, getting ready to work on the bolts.
Torch....of the 8 bolts affixing the bed to the frame, eight either stripped or the carriage bolt sheared the sheet metal, causing it to just spin.
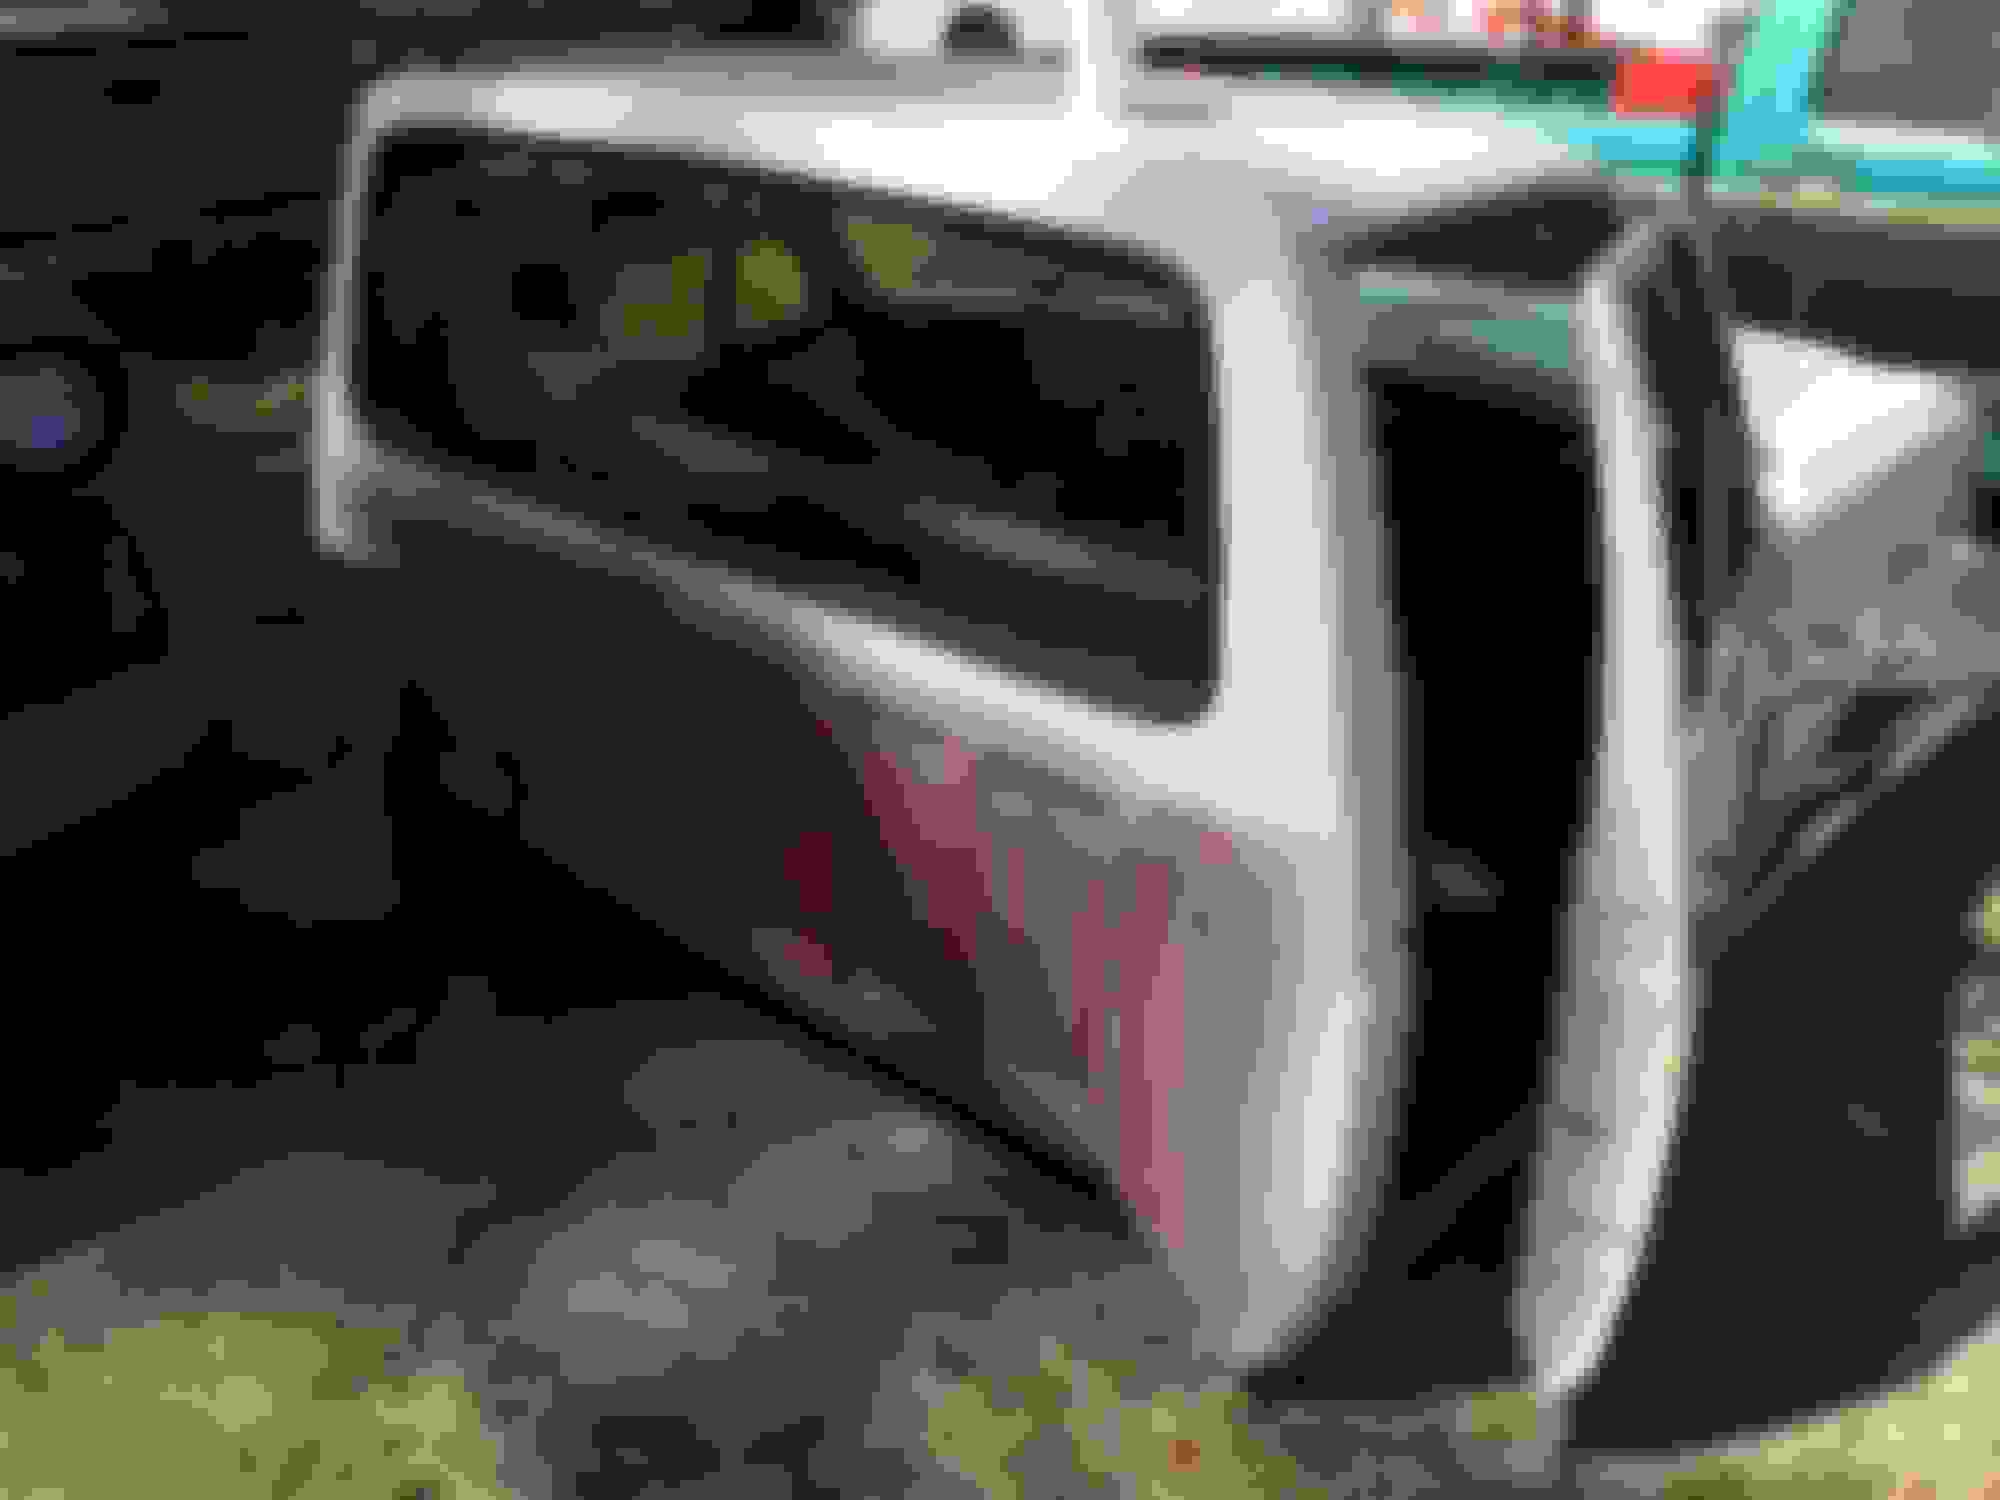
Bed being carried off.
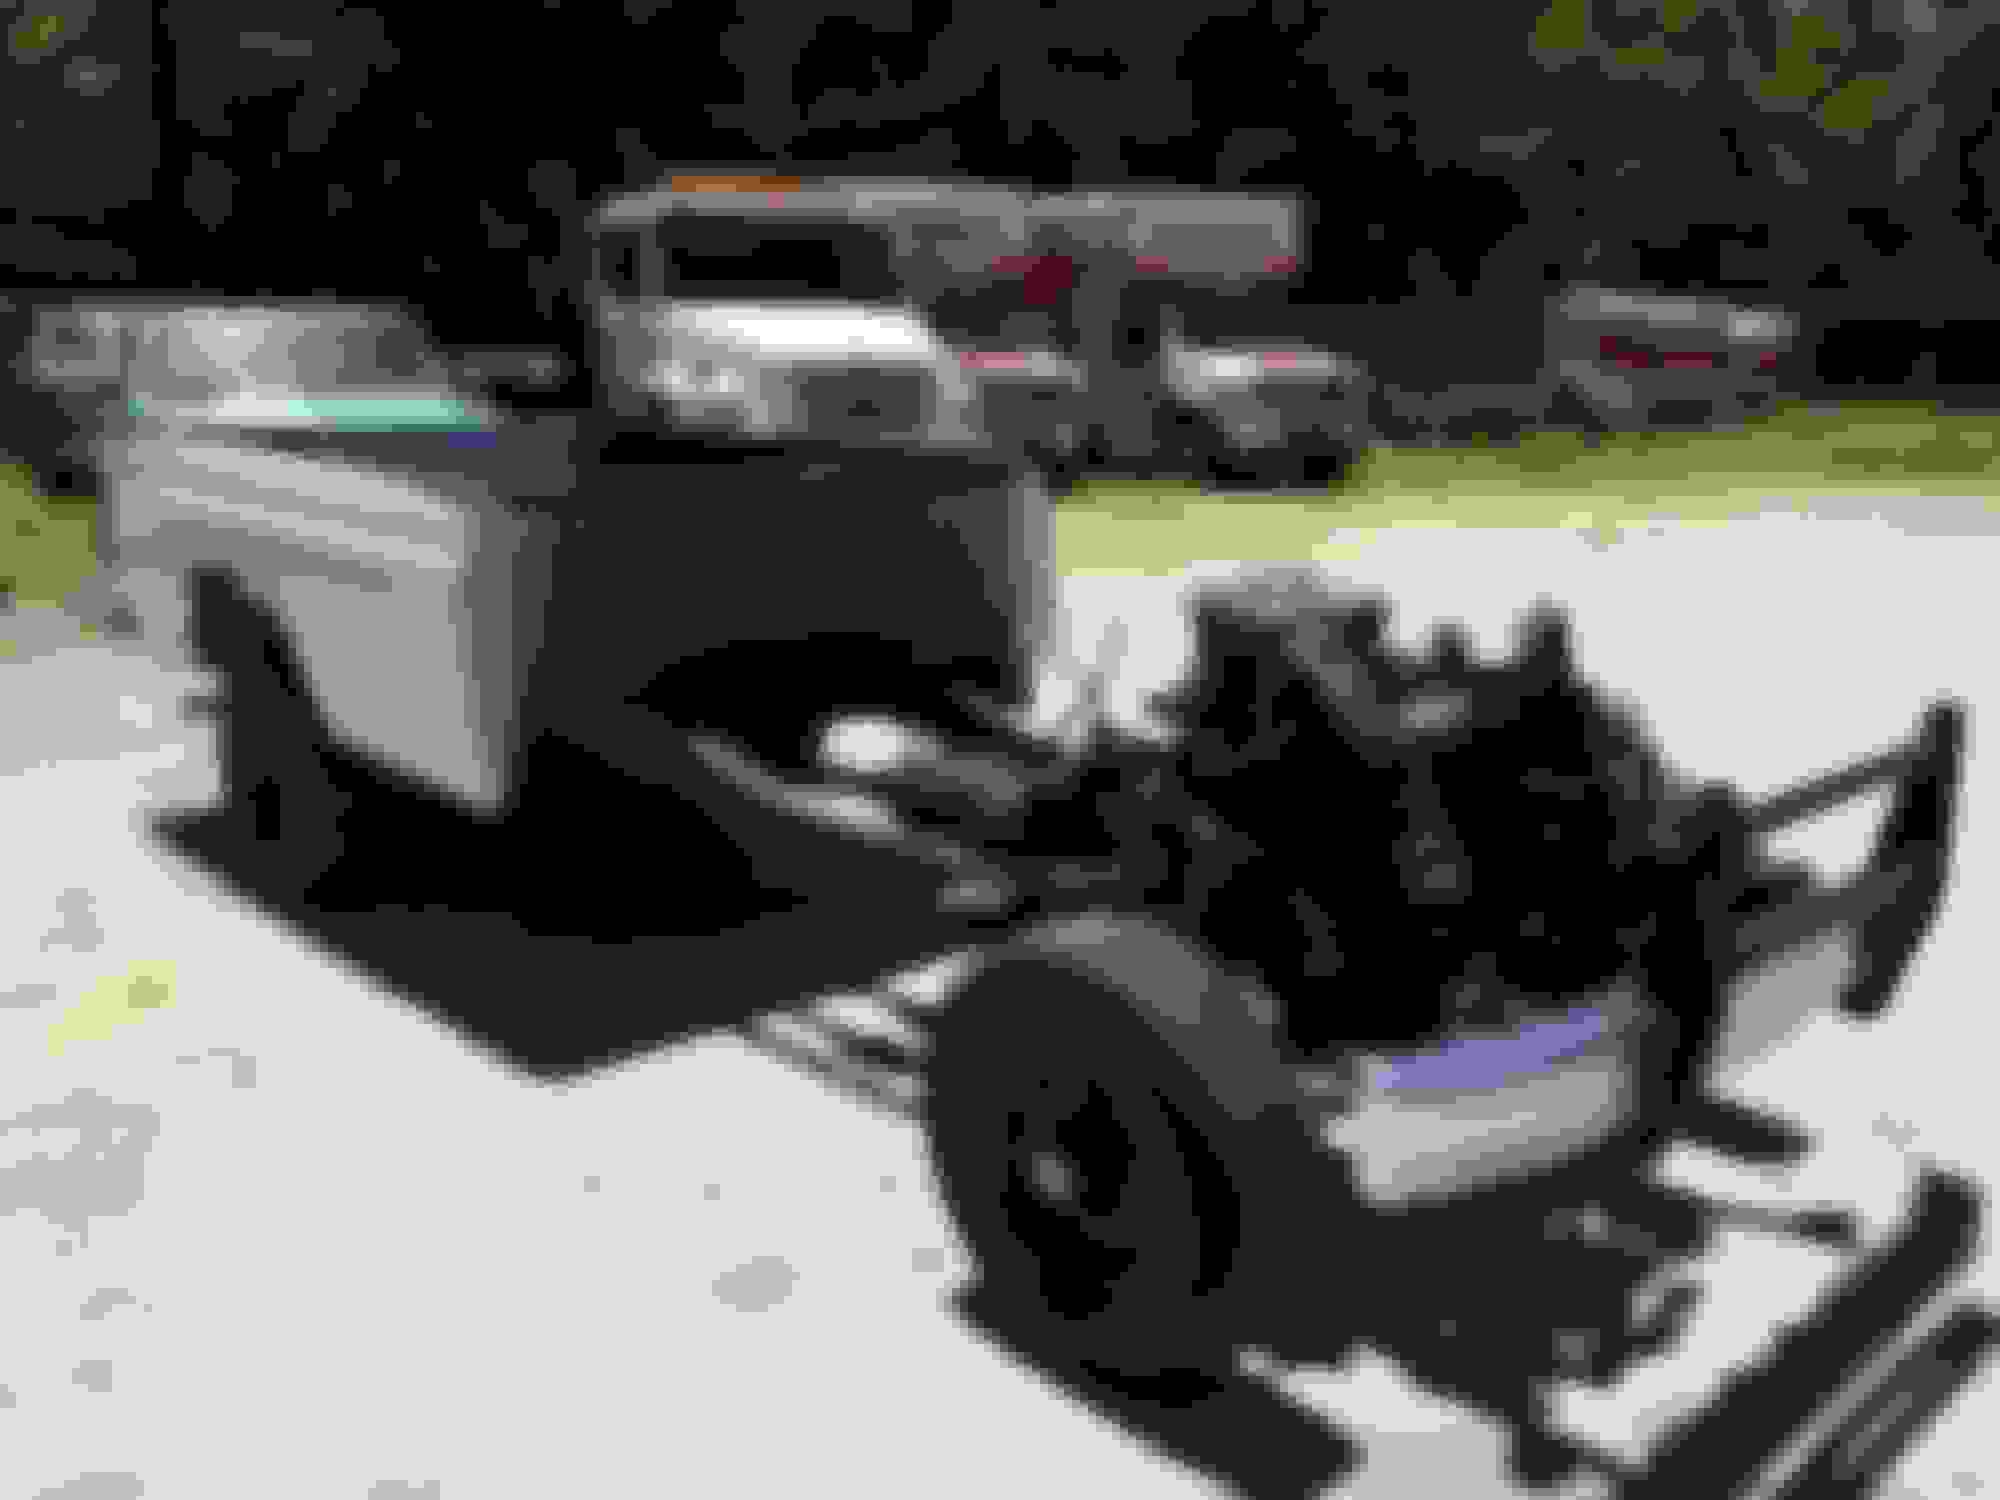
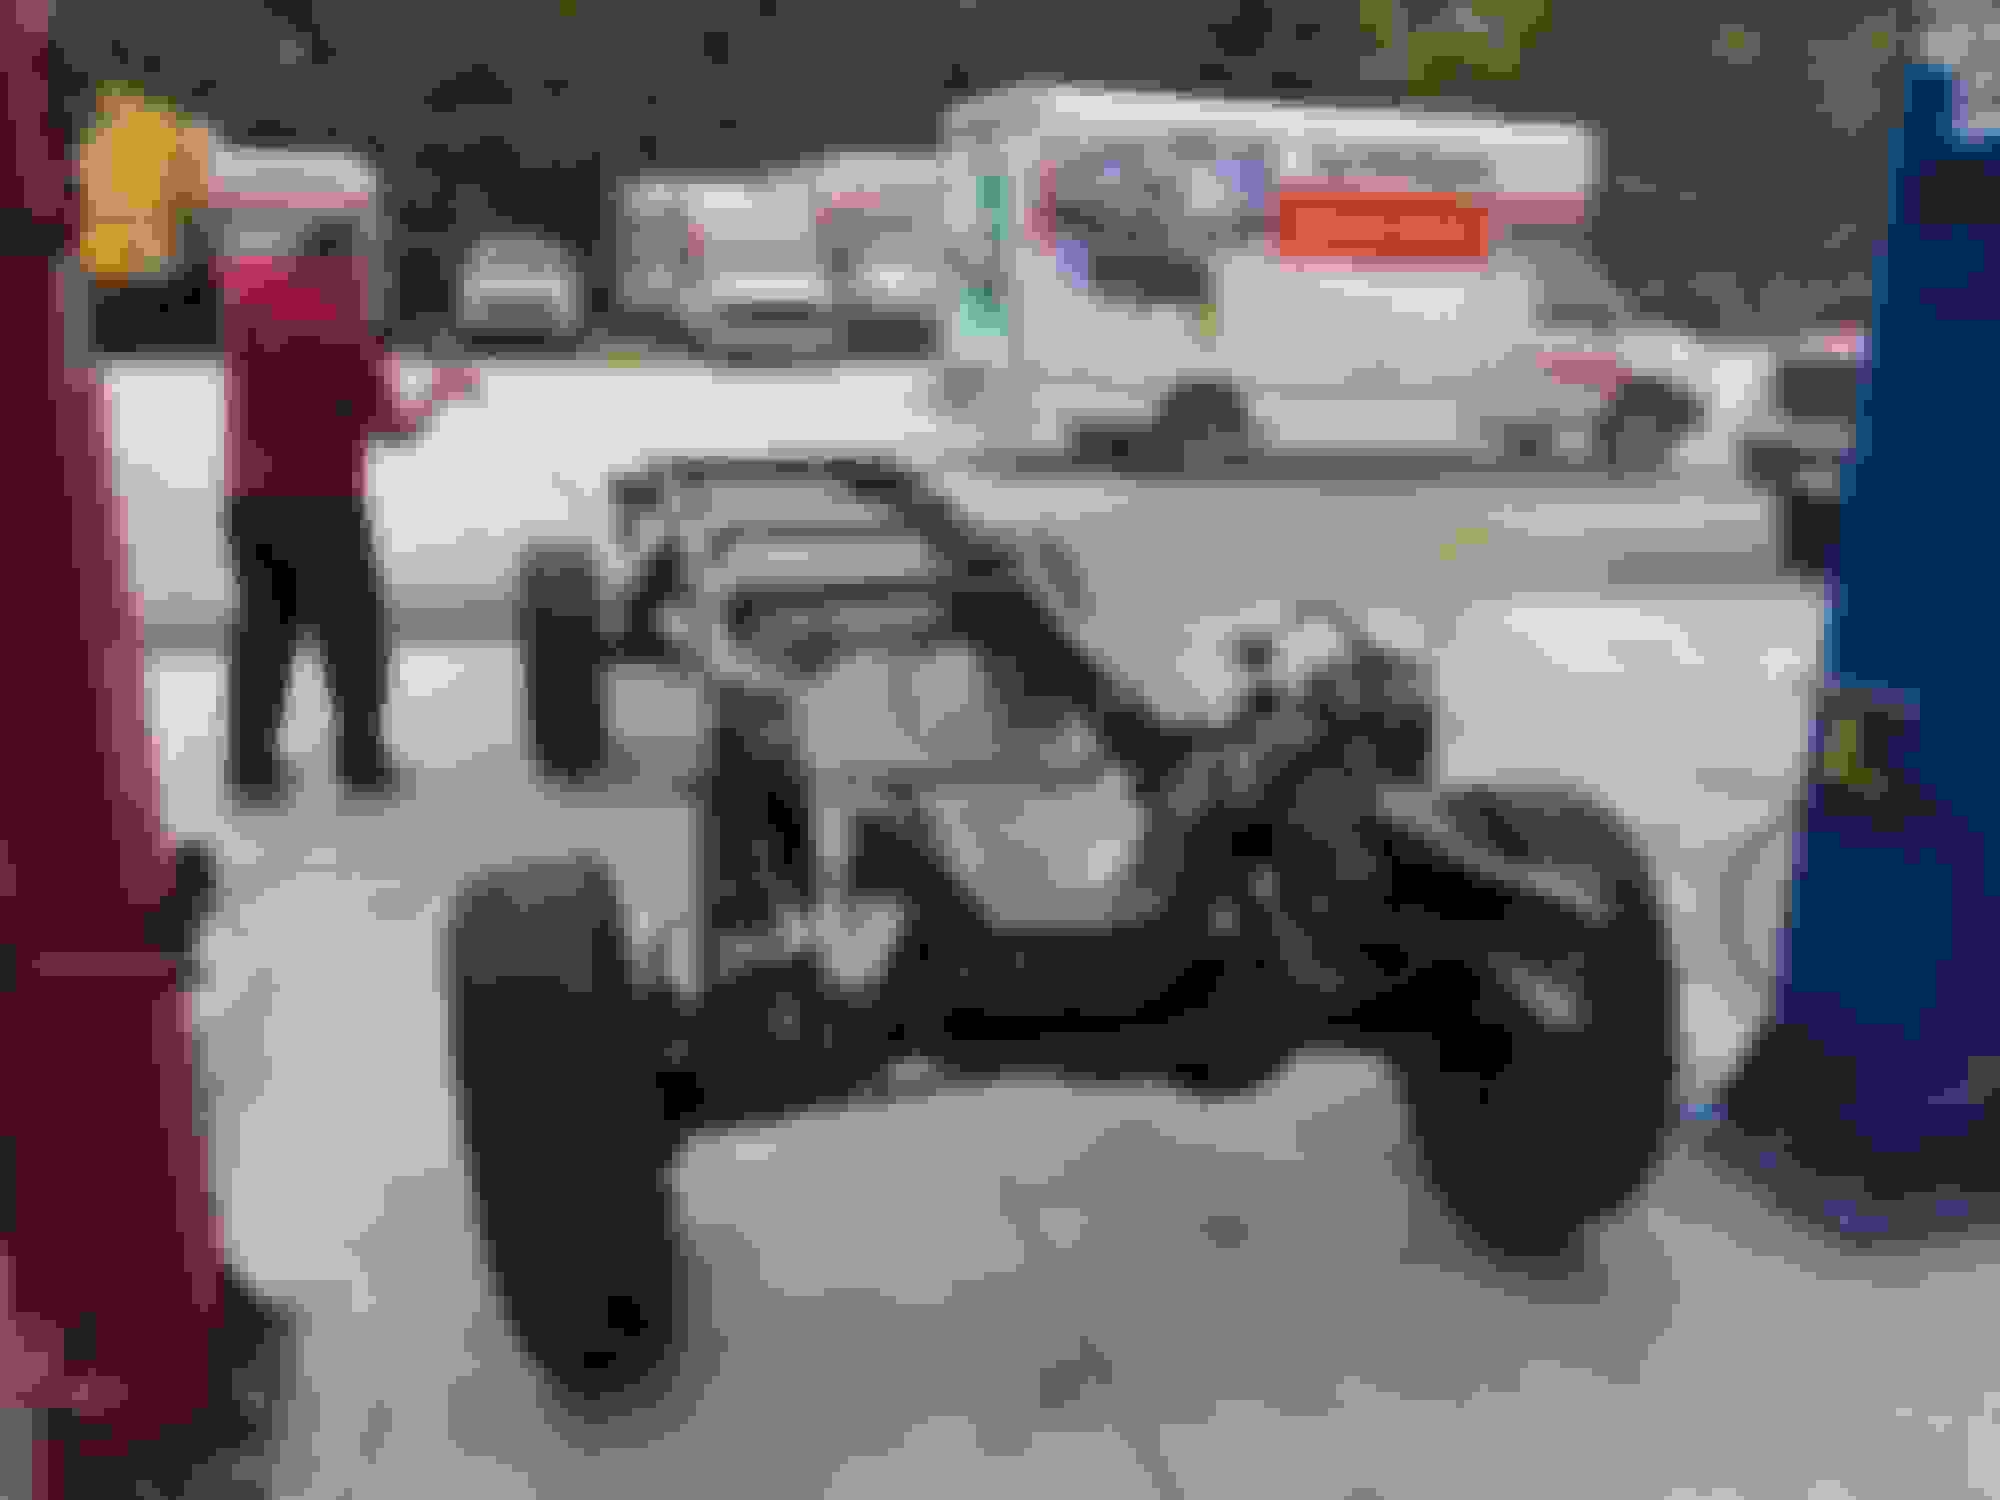
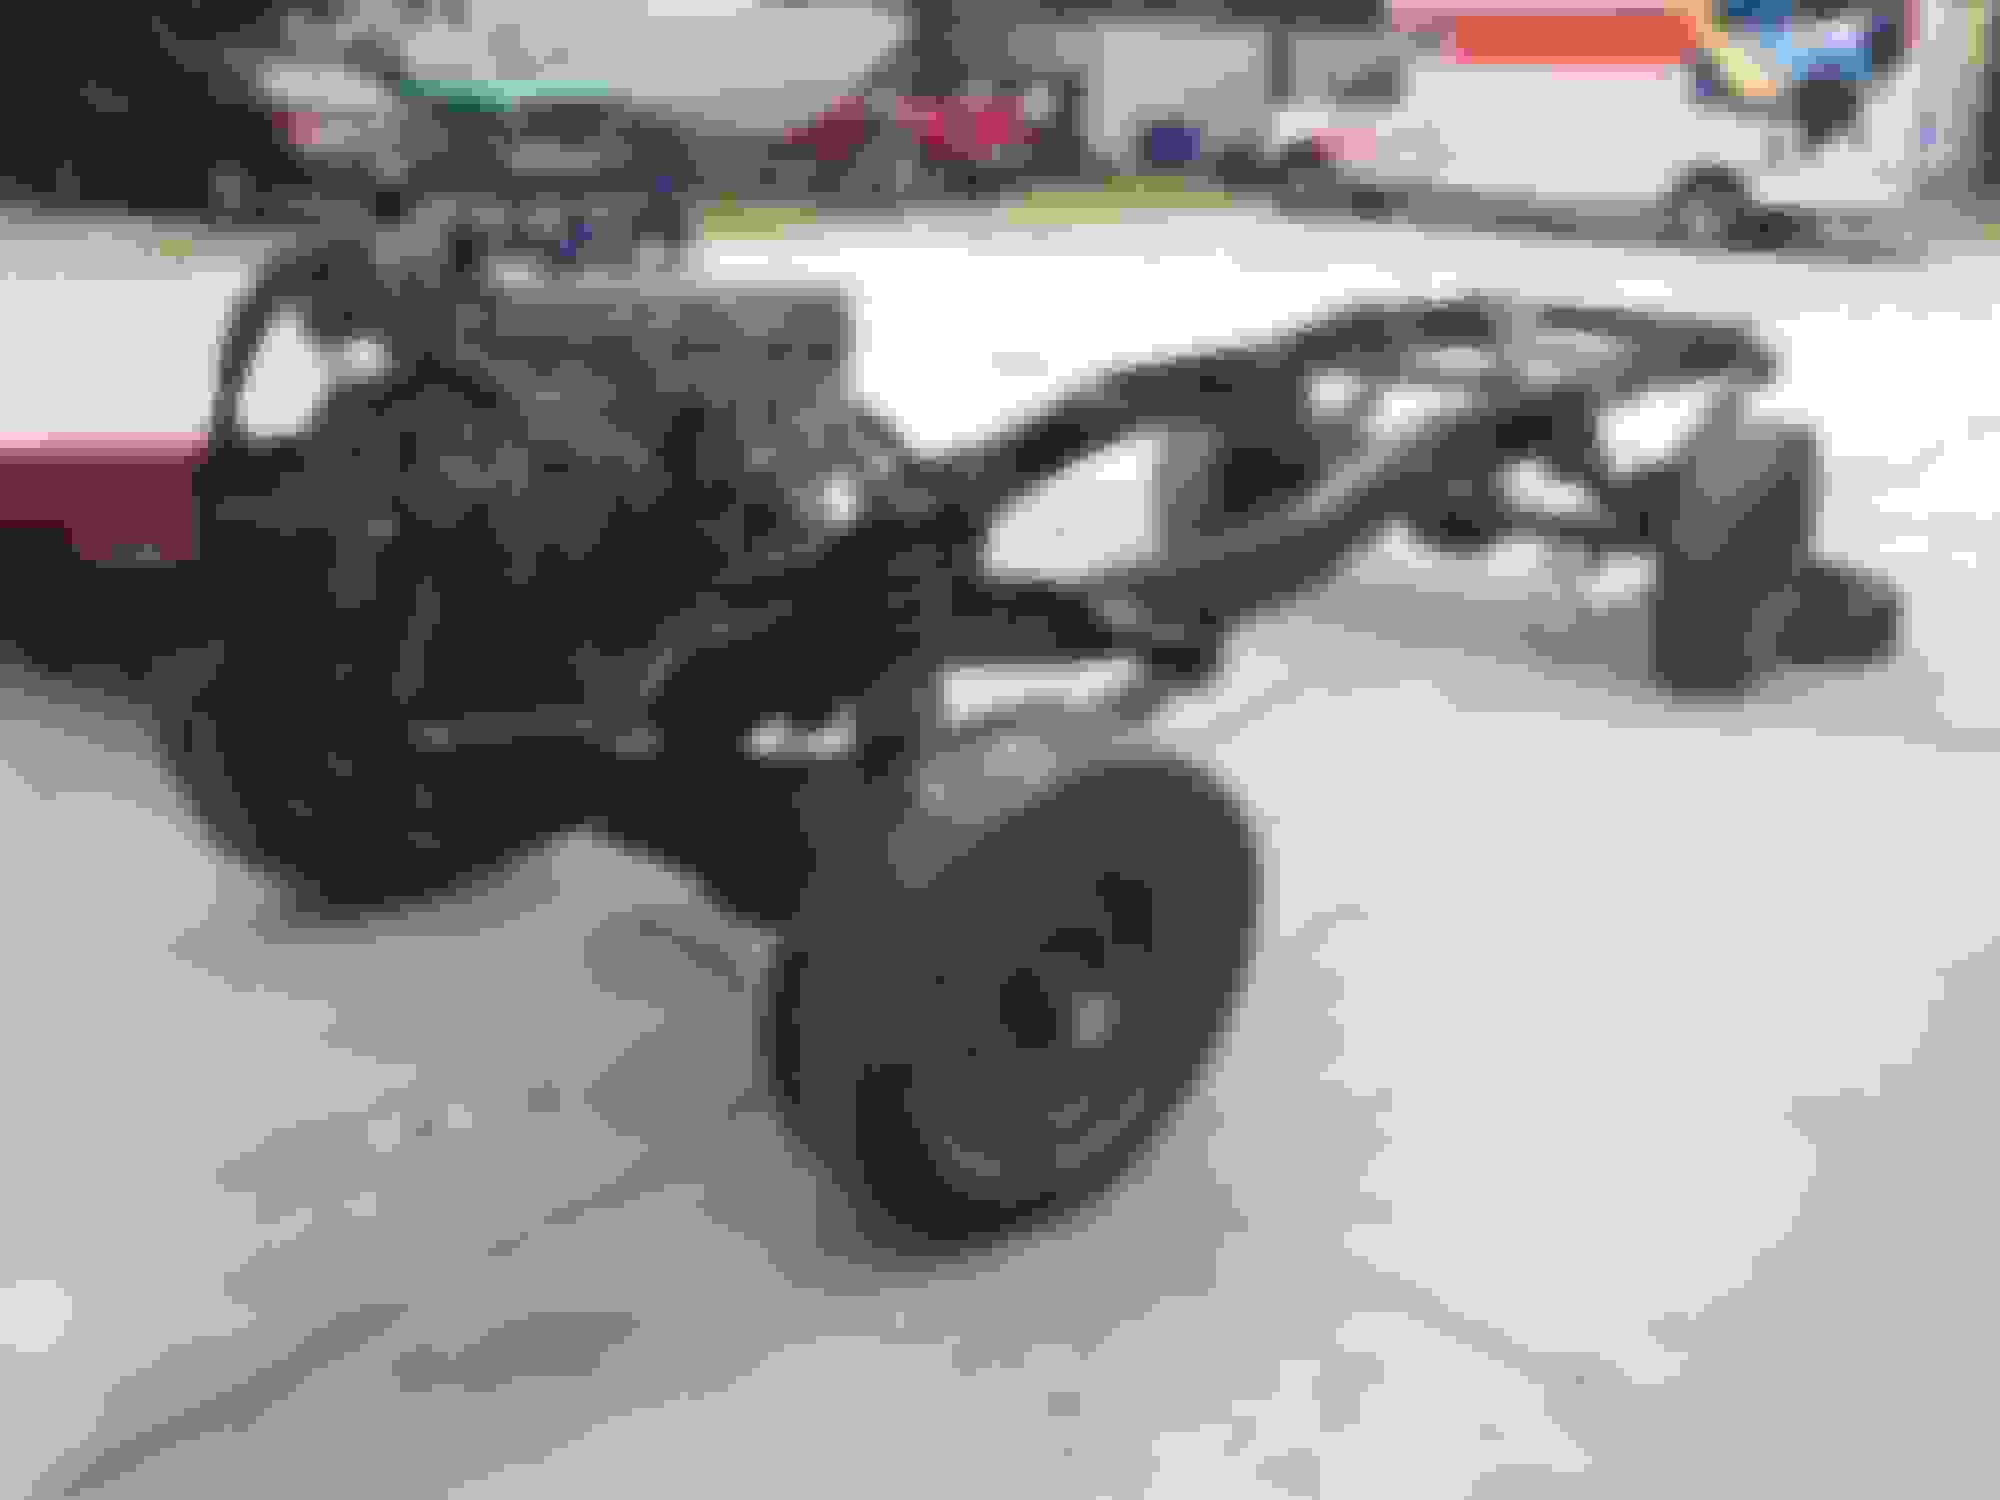
Finally removed the driveshafts, engine, trans, t-case.
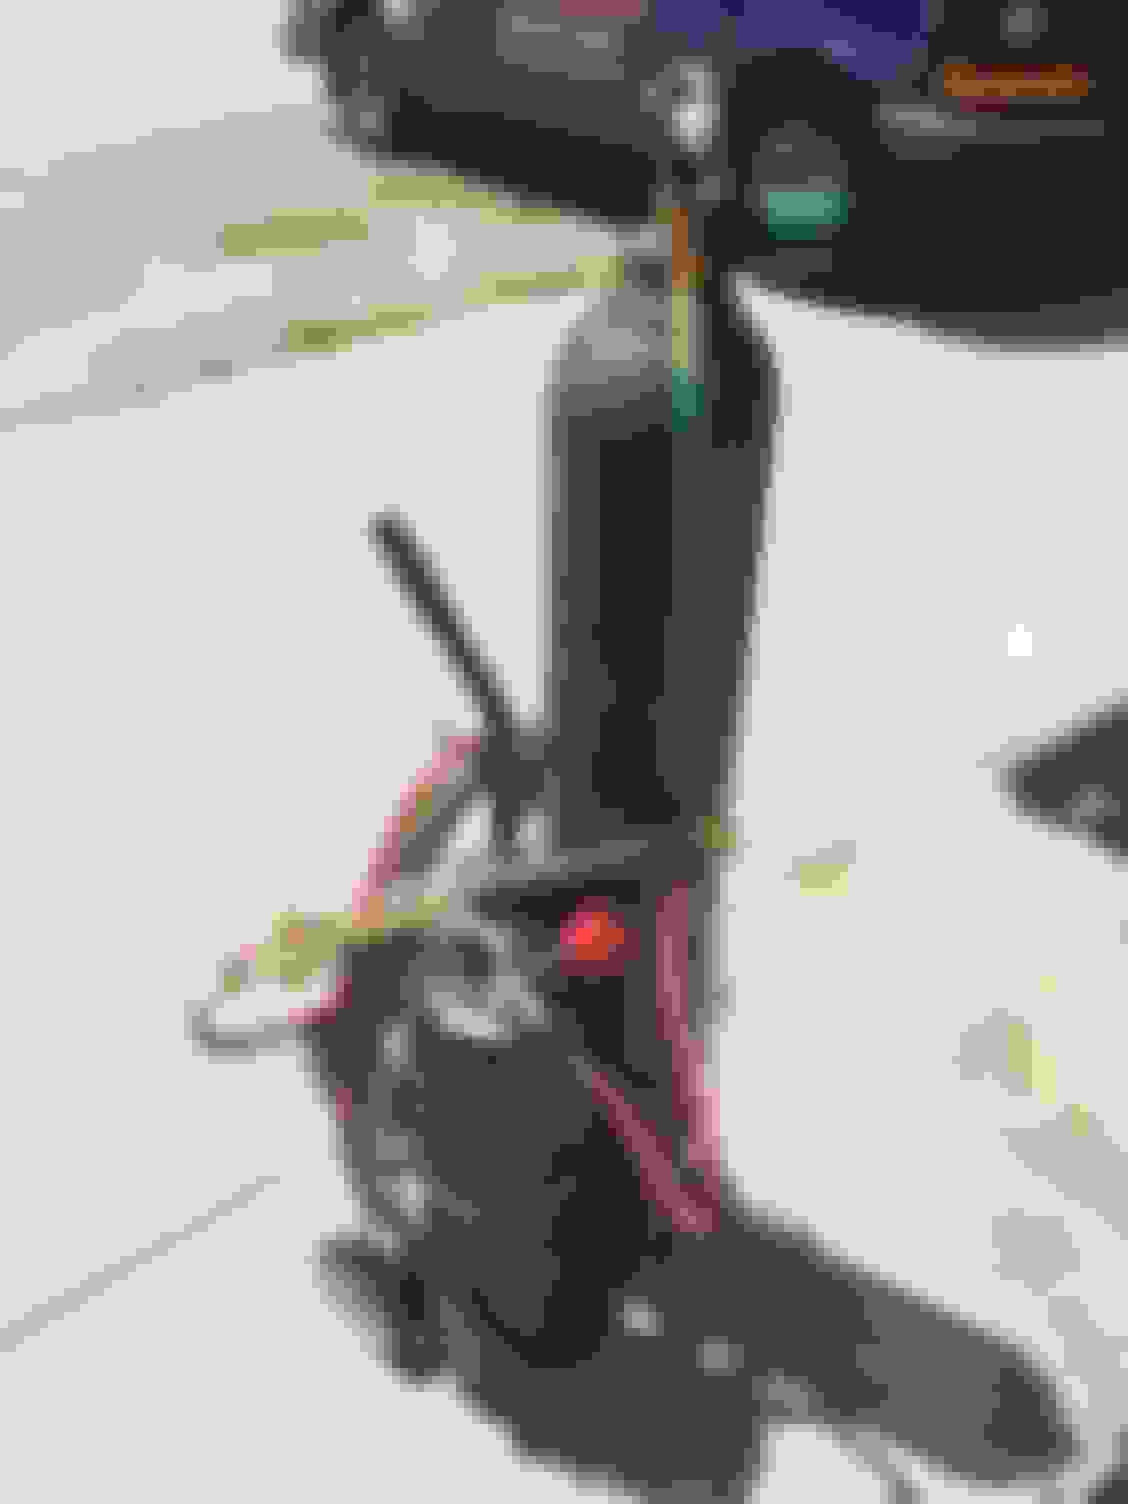
Close up shot. I purchased some new engine mounts, these are not them.
trans, t-case, and bell housing.
This is after I removed the starter, flywheel, clutch, pressure plate.
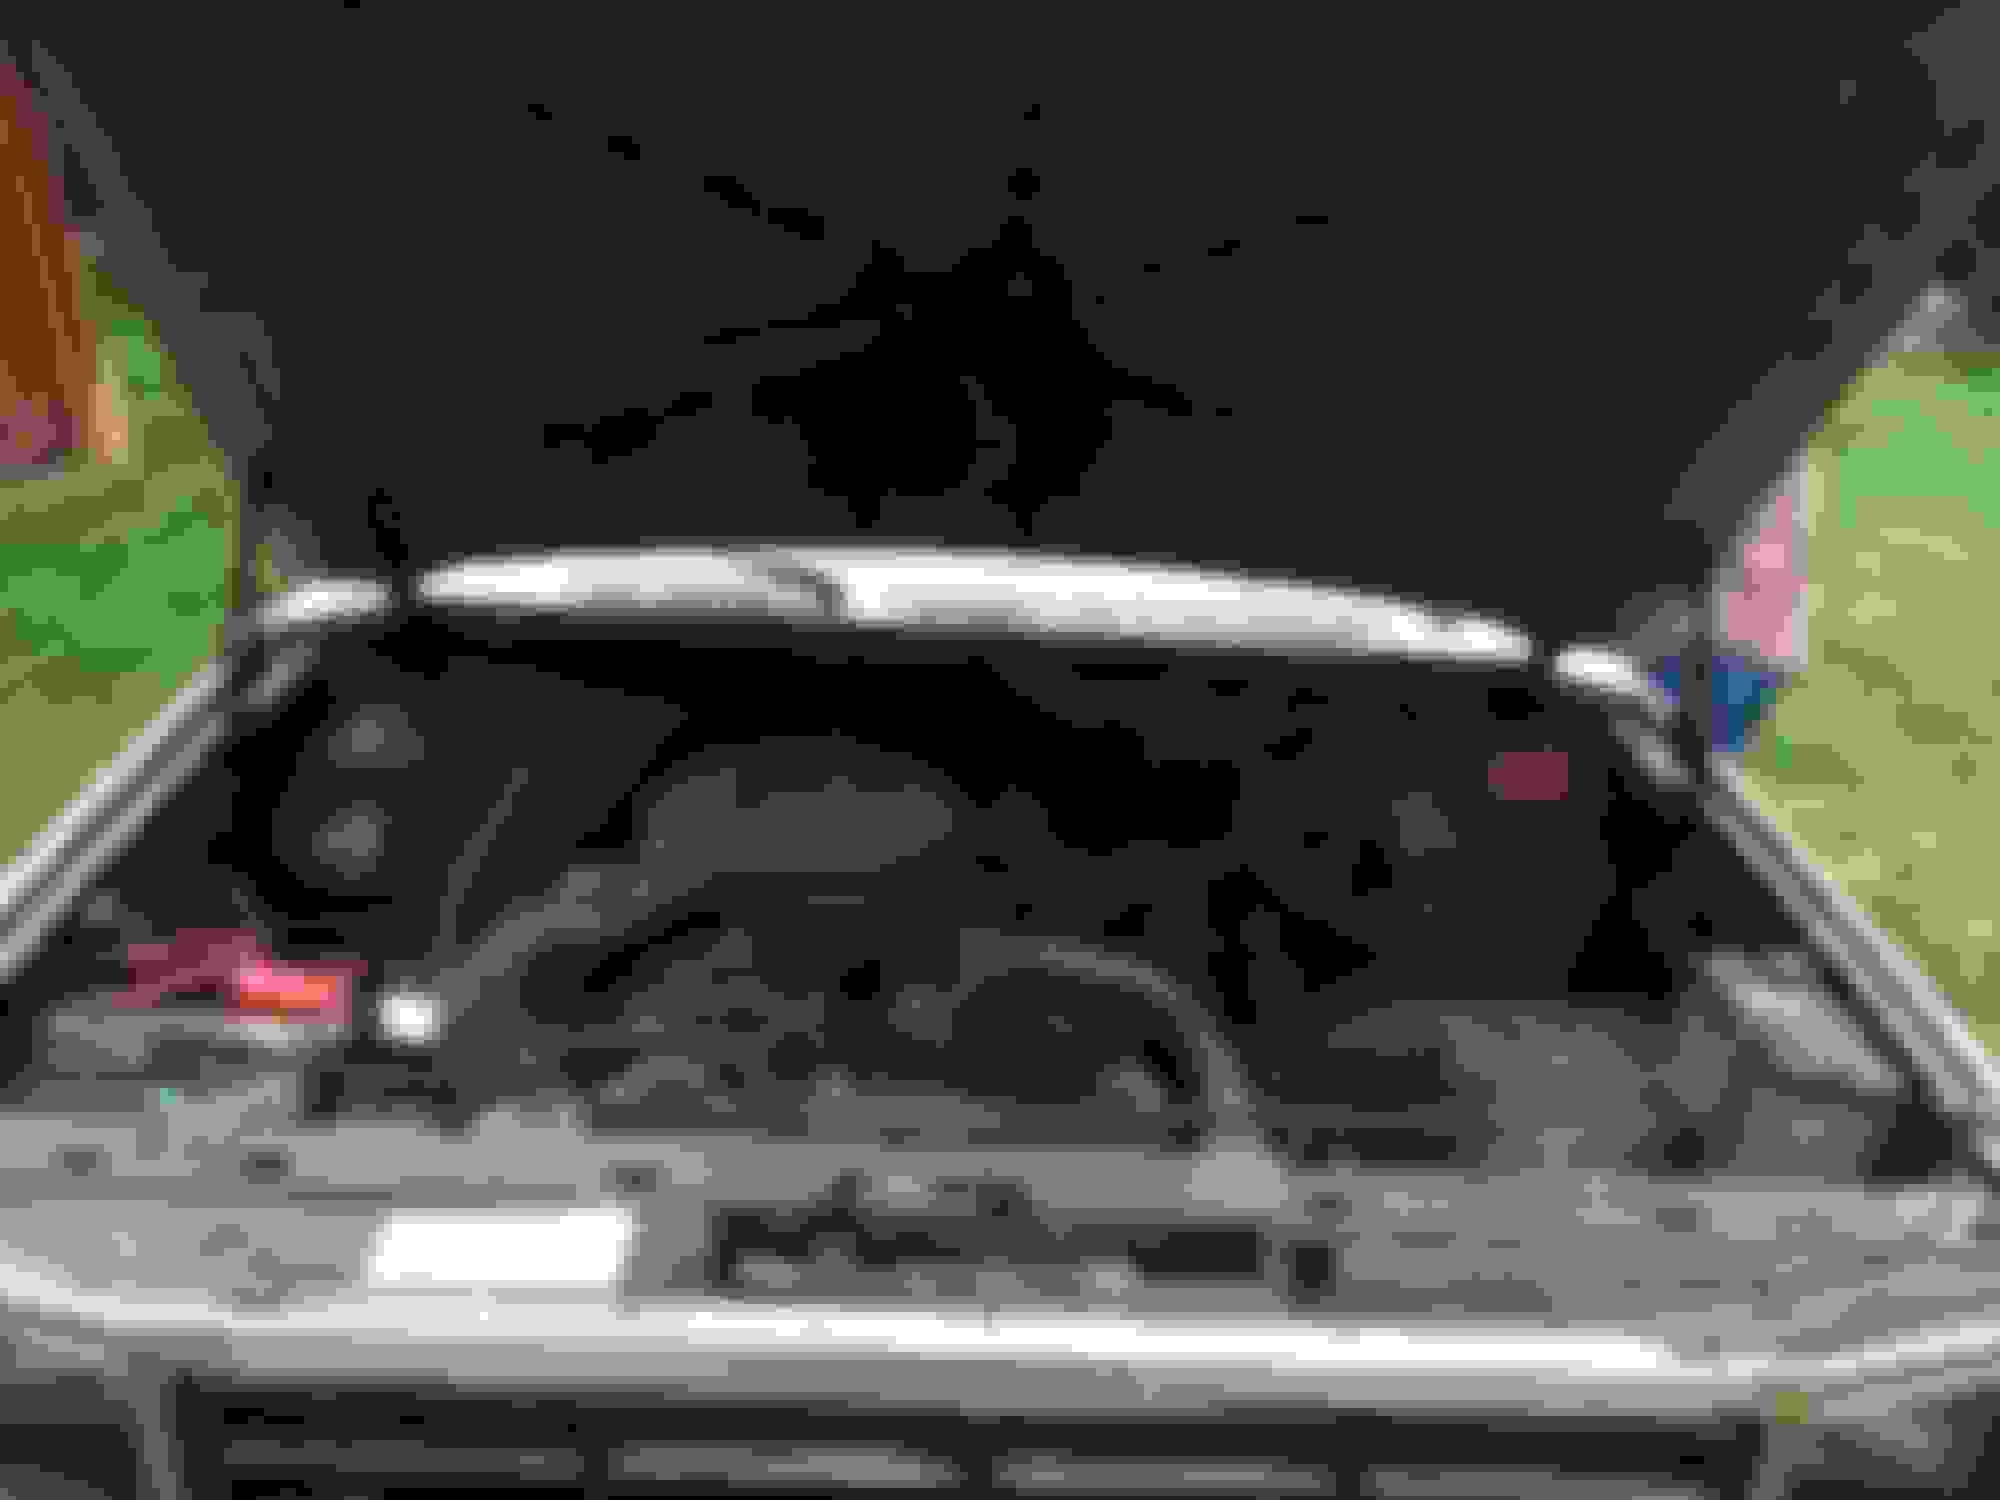
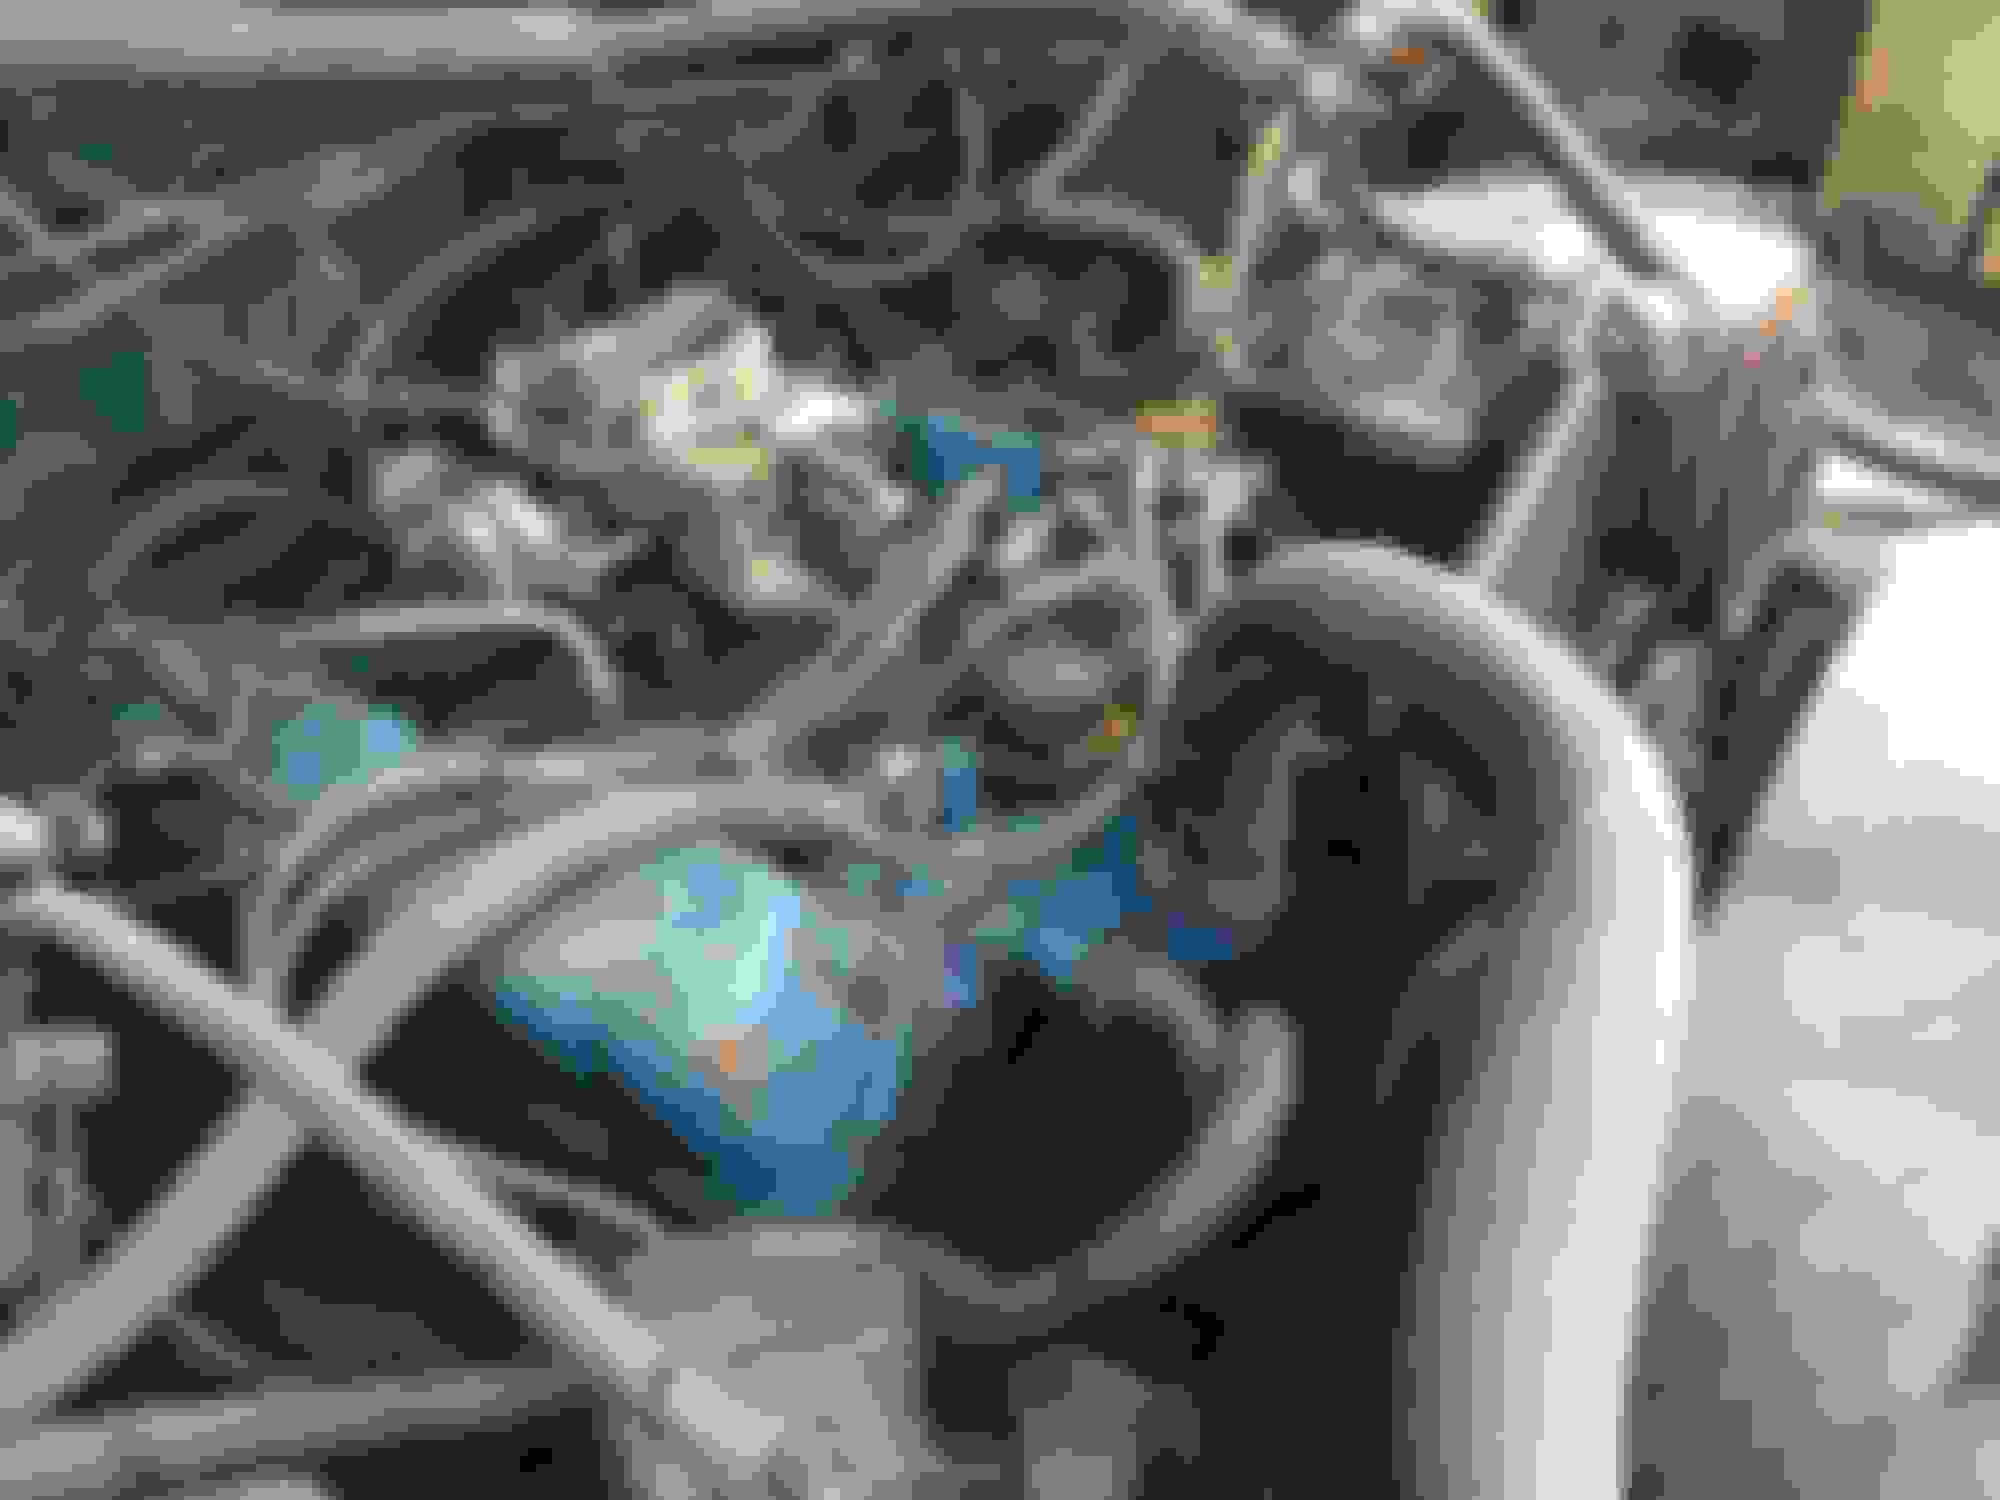
Just a close up shot. I'm not sure why it's so oily. If its a leak, or just because it's 30+ years old.
Thank you. Lift kit should be in tomorrow or Friday. I'll have some pics of that. We should be able to get to some welding on Tuesday, and then maybe prep the frame later in the week, or the following week. I have a friend of mine who owns a shop, and we have to go off of his schedule. And I work almost entirely on the weekends, so its tough for us to sync up. We are moving along however!
Hello all that are still interested...I am still in the process of working on this build. We had a few hang-ups and snags along the way-working 2 jobs, some travel, bought a new house, my shop-owner friend was hit by a car while walking, among other things. But I have some pics to update.
Inspecting frame prior to pressure-washing. This is after the 4" lift kit was installed as well.
Pressure-washing, to knock off the las little bits of grease and scale rust.
Just to update on the above photos. So, due to cost I decided to acid-etch and spray the frame with POR-15. I was actually happy with the way it turned out. Did I do the pressure washing, acid-etching and painting? No....no I did not. But I was there for the entire process. I feel confident that any lay person could do this, given the correct tools.
Post pressure washing and acid-etching. Allowing the frame to dry prior to some spot welding that we missed.
A couple areas where the original bumper were mounted. We had re-create the holes. I'm not sure how this happened, or when.
Some grinding/removal of the phosphoric acid layer so we could get a good ground for the welder.<br/>
Spraying the frame POR-15
After 2 coats. Coats were back-sprayed back to back. I believe you are supposed to spray 2 light coats for better coverage.
The pitting seen in this picture is normal I believe. When I used the needle scaler to prep the frame, it left these impressions. The metal appears structurally sound and still has good thickness.
Another shot of the frame. Obviously the axles will need to be painted by had. And of course new FR/RR brakes are in order.
So a couple issues with painting the engine. The New Ford gray color is great. However, without removing the pulleys, alternator, steering fluid reservoir, and all exhaust components it makes it very difficult to get a clean and even paint job. I think this is good from protection from the elements. But for a "show" vehicle, it is far from adequate. I know, and you know....we are not fooling anybody here. With that being said, I think that it looks better and it will protect the engine somewhat. Additionally, most of the paint on the exhaust components will burn off anyways.
Last edited by CMHII; 05-21-2017 at 10:43 AM.
Reason: Addition of pictures
I think it would have been a great idea to take a wire brush to the oil pan prior to painting. I didn't even think about that. So, I'm going to have to go back and do that a
t some point, prior to body installation. Tapping engine mounts prior to installation.
Right-side in.
Left-side in. No issues, I used blue thread lock on these bolts.
These were taken this morning. The engine is technically mounted. However the bolts are only hand tightened. We have to prep and install the clutch. Then we have to figure out what the two bushings are called that sit underneath the plate, which sits underneath the transmission.
So, if you are reading this and you know what they are called please let me know. They look like the bushings that are used to mount the body to the frame, but I have no idea what they are called. I've looked through LMC but I can't find it, nor do I know what they are actually called.
Installing a new flywheel and clutch. It was only a few dollars extra to go with a brand new flywheel. We upgraded the clutch to a larger diameter as well.
Painting the dust shield for the bell housing and the transmission/transfer case mount.
I was able to acquire the upper insulators through National Parts depot. And I spent several hours on LMC and this site and figured out the proper hardware and lower insulator. It fits like a glove. I believe (without looking at my notes) the lower is the same one used for the #2 cab mount position, along with the lower hardware. For anybody that is wondering.
Here is another shot of the mounting hardware. It fits perfectly.
 08-11-2016, 03:03 PM