1994.5 - 1997 7.3L Power Stroke Diesel  

Rebuilding my D60, advice needed.

Thread Tools
 
Search this Thread
 
  #1  
Old 06-29-2016, 03:06 PM
Royson12's Avatar
Royson12
Royson12 is offline
Posting Guru
Thread Starter
Join Date: Jul 2006
Location: Cleburne
Posts: 1,148
Likes: 0
Received 0 Likes on 0 Posts
Rebuilding my D60, advice needed.

I am rebuilding my D60 front end on my 97 F350. I have it all disassembled, and cleaned. I need some advice putting it back together...Shims where mostly destroyed during bearing removal. All the info, that I have seen, and my Spicer book, shows the shims between the diff bearings, and the diff for backlash. Behind the inner pinion bearing outer race, for pininon dept. And also behind the outer race of the outer pinion bearing for preload.

My first question, what would be a good starting point for pinion depth? Shimming in all of these places seems to be a pain. It will involve pressing on and removing bearings multiple times, and races on the pinion?

Anybody have any tricks up their sleeve?
 
  #2  
Old 06-29-2016, 04:13 PM
dclack's Avatar
dclack
dclack is online now
Fleet Mechanic
Join Date: Jan 2011
Location: Richland, WA
Posts: 1,736
Received 30 Likes on 21 Posts
Best place to start is using the same thickness shims as you pulled out. Then get an extra set of bearings (or used ones if they aren't too worn out) and grind out the ID so that they will slide on and off for easy setup.
 
  #3  
Old 06-29-2016, 04:49 PM
Royson12's Avatar
Royson12
Royson12 is offline
Posting Guru
Thread Starter
Join Date: Jul 2006
Location: Cleburne
Posts: 1,148
Likes: 0
Received 0 Likes on 0 Posts
I have the bearings, but some of the shims where trashed on disassembly. So, the bearings are made to that tight of tolerances? That is can use the old ones to set up, then press on the new, and all will be good? I guess, I could mic them and compare?
 
  #4  
Old 06-29-2016, 04:54 PM
dclack's Avatar
dclack
dclack is online now
Fleet Mechanic
Join Date: Jan 2011
Location: Richland, WA
Posts: 1,736
Received 30 Likes on 21 Posts
They should be pretty close. Get it set with the old bearings, then press on the new ones and check it.
 
  #5  
Old 06-30-2016, 08:10 AM
Royson12's Avatar
Royson12
Royson12 is offline
Posting Guru
Thread Starter
Join Date: Jul 2006
Location: Cleburne
Posts: 1,148
Likes: 0
Received 0 Likes on 0 Posts
Originally Posted by dclack
They should be pretty close. Get it set with the old bearings, then press on the new ones and check it.
They are real close. I mic'd them for total thickness, and Diameter. With .001. I have a game plan now. I will take pics as I am going along. If anybody sees something dumb, hand slap! So, I'll do it right! lol
 
  #6  
Old 06-30-2016, 09:00 AM
Royson12's Avatar
Royson12
Royson12 is offline
Posting Guru
Thread Starter
Join Date: Jul 2006
Location: Cleburne
Posts: 1,148
Likes: 0
Received 0 Likes on 0 Posts
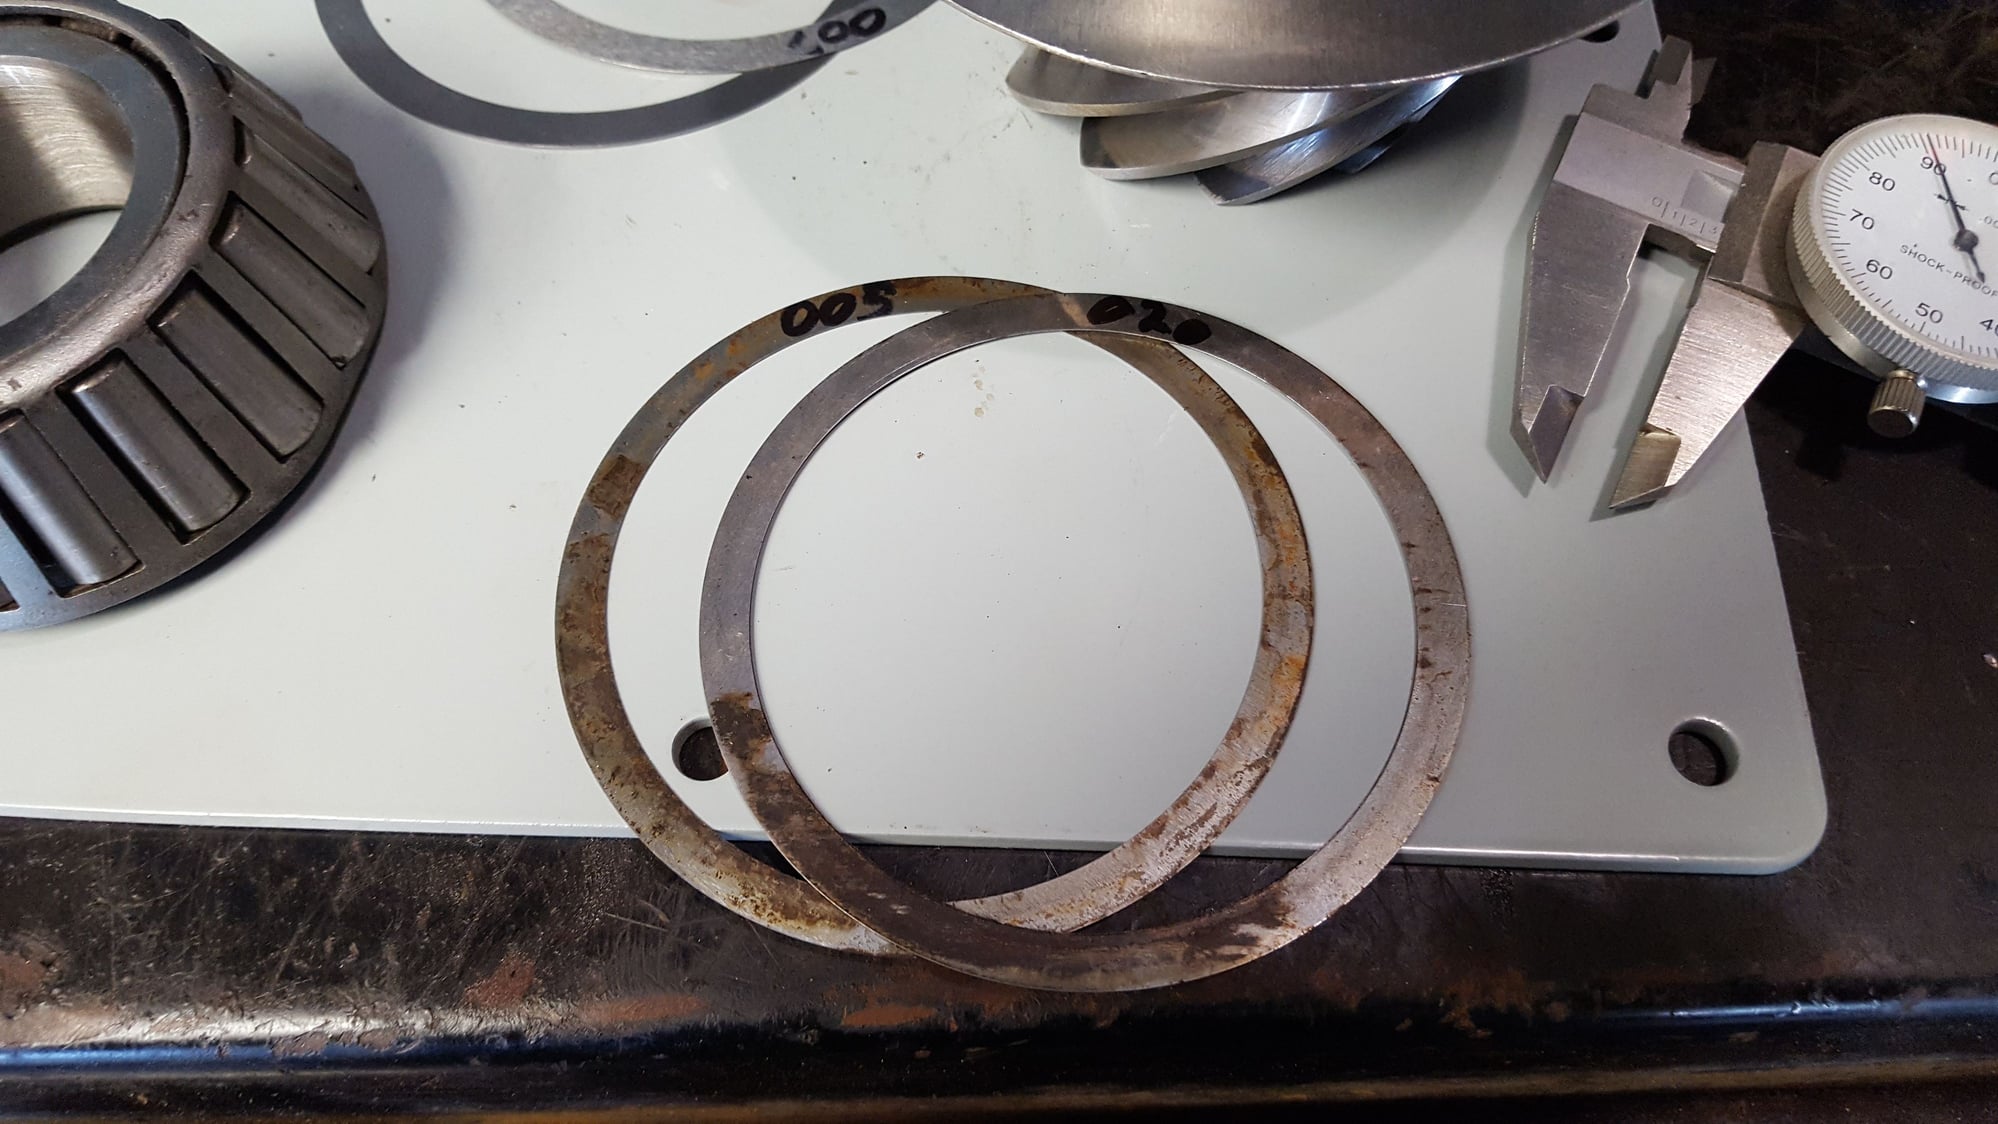
These are the pinion depth shims. I matched the new to the old. Did not reuse the old ones, they had some rust staining on them.
 
  #7  
Old 06-30-2016, 09:05 AM
Royson12's Avatar
Royson12
Royson12 is offline
Posting Guru
Thread Starter
Join Date: Jul 2006
Location: Cleburne
Posts: 1,148
Likes: 0
Received 0 Likes on 0 Posts


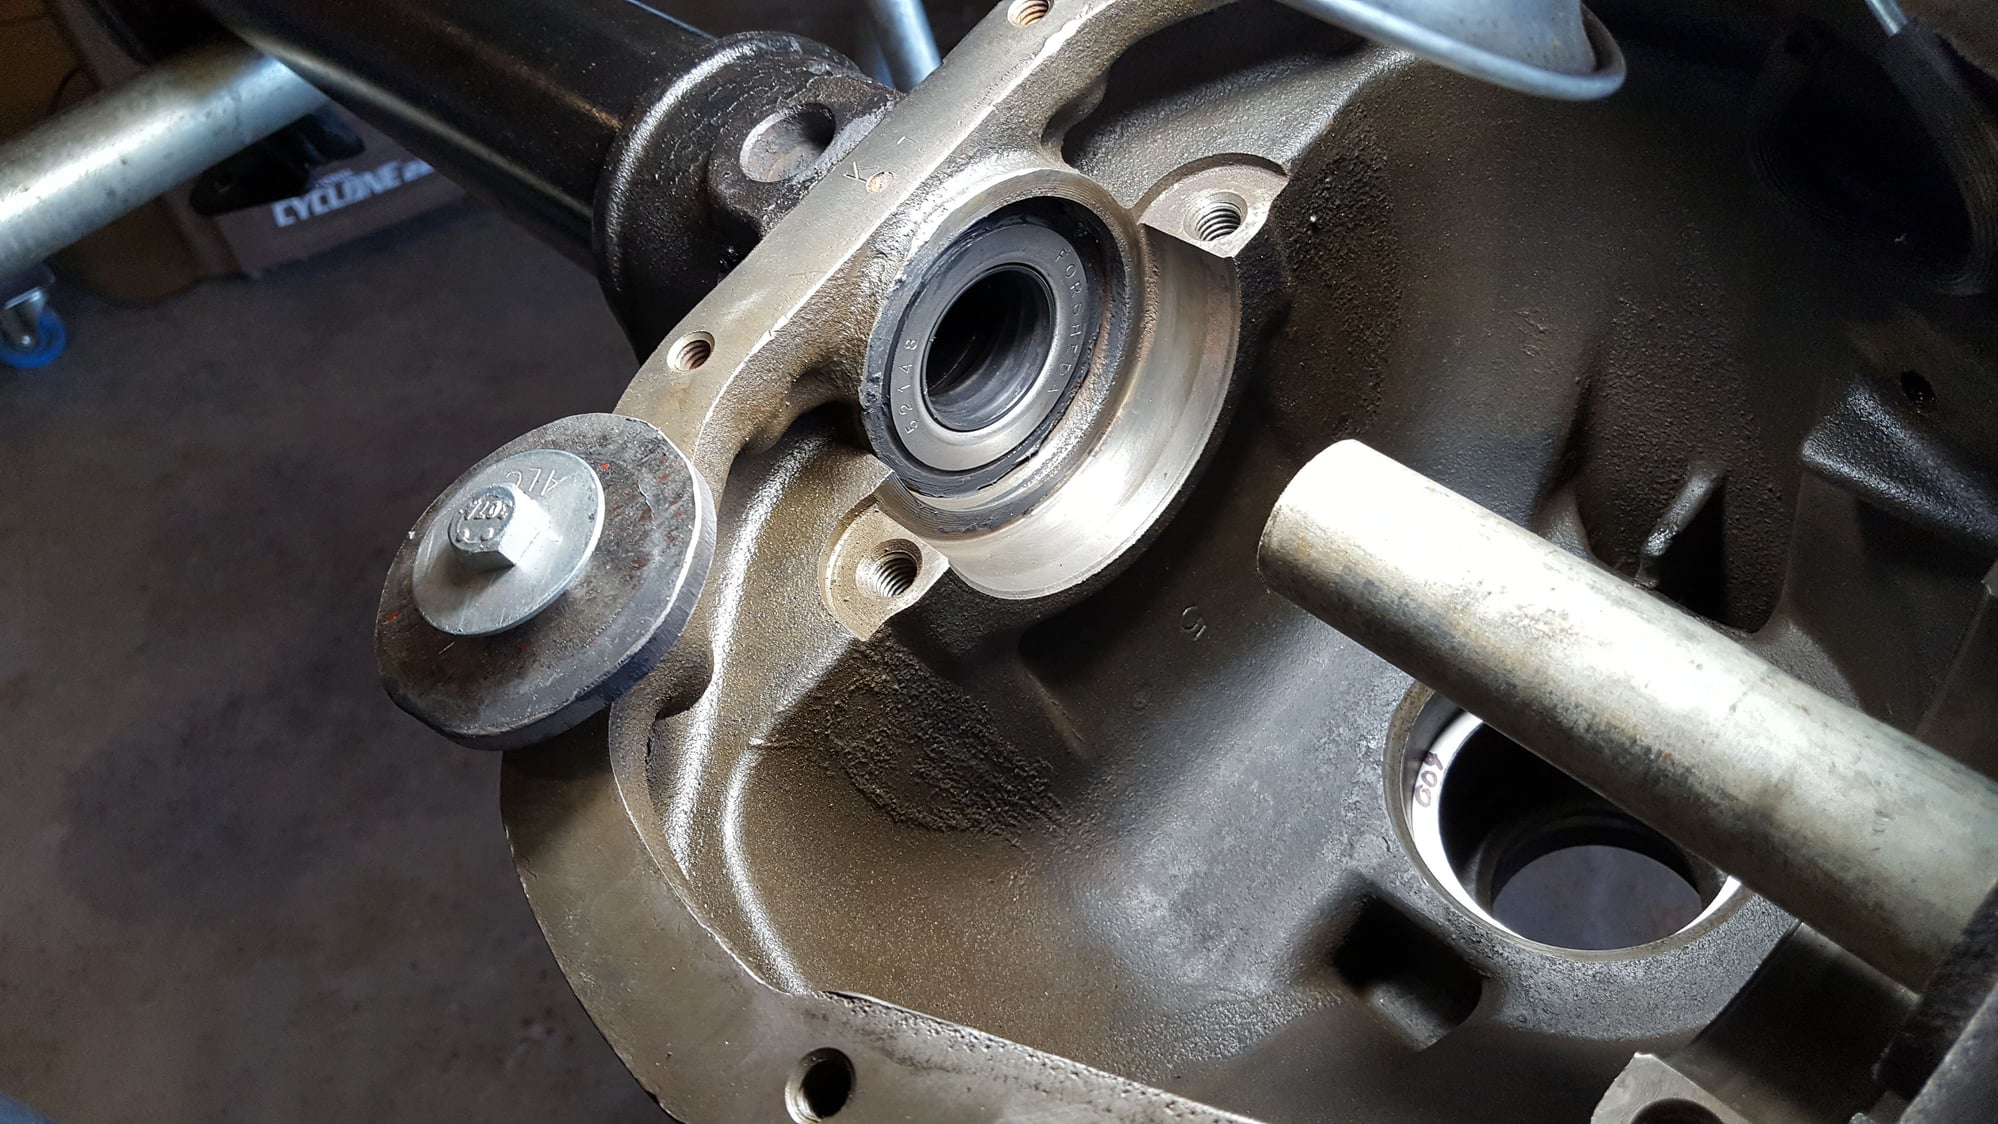
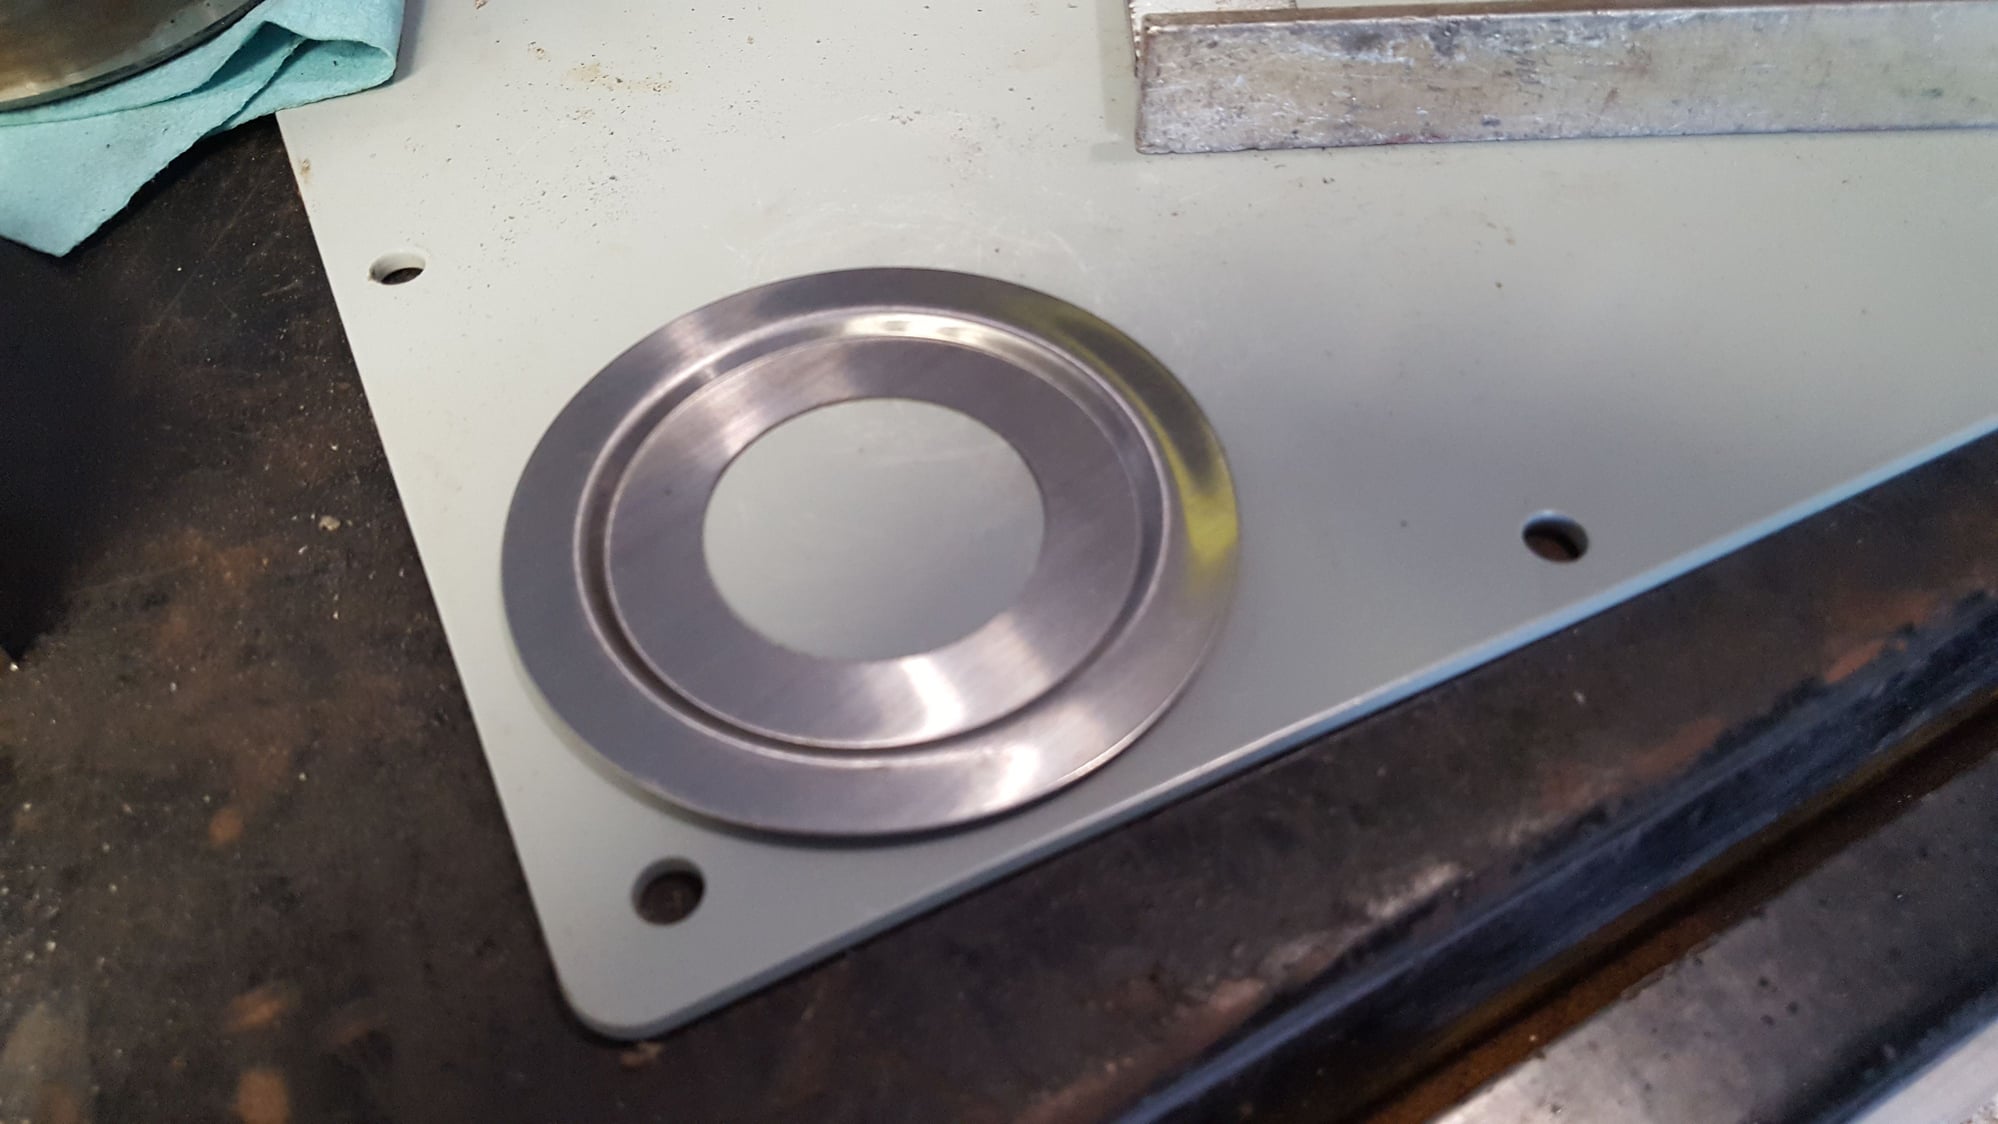
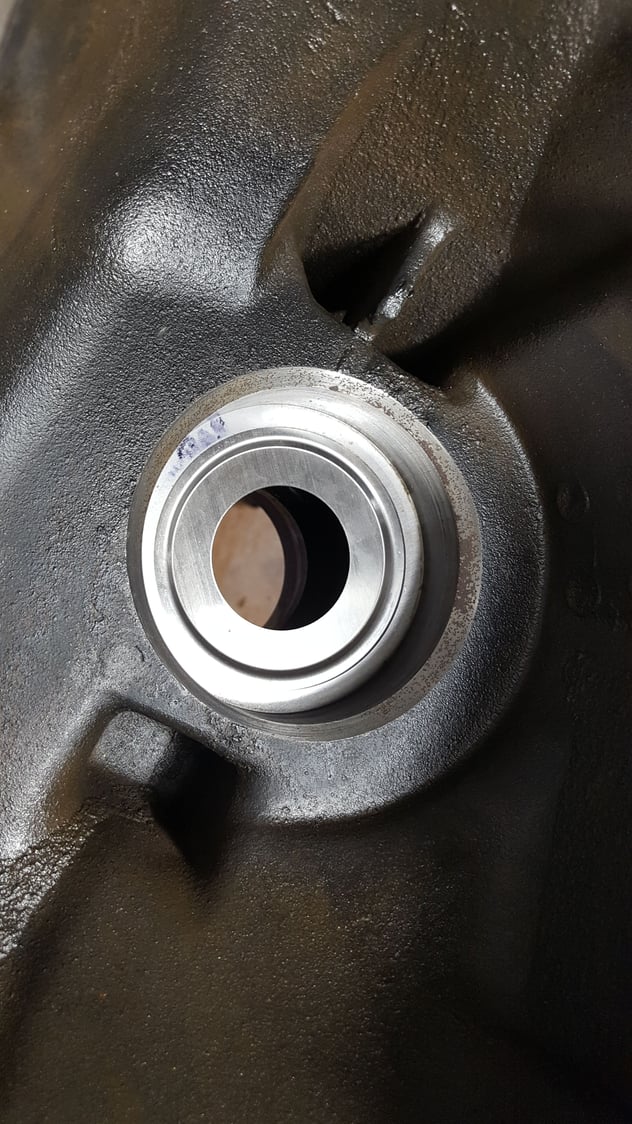
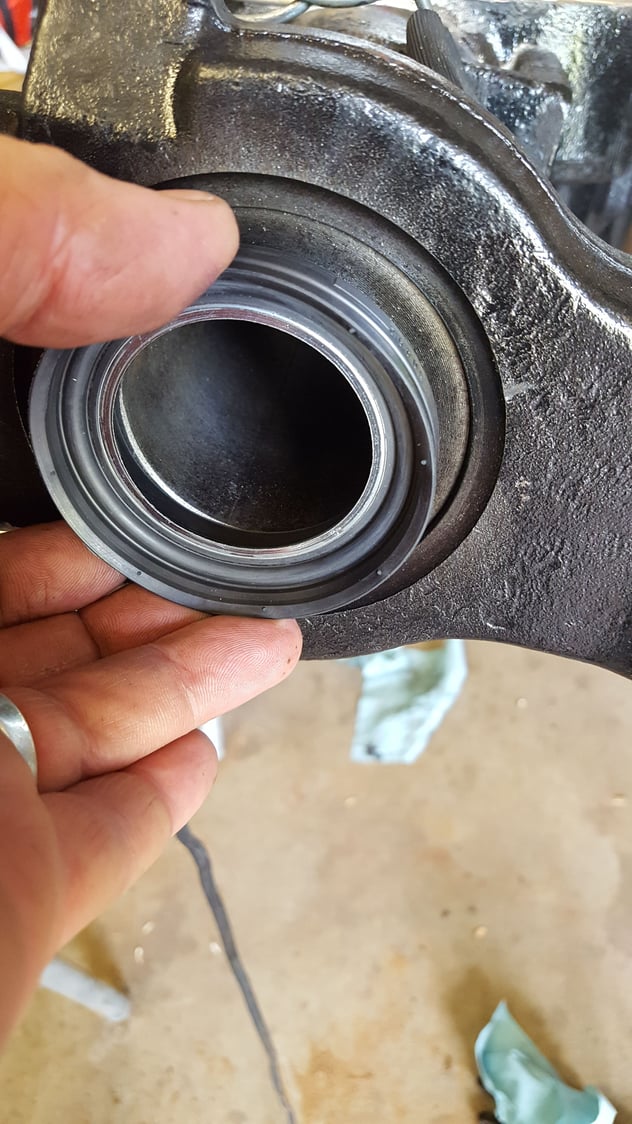
New inner seals, i put a little ultimate black silicone on the outer edge, to help with sealing and ease installation. Made a guide out of some .25 plate, so they would go in square.
 
  #8  
Old 06-30-2016, 09:07 AM
Royson12's Avatar
Royson12
Royson12 is offline
Posting Guru
Thread Starter
Join Date: Jul 2006
Location: Cleburne
Posts: 1,148
Likes: 0
Received 0 Likes on 0 Posts


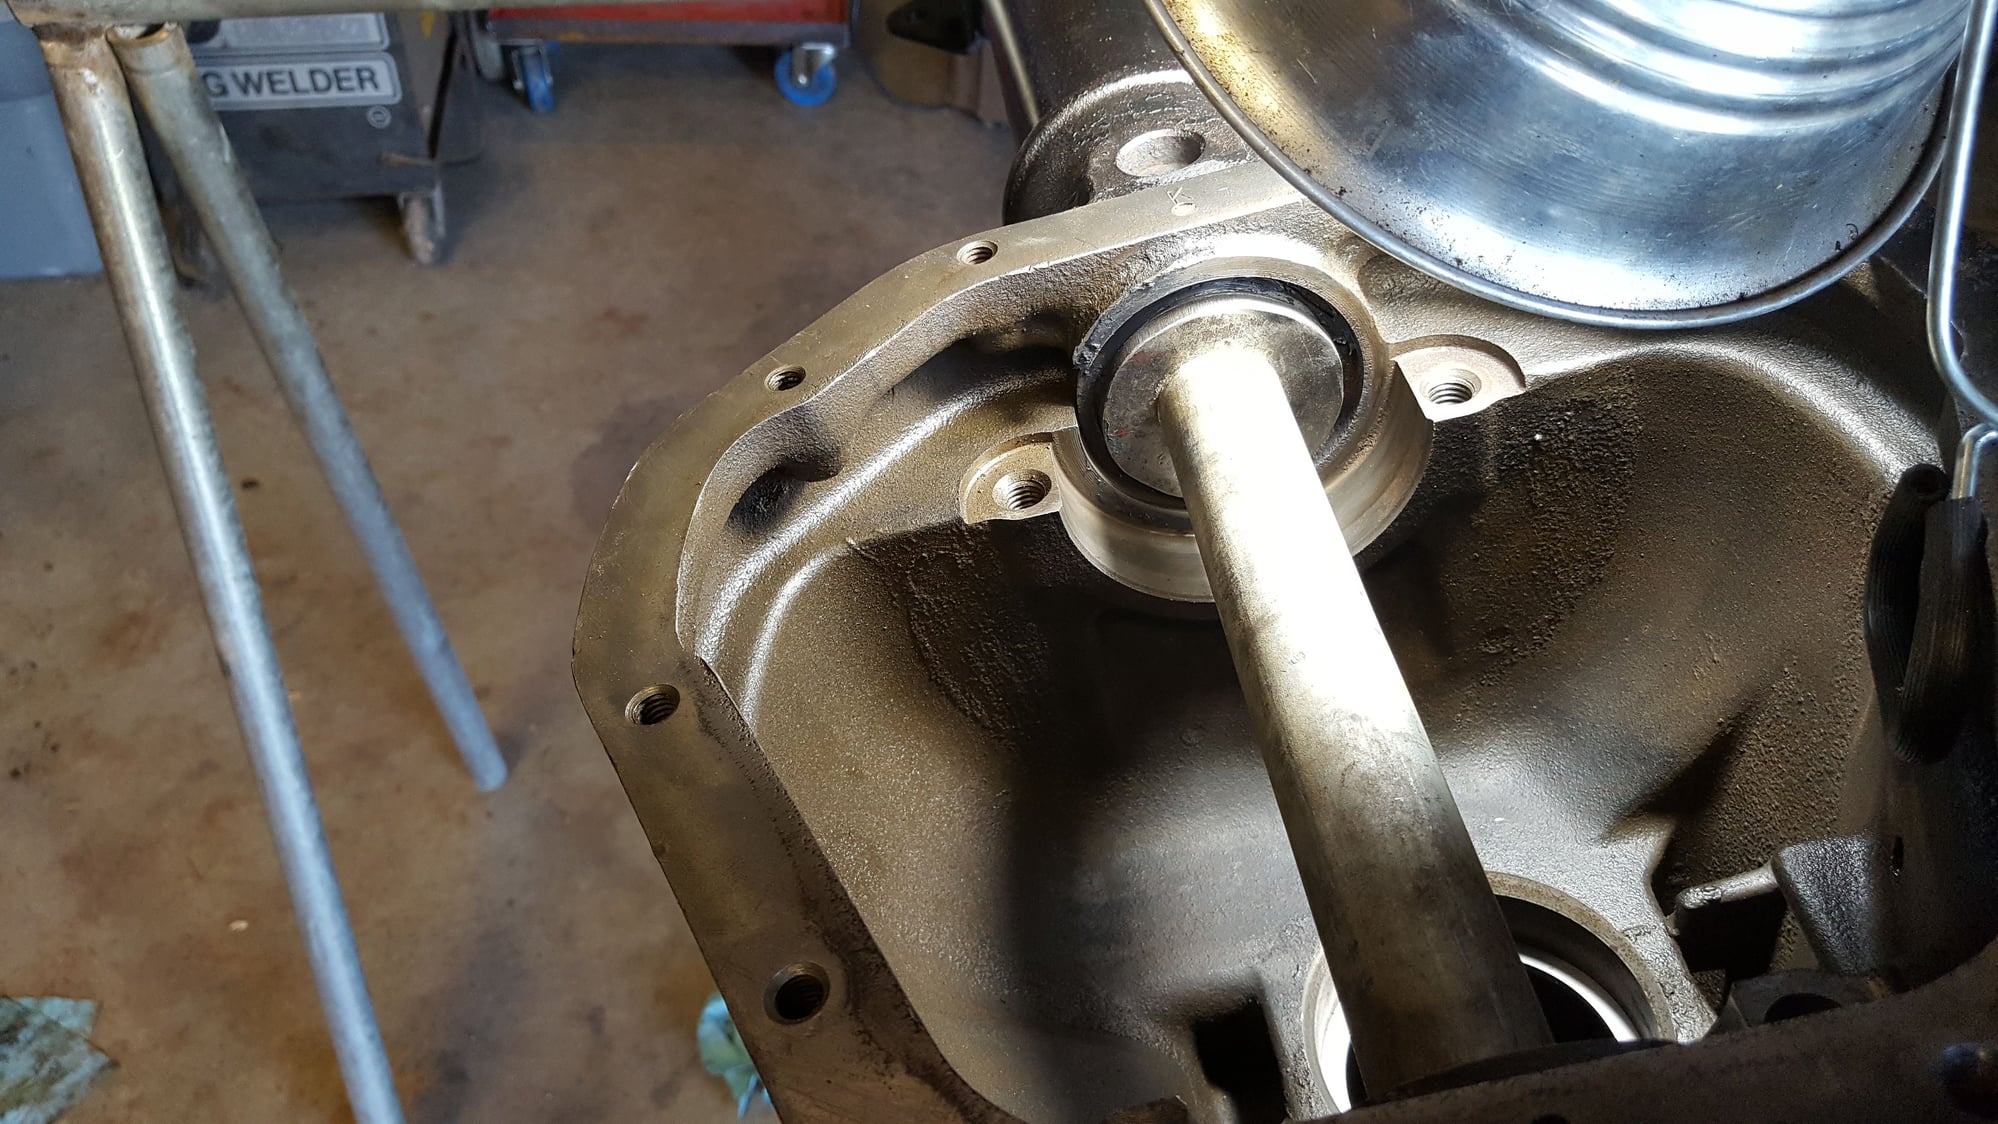
This is how it lined up. Used a peice of 1" grc for a driver. It fit just right through the opposing seal.
 
  #9  
Old 06-30-2016, 09:20 AM
Royson12's Avatar
Royson12
Royson12 is offline
Posting Guru
Thread Starter
Join Date: Jul 2006
Location: Cleburne
Posts: 1,148
Likes: 0
Received 0 Likes on 0 Posts


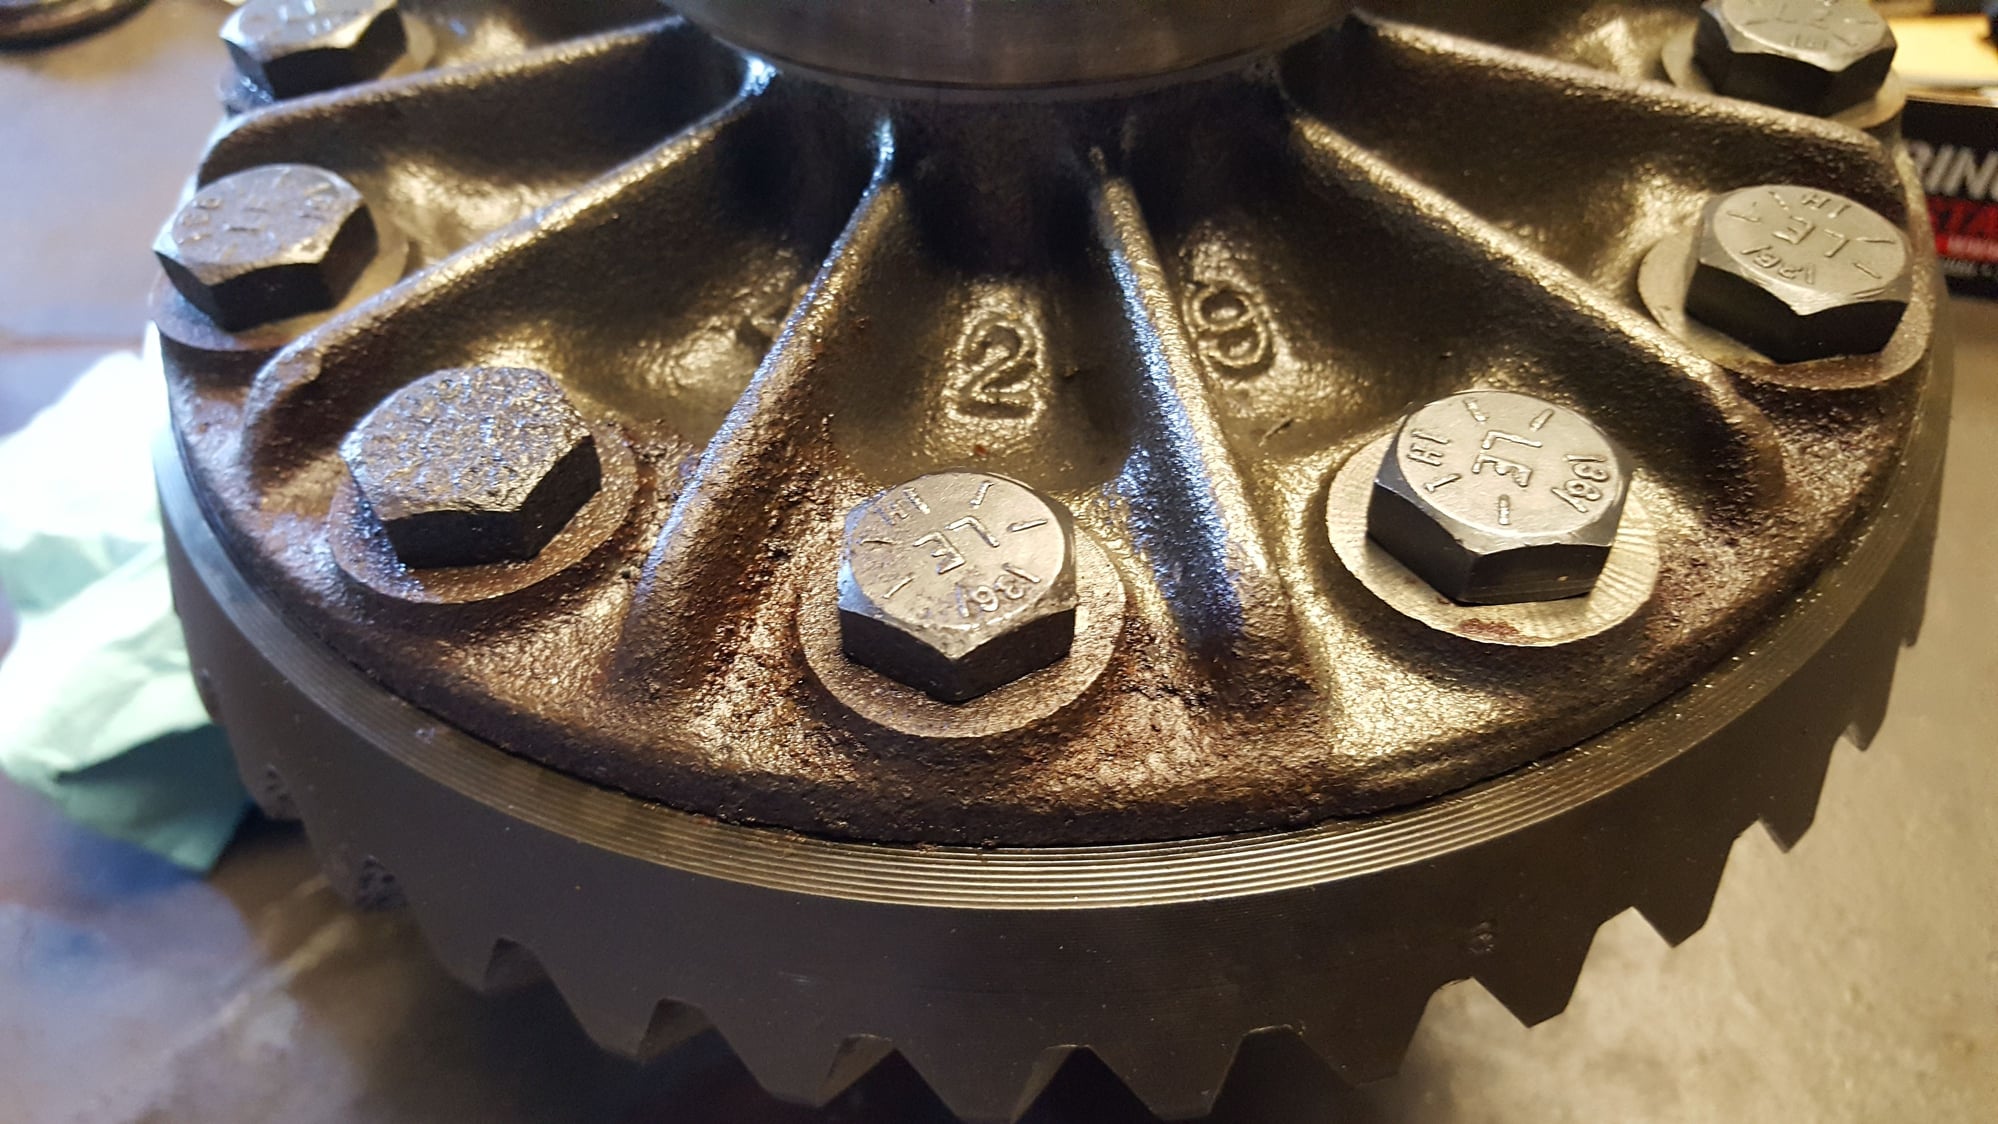
Surface rust!


More rust!

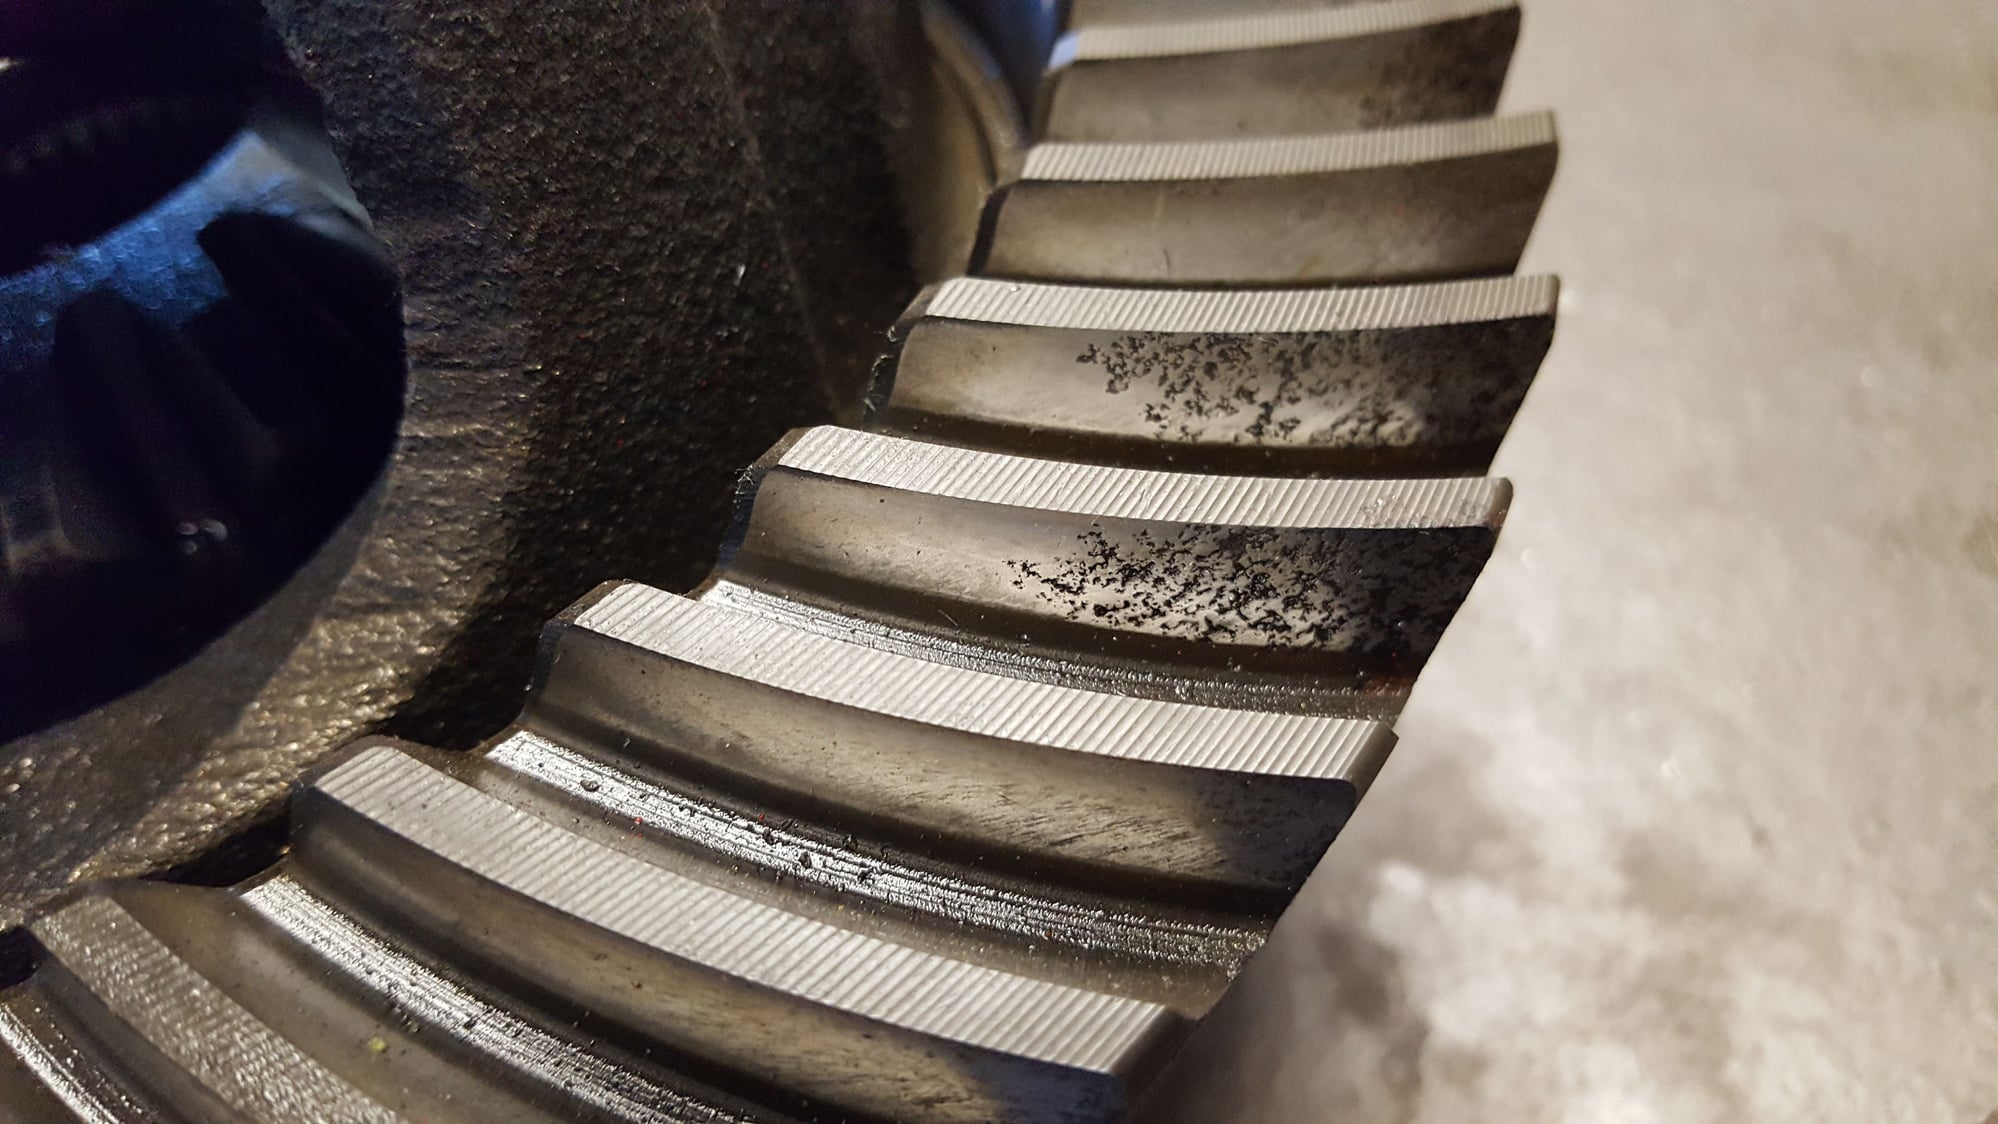
Diff case had lots of coffee creamer in it. I think the previos owner took it under water, then never checked the diff, or used it again. All the rust is on one side of everything. My plan is to bust it apart, clean it all up with a brass whhel, then reassemble. Ring gear should be good? Right?
 
  #10  
Old 06-30-2016, 09:45 AM
Royson12's Avatar
Royson12
Royson12 is offline
Posting Guru
Thread Starter
Join Date: Jul 2006
Location: Cleburne
Posts: 1,148
Likes: 0
Received 0 Likes on 0 Posts


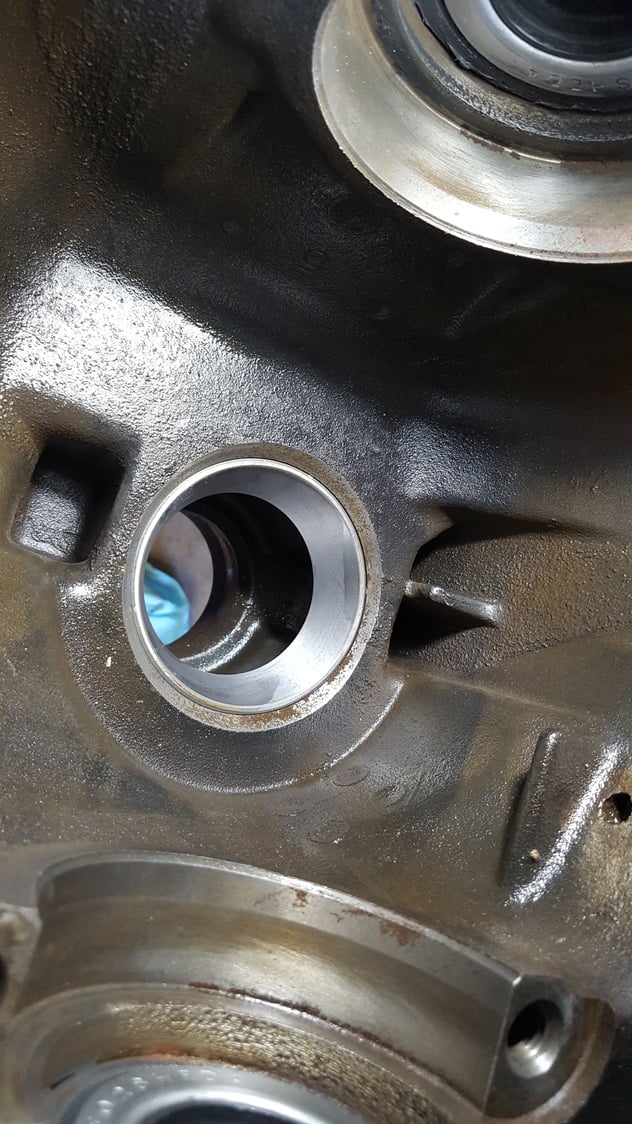
Inner pinion bearing race installed. Dropped that sucker in the freezer last night. Went in super easy!
 
  #11  
Old 06-30-2016, 01:13 PM
Royson12's Avatar
Royson12
Royson12 is offline
Posting Guru
Thread Starter
Join Date: Jul 2006
Location: Cleburne
Posts: 1,148
Likes: 0
Received 0 Likes on 0 Posts


Wooops! Back out with that pinion race!
 
  #12  
Old 06-30-2016, 01:21 PM
Royson12's Avatar
Royson12
Royson12 is offline
Posting Guru
Thread Starter
Join Date: Jul 2006
Location: Cleburne
Posts: 1,148
Likes: 0
Received 0 Likes on 0 Posts

Thats better
 
  #13  
Old 06-30-2016, 01:27 PM
Royson12's Avatar
Royson12
Royson12 is offline
Posting Guru
Thread Starter
Join Date: Jul 2006
Location: Cleburne
Posts: 1,148
Likes: 0
Received 0 Likes on 0 Posts


Part number 50492, my build code 610610 calls for them? How do they install? I cant figure this one out?
 
  #14  
Old 06-30-2016, 02:14 PM
Royson12's Avatar
Royson12
Royson12 is offline
Posting Guru
Thread Starter
Join Date: Jul 2006
Location: Cleburne
Posts: 1,148
Likes: 0
Received 0 Likes on 0 Posts
Dana 60 diagram.pdf
Dana 60 Parts list.pdf
dana 60 Build parts 610610.pdf
These pages are straight out of the Dana book. I have the part in question highlighted. Any ideas? I know somebody has had to run into this before.
 
  #15  
Old 07-01-2016, 07:53 AM
Royson12's Avatar
Royson12
Royson12 is offline
Posting Guru
Thread Starter
Join Date: Jul 2006
Location: Cleburne
Posts: 1,148
Likes: 0
Received 0 Likes on 0 Posts
Nobody? I figured somebody would know about these. I'm getting mixed blessings on the interweb? Makes no sense to me.


Quick Reply: Rebuilding my D60, advice needed.


All times are GMT -5. The time now is 12:44 PM.