First Time Motor Swap/99 F150 Build

#17
 06-27-2016, 01:31 PM
#19
07-01-2016, 08:17 AM
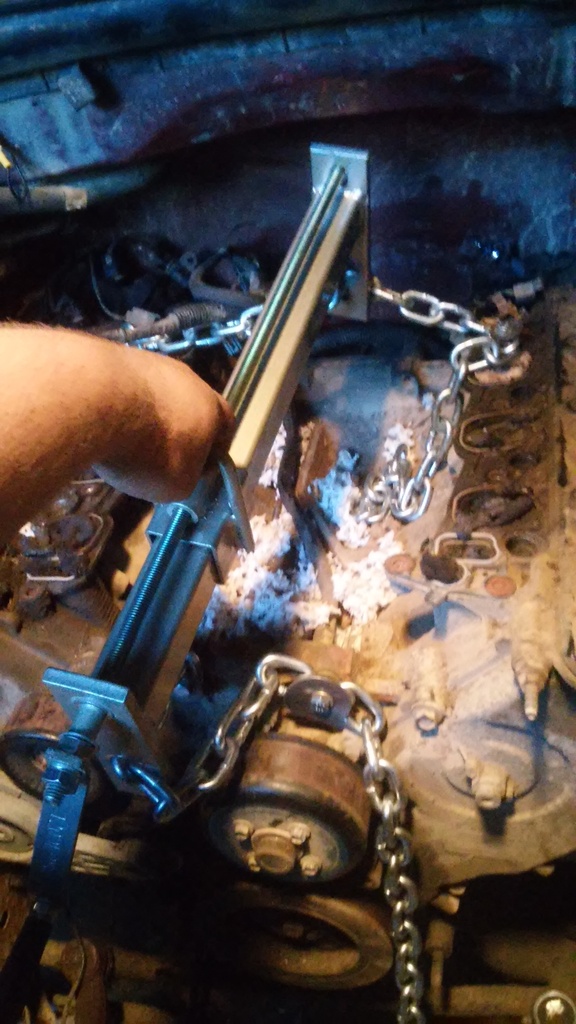
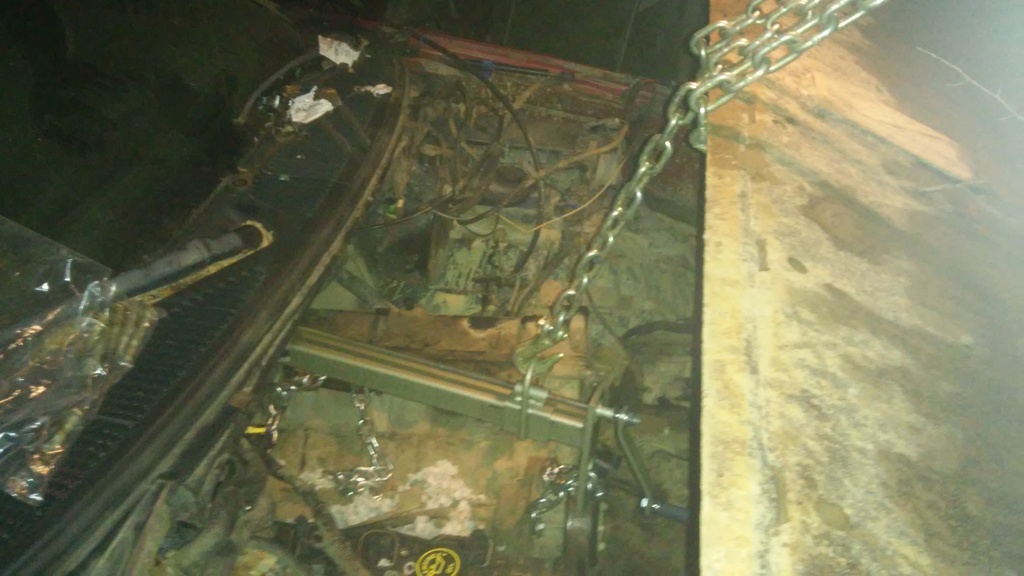
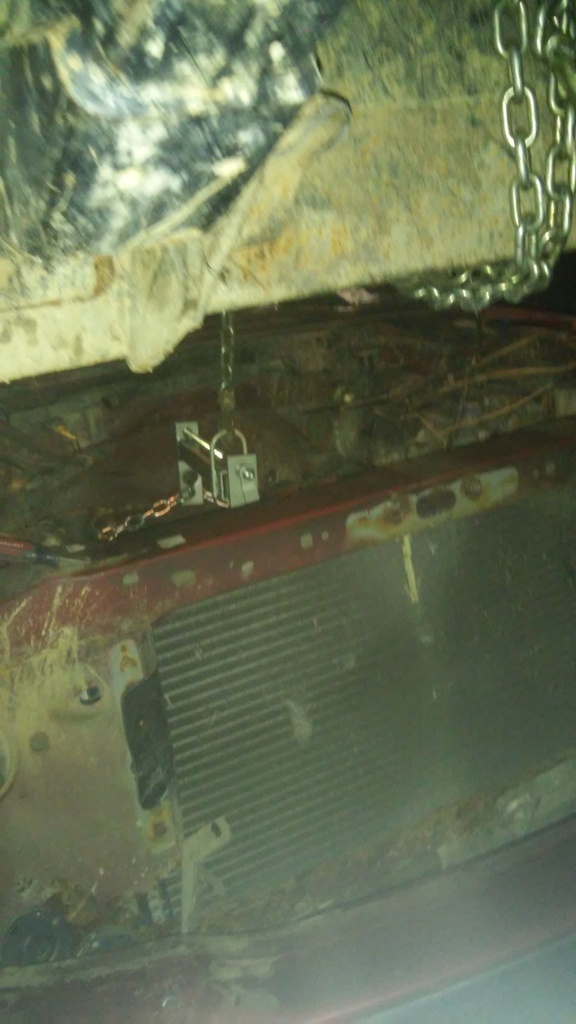
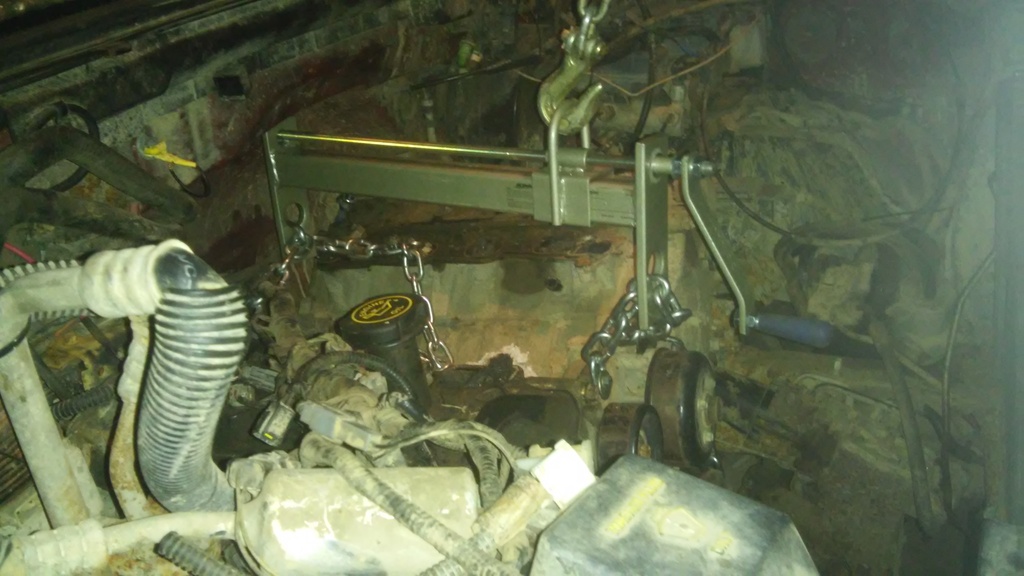
So I have finally had time to keep working on it. I got the 3 bolts off the motor mounts that go into the block on both sides. I have 7 bolts off the bellhousing. I believe I have all the wires removed. I got the irwin kit, but i couldn't get the torque converter nut off no matter what i tried. I have to pull it with it. I have the load leveler attached and the tractor hooked to that. I tried manipulating it a little last night, but figured it would be best to wait till i have light to keep working. I couldnt get the motor to budge forward or up and down. When i lift some the whole body lifted with it. Are there more than 3 bolts in motor mounts on either side? How do I actually seperate the motor and transmission? All help is greatly appreciated. The pics below are of the setup. Thank you.


#20
07-01-2016, 08:50 AM
Cross-Country
Join Date: May 2015
Location: NC
Posts: 90
Likes: 0
Received 0 Likes
on
0 Posts
The truck will rise up a few inches as you relieve it if the engine weight. Are you supporting the transmission? The crossmember isn't enough. You have to lift it to clear the engine mounts then you need like another foot of clearance in front of the engine to pull it with the tq. The tq is also a pretty precise fit so it's gonna fight you as well. Well, not necessarily fight you, but make life harder. How didn't the Irwin tool work? I've never had them let me down. Was the engine turning when you torqued on them or something else?
#21
07-01-2016, 09:11 AM
The irwin that fit let me get a very good grip on it. I had someone hold the motor from turning. It felt like it was going to come off, but it just chewed it up even more to the point where that size would no longer grip and the next size down wouldnt fit.(i have the full set) I do have a jack under the transmission. I doubt i lifted it enough last night to get it off of the motor mounts. I wasn't too fond of doing it in the dark. I didn't think about the truck rising either. I will likely borrow a motor hoist for the pull and install in the next truck. The tractor takes up too much room. The 99 also shouldn't give me as much trouble witht the tq converter since it isn't near as rusty.
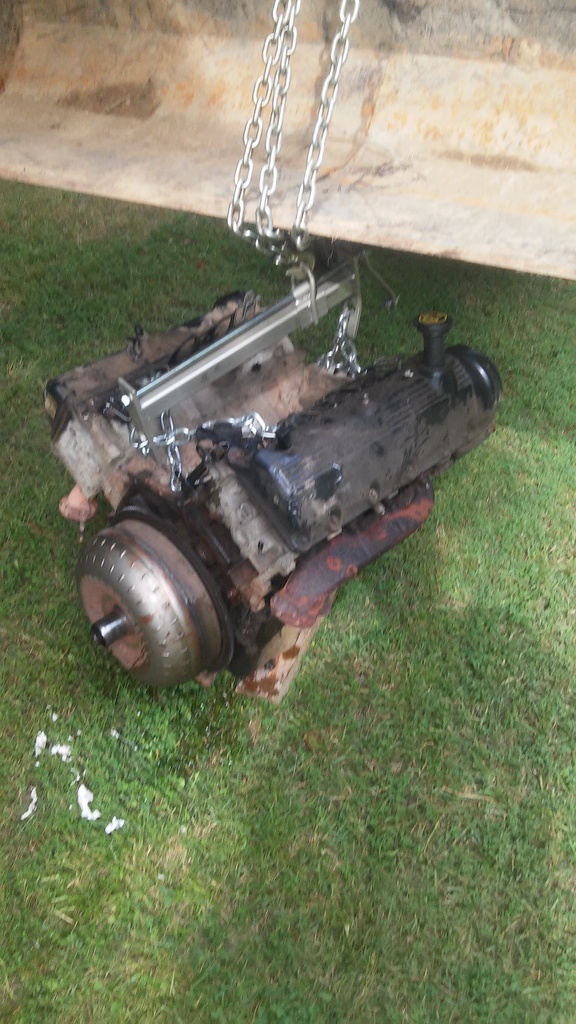
#22
07-02-2016, 09:01 PM
It is out! I got it out the rest of the way today. I had a few hang ups here and there, but overall it went fairly smooth. The torque converter never got in the way for me. It didn't make it any worse to get out. I will still be removing it from the 4.6 when i pull it. Here is what it looked like after the irwin rounded it off. I think in most situation the irwin would work gteat though.

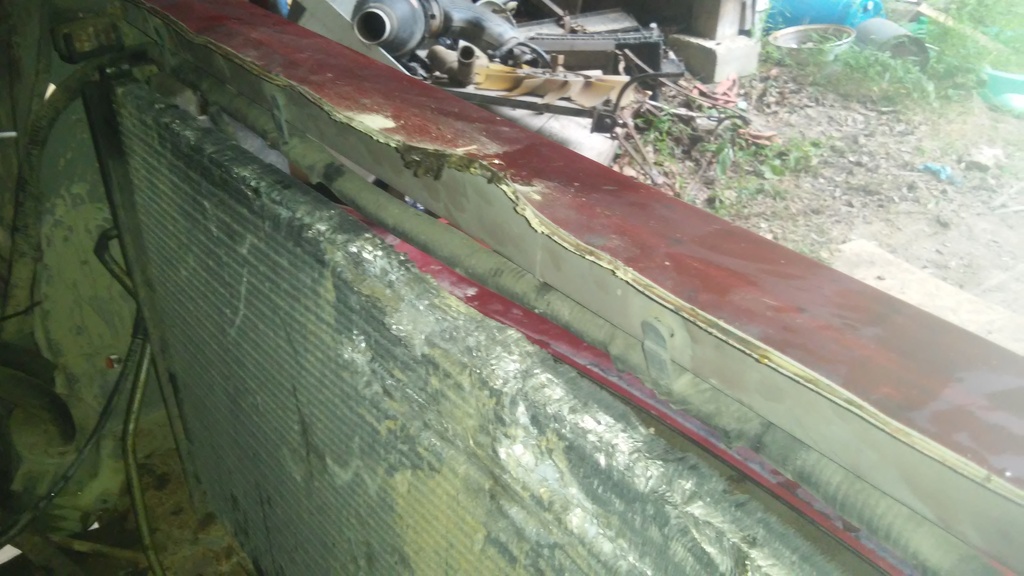
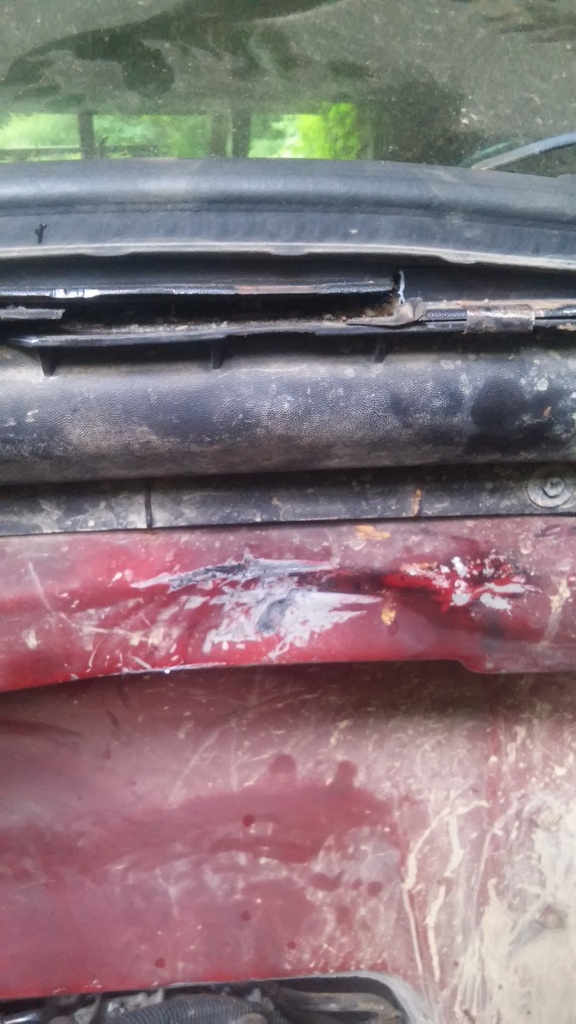
I did bash the ac evaporator and leaked out all the refigerant. Beat up the firewall and plastic trim with the load leveler.
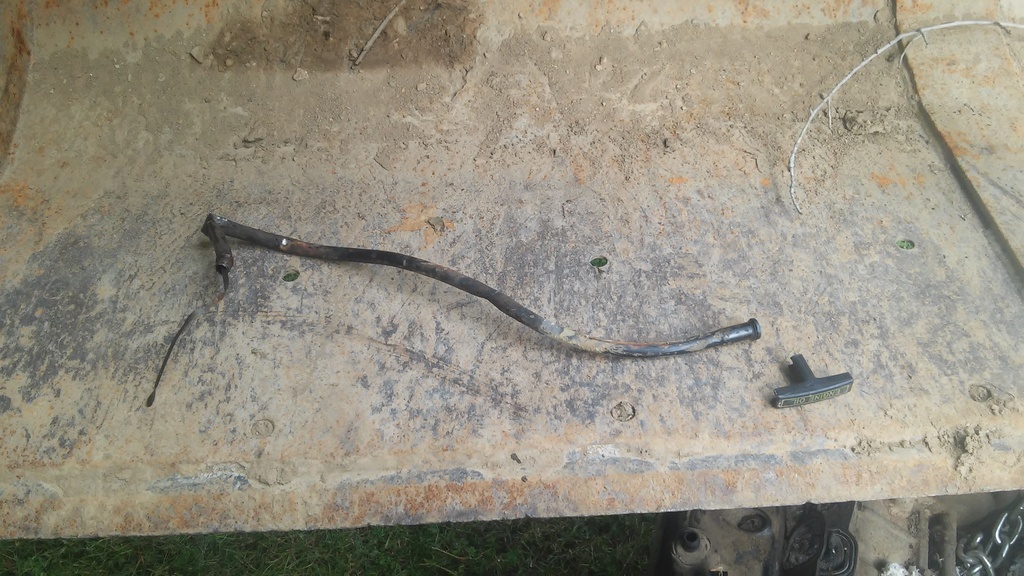
I also forgot to remove the oil dipstick and it got ripped apart by the motor mount, but it was the only damage to a part im reusing.
I will be using an engine hoist instead of a tractor for the 4.6 removal and the reinsertion of the 5.4. That should significantly lower the risk of damage.
Here is what i need to know from you all. What do you all recomend i do to the motor while it is out. It will be getting new exhaust, intake gaskets of course. I will be doing a thorough cooling system flush with new freeze plugs and such. I am going to pull the oil pan and clean any sludge and inspect the bottom end and replace with a new gasket. I will also replace the rear main because i believe it ia leaking a little. What else do i need to do to the motor that doesnt involve pulling the heads? I cant afford to rebuild it and it runs good. It doesn't leak anything to the exterior around the head and there doesnt appear to be any coolant in oil or vice versa. Is there anything else i can do that i am not already doing short of a full rebuild?
Thanks for all the help in getting this done. I have now pulled my first motor.


I did bash the ac evaporator and leaked out all the refigerant. Beat up the firewall and plastic trim with the load leveler.


I also forgot to remove the oil dipstick and it got ripped apart by the motor mount, but it was the only damage to a part im reusing.

I will be using an engine hoist instead of a tractor for the 4.6 removal and the reinsertion of the 5.4. That should significantly lower the risk of damage.
Here is what i need to know from you all. What do you all recomend i do to the motor while it is out. It will be getting new exhaust, intake gaskets of course. I will be doing a thorough cooling system flush with new freeze plugs and such. I am going to pull the oil pan and clean any sludge and inspect the bottom end and replace with a new gasket. I will also replace the rear main because i believe it ia leaking a little. What else do i need to do to the motor that doesnt involve pulling the heads? I cant afford to rebuild it and it runs good. It doesn't leak anything to the exterior around the head and there doesnt appear to be any coolant in oil or vice versa. Is there anything else i can do that i am not already doing short of a full rebuild?
Thanks for all the help in getting this done. I have now pulled my first motor.


#23
07-02-2016, 11:30 PM
#24
07-03-2016, 07:30 AM
Thanks, i am going to pay someone to remove the exhaust manifolds and drill out the broken studs. I am capable, but don't have the patience for that right now. I hate drilling out broken bolts or studs. I am replacing the manifolds with T-304 stainless or better grade long tube headers. I don't particularly care about trying to get enhanced sound or performance, i just don't want them to rust. I will be using stainless studs as well. I also plan on using copper anti seize on virtually every nut, bolt, and stud i can.
#25
07-03-2016, 07:50 AM

#26
07-03-2016, 08:04 AM
What initially happened was that i couldn't get a normal socket and ratchet in there. I used my low profile ones which only have 12 point profiles. It worked on three of them. That fourth one didn't. It was later i found a location and angle that would allow the use of a normal socket. I used 6 points on every other bolt or nut i touched. I will definitely be using the 6 point next time.
#27
07-05-2016, 06:29 AM

What initially happened was that i couldn't get a normal socket and ratchet in there. I used my low profile ones which only have 12 point profiles. It worked on three of them. That fourth one didn't. It was later i found a location and angle that would allow the use of a normal socket. I used 6 points on every other bolt or nut i touched. I will definitely be using the 6 point next time.
Also when putting the engine back in, be sure to get the wiring harness laid in right. As the plugs for the Exhaust oxygen Sensor's will be short if you just toss the harness in there. MY stepson did that on mine. And now I'm fighting them to get enough slack to plug them in. Drivers side is plugged in. Pass side still like's 8" or more. Not enough room to work back there. So looks as though I will be removing harness and going at it again.
But did see a extension harness, may just buy one of those. And not have to remove all that stuff.
Pete
#28
07-11-2016, 12:03 PM
While I had the motor out of mine, I went ahead and replaced all the spark plugs. Easier to do without having to fight the firewall or anything else. I used the copper anti-seize as well.
These motor swaps are honestly not that bad as long as you take your time and be patient. However, definitely not as easy as the older cars and trucks.
Congrats on getting it out.
These motor swaps are honestly not that bad as long as you take your time and be patient. However, definitely not as easy as the older cars and trucks.
Congrats on getting it out.
#29
07-11-2016, 12:21 PM
Thanks, I just got the motor stand in the mail. Im going to get the tq converter and flywheel off and mount it up to the stand. I will then be paying someone to remove the manifolds. I dont have time to deal with broken studs. Once that is done, cleanup and paint can be completed after internal maintenance.
#30
07-11-2016, 12:34 PM
Thanks, I just got the motor stand in the mail. Im going to get the tq converter and flywheel off and mount it up to the stand. I will then be paying someone to remove the manifolds. I dont have time to deal with broken studs. Once that is done, cleanup and paint can be completed after internal maintenance.
All of mine that were 17 years old. Came out with ease, but I sprayed them down with Kroil. And the next day they came out with ease. Now the new engine that I put in. The bunch that took it out of the 2002 truck. Broke off few of them. And welding the nut on took 10 minutes on getting 5 of them out.
If you were close to me, I would help you get them out.
Pete