When you click on links to various merchants on this site and make a purchase, this can result in this site earning a commission. Affiliate programs and affiliations include, but are not limited to, the eBay Partner Network.
I've been running a Back Rack on my truck for a few years now, and decided it was time to upgrade. I've fabricated custom headache racks before, but this time I want to go with an aluminum rack and I don't have the means to weld aluminum, so I called up Magnum MFG. I've dealt with them before and have one of their racks on the company truck, so I know the quality is there and I like the overall design.
Since I'll be working with Magnum on designing a custom rack to suit my needs, I figured I'd document it on here for anyone interested. I put the term "build" in quotations because I'm not doing the actual fabrication here, Magnum is, but I'm working closely with them to design all the details and mounts specific to me.
It'll be a basic Low Pro rack with integrated stop/turn/tail lights in it. We're also adding integrated mounting systems and plug/play wiring harnesses into it for my LED Arrow stick, LED flood lights, and antennas. Additionally, special reposition able tie-down hooks will be mounted on the feet. So far I've sketched out a few design concepts and rendered one "concept drawing", which have been sent to the gentleman at Magnum I've been working with. I'll post those below and keep updated. So far we've been going back and forth for about a week and a half, and at this time we're working on the CADD drawings for the production rack.
Here's a sketch outlining my mount concept for the arrow stick. The bar has a T-Track in the rear allowing for surface mounting, so a boxed area with slotted holes in the back will be fabricated for the arrow stick to slide into and flush mount with the rack.
Just a simple tab welded to the outside of the foot for one of my antennas
These are 45 degree threaded feet welded onto the face of the rack, which will allow my floodlight brackets to bolt right on. There will also be wiring stubs at these locations for the lights to plug right into the internal wiring of the rack.
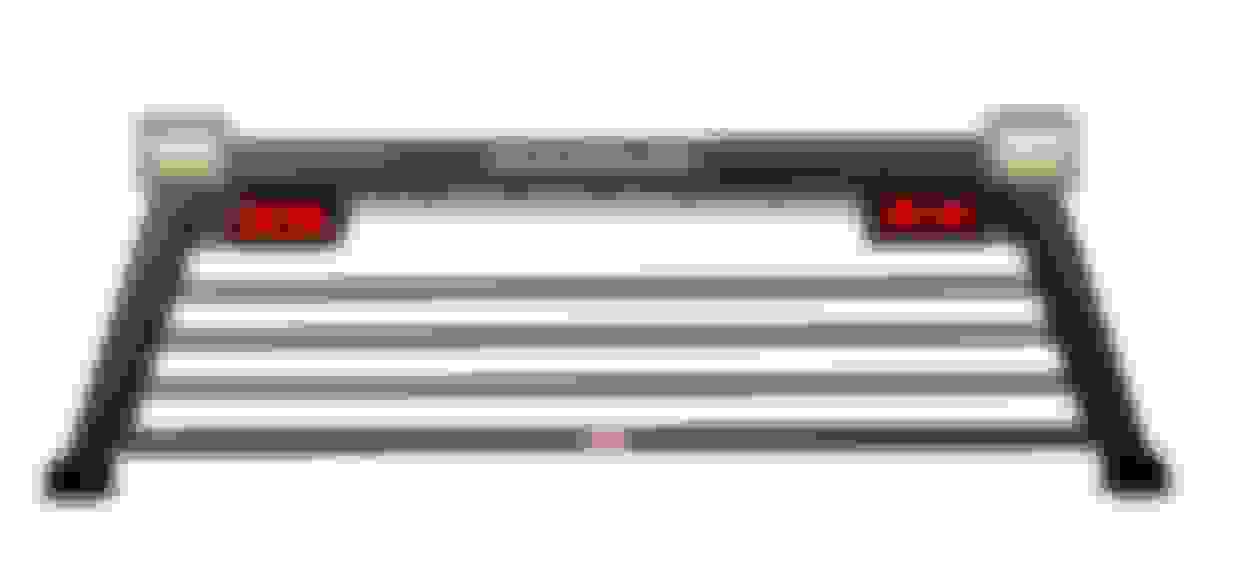
Here's a quick render of the rack not including the antenna mount or tie downs. General mount locations of the lighting.
Here's an early whiteboard sketch from one of the guys at magnum showing the location of the internal wiring and the wiring stubs (located at the red X's), which will allow lights to be plugged into the rack.
More information early next week as CADD drawings are finalized and the rack goes into production. Very excited about this, Magnum is a great company and it's been excellent working with them to get this produced.
Chris, how do you like the Grote's compared to the factory magnum ones? I've considered replacing the stock red ones with clear lensed Red STT's to keep the clean look...
I like the Grote lights. My only wish would be for the reverse function to be a cooler white.
I'll take some pictures later this morning so you can see what it looks like.
I should probably get busy and wire in my under tailgate light bar this morning too.
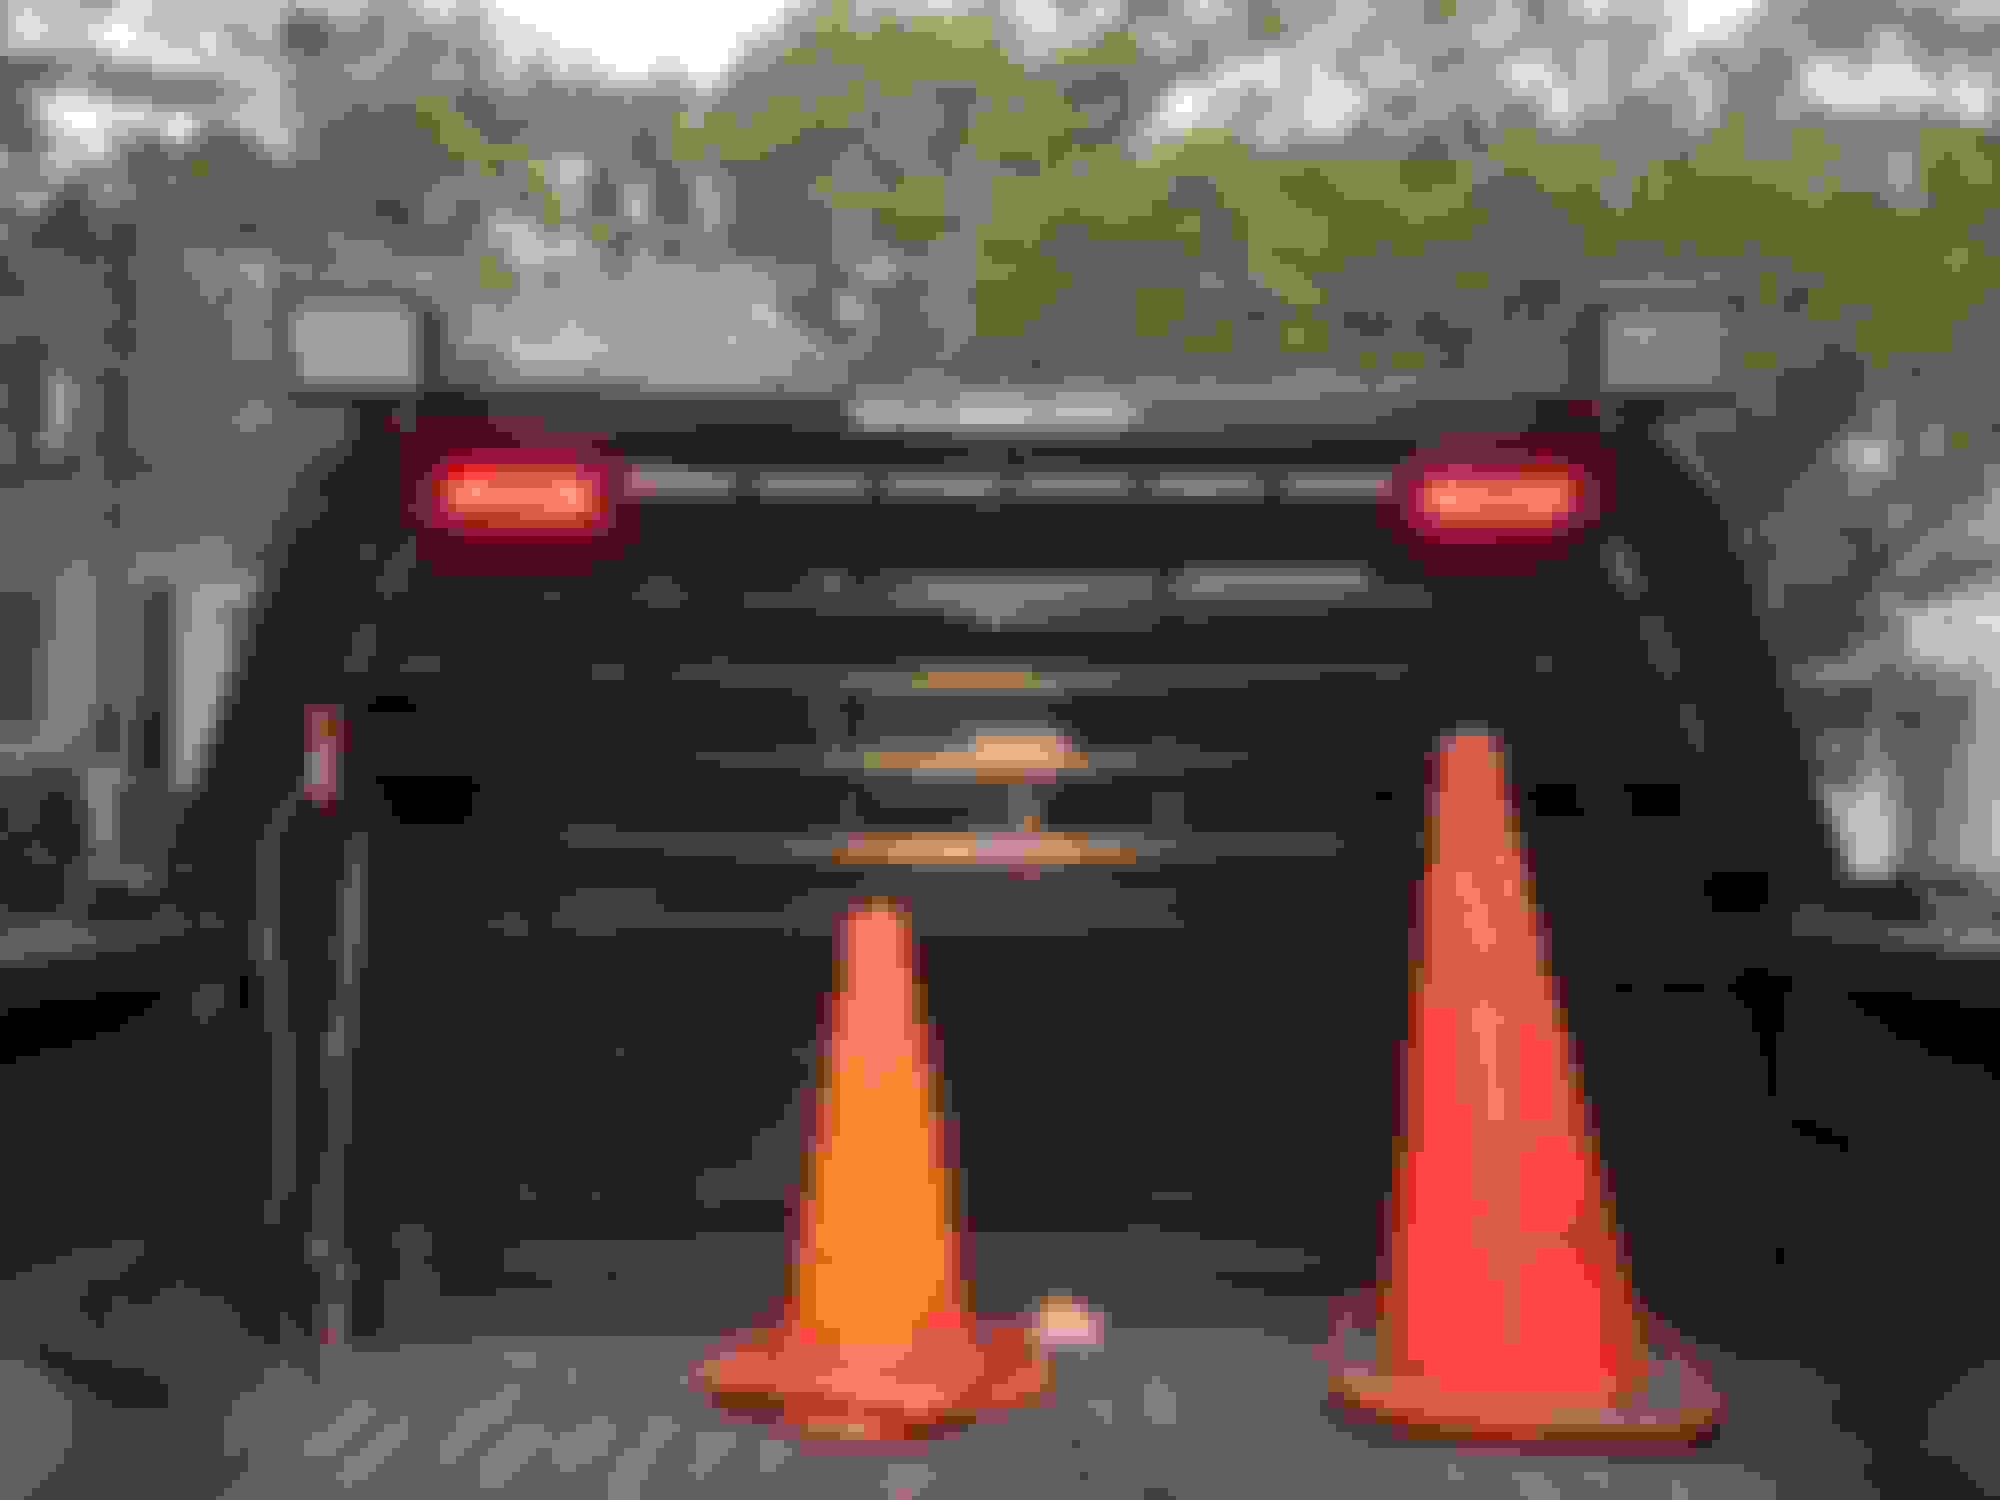
This is how I have my lights set up now. I like the symmetry of this set up better than the original. And the reverse lights put out more light now, still not enough but better than before. I'm thinking I'll put some switchable floods underneath for when I want more light.
Oh that's neat, I like the idea of having S/T/T/R all in one lighthead, especially since on my rack I'm eliminating one set of lights entirely. The wiring will likely still be in the rack and harness for the reverse, so it may be no big deal to swap my STT's for the ones you have. Looks real sharp, I'm glad you posted that.
Wiring up a few extra LED floods to an upfitter is always a great option too. Mine are insanely bright, which is great when working behind the truck and when plowing....each one is around 5600 lumens for a combined 11,200 lumens...plus a few thousand lumens each on the cheapy bumper mount ones....I'm an addict.
I was originally going to just swap over to the new Optronics glo-light, then I found these and had that lightbulb go off in my head.
If you're eliminating the reverse lights, they may eliminate the circuit out of the wiring. Since you're doing a custom job with them, id just ask the to switch to the Grotee S/T/T/R LED's instead of there normal ones.
It's not hard to become an addict, let me tell you. When I bought the truck, it had two dinky little Whelen TIR3 strobes and some halogen flood lights on the back rack...and I got bit by the bug. Now I've got 15,000+ lumens of rear facing floods, LED arrow/warning bars, LED lightheads in the taillights that flash and do steady burn reverse, TIR3's on the license plate, dual color LED warning lights in the upper front window, LED hideaways in the headlights, LED warning lights in the grill and on the push bumper....it's pretty ridiculous. I use plowing as my excuse
Updates - Been going back and forth with the CAD manager at F3 (Magnum) and we finally have a set of drawings that are perfect and designed exactly how I was hoping. Huge kudos to both the salesman and CAD manager I've been working with, David and Megan, for putting up with my extremely detail oriented personality throughout the design stages. As of now, I'm about to send the approved prints and work order back over to them, and the rack will go into production hopefully this week! Here's a shot of some of the CAD drawings we have.
It went into production today, 7-10 business days of fabrication, powder coating, and wiring, and then it ships out! Cannot wait to get this bad boy on the truck and get rid of this pesky Back Rack...
Alright guys, the rack arrived today and I got it installed tonight! It came out absolutely perfect, and everything fits great. Just a teaser picture now, I'll take some real-deal photos of it tomorrow in the daylight (if it's not pouring rain)!!!
Alright guys, the rack arrived today and I got it installed tonight! It came out absolutely perfect, and everything fits great. Just a teaser picture now, I'll take some real-deal photos of it tomorrow in the daylight (if it's not pouring rain)!!!
Alright guys, here are some photos of the rack installed.
The LED arrow/warning bar flush mounted. I think it looks amazing and am thrilled with how it came out. Wire comes out on the drivers side of the bar and tucks right into the STT light box, then down the rack and out the bottom like the rest of the wiring
Here's a shot of the 45 degree light mounts and you can also note the wires coming out of the rack. All the wiring is hidden inside the rack.
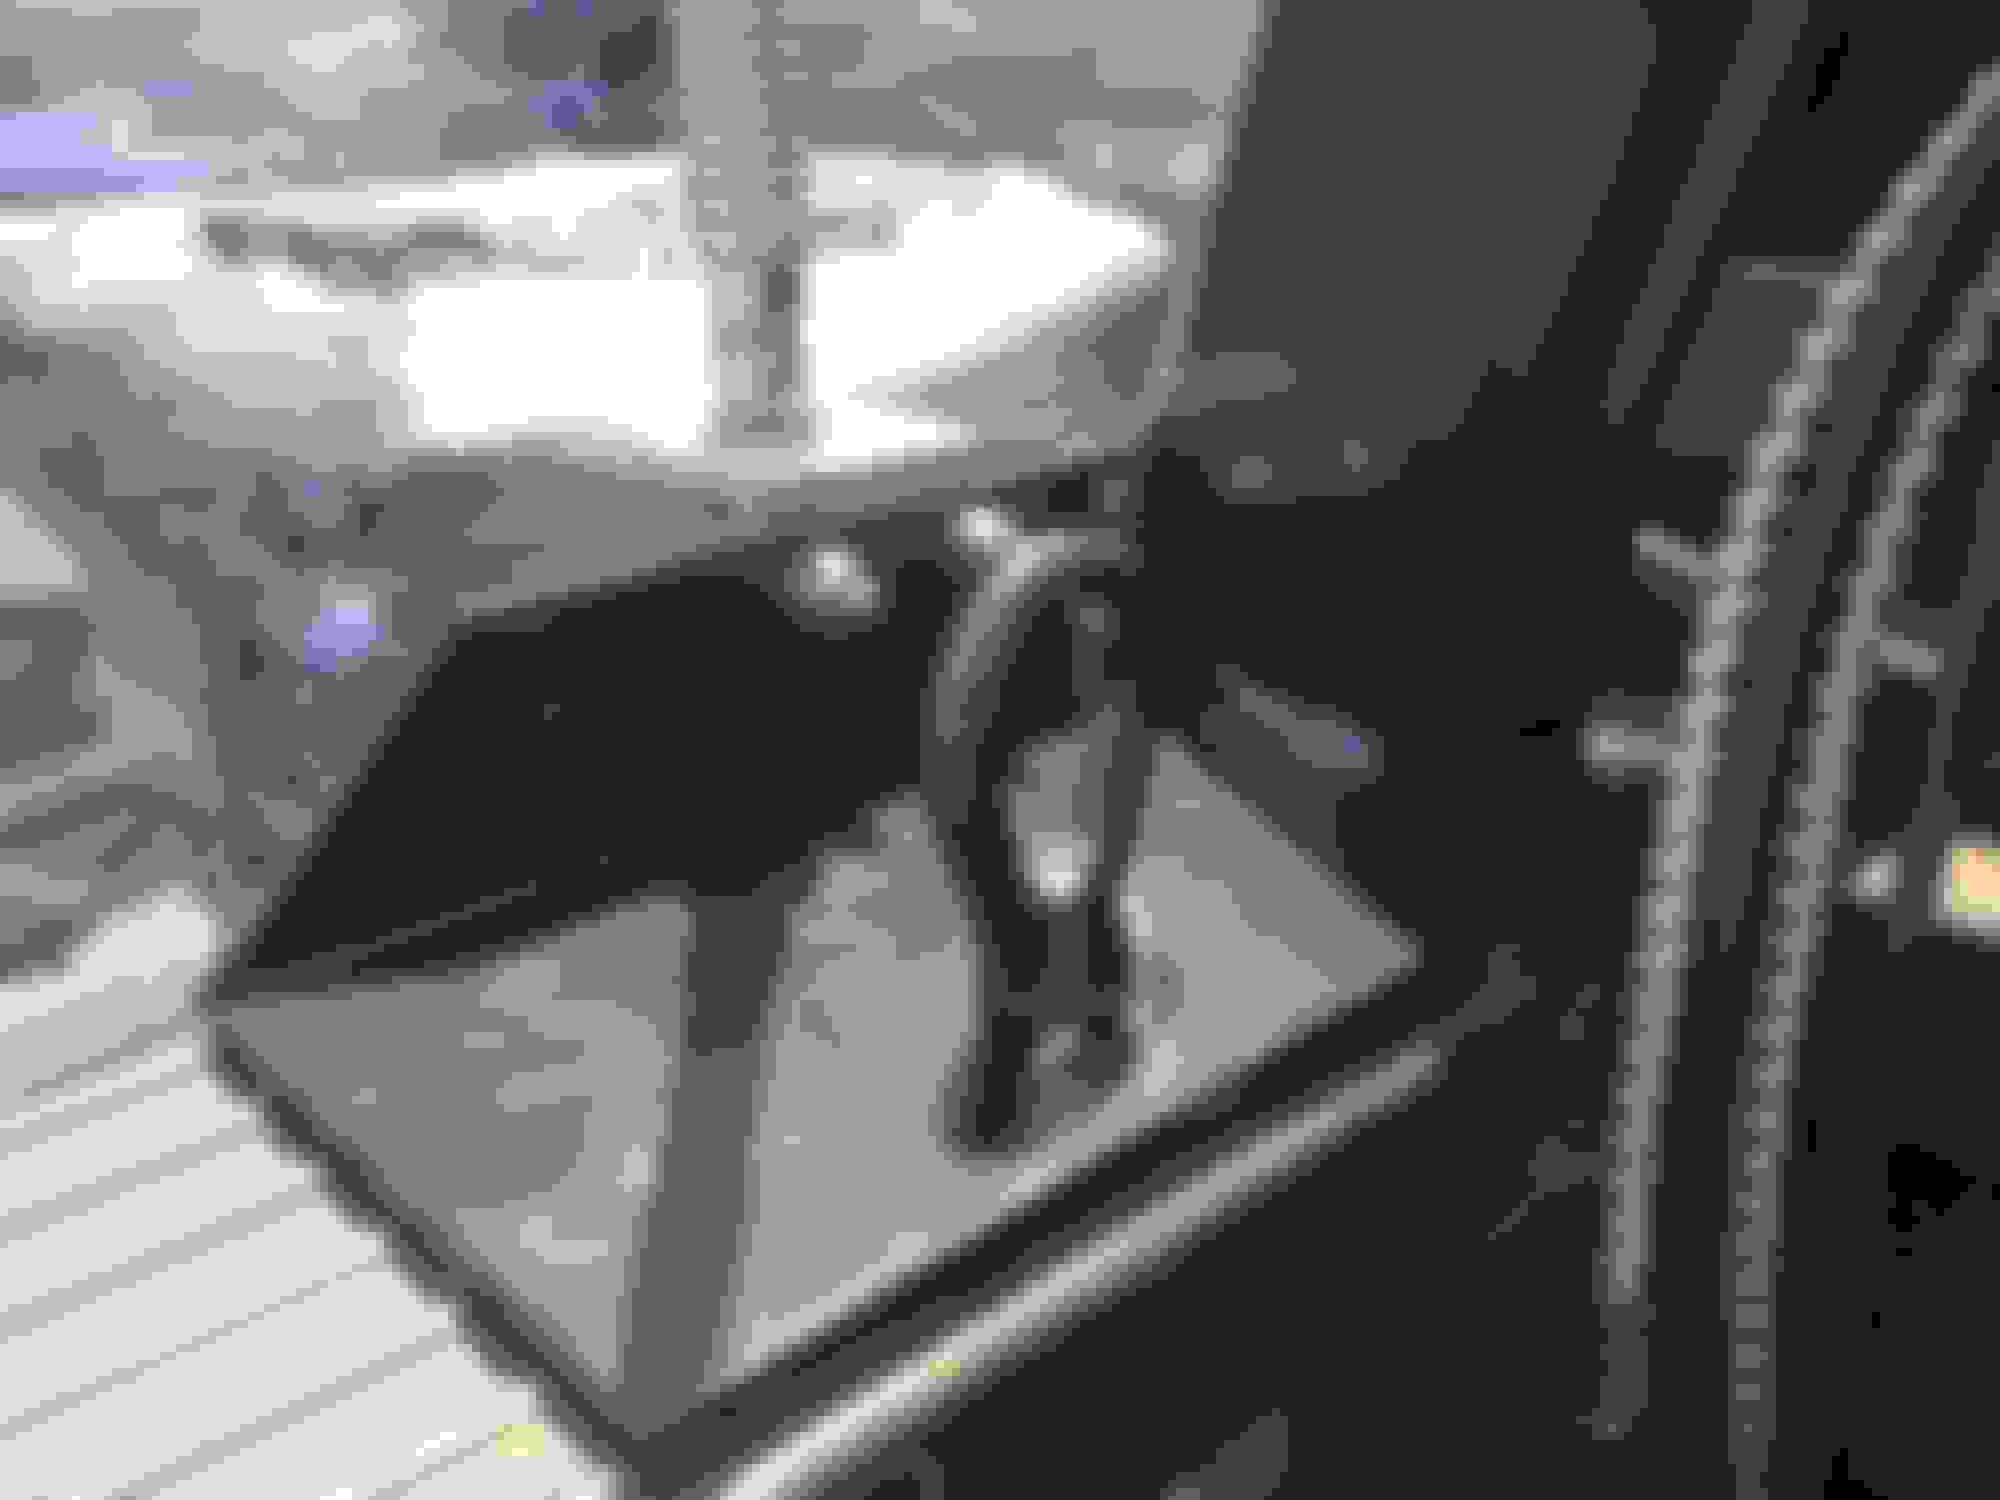
Here's a shot of the custom tie-down hook/stake pocket bolts. These have male threaded studs that screw down into the stake pocket mounts, thus securing the rack to the truck. They're held in there with plenty of thread locker, of course. Might use a second supplementary bolt in the rear of that plate.

 05-28-2016, 10:12 AM