When you click on links to various merchants on this site and make a purchase, this can result in this site earning a commission. Affiliate programs and affiliations include, but are not limited to, the eBay Partner Network.
Hello, I saw all of these threads about cool projects and thought I'd start one about my 78 F250 pulling truck. This project started around last August and had been going fairly slow until recently when my dad and I wanted to finish it for a pull in May. I would just like to say that this has been the biggest project I have ever taken on and that I am a high school senior that plans to study automotive engineering next fall.
So about the truck... This truck has never ran in my lifetime, it has sat in one of our barns since '93 without a engine. The truck was originally a 400m C6 4wd that is in pretty rough shape (but my plan was to keep the body the same to give it that "sleeper" look).
After dragging it out of the barn I began to take it apart. Sorry for not having many pictures of this part. My dad and uncle are quite knowledgeable about these trucks and were very helpful in getting this apart. I first took off the front clip and started on the can and bed. After removing all of the necessary components to remove the cab, like the steering column, it was set on a custom stand that my uncle made a few years back.
Once the bed and cab were off we took off all of the brackets off the frame. I won't be reusing the axles, so the little dana 44 front and Dana 60 rear we put aside for another day. Then we had the frame sandblasted along with my dad's dana 60 front and a newly purchased dodge dana 80 rear.
Once we got the frame back from the sandblasting shop, we began on the frame modifications. We spent MONTHS on frame modifications. I will post pictures of them soon.
I resandblasted the frame last week and, with the help of my uncle, paint the frame with an epoxy primer and trim black.
We rebuilt the dana 60 front with all new bearing/seals, Yukon axleshafts, hubs and spool. We kept the 3.54 gears stock because we hope we will have enough horsepower to go against those gears. For those not familiar with truck pulling those are pretty high gears but we got a NP273 transfer case with a much lower gear reduction than a NP205, which was stock.
Sorry for the long post, but there was a lot done so far. And I will try to post many more pictures. Thanks for reading!
Before
The cab and bed were set on custom made stands from a restoration several years ago
It's looking good so far! What's the engine plans?
The engine will be a 514 ford (.080 over standard 460), factory "turned down" crank to 4.150, shortened deck, blue thunder heads, comp cam, manely aluminum rods, single plane intake with a 1050 Holley dominator.
Got some parts back from the sandblasting shop. This is our weight bracket that slides into the receivers.
From left to right: trans crossmember with integrated driveshaft loop, custom hitch, and a cast iron transmission tail housing that I plan to use in a later project.
Went with a '66 F100 manual brake booster because it is lighter and we are only running front brakes.
Update:
I cleaned all of the engine parts in mineral spirits except for the block and the intake manifold, which will be hot tanked.
I sandblasted and painted the plate that goes on the front of the transmission and a brace for the transmission crossmember to strengthen that up.
Got a fuel filter for a 3/4" outlet on the fuel tank! This thing is huge for a 4 gallon tank. The filter runs down and splits into two 3/8" lines for the dual fuel pump set up we are going with. Not really sure two fuel pumps are necessary but we are going to try it.
Took a scotch brite to the deck and the oil pan surface to knock off any surface rust
Now that's a rod
We got all of the pistons/rods/piston pins within one tenth of a gram and gapped the rings to the cylinders.
Weekend update:
This weekend I got some work done, but not as much as I wish I had. I started to take out the blower motor and heater core and thought that it would be a good idea to take out radio and climate controls since they wouldn't be used. Then my uncle convinced me to get rid of the factory gauges, of which I was only going to use water temp and oil pressure, for gauges with actual numbers on them.
I got the rest of the short block assembled with our windage tray and oil pan (which had to be custom fit). Just a word of advice; test fit two rods on a journal before trying to install a piston to make sure they both fit and note their direction. These rods in this engine only go in one way and we didn't find out about it until we tried to put two pistons in it. I don't think that stock rods matter in direction but make sure they go back into the right cylinders.
Worked to rebuild our NV271 transfer case. This hopefully will not break as it was a challenge to rebuild lol
The next thing on the list is to get the trans together, which all the parts were cleaned this weekend.
Current update:
So we've ran into a problem. Our rocket arms won't line up right and the pushrods are too long. Solution: we found that we need 8.400" intake and 8.475" exhaust pushrods. And we will also need to cut, bend, and reweld the pushrod guides to line up the rockers correctly.
Update:
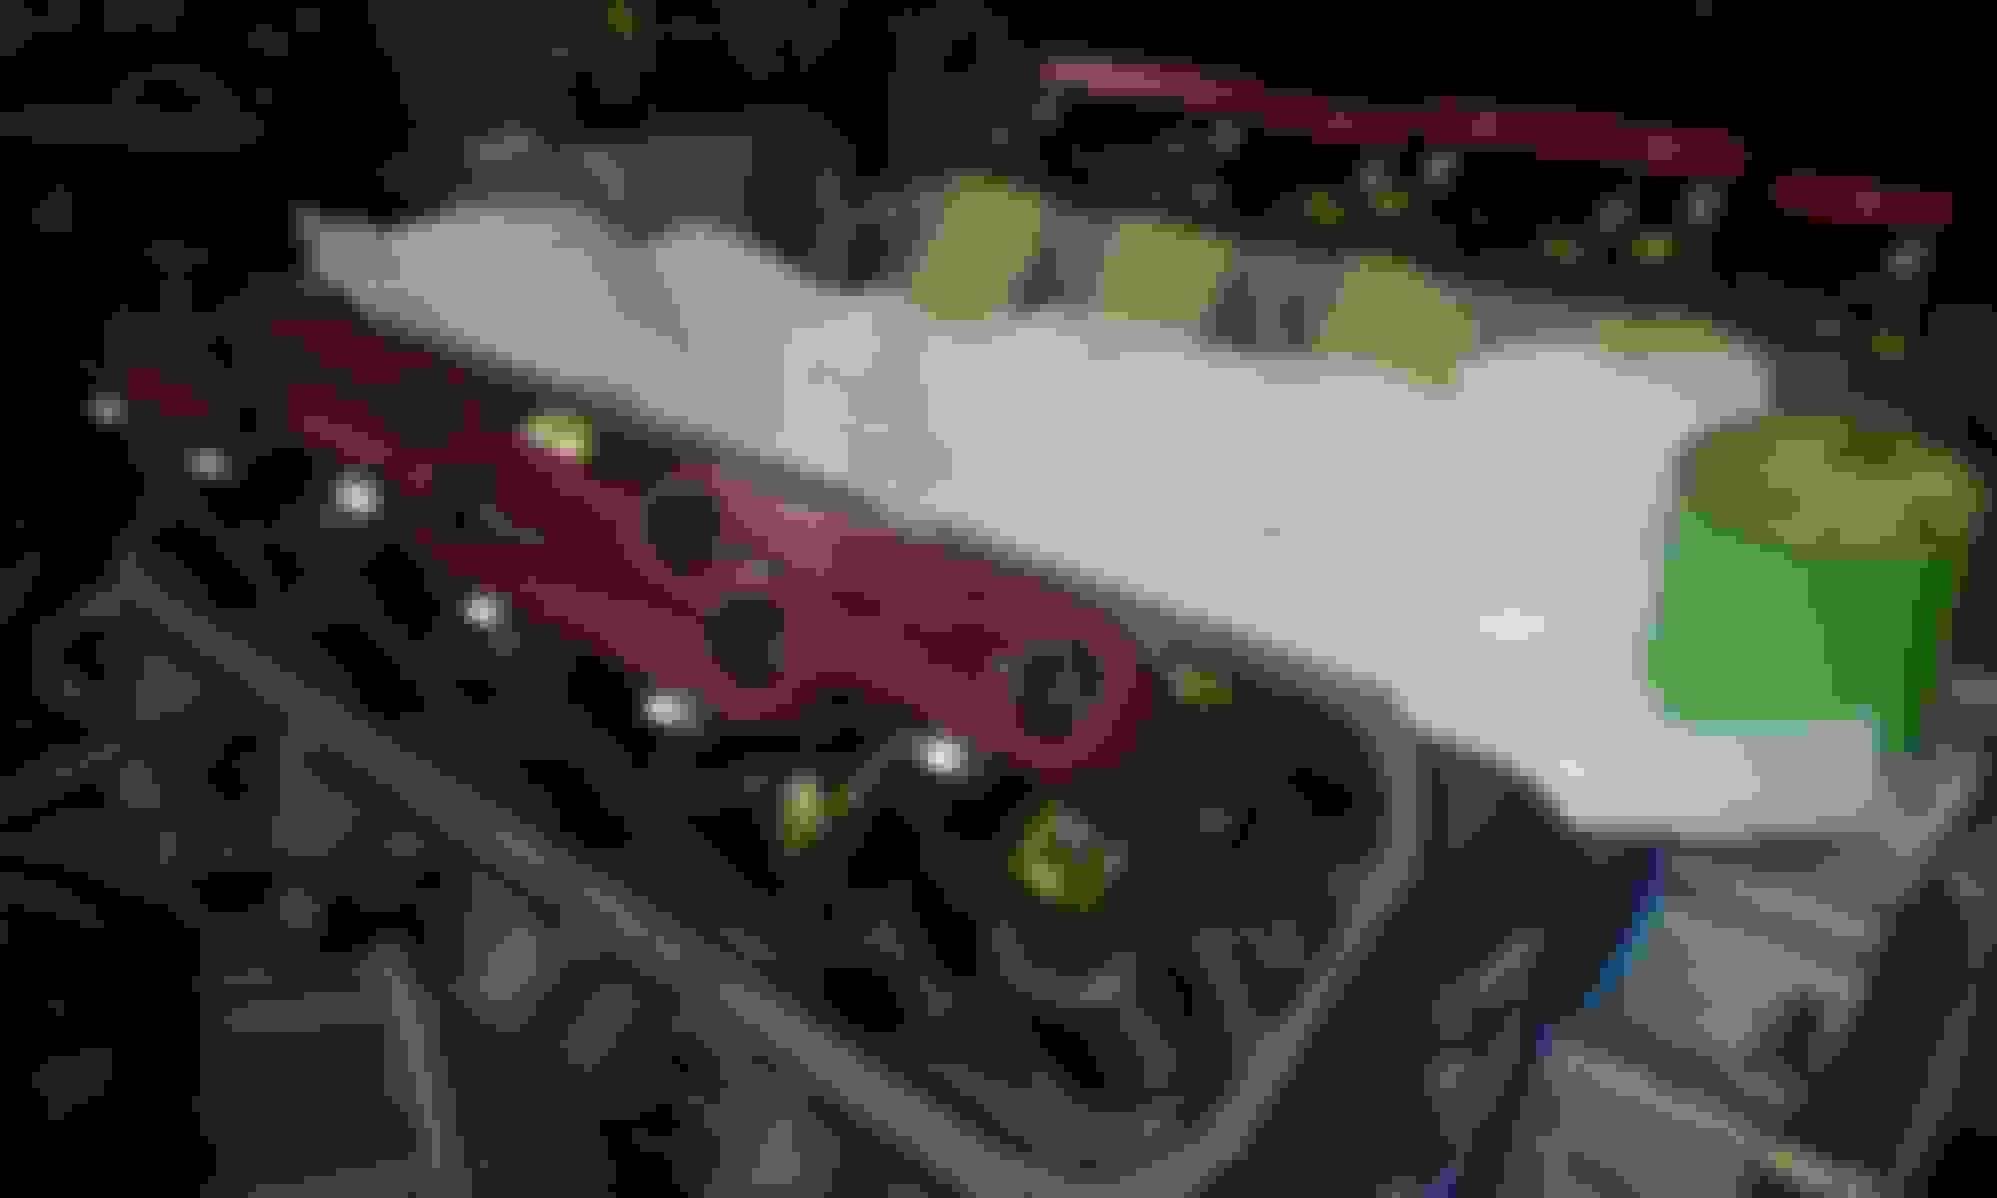
So I got all of the valve train together, though it required new rocker arms and pushrods for those rocker arms. The adjusting nut on the stud girdle was binding up on the old rockers and I could get them to stay gapped right.
Our modified push rod guides
New rockets and the stud girdle
Almost there!
We had an issue with our input shaft for the C6. The splines in the tranmission were not correct. We are using a 1969 c6 and apparently the splines are not the same for the 1976 and earlier transmissions. But fortunately we had a '78 trans apart and we just swapped the direct drive hub.
We then got the motor, trans, and transfer case all bolted into the truck
 04-12-2016, 08:36 PM


 What's the engine plans?