When you click on links to various merchants on this site and make a purchase, this can result in this site earning a commission. Affiliate programs and affiliations include, but are not limited to, the eBay Partner Network.
I haven't posted much in while. I've been busy at work and I've been stalled out looking to find an engine. Both of my blocks were cracked. They could have been repaired with stitch pins and sleeves, but why spend that time and money if you can find other. I bought one on eBay and drove from Chattanooga up to eastern OH for a 49-53 Mercury block.
After cleaning, MPI, and pressure testing, I finally found a block I could use. I am not putting in a stock engine. I will use a 4" merc crank. I bought an ISKY Max-1 cam. I have an Edelbrock 2-2 intake that my brother gave me 26 years ago, and a set of new Offenhauser finned heads, #400. I only bored it 0.040 over std. It will have 261.8 C.I.D.
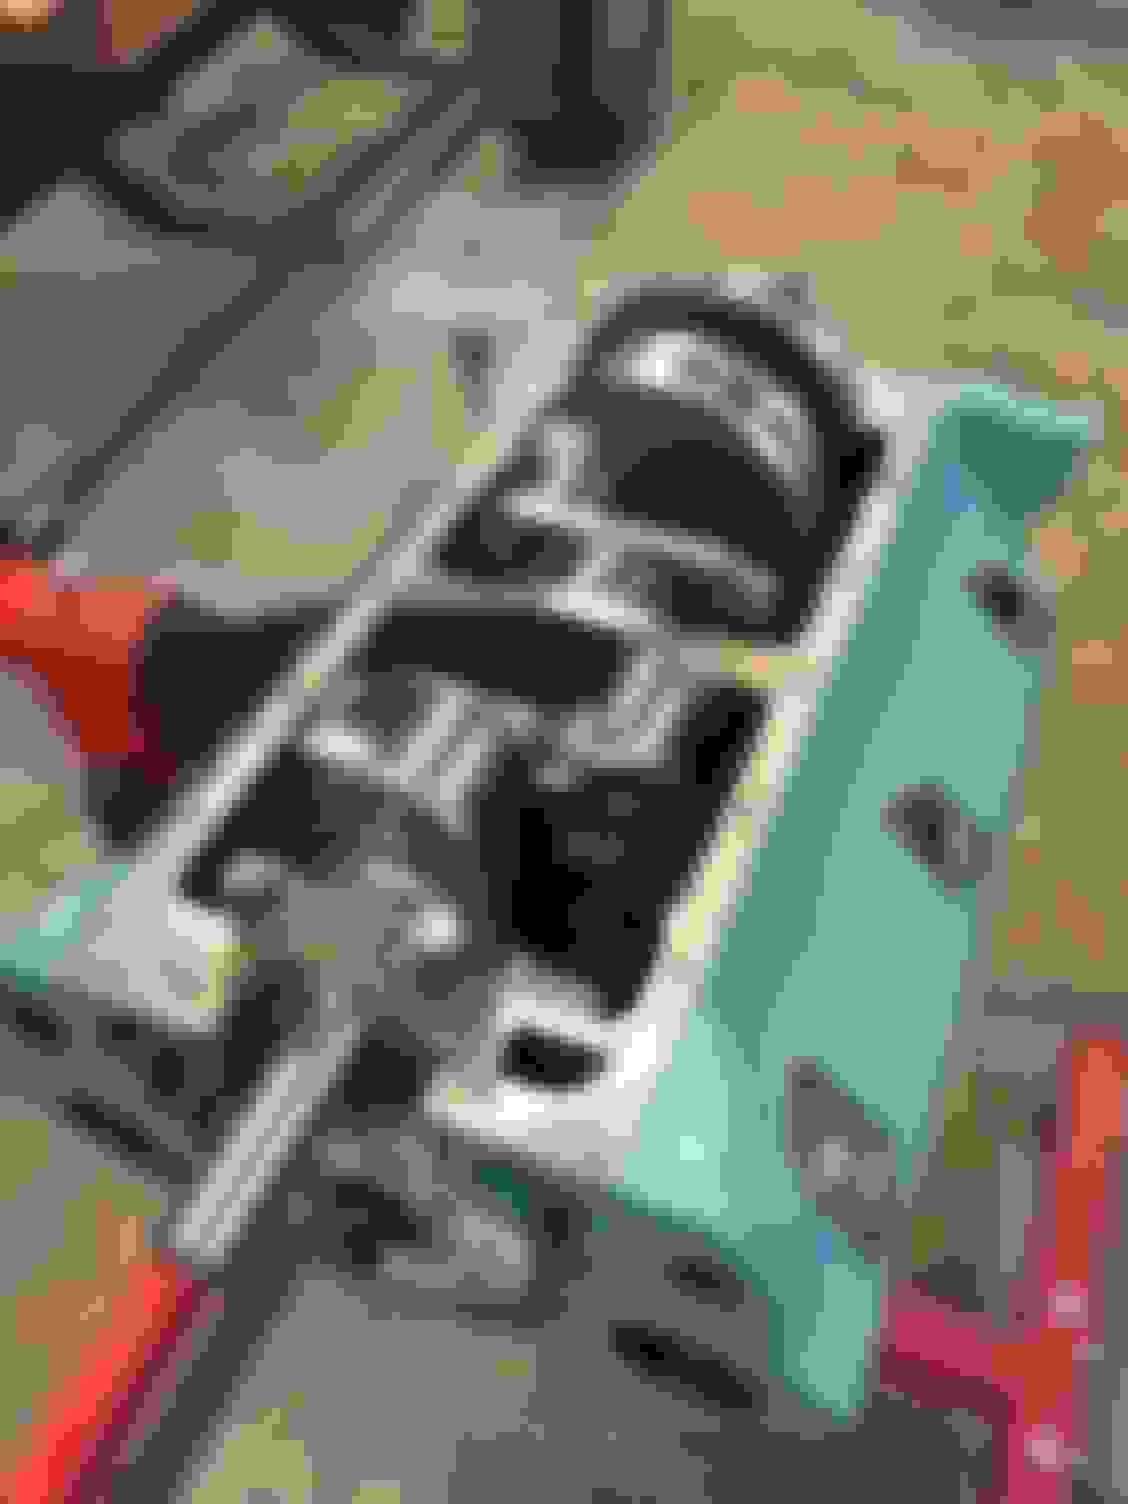
First thing after getting it back from the shop was to do some machine work. I will use Johnson adjustable lifters. I drilled 1/8" holes and used a die grinder and carbide burr on the lifter bores. This will allow a punch or nail to be used to hold the lifter and an open end wrench to be used to make the adjustments.
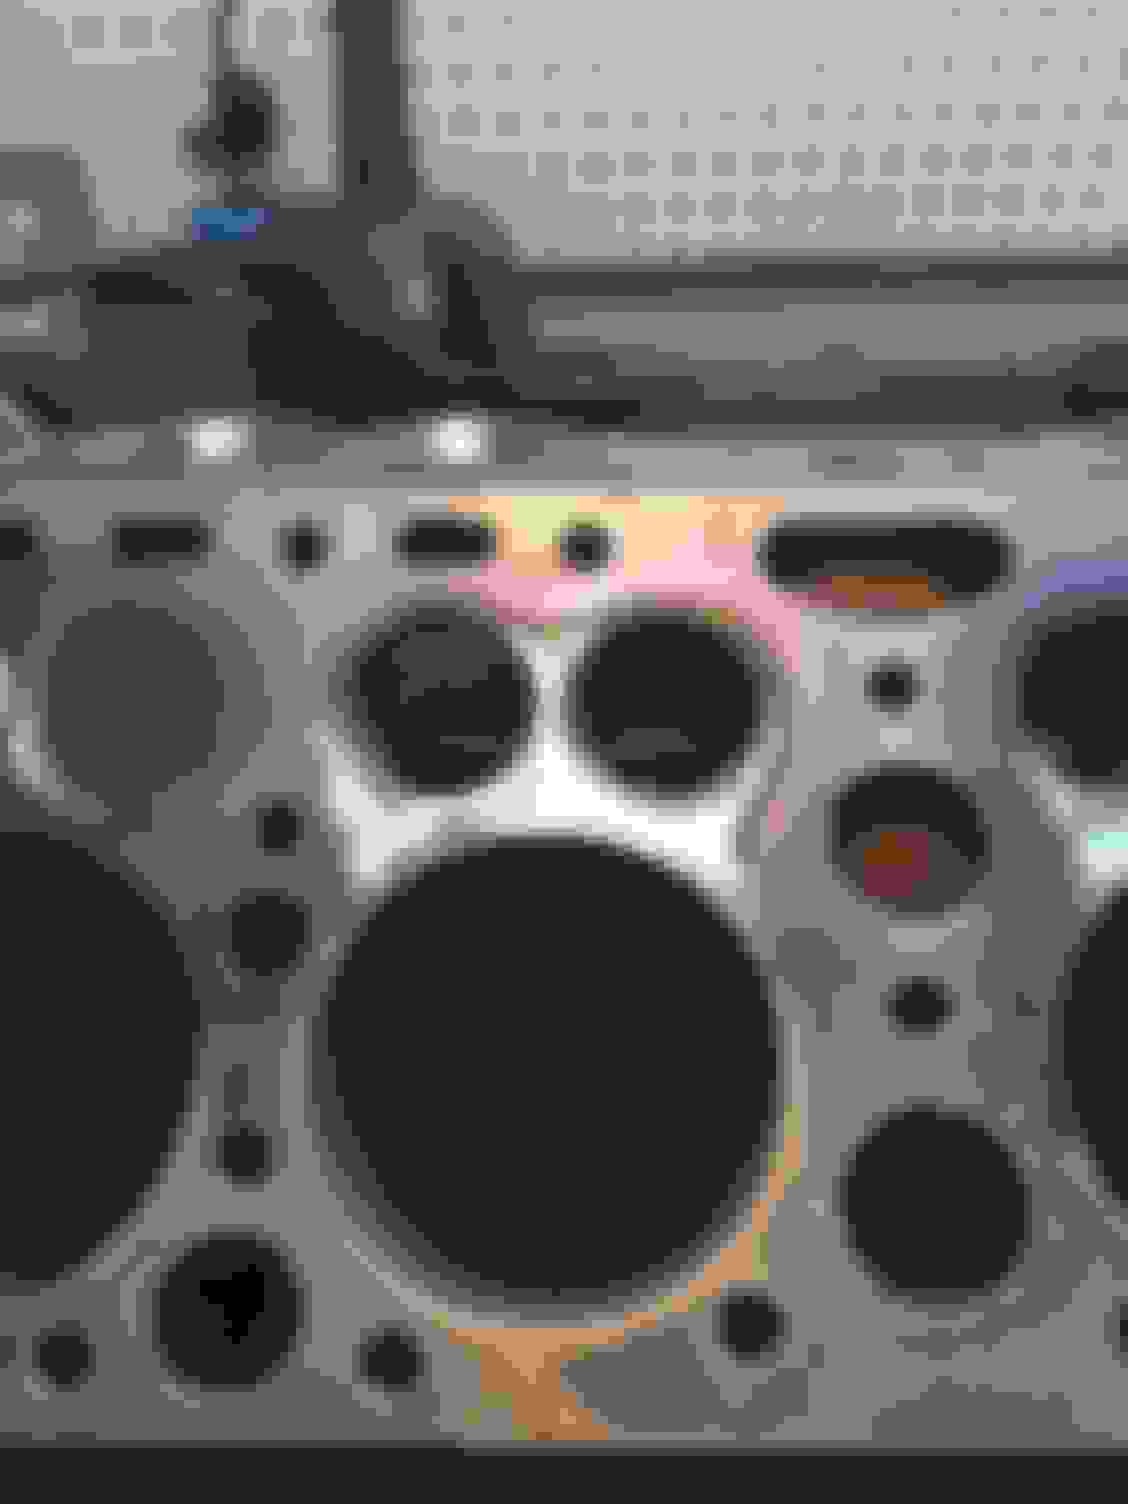
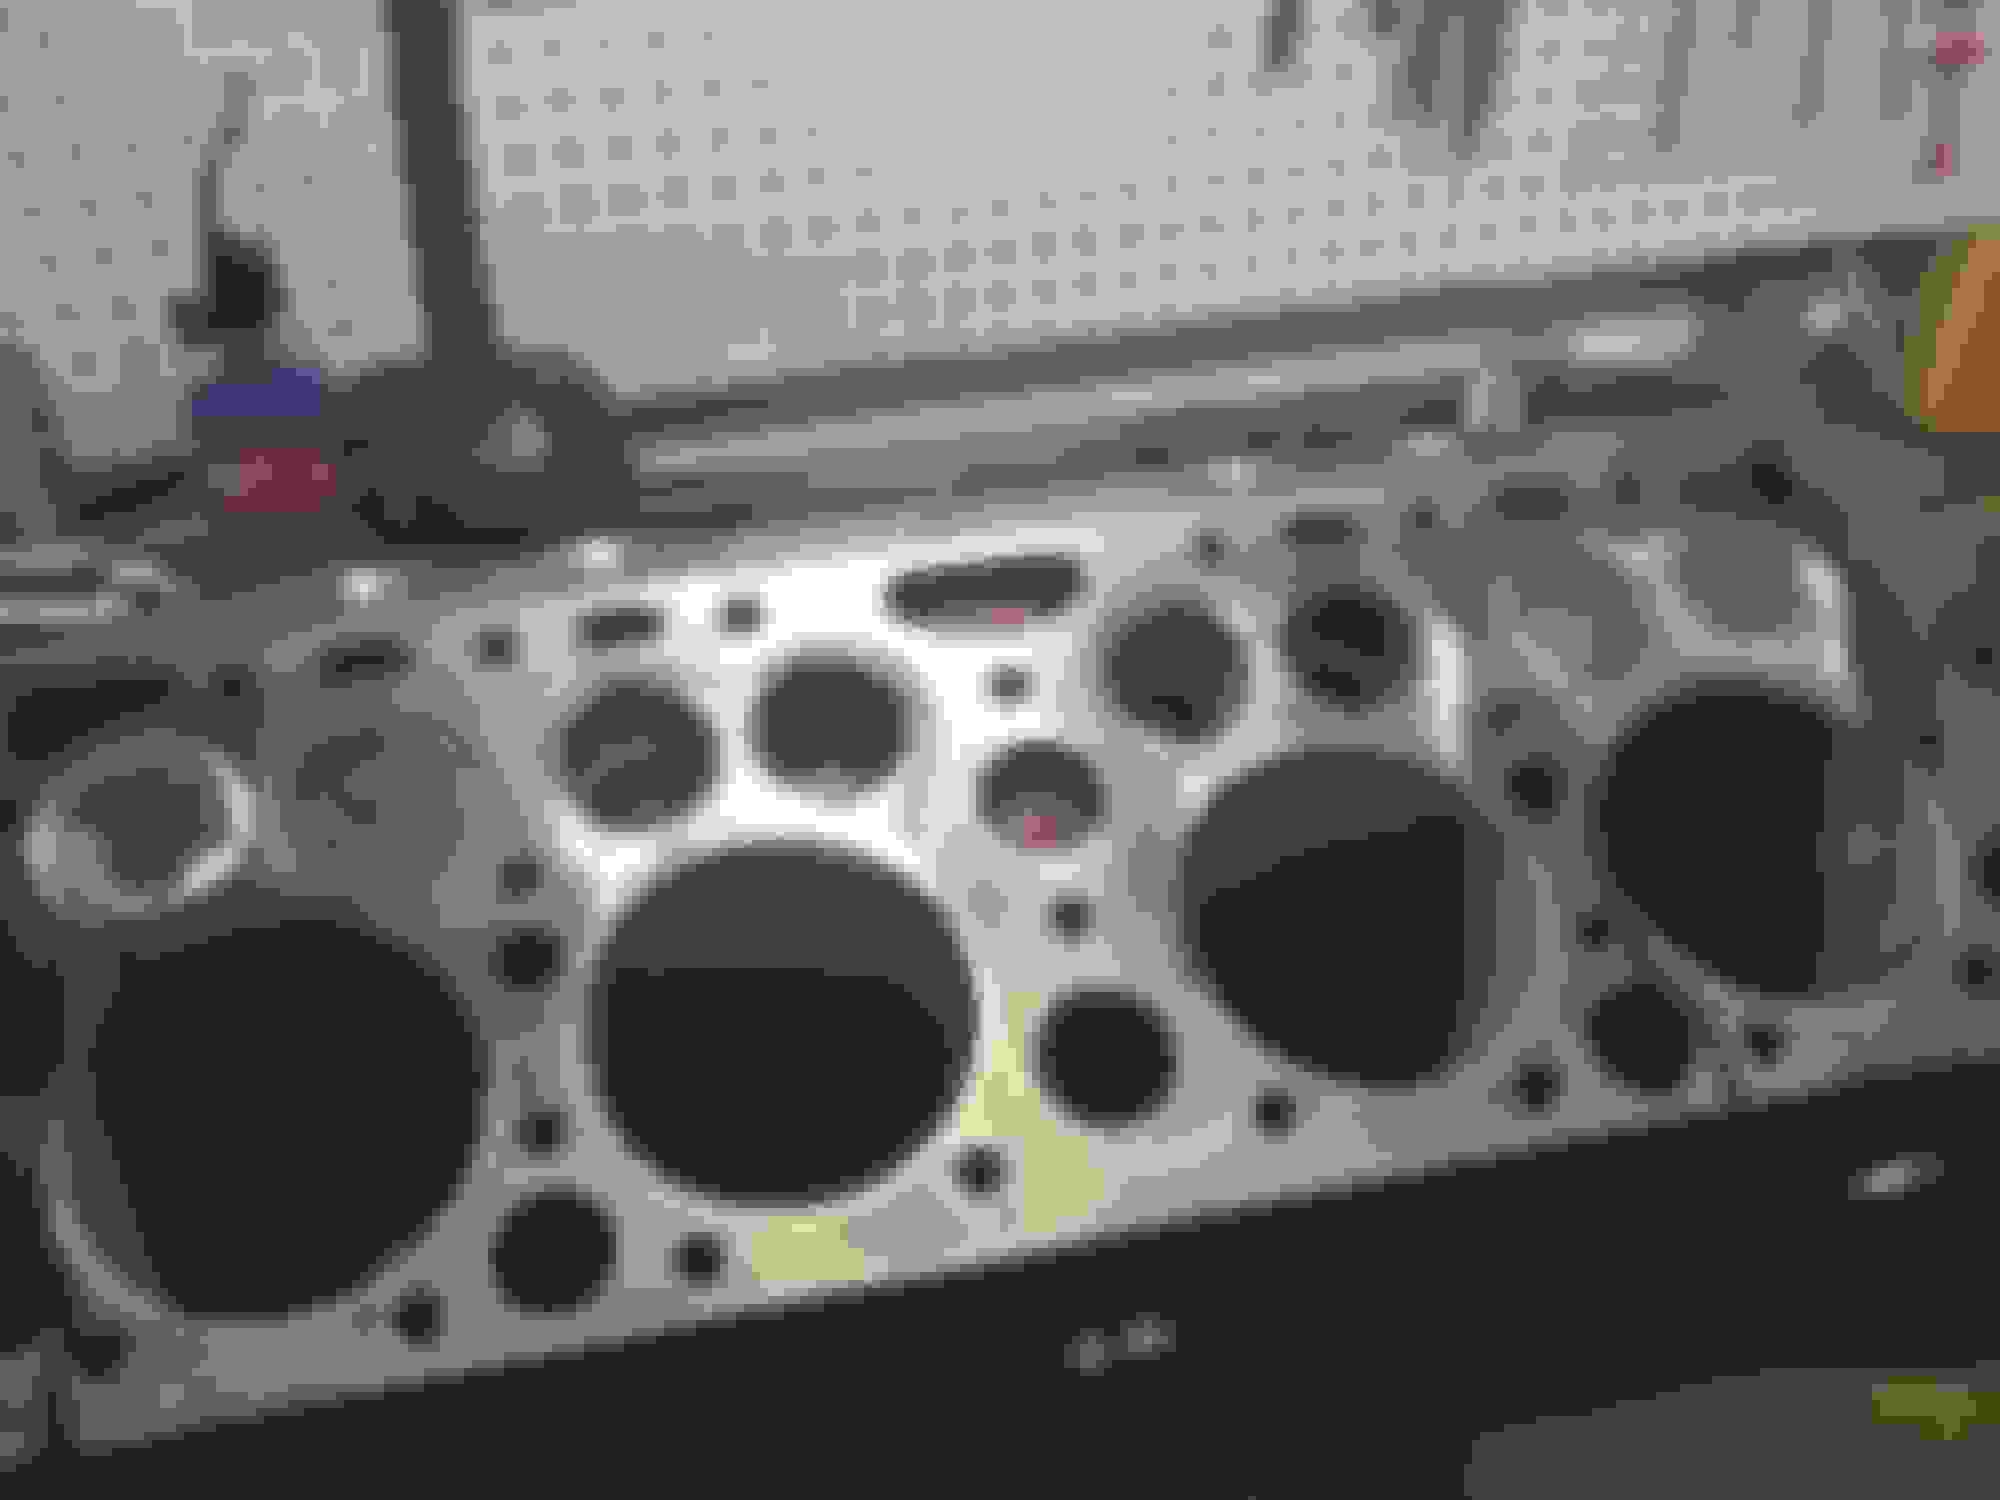
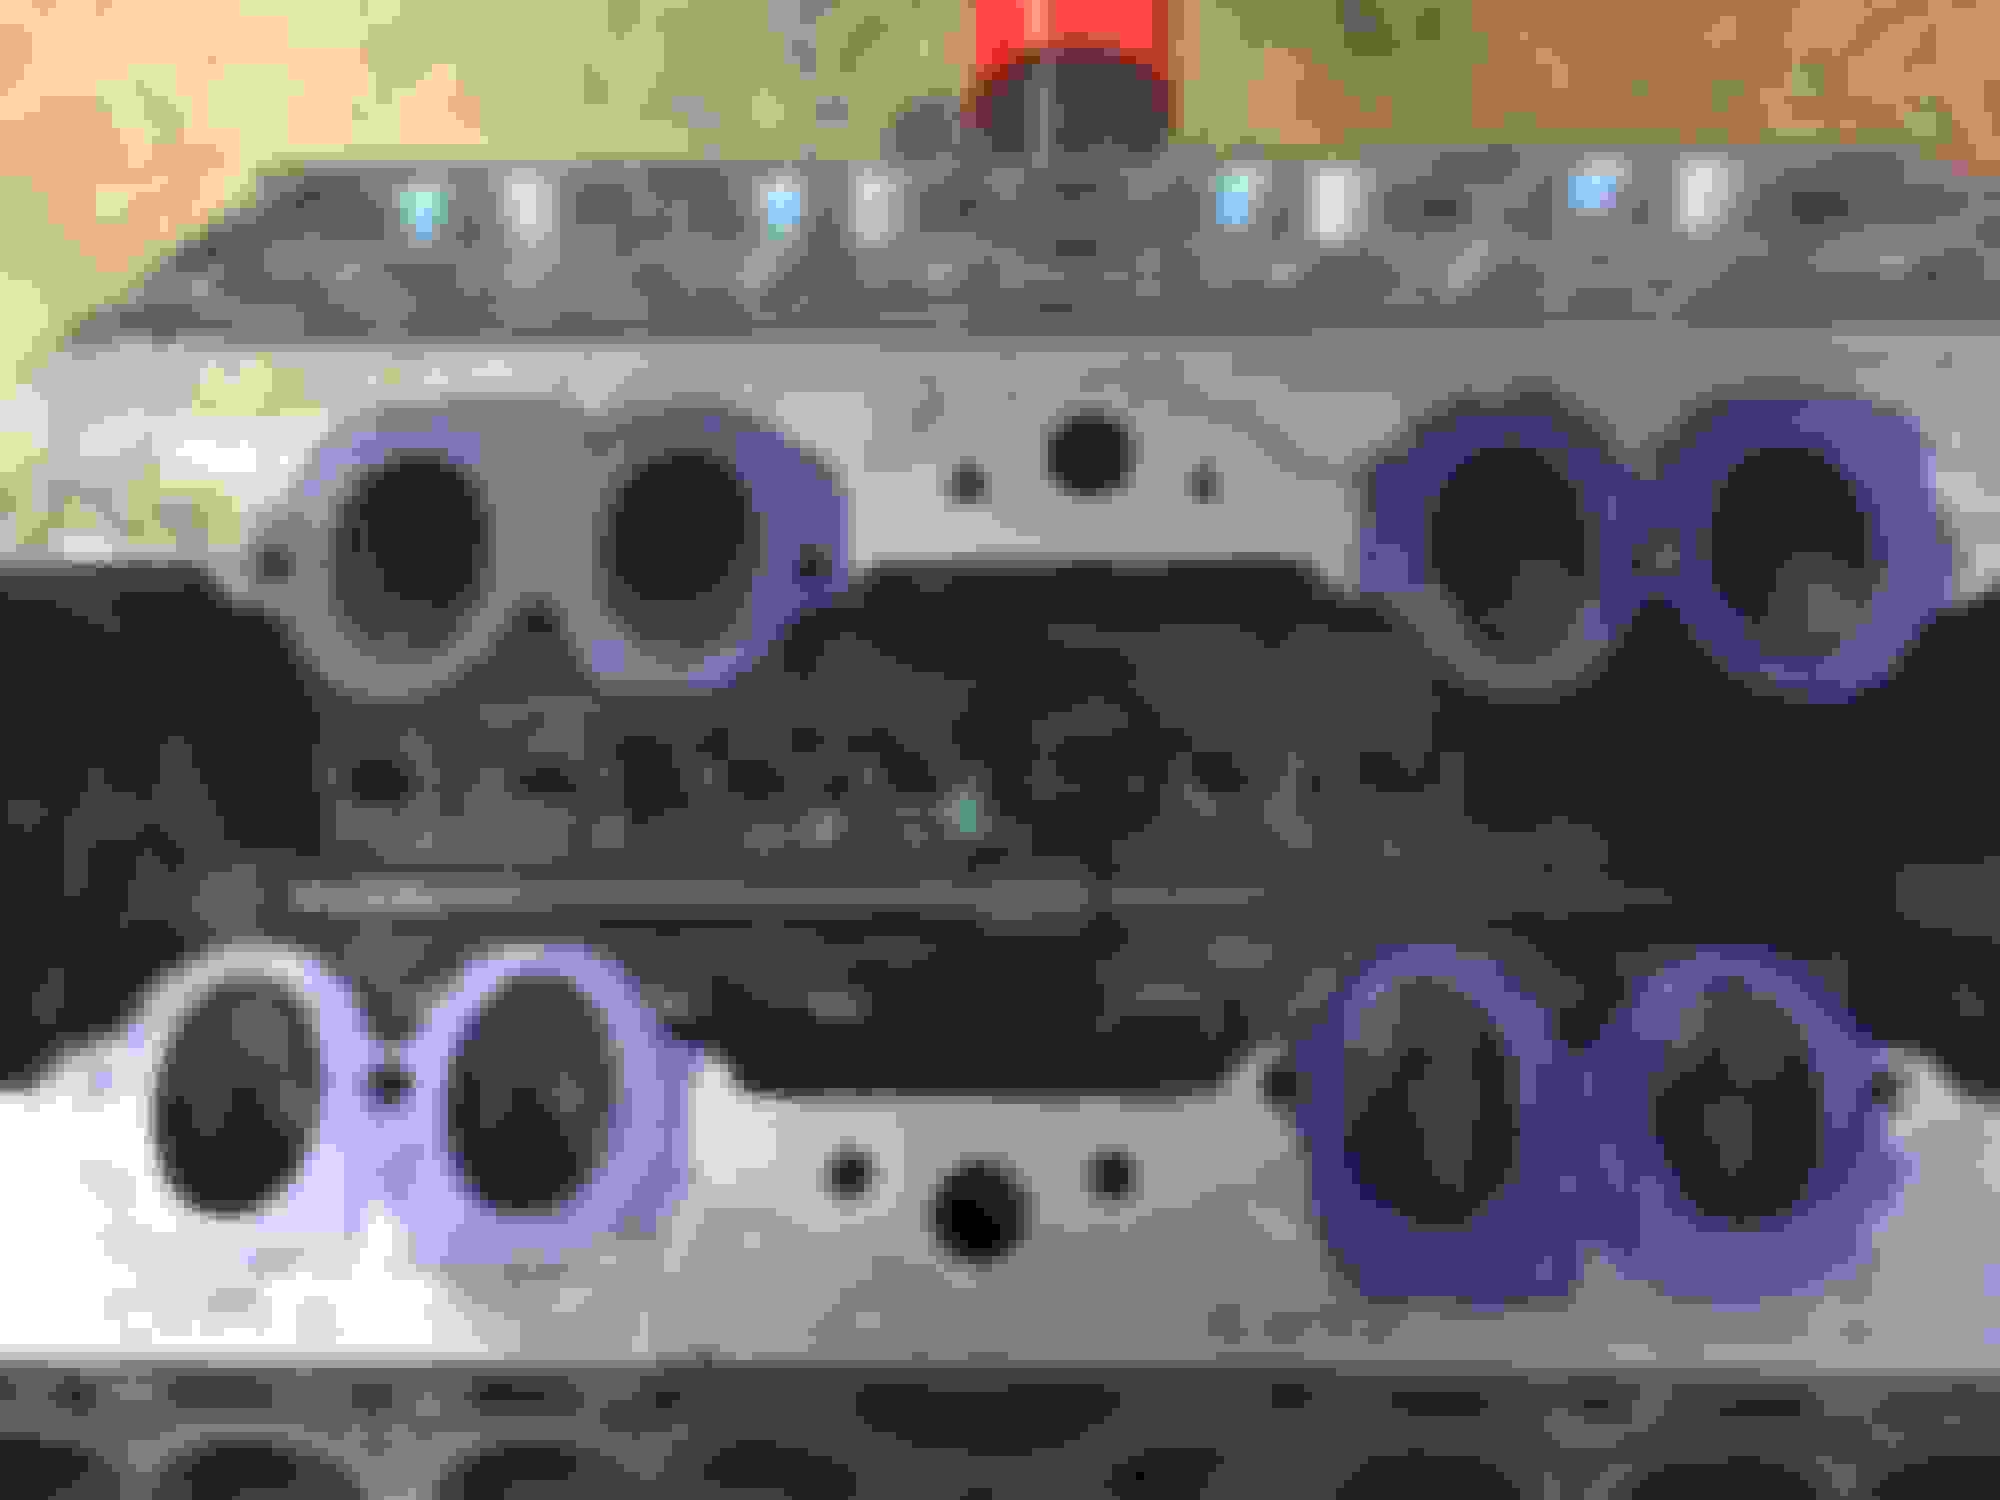
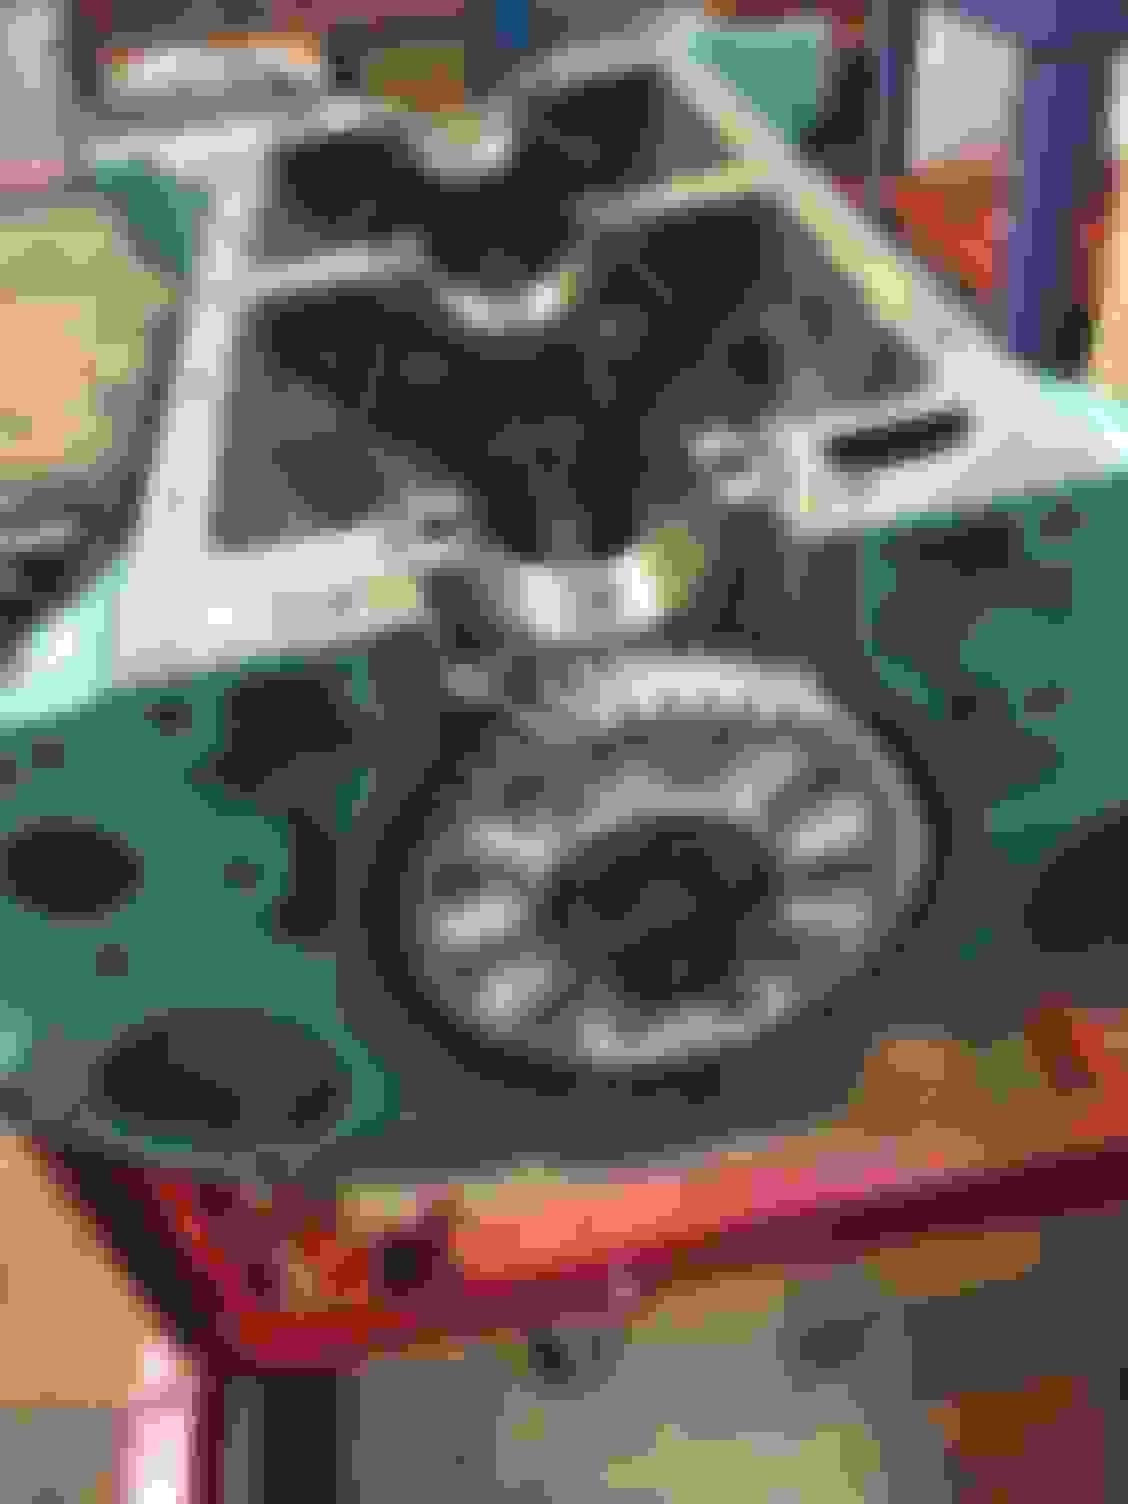
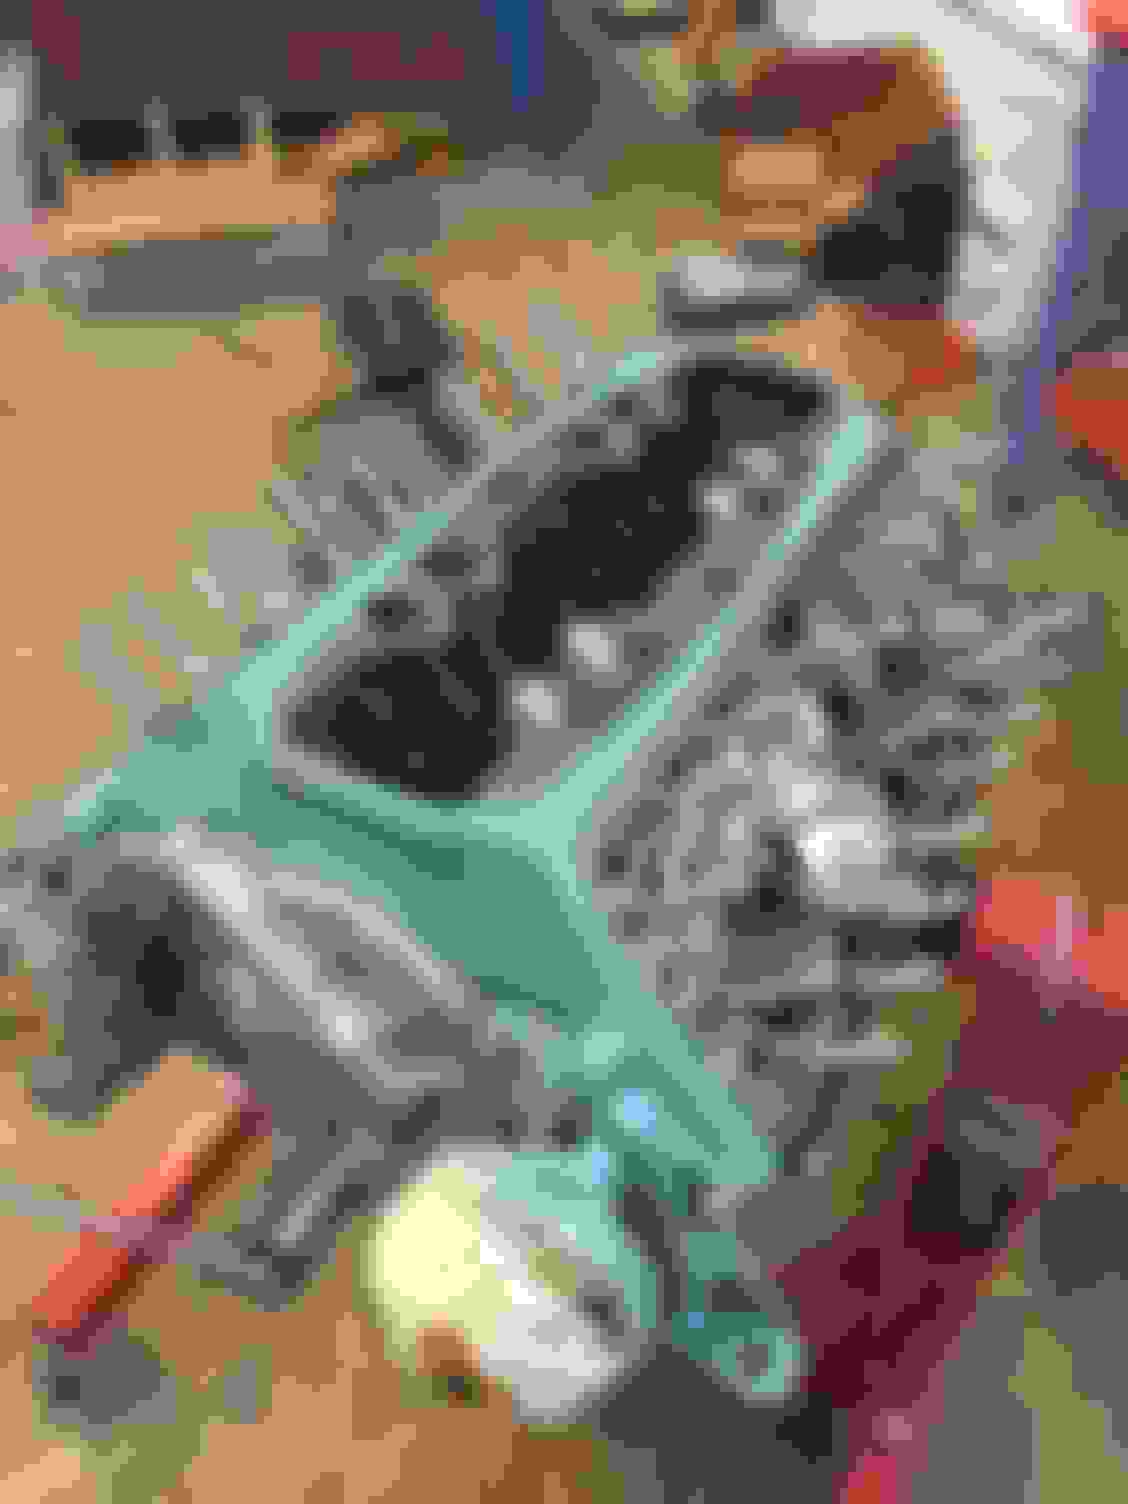
Next I relieved the exhaust ports. Installed the exhaust gaskets and scribed them to open up the ports and polish them. There was still polishing to do but you will get the point
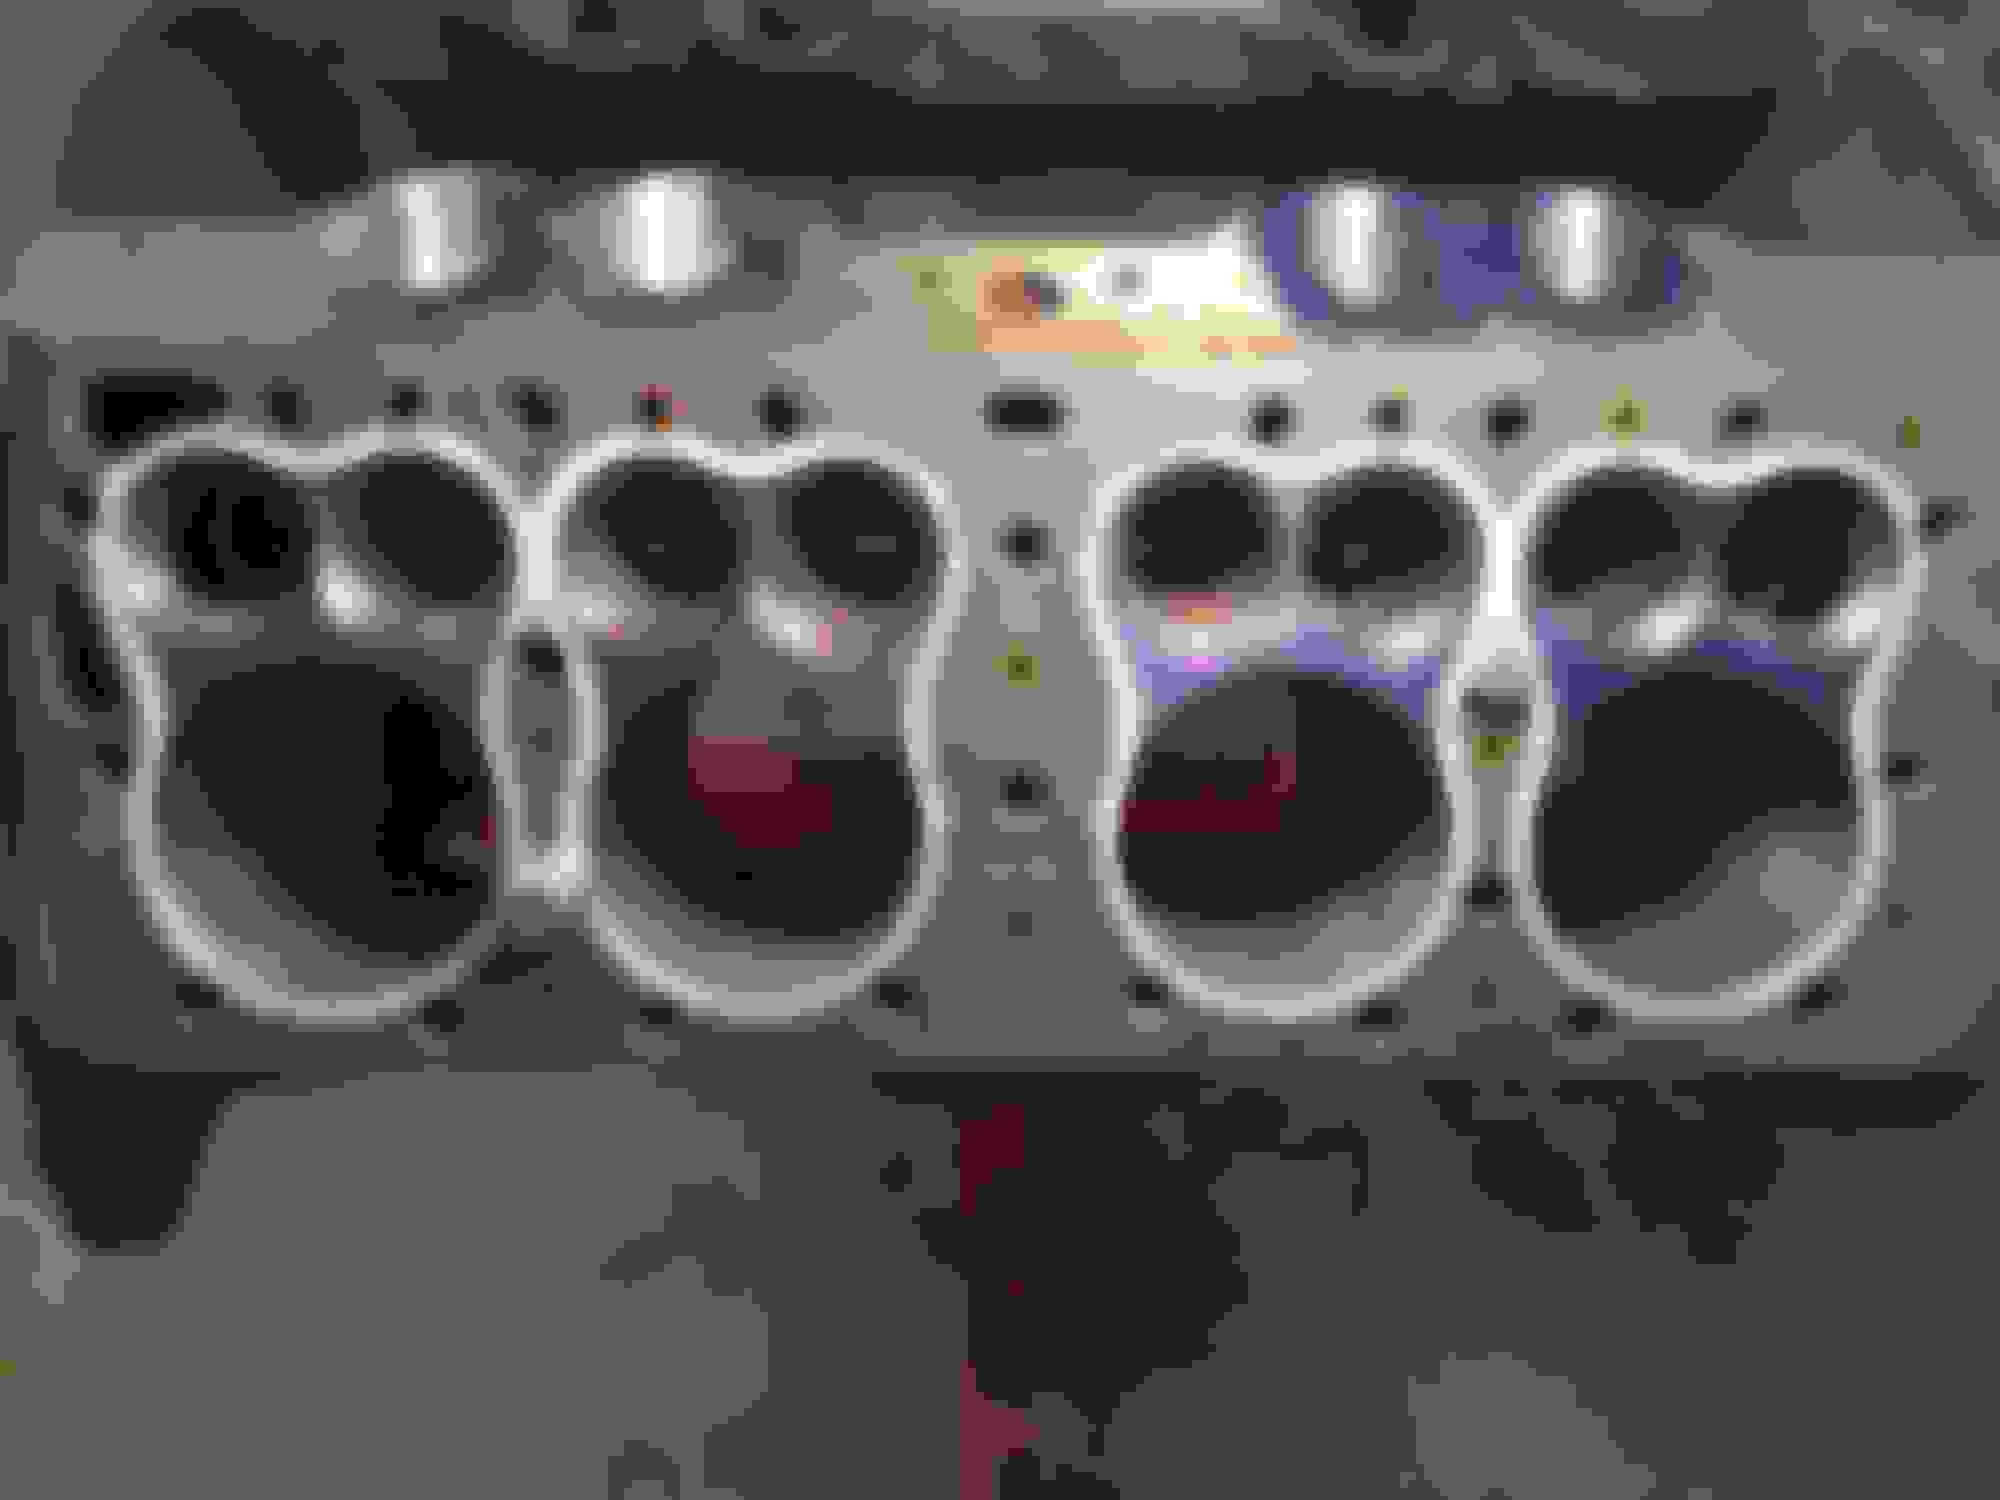
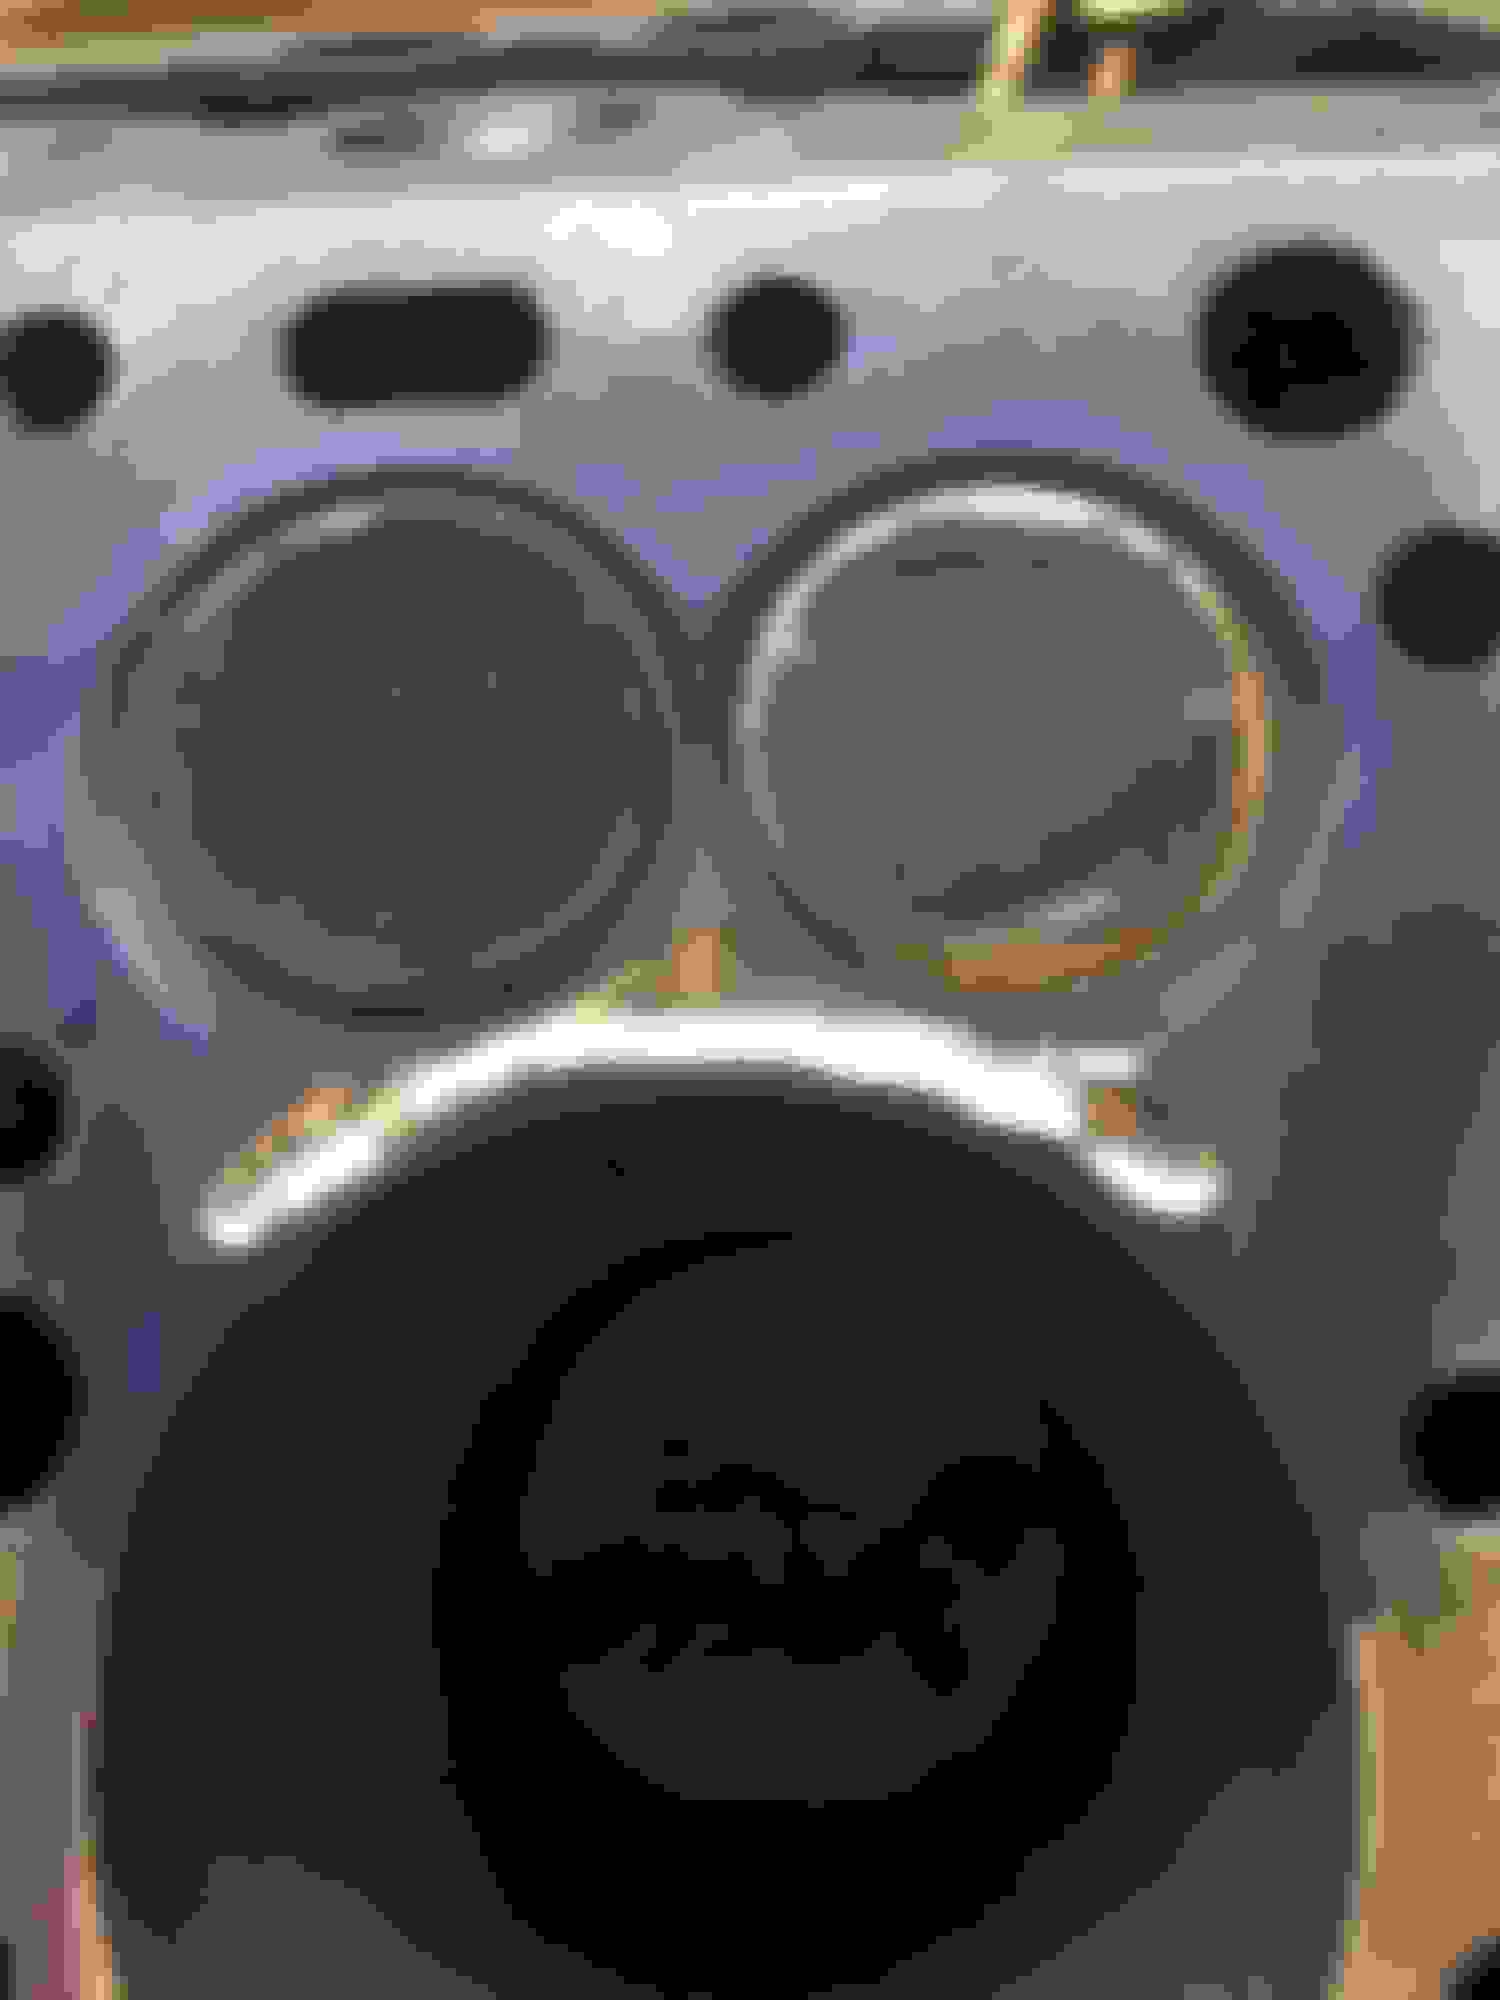
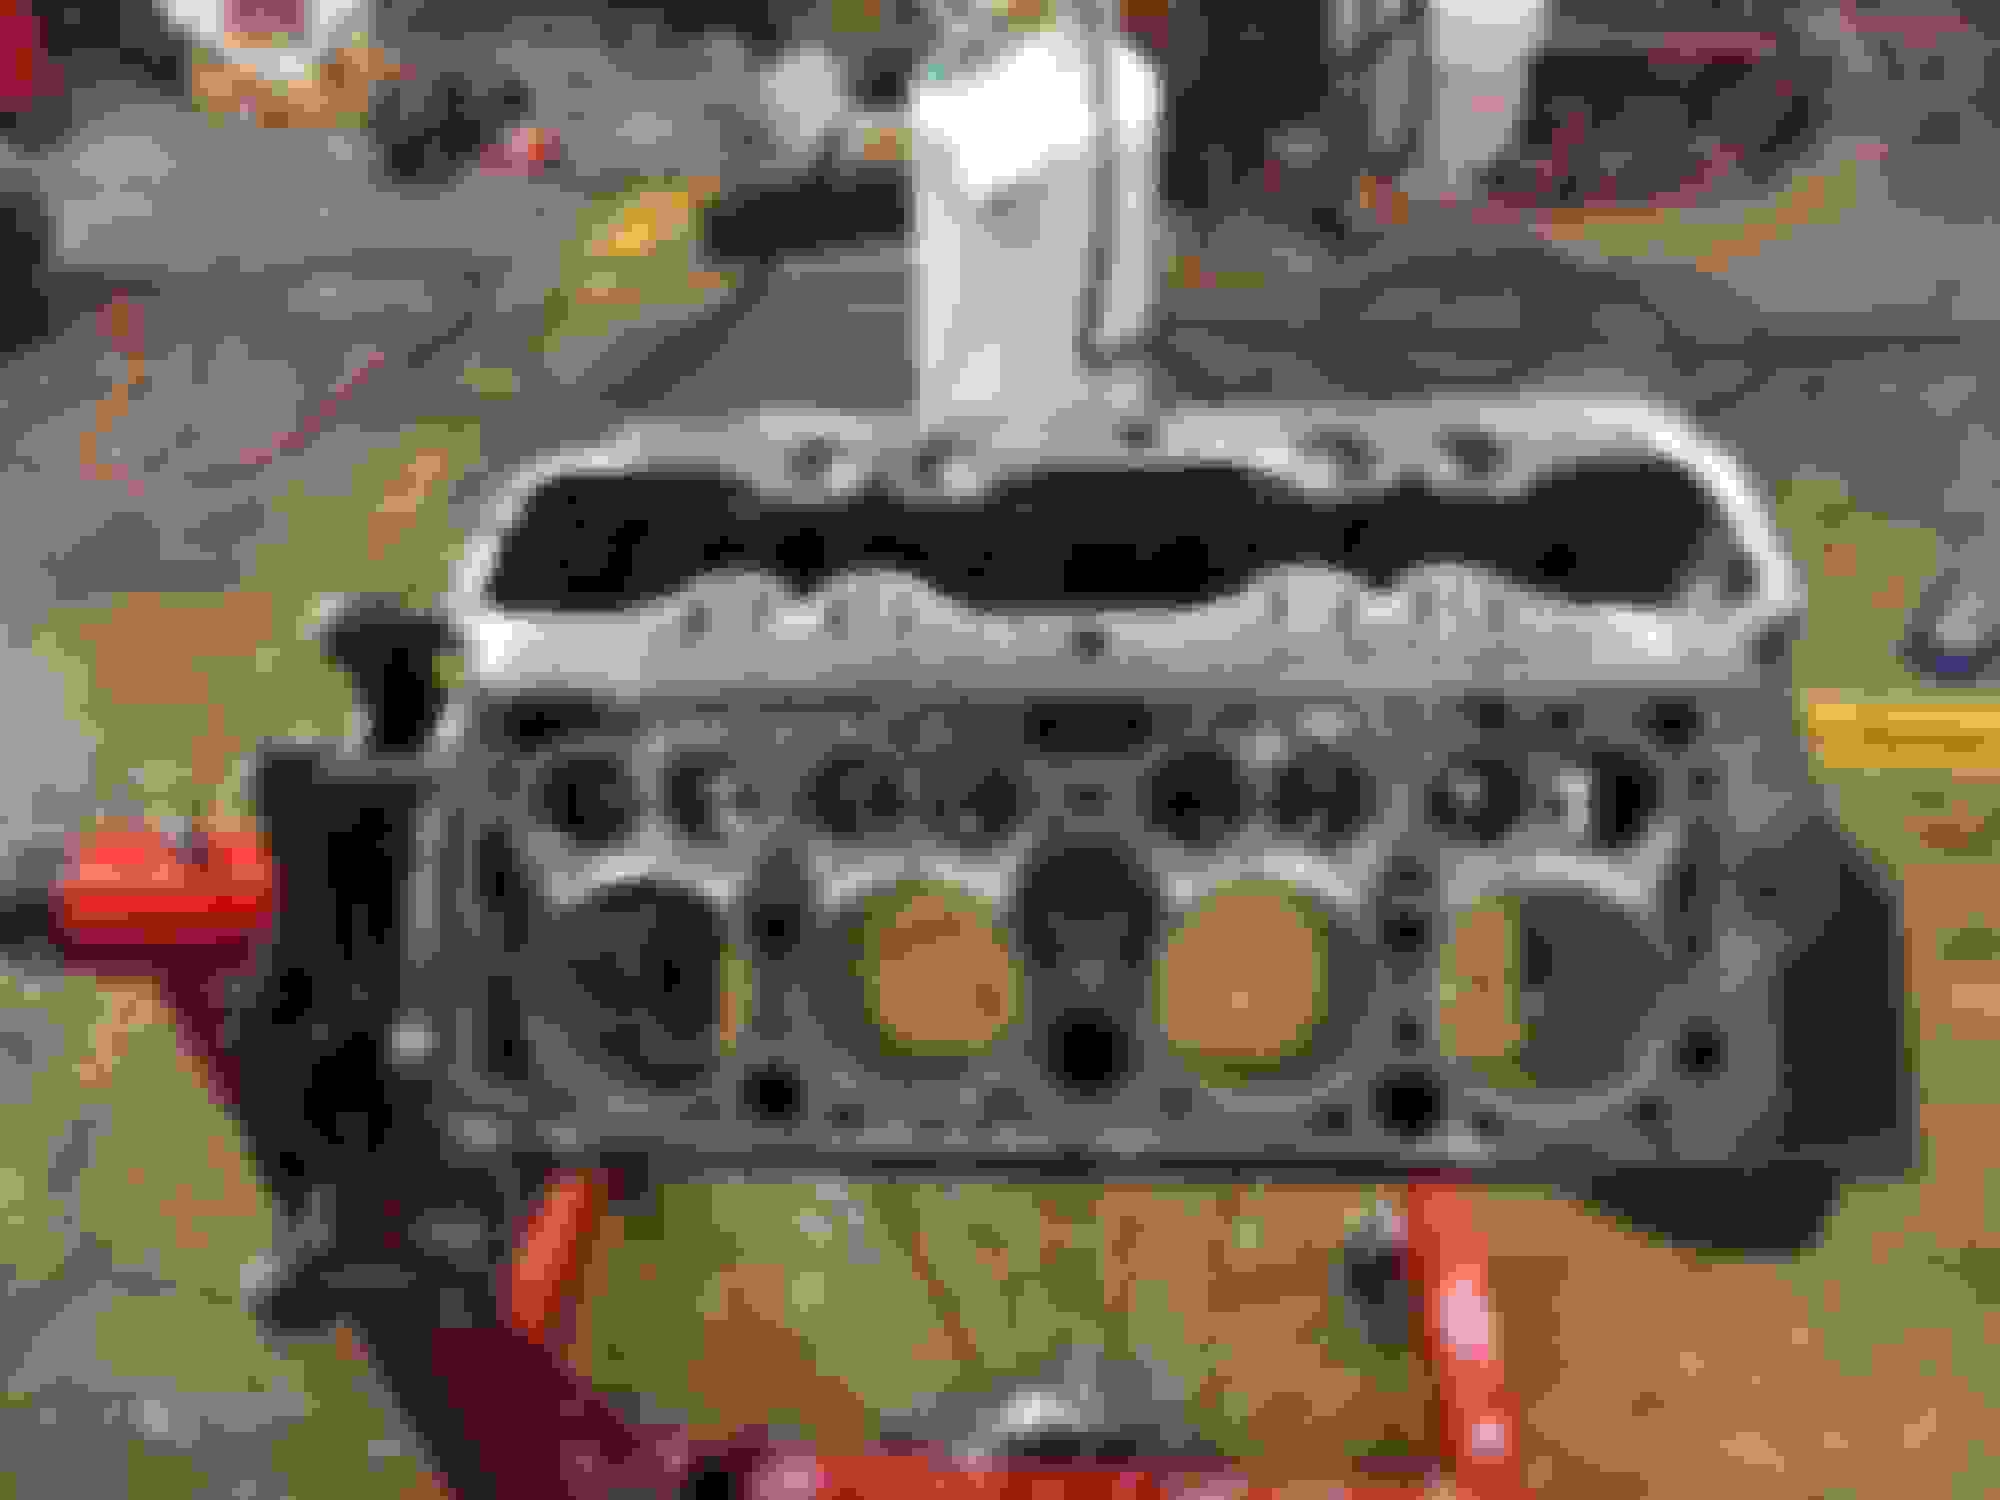
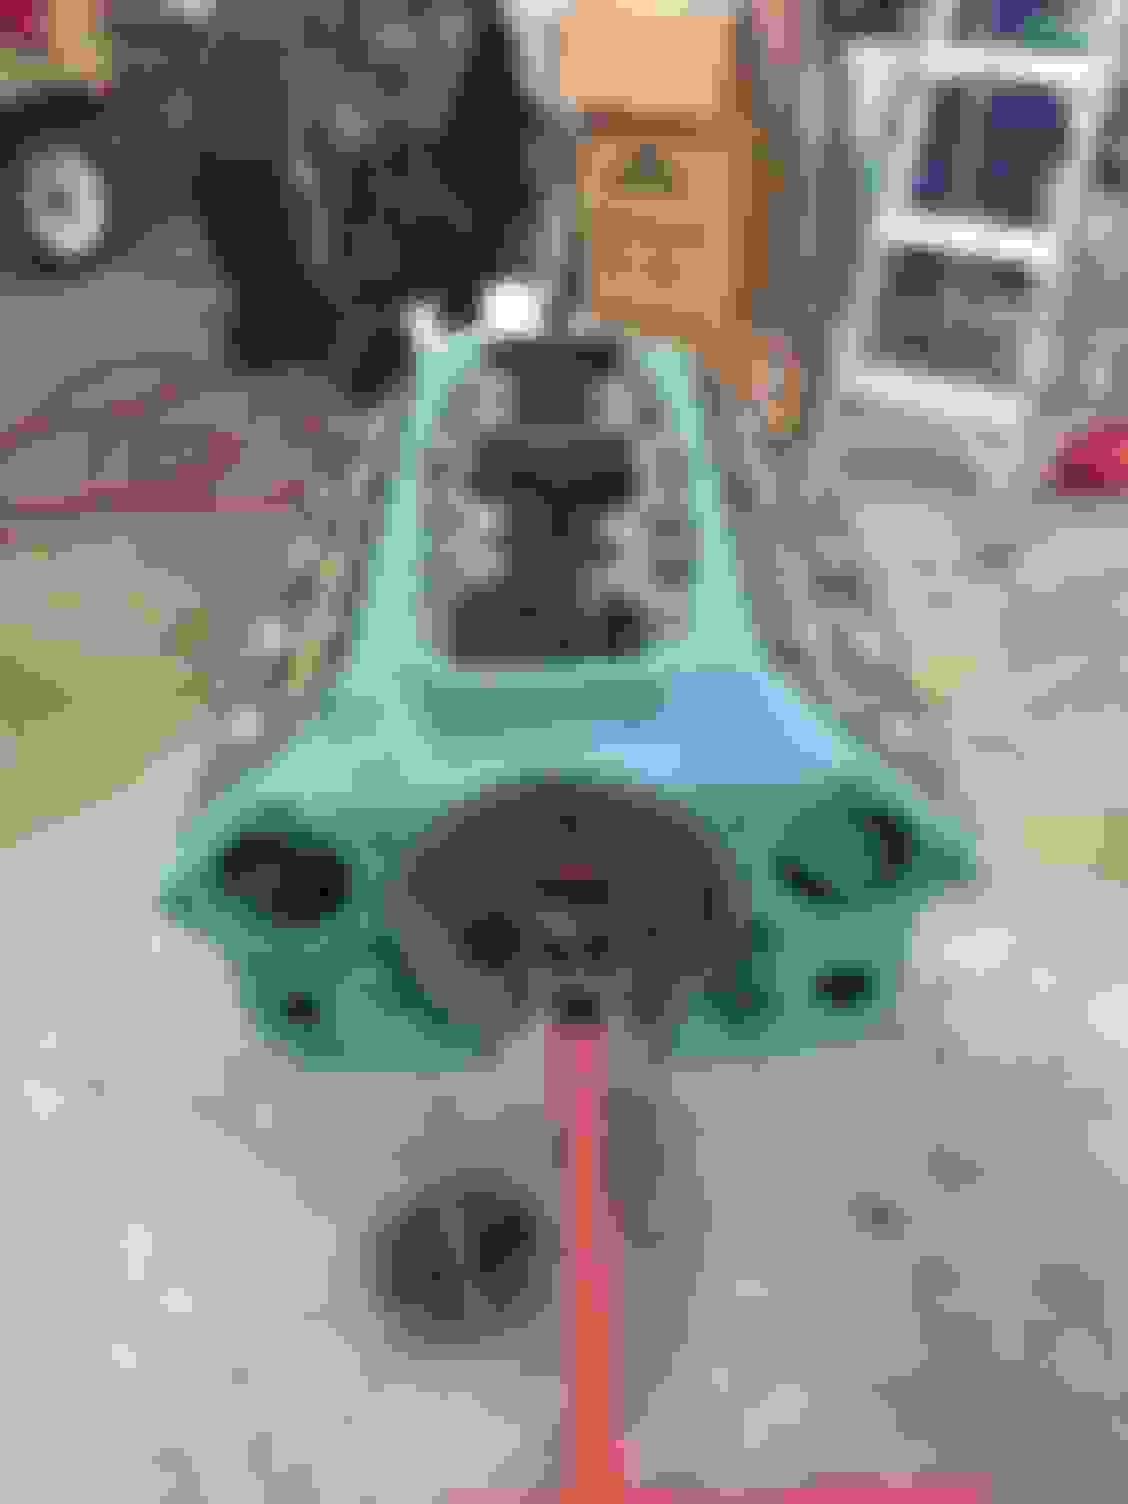
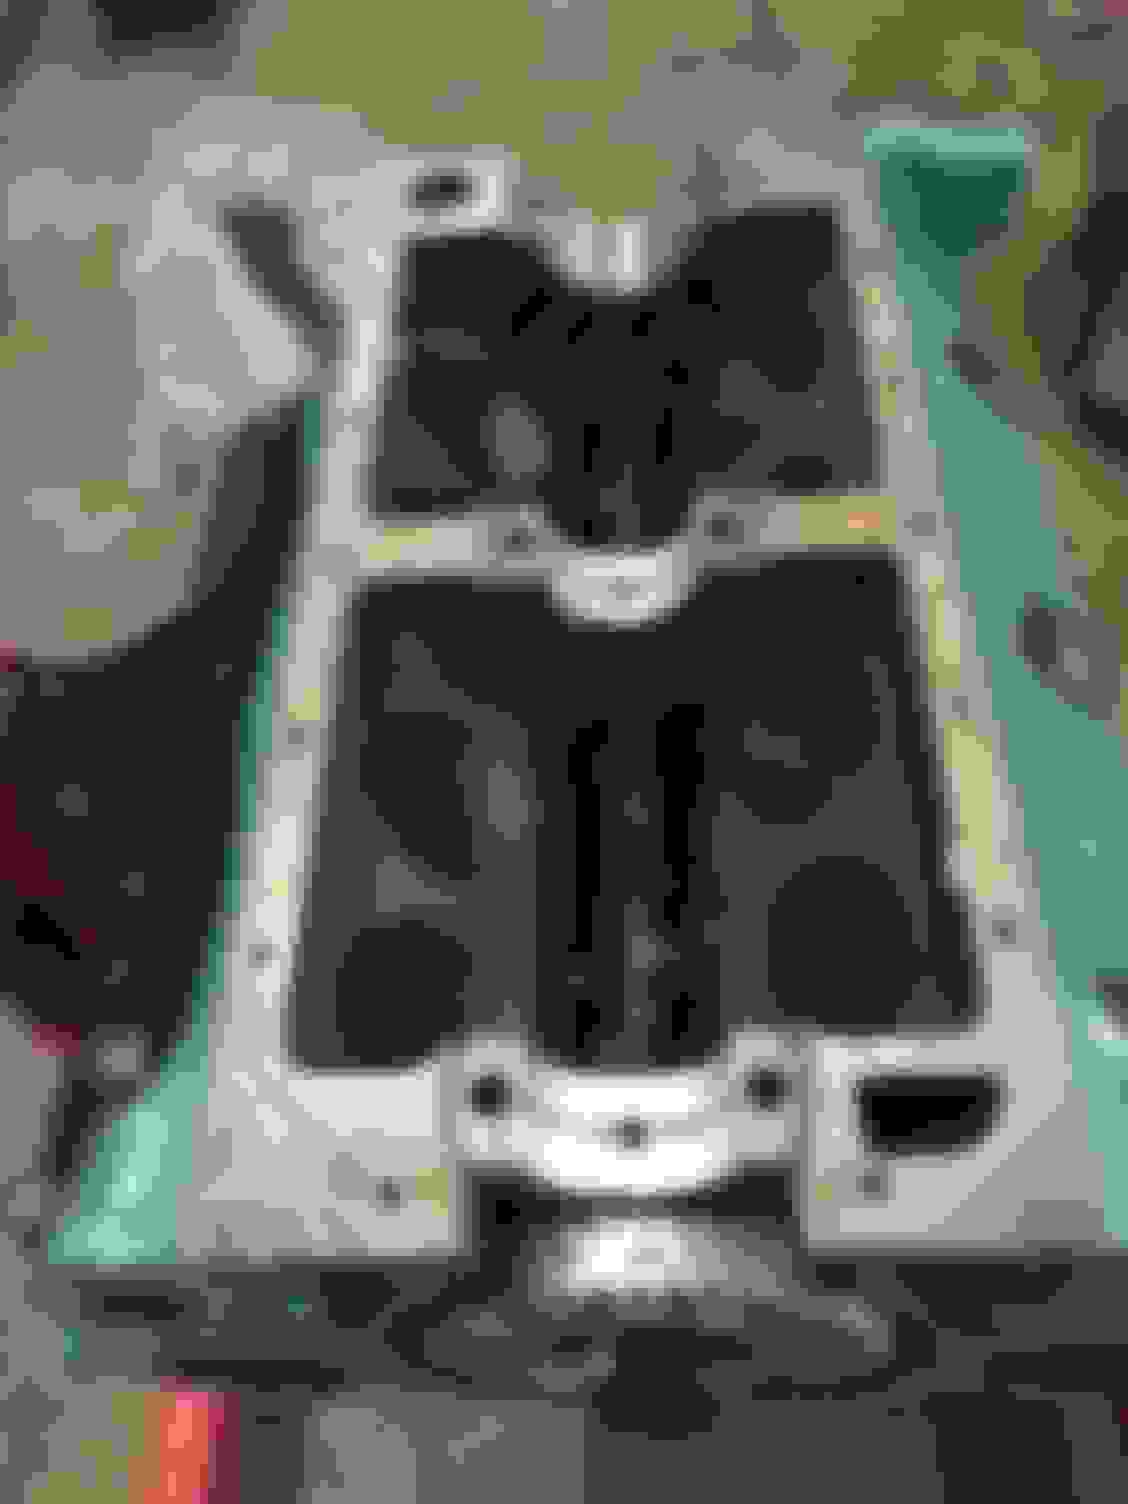
Next I relieved the block. There are as many opinions on this as there are relieved chambers. The traditional relief goes from the valves into the cylinder wall 3/16 deep. I chose to use a modified relief test by MCF (motor city flatheads). The area around the valves is cut away, but the relief slopes up to the original cylinder profile. This will be a street engine.
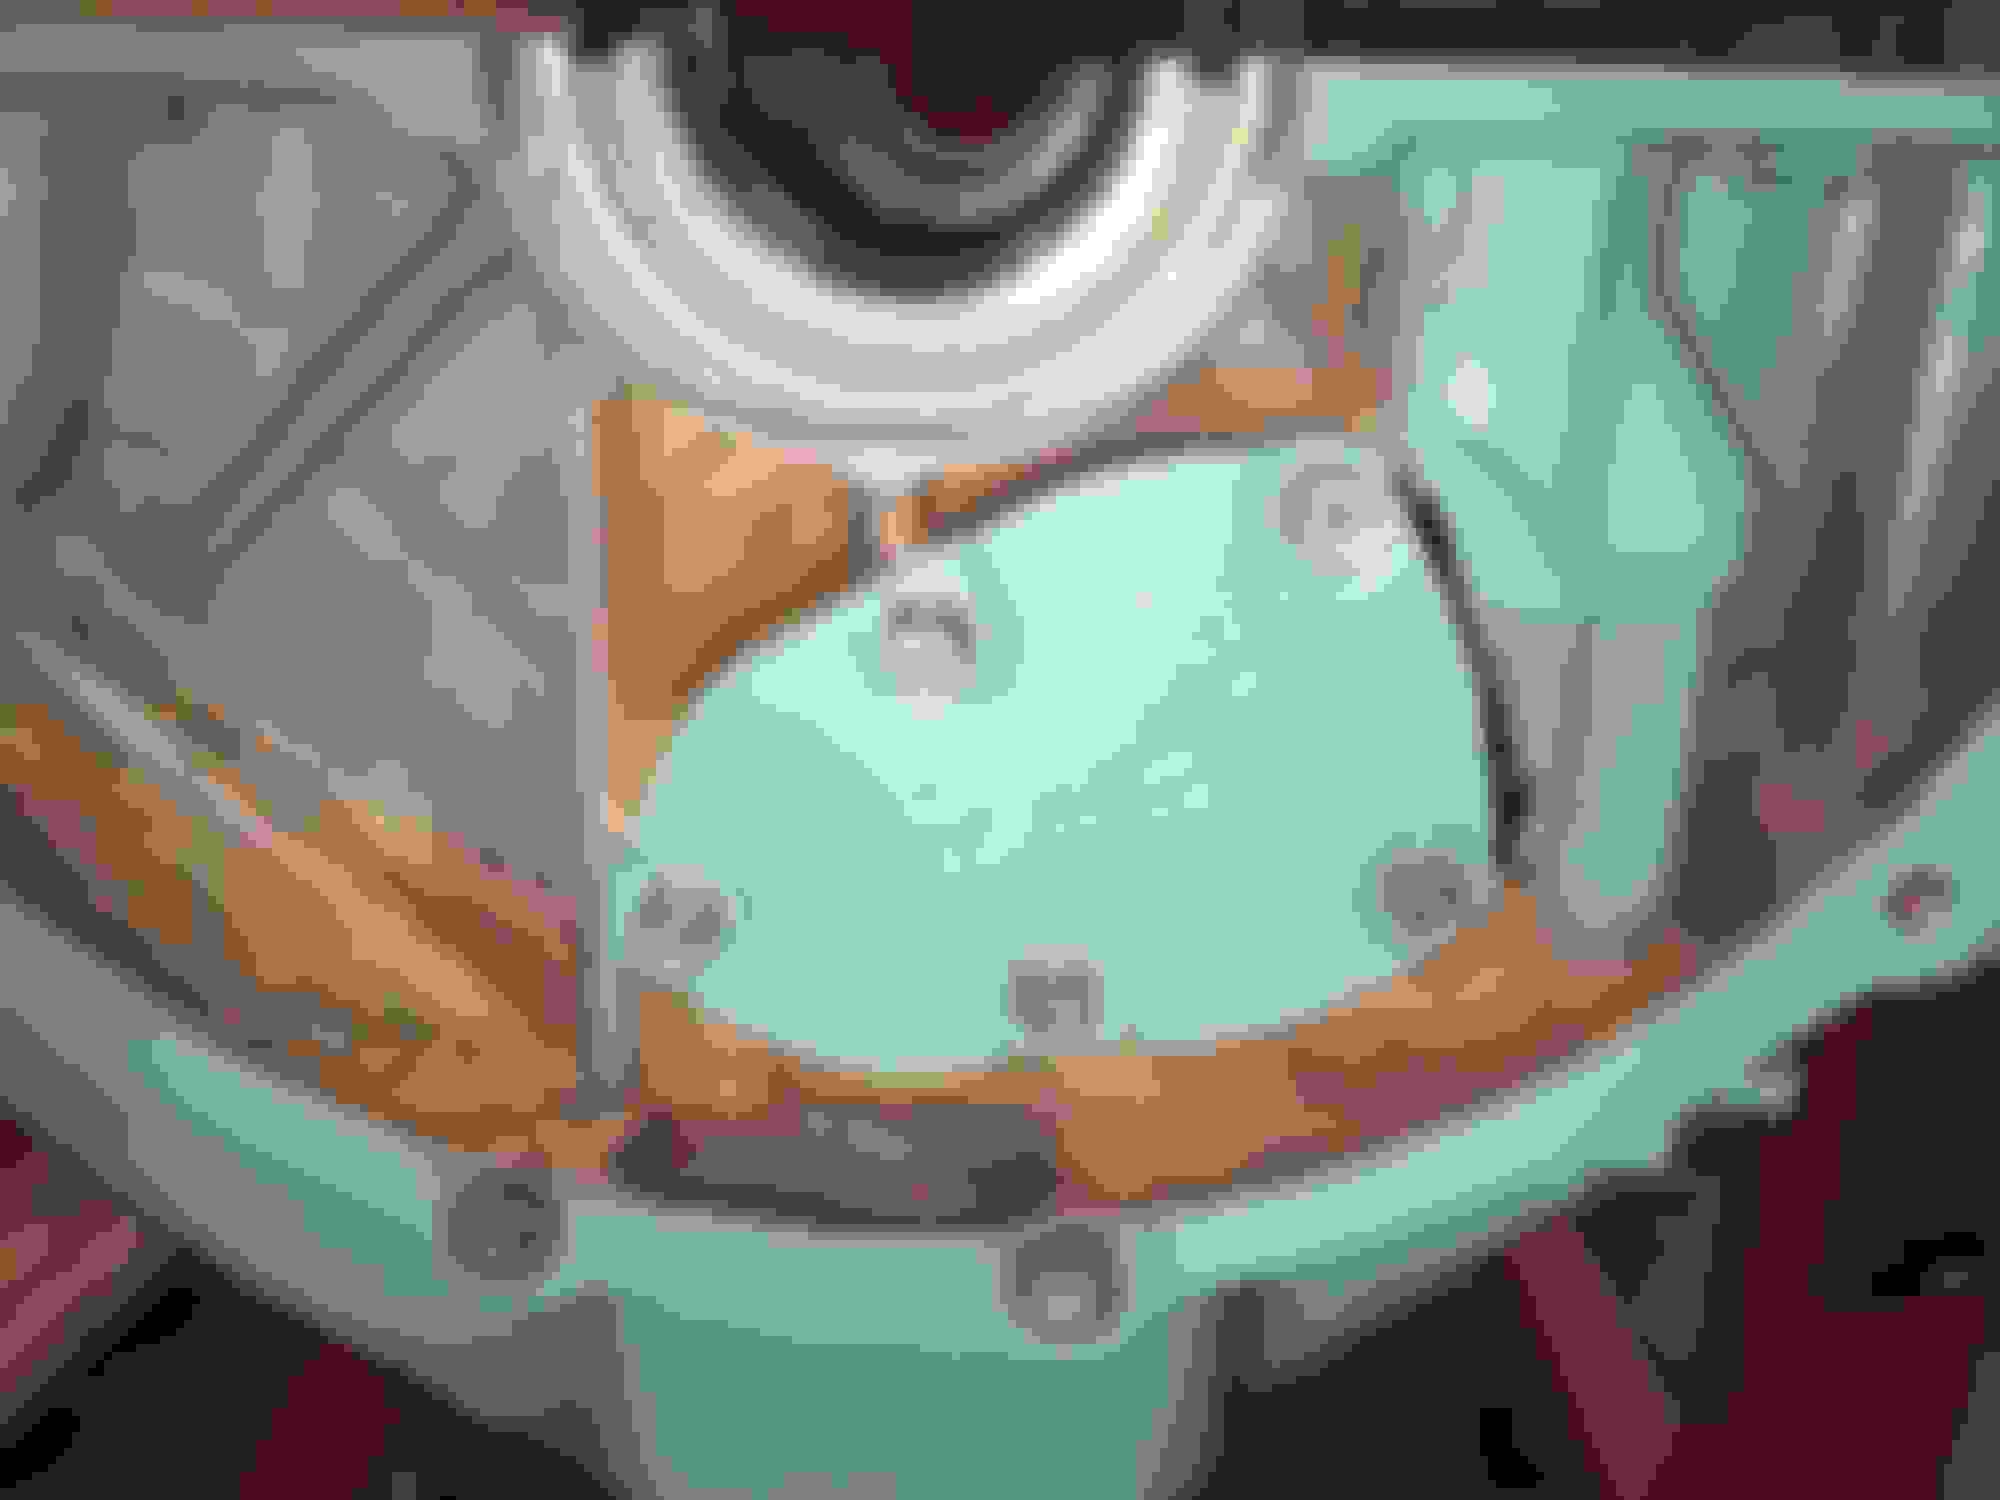
Still more polishing and cleaning needed. I was nervous. I am not a machinist and I was frehanding with a double cut carbide burr. I went through a lot of cartridge rolls and cross buffs.
Finally I worked in the intake runners. The one on the left has been ported and polished. The one on the right is factory.
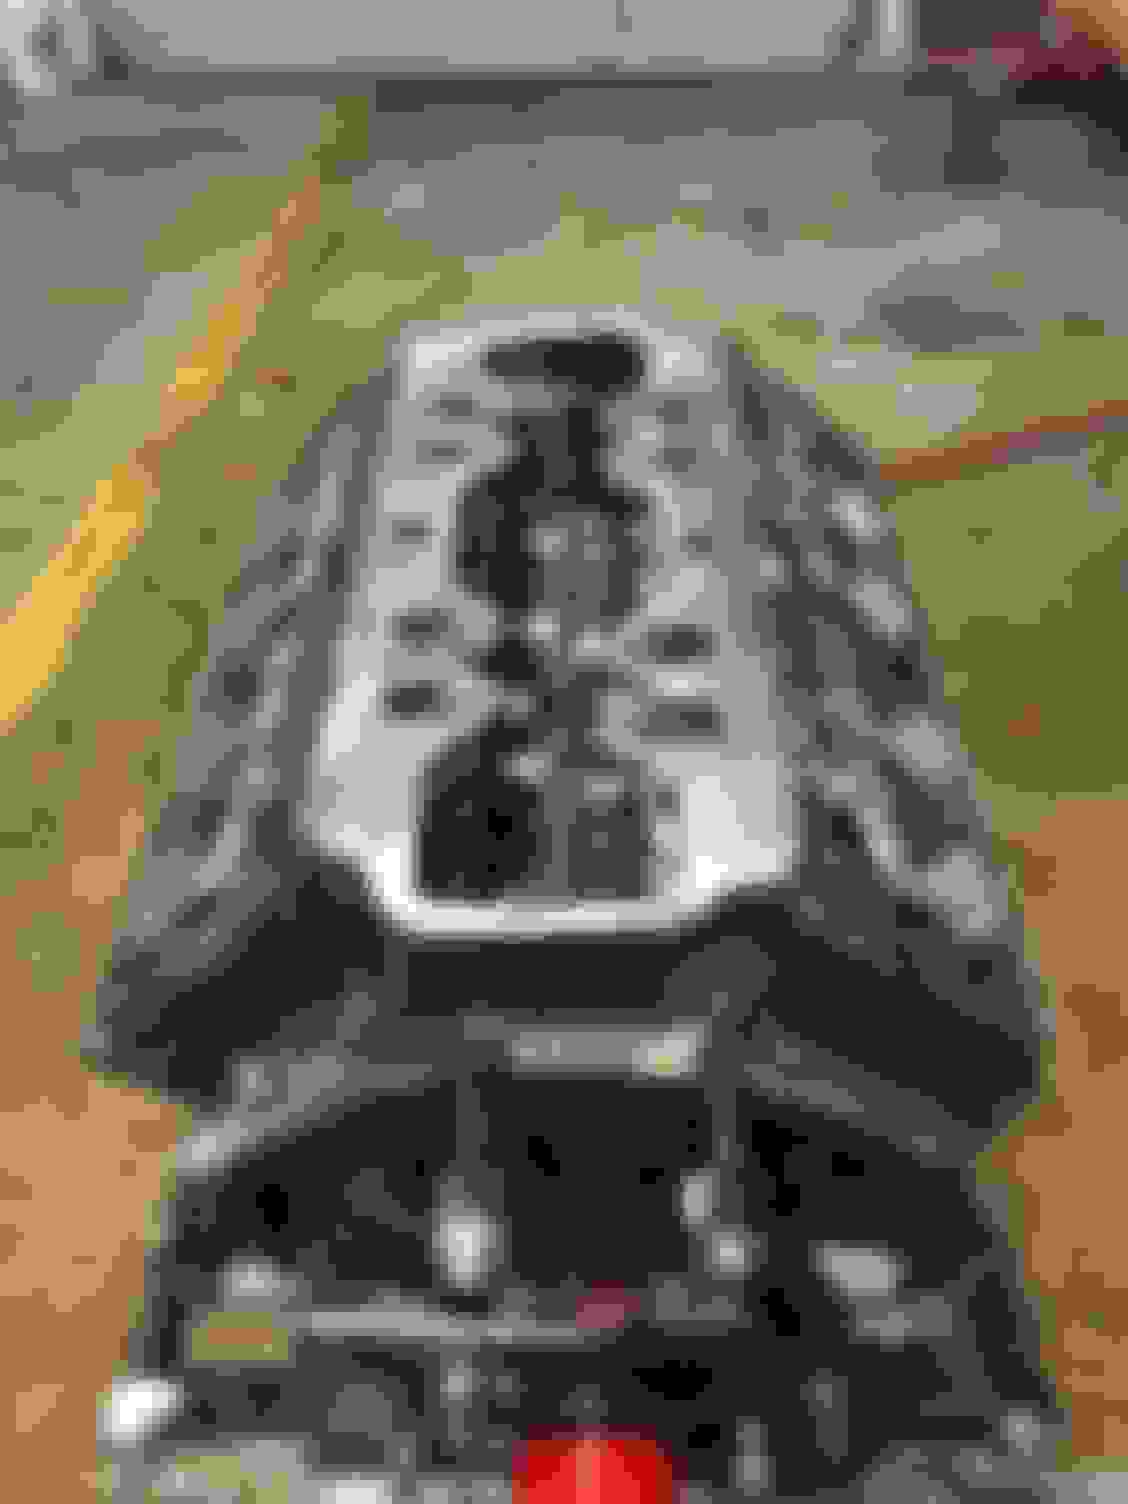
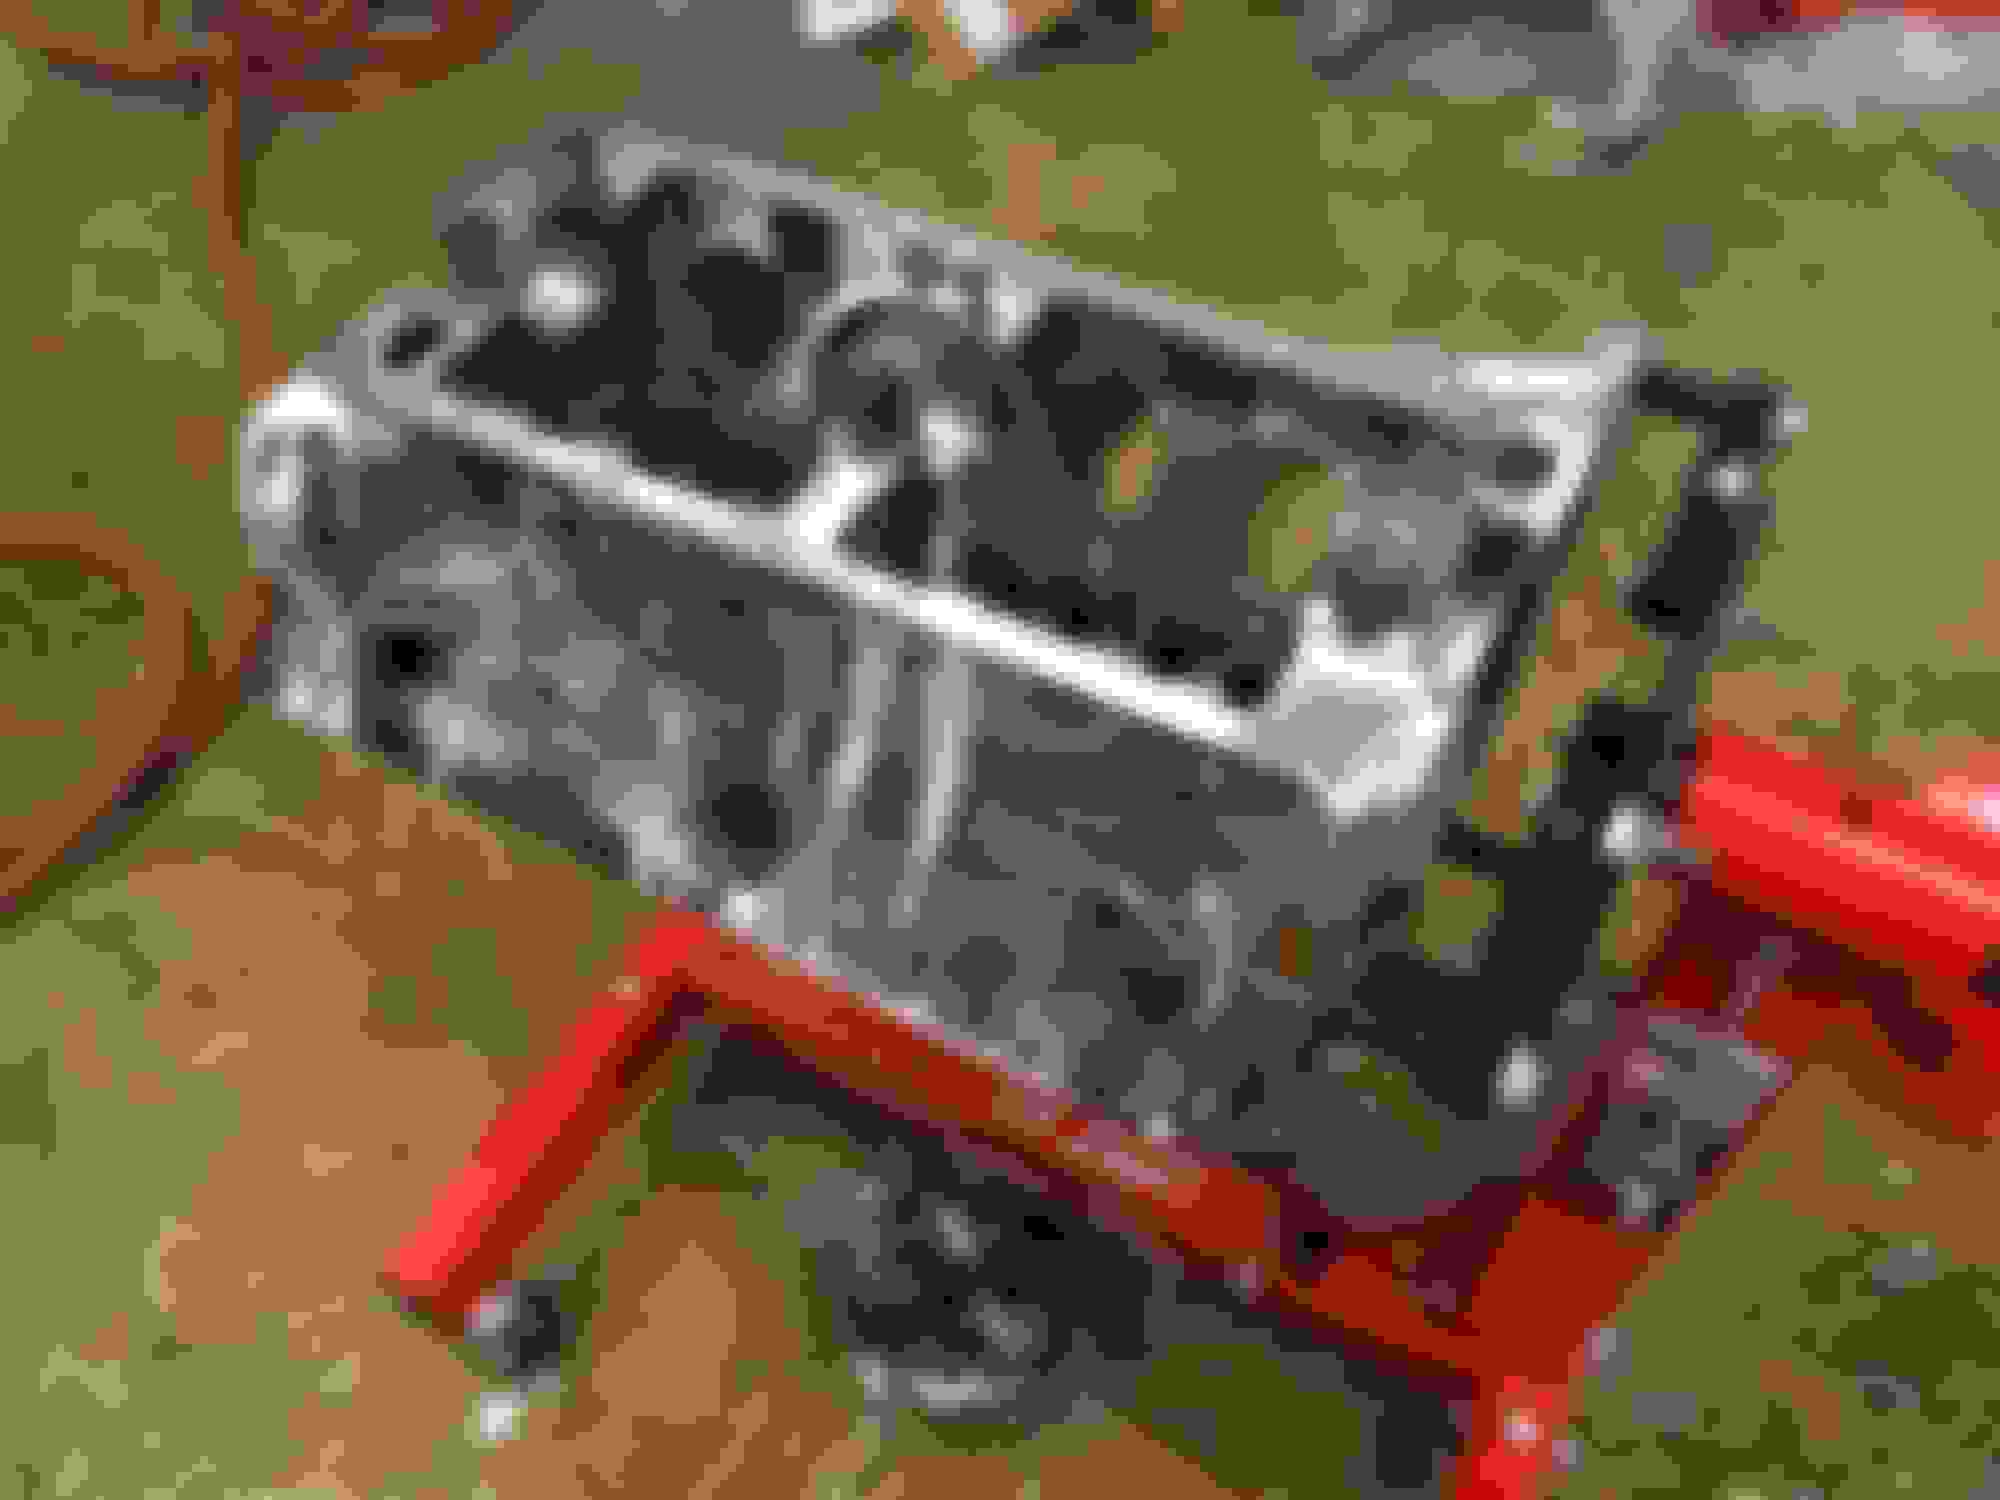
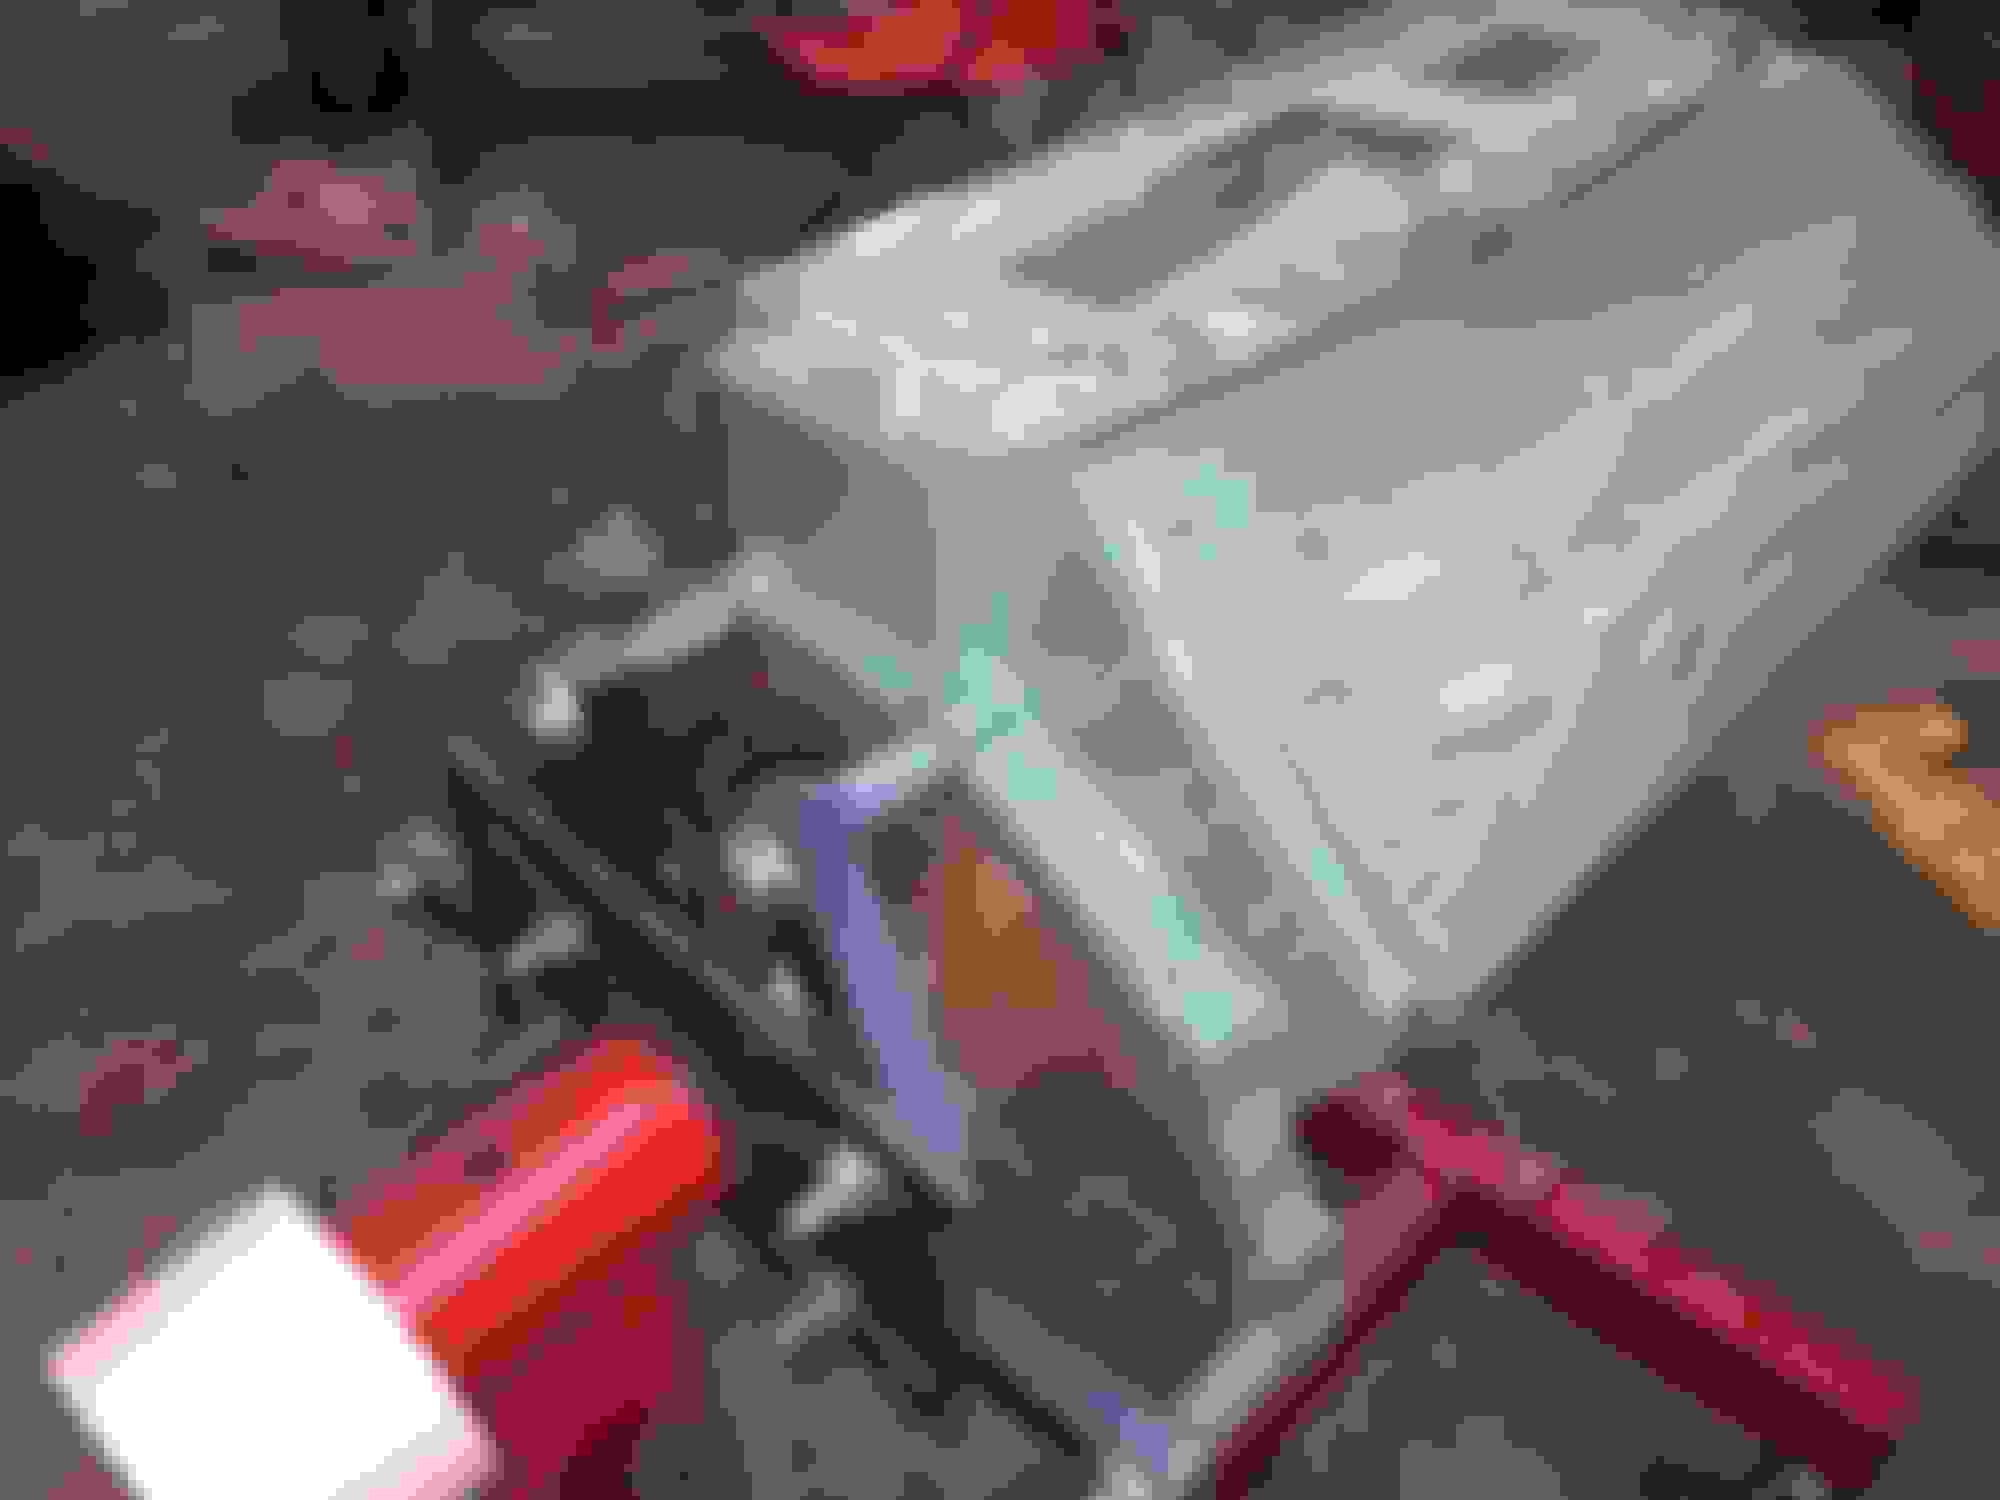
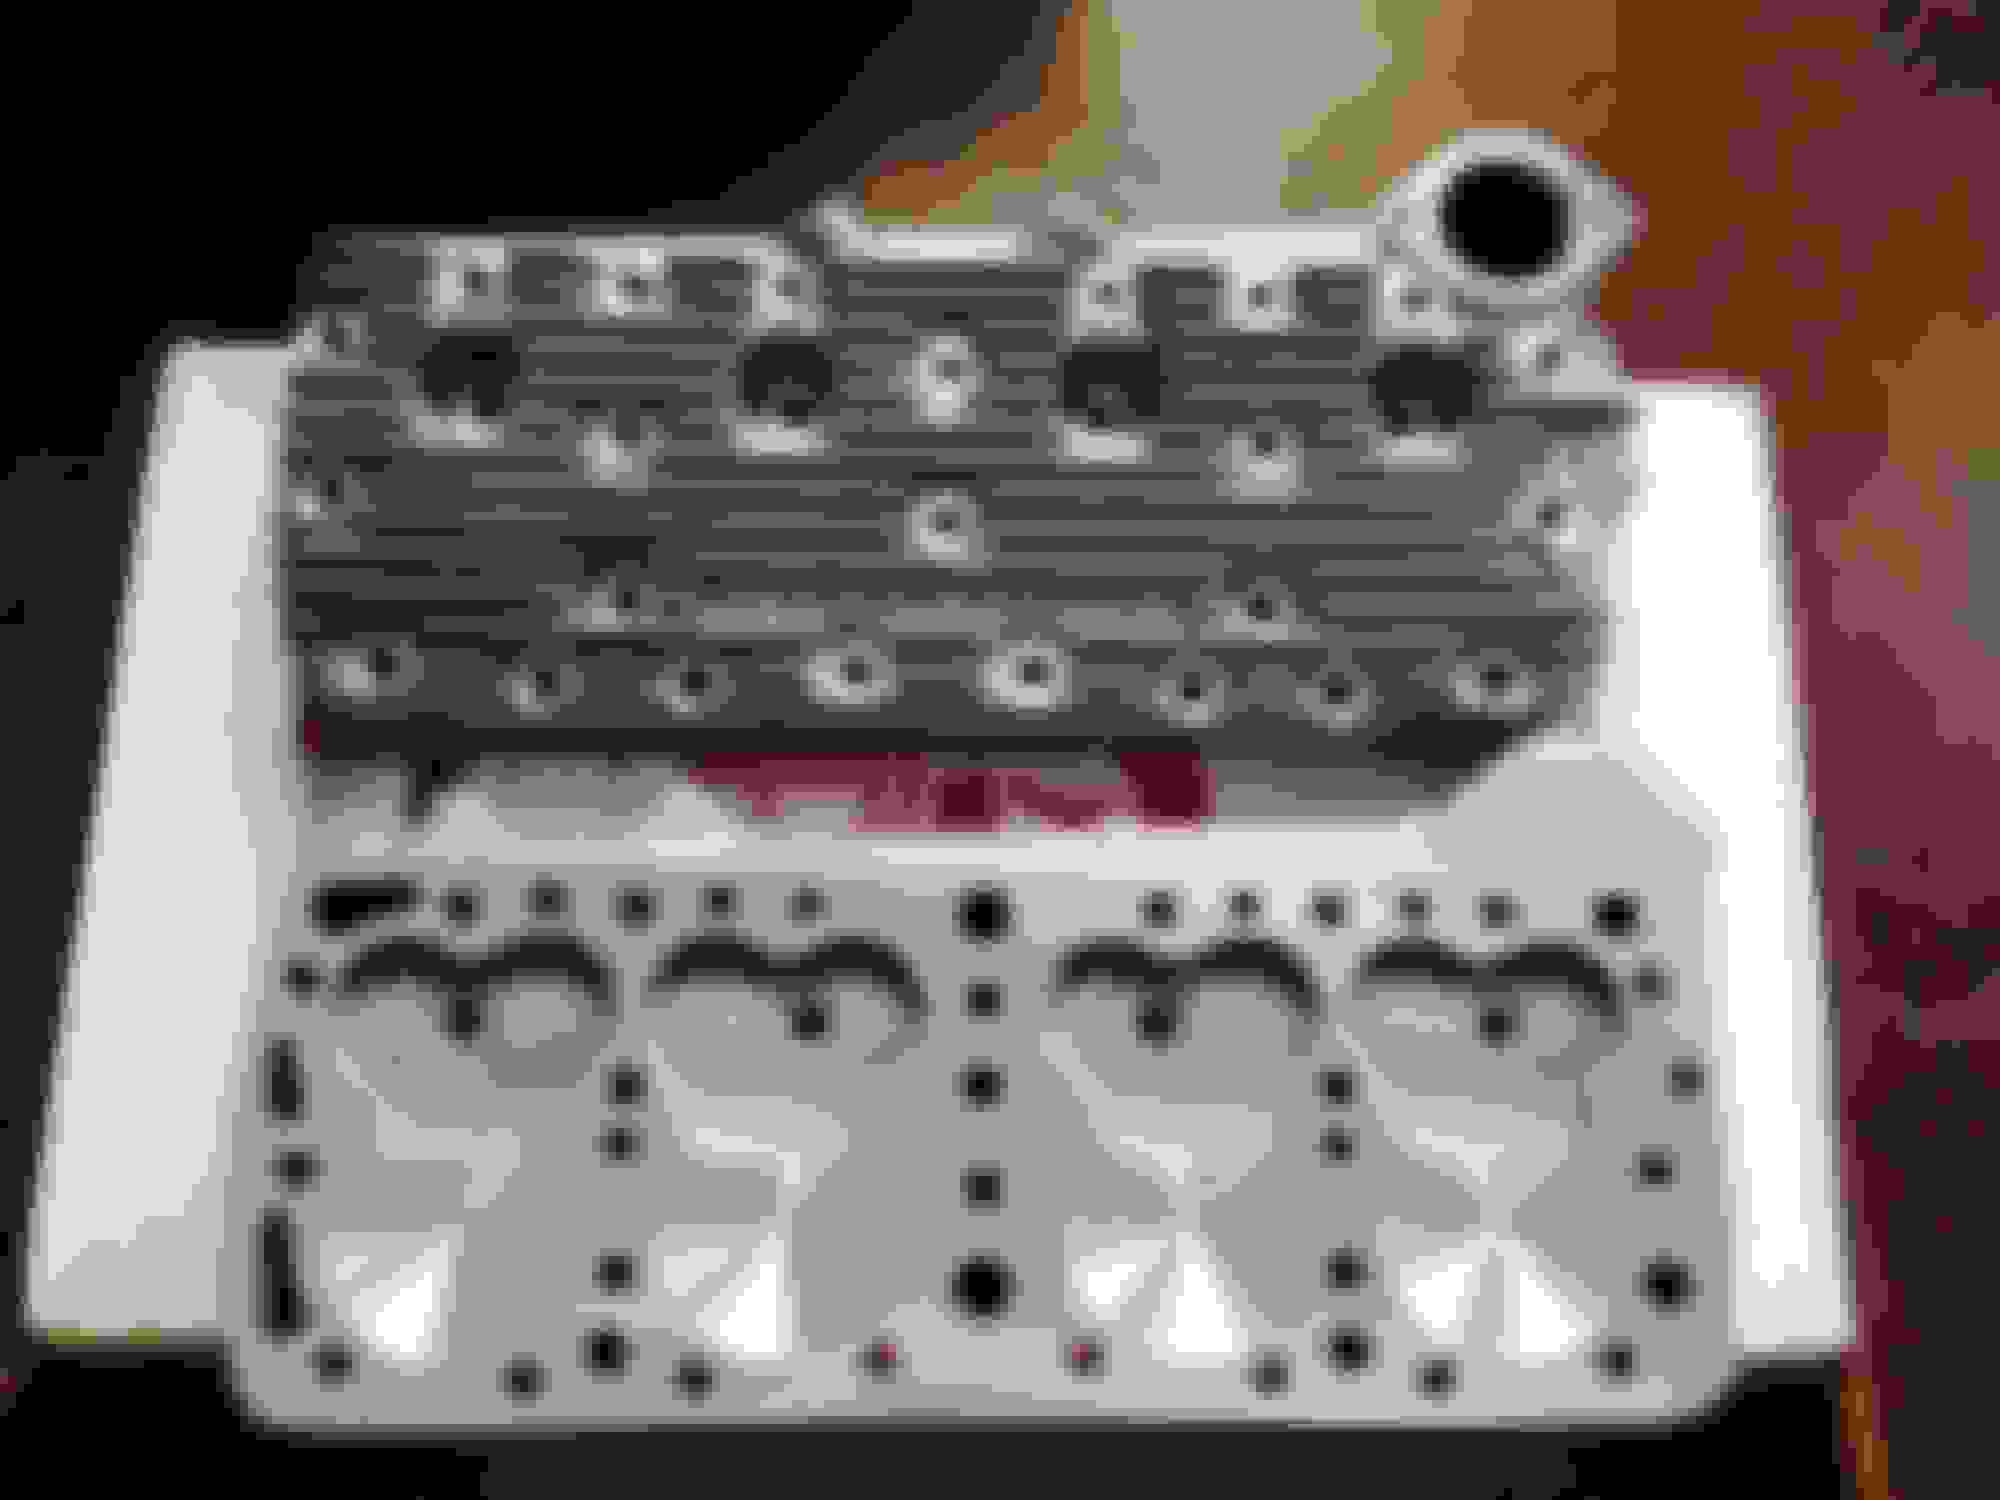
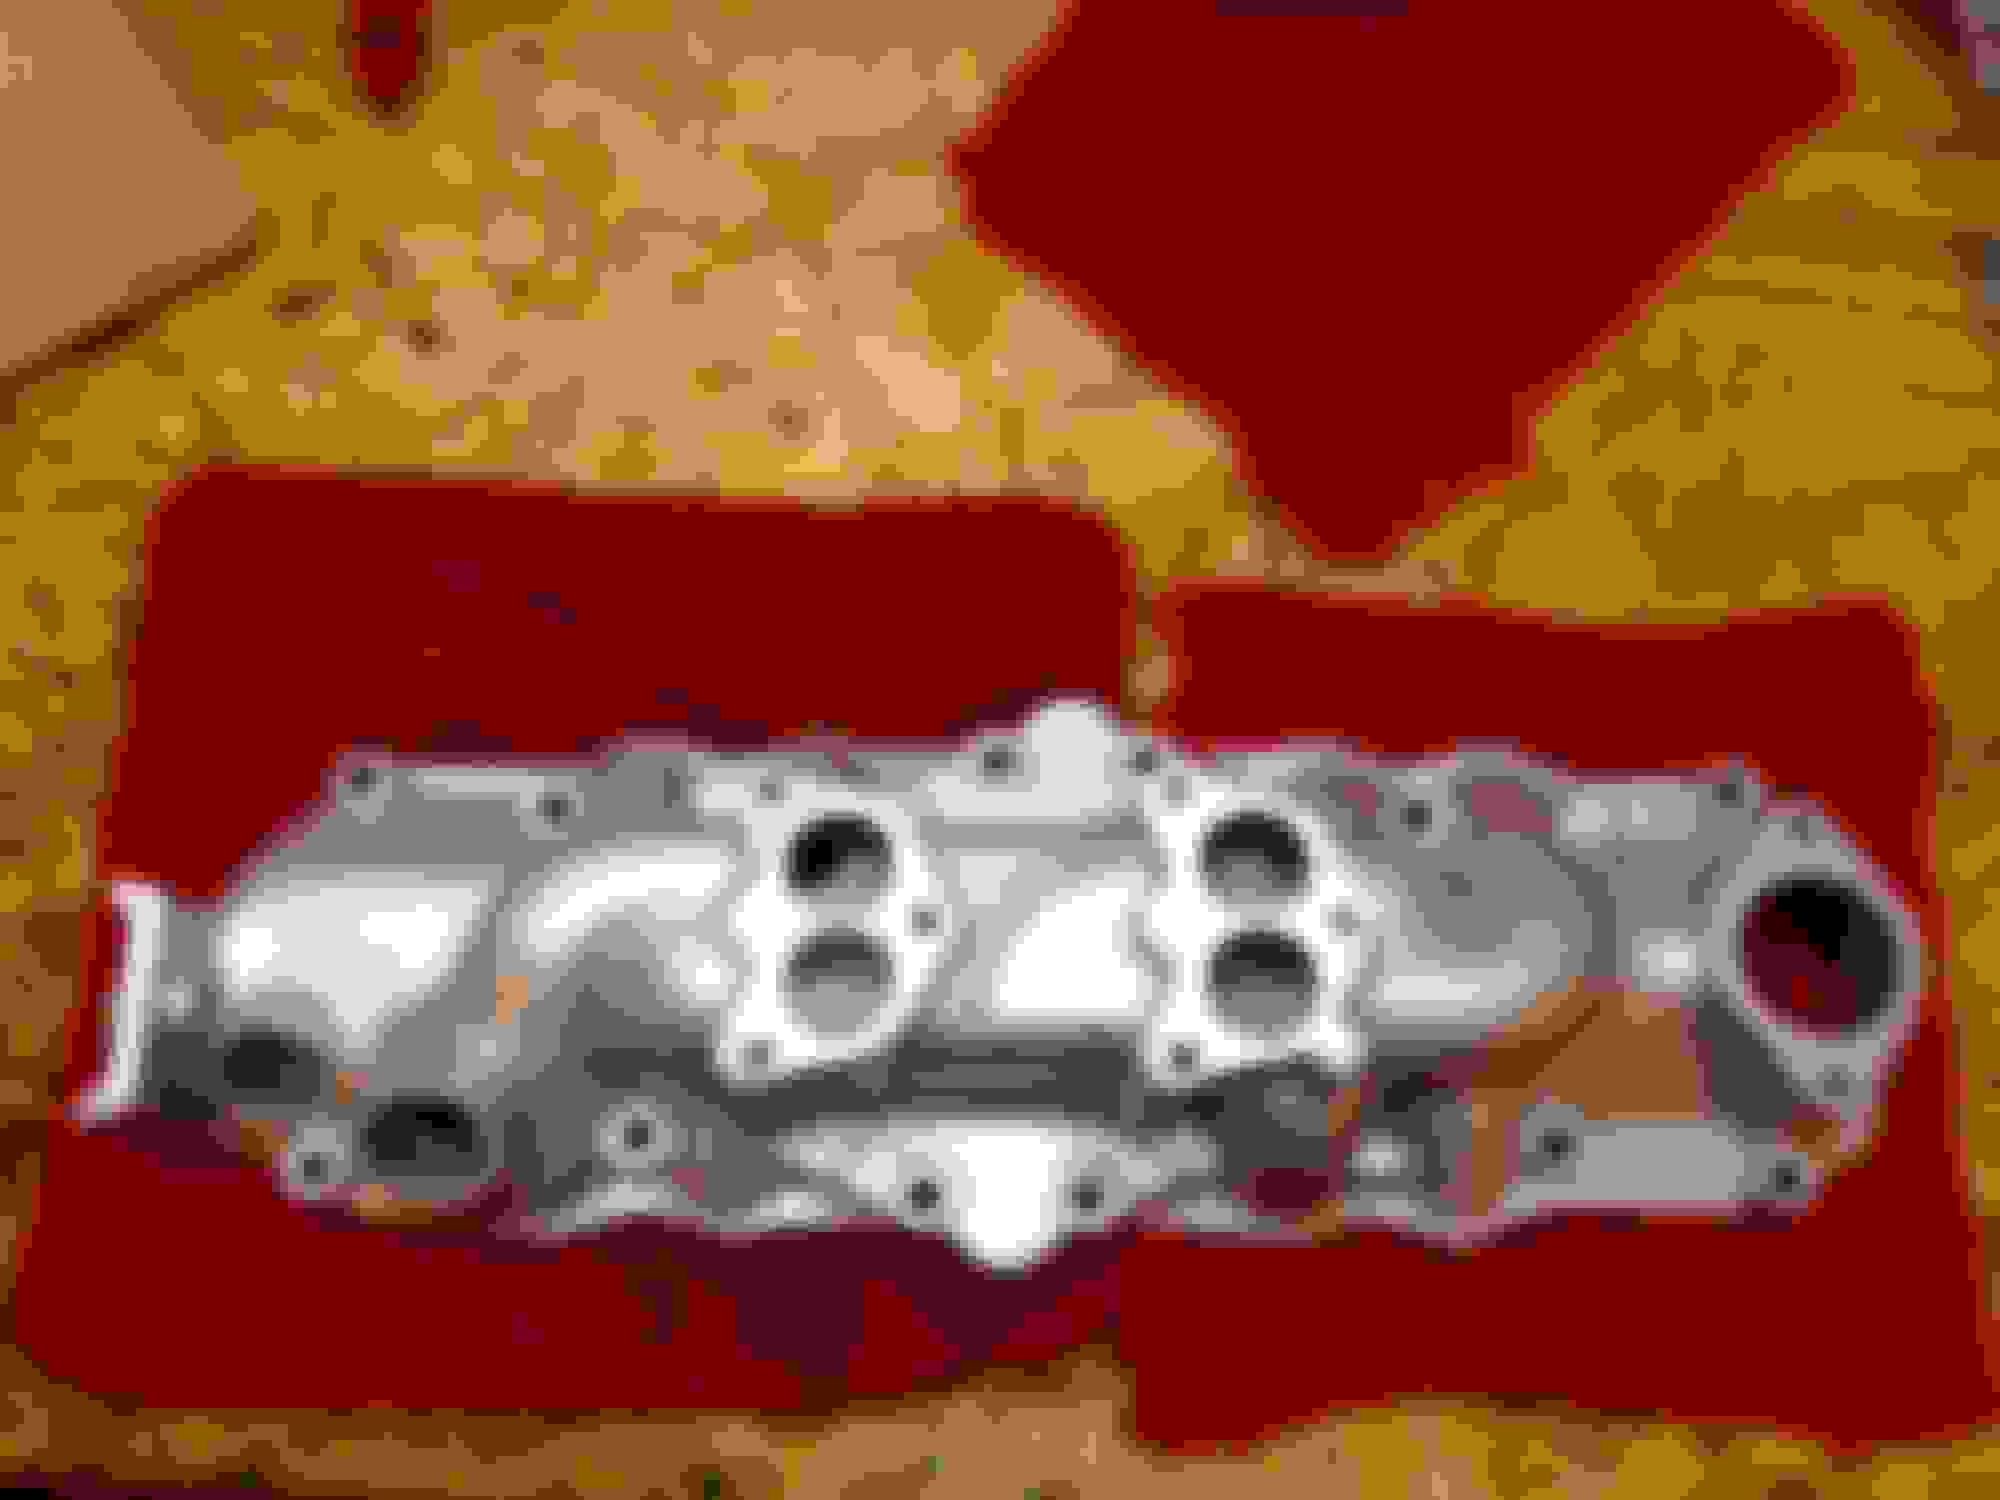
Finally lost of soap, water, brushes, compressed air and it was ready to paint.
Due to this thing called work, it will be another week before I can start reassembly.
Looking good way over there. Not ever having built a flattie what is the reliefs around the valves all about? I'm familiar with the polishing and porting and all that, maybe something along better flow and stuff? Love that country down your way. Went to the Sewanee Bluegrass Festival there in Chat. years ago. Had a blast.
Looking good way over there. Not ever having built a flattie what is the reliefs around the valves all about? I'm familiar with the polishing and porting and all that, maybe something along better flow and stuff?....
Flatheads breath very poorly. The reliefs around the valves help with getting air in and out of the combustion chamber. The porting and polishing does the same thing. Anything you can do to reduce restrictions and help the engine breath better.
I polished a little on the outside of the block, but I could have done more. There are a few areas that after I painted, I wished I had worked on more.
Why did you knock down the tops of some of the lifter bores in the valley? Also why didn't you continue the relief all the way into the cylinder? I built my first flathead in 1952 and I don't believe I've ever seen anything like this before. What was your reasoning for doing what you did, if I can ask that without being nosey?
Of course you can ask that is why this forum is here!
I machined and drilled the lifter bores to allow a regular open end wrench to be used in conjunction with a punch or nail to allow for easier adjustment of the Johnson adjustable tappets. Otherwise, you have to grind the wrench to get it in. I'm getting older and can't do anything without cheaters in my safety glasses, so it seemed like a smarter thing to do. First time I'd seen it was in Vern Tardel and Mike Bishop's new book (pg 102). I did them all. That pic was to show the difference
The normal flathead relief comes straight down into the cylinder 3/16" deep. In Frank Oddo's book (pg 50) they used the modified relief based on results from flow testing done by Motor City Flathead. It maintains the deck surface and bore rigidity. They also claim it causes the air/fuel mixture to swirl and tumble into the combustion chamber for better application of the expanding forces down on the top of the piston. According to Mr Oddo you also don't lose as much compression as you do with the traditional relief. I figured that anything is better than nothing.
It may all be a bunch of mirrors and flashlights and all for naught, but I figured i'd try it and see how it worked. Opening up and polishing the exhaust ports probably does the most good. They are at least 25 to 30% larger and straighter.
Sorry, work has been a beotch the past two weeks, plus I had a funeral I was going to and then cancelled due to the rain in Memphis, but I finally got back over to the shop. It feels like I'm on track to take a month doing something that ought to take a week! LOL!
Clean and blow out the block one more time. I installed a new fuel pump pushrod bushing. But I forgot to take pics
I bought a cam tool on eBay for $30. I had always had a shop do that, but I wanted to try myself. Flathead cam bearings have a large hole and a small hole in the bearing. The large hole on the rear bearing has to line up with the fuel pump pushrod. Make sure you check it. You may have to enlarge or offset the hole. Also, make sure all the oil passages line up.
Next I lubricated the cam with ISKY cam lubricant. I'm installing an ISKY Max 1 cam.
After the cam, install the cam timing gear. It only goes one way, but make sure the lock plate is behind the bolts. I bought an aluminum timing gear from Speedway. Make sure the timing mark faces out and that the lack tabs are bent over.
I bought a new oil pump idler gear from Mac Van Pelt. The shafts are not readily available, so I hope your old one is good. I lubricated the gears and shaft with white lithium grease.
Install the cover and gasket and torque the bolts. Make the cam turns freely and doesn't bind.
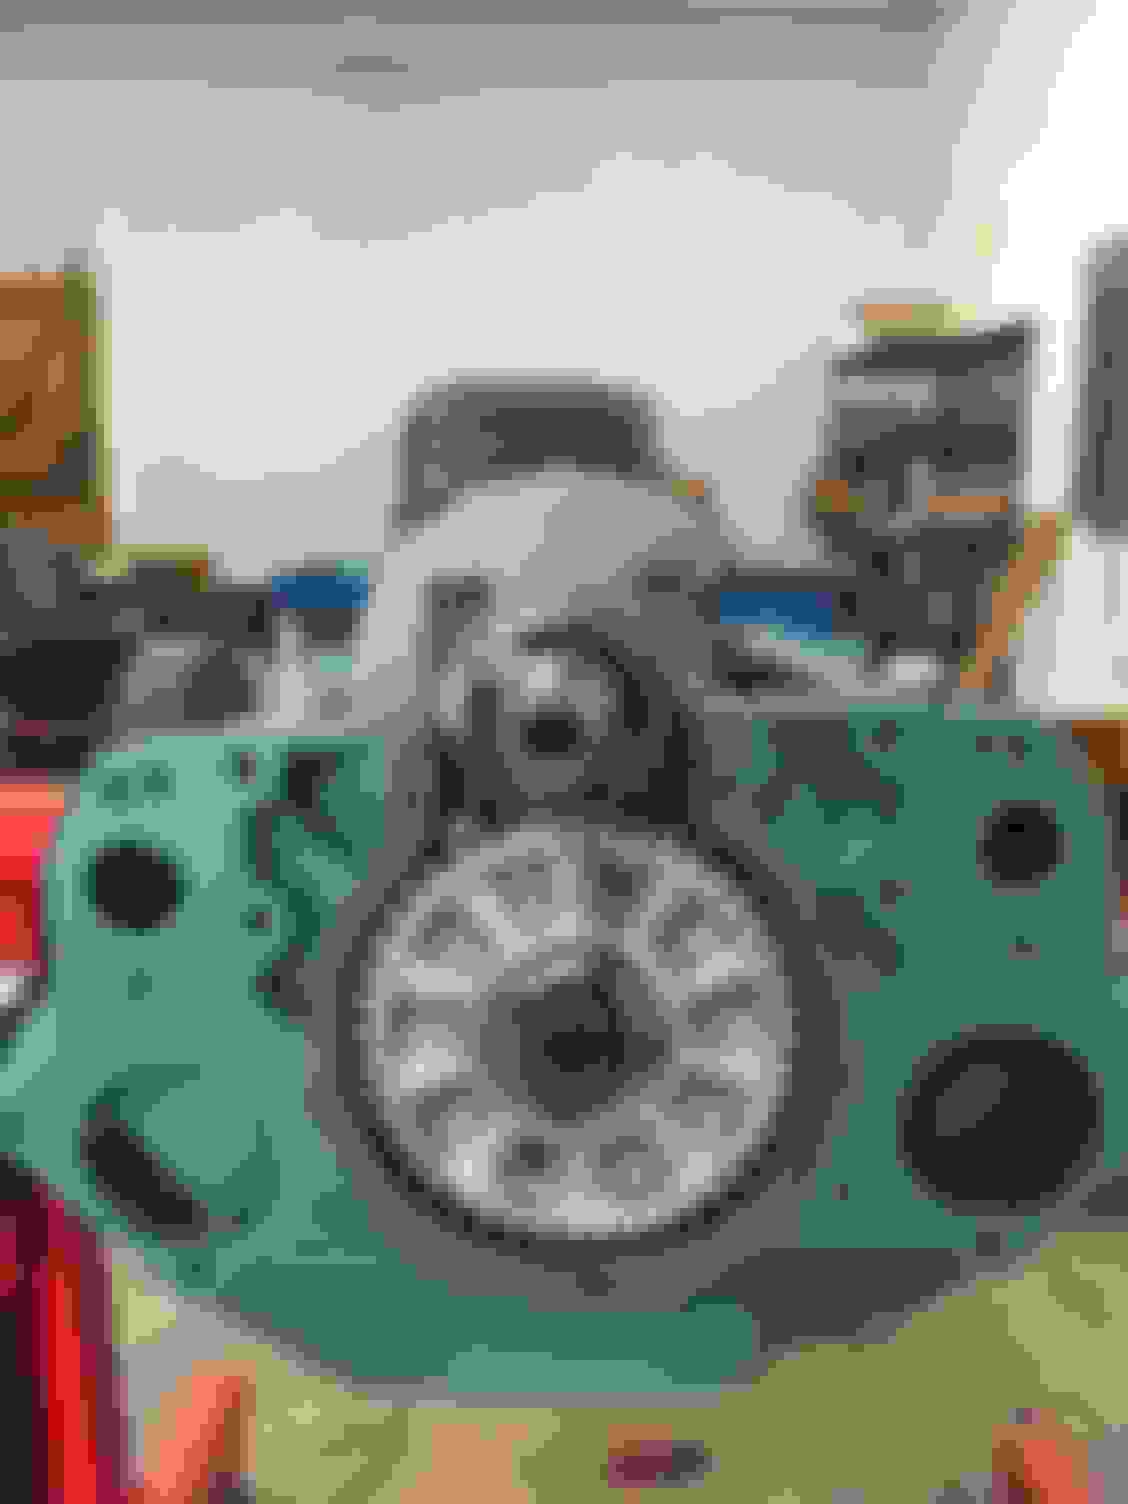
Next are the main bearings. Check the oil holes.
Oil the bearings and set the crank in place. I bought a new Eagle 4" stoke Mercury Crank at Honest Charley's which is literally one block from my office.
Check the journal clearance.
Check the thrust clearance.
Install the crankshaft timing gear. Make sure the woodruff key is in and timing mark faces out.
Fit the rear main rope seal, trim the ends for proper height with the dummy gasket, and Permatex the fit before installation.
I coated the bearings with white lithium grease before setting the crank back in
Make sure the timing marks are aligned. When I first set it in, I was a tooth off.
I installed a strong back on the center main. The center supports the forces of four cylinders. The screw is tightened down finger tight and lock tighted in place. All the mains are torqued to 100 ft-lbs.
Next thing to do are the valves.
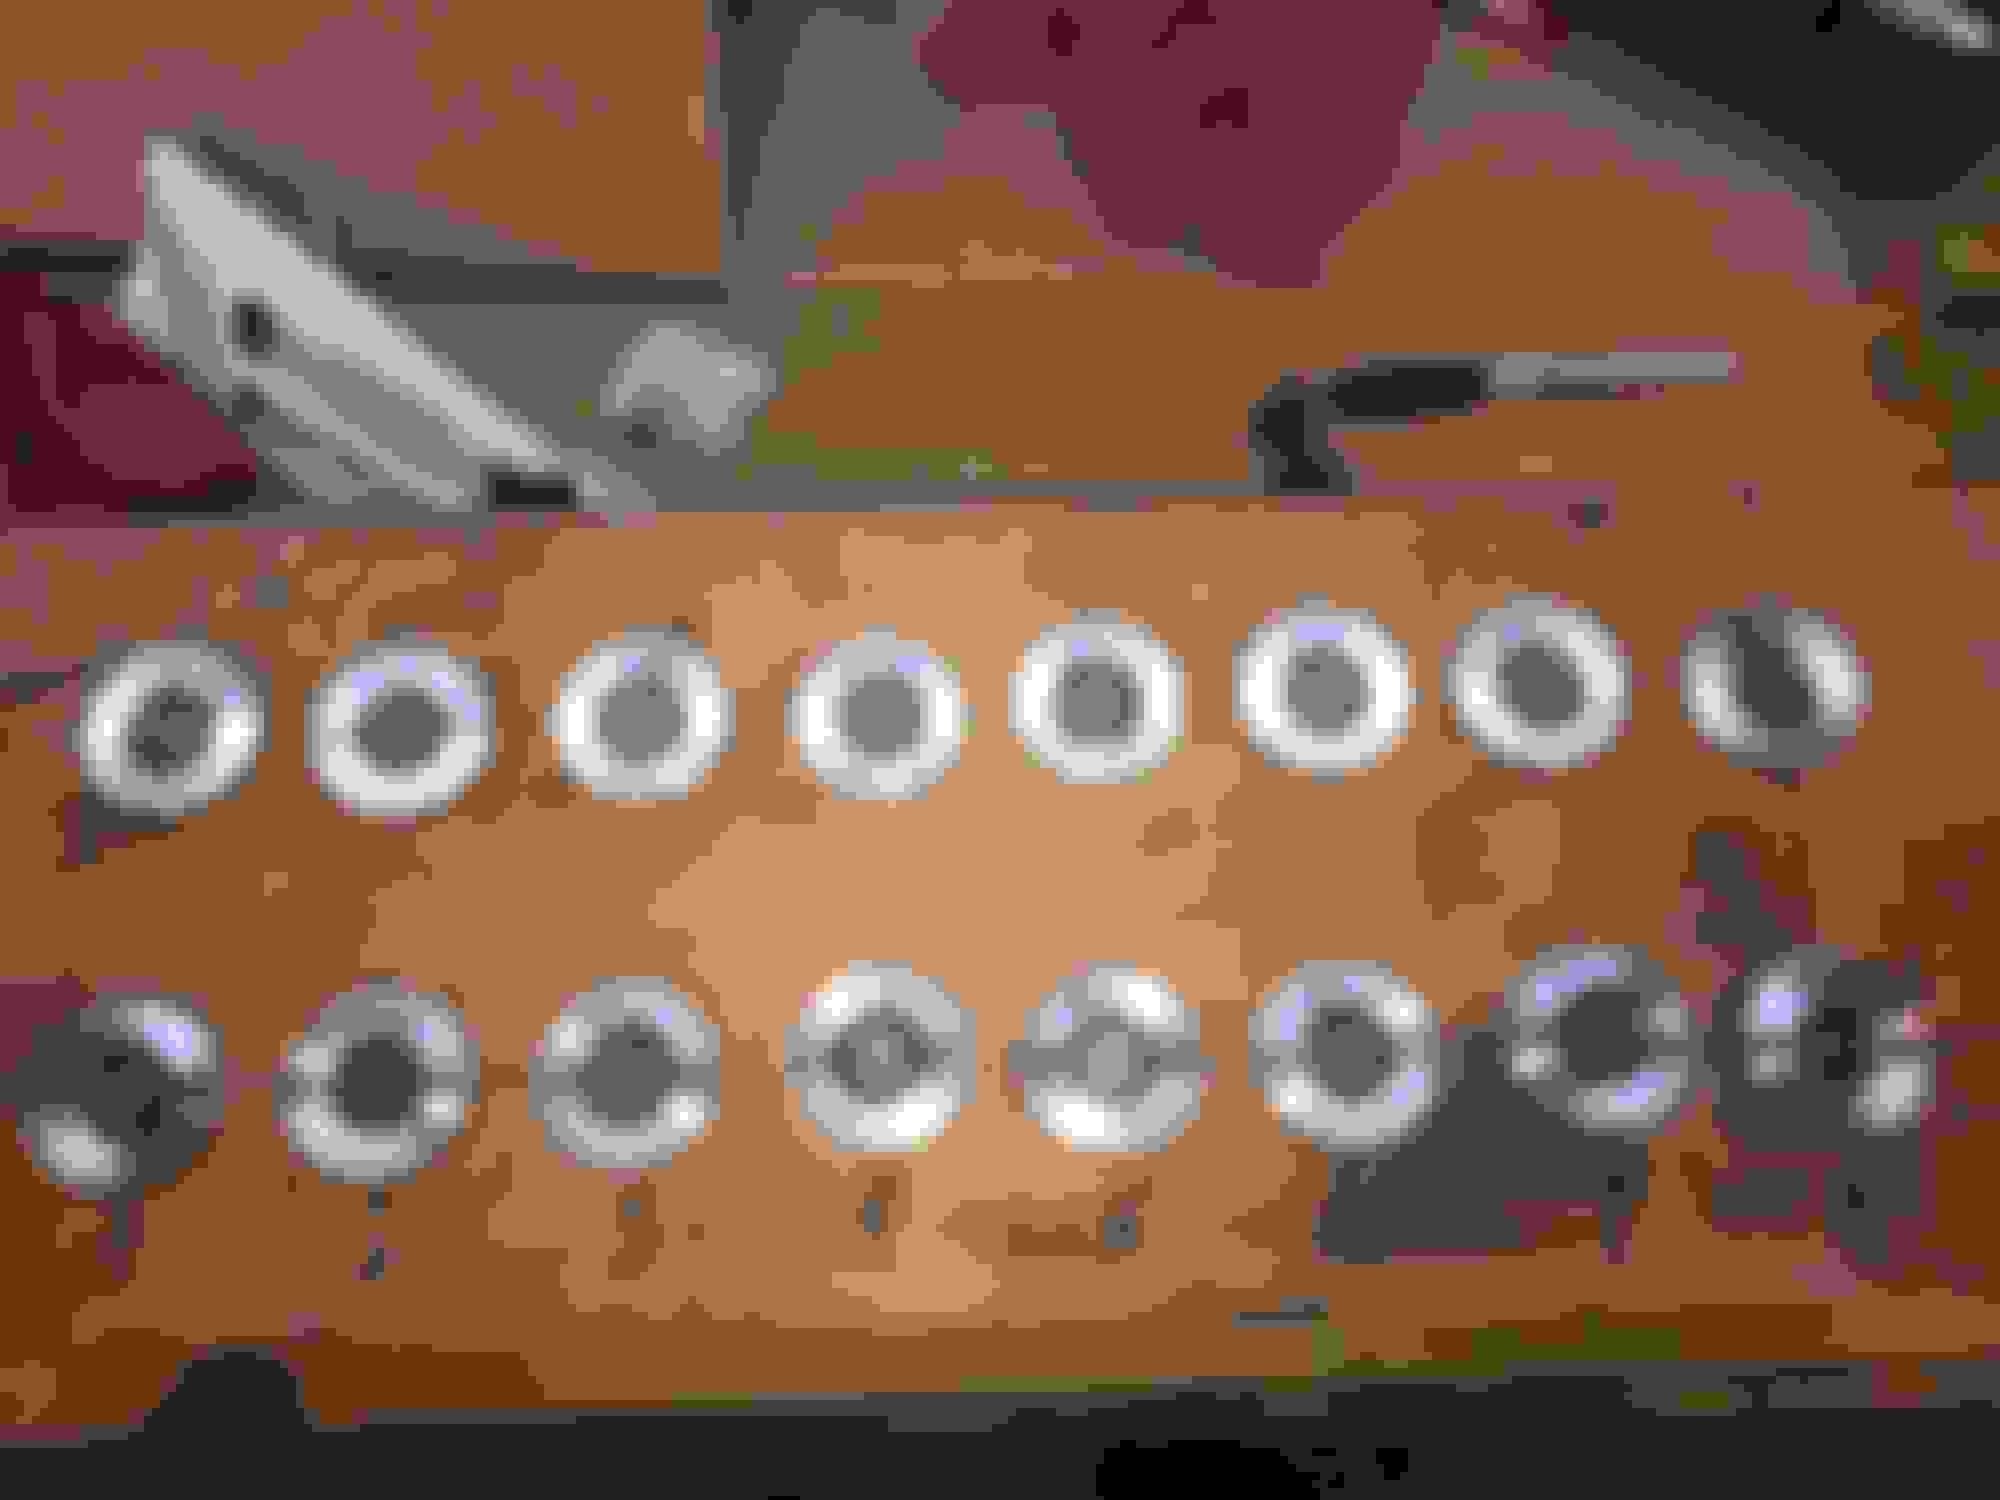
I lapped all of the valves by hand. I covered the center with clean "free lint" rags. I lapped with coarse and fine compound using a suction cup. Do NOT use solvent to wash the compound down onto the clear journals and cam lobes. I used the compound very sparingly and wiped it out after each valve seat was done. I made a rack for storing the valves as I went along.
Barring any catastrophies at work, I should get the valves installed and the lash set this week. Then finally the rods and pistons are next.
I've learned a valuable lesson! Never try to assemble an engine during a nuclear refueling outage!
That little flatty is looking great!!! You absolutely MUST post video of the startup! And I hope you don't mind, but the last line of your post was epic and I'm quoting you!
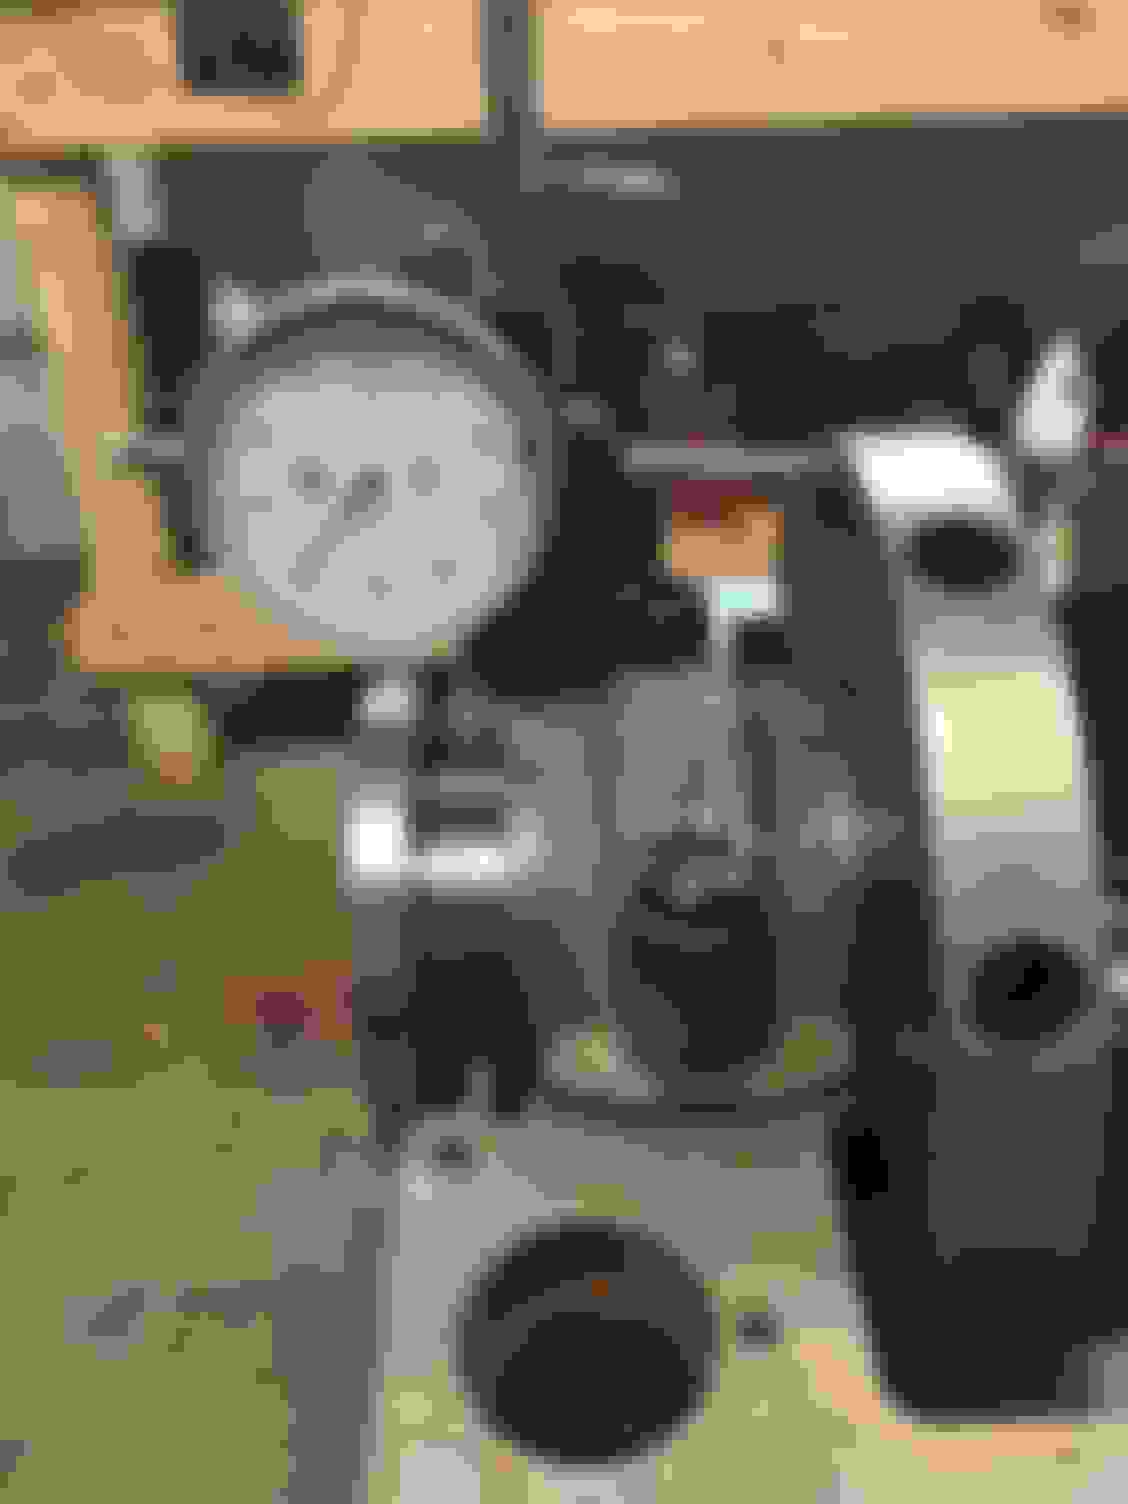
Well, I was out of town for a week, but I'm still slowly going back together. I installed the valves and set the lash. I'm using am ISKY Max 1 cam that calls for the lash to be 0.014" on both the intake and the exhaust valves. The valve lift should be 0.350" for both.
The notches I ground in the lifter bores and the 1/8" holes drilled come into play for this step. The notches were ground to allow an open end wrench to fit in and give clearance to make the adjustment. I still bought a cheap 1/2" wrench in case I needed to grind it to make it fit, but it worked fine. A small punch goes in the hole and holds the lifter stationary while the adjustment bolt is turned to set the lash. I spent a lot of time on these. I could get a 0.014" feeler gage in, but a 0.015" would not go.
Life is a lot easier if you get the first one set, then remove it and preadjust the lifters to be close. The lifter screws are very tight and this is much simpler.
After all the lashes were set, I checked the valve lifts with a dial indicator. The lash is the critical dimension. If it is set right, the lift is what it is.
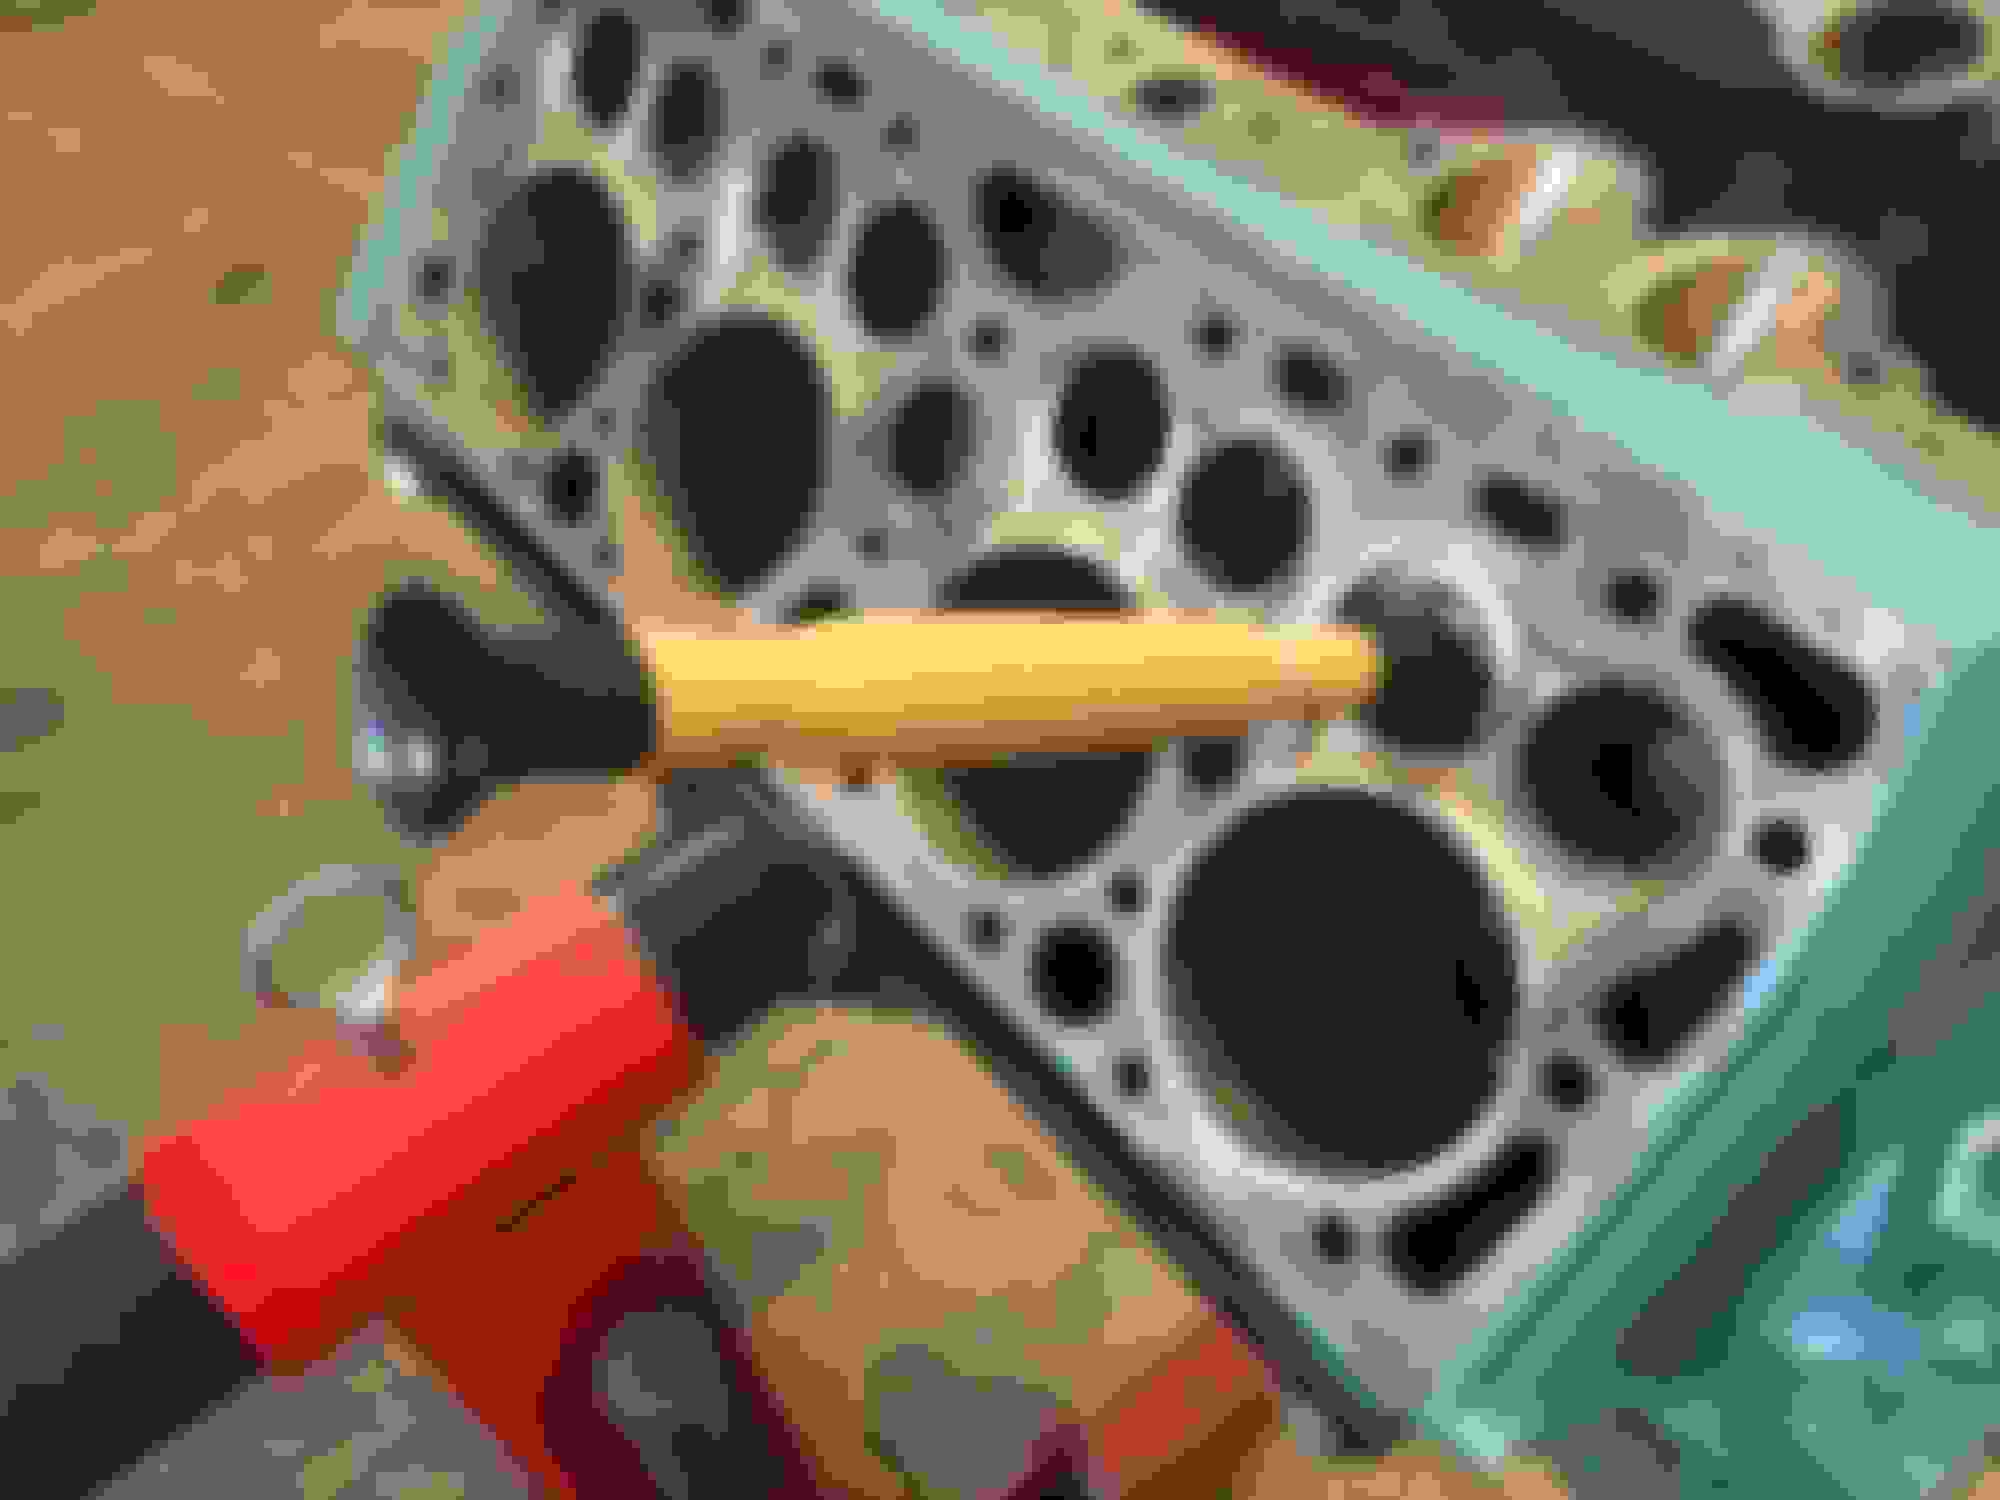
With the valves all in, I moved to the pistons. I bought 3 ring pistons 0.060" over standard bore for a 4.000" Mercury stroke. I went with 3 ring vs 4 ring since they have one less ring's worth of friction heating the block.
Setting the ring gaps is so much easier with one of these.
I love this stand bracket for a flathead that bolts to the exhaust ports. It is so much easier to put the piston/rod assemblies in with the engine rotated vertically.
All in.
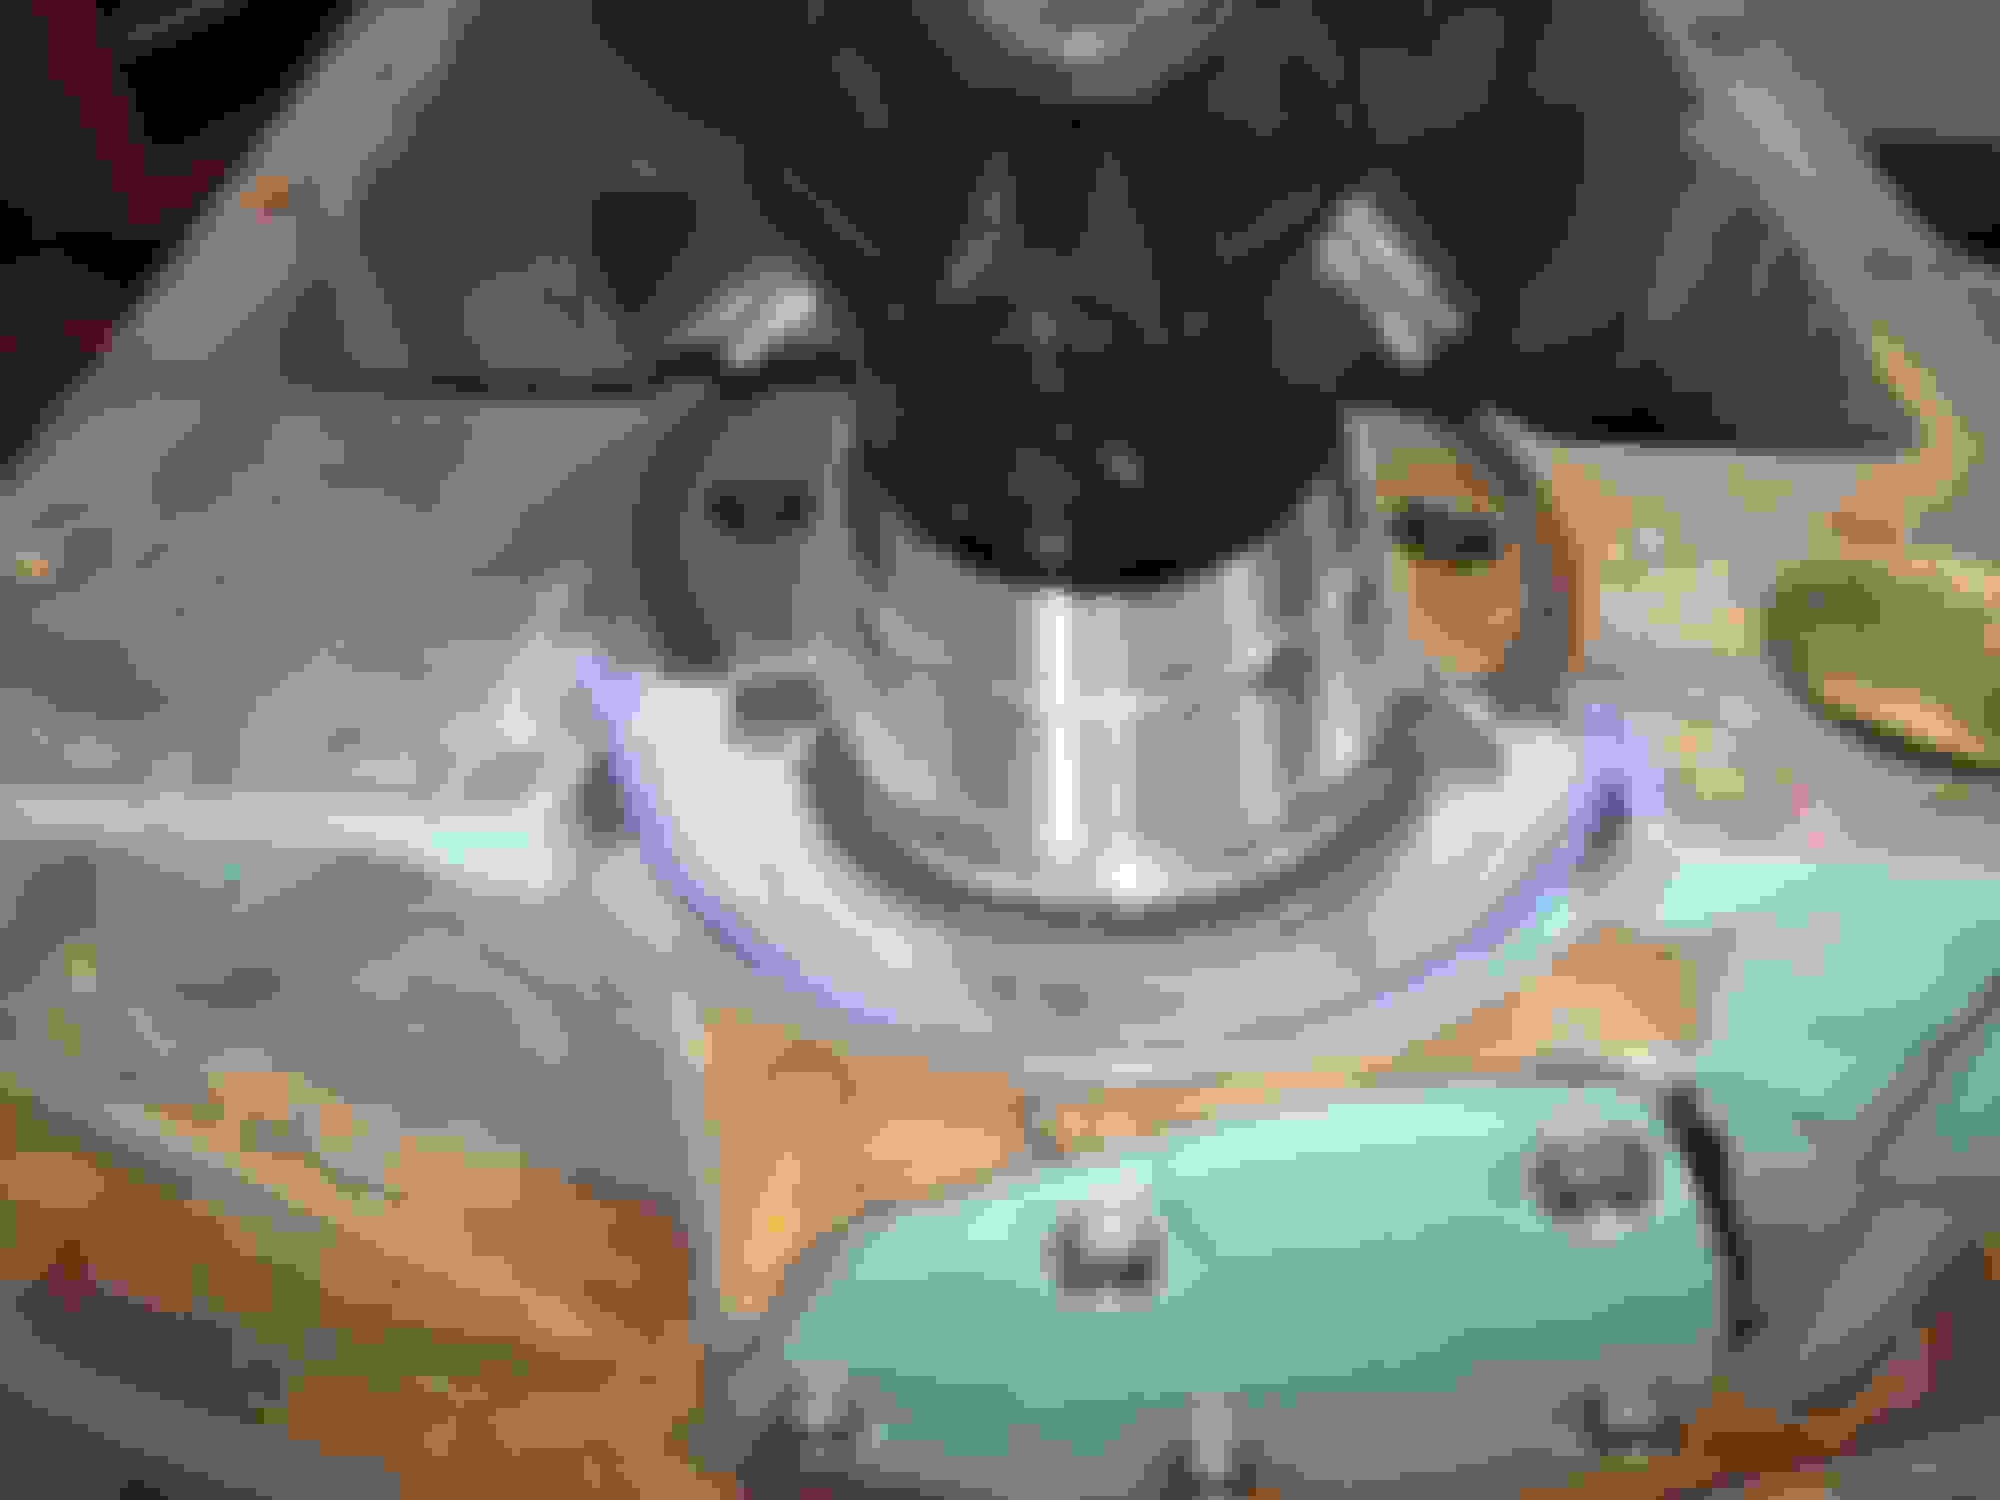
I went ahead and installed the timing cover and water pumps. I used the one piece lip seal for the front rather than the conventional rope seal. However, you need to keep something in mind. The rope seal uses a grooved extension sleeve to direct oil back into the oil pan. The one piece lip seal must have a smooth extension. Many places sell the lip seal, but don't bother to tell you that you need to buy the smooth extension.
Cover installed. I used clear RTV were the seal fits in the cover groove.
I'm using Offenhauser 400 aluminum heads. I decided to go with head studs rather than bolts. I applied Permatex on all the threads onto the block to prevent water leaks.
Studs in. I also went ahead and installed the water pumps. I painted the pumps the engine color and the pulleys black.
In a movement of stupidity, I flipped the engine to install the oil pump and pan so that I could close the bottom end. Well, it was late, and I was tired, and as I was installing the pump sump bolts, I wasn't paying attention and cross threaded one of the bolts! Stupid, stupid, stupid... $130 and five days later, I'll have a new oil pump on Monday. Uhgggg!
 02-27-2016, 12:46 PM