When you click on links to various merchants on this site and make a purchase, this can result in this site earning a commission. Affiliate programs and affiliations include, but are not limited to, the eBay Partner Network.
Man, love the look of this truck! I take possession of my '58 292 on Friday and hoping to do much the same: Keep as much of it stock as possible. Would love to lower it about the same but never having done this before it'll be a long work in process! Keep up the good work and keep sending the photos!
Hest, move the axles over the springs and you will get close. In the back you can use blocks but you will need to notch the frame for travel and you will need longer springs. I you are handy with steel, it’s work but easy. You will need to move the spring perch (or just add another to the bottom) and get longer u bolts. The Front will require you to fabricate a mount between the two. I found a pic on the interweb of what I am gonna do. I will attach it here. I agree about using the stock parts. I never understood someone who would spend 10 to 40 grand to build an old looking truck.
Yesterday, had a few hours after work (and was actually able to get off work on time for once.... supposed to rain here tomorrow and the farmers don't want to pay after hour prices to repair downed tractors they can’t use...). Anyway, when I lowered it, I flipped the axles over the springs which gave me 5+ inches. I wanted a couple more. The farmer that had this added springs to the bottom so I removed the extras. Sat too low, sitting on the frame as the stock springs had no spring left in them. Was wondering what to do that would be free and I remembered finding an old Jeep Wagoneer or truck frame in an overgrown thicket behind the shop when I first moved in and cleaned the place up. The rear springs are the same length and the center pin was centered moving the axle back into the center of the wheel well. Threw them on I now have 1.5” of clearance to the frame and they are still arched. I may need to add a 1” block to get it down where I want it but maybe not once I get the spring perches in and the right tires and rims. It will be close enough for now. I can dial in the stance with shackles and blocks.
I also went through an old scrap pile at a farm (love my new job, free stuff to repurpose everywhere) and found all the steel I will need to c notch the frame. I need to get some long u bolts to put it all together right, but now that I know the height, I can pull the bed to do the c notch, cab to repair the rust, and motor and trans. A friend that builds derby cars gave me a Ford 9” out of a ’63 Galaxie. It has 300 gears so that saved me some money. Brakes on rhe ’63 are new so I’m gonna see if the whole setup will bolt to my axle.
Anyway, wish me luck. Gonna tackle the c notch. I’ll post some pictures a little later.
Well a friend gave me an '89 F150 with a 5.0 EFI. Truck only has 92,000 miles. So I am excited because it is running, complete and he told me it has 16" steel wheels and a good seat. Only issue is it is not getting fuel. Runs on starting fluid though. Something I can easily diagnose and repair. I am also going to rob as much as I can such as brake system, etc.... This will be a great motor and maybe trans swap until I get the 292 rebuilt right.
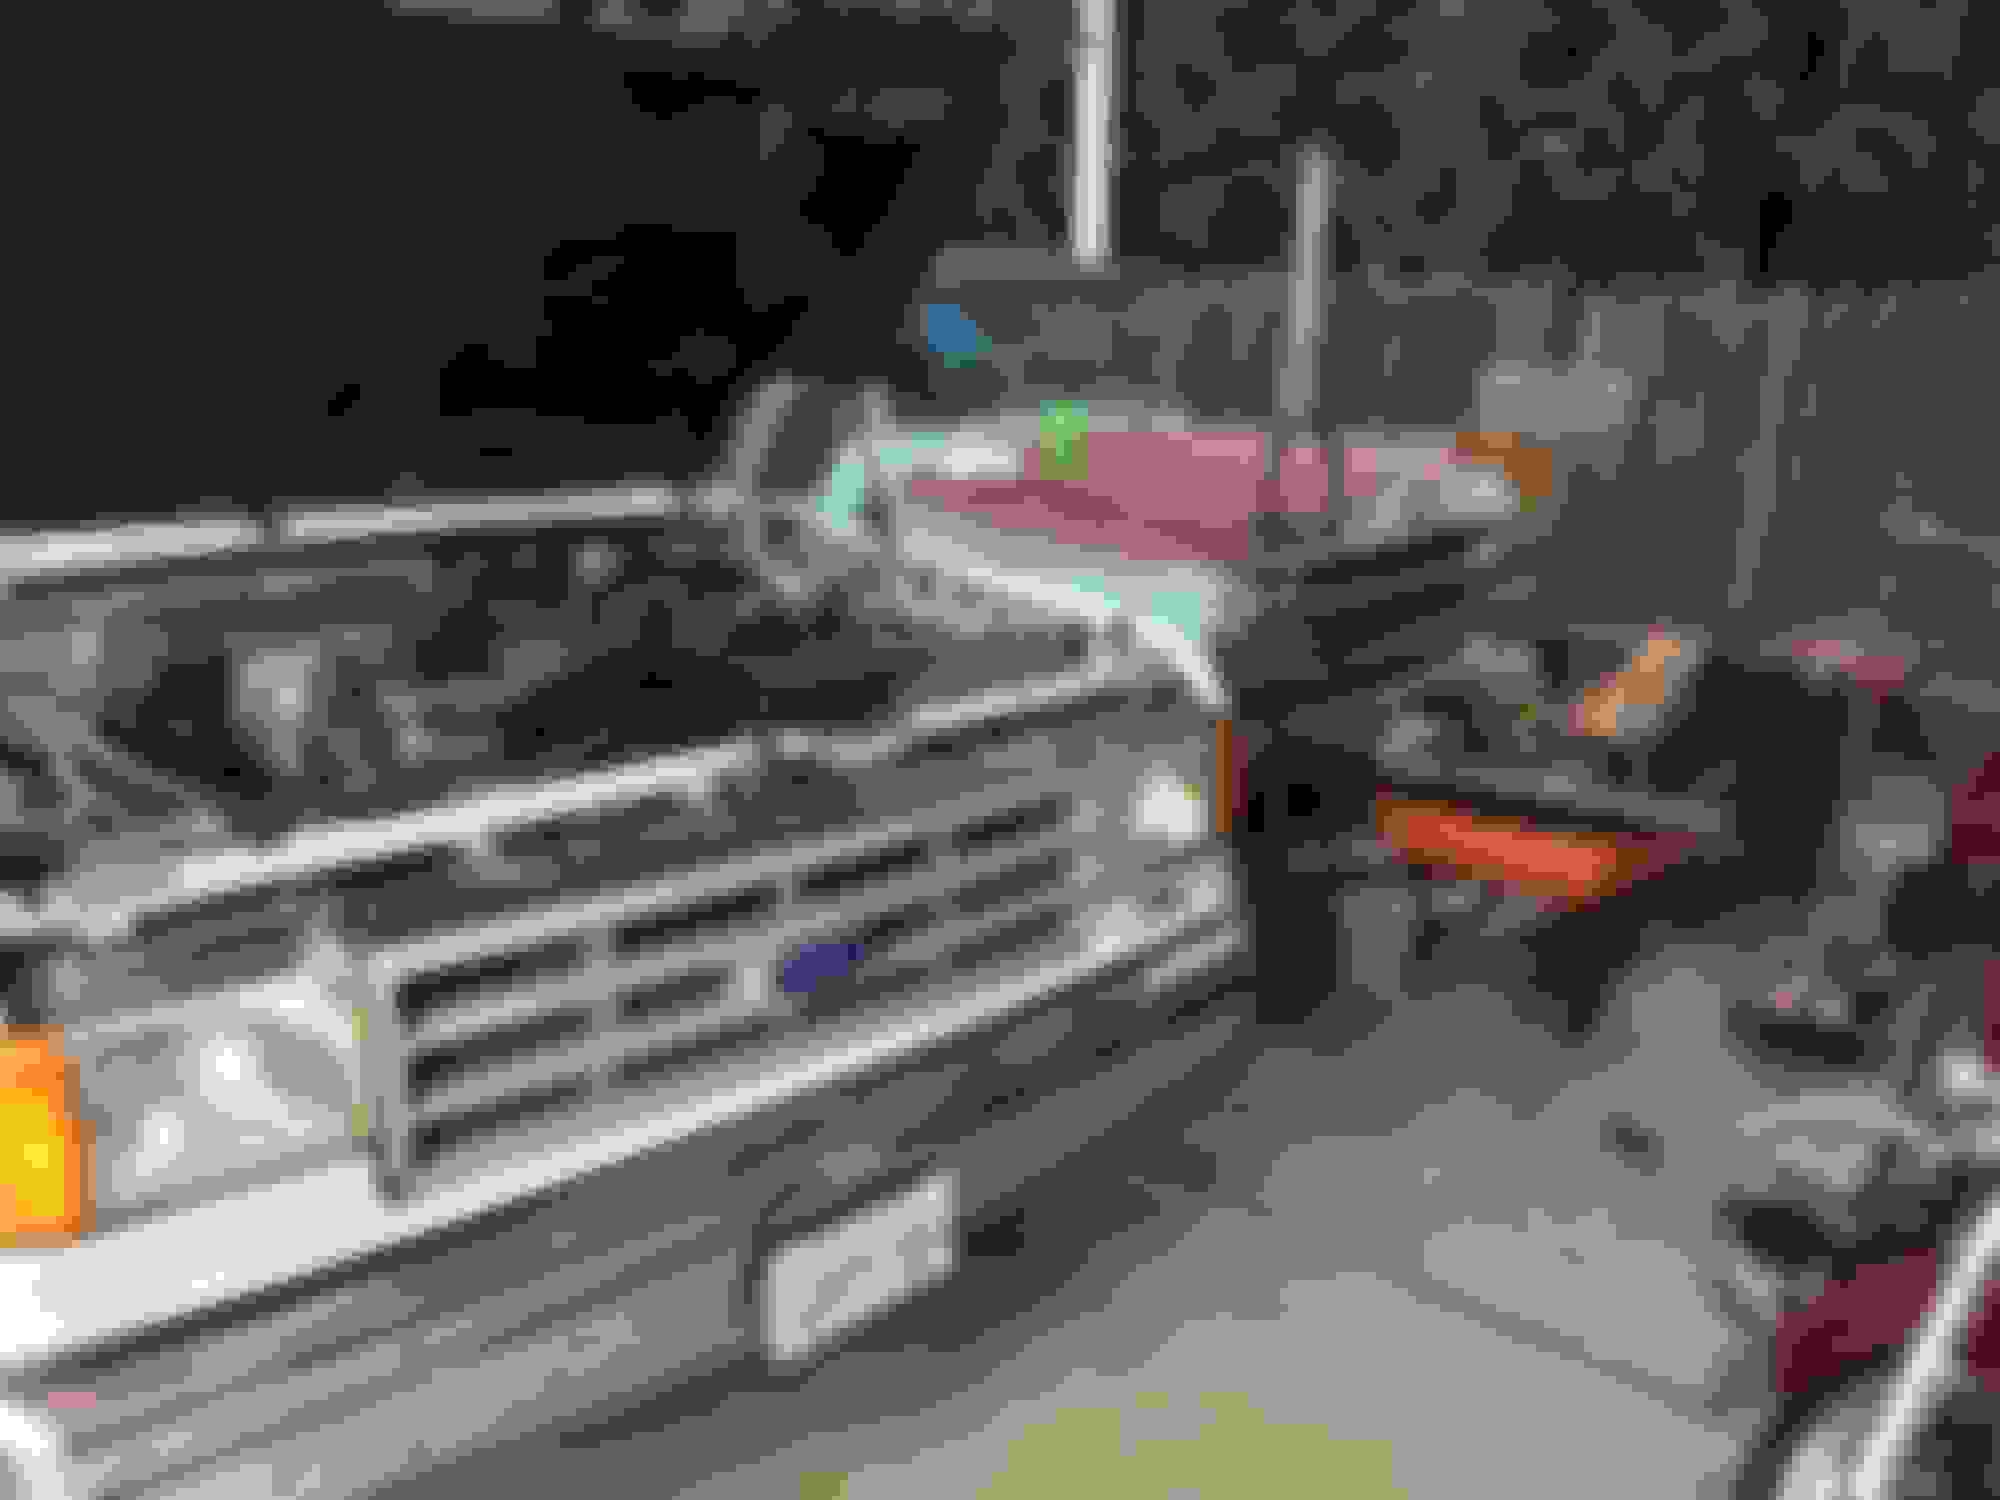
So I go to pick it up. It's a F250. All I can really get from it is the engine/trans. Quickly figured out it is the Engine Control Module. They run about $100 bucks for this truck. Took it out and opened it up and sure 'nuff, burned up stuff on the board.... Gonna swap it out hopefully this weekend.
Now my dilemma is that once I get it running, this truck is worth more together than if I pull it apart. I may sell it and use the money to buy a motor and mate it to my trans. decisions.... decisions......
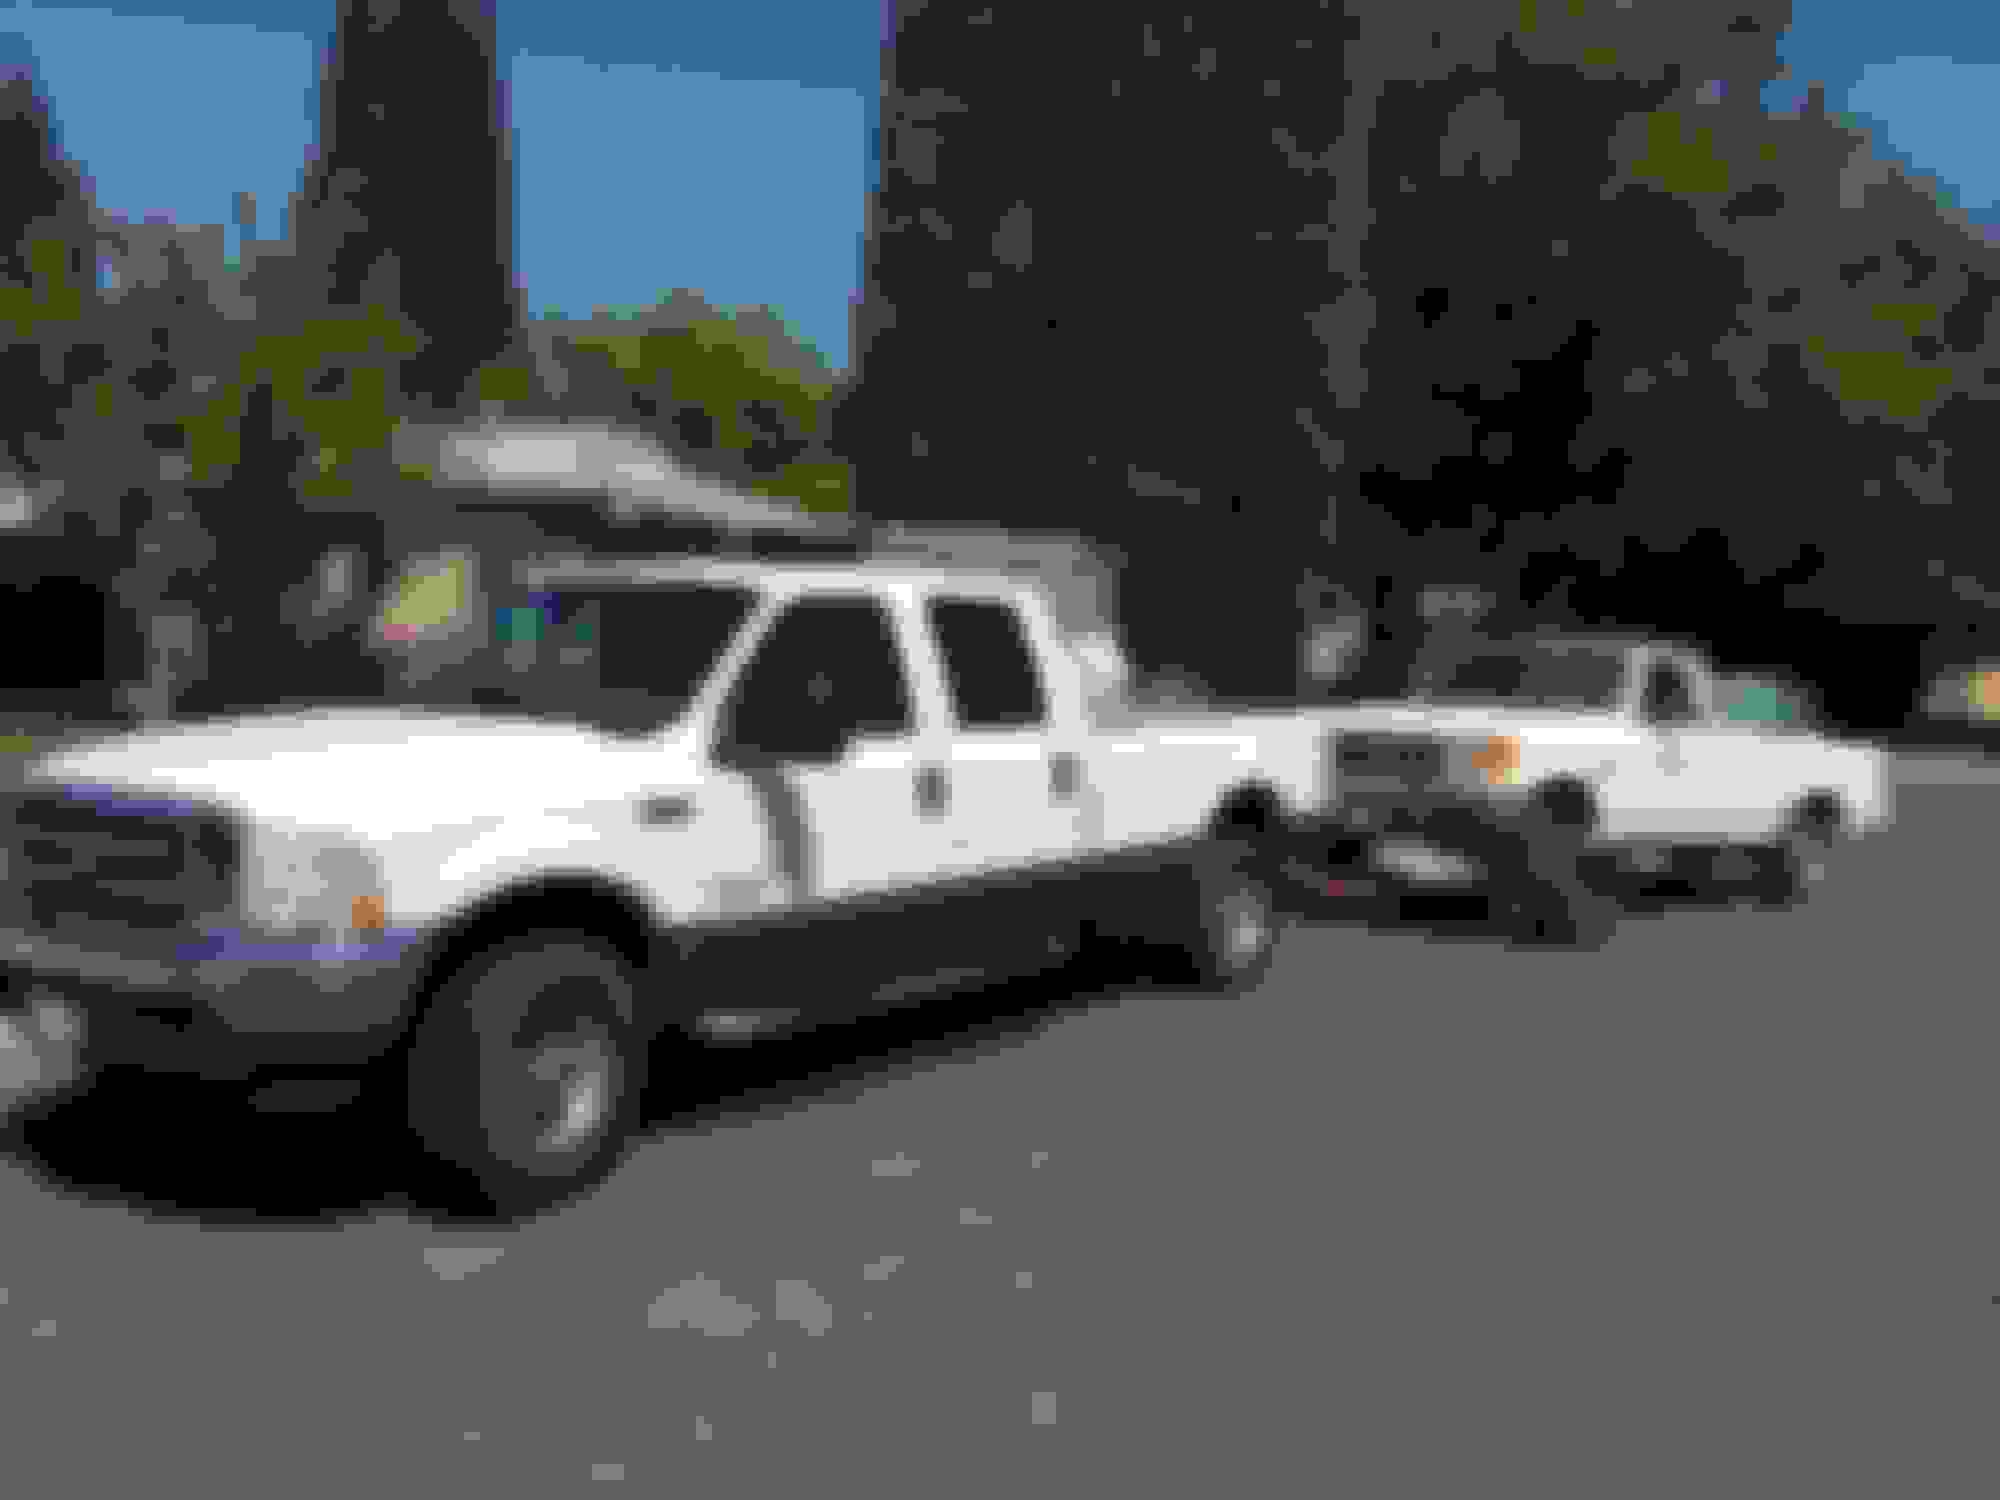
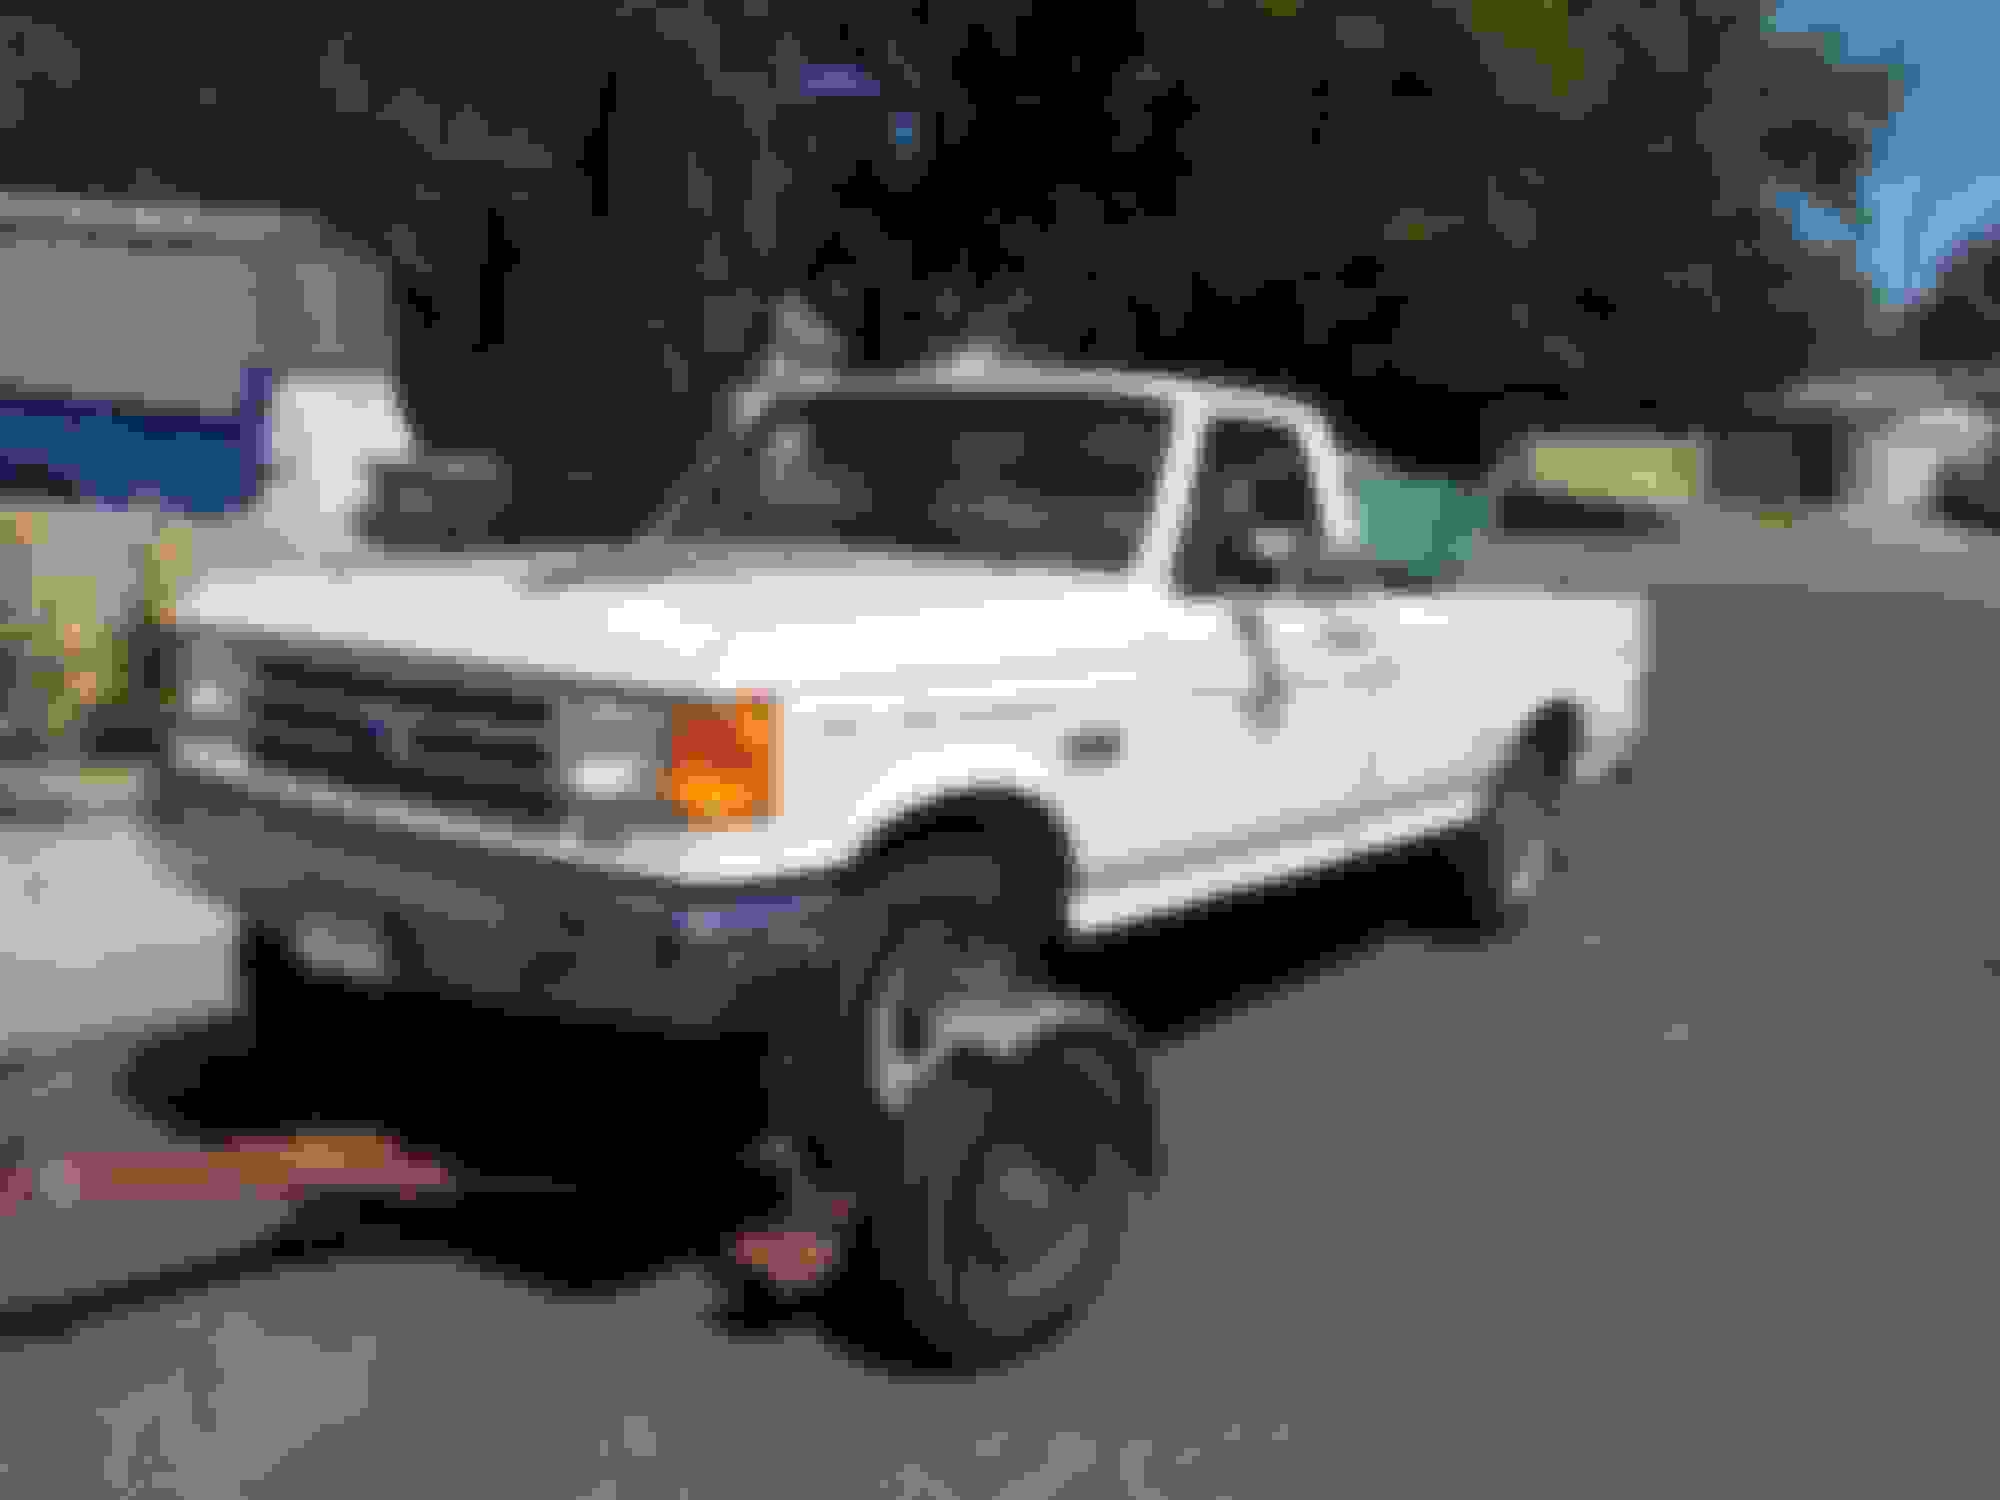
My F350 makes this 250 look small....
paint is a litle rough but overall it is a good truck.
Now my dilemma is that once I get it running, this truck is worth more together than if I pull it apart. I may sell it and use the money to buy a motor and mate it to my trans.
I haven't updated this post in a while. Had several others asking technical questions though.... I�m getting too confused about what I should post where so I'll just kinda update and post a few pics and then repost my unsolved dilemmas here.
So a quick history, found this truck behind a barn. Hadn�t run in 47 years. Was basically complete and the rust is not bad considering. Yanked the engine and trans and dropped a FE 360 in it. Did some mild stuff to the motor to make it a better daily driver for my daughter who will get her permit in October. Did an axle over in the back as well as the front. Just finishing that up now. So far, everything is turning out pretty good. I was going to say �as planned� but I am pretty much building it on the fly with little planning. Using old stuff as much as possible and building everything I can. Saves me money and I�m old school. If you are gonna buy a bunch of new parts and put them all together, you have a new truck. I want an old truck with old parts.
FE Motor/4 speed trans:
Was bouncing back and forth about rebuilding the 292 or using the 360 from the donor truck that was given to me. Decided on the latter as it will save me some funds and I could be up and running sooner. I junked the 2bbl and acquired a 4bbl FoMoCo intake from a mid �60�s FE. Currently looking for a 600cfm carb to put on top of it. I also swapped out the timing chain for a double roller that gave me the option to take out the retarded timing. Also put on some long tube headers. Gonna keep the �76 4speed. I havea 300 pumpkin to drop in the rear end so granny low ain�t so granny and 3�rd gives a little more headroom on the highway. Gonna be plenty of power and actually maybe too much power since my daughter is gonna be driving it. I might have to put a rev limiter on it.
To make room, I had to remove the front motor mount brackets as well as the transmission crossmember. Used a cold chisel, a 10lb mini sledge, and a lot of sweat. They made real rivets in 1959� Ended up using the trans crossmember up front for the motor. Built some motor mounts and welded it all together. I kept it a little high to make sure I have room for the axle over in the front and to avoid cutting on the crossmember under the radiator. Transmission sits almost perfect to the old hole in the floorboard. Have to trim about 2 inches in the existing hole to make it fit. The fan is gonna be tight. Trying to avoid an electric fan.
So my biggest issue now is the clutch linkage. There is no room for mechanical linkage so I will need to convert it to hydraulic. I had another thread where I asked about this and got a few ideas. I think I am just going to get a long narrow GM slave and build a custom bracket to bolt to the belhousing. I will use a stock 58 F100 clutch master cylinder. It just going to be tight with the steering box and headers. I have to consider I am eventually going to do the Toyota power steering upgrade at some point.
Front Axle:
So the axle over swap went pretty much as I expected. I thoroughly researched ideas (stole them�) and built a cradle for each side of the axle. Pulled out the extra leafs that were not original, put a new center bolt in with the pin on the top and bolted it together. Puts the stance right about where I want it. The front ears of the frame where the bumper was mounted is right at 12 inches now. Has a slight rise in the front but once the front clip and hood are on, it should fit pretty level an low. I�ve got several inches between the frame and axle also so no need to do a c-notch up front. As I expected, I needed to trim some of the bottom rear lip of the motor crossmember as the axle would rub it with weight. plenty of room to move now.
I still need to take the springs off, press in new bushings, clean them up and paint them as well as make bottom shock mounts. I also need to address the drag link. I want to eliminate the bump steer as much as possible and have seen several posts on this forum and others. What others have posted is cutting and bending the drag link, putting in some kind of adapter on the tie rod end, and/or heating and bending the steering link. My understanding is the drag link needs to be pretty much parallel with the ground and at the center point of the arch so when the suspension travels up or down, there is less pull on the steering arm. Is the steering arm able to be heated and bent without causing issues structurally? What have you guys done?
As for brakes on the front, my plan was to buy a disc brake conversion kit and use the powerbooster/master cylinder/proportioning valve from the �76 F250. Tried to mount it today. The booster is too big (it�s a monster) and will hit the valve cover. I need a smaller diameter booster/MC setup but it need to have the extender bracket from the firewall. There are new bolt ins I can buy but if I can find a FoMoCo from a later model that will fit, I�ll do that. Anyone know of a 1� or 1.5 bore dual MC with a 9� diameter or smaller booster application? I was thinking maybe a newer F150 or maybe a Ranger or Bronco? I�ll buy new if it�s a Ford application.
Rear end:
First I swapped out the leaf springs with a set from a Jeep Wagoneer frame I had out back. Dropped right in. I did an axle over. I cut the perches off of an old 9�. Bought some long u-bolts an put everything pretty much in place. Now that the trans is in, I can loosen the u bolts and set my pinion angle. then I�ll tack weld the perches, take it out and weld it up. While it�s out, I�ll swap out the rear end with the 300 I have, and clean it up and paint it. I do need to aquire some original bottom shock mounts. I still need to pull the bed and do a C-notch. Currently sits just barely touching the bumpstops. once that is done, I will likely add airshocks or maybe hide some helper airbags as this will be hauling band equipment to gigs. I also need to go all new with the brakes. Everything was rusted and not usable. I see kits with the backing plate and all ready to bolt on. I am also going to put all new wheel studs.
Appearance:
Basically I am going to repair the rust but keep the truck looking as is. A tight chrome bumper front and back. My daughter will be driving it to school. If she bumps something or someone bumps her, more protection. I have 5 stock wheels that I am going to blast and powdercoat. I like gloss red or black but my daughter gets to choose. Whitewalls and chrome lugnuts. No hubcaps. I will probably drop some change into the interior so it looks like the day it drove out of the factory. I am going to add AC and replace the radio with a repro that fits in the hole but has all the modern technology (FM, Bluetooth, etc�). I am also going to fabricate a mount for shoulder straps.
Well I am being called for dinner�. I will be more diligent about posting updates�.. I have posted all the photos I have taken to date in my gallery. I�ll try and post a link�� Someone help me with this?
Hmm... No pictures showed up. Let me try again.....
Homemade FE crossmember.
The original trans crossmember repurposed for the motor.
How it sits in the engine bay.
Hopefully left enough room for the later date Toyota power steering upgrade.
Can get the starter in and out without pulling the header.
Only have to trim about 2 inches of the tunnel cover.
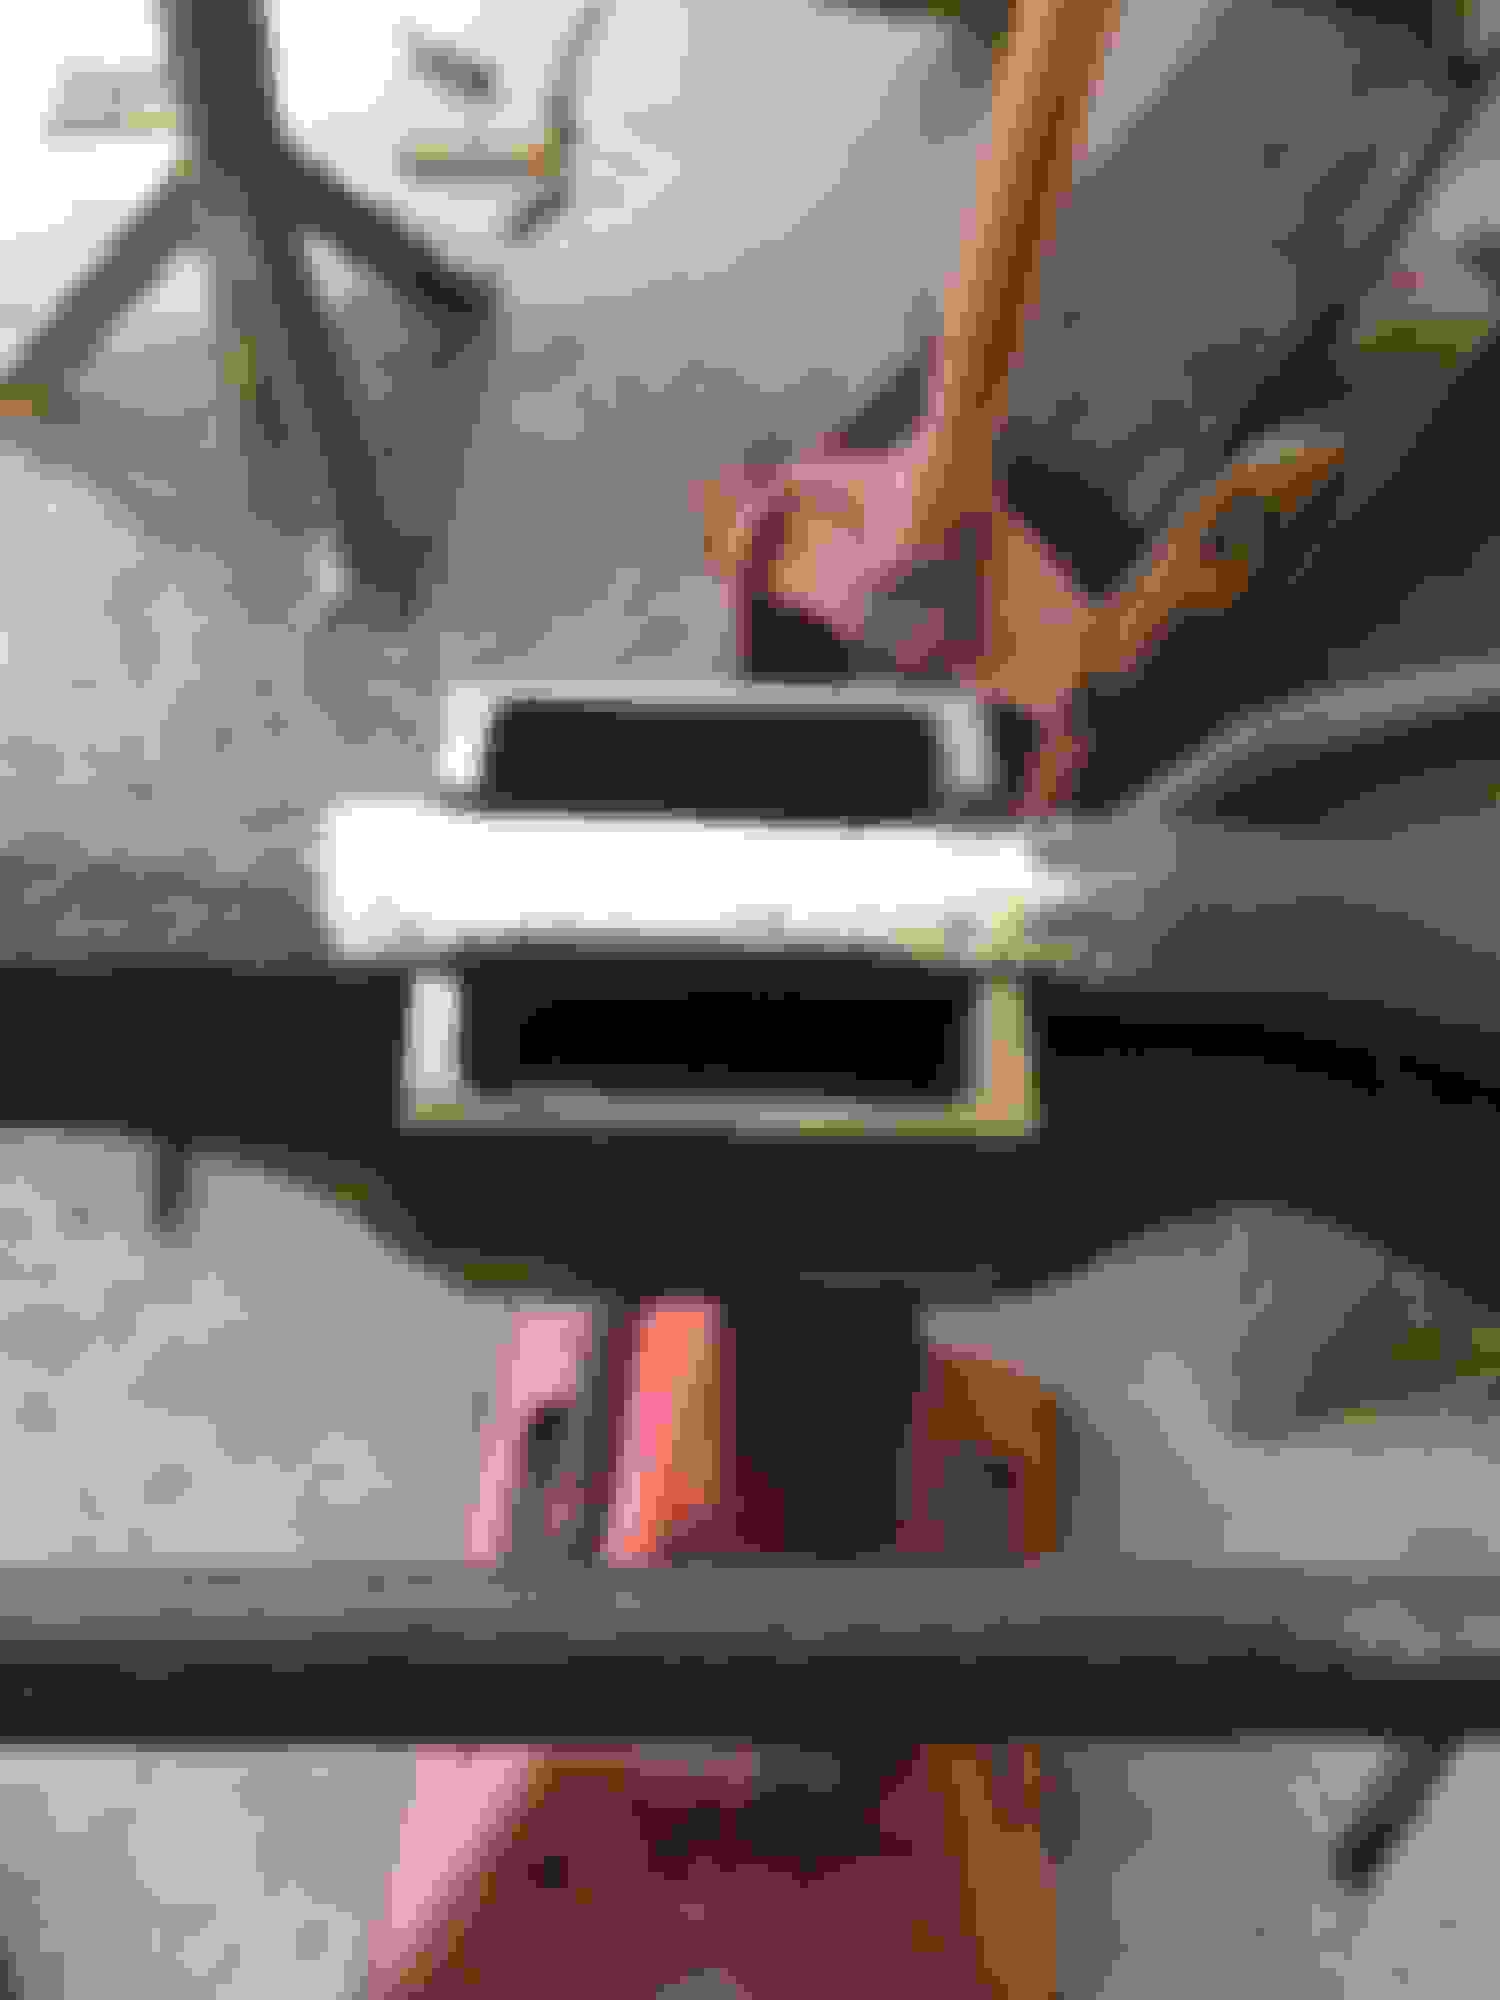
The axle over cradle. Gonna put u-bolts in. U on the bottom, threads up top. Also need to make a shock mount.
Lots of room between the axle and frame.
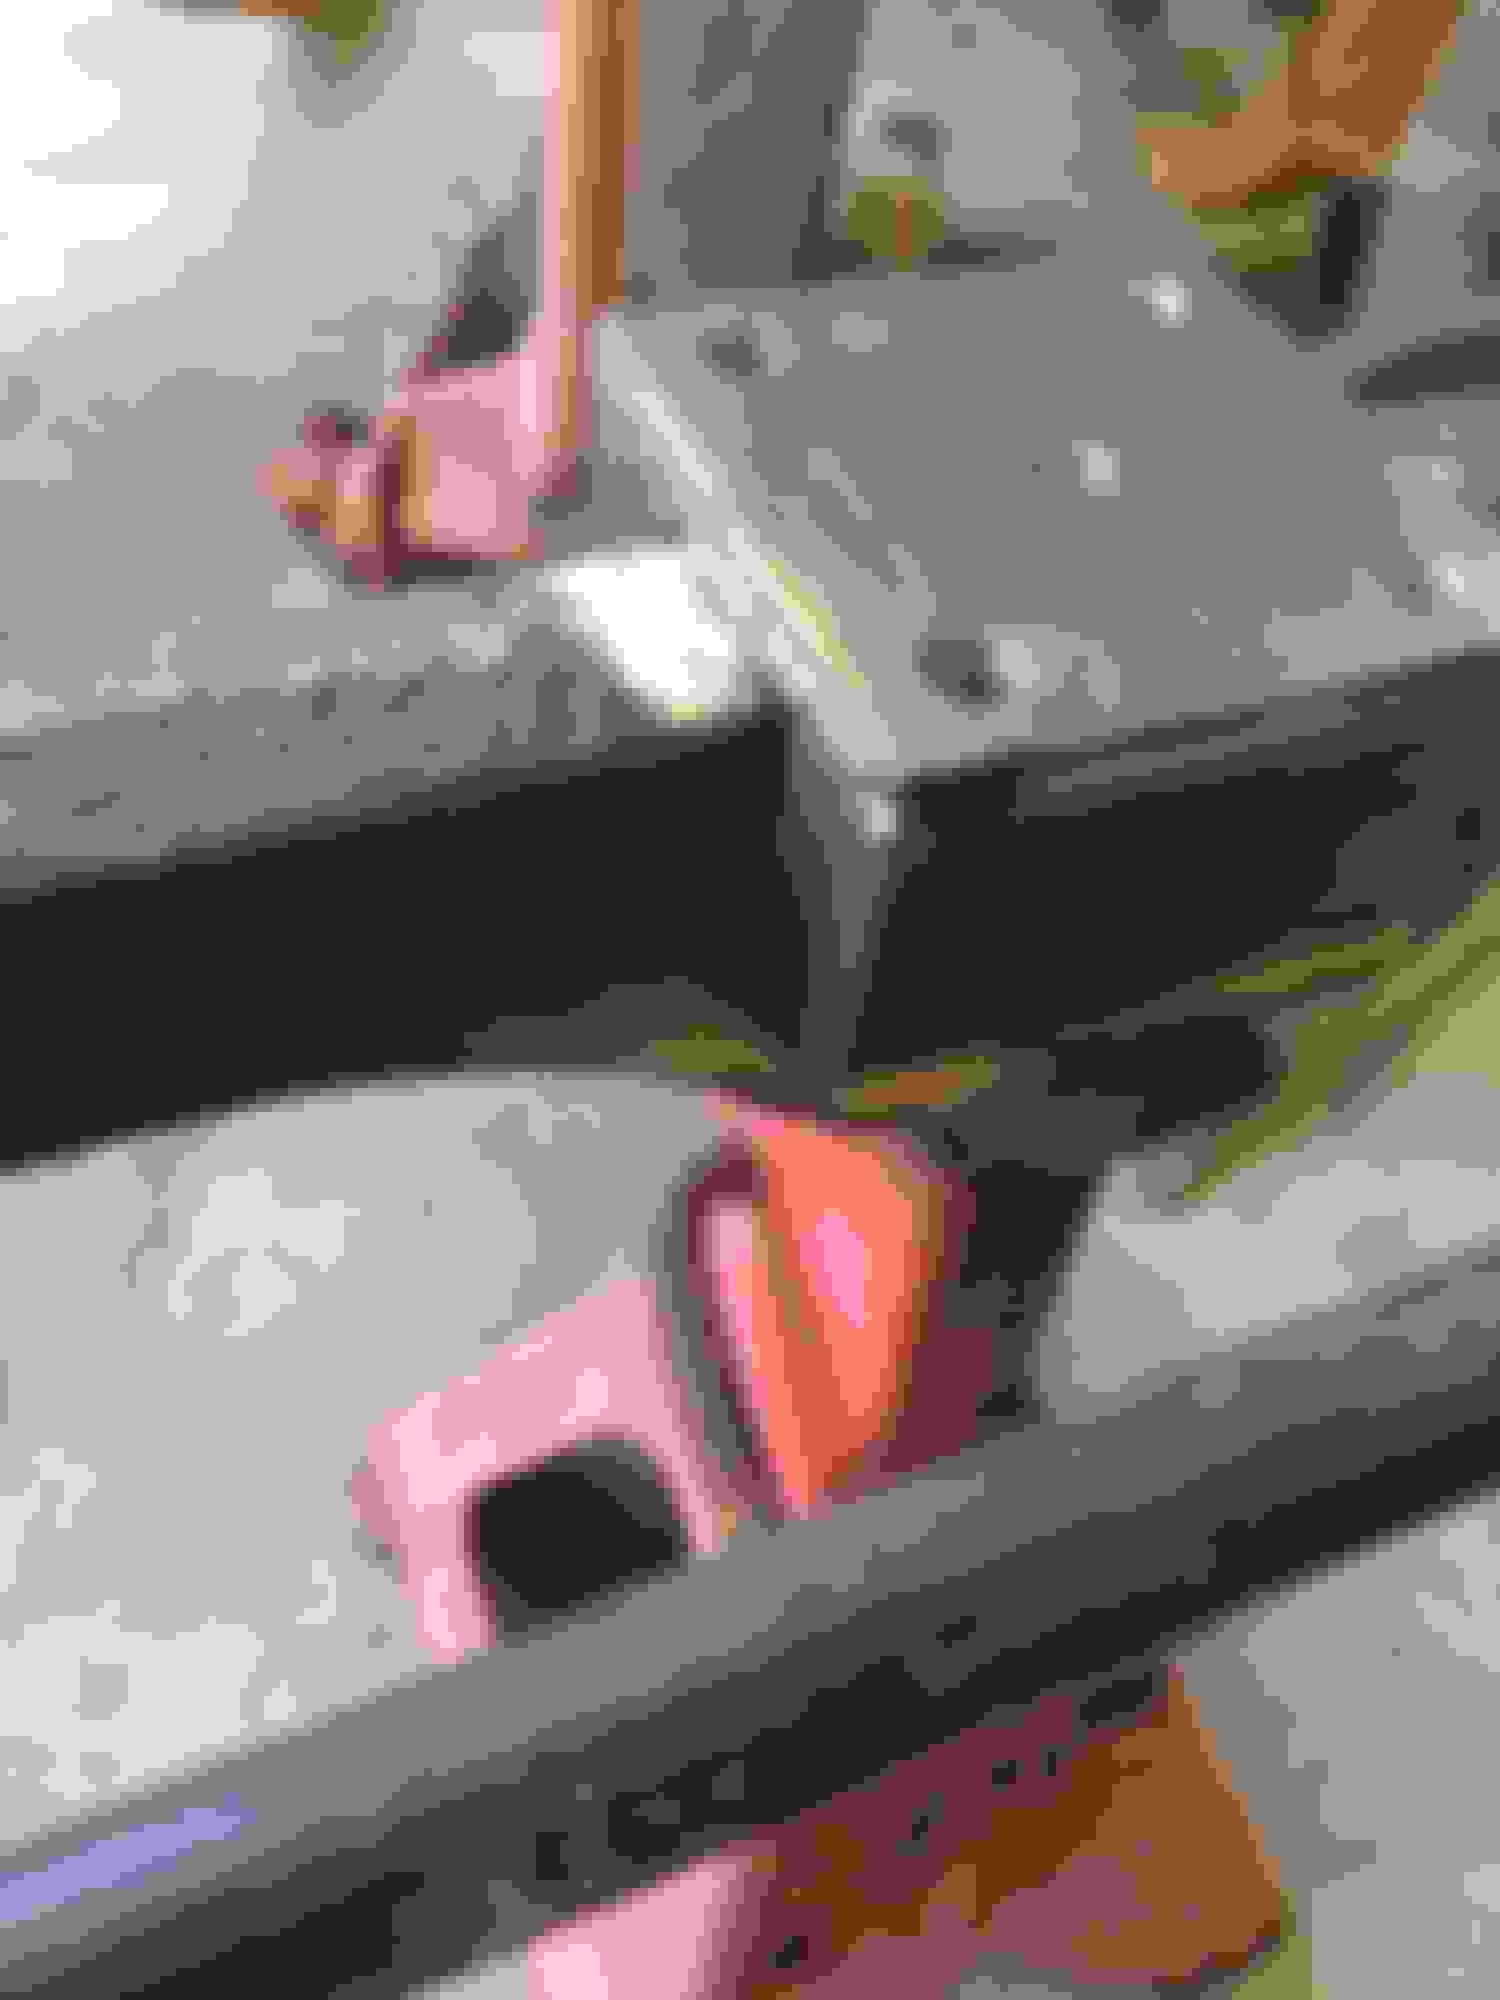
Hard to see, but I had to trim the back lip of the motor crossmember. Knew it would be tight and I would likely have to do this. Also hard to see, plenty of room between the axle and oil pan.
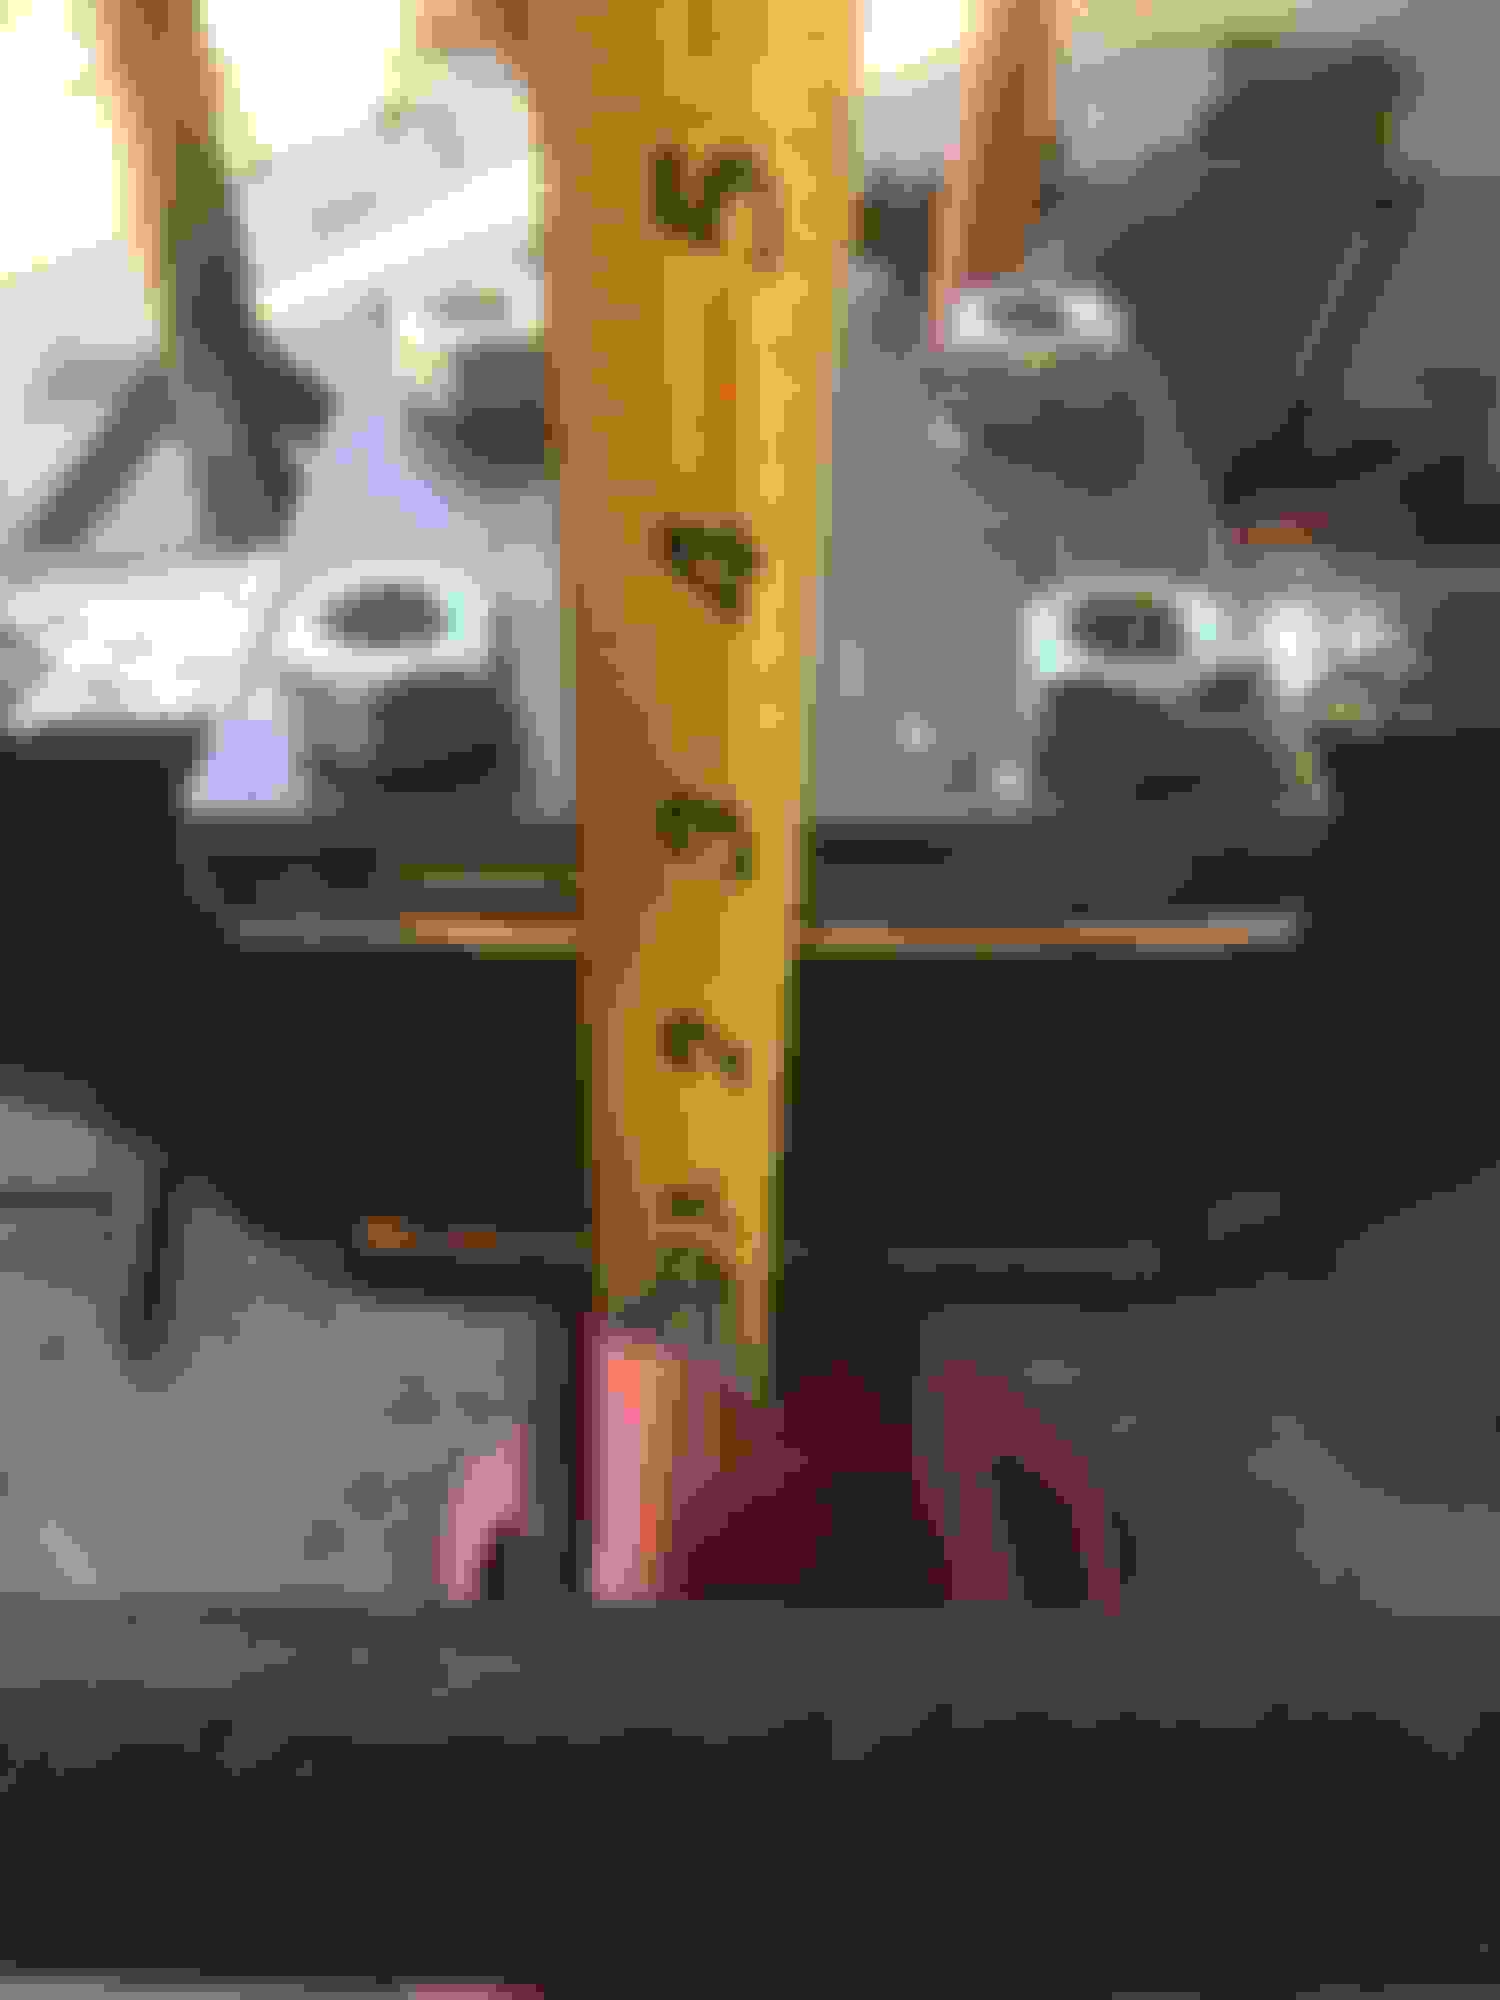
Tie rod has plenty of clearance.
Front will drop a little more once the front clip and hood are back on.
Wow, that's looking good! I like the old school work. That FE will do you just fine; your daughter won't be getting any fuel mileage awards, but hey, she'll have to coolest vehicle in the parking lot!
I posted this as a separate thread hoping to catch someones eye (more likely to catch a fish with 2 hooks than 1) but want to have it here also so I can track it easier in the future.
I did an axle over in the front and now I need to address the drag link angle. I have scoured this site as well as many more but for every solution I find, there are those that said it was not a good solution except 1 but I found very little info about it (more below). I have read simple to technical explanations of bump steer and achieving the correct angle. Some are actually hilarious. Remind me never to be in their trucks at over 5 mph.... I understand bump steer and the geometry between the steering box and spindle.
With that said, should my goal be, (with the truck sitting on a flat level surface with the wheels straight ahead and the steering box in the middle of it's travel), to have the drag link parallel to the ground or perpendicular to the spindle angle (roughly 4 to 6 degrees).
Second question is about the drag link solution. I saw a few positive posts about heating the steering arm (forged steel) and bending it down and aligned with the angle of the drag link end. I didn't see any negative posts about this.
Has anyone here ever heated and bent their steering arms? I measured, and I have just enough room to make it work though I will have to install/uninstall the drag link with the steering arm removed.
I am anxious to get this resolved so I can take it all apart, clean up and paint everything and get it back together.
Any answer you give me will be appreciated (except buy a Chevy)......
Here are a few more pictures. I decided that I didn't really like how the front axle cradles turned out. they were functional but didn't look right. I decided to take them off and build permanent perches welded to the axle. Better looking and way more stout.
For each side I used two pieces of 2.75" x 4" channel notched and rounded to fit under the axle spring perches and two 4' x 3.75" x 1/4" plates welded together and drilled for the u-bolts and spring center pin. I ground the area of the axle under the plate flat and to the right height (see picture below) so the axle rests on the plate and is the same height on both passenger and driver's side. Currently its primered and ready for black chassis paint. While the axle is out, I am going to claen up the front springs and press in new bushings. Here are some pics. I'll include a before shot too.
First attempt. Works fine but I don't like how it looks.
These were cradles and they were just pinched between the axle and springs by the u-bolts. New ones are permanent.
$7.37 worth of metal to do both sides. New u-bolts were $40. <br/>
Used 2 pieces of 1/4" plate to give me clearance between the tie rod and springs.
Notched and rounded to fit.
Sitting in place. After this picture, I had to grind another 3/16" to get the axle flat and the right height so the plate would sit on it correctly.
Top view.
dry fit looks good.
Bolted and ready to weld. Both sides are the same height.
Welded and ready for paint.
Primered.
Other side primered.
Ready for paint, king pin bushings, and disc brake conversion.
Old cradles installed (except u-bolts). Just didn't look right to me.
Nice work. However, isn't the hump in the axle going to hit the oil pan?
I have a lot of room. The axle is sitting upside down on the jack stands. Also, the pan for the FE motor is a front sump and I made sure I would have plenty of room when I built the cross member.
Last edited by Martin Torres; 08-25-2017 at 11:28 AM.
Reason: more detail
 04-05-2016, 01:42 PM