1967 - 1972 F-100 & Larger F-Series Trucks Discuss the Bumpsides Ford Truck

72 F250 Build/ redo

Thread Tools
 
Search this Thread
 
  #16  
Old 03-29-2016, 01:33 AM
72CC428's Avatar
72CC428
72CC428 is offline
Posting Guru
Thread Starter
Join Date: Aug 2012
Location: Rockville, Ct.
Posts: 1,241
Likes: 0
Received 1 Like on 1 Post
Okay, here goes I hope. I won't be starting from the beginning but I will try to keep it chronological as much as possible.


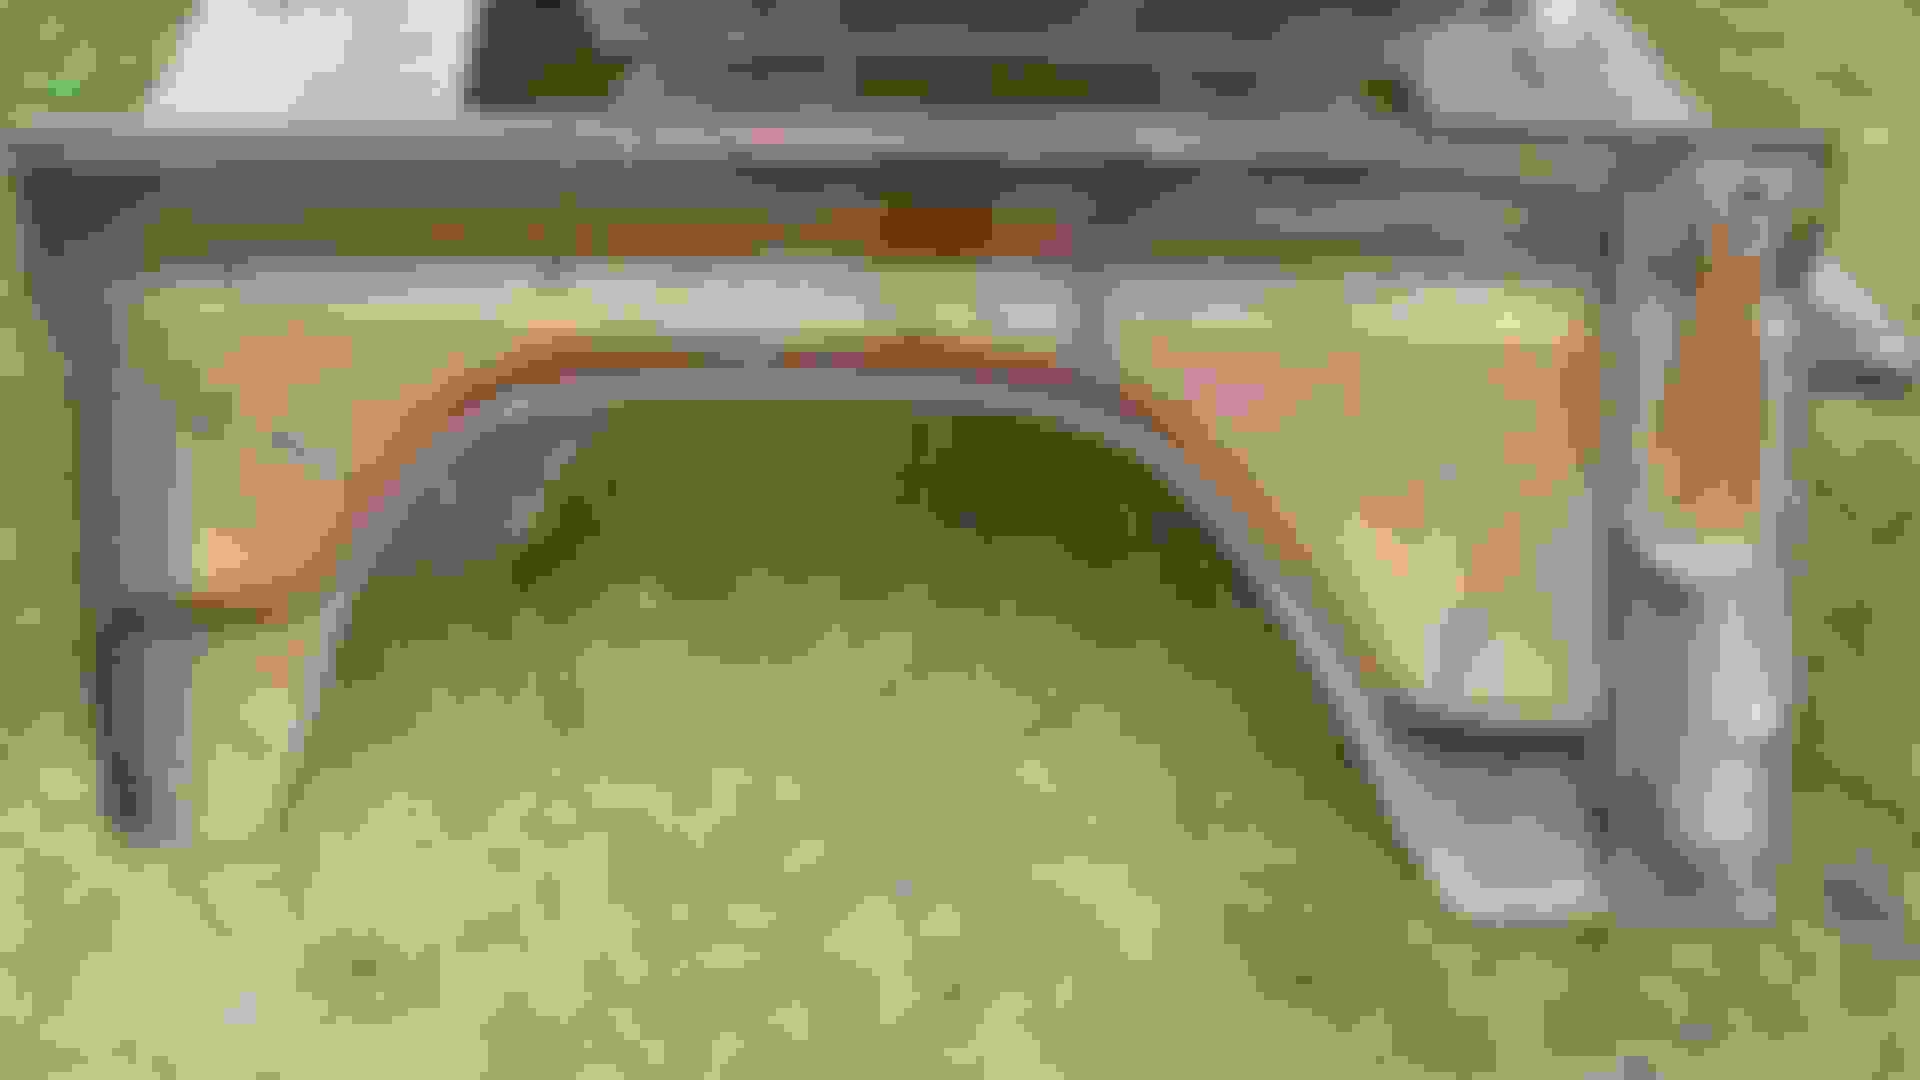
Passenger side fender


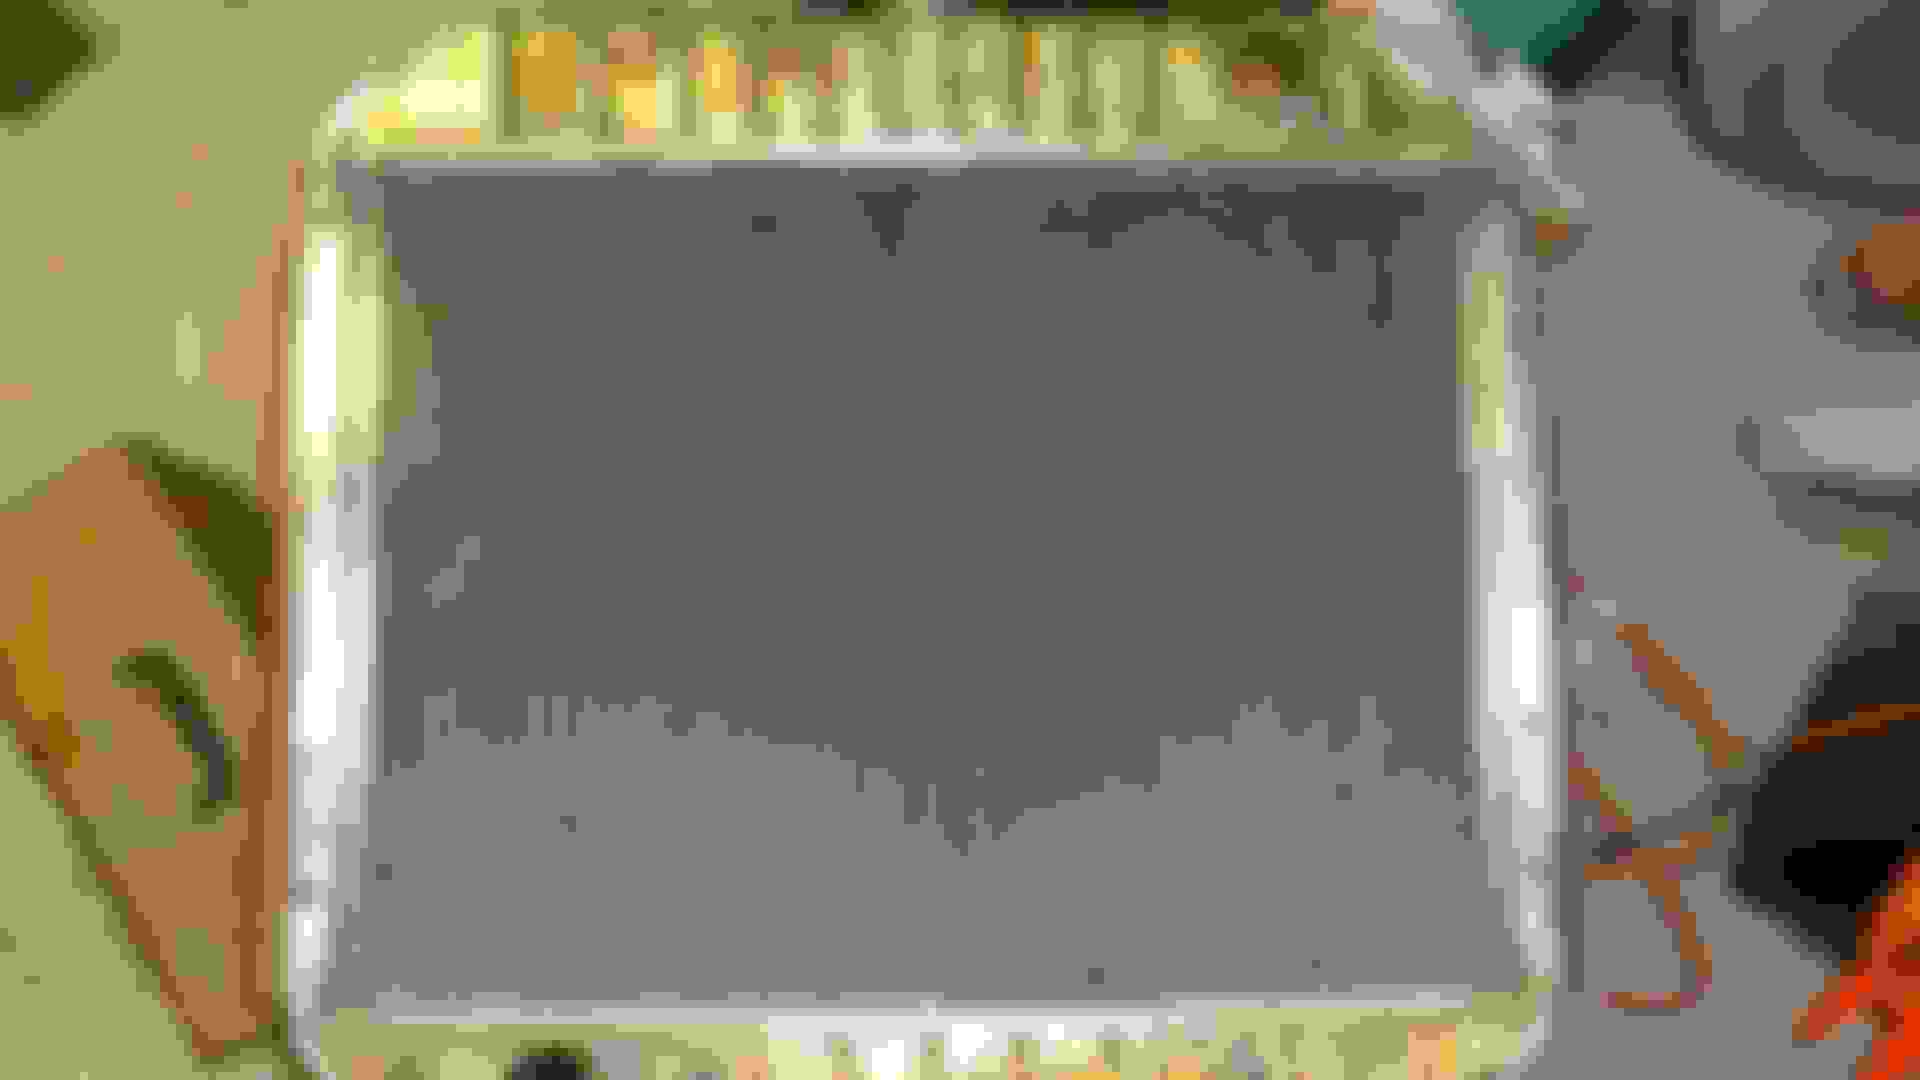
Rad. after I wire brushed it, Prior to painting


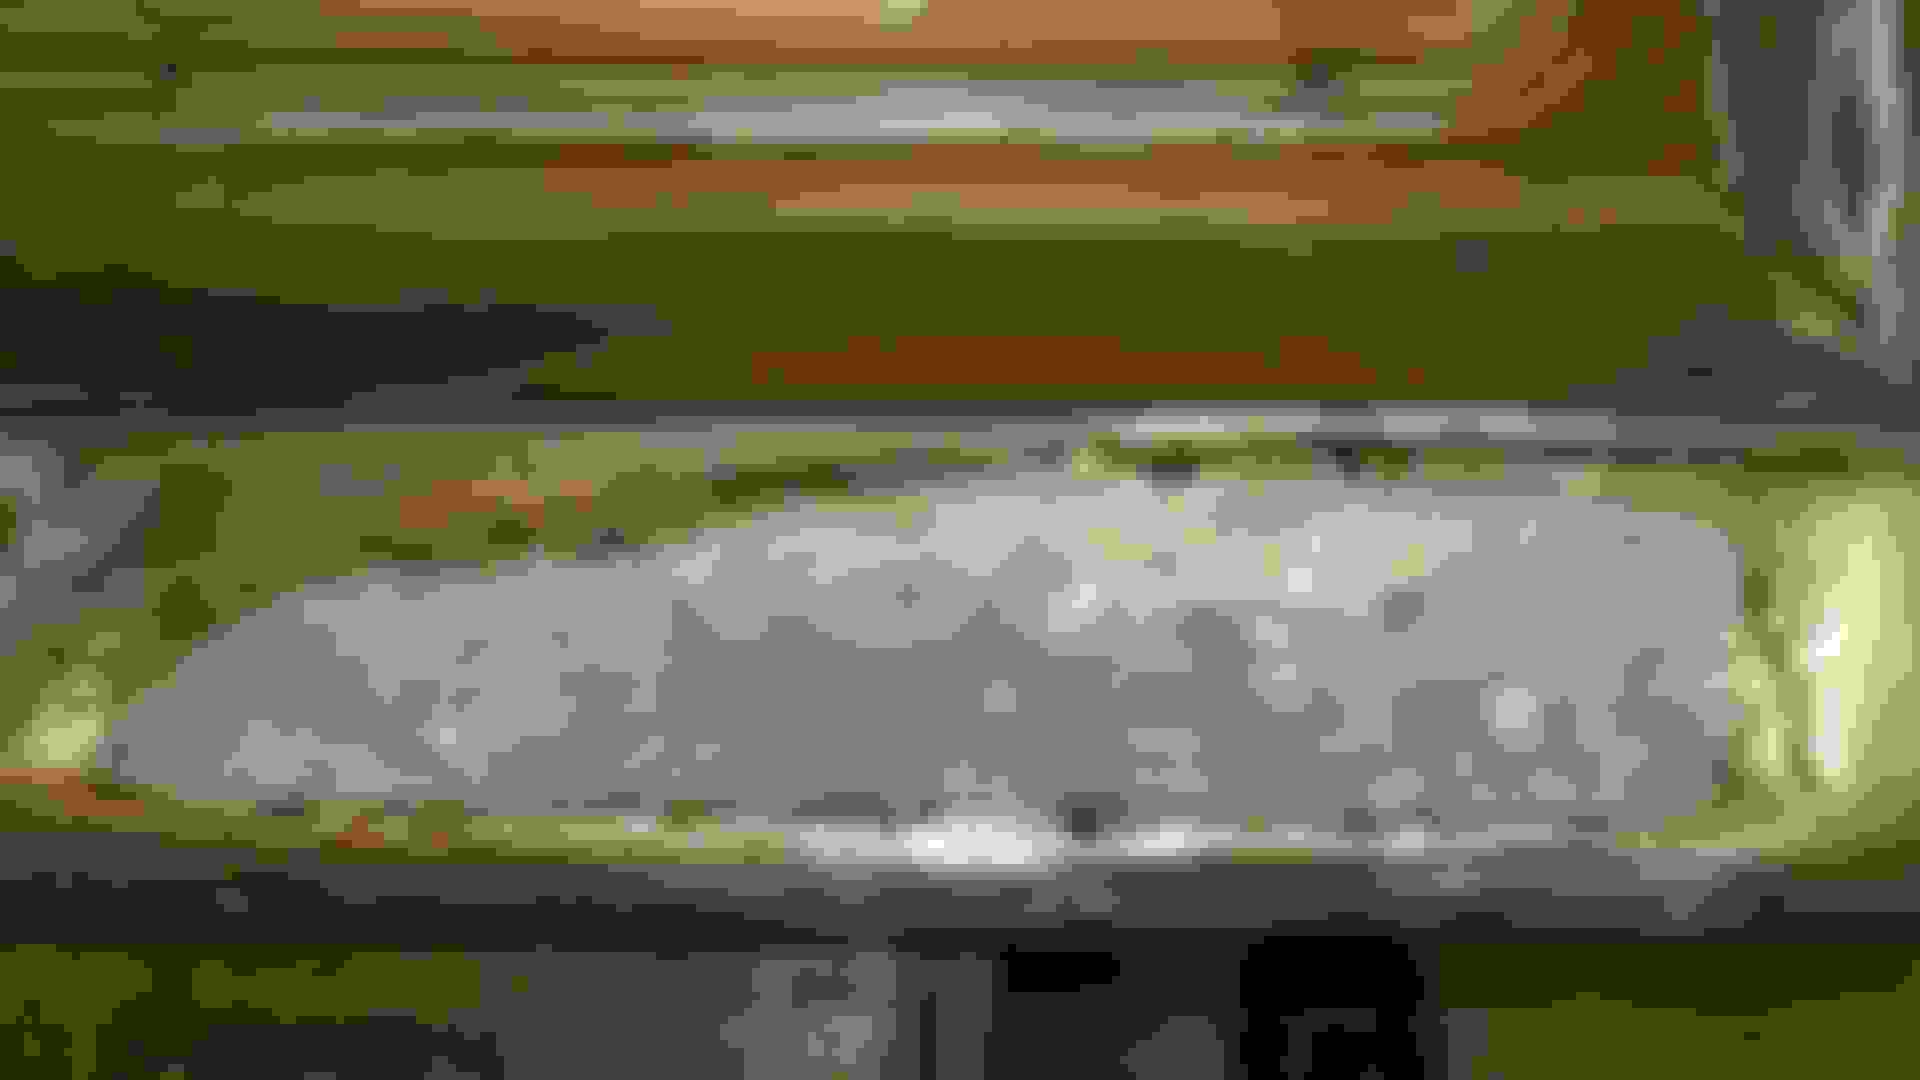
Rust out. Odd place.


STEEL SCREENING W/ METAL EPOXY


Yes, it's Bondo. But with the screening it wasn't thick. Like I said...budget.


The rust was odd and for a while I couldn't figure it out. Then I remembered the guy before me used the truck to hall a fifth wheel horse trailer so the tail gate was always down. Hence rust in a spot you wouldn't see it usually.
 
  #17  
Old 03-29-2016, 01:57 AM
72CC428's Avatar
72CC428
72CC428 is offline
Posting Guru
Thread Starter
Join Date: Aug 2012
Location: Rockville, Ct.
Posts: 1,241
Likes: 0
Received 1 Like on 1 Post
More pics


Headlight door before


Headlight door on right after sanding and prior to polishing. Door on left is after two polishings


This shows the trim from how it looked from the beginning to final step before clear coat.


From the truck


ORBITAL SANDER 240 GRIT. Next step was wet sand with 400 grit.


Trim without new black stripes.
 
  #18  
Old 03-29-2016, 02:04 AM
72CC428's Avatar
72CC428
72CC428 is offline
Posting Guru
Thread Starter
Join Date: Aug 2012
Location: Rockville, Ct.
Posts: 1,241
Likes: 0
Received 1 Like on 1 Post


New seat. From a 96 F250
 
  #19  
Old 03-29-2016, 02:22 AM
72CC428's Avatar
72CC428
72CC428 is offline
Posting Guru
Thread Starter
Join Date: Aug 2012
Location: Rockville, Ct.
Posts: 1,241
Likes: 0
Received 1 Like on 1 Post


My task master Tati ( Tatiana ) She keeps me honest. <br/><br/><br/><br/><br/><br/><br/><br/><br/><br/><br/><br/><br/><br/><br/><br/><br/><br/><br/><br/><br/><br/><br/>


Here's a good side by side.


The grille on my home made jig


I guess maybe half way done maybe 3/8???


About 5/8 done?
 
  #20  
Old 03-29-2016, 02:30 AM
72CC428's Avatar
72CC428
72CC428 is offline
Posting Guru
Thread Starter
Join Date: Aug 2012
Location: Rockville, Ct.
Posts: 1,241
Likes: 0
Received 1 Like on 1 Post


All finished minus the black bits and clear coat


It was worth it. Tendonitis and all


Like I said. Like chrome


She wasn't impressed. Just through the stick Papa!!!
 
  #21  
Old 03-29-2016, 02:40 AM
72CC428's Avatar
72CC428
72CC428 is offline
Posting Guru
Thread Starter
Join Date: Aug 2012
Location: Rockville, Ct.
Posts: 1,241
Likes: 0
Received 1 Like on 1 Post
The beast before winter


Just couldn't leave this rad. support in.


The other sheet metal was solid just needs cleaning, paint and rust proof


  #22  
Old 03-29-2016, 04:00 AM
GaryKip's Avatar
GaryKip
GaryKip is offline
Logistics Pro
Join Date: Aug 2015
Location: Lind, WA- Eastern WA
Posts: 4,092
Received 13 Likes on 13 Posts
That trim and the grill came out very nice! That lazy boy recliner will fit in the back for the supervisor (Tati) to ride in, on the nice days.
 
  #23  
Old 03-29-2016, 04:30 AM
72CC428's Avatar
72CC428
72CC428 is offline
Posting Guru
Thread Starter
Join Date: Aug 2012
Location: Rockville, Ct.
Posts: 1,241
Likes: 0
Received 1 Like on 1 Post
Originally Posted by GaryKip
That trim and the grill came out very nice! That lazy boy recliner will fit in the back for the supervisor (Tati) to ride in, on the nice days.

Ha Ha!! That's probably the only way I will get her to ride. She is afraid of it. I guess because it growls as loud as her and it's bigger.
 
  #24  
Old 03-29-2016, 08:54 AM
72CC428's Avatar
72CC428
72CC428 is offline
Posting Guru
Thread Starter
Join Date: Aug 2012
Location: Rockville, Ct.
Posts: 1,241
Likes: 0
Received 1 Like on 1 Post
ABOUT TEN YEARS AGO

This is what she looked like back around 06 ( I'm guessing ) when her 2nd ? owner had her in Sparks Nevada. I got these pics off of FTE. I found them when I was perusing paint schemes and realized it was my truck. I got her from a guy in Newtown, Ct. in 2010. He had her trim off and in partial primer. I drove her until 2014 and finally decided to get my **** in gear.


She'll be green and white with either satin black rims or I may stay with chrome rims


  #25  
Old 03-30-2016, 02:00 AM
JEFFFAFA's Avatar
JEFFFAFA
JEFFFAFA is offline
Hotshot
Join Date: Mar 2013
Location: Phoenix, Az.
Posts: 14,198
Received 169 Likes on 149 Posts
He was purdy back in the day. Lookin' forward to seeing him all spiffied back up.
 
  #26  
Old 03-31-2016, 06:10 AM
whiskey runner's Avatar
whiskey runner
whiskey runner is offline
Lead Driver
Join Date: Jan 2011
Location: missouri
Posts: 9,580
Received 190 Likes on 174 Posts
nice truck.. good job on the elbow grease clean up.... i am getting my 71 f100 back together the paint is almost done.. but now it is time for the trim and how much work i really want to put into it to make it shine..


  #27  
Old 04-01-2016, 05:19 PM
72CC428's Avatar
72CC428
72CC428 is offline
Posting Guru
Thread Starter
Join Date: Aug 2012
Location: Rockville, Ct.
Posts: 1,241
Likes: 0
Received 1 Like on 1 Post
Originally Posted by whiskey runner
nice truck.. good job on the elbow grease clean up.... i am getting my 71 f100 back together the paint is almost done.. but now it is time for the trim and how much work i really want to put into it to make it shine..


Looking at that paint I would offer to do the trim if you did my paint. Tough commutes though!
 
  #28  
Old 04-01-2016, 05:42 PM
72CC428's Avatar
72CC428
72CC428 is offline
Posting Guru
Thread Starter
Join Date: Aug 2012
Location: Rockville, Ct.
Posts: 1,241
Likes: 0
Received 1 Like on 1 Post
Some more pics of lihter stuff

I wish I had gone through HIO's build thread before I started mine. I would have used that electrolysis? bath for most of the parts I have here. Again, I did a lot of it with wire wheels, oven cleaner, and yes, the most common theme of my work... elbow grease. My battery trays are worse for wear but I can't justify buying new ones and finding them used is pretty unrealistic here.

Something isn't working. The pics aren't uploading
 
  #29  
Old 04-01-2016, 06:11 PM
72CC428's Avatar
72CC428
72CC428 is offline
Posting Guru
Thread Starter
Join Date: Aug 2012
Location: Rockville, Ct.
Posts: 1,241
Likes: 0
Received 1 Like on 1 Post
Let's try this again. Okay, why'd it work this time PMO

.


Hood latch. Oven cleaner worked as a degreaser and stripper all in one


Battery trays Not pretty, but serviceable. Jack mount.


Rad. Spt. center spar? Hood latch catch, Radiator mounts
 
  #30  
Old 04-01-2016, 06:24 PM
72CC428's Avatar
72CC428
72CC428 is offline
Posting Guru
Thread Starter
Join Date: Aug 2012
Location: Rockville, Ct.
Posts: 1,241
Likes: 0
Received 1 Like on 1 Post
More pics


aSignal light brackets. Studs rusted to crap. Figured I would drill them out and use through studs and nuts to the stone deflector


one head light bracket, horns and bezels. Figure I'll just paint the bezels gloss black


I chiseled the fender to stone deflector pieces off of the rotten deflector. I almost tossed them with it but being a good frugal Conn. Yankee ( I can make a nickel squeal ) I decided to keep them. Good thing, I didn't realize until later that they are not sold as part of the deflector!

Can anyone tell me why all the trim is aluminum except for the two pieces on the "shoulders " of the cab they made of "pot metal" that was chromed????


Bumper pads. Need one. If anyone has a good one let me know how much


Washer reservoir. If anyone knows how to make the clear part less yellow, I'm all ears


Quick Reply: 72 F250 Build/ redo


All times are GMT -5. The time now is 02:02 AM.