When you click on links to various merchants on this site and make a purchase, this can result in this site earning a commission. Affiliate programs and affiliations include, but are not limited to, the eBay Partner Network.
Here are photos of the tear down and rebuild of my 1952 flathead 239 fan hub assembly. This is of no use to many on here, but there may be some folks who have never taken one of these apart and seen what is inside.
The assembly drawing is below:
Here is the real thing:
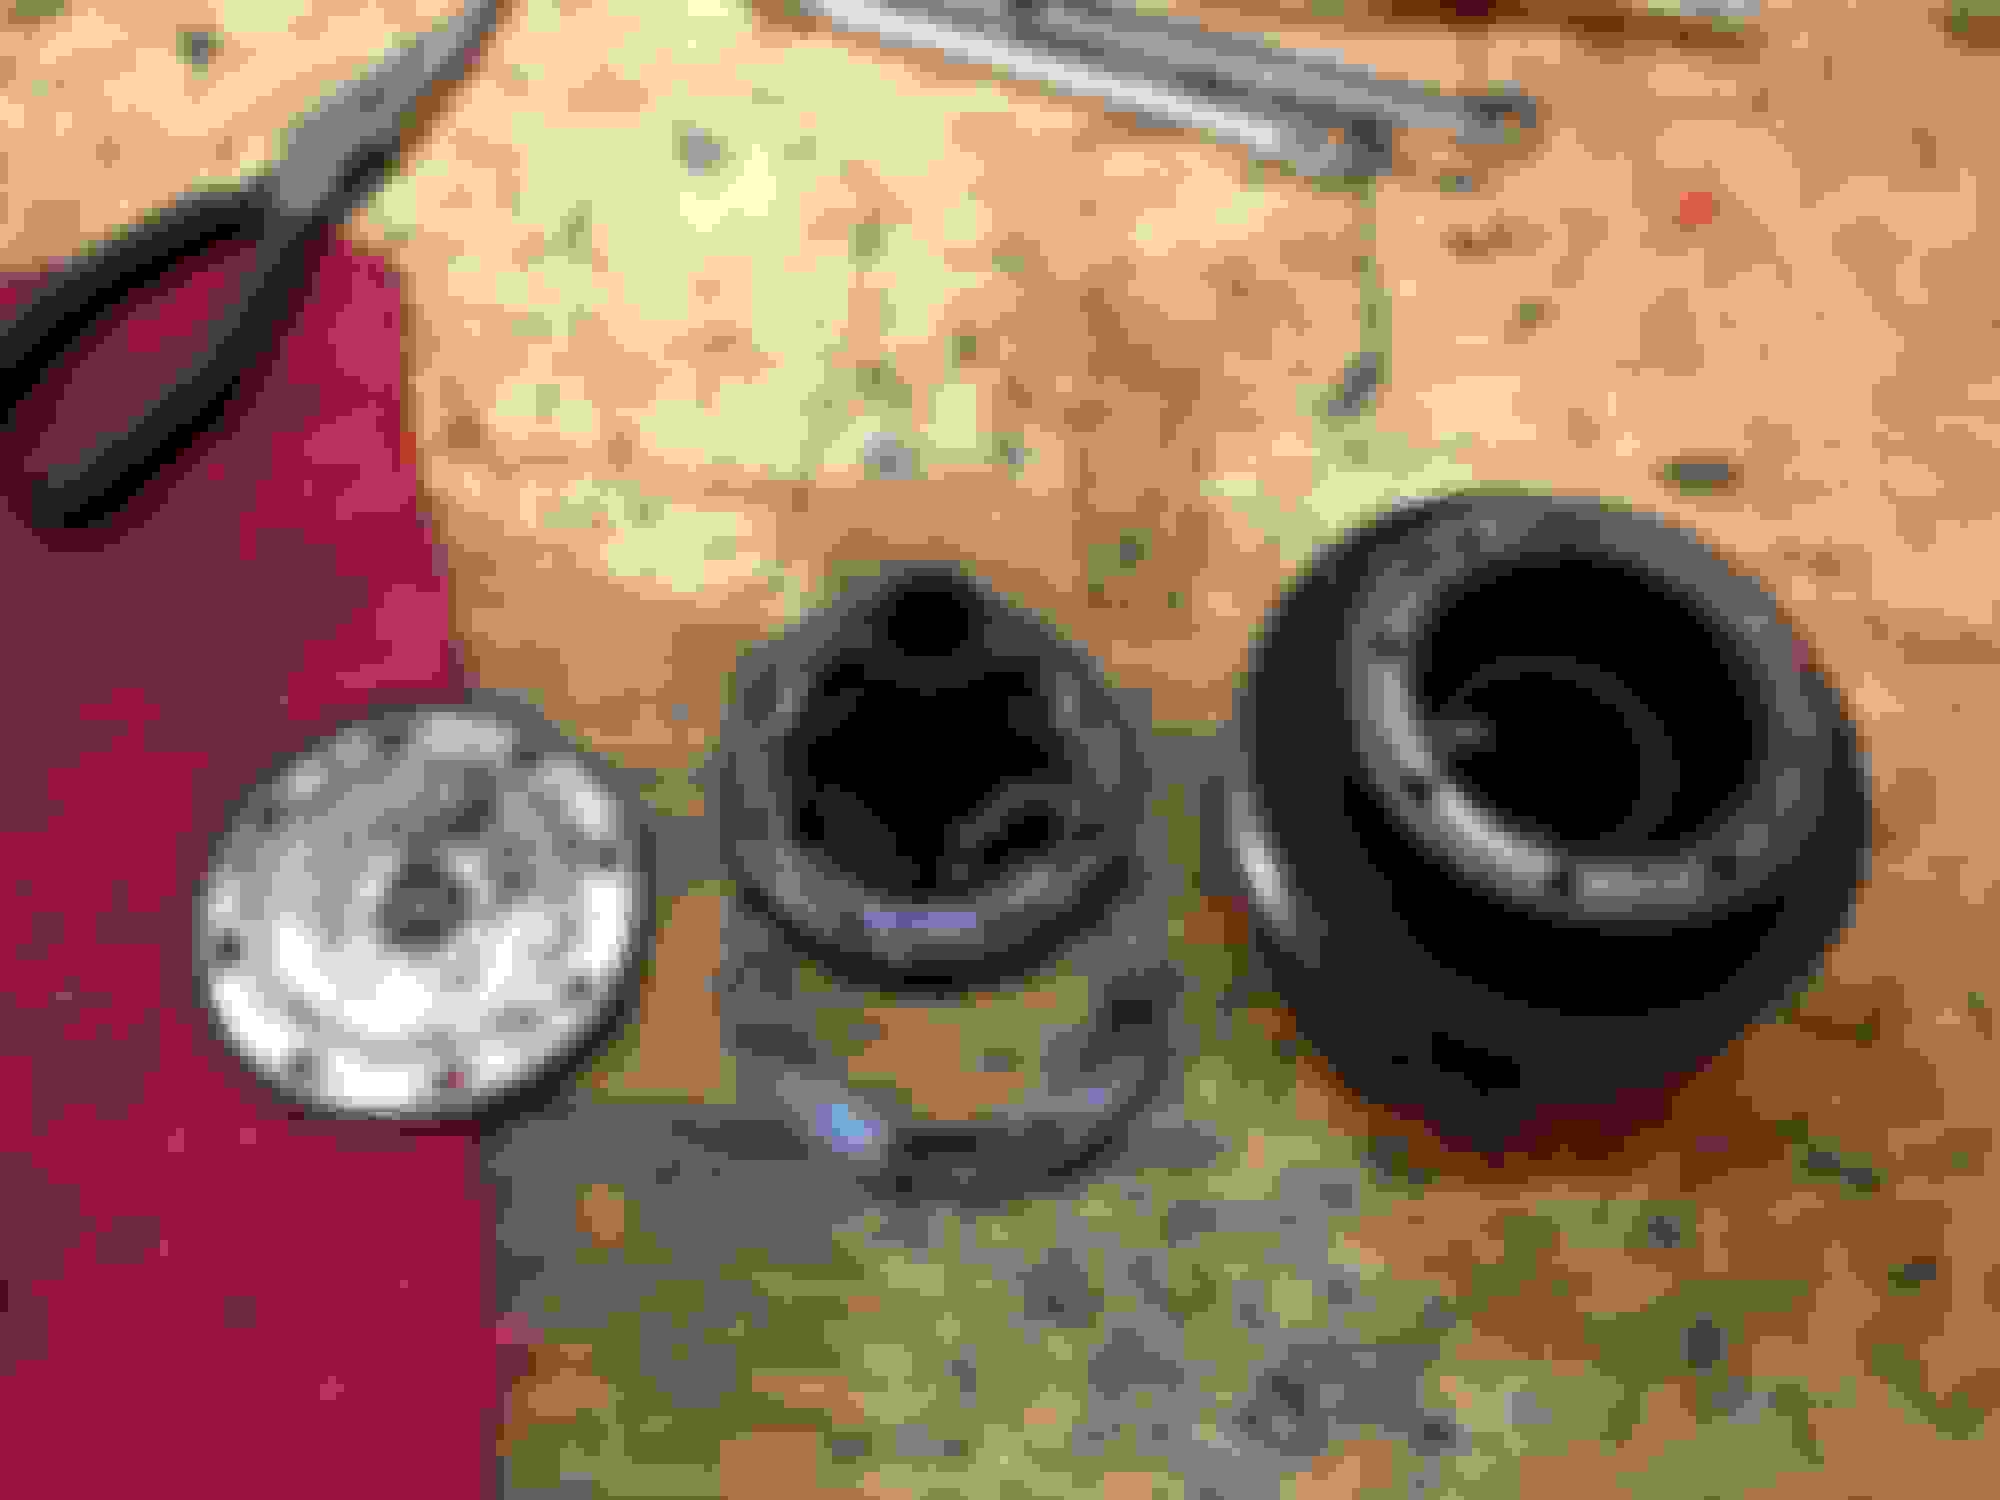
Take it apart:
I cleaned and glass beaded all the parts except the shaft. I cleaned the shaft with emery cloth. I wire brushed the threads on the bolts. There are two gaskets required to seal the 30W oil it is filled with. One between the pulley and the hub (8646) and one between the hub and the front cover (8638). I ordered those from Mac's.
I put rubber stoppers in each end of the hole the shaft goes through. I didn't want glass beads in there and I cleaned it thoroughly after I blasted it. This picture was taken before I washed it the final time, I wanted to make sure the gasket fit properly on it.
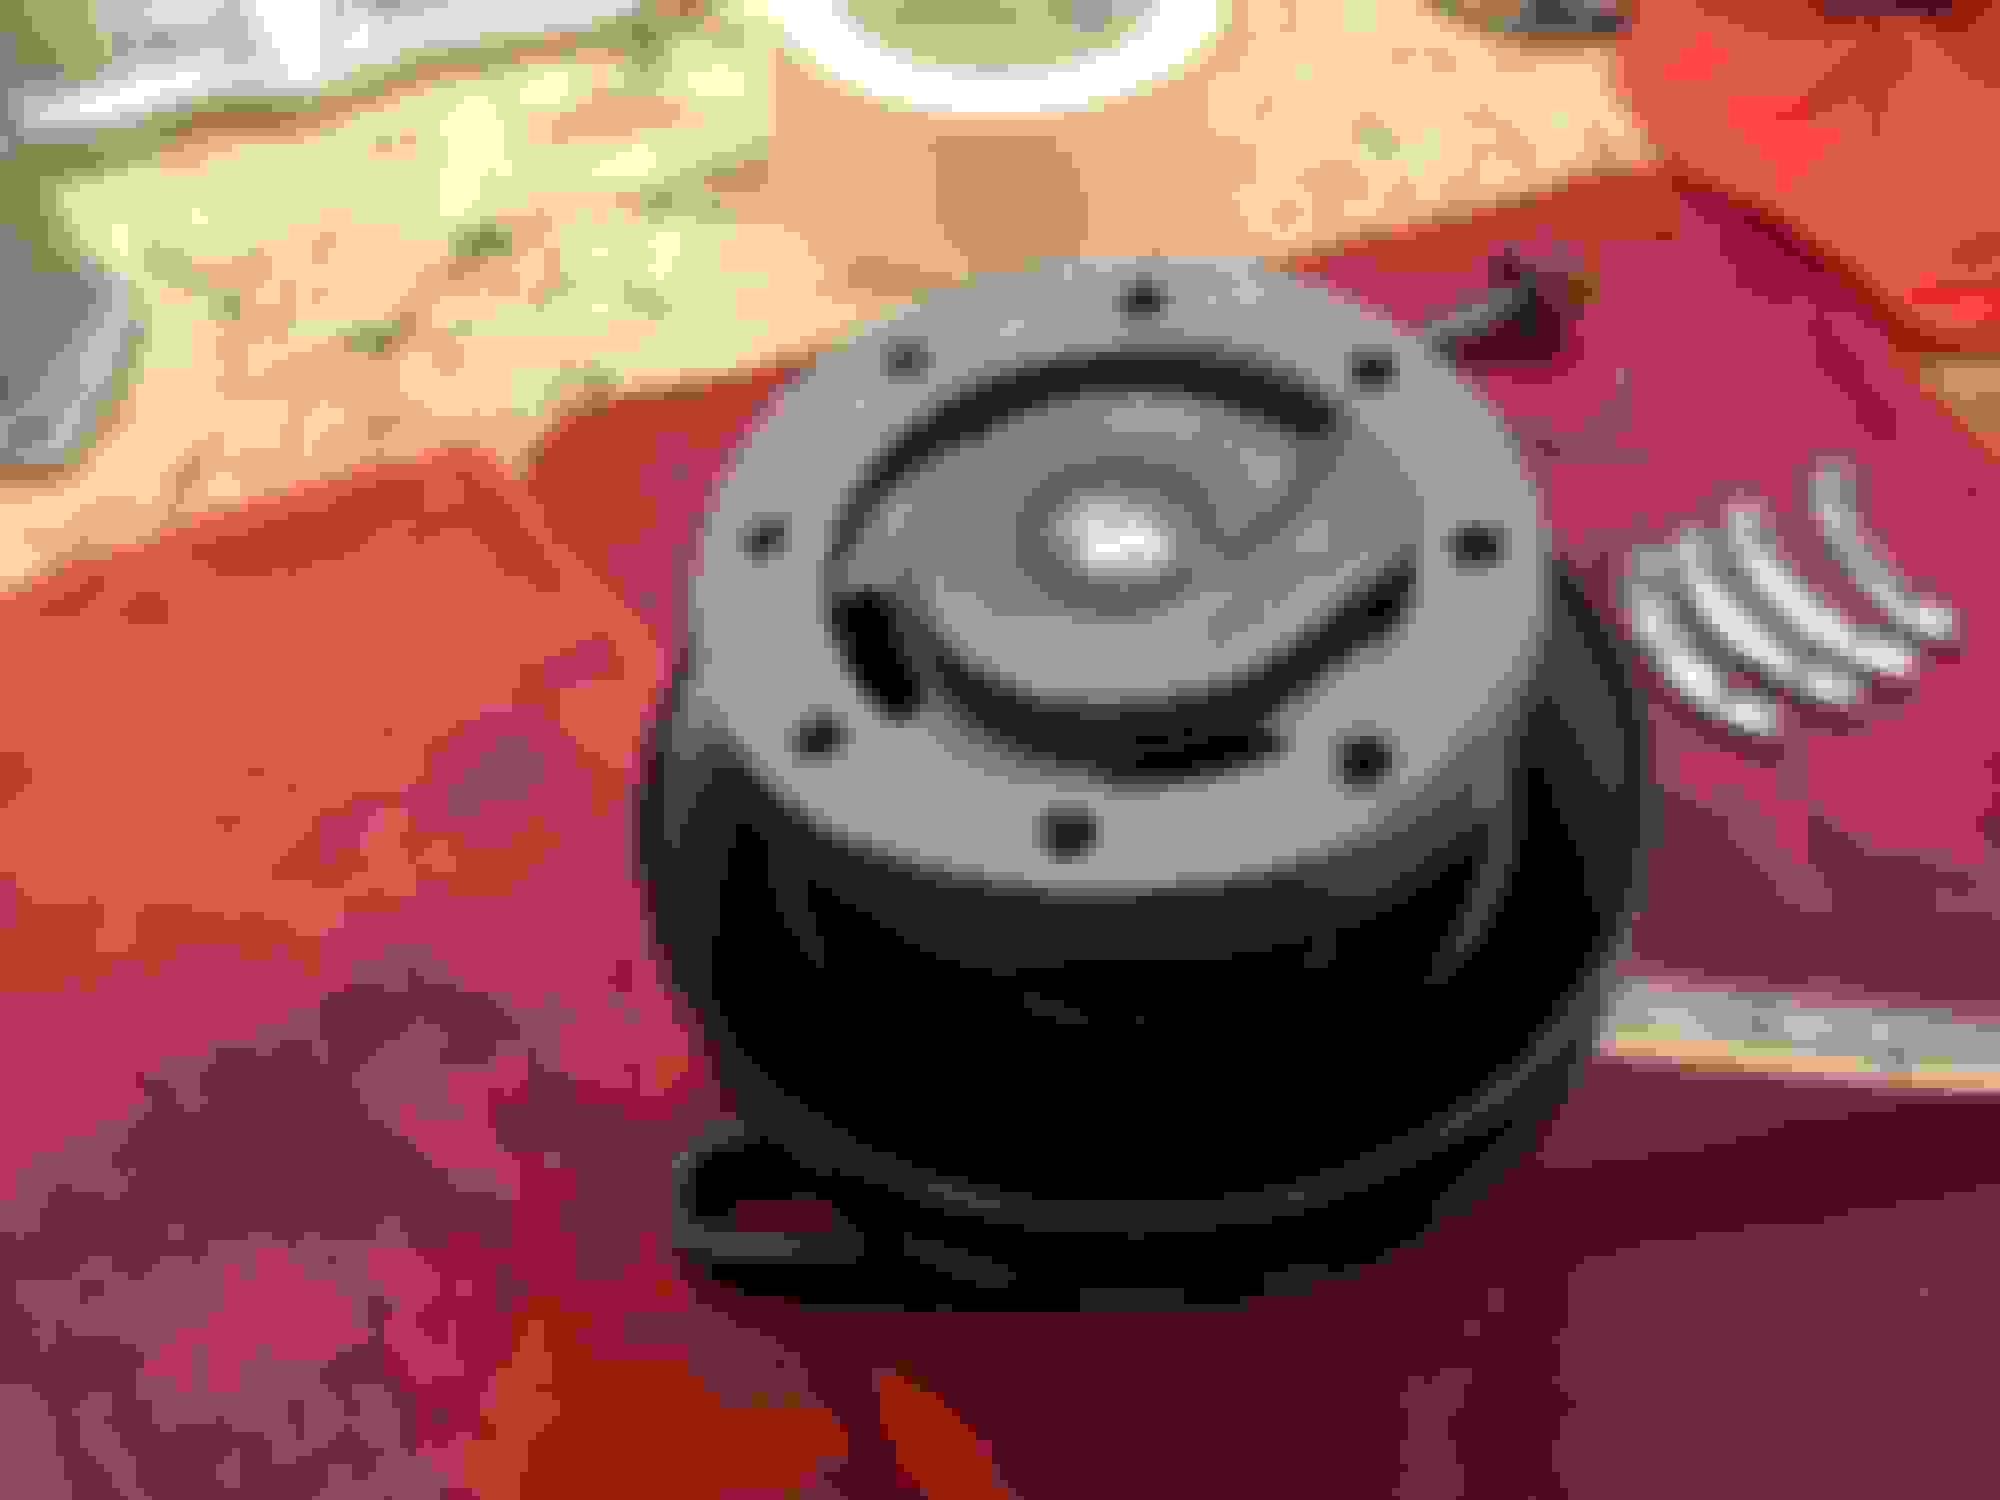
Gasket installed before the cover and fan were put on:
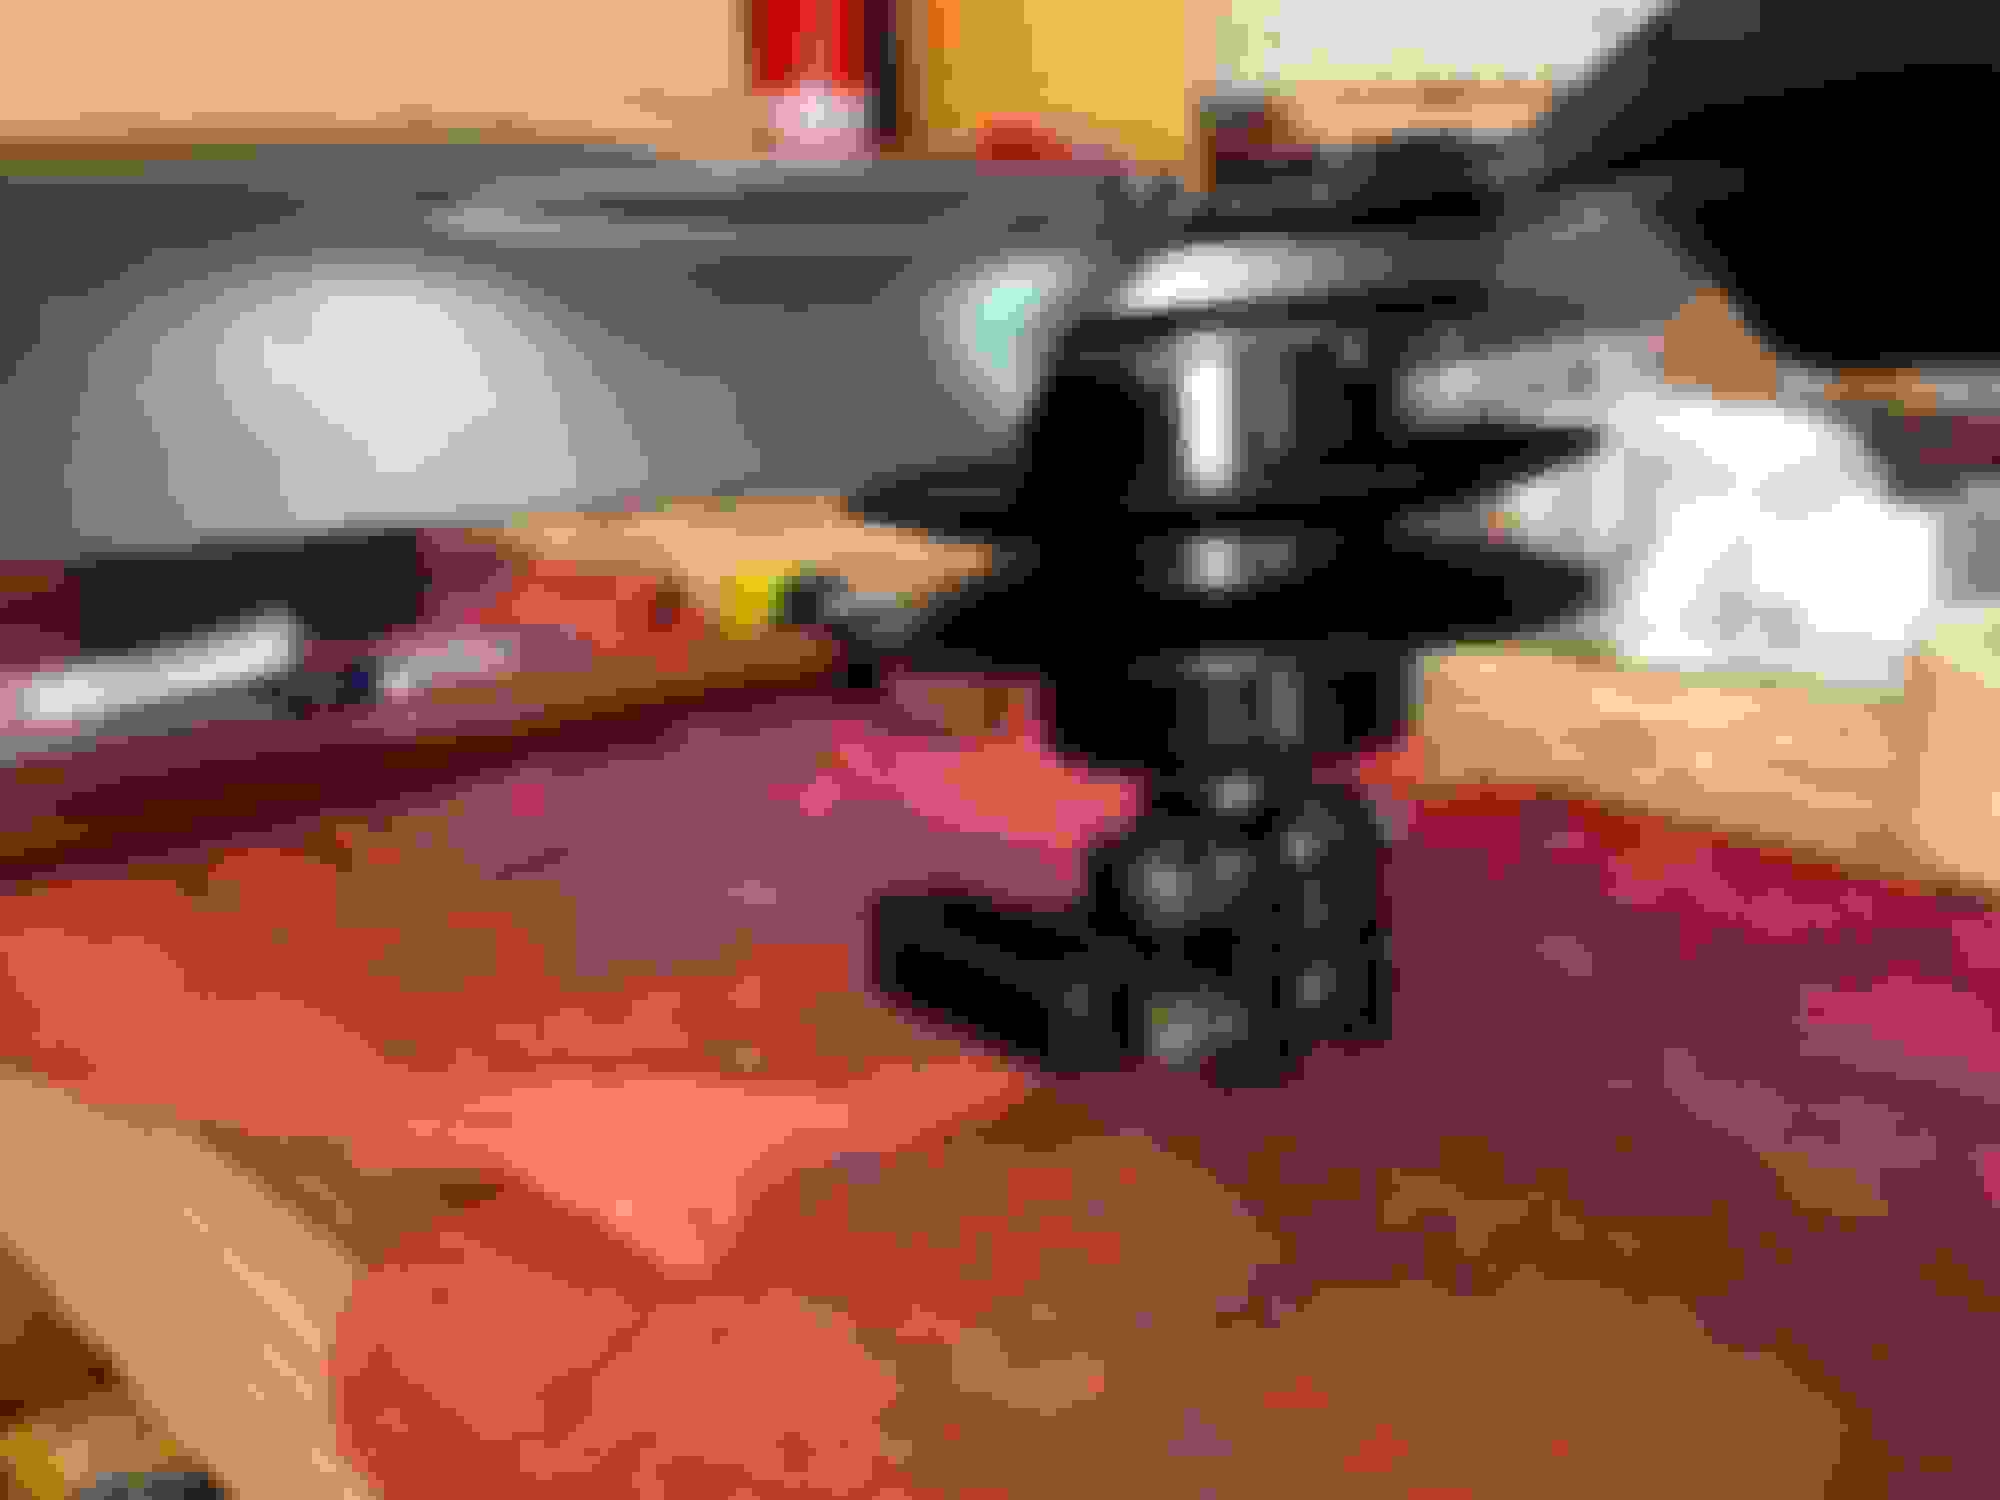
All back together:
Don't forget to fill it with motor oil when you are done.
I will be rebuilding mine this winter. What keeps the oil from coming out the back of the shaft? Is there a seal or something there I know I had mine apart about 25 years ago but don't remember what I did back then.
Jim K
... I also didn't realize it is fill and drain either.
The reason you drain is that there is a standpipe that the fill/drain screw goes into. When you drain it, it drains to the correct level, which (theoretically) prevent excess oil being thrown out the back end. It's a really clever design overall, that circulates the oil to the bushings.
I rebuilt mine in '07 with "NORS" rings, and honestly it never shifted smoothly into 2nd. Pulled it apart last Spring and measured the gaps -- down to about .020" after less than 10k miles. I have to believe they had less gap to start with. I talked to VanPelt about it and he said (from the markings on the rings) they were rings they generally had no problems with, Borg-Warner products as I recall. This time I went with Made in Taiwan rings he sells, and they are 100% better, gaps when fresh were .060".
Here are photos of the tear down and rebuild of my 1952 flathead 239 fan hub assembly. This is of no use to many on here, but there may be some folks who have never taken one of these apart and seen what is inside.
I cleaned and glass beaded all the parts except the shaft. I cleaned the shaft with emery cloth. I wire brushed the threads on the bolts. There are two gaskets required to seal the 30W oil it is filled with. One between the pulley and the hub (8646) and one between the hub and the front cover (8638). I ordered those from Mac's.
Don't forget to fill it with motor oil when you are done.
Just noticed this post and wanted to advise, although the original owners manual called for 30wt engine oil, Ford later changed that to 2 oz. of 85-90 gear oil.
Thanks Ross I joined ford barn so that I could see them. I checked my original brass rings and I had maybe 0.02 clearance. I took the transmission back apart, switched the synchronizer sleeve back to the original but used my NOS brass rings from the new synchronizer assembly. I measured clearance and I had probably 0.05 or 0.06, my feeler gauge wouldn't go that high. And when turning on the gear it friction seated well.
I bolted everything back up and my shifts are awesome now, nice and smooth and I can feel all three indents on each shifter.
For torque, I put 12 lbs on the front bearing cover, 12 on the side cover, and 22 on the tail housing. I couldn't find torque specs anywhere and basically followed the light side of general guidance for a grade 2 bolt. I touched up the paint a little and will safety wire the tail housing bolts tomorrow.
I thought about the shift lever pins and I am just going to drill them and pin them, that way if my shift seals leak it's an easy fix.
The transmission has all new gaskets, all new bearings, new reverse idler, new cluster gear, new first gear, new 2nd gear, and new brass rings, all NOS. Everything was cleaned well, rust removed, and repainted.
The reason why I kept asking about the 22 needles is because I pulled 45 out of the case on the tear down. That might be why all of my gears were so chipped and worn.
This will get bolted to a 226 that I am rebuilding in another thread as my spare and one day 1950 F1 drivetrain.
 11-25-2015, 08:22 PM