When you click on links to various merchants on this site and make a purchase, this can result in this site earning a commission. Affiliate programs and affiliations include, but are not limited to, the eBay Partner Network.
Original 239 Flathead 6v to 12v generator conversion
I wanted to convert my original 6 volt flathead generator to 12 volts. I didn't want to put an alternator on and I didn't want to bolt on a 1956 12v generator with the swing brackets. I wanted it to look just like my original 1952, but put out 12 volts.
The original armature will work fine when you convert from 6 to 12 volts since the voltage doubles, the amperage is half. A 12 volt armature does have one more coil than a 6 volt armature so it will put out slightly more amps, but, since I'm not running AC or a stereo, the original 6 volt armature will work fine.
However, the field winding (stationary winding) will not work. You must get a 12 volt field winding. The purpose of the field is create an electric magnet that induces voltage in the rotating armature. The strength of that magnetic field is dependent upon the current and number of turns. Since you are changing from 6v to 12v, the current will change and thus, you need a different field coil to compensate for the difference. The wire size and number of turns will change.
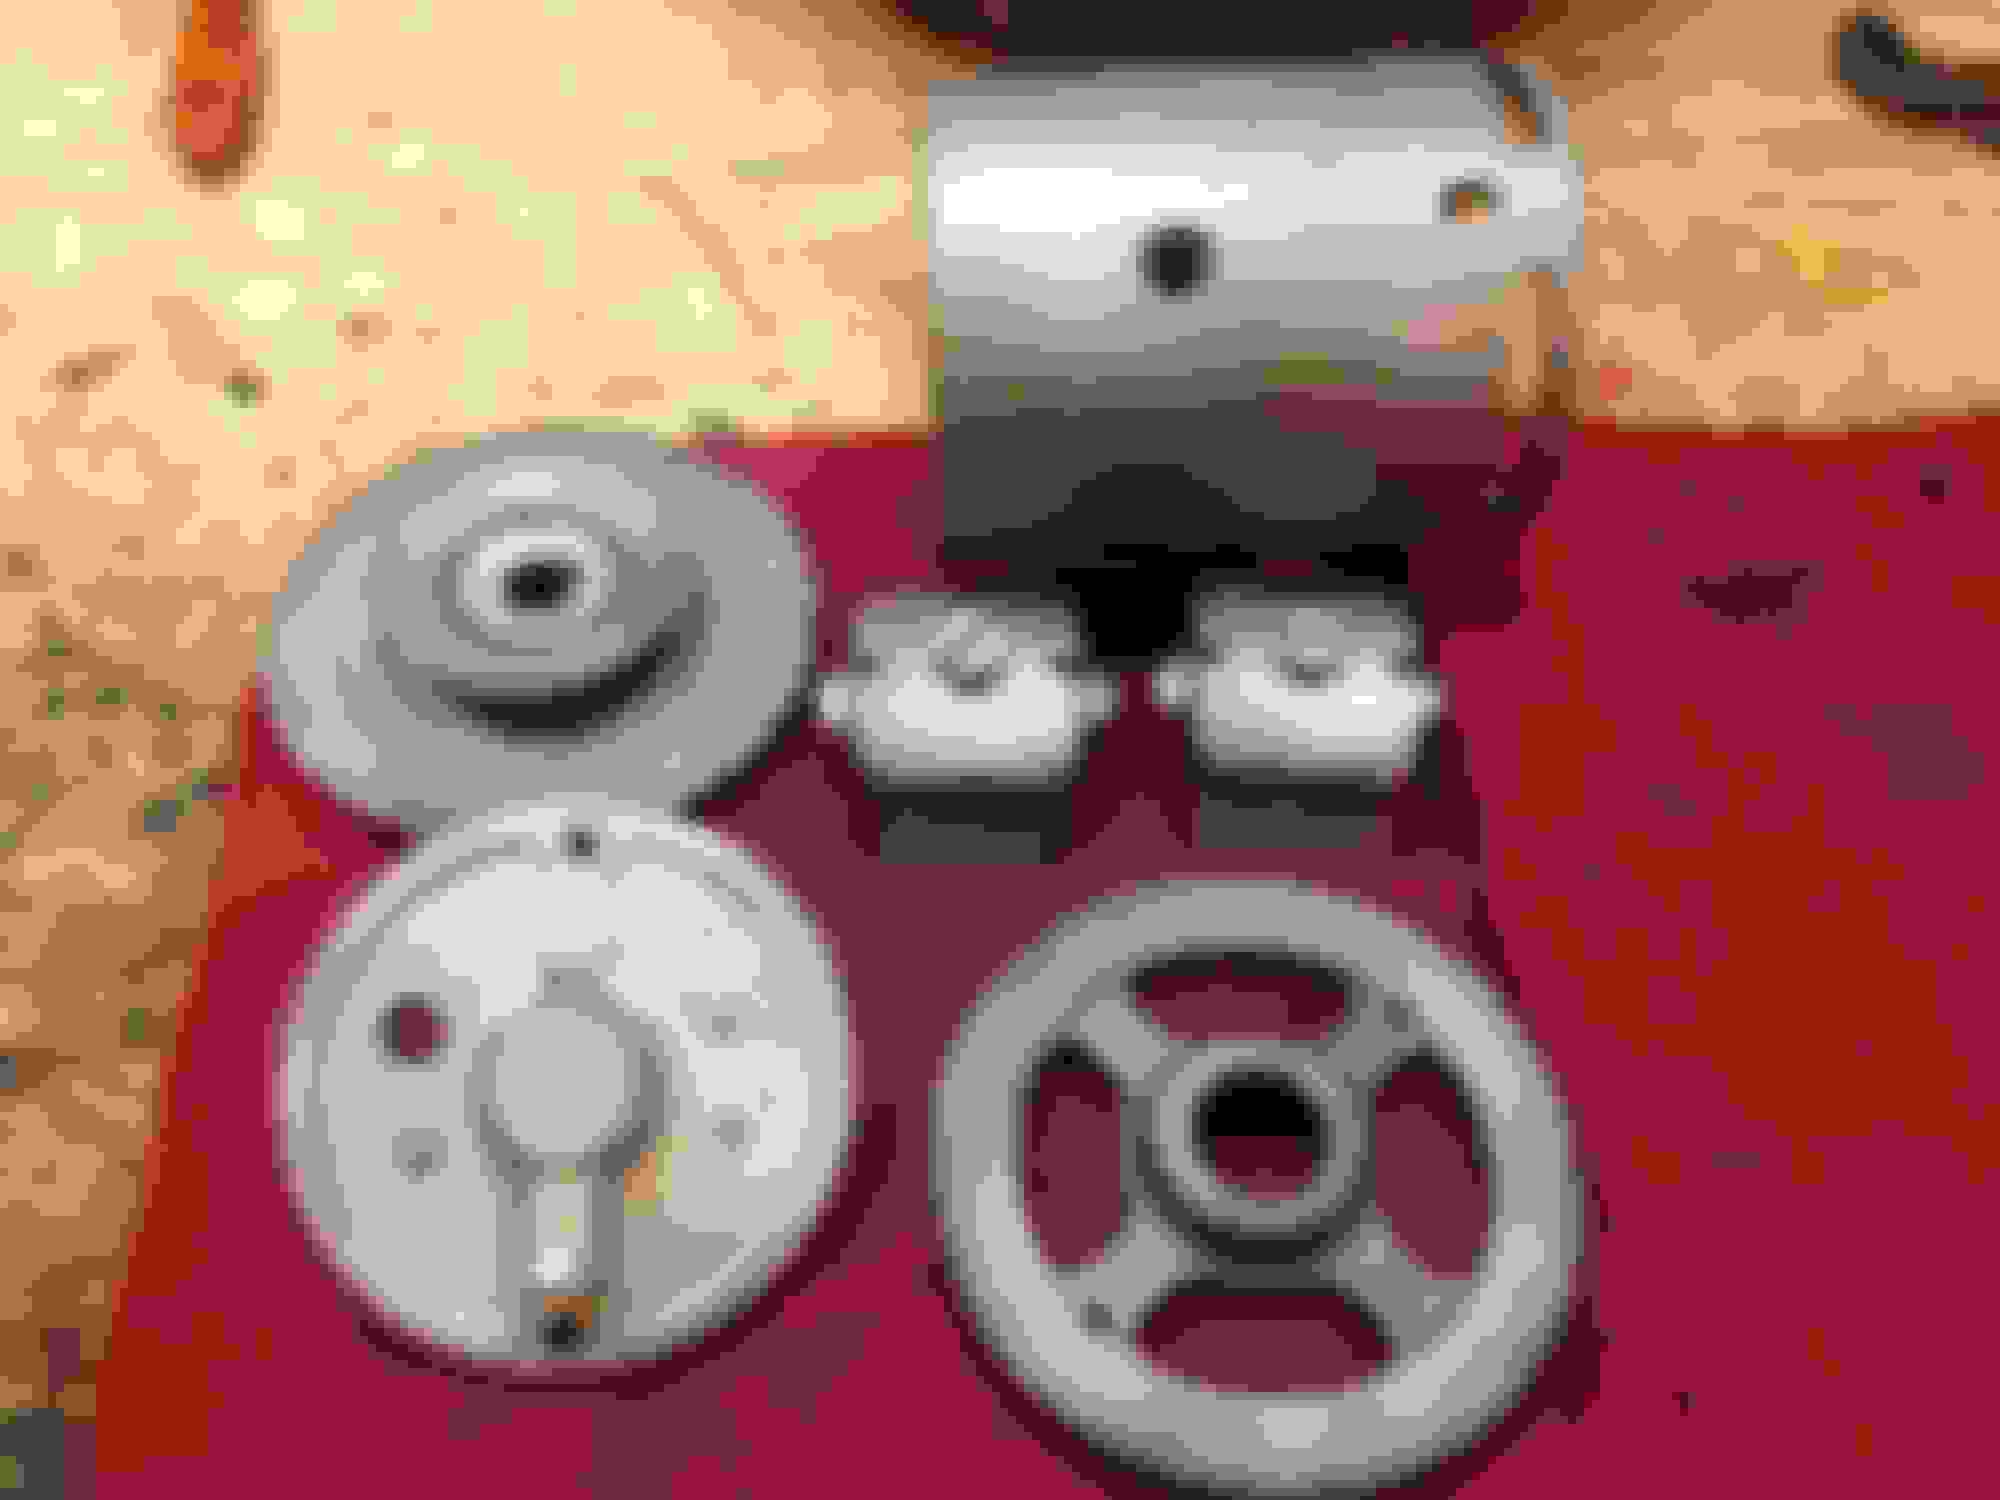
Start by taking the entire generator generator apart.
Getting the field poles out can be a bear! Some have slotted screws and some have square head screws depending upon if they have been rebuilt over the years. Ford had a special tool for this, and most starter and generator shops do as well. Mine were slot and I used and old chisel and ground a bit to size. My Starter had square heads and I took a hardened 7/16" bolt and ground it square and then got them out using that as a bit.
Anyhow, this is what you are removing.
I glass beaded all the parts. My bushing was in good shape, so I used a rubber stopper and taped the hole to keep glass beads out of that end.
Next I painted everything. I bought 12 volt field coils from Mac's. Fit them around the pole pieces and bolt them in. They have to be tight to pull everything down tight. There is very little air gap between the poles and the armature. Make sure you clean or replace the insulators where the studs go thru the body.
I cleaned the armature with brake and electric motor cleaner. I cleaned and polished both the shaft and commutator.
I put new brushes in. These have to be shaped to match the curvature of the comm. I put the armature in a vise, put fine sandpaper around the commutator, the put the end plate on the shaft and spun it to get the brushes shaped.
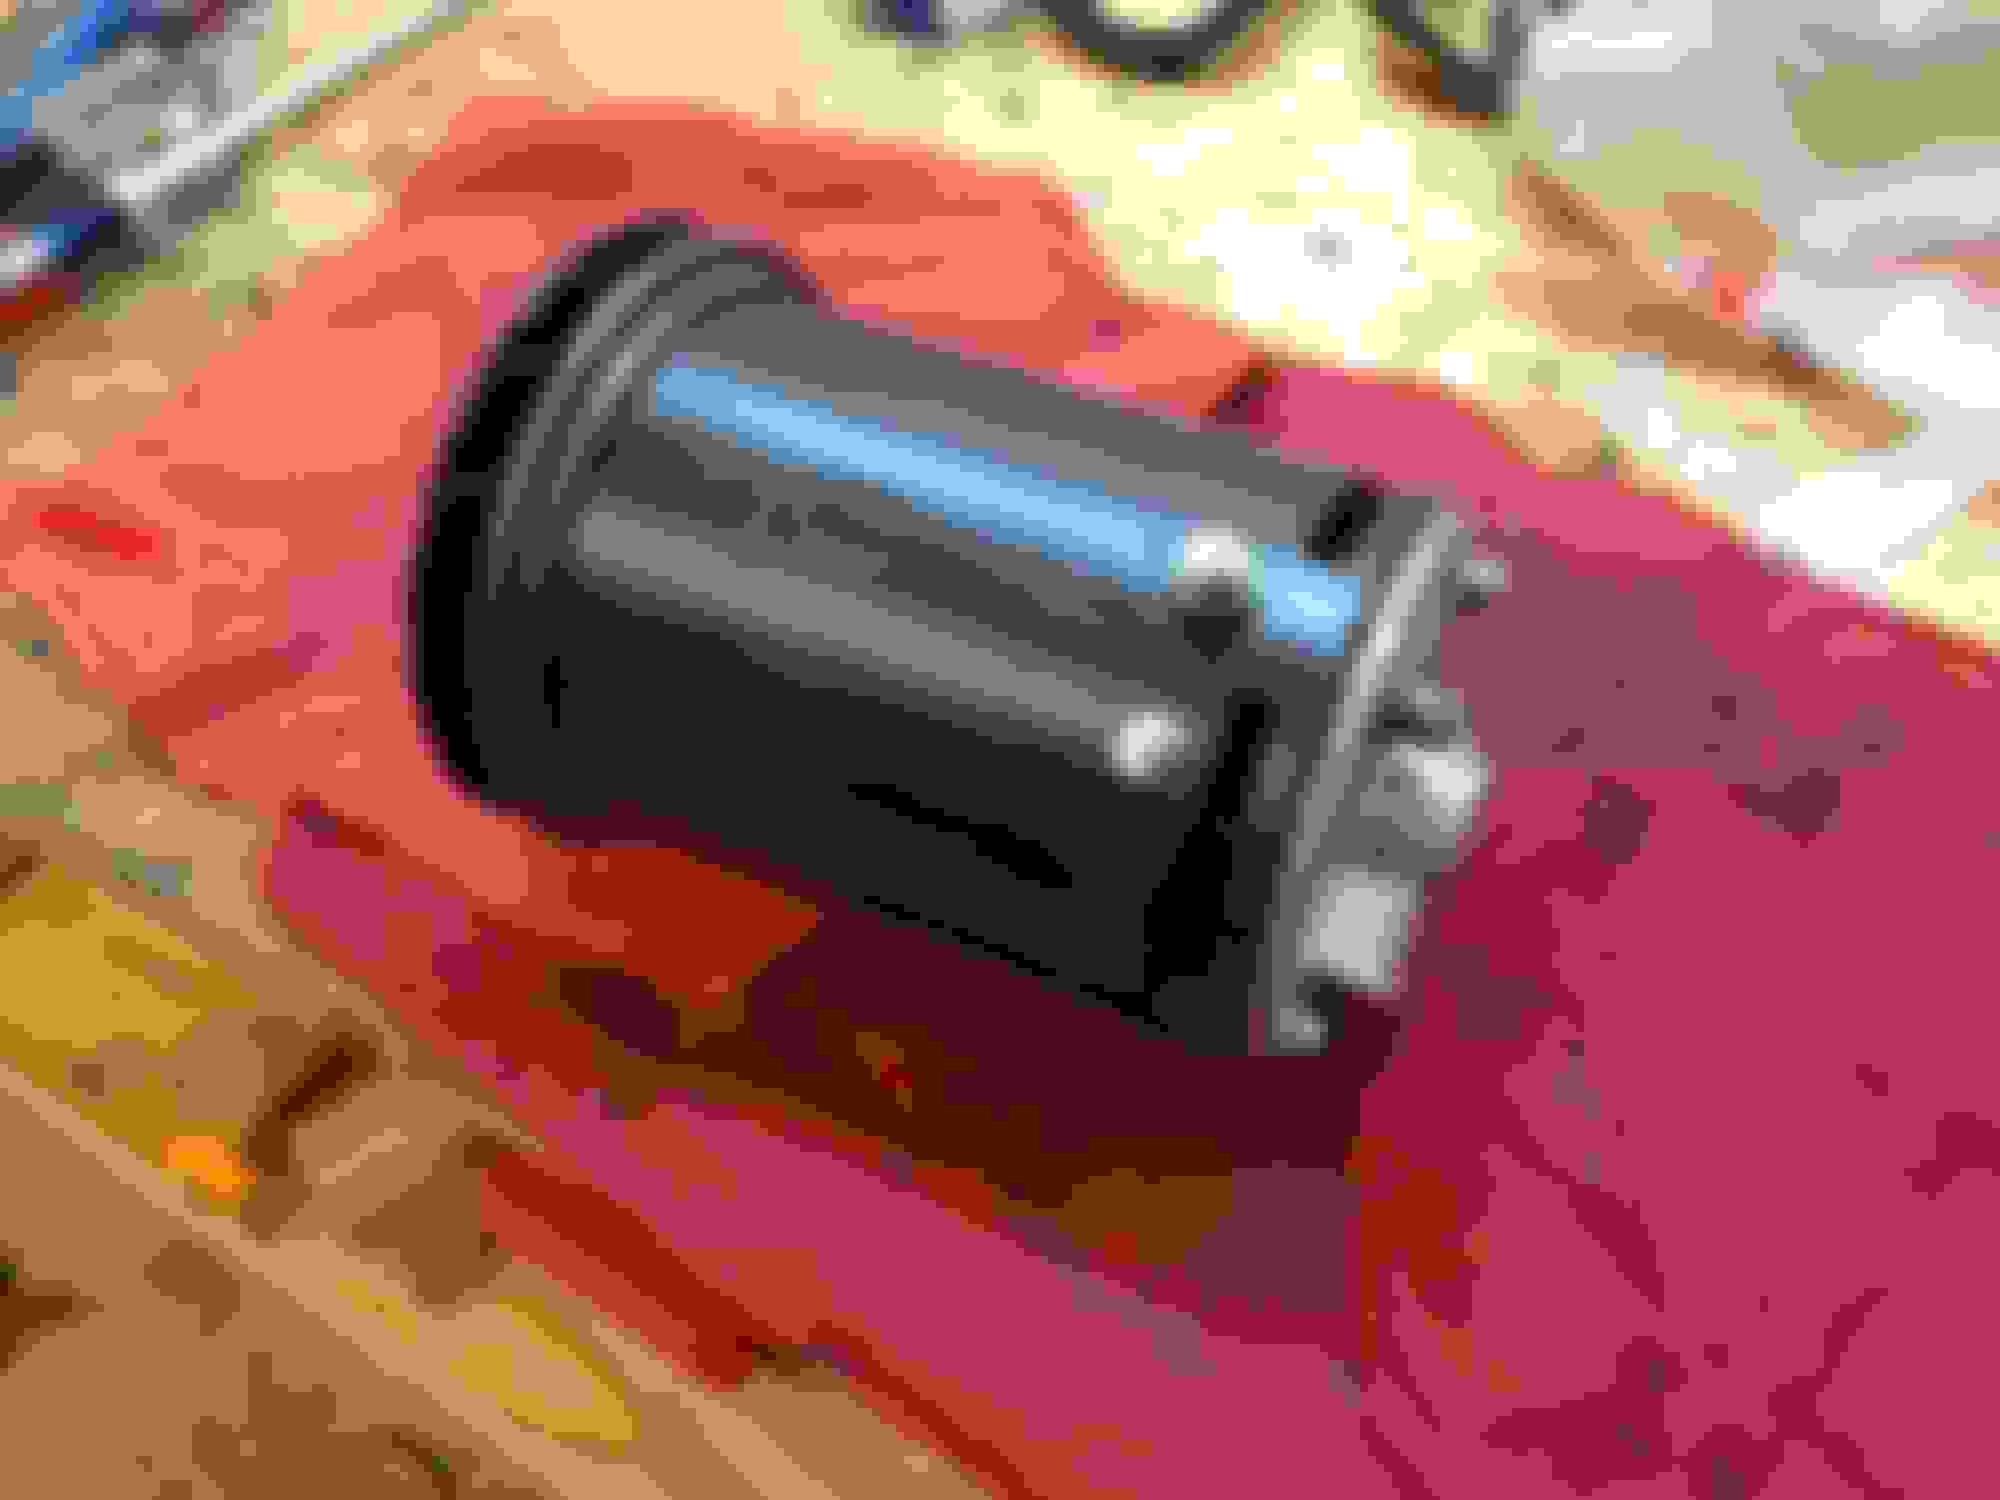
New bearing installed on the pully end
Reassembled and ready for 12 volt operation
Don't forget to oil the bushing end.
This only covers the generator. The Voltage Regulator, gauges, light bulbs, etc, are a whole different write up.
How did you go about getting the new field coils tight with the pole screws? I haves used an impact wrench and and a square bit and still get some binding of the armature due to the pole shoes not pulling in all the way.
Another method is to take a 1956 generator (or later, they are pretty much the same unit Ford went to alternators) and use the armature and case with the flathead ends and pulley. Doing this you don't have to remove the field coils.
 11-25-2015, 09:42 PM