SOUND DEADENING / INSULATION TIME!
#1
 11-23-2015, 01:03 PM

SOUND DEADENING / INSULATION TIME!
I posted this in the Ford van section too, since it is an Econoline I am working on at the moment... But this forum is where i spend most of my time and since the principles of insulation and sound deadening are pretty much universal I figured it would get more traction here with us OBS guys who know a lot about noise/cold.
So I have actually been chipping away at this project for a while now and figure I would share my findings and results.
With Oregon winter upon us the flame has been re-lit under my rear to get the remaining insulation done in our van. My main objective when I set out on this project was to reduce road/engine noise and increase the R value overall. This thing is hard to cool down in the summer however holds heat relatively well when there is no wind... with wind.. different story.
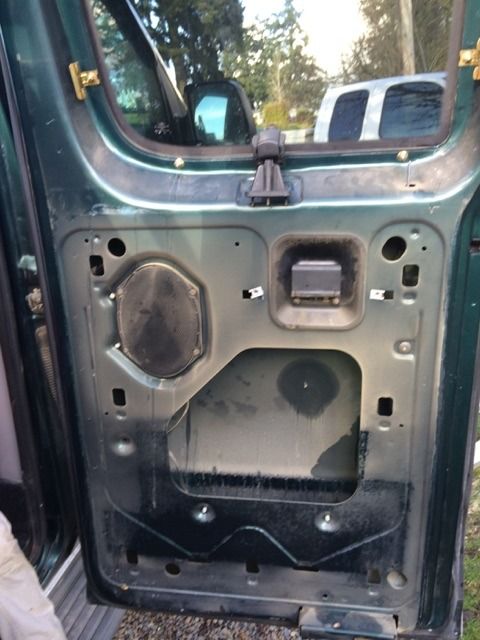
Here is the passenger front door as Ford put it together:
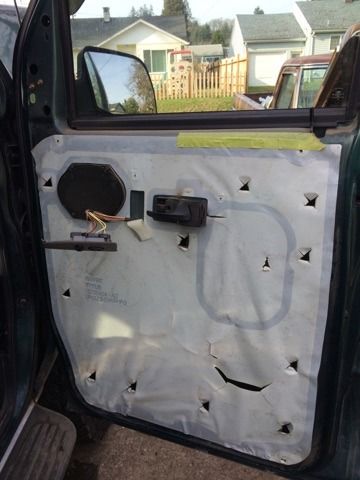
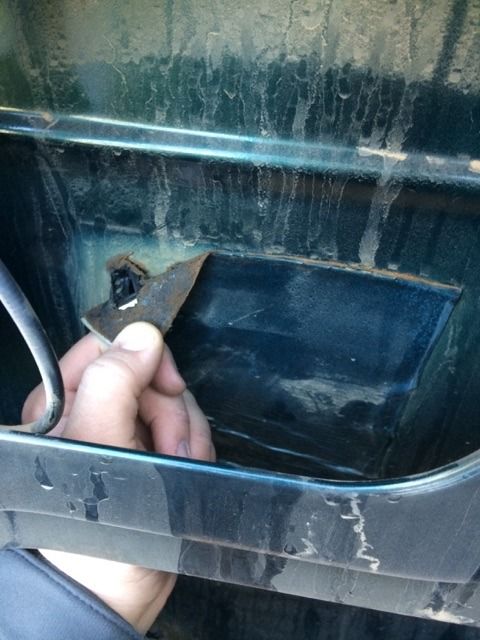
After peeling off the plastic barrier Ford had installed, I see that they felt a 6" square was enough tar/butyl-paper to keep door from sounding like an empty beer can...
here is the product that I opted to use directly on the door skin, I've read so much about butyl/tar sound deadener that I could puke. After all of the banter I've read, and my previous experience with Dynamat I went down to the local Lowes to investigate the infamous "Peel & Seal" that i've heard so much about. My opinion is that unless you have bottomless pockets and can afford to buy whatever the flavor of the day is for high-end butyl, this will work just dandy. I have used Dynamat Xtreme many times and after using this, I won't go back. The price is too darn good and if the result is different I certainly couldn't tell.
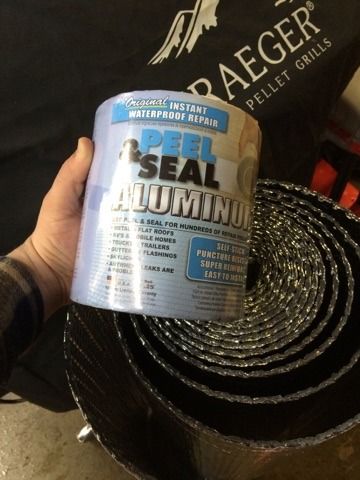
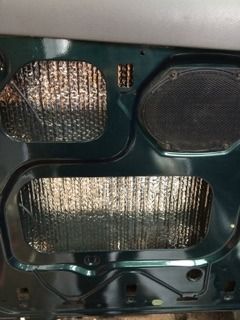
After thoroughly cleaning the door skin with Windex and paper towels I installed the Peel & Seal on the entire door skin.
It has struck me that I got in a hurry towards the end of insulating this door and failed to take a picture of the next layer... I will post pics of the other doors to display my layering process.
So I have actually been chipping away at this project for a while now and figure I would share my findings and results.
With Oregon winter upon us the flame has been re-lit under my rear to get the remaining insulation done in our van. My main objective when I set out on this project was to reduce road/engine noise and increase the R value overall. This thing is hard to cool down in the summer however holds heat relatively well when there is no wind... with wind.. different story.
Here is the passenger front door as Ford put it together:

After peeling off the plastic barrier Ford had installed, I see that they felt a 6" square was enough tar/butyl-paper to keep door from sounding like an empty beer can...

here is the product that I opted to use directly on the door skin, I've read so much about butyl/tar sound deadener that I could puke. After all of the banter I've read, and my previous experience with Dynamat I went down to the local Lowes to investigate the infamous "Peel & Seal" that i've heard so much about. My opinion is that unless you have bottomless pockets and can afford to buy whatever the flavor of the day is for high-end butyl, this will work just dandy. I have used Dynamat Xtreme many times and after using this, I won't go back. The price is too darn good and if the result is different I certainly couldn't tell.

After thoroughly cleaning the door skin with Windex and paper towels I installed the Peel & Seal on the entire door skin.

It has struck me that I got in a hurry towards the end of insulating this door and failed to take a picture of the next layer... I will post pics of the other doors to display my layering process.
#2
11-23-2015, 01:07 PM
So here is how I layered the doors and soon to be quarter panels on the van..
Starting from the door skin working inward.
1. Peel & Seal applied directly to the sheet metal (clean it well before applying!)
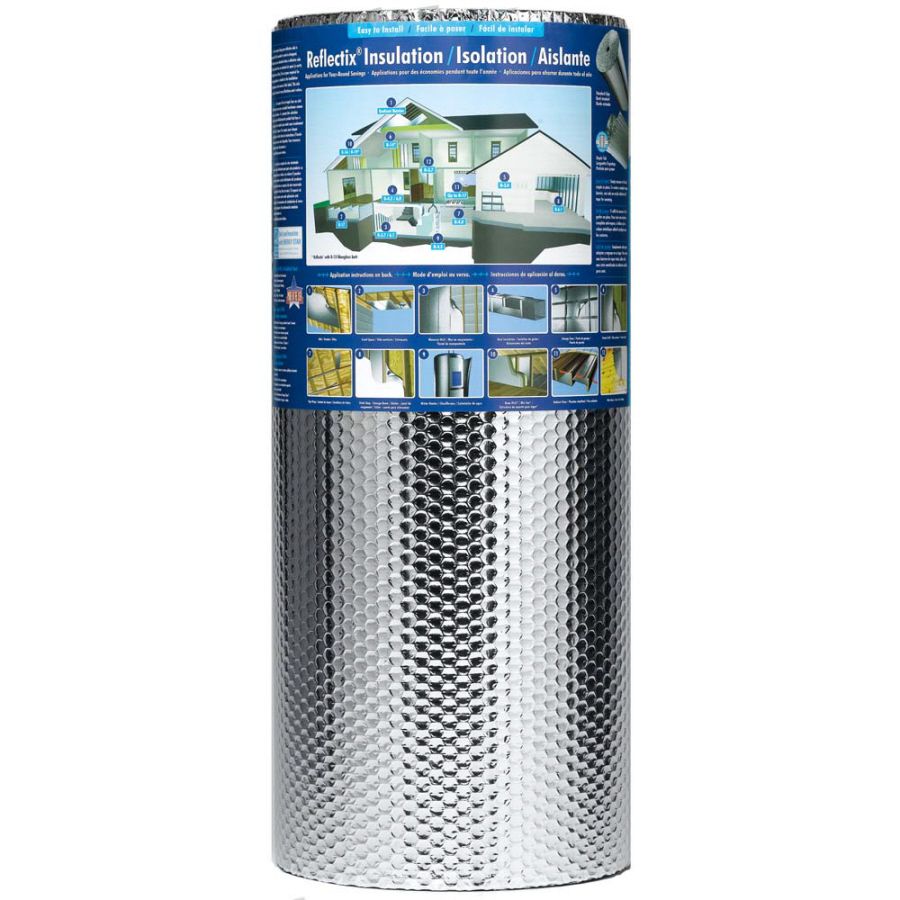
2. Reflectix radiant barrier spray glued to the foil side of the peel & seal (use 3M -OR- the best you can, this is not an area to cheap out - cheap glue will make you sorry that you even tred).
3. R-13 Owens Corning fiberglass insulation, this grade is thin enough to have room to breathe and do it's job without being smashed into the doors.
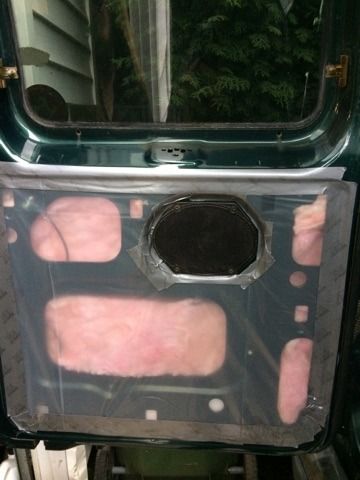
4. Heavy plastic vapor barrier taped with HVAC grade ducting tape to seal off the vapors/fiberglass into the door cavity. I bought mine at Lowes right next to the Radiant barrier.
I will try to show the layering process below, I am a spaz and kept jumping from door to door with my pictures but you will get the idea.
Relectix:
Door panel off
Cleaned with Peel & Seal installed
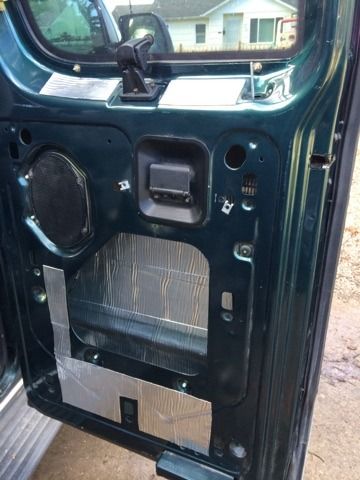
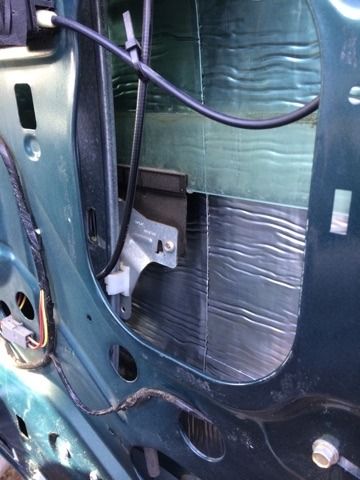
Radiant barrier glued in
Insulation installed and sealed/taped off
There will be more to follow, I've got the thing gutted now and I am working on the floor.
Starting from the door skin working inward.
1. Peel & Seal applied directly to the sheet metal (clean it well before applying!)
2. Reflectix radiant barrier spray glued to the foil side of the peel & seal (use 3M -OR- the best you can, this is not an area to cheap out - cheap glue will make you sorry that you even tred).
3. R-13 Owens Corning fiberglass insulation, this grade is thin enough to have room to breathe and do it's job without being smashed into the doors.
4. Heavy plastic vapor barrier taped with HVAC grade ducting tape to seal off the vapors/fiberglass into the door cavity. I bought mine at Lowes right next to the Radiant barrier.
I will try to show the layering process below, I am a spaz and kept jumping from door to door with my pictures but you will get the idea.
Relectix:

Door panel off

Cleaned with Peel & Seal installed

Radiant barrier glued in

Insulation installed and sealed/taped off

There will be more to follow, I've got the thing gutted now and I am working on the floor.
#3
11-23-2015, 04:22 PM
Postmaster
Join Date: May 2011
Location: Monroe City in
Posts: 3,447
Likes: 0
Received 0 Likes
on
0 Posts
#4
11-23-2015, 09:17 PM

#6
11-25-2015, 12:15 AM


#7
11-25-2015, 04:08 PM
Fleet Owner
Trending Topics
#9
11-25-2015, 07:15 PM
#10
11-28-2015, 12:21 PM
Yup, as MOOSE_MACHINE said above - I don't see any audible difference between this stuff and the dynamat xtreme that's I've used in the past. The real sound deadening is in the additional layers, the peel and seal cuts down the resonation and tinny-ness a LOT.
#11
11-28-2015, 12:22 PM

#13
11-28-2015, 06:50 PM
#14
11-29-2015, 06:33 AM
Fleet Owner
#15
12-01-2015, 12:41 PM