When you click on links to various merchants on this site and make a purchase, this can result in this site earning a commission. Affiliate programs and affiliations include, but are not limited to, the eBay Partner Network.
Dave, I'm not familiar with your song, but certainly relate to your experience. I wasn't going to even paint my truck or do any body work--just get it running for the occasional trip to the dump and hardware store. I wasn't planning on spending much money either. And here I am now 3 years later sand blasting and painting bolts and planning routes to Kentucky. The well intentioned people here on FTE are responsible--collectively they "sing" a siren song that has proven irresistible. Hopefully listening to the sirens, as we have, won't lead to our doom as was so often the case in the ancient world.
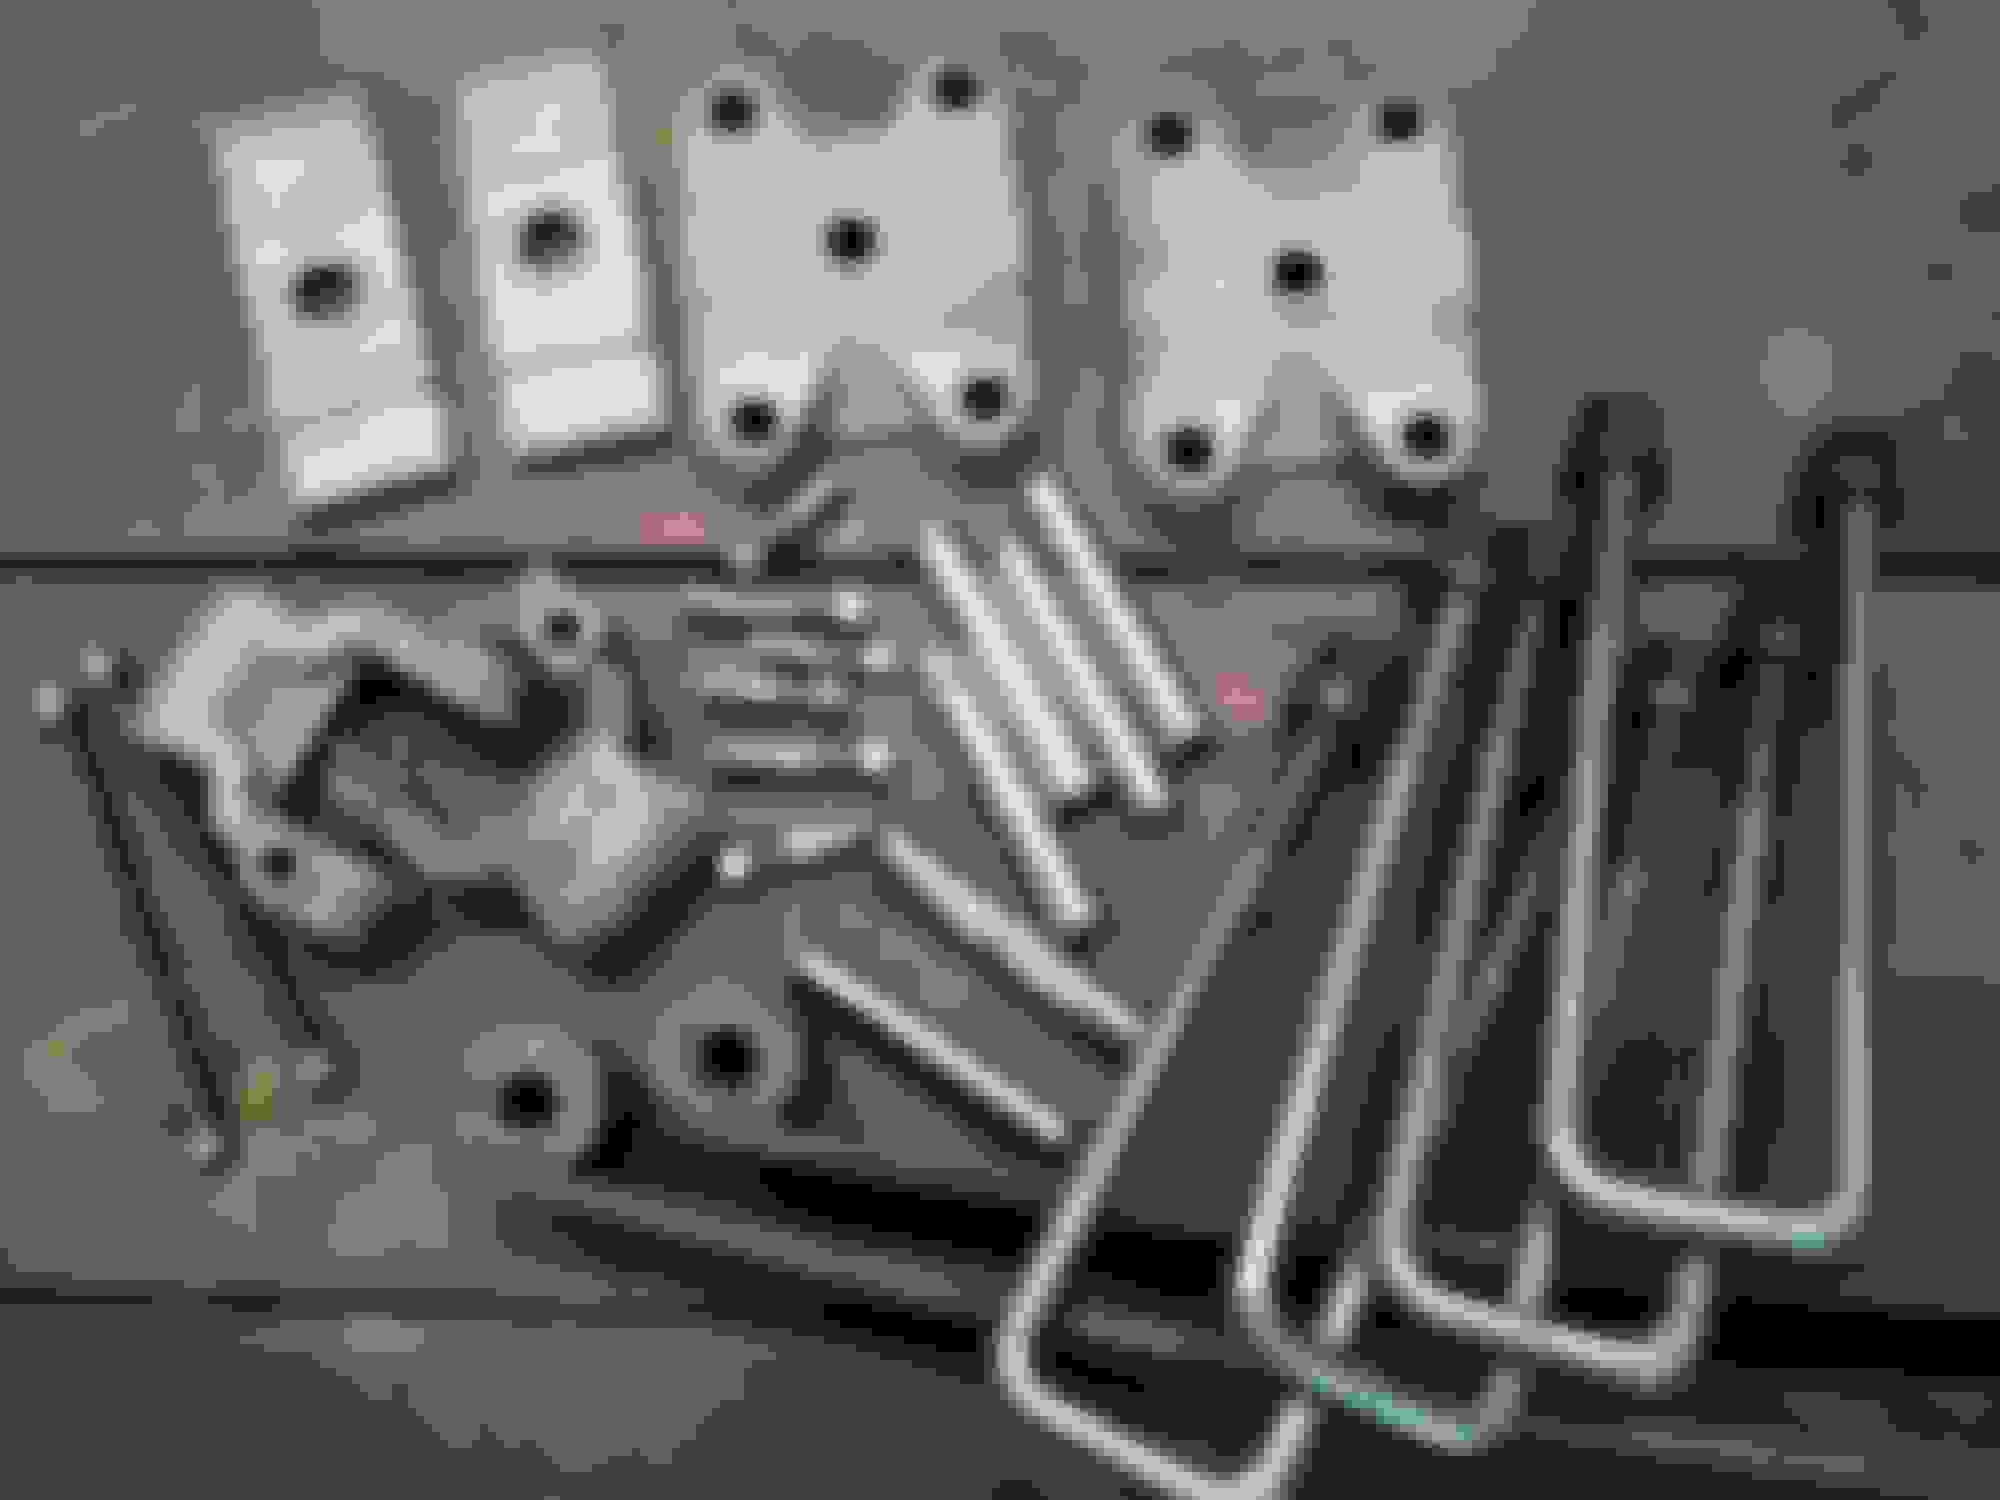
Thanks Grant, Joe, and Jim. Today I tore into the rear springs. Boy those spring U-bolts nuts were rusted on. I ended up cutting them off with a cutting wheel. Everything else came apart as it should. No broken springs, just a lot of rust between the leaves. I know what I will be doing the in the very near future, grinding and brushing! Took the top springs along with the u-bolts and pins to my local Truck shop to get the supplies I will need to put it back together. They had to order them as I expected. Not looking forward to that invoice
My local truck shop was able to make my u-bolts on the spot. Took about 10 minutes and they were about $15 apiece. They couldn't make my front u-bolts because they couldn't make them that small.
I bet it will ride smoother with the rust removed from between the springs. Makes me wish I had done that.
I actually did get the U-bolts made while he was searching for the bushings and bolts. Like you said, it only took them 10 minutes. They charged me $20 apiece, darn! I thought about shopping around, but I trust these guys. And as we both have experienced before, CHEAPEST can sometimes lead to headaches Hopefully I will know how it rides by end of summer or early fall. Crossing my fingers!
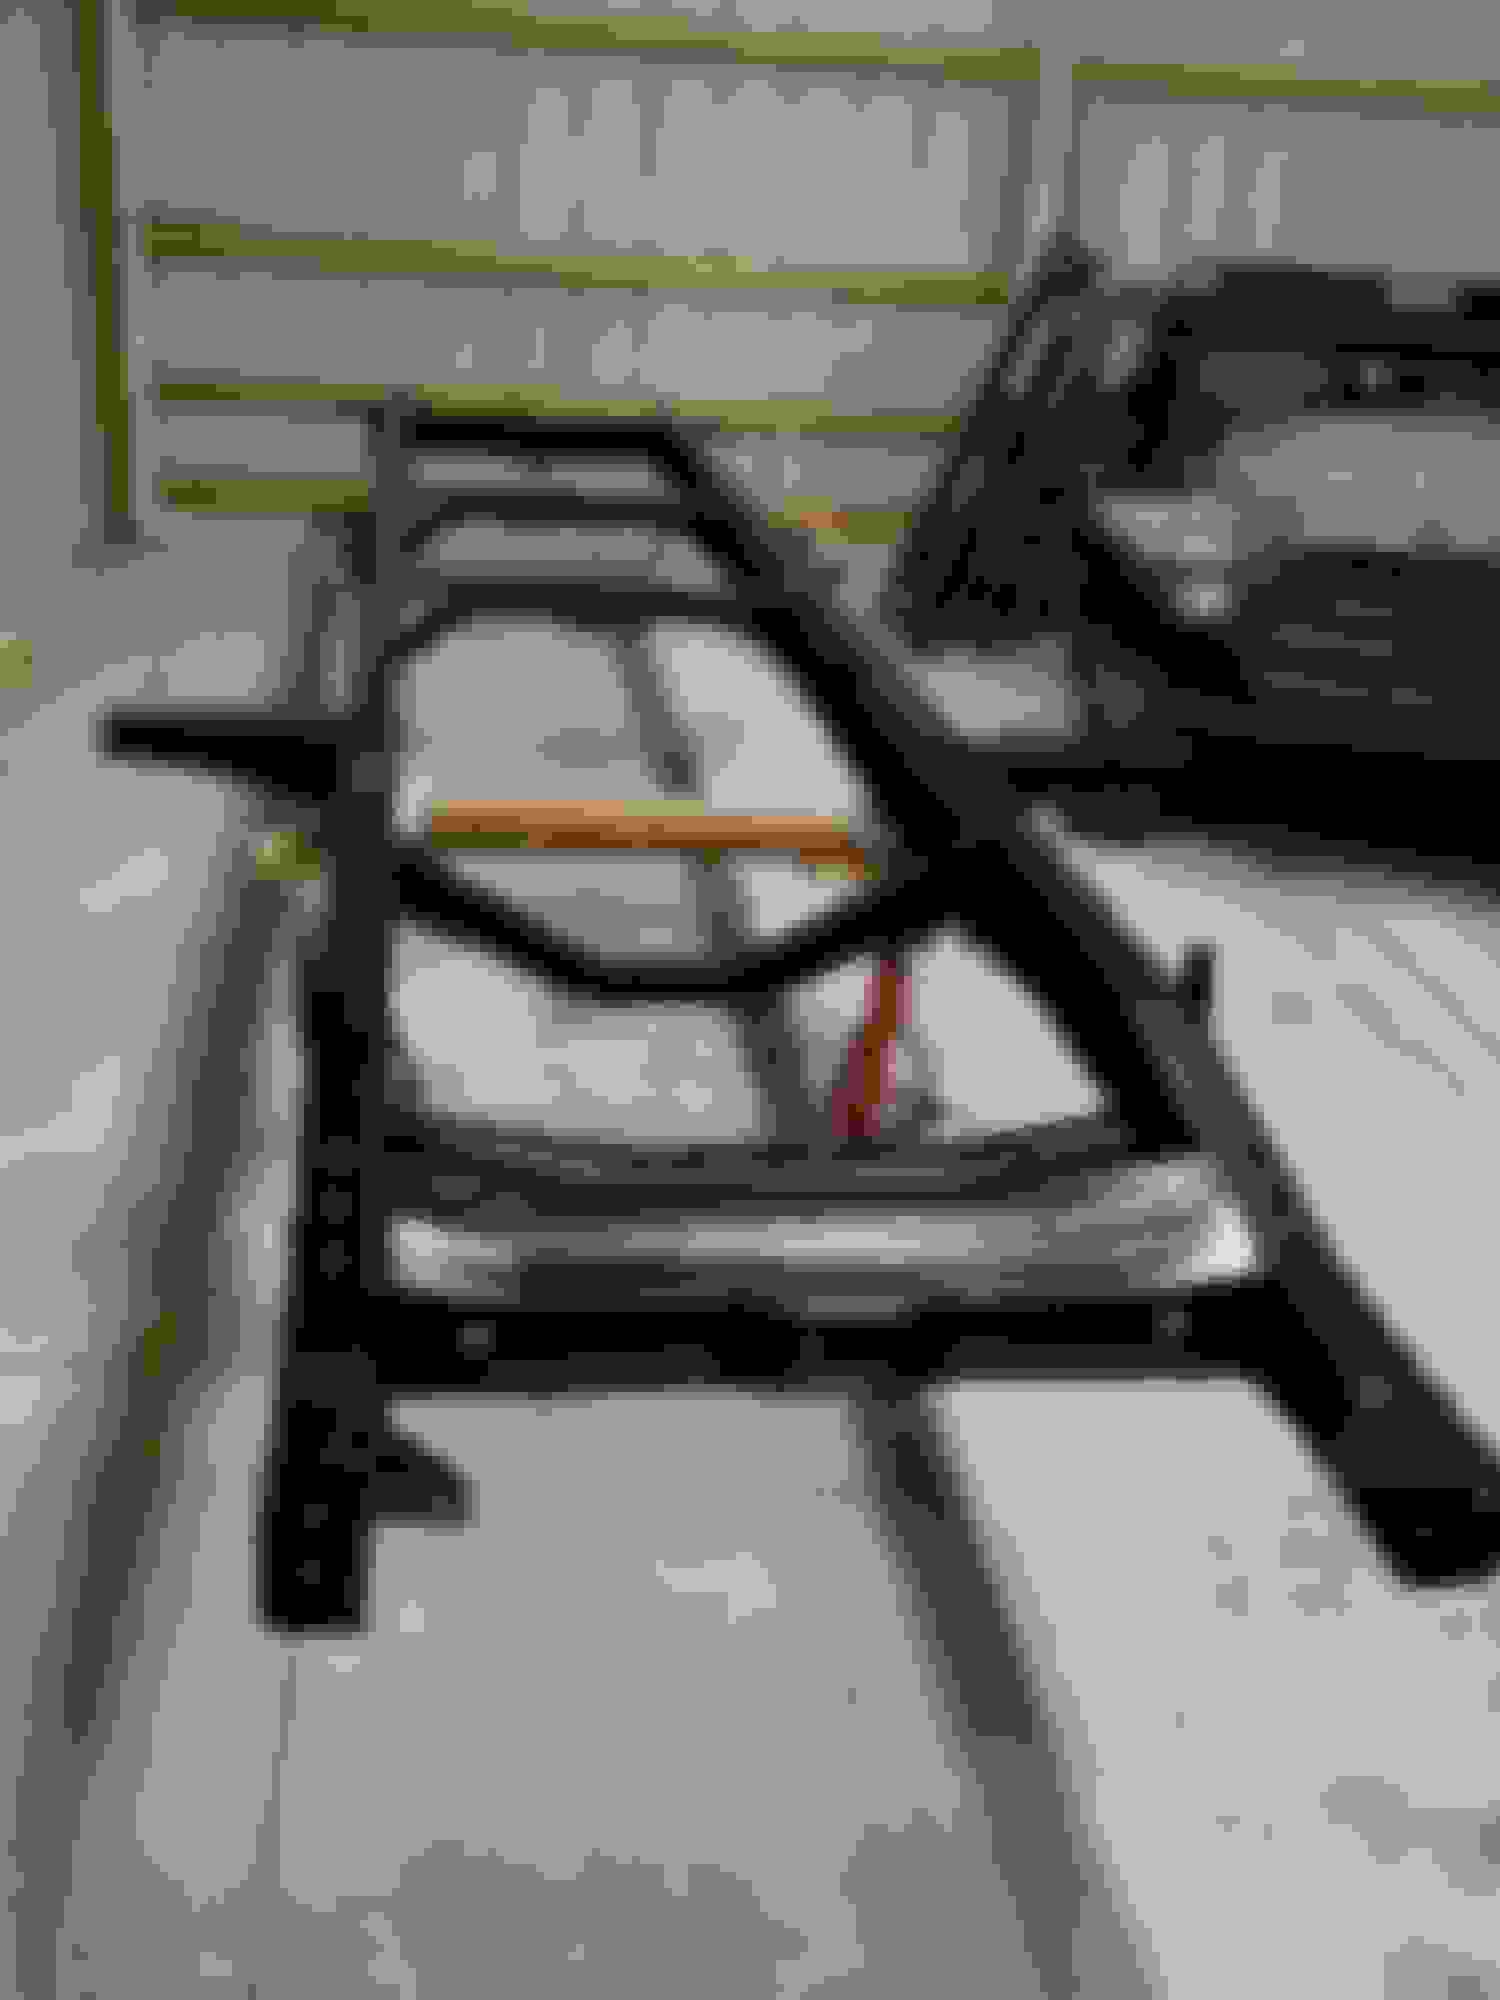
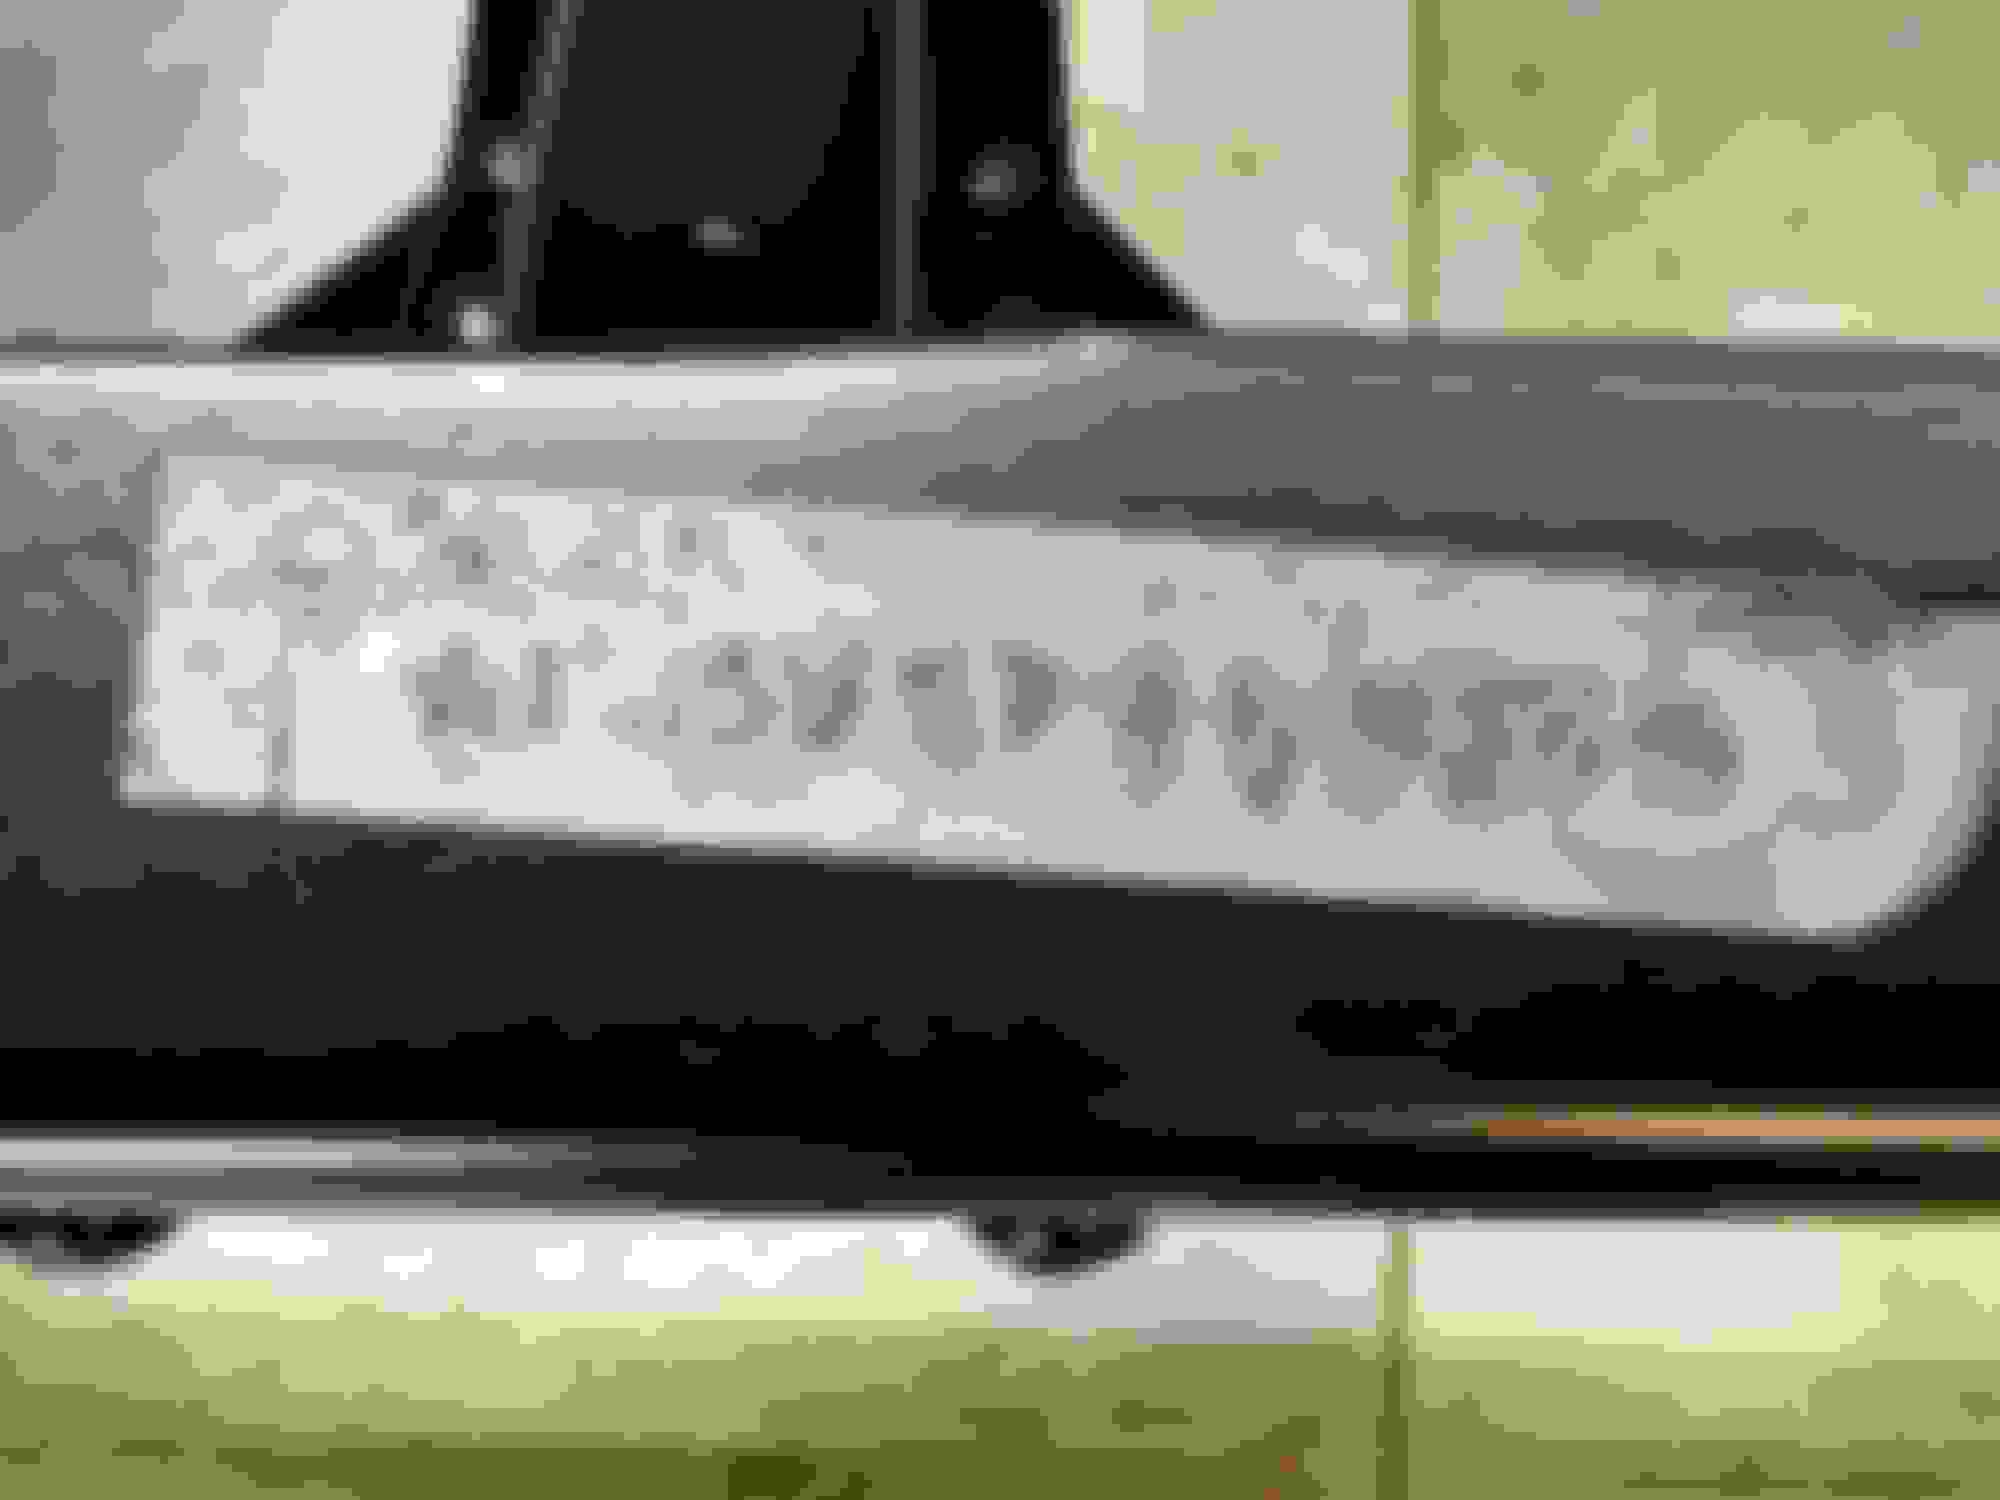
The powdercoater called yesterday and said my frame was done. That's a week earlier than they said originally. So I hooked up the trailer and went to pick it up today. They also protected the serial number and welded the cab bracket that were cracking. It turned out beautiful. The front axle/springs are ready to roll underneath. Still have the rear springs/axle to clean up and paint. With no help I had to use a little farmer engineering and mechanical advantage to get the frame off the trailer but it went fine. It's crazy how protective I was, especially after all the abuse of grinding and scraping I did on it. Now we'll see how good my memory is putting this "beast" back together
Looking good, Dave--even a little green grass showing there is Seward. So now the deconstruction phase ends, and the construction phase begins. You'll have fun putting all your newly refurbished parts back on, just don't forget any. LOL.
Looking good, Dave--even a little green grass showing there is Seward. So now the deconstruction phase ends, and the construction phase begins. You'll have fun putting all your newly refurbished parts back on, just don't forget any. LOL.
Thanks Jim. Oh, there's still some deconstruction with the body work. But getting closer.
Rolled in and mounted the front end this morning. Boy, it sure is nice working with clean, unrusted, non oily parts. For those of you following Joe's (harrier) "why did my tie rod ends fall off", I did NOT put the caster wedges back in. I will wait and see after I drive it, to see how it handles. Probably will take it to a front end shop at that time. Hopefully I can find an "old timer" that understands the straight axle and its components. Now just waiting for parts for my rear springs so I can get them put back together. Well not really waiting, I still have so many parts to clean and paint. Just need some warm weather.
Very nice thread Dave, I really enjoy seeing the step by step work that goes into bringing one of these old beauties back to life. Dang that frame looks good :
Odd, I must not have hit post reply on my last post here.
The frame is beautiful and that VIN is super clear. You can hardly see mine. Of course I did paint over it. It's cool that your guy protected it like that.
I think it is wise to leave the shims out at this point. As the discussion went, it seems the larger trucks need them less. Hopefully you can find a front end guy that knows older trucks. Lincoln is big enough, I'm sure you could find one.
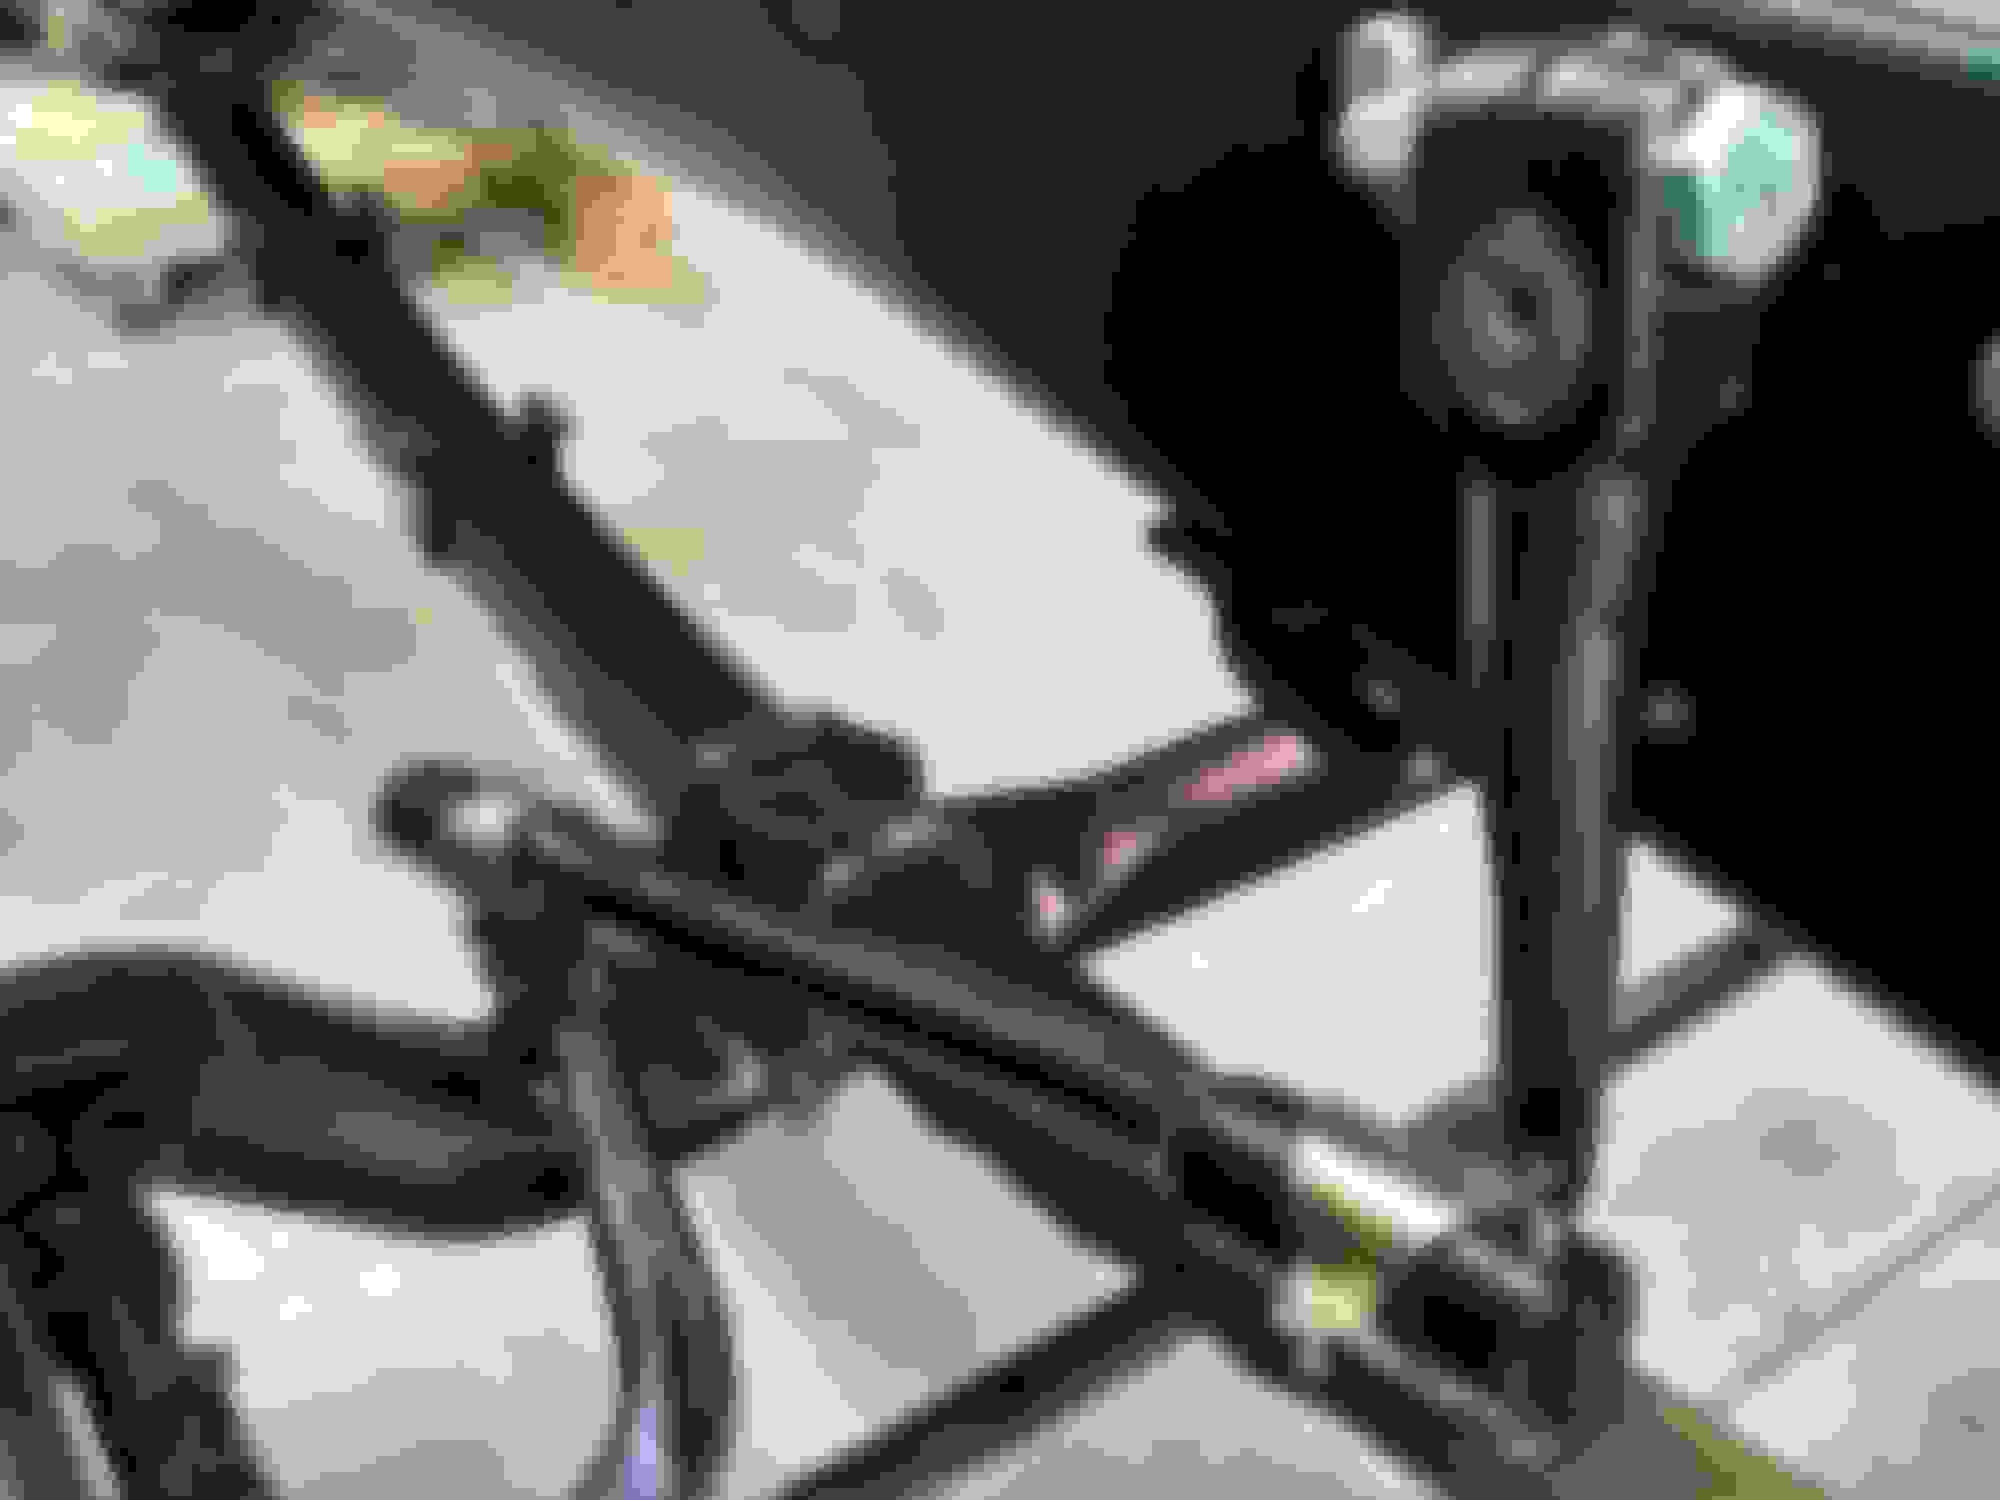
Got a little time to play today Installed the draft link to the front end. Cleaned and reused all the parts except the "boots" that hold the grease in. I also picked up my rear springs and pins from the Inline Shop. I just had them press out and press in the new bushings. I could have probably done the ones on the springs but the bushings on the hanging shackle kind of scared me. I didn't want to break it pounding on it. Turned out good. Still need to clean top spring, but the rest of the parts are ready for assembly and paint. Finally, suppose to get up in the 70's this weekend. Maybe, just maybe I can spray some paint! Oh ya, I almost forgot I also cleaned up and sprayed the rubber stops (is that the right name?) I actually used bed liner paint. I figured rubber to rubber should work right Well time will tell.
 03-20-2017, 10:04 PM


 Hopefully I will know how it rides by end of summer or early fall. Crossing my fingers!


 Installed the draft link to the front end. Cleaned and reused all the parts except the "boots" that hold the grease in. I also picked up my rear springs and pins from the Inline Shop. I just had them press out and press in the new bushings. I could have probably done the ones on the springs but the bushings on the hanging shackle kind of scared me. I didn't want to break it pounding on it. Turned out good. Still need to clean top spring, but the rest of the parts are ready for assembly and paint. Finally, suppose to get up in the 70's this weekend. Maybe, just maybe I can spray some paint! Oh ya, I almost forgot I also cleaned up and sprayed the rubber stops (is that the right name?) I actually used bed liner paint. I figured rubber to rubber should work right
 Well time will tell.