Hackster's F100 CV Swap, Coyote, 6 speed 3 link build thread
#16
 10-16-2015, 08:58 AM


So this brings us up to current......if you are still following along 
Solid day of work in the garage today.....not really missing work at all today either.
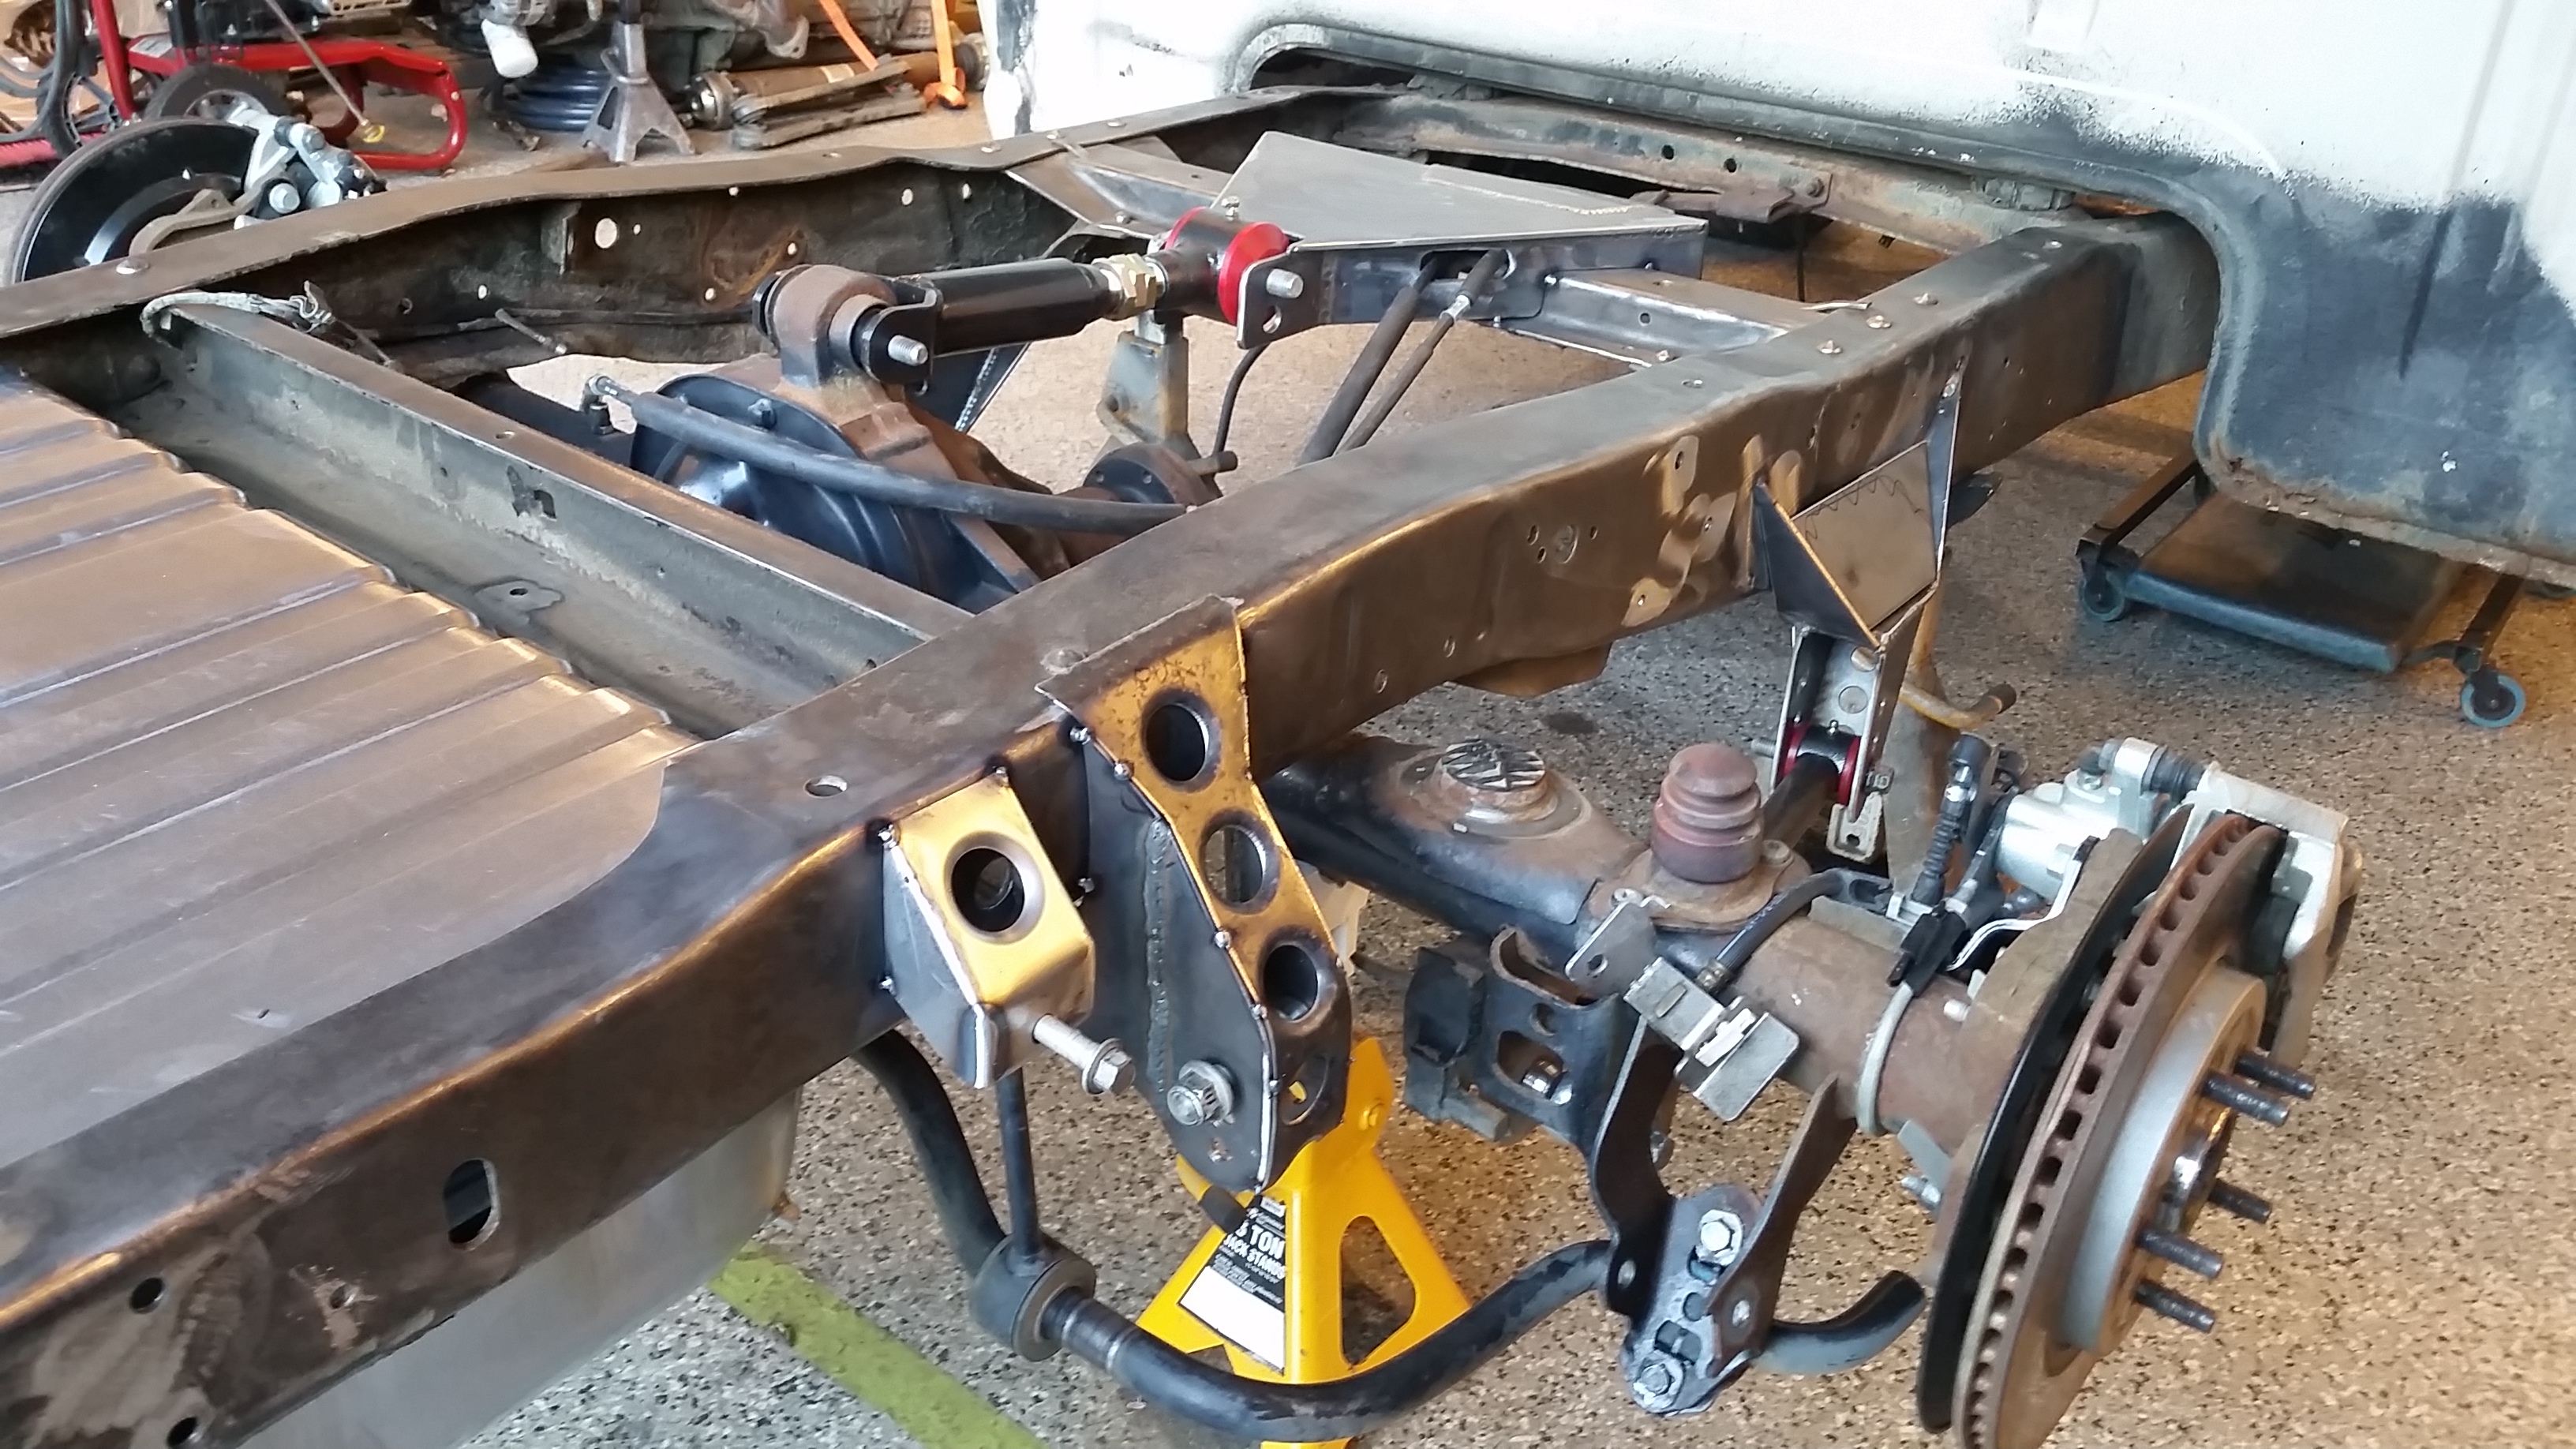
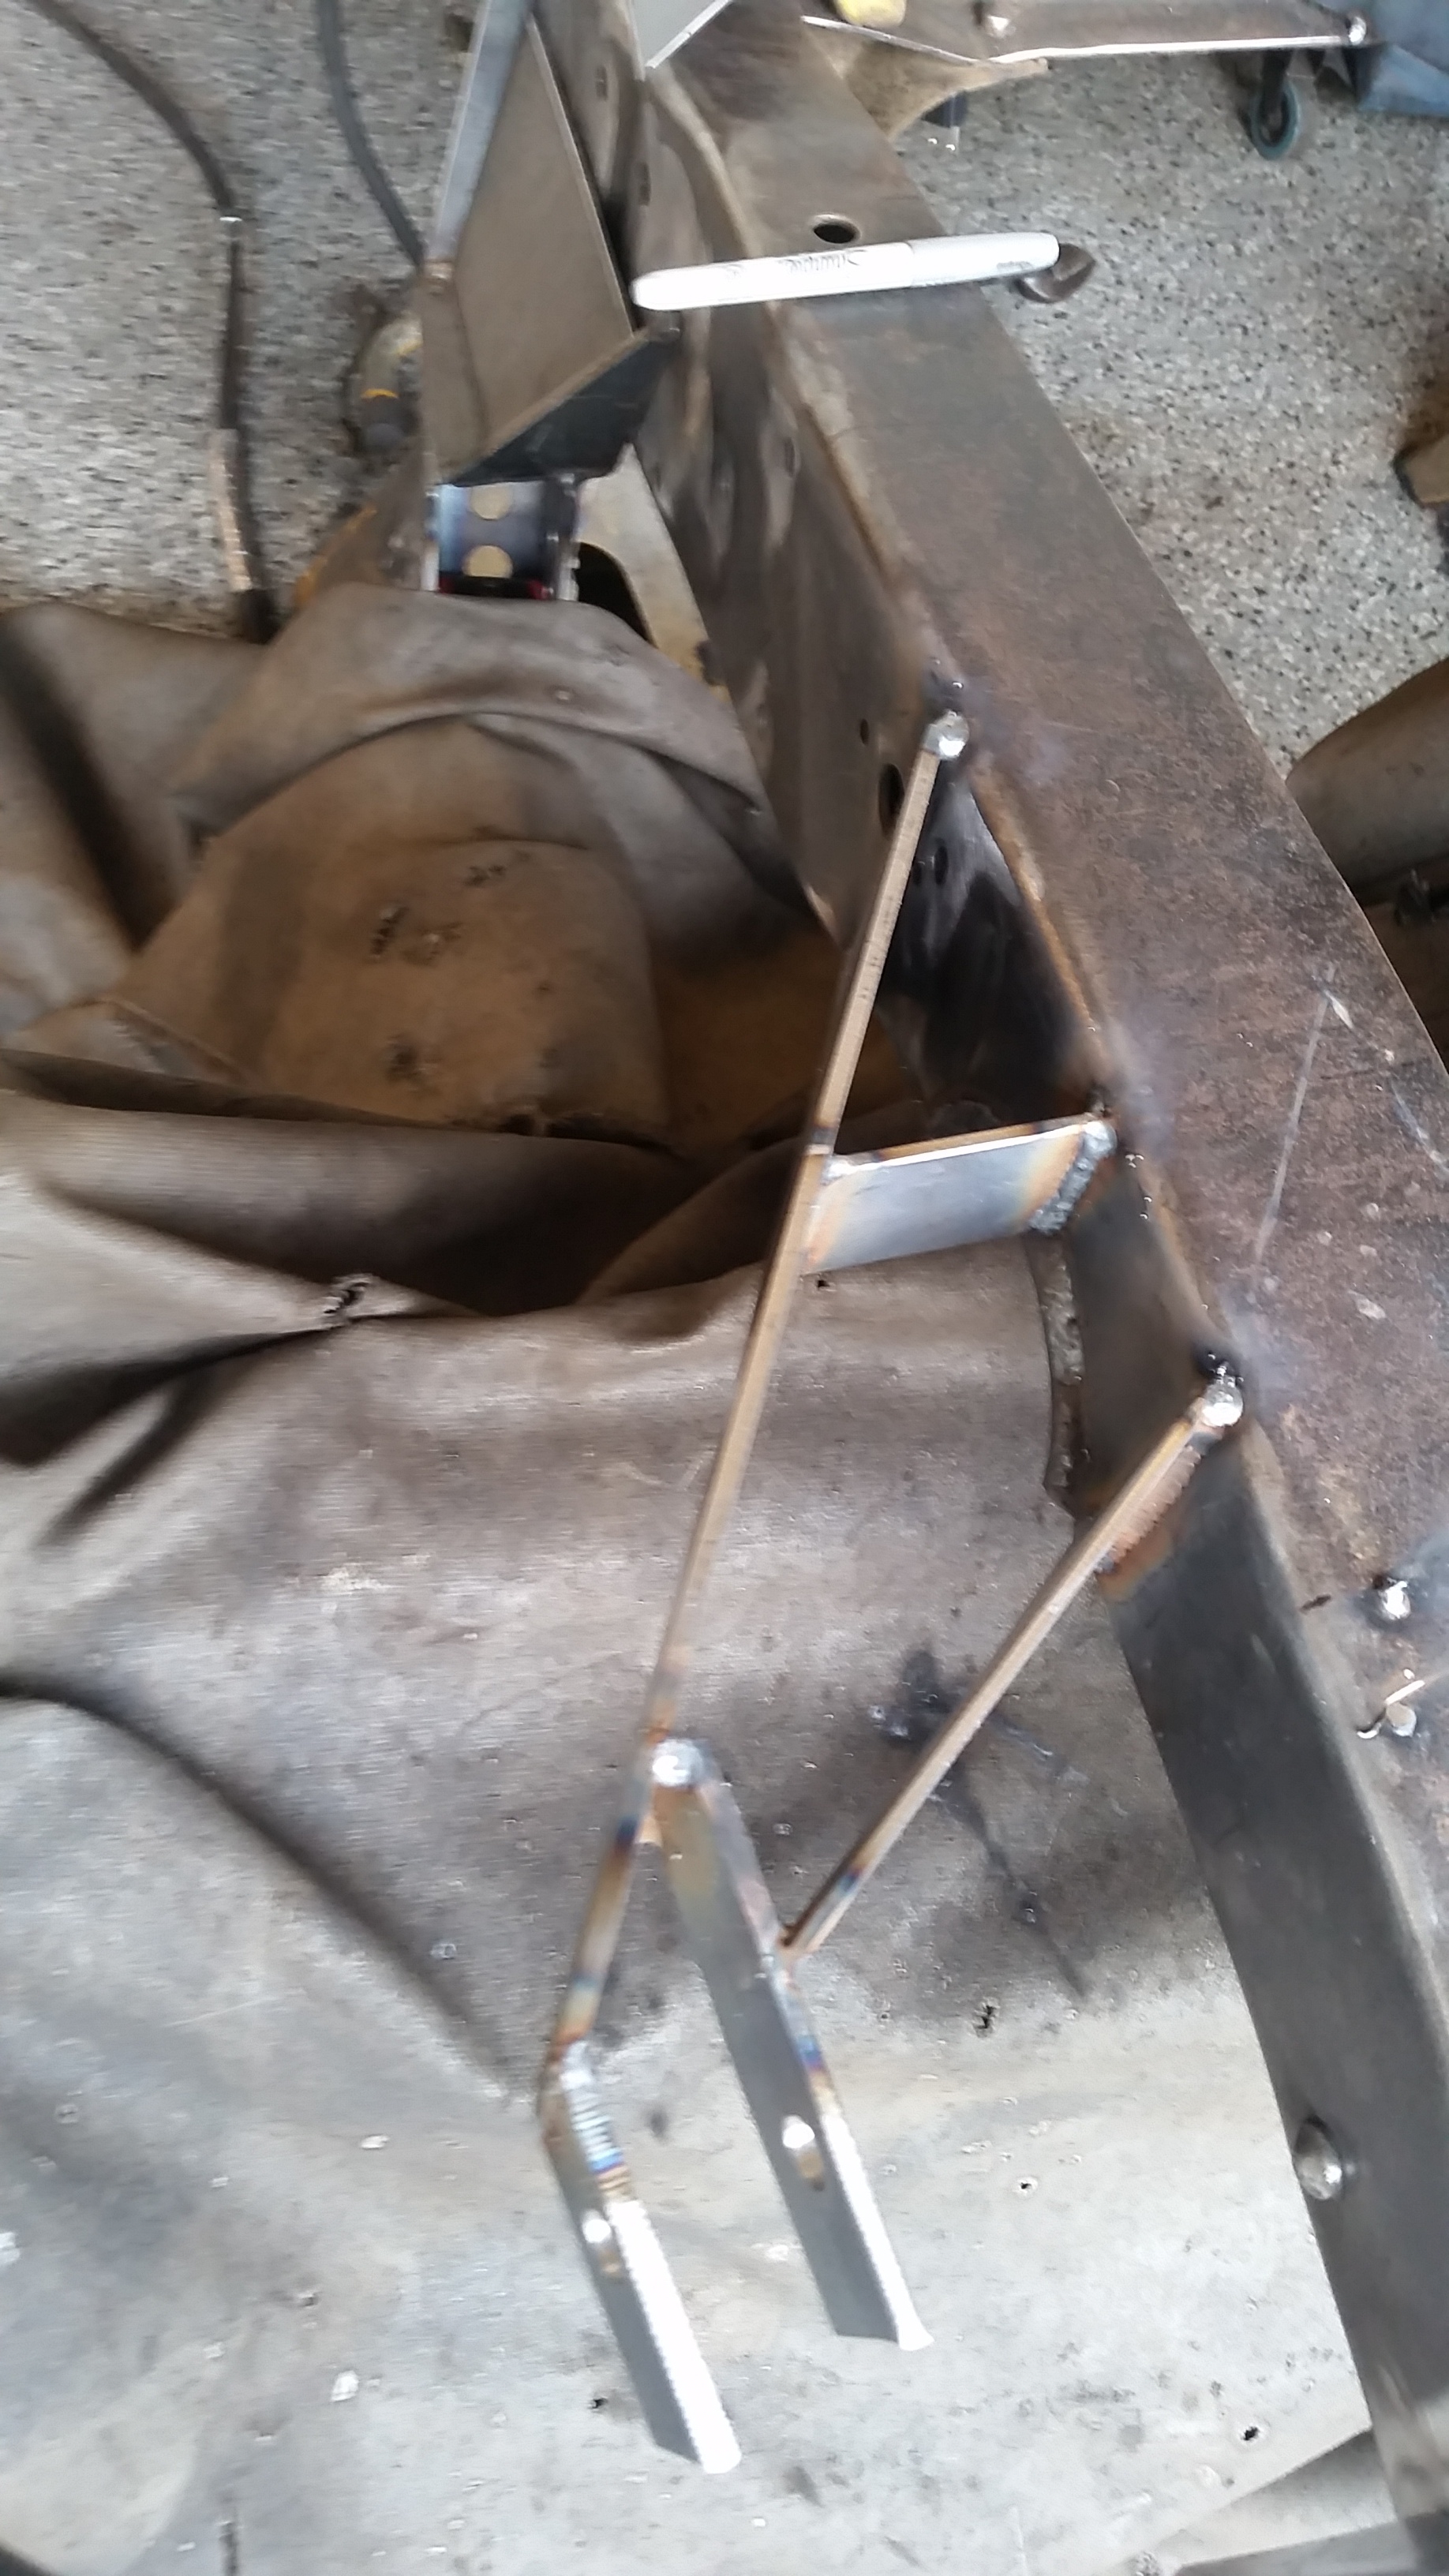
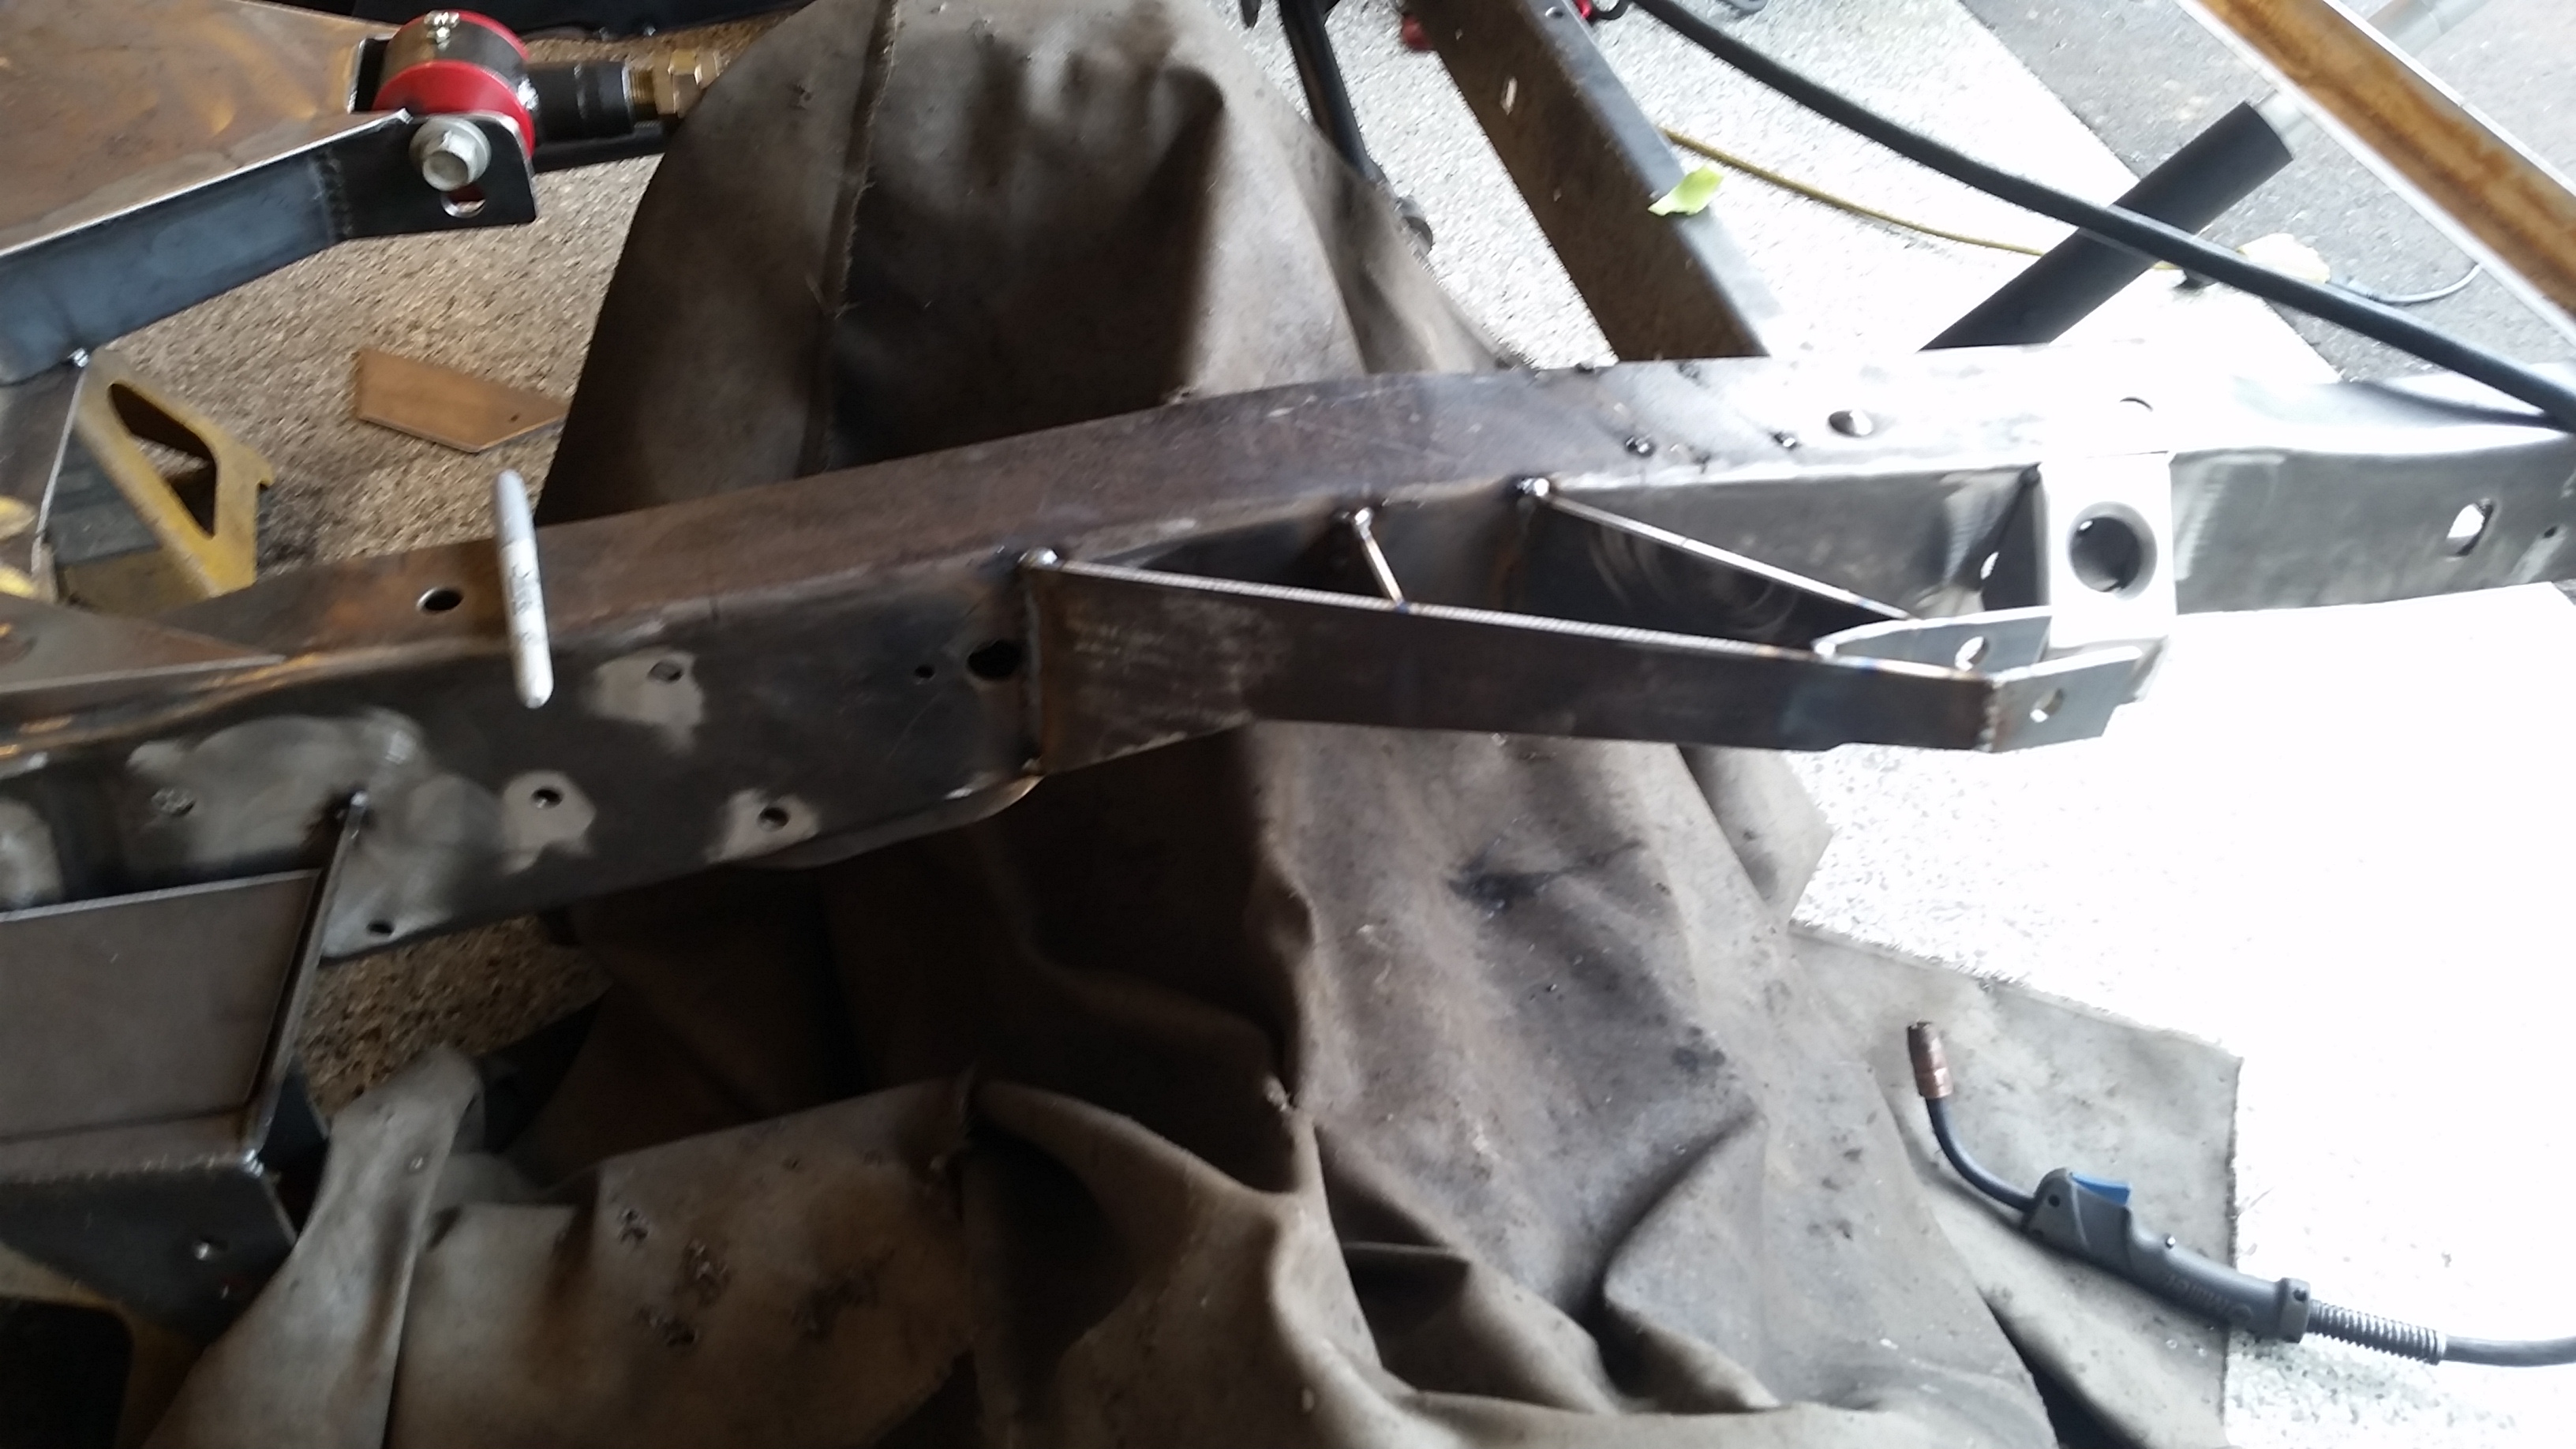
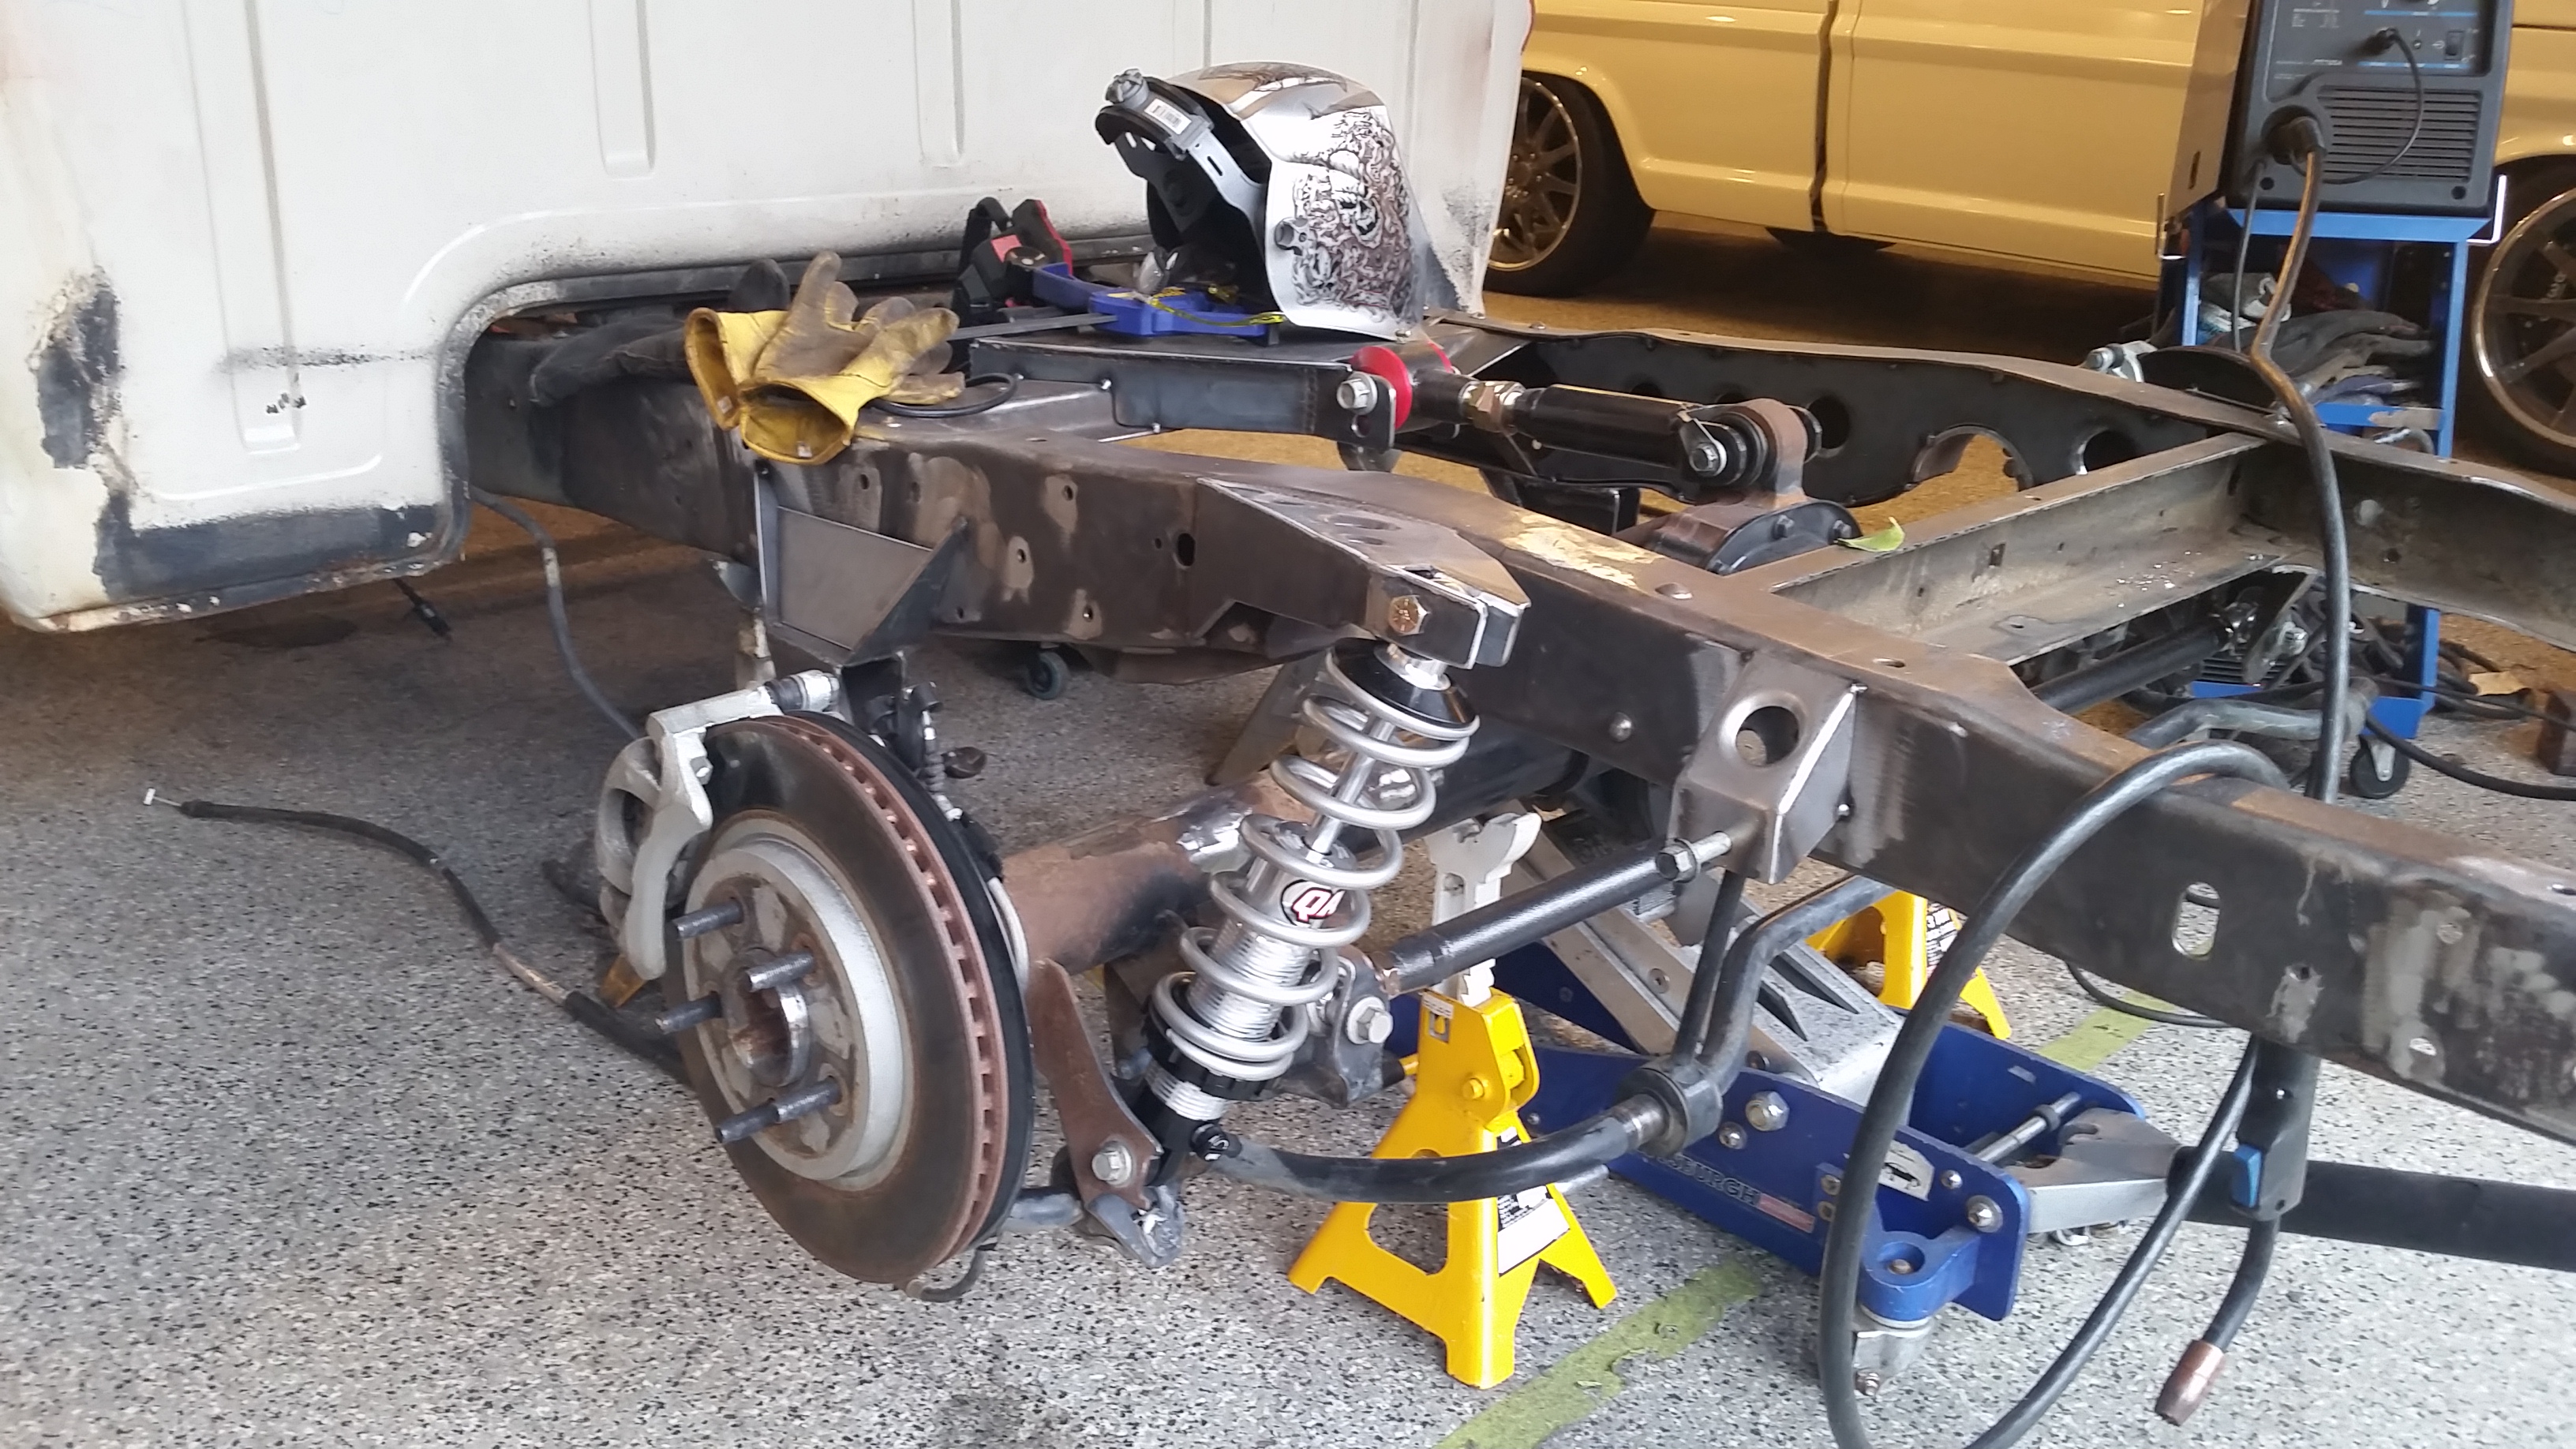
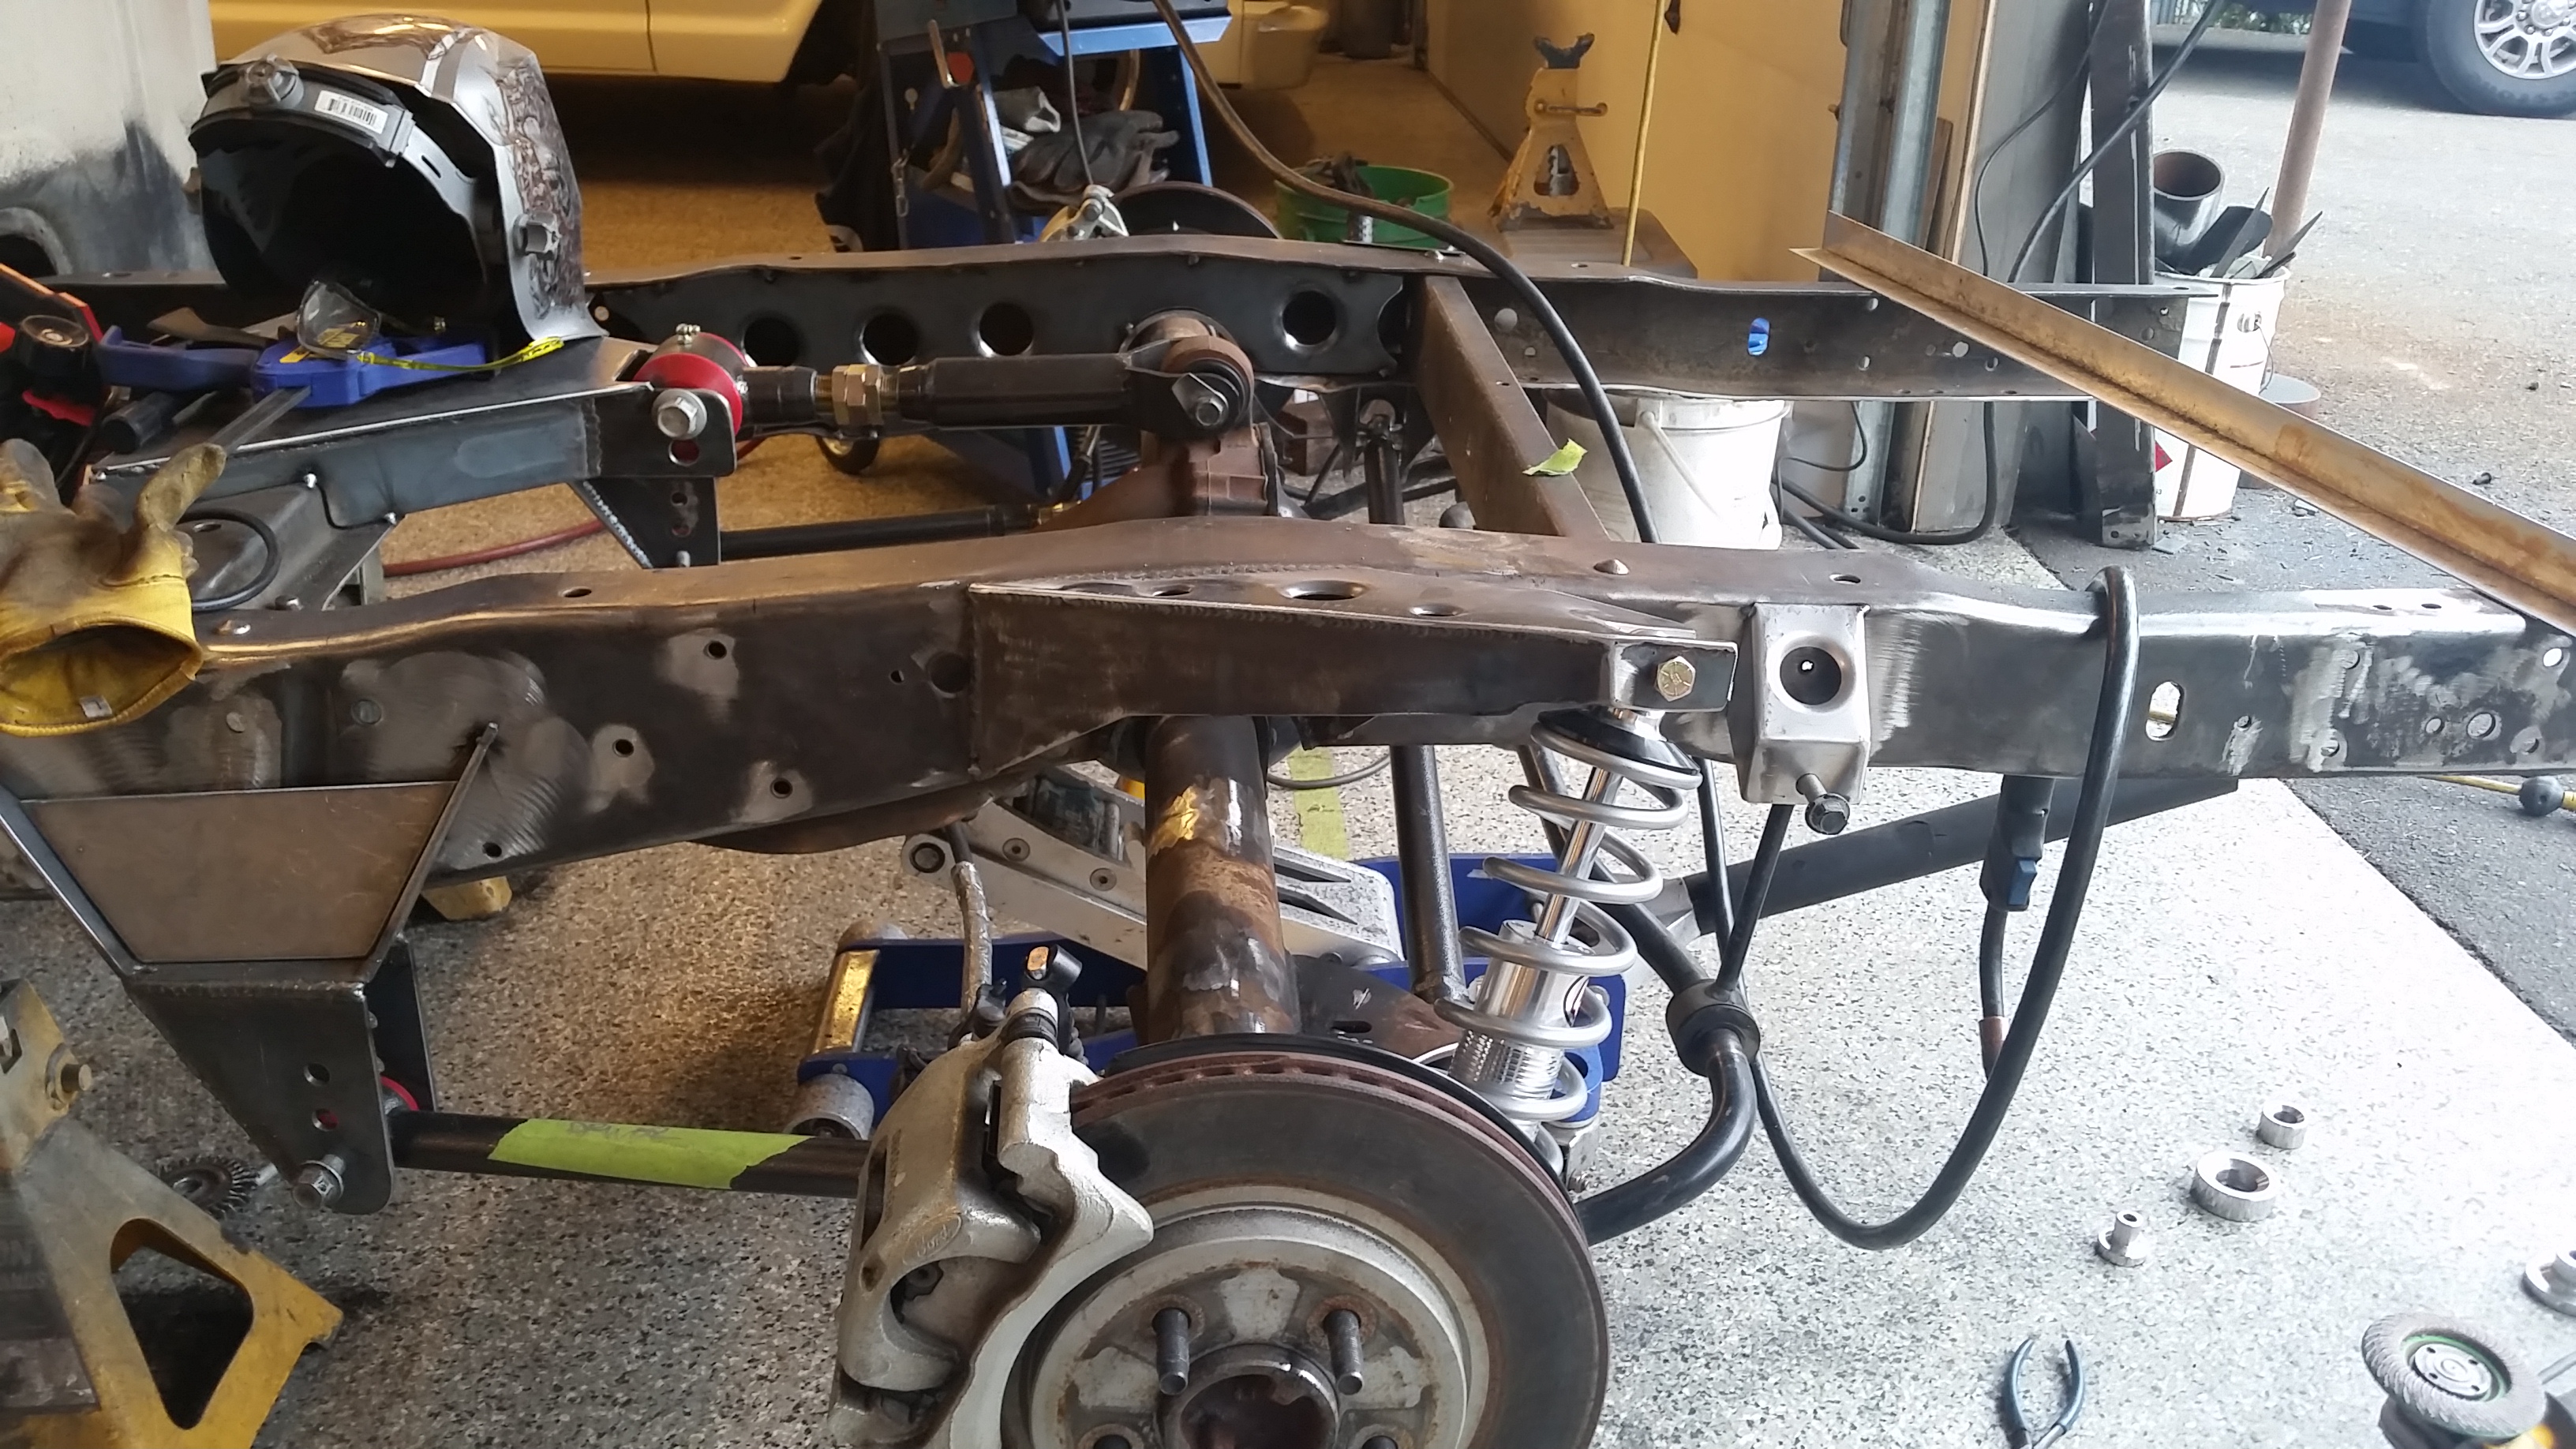
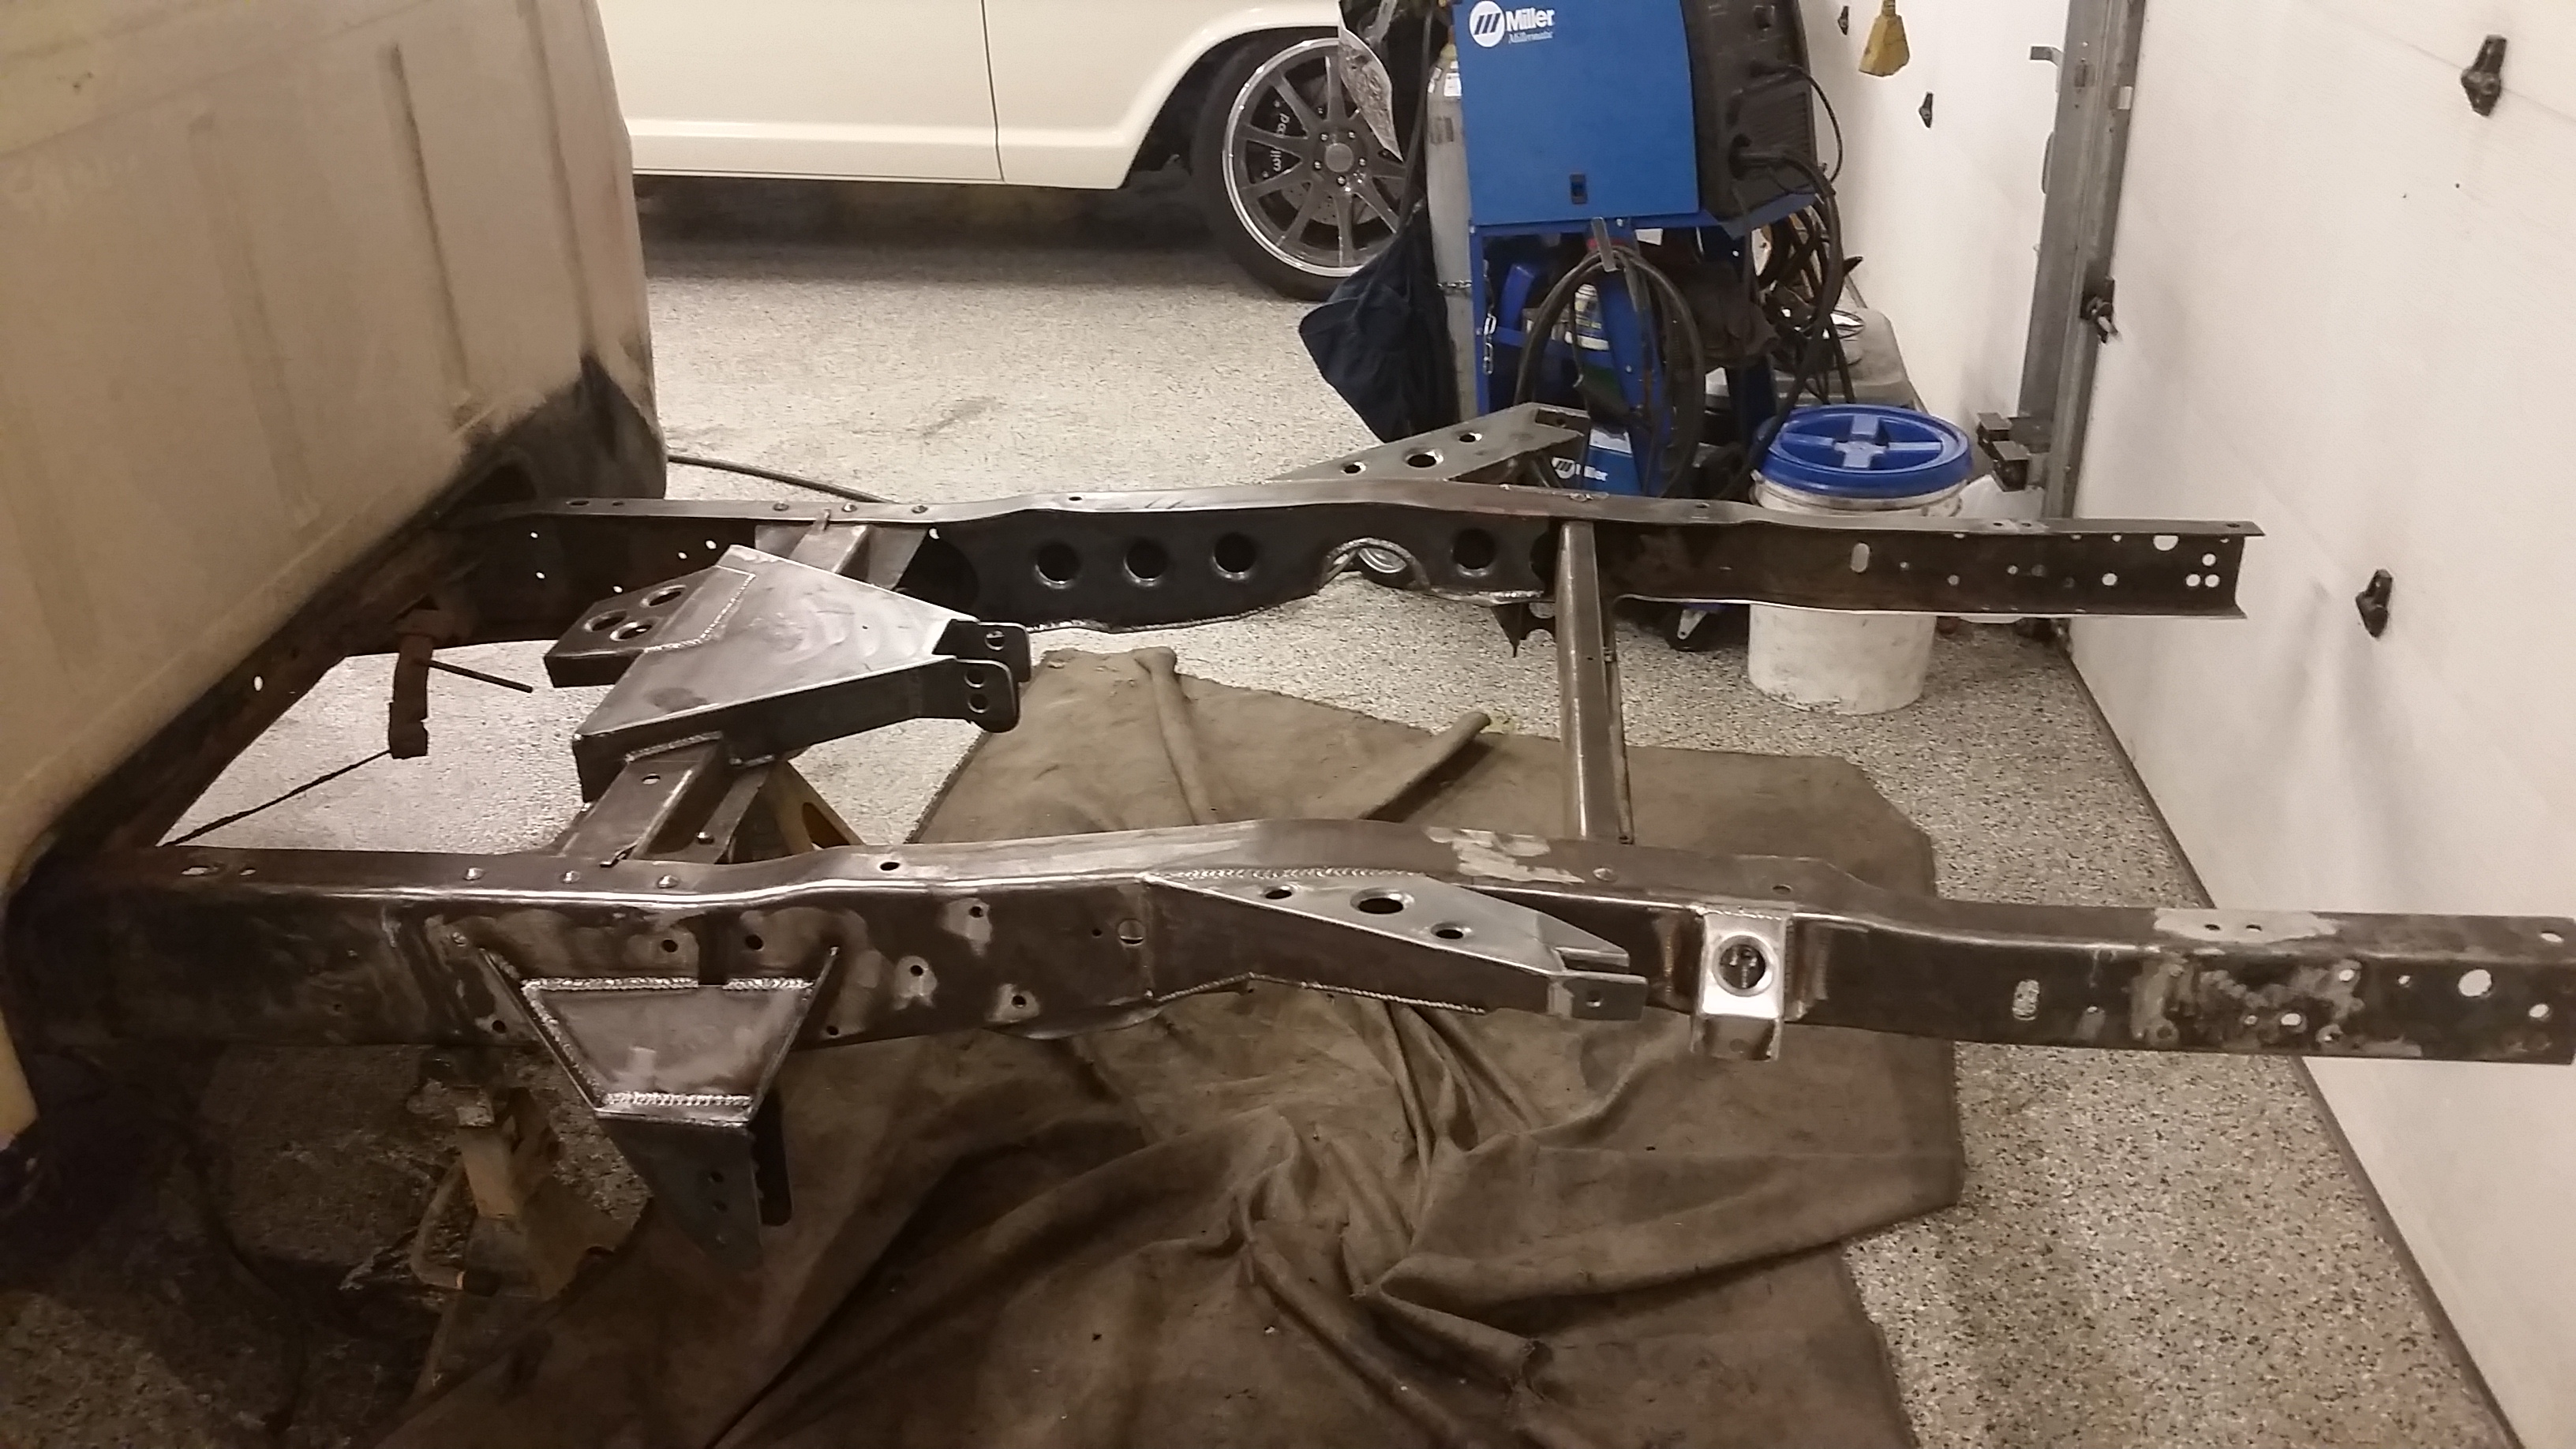
Got the upper link mount built. Tied it into the factory crossmember. Not too sure If I am going to run some tubes down to the inner frame rails or not. It is plenty beefy, all 3/16".
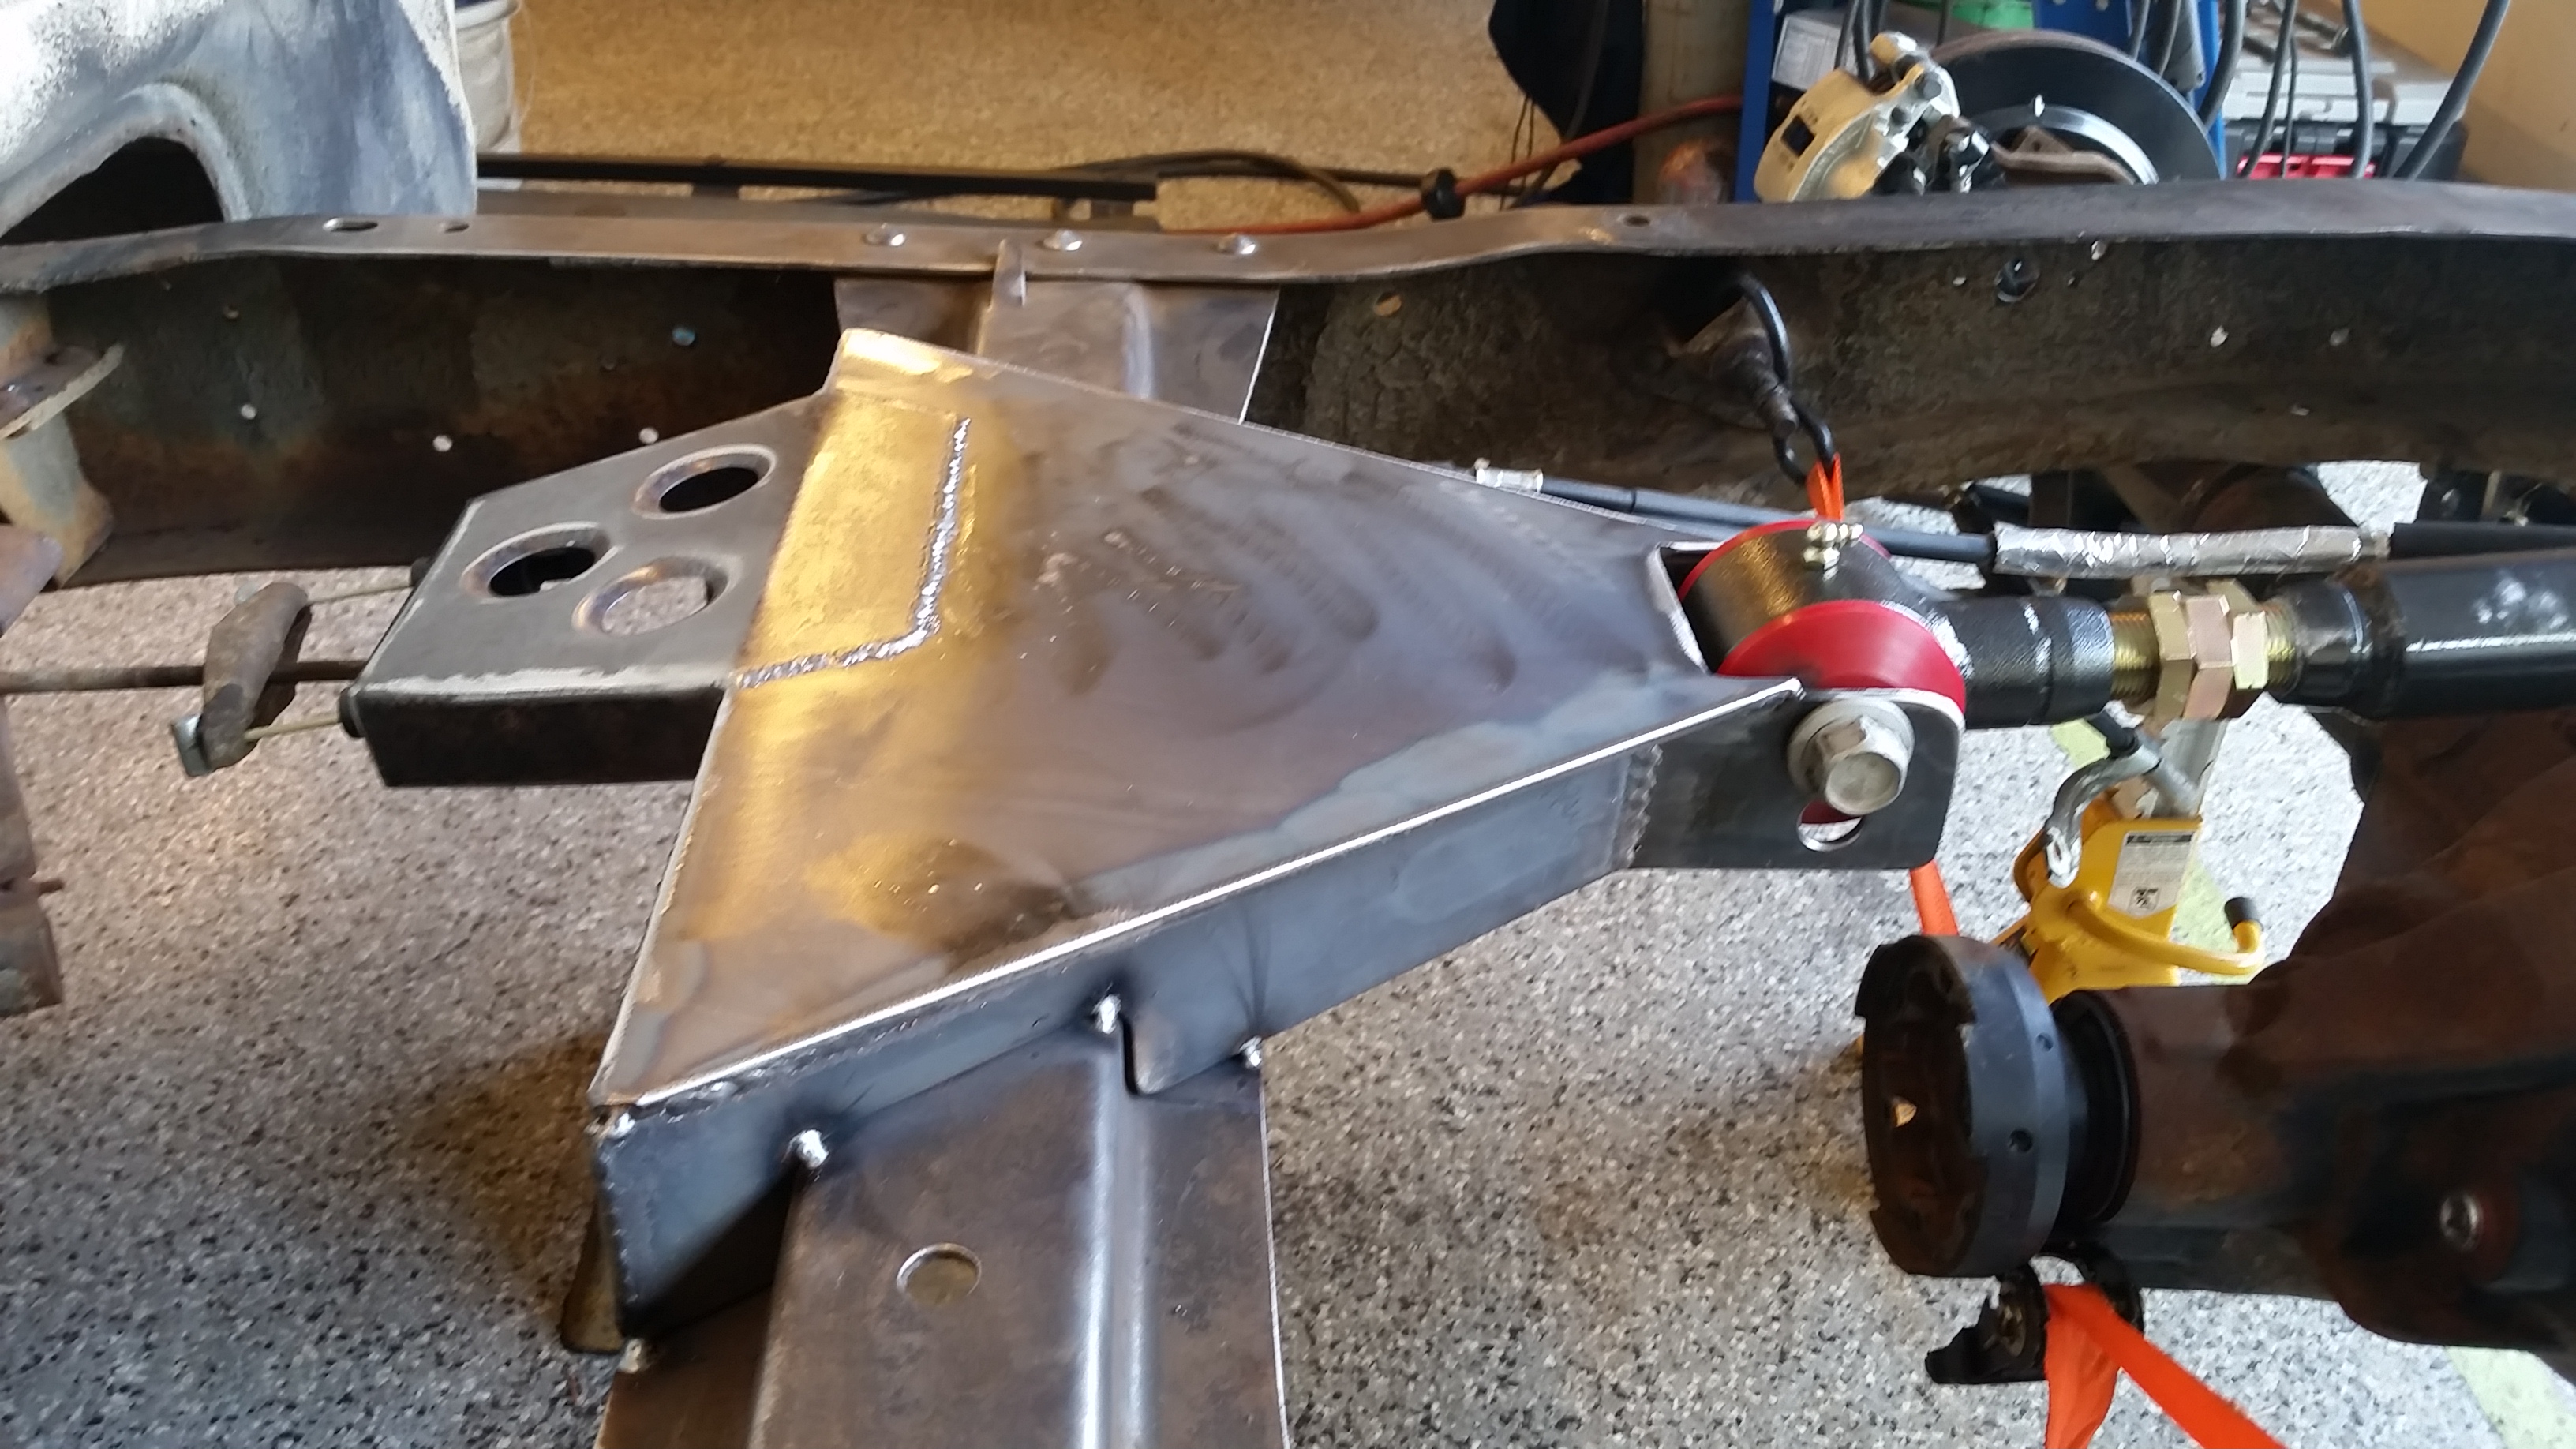
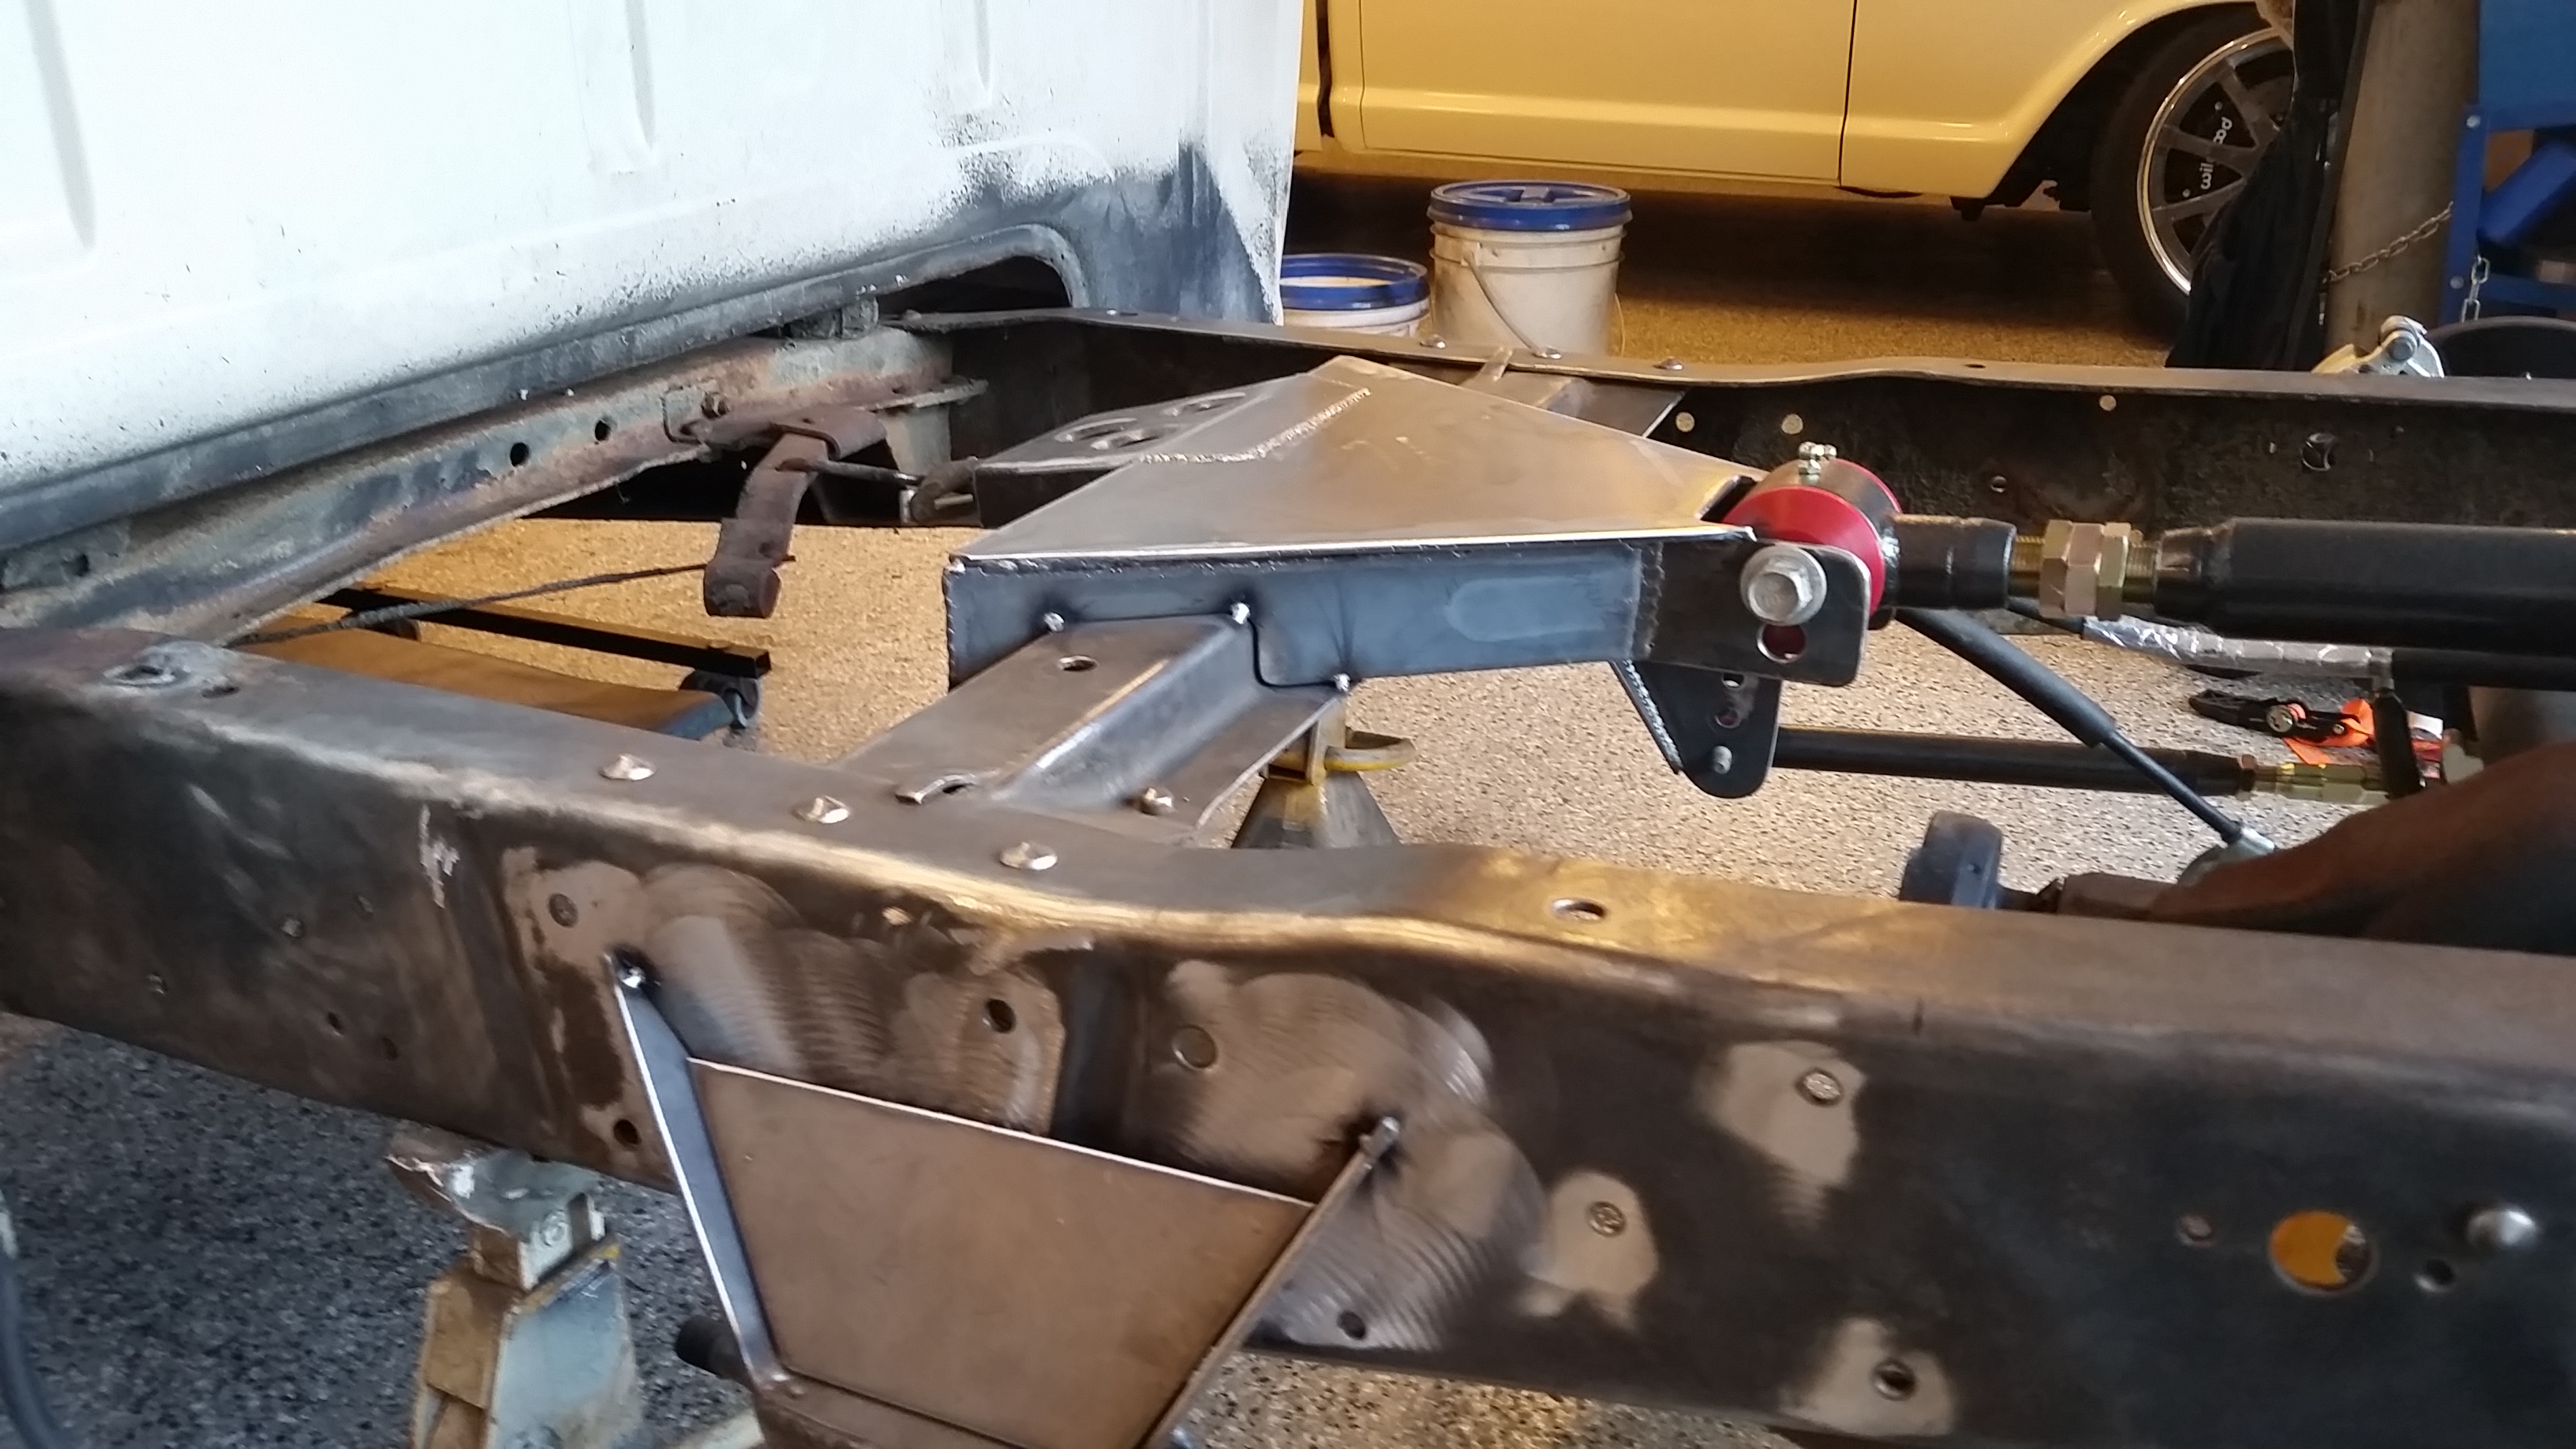
Plan coming together on the emergency brake cables as well. Amazed that this is going to work out..
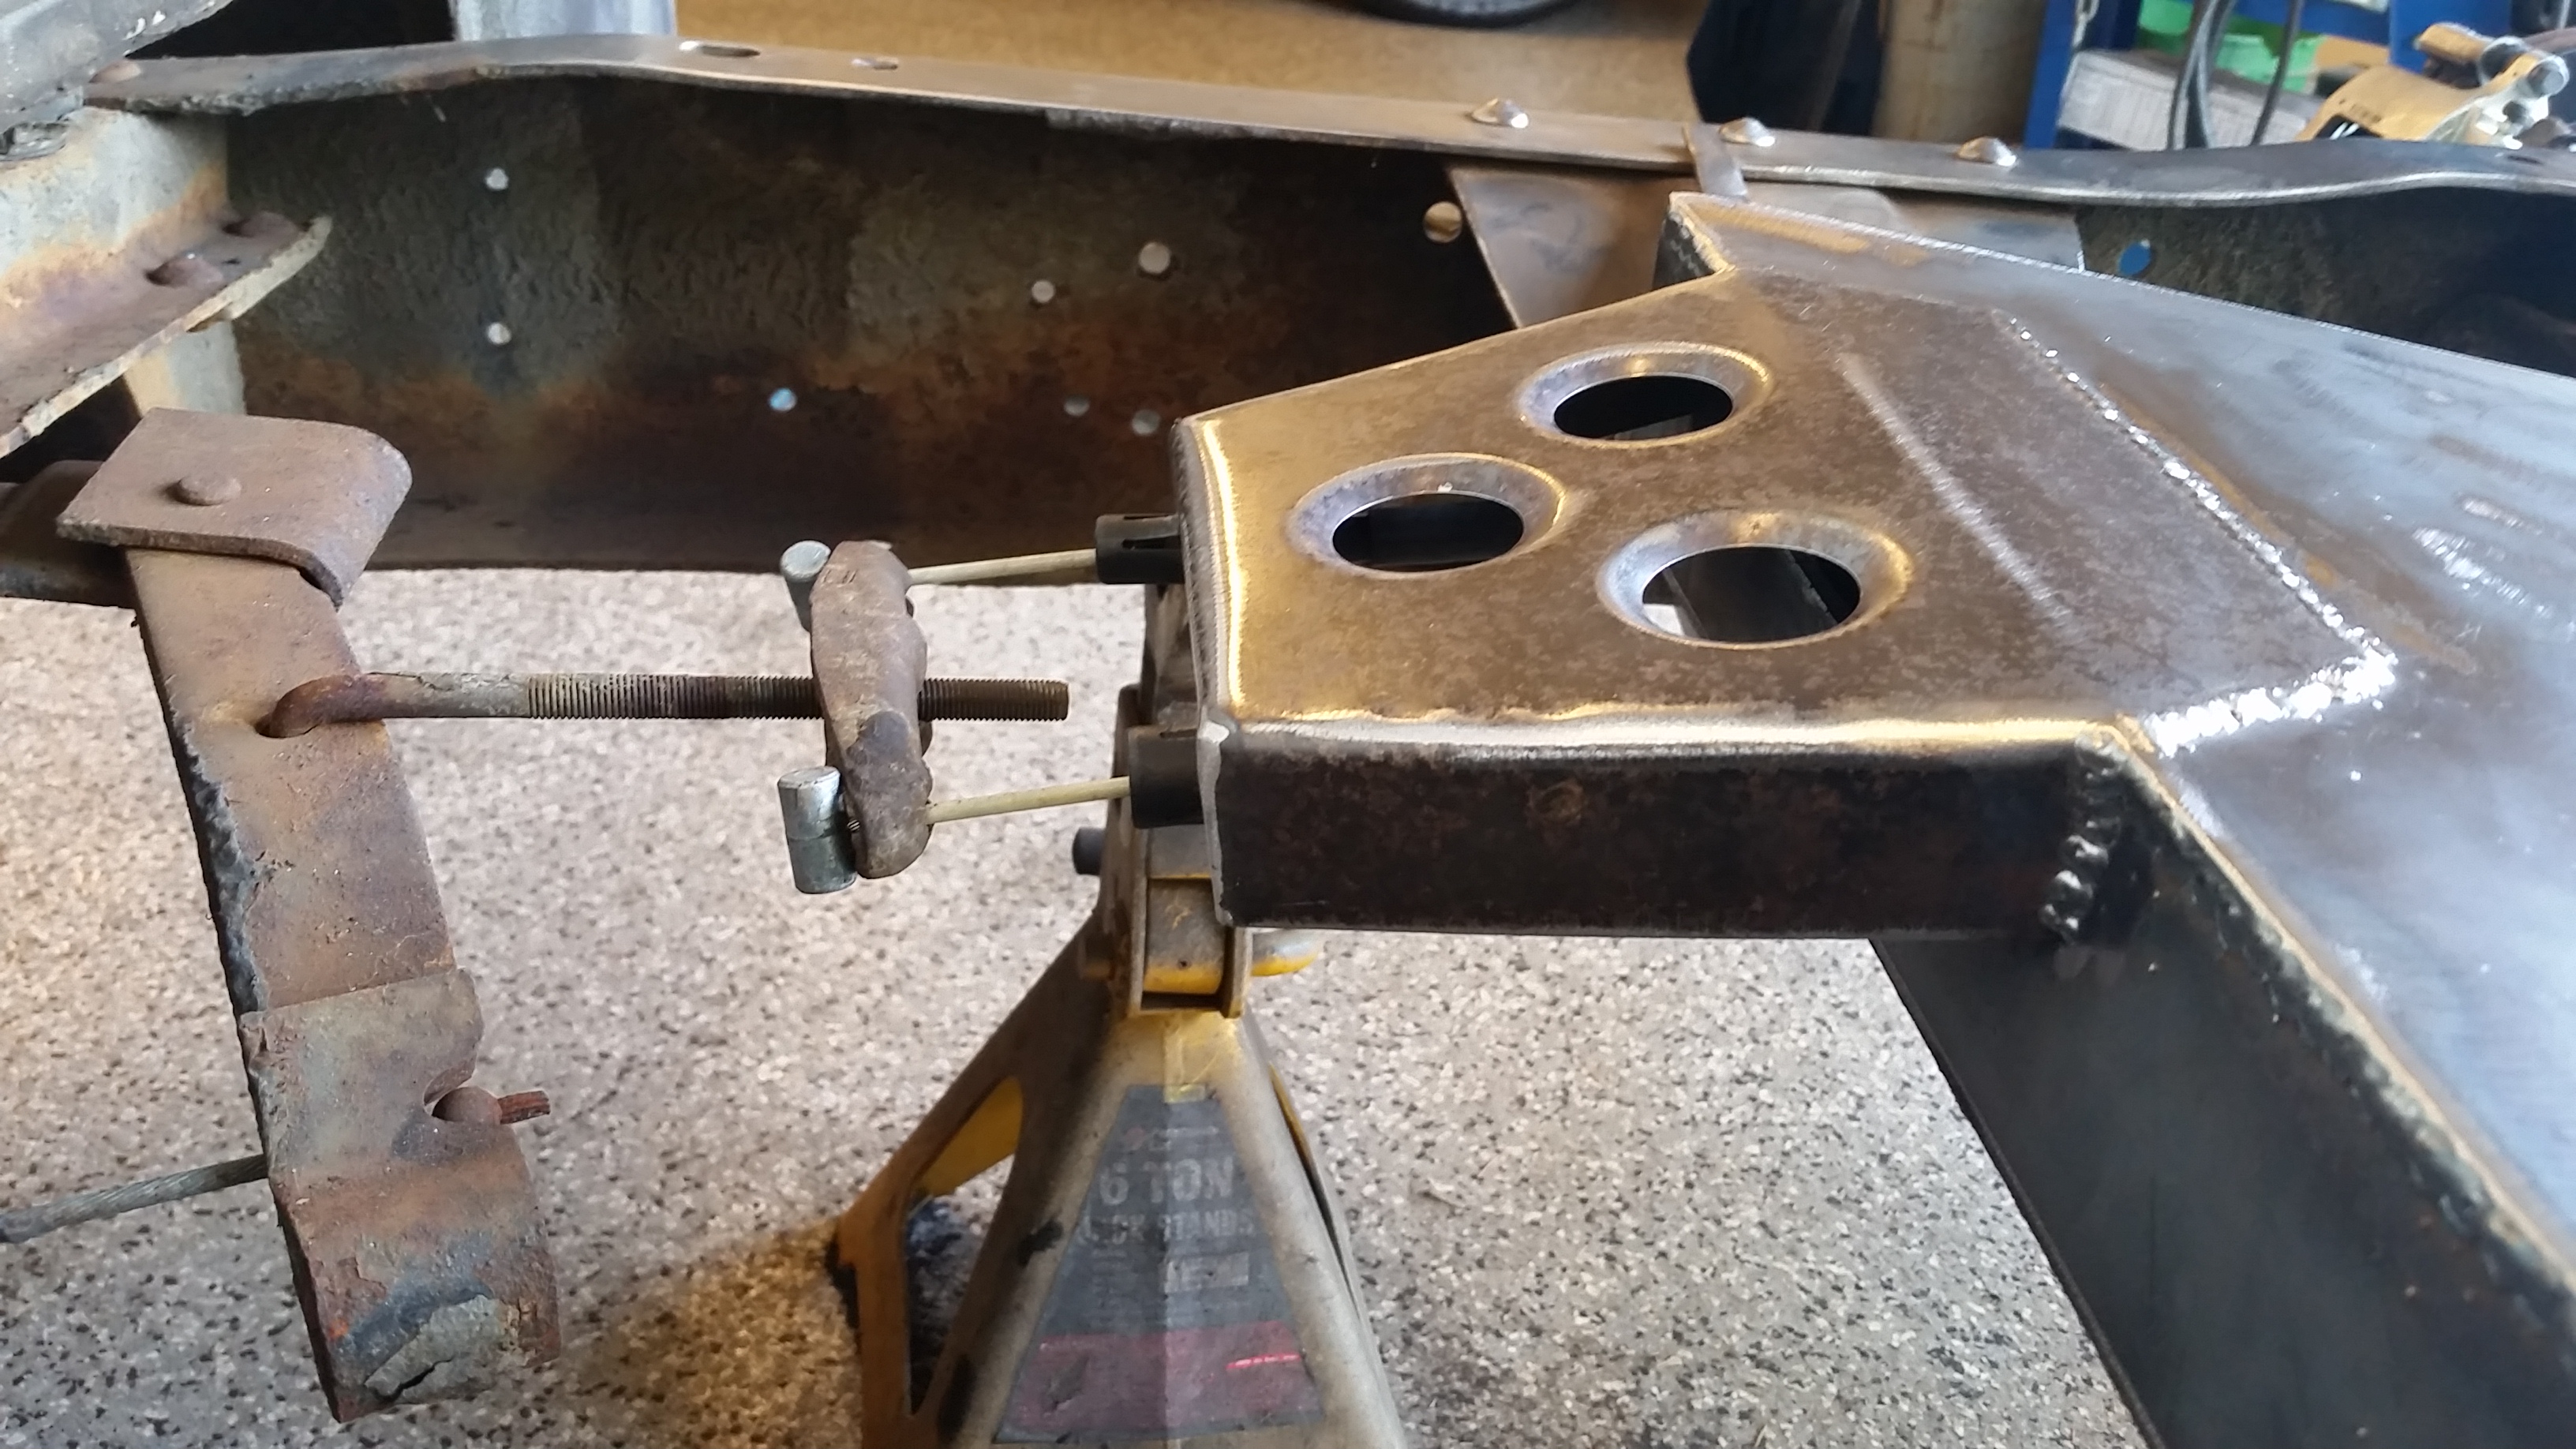
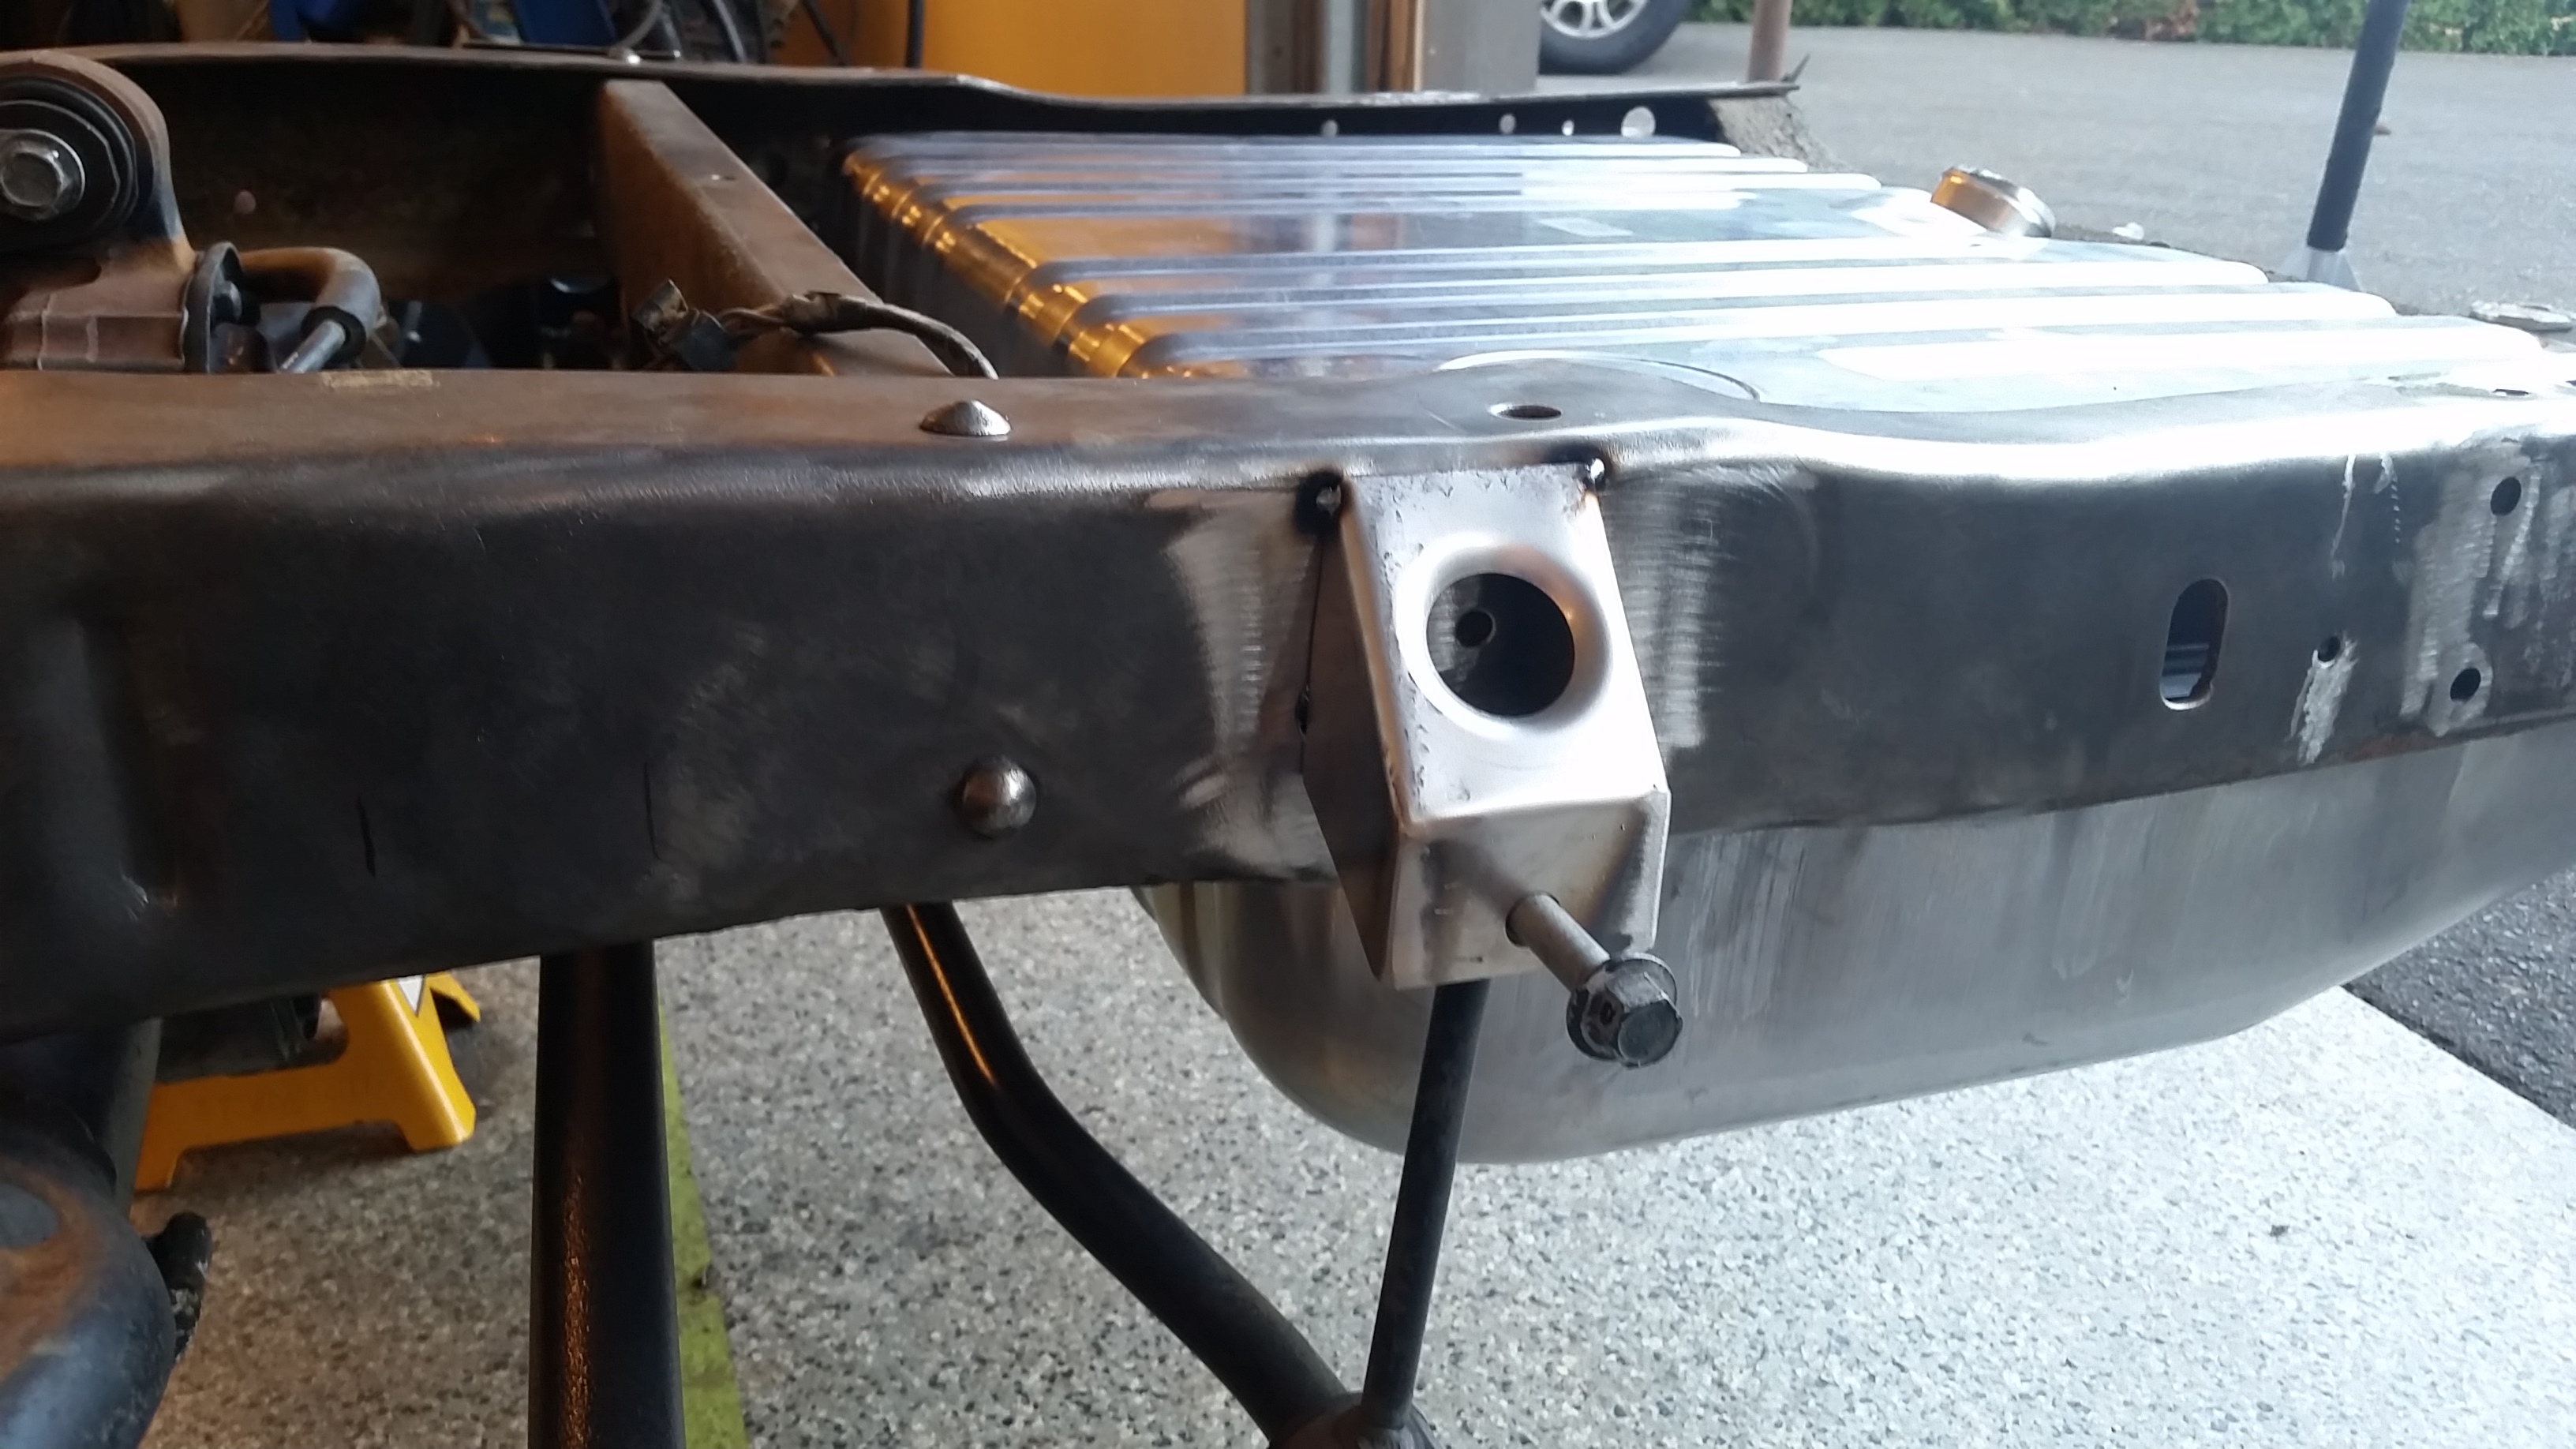
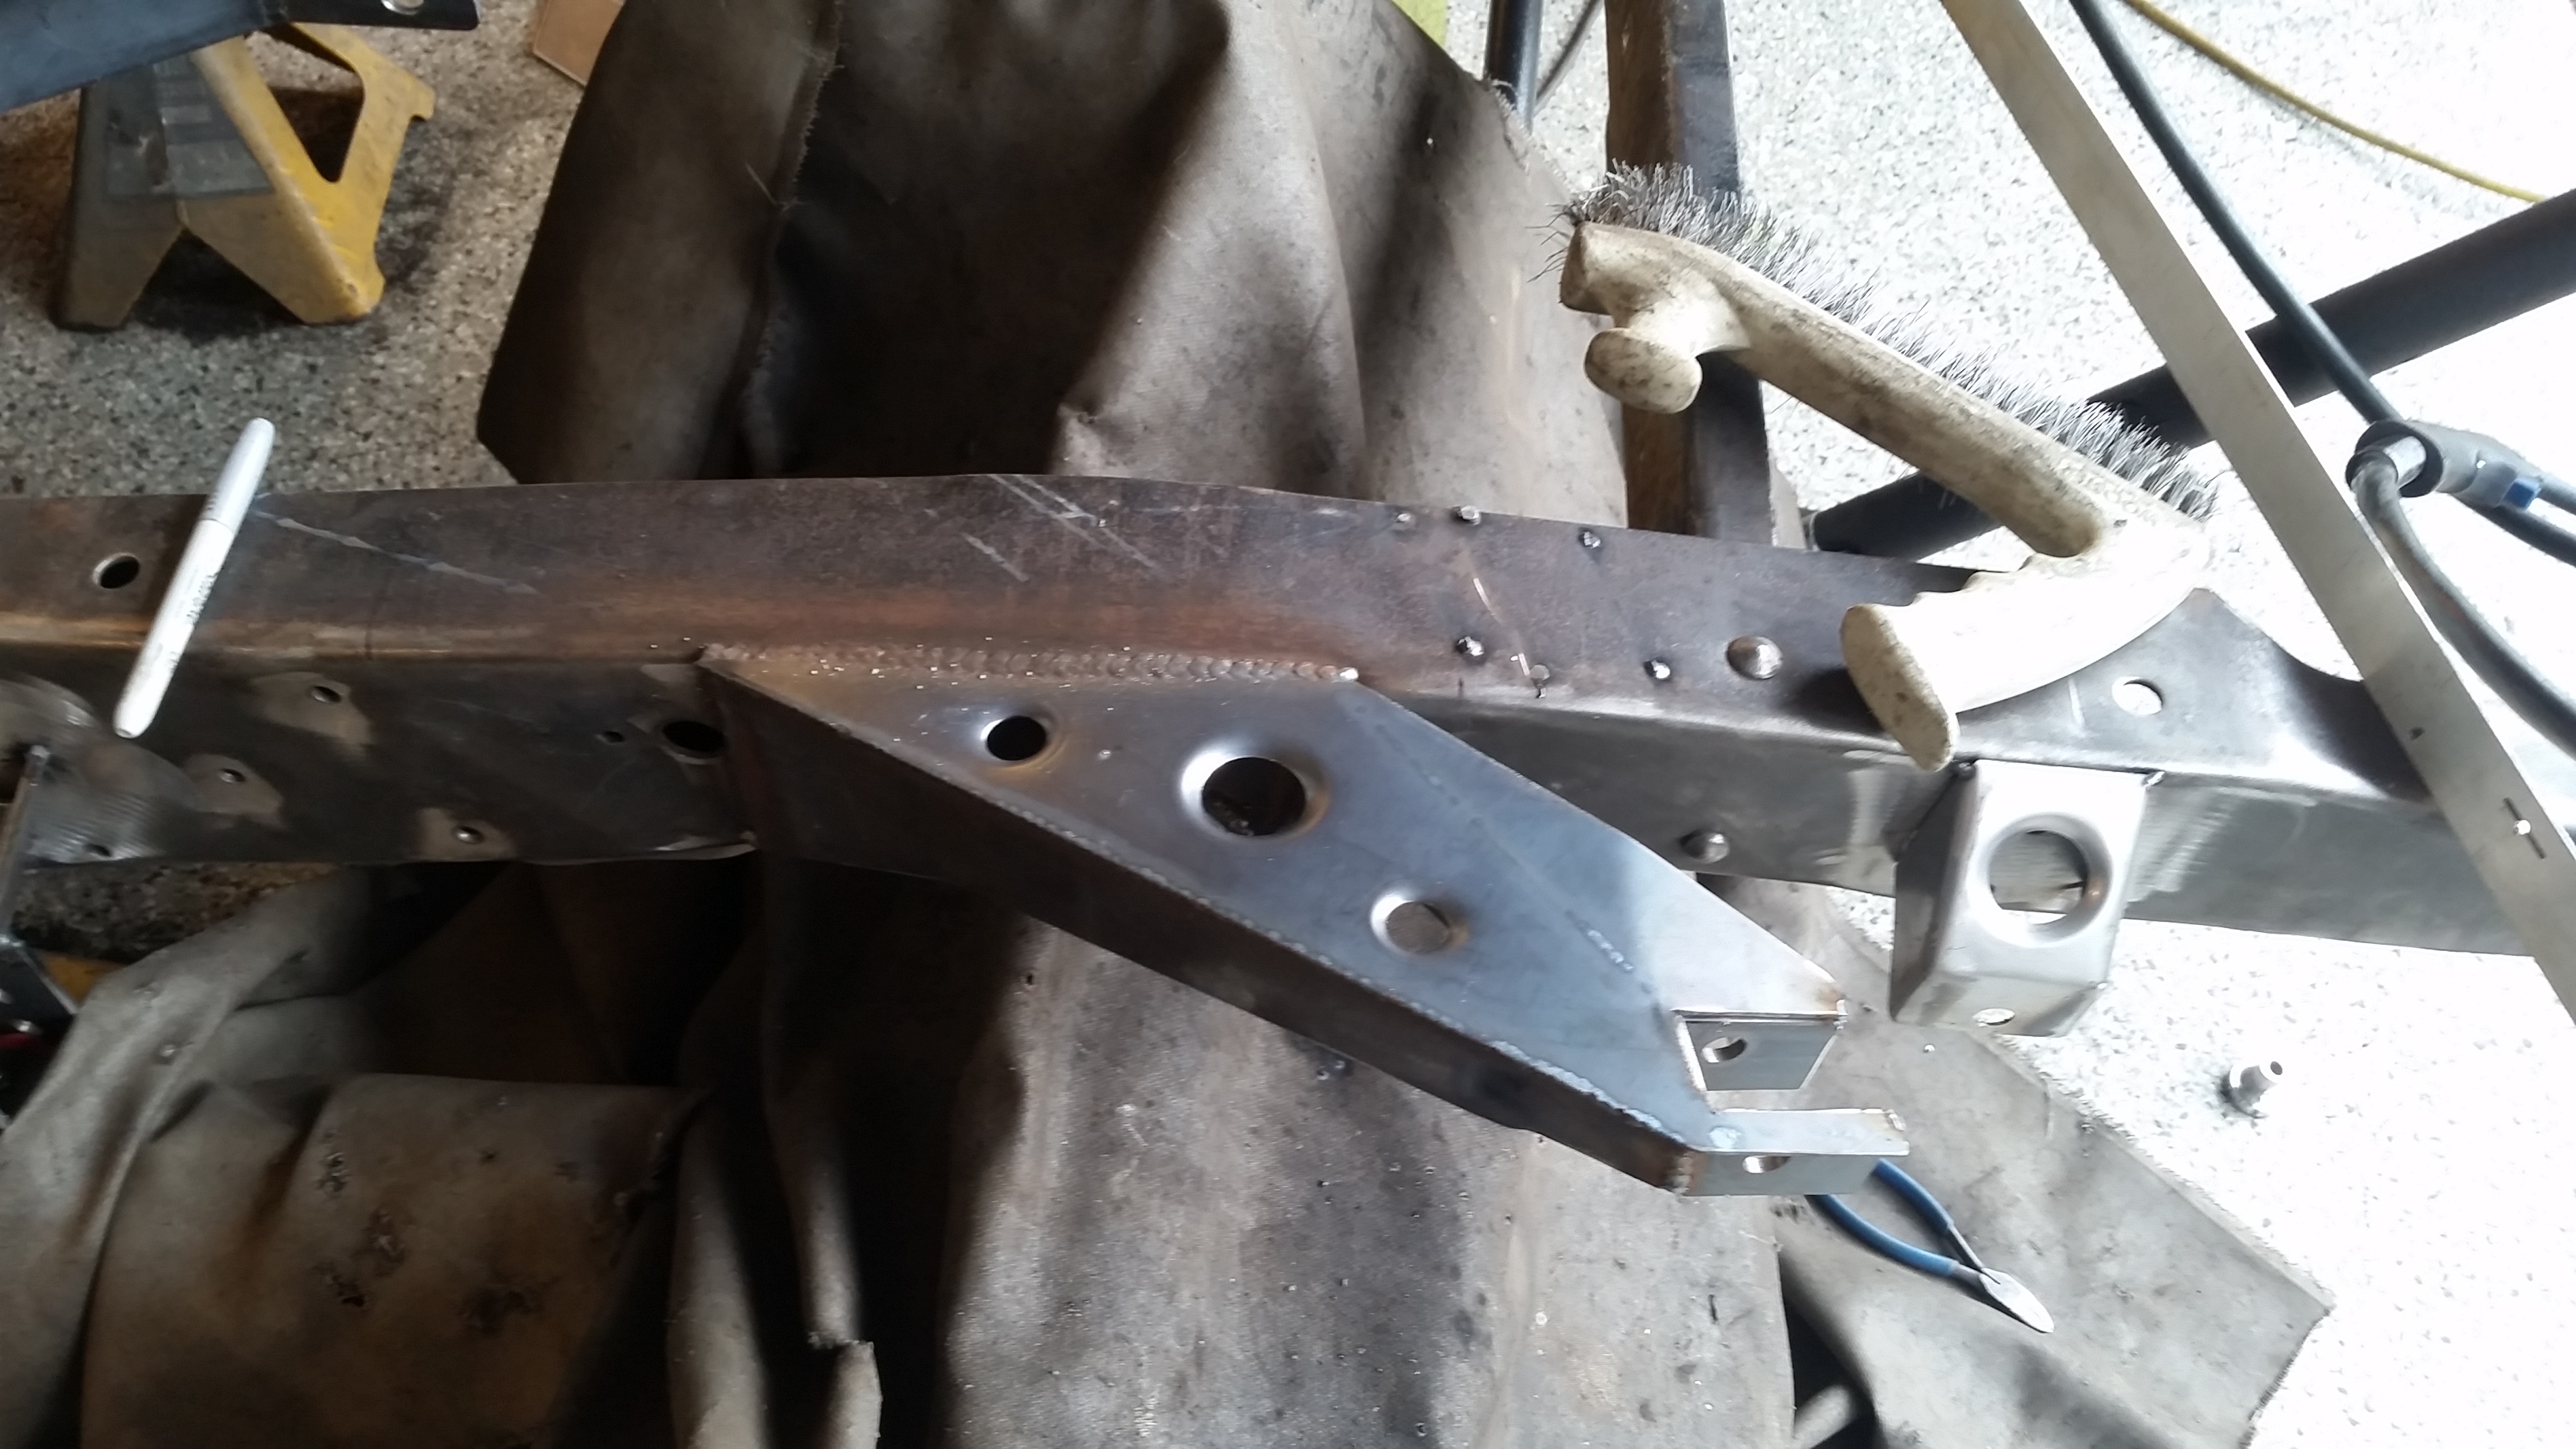
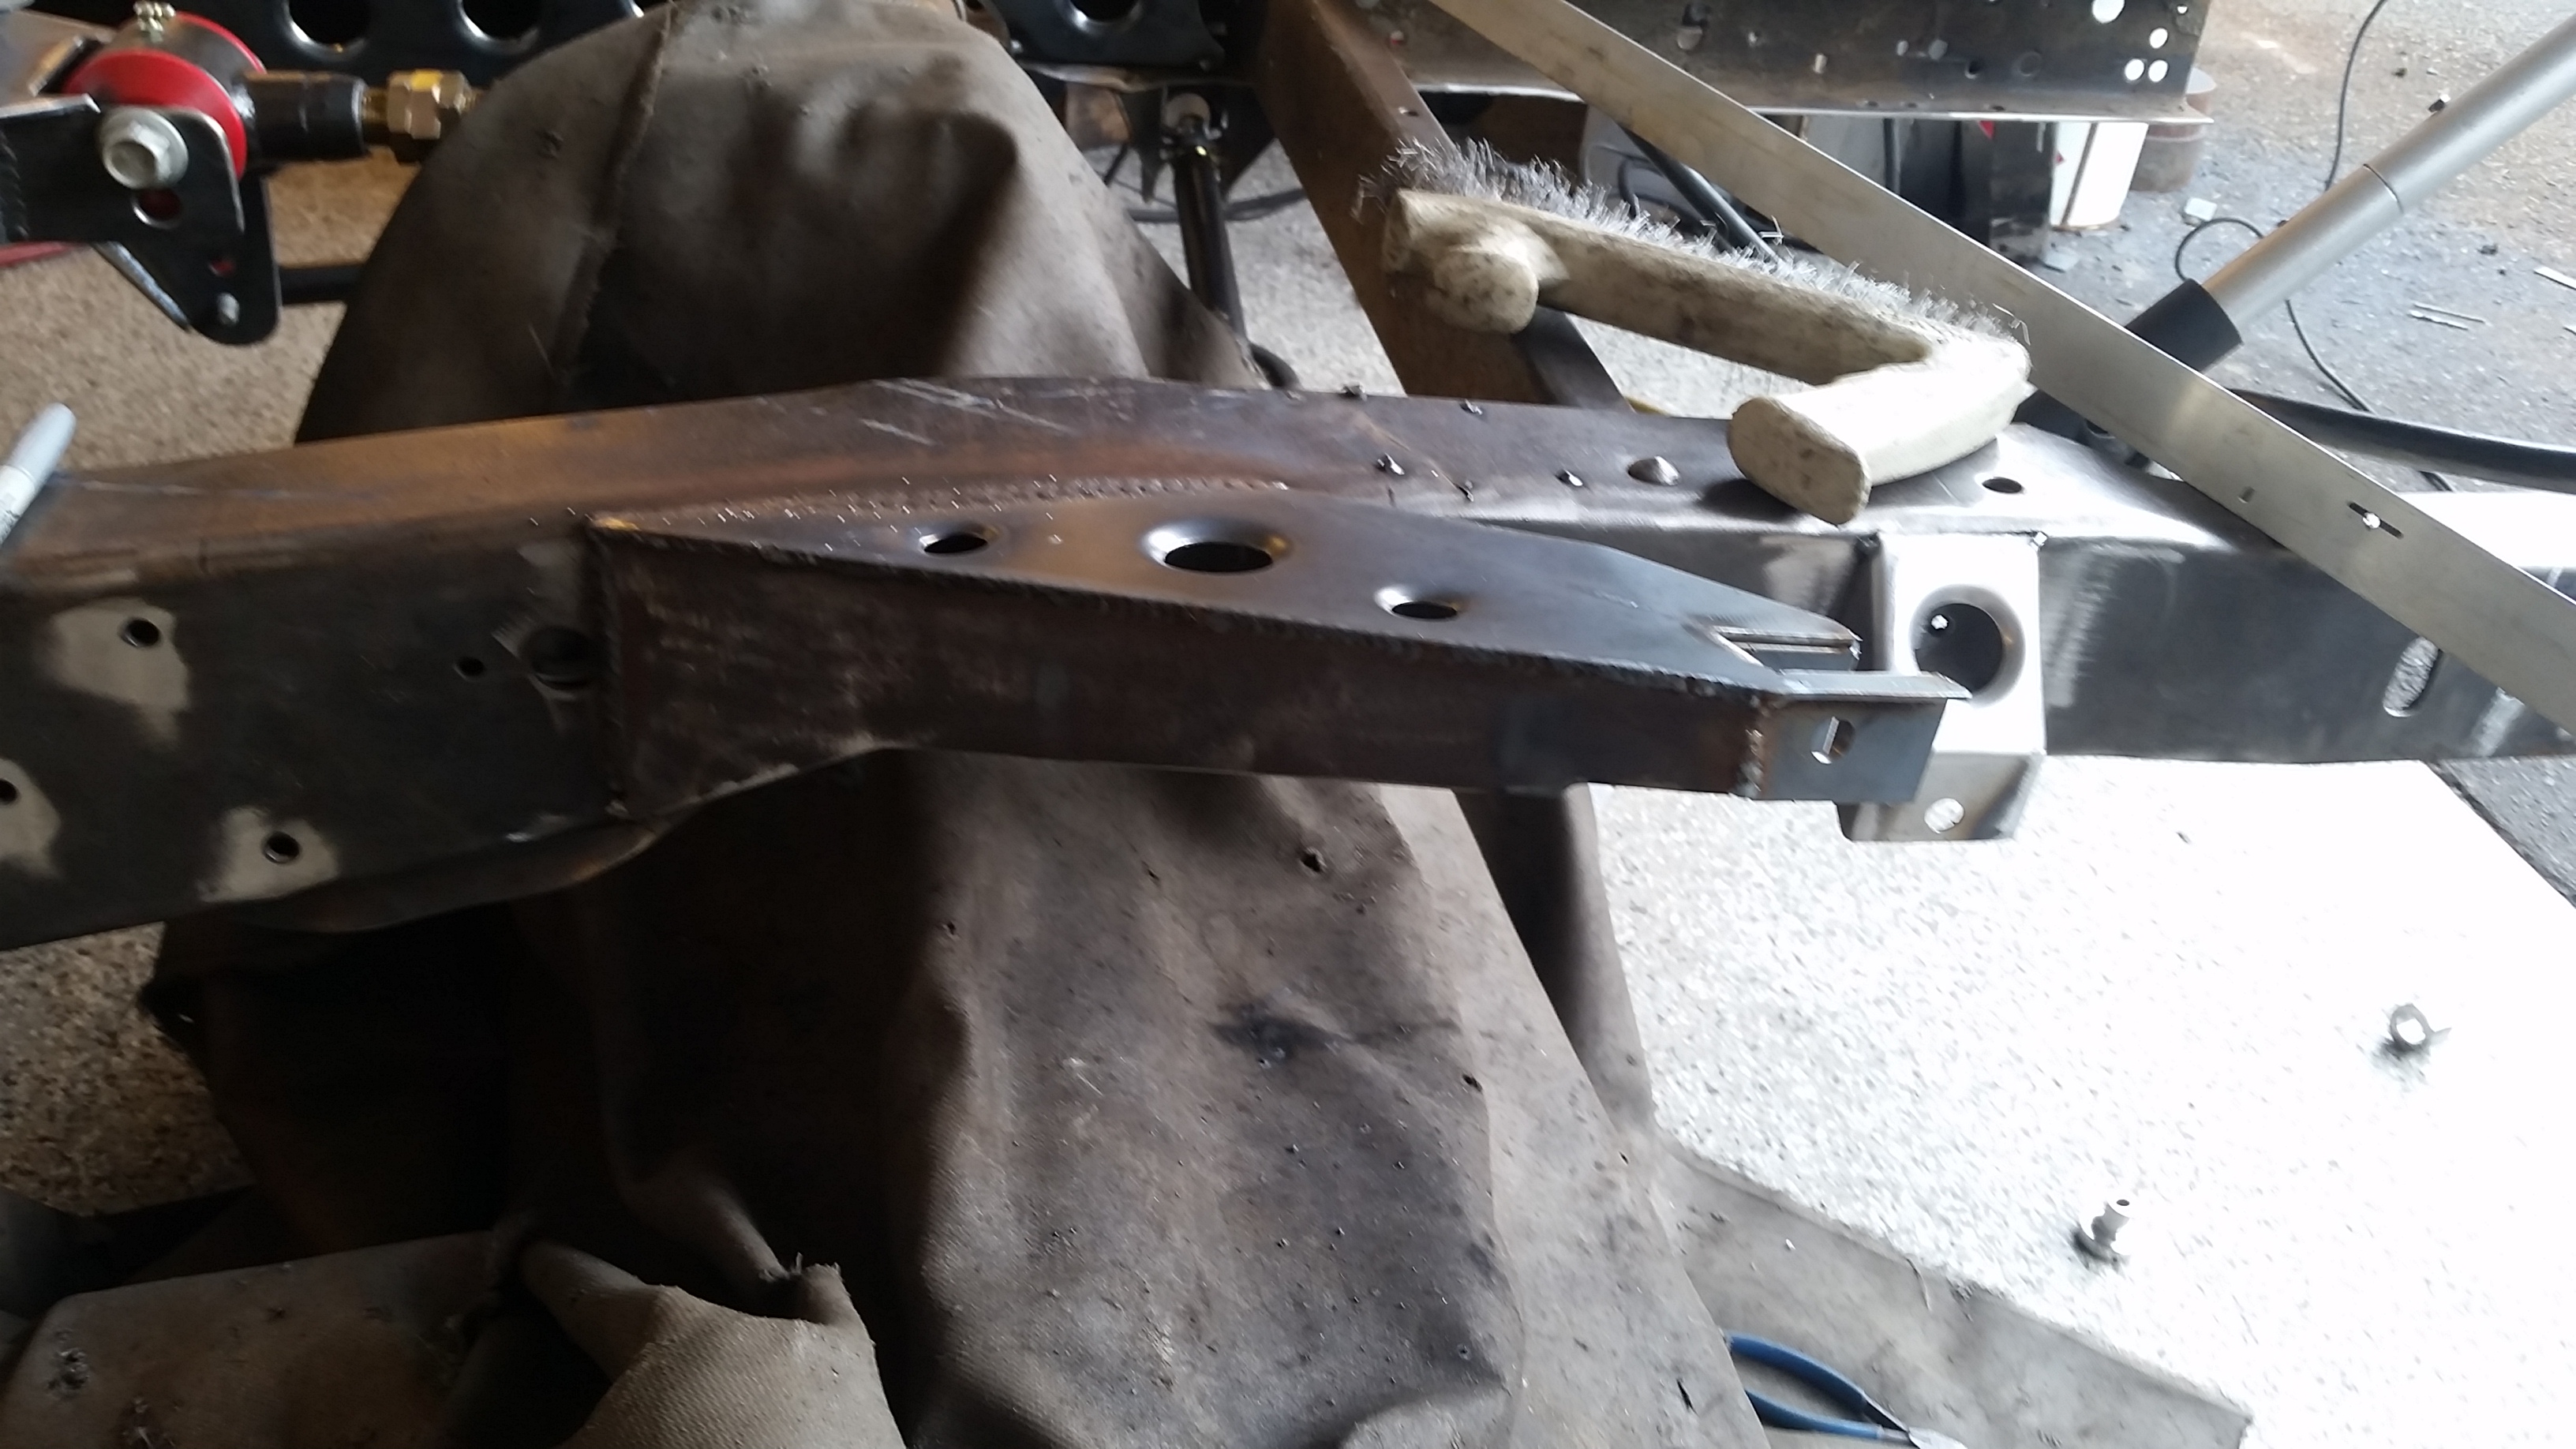
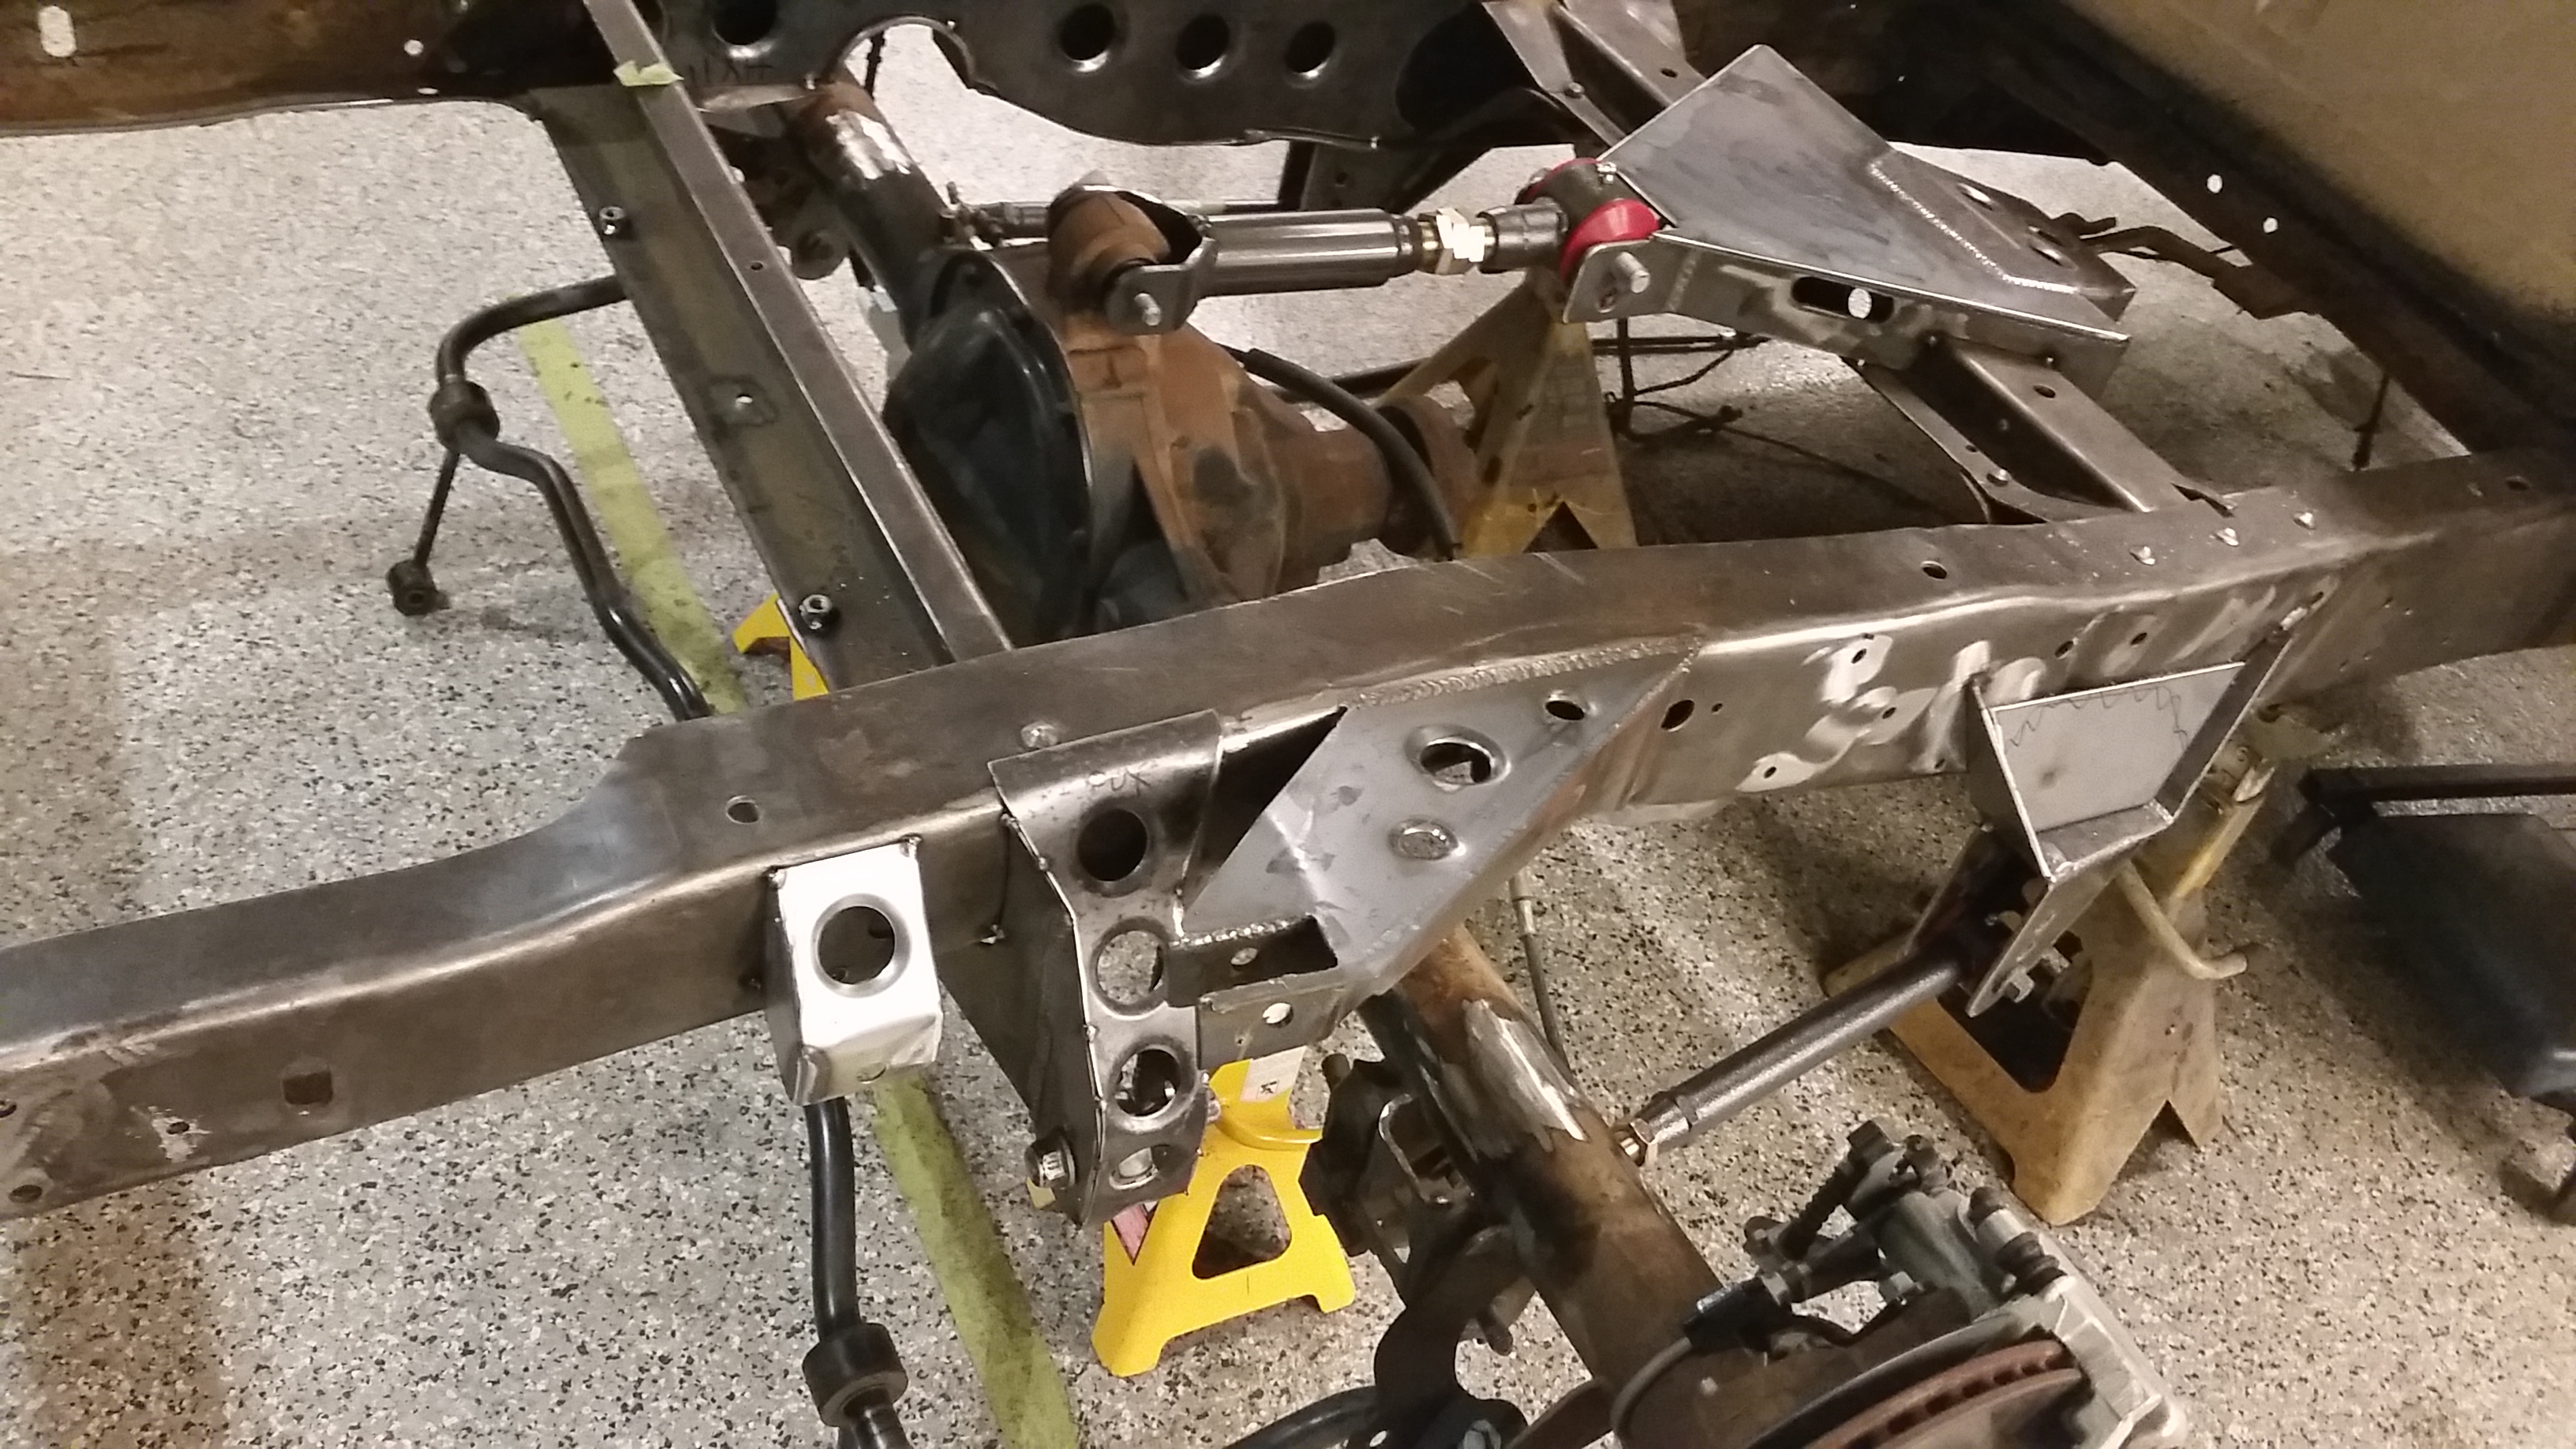
So, swapped the cables side to side to get the lengths right and they are just like I had them built to fit the truck. Cut an access through the upper link mount on the passenger side and the front and built this mount for the cables to attach to the factory setup.
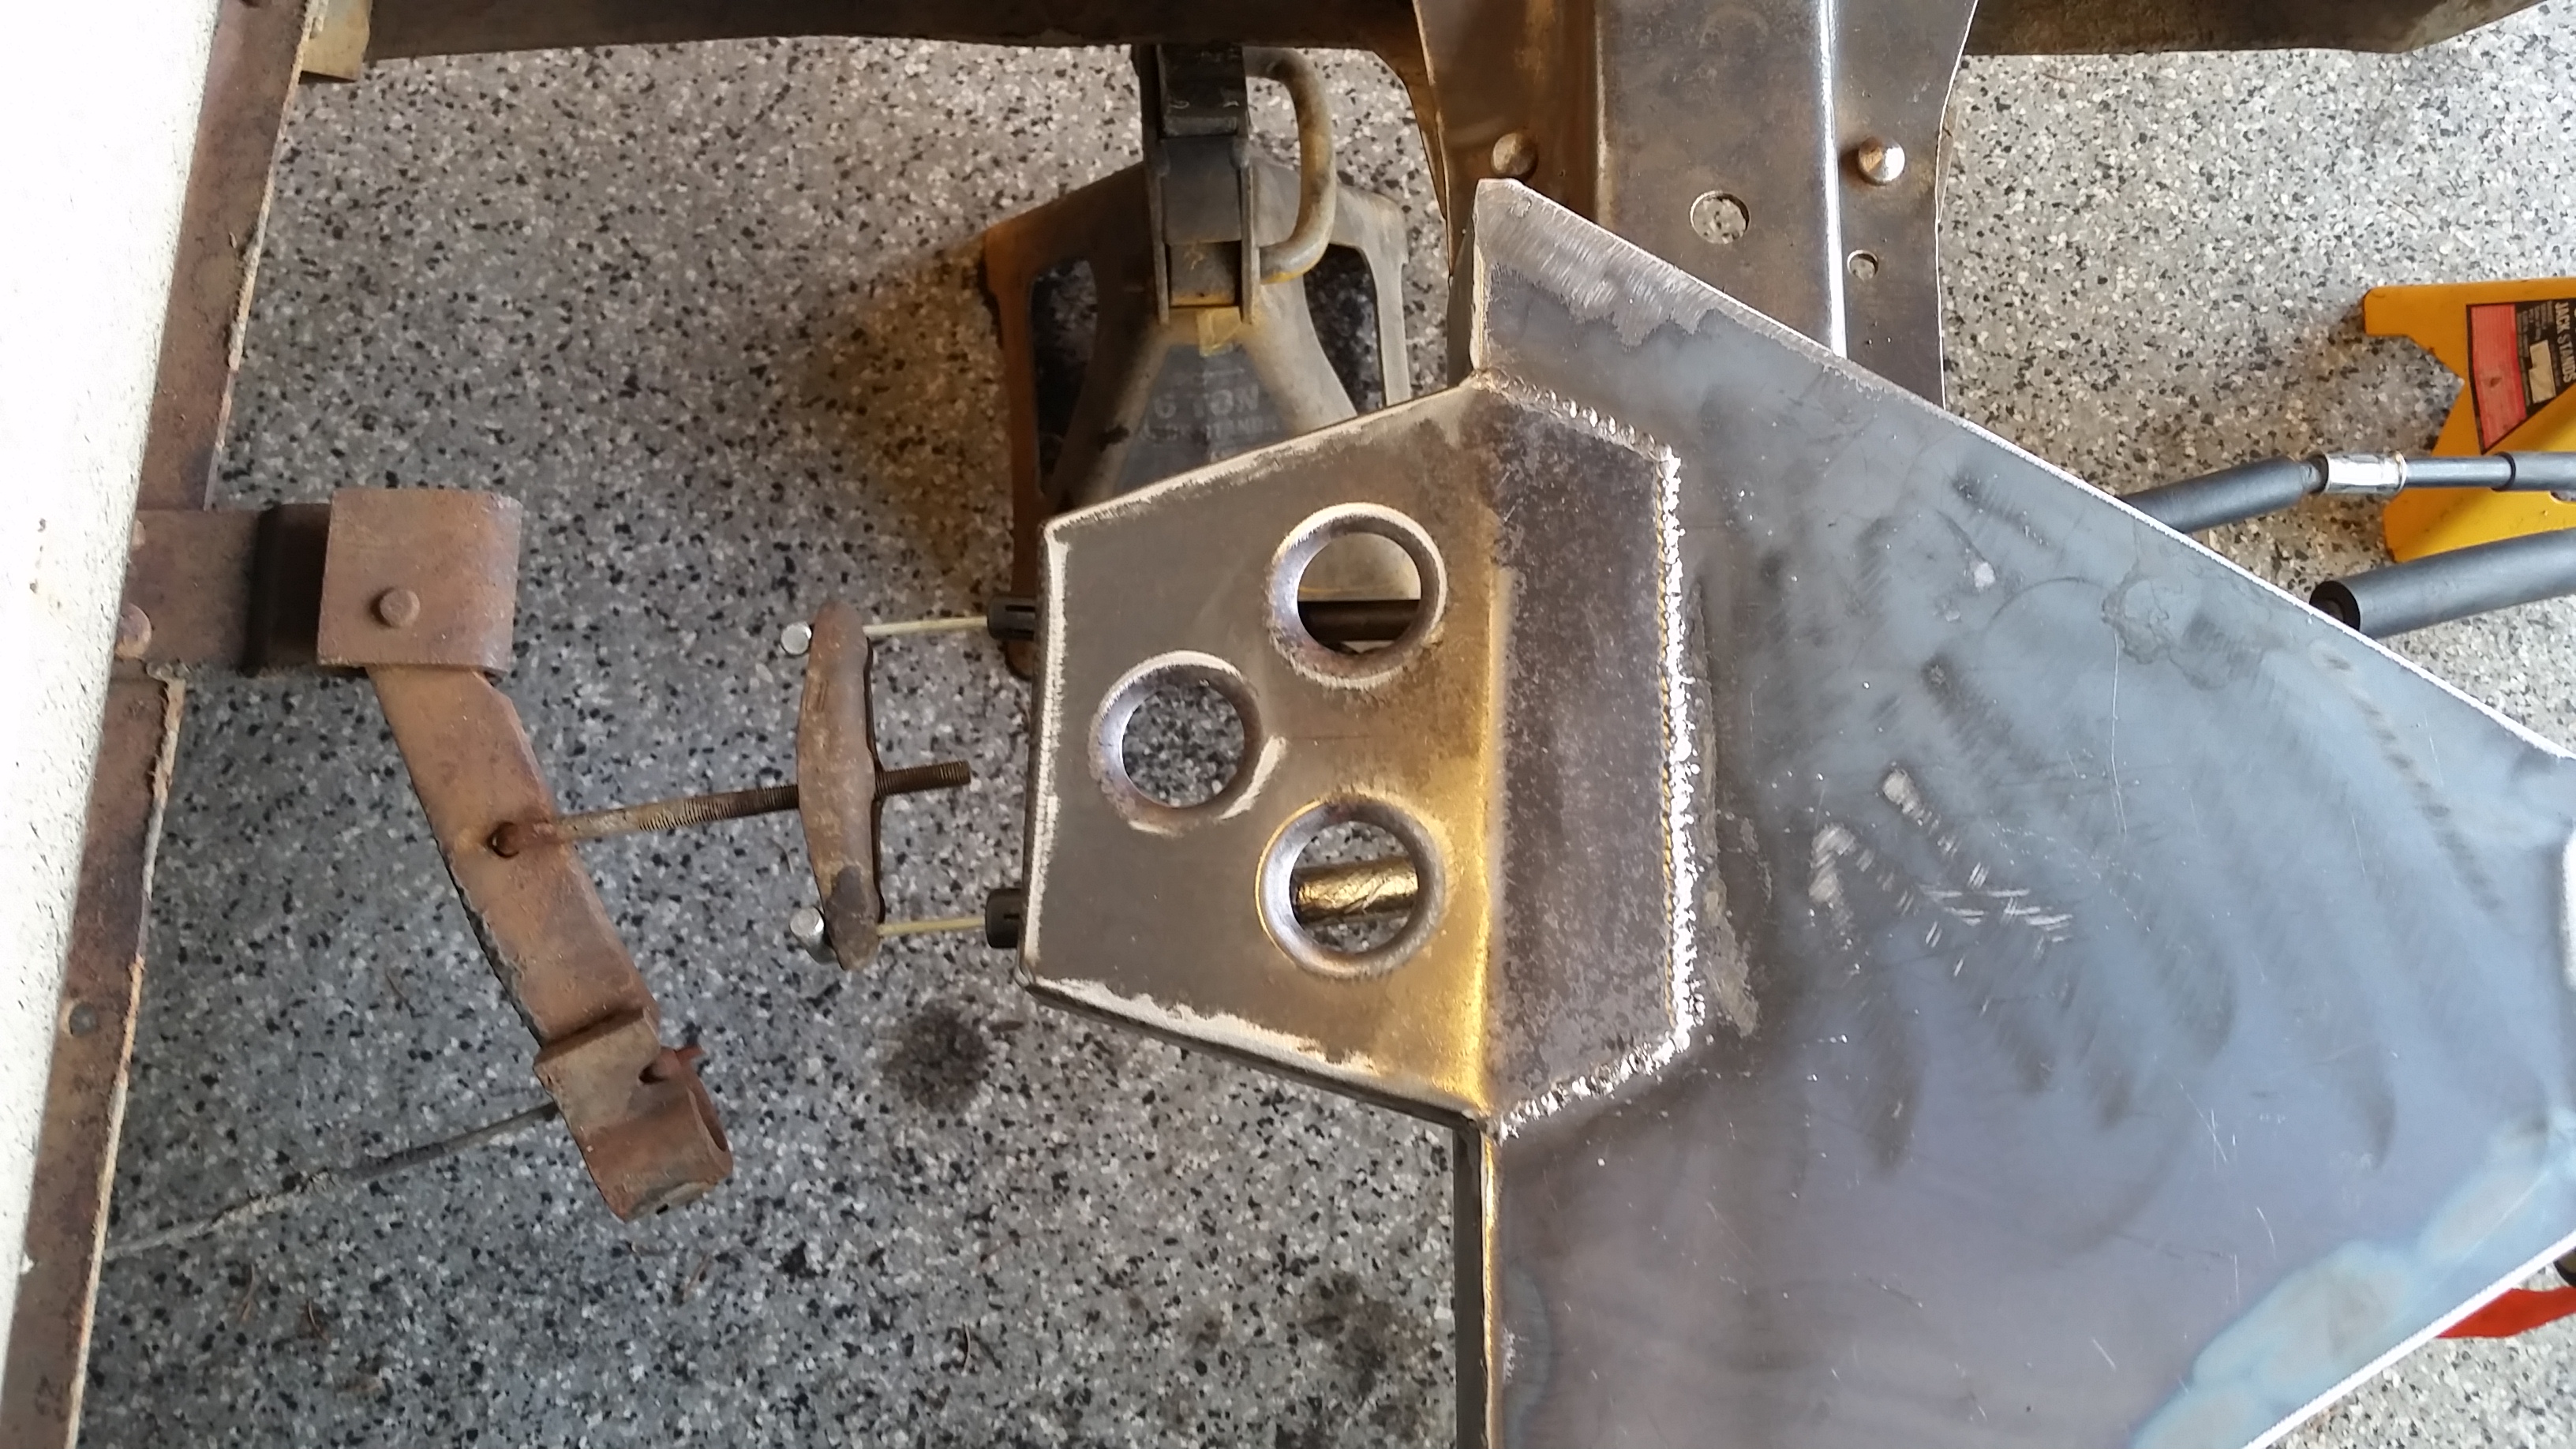
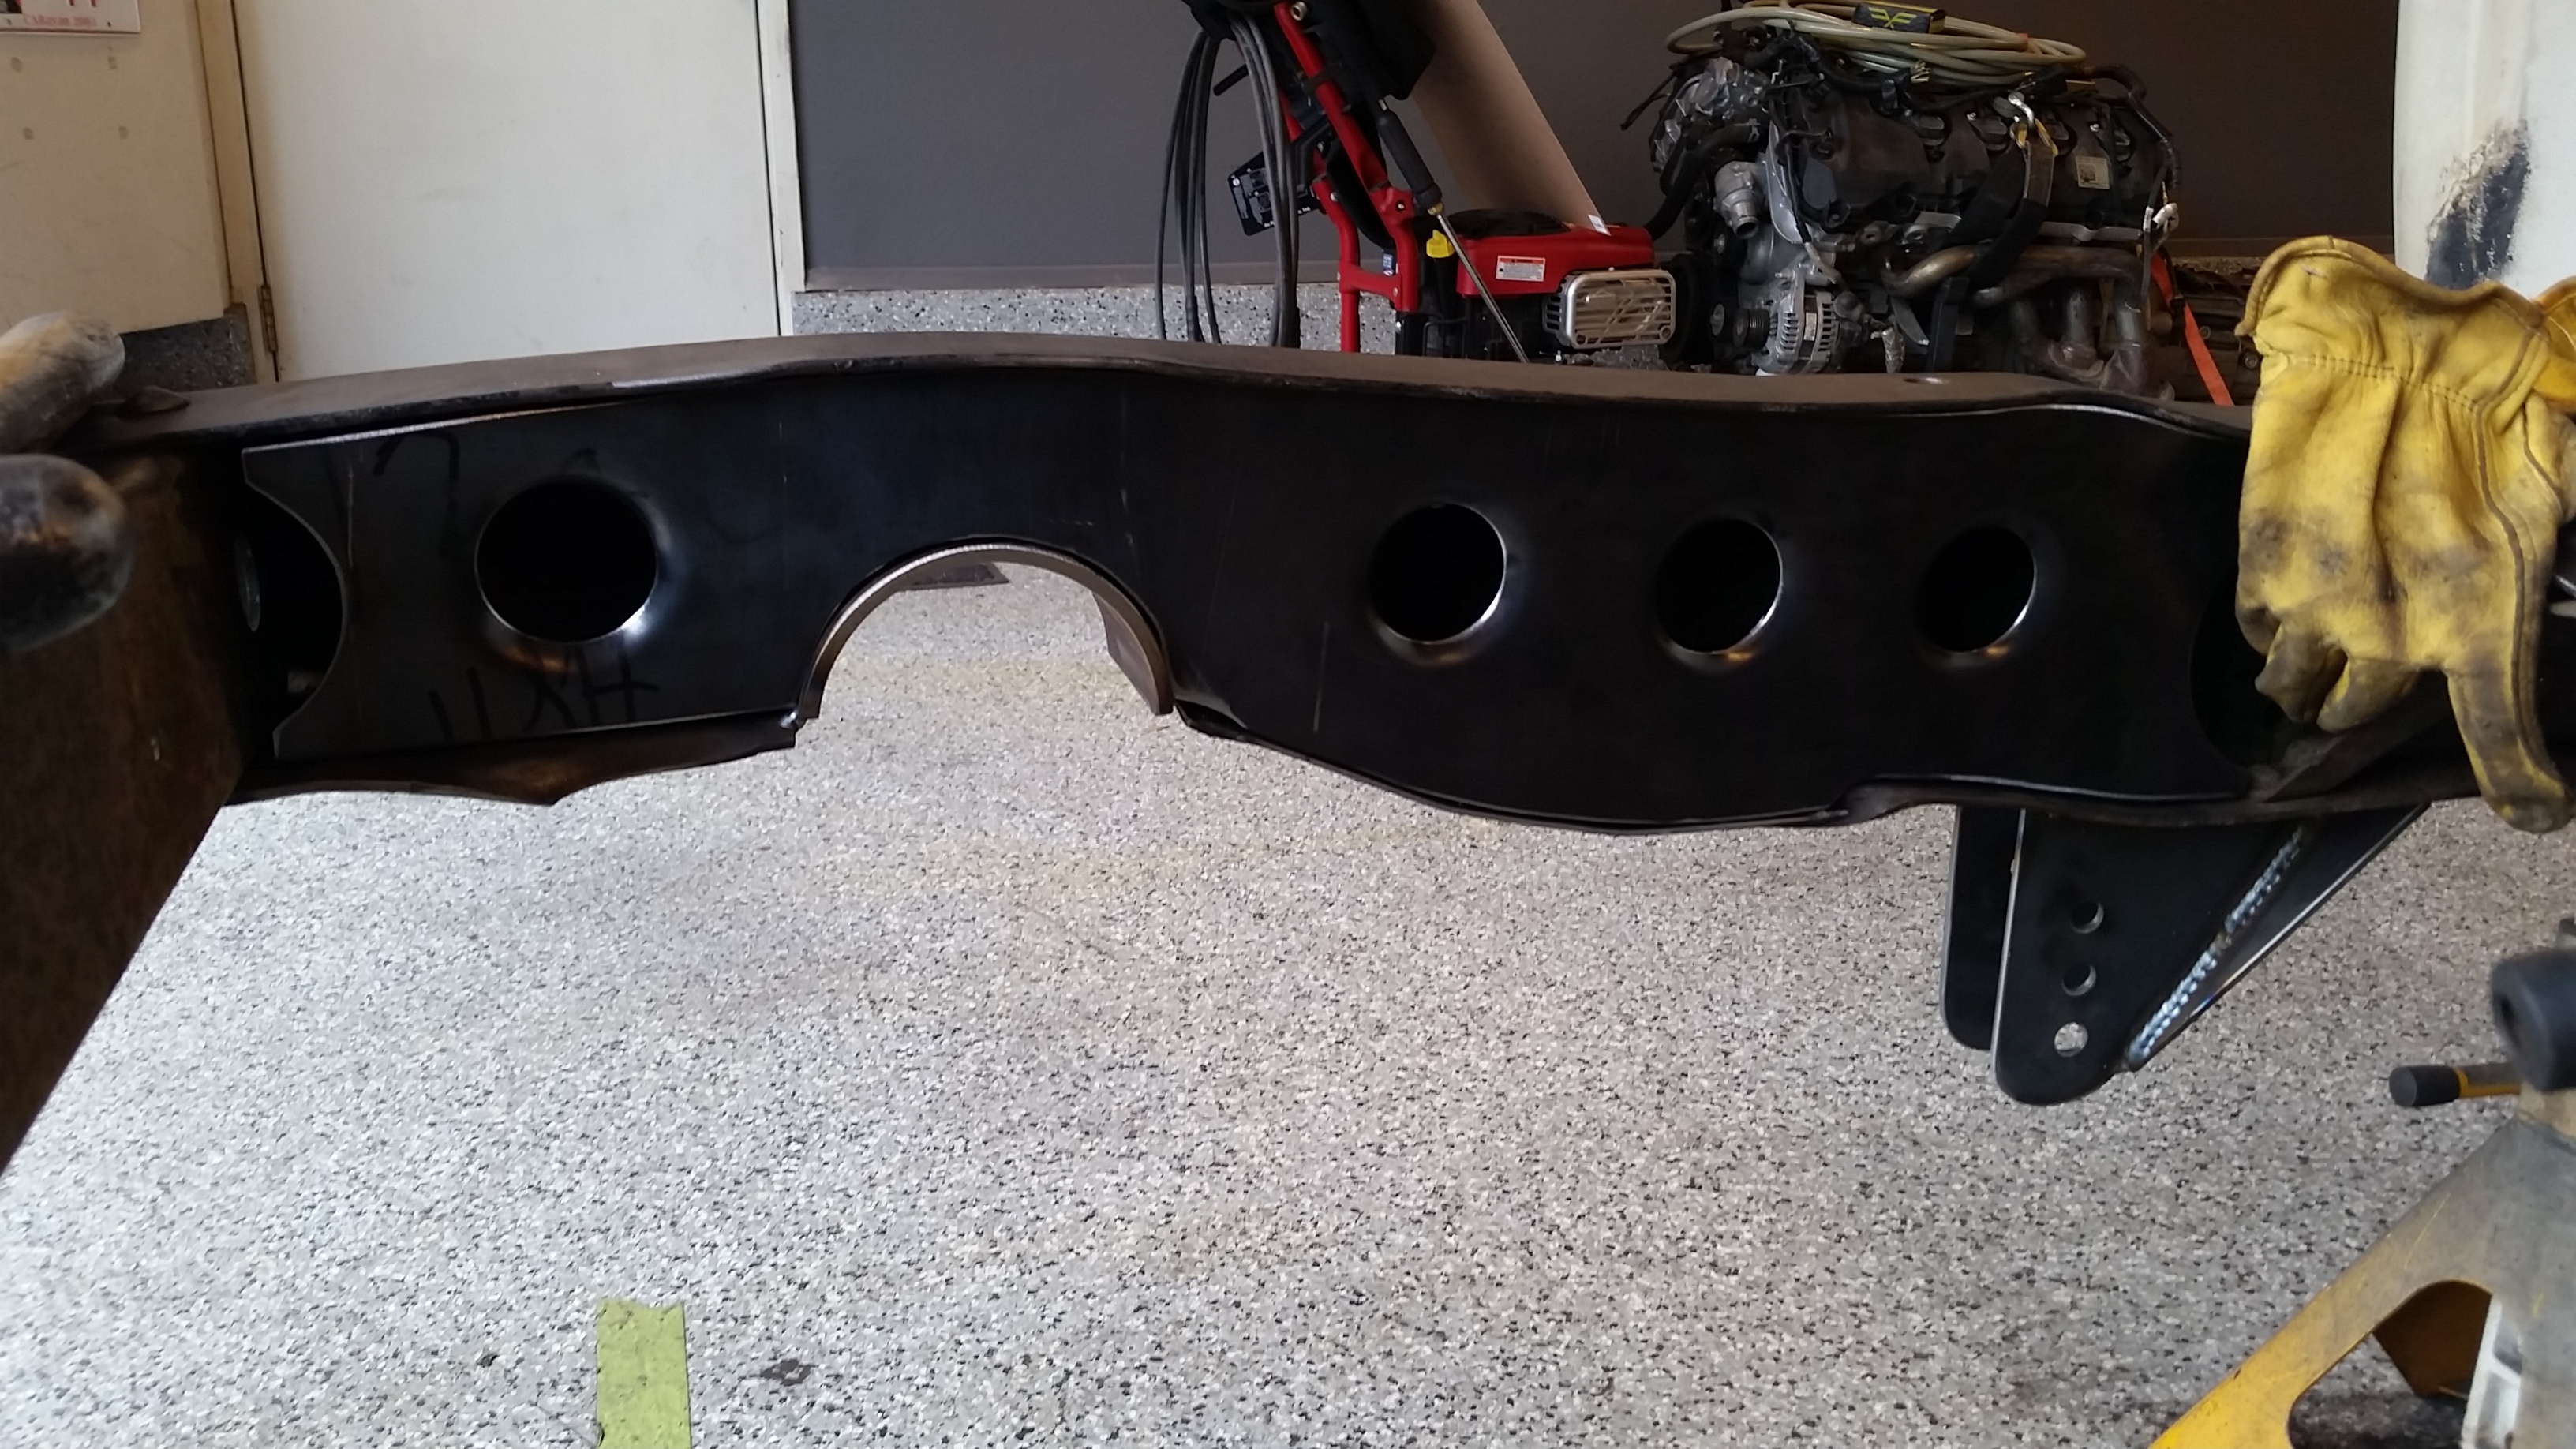
Of course, more dimple dies.
With that done I needed to get the rear sway bar mounts done but before I could do that I needed to get the tank mocked up to make sure that the swaybar clears the tank. So more rivets to come out.....son of a bitch there are a lot of rivets on this thing.
Got those and the stock shock mounts off the truck and pulled the rear most crossmember. Cut out the sides of the frame just enough to get the tank to slide in and slid in the rear crossmember. Going to try and keep the tank as far back as I can for clearance in front of it for fuel, suspension and sway bar stuff.
So with that done, I can get to work on sway bar mounts. Believe it or not I had a tougher time with these than just about anything else today. Just could not get them to look how I wanted but they turned out ok.
Driver side..
Passenger side, trying to leave room for shock mounts. Ordered coilovers for the rear last night but after measuring more this morning I think they are going to be too short, they only have 3.5" of travel.
Front NAAKE coilovers showed up today as well as the camber adjustment kit for the crwon vic frontend. Really hoping that the rear shocks and springs get here tomorrow, I would love to finish weld out the rear saturday and get shocks mounted.
Waiting on motor mounts as well, should be here tomorrow too.
Sean
Solid day of work in the garage today.....not really missing work at all today either.
Got the upper link mount built. Tied it into the factory crossmember. Not too sure If I am going to run some tubes down to the inner frame rails or not. It is plenty beefy, all 3/16".


Plan coming together on the emergency brake cables as well. Amazed that this is going to work out..
So, swapped the cables side to side to get the lengths right and they are just like I had them built to fit the truck. Cut an access through the upper link mount on the passenger side and the front and built this mount for the cables to attach to the factory setup.

Of course, more dimple dies.

With that done I needed to get the rear sway bar mounts done but before I could do that I needed to get the tank mocked up to make sure that the swaybar clears the tank. So more rivets to come out.....son of a bitch there are a lot of rivets on this thing.
Got those and the stock shock mounts off the truck and pulled the rear most crossmember. Cut out the sides of the frame just enough to get the tank to slide in and slid in the rear crossmember. Going to try and keep the tank as far back as I can for clearance in front of it for fuel, suspension and sway bar stuff.
So with that done, I can get to work on sway bar mounts. Believe it or not I had a tougher time with these than just about anything else today. Just could not get them to look how I wanted but they turned out ok.
Driver side..

Passenger side, trying to leave room for shock mounts. Ordered coilovers for the rear last night but after measuring more this morning I think they are going to be too short, they only have 3.5" of travel.
Front NAAKE coilovers showed up today as well as the camber adjustment kit for the crwon vic frontend. Really hoping that the rear shocks and springs get here tomorrow, I would love to finish weld out the rear saturday and get shocks mounted.
Waiting on motor mounts as well, should be here tomorrow too.
Sean

#17
10-16-2015, 09:52 AM

#20
10-16-2015, 02:13 PM
Logistics Pro
#21
10-16-2015, 10:43 PM
Thanks Freightrain
Yeah, should be fun. Building it for a purpose this time.
Thank you, Cant really hate these short bed bump side trucks, they are getting more popular too.
Thank you, It is a blessing and a curse all at the same time. I am pretty driven and dedicated, when I set my mind on something its going to happen. I am on vacation from work this week. I normally do not have nearly this much time to work on the truck.
I really appreciate all of your guys comments, hope that you can give me some feedback on what you have done for rear shocks, how much travel and what length they are.
Onto today's less that spectacular work.
Thank you very much guys.....I like doing the fab work a lot.
I am however exhausted. This week has been a ton of work.
Had to pick up some welding supplies this morning and get some more metal so it was an early morning on the road too.
Got home and got right to work on the truck until about 10 minutes ago.
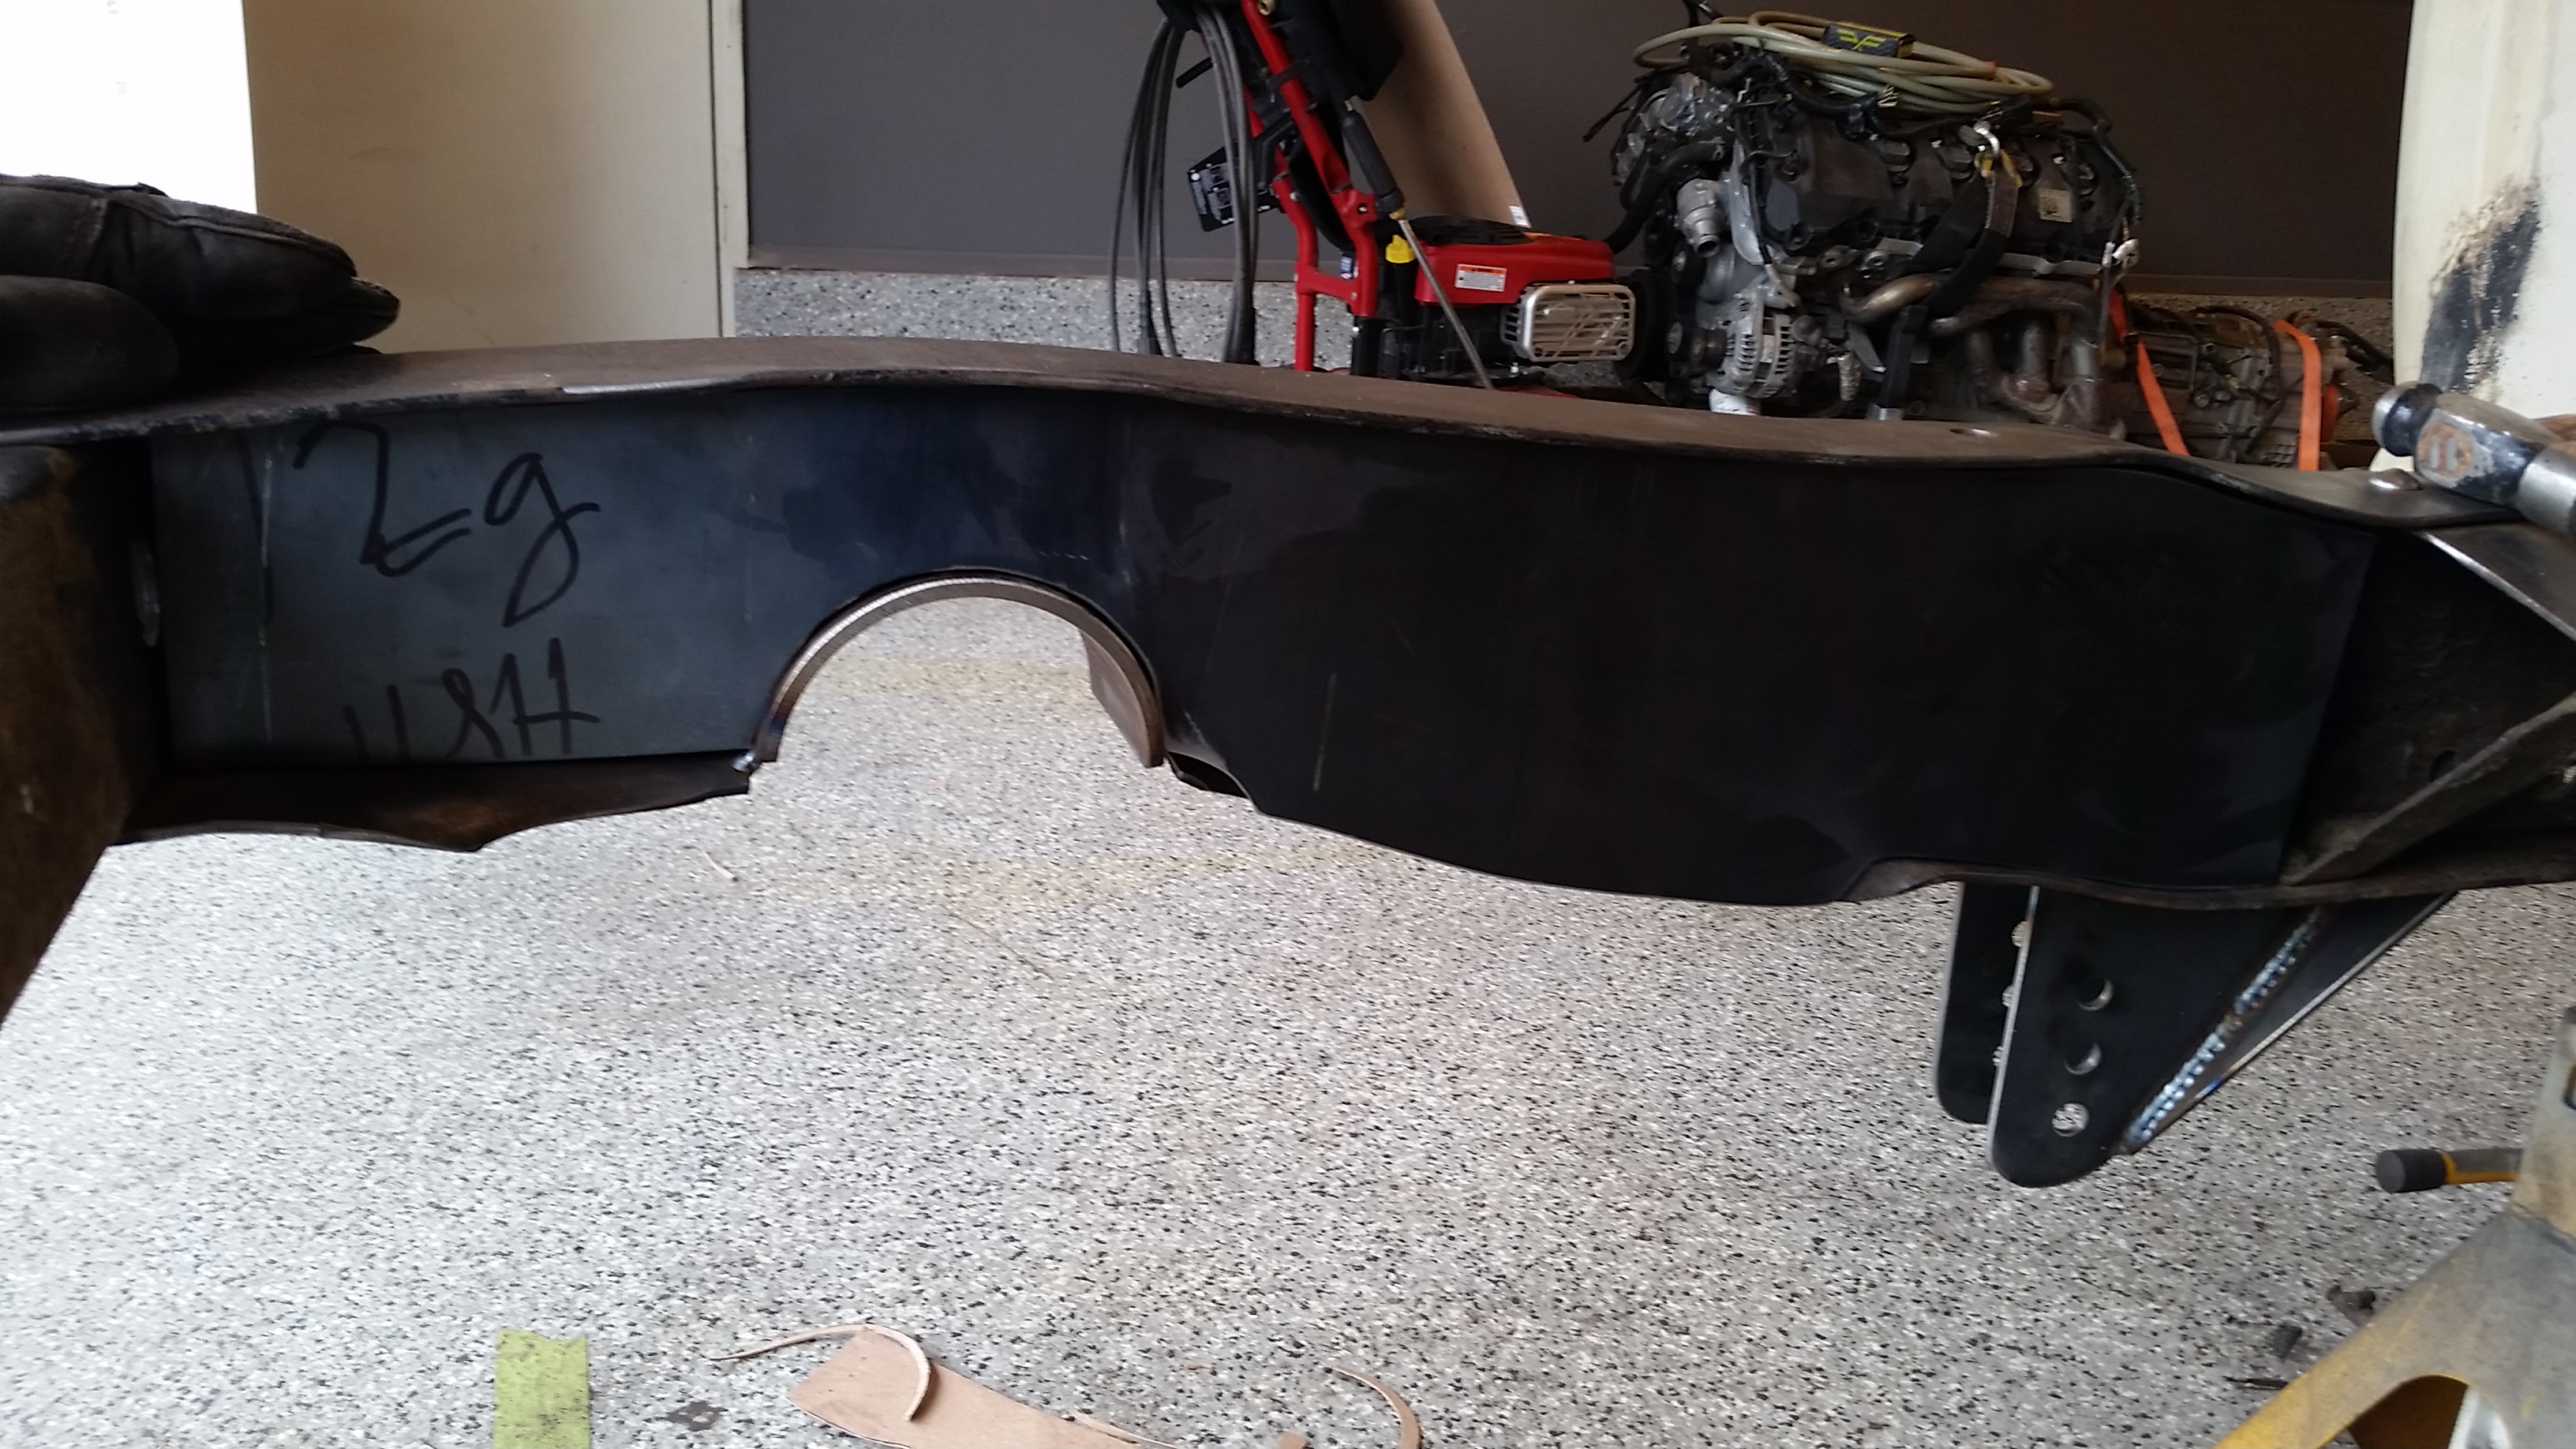
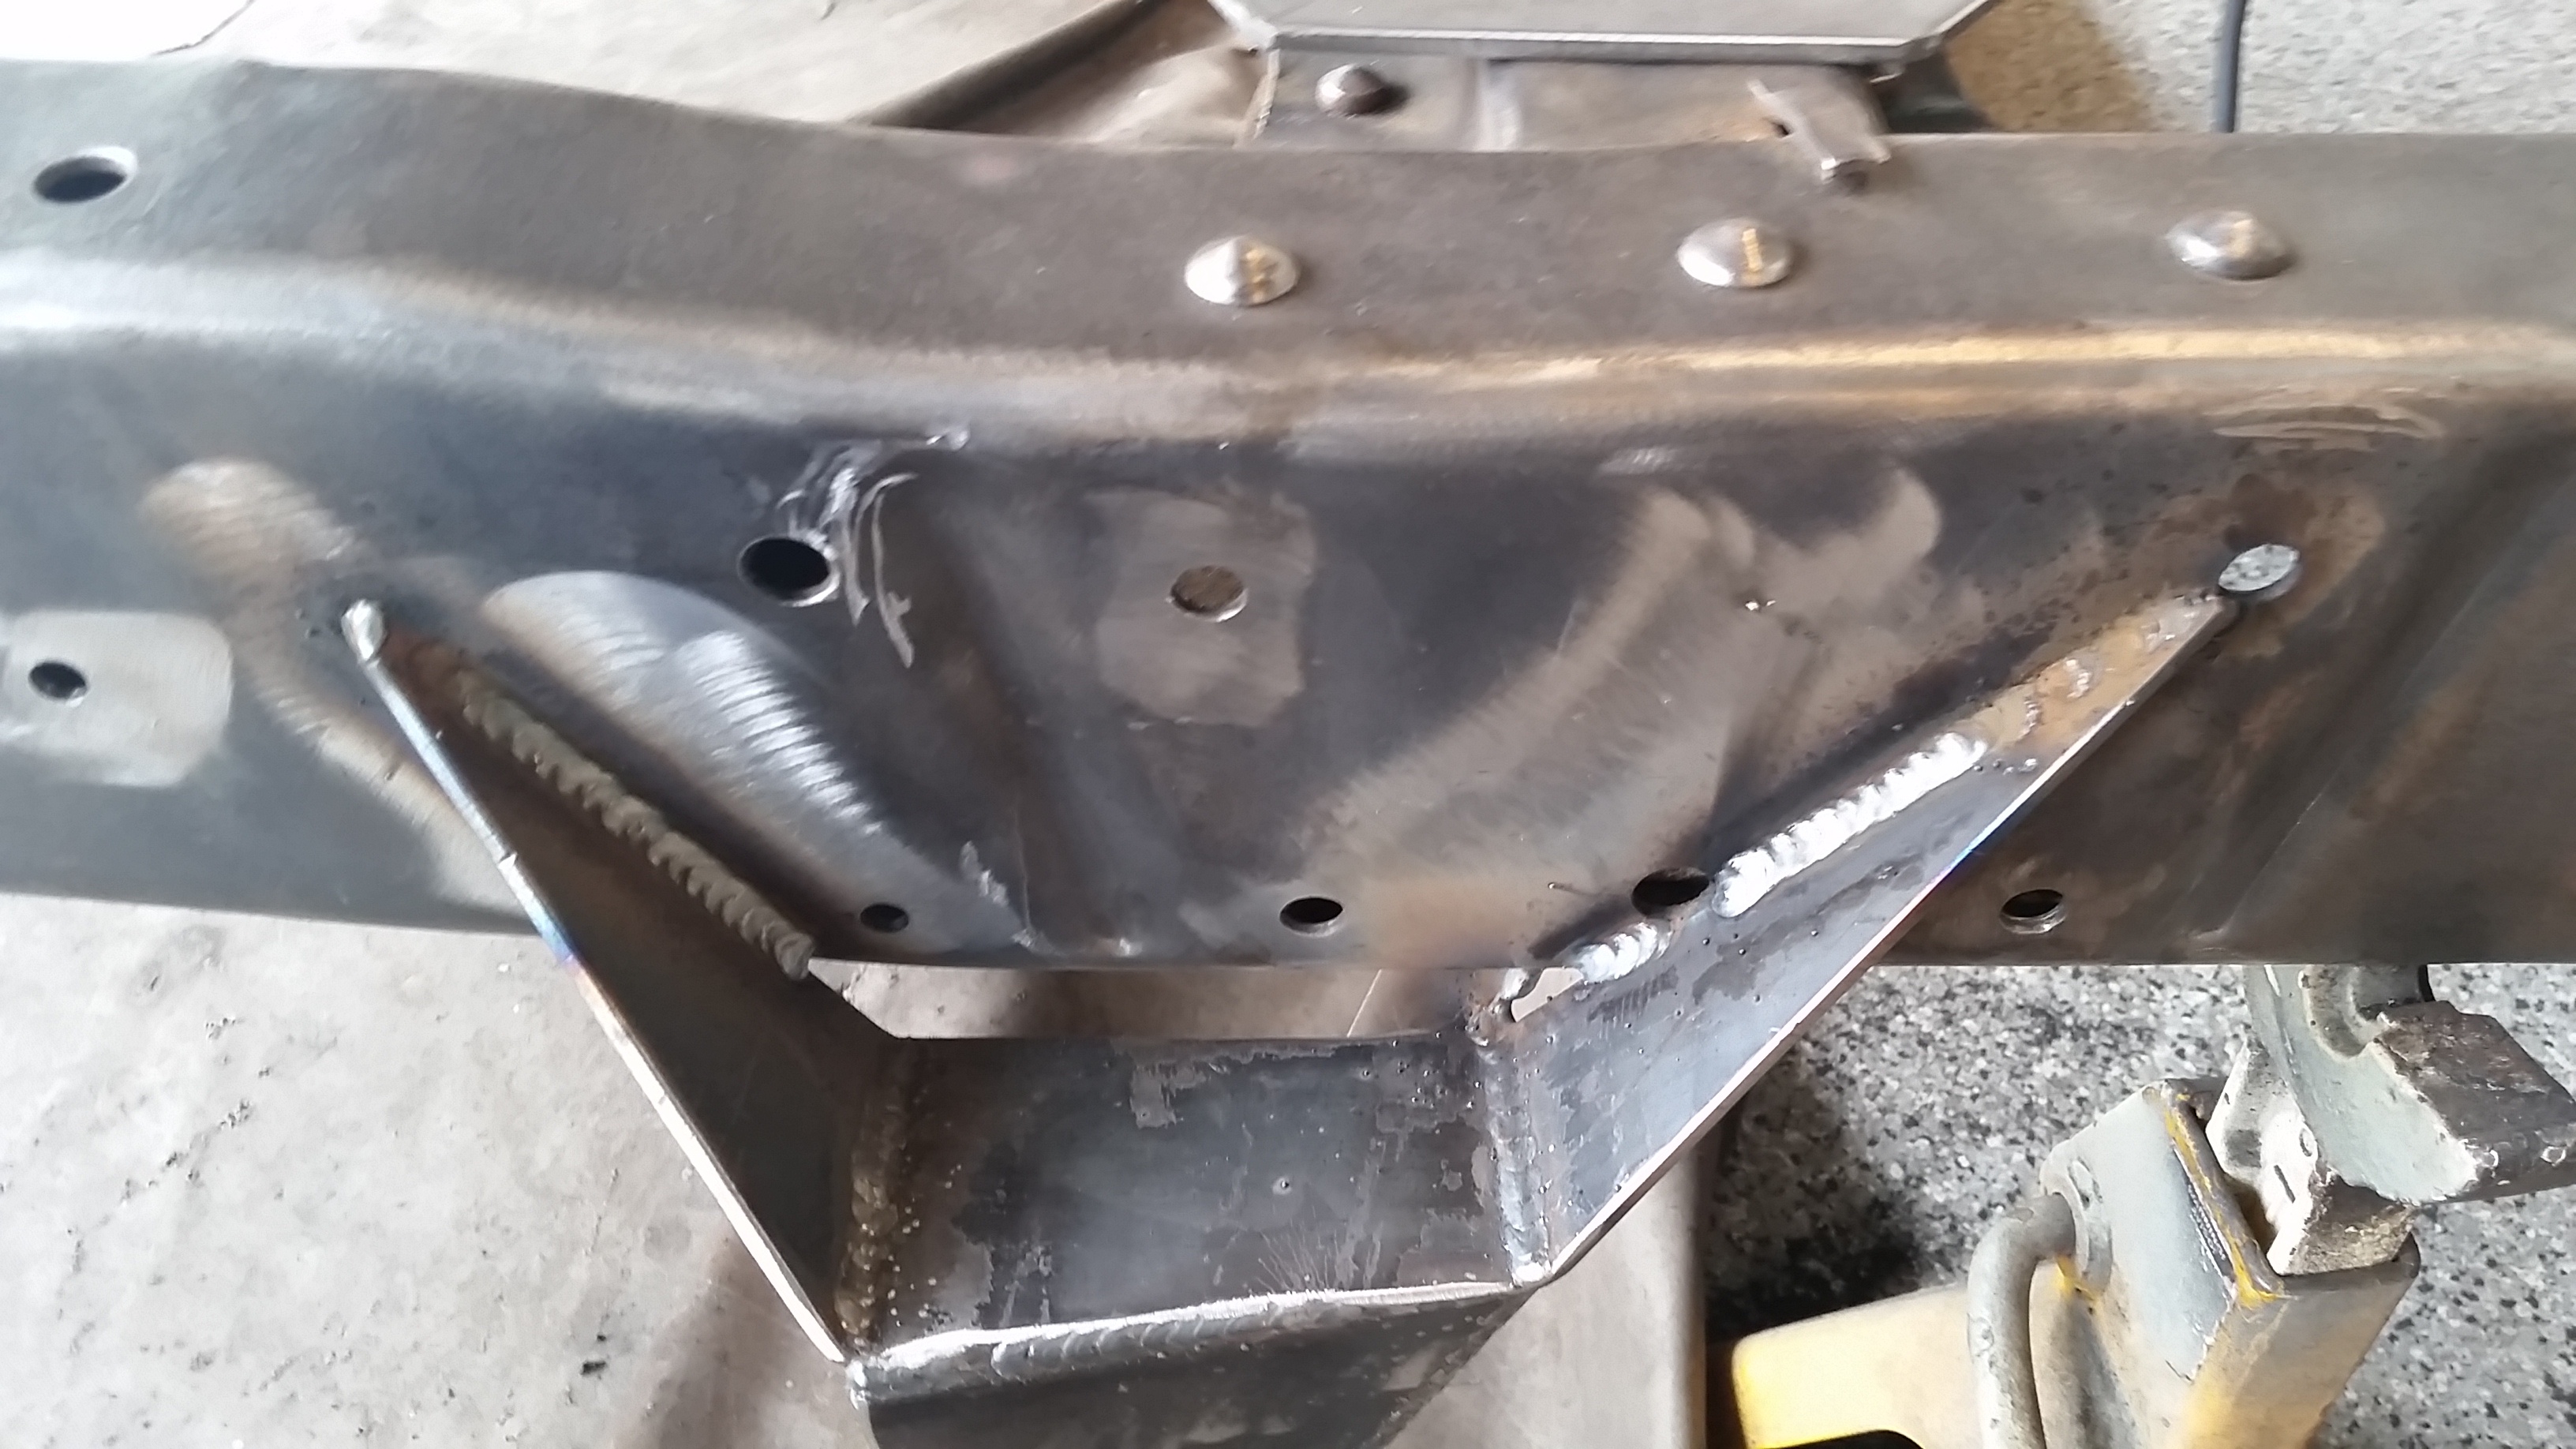
Started off by marking off the rear frame for the small c notch and cutting a piece of 4" tubing for the notch. Keep in mind I dont have a lot of big tools here in the little garage so cutting through a piece of 4.5" 1/4" wall pipe was about as big as my little portaband could get through.
You can also see that my work area sometimes turns into a ****hole too,
Got it prepped and burned it it good after supporting the rear of the frame.

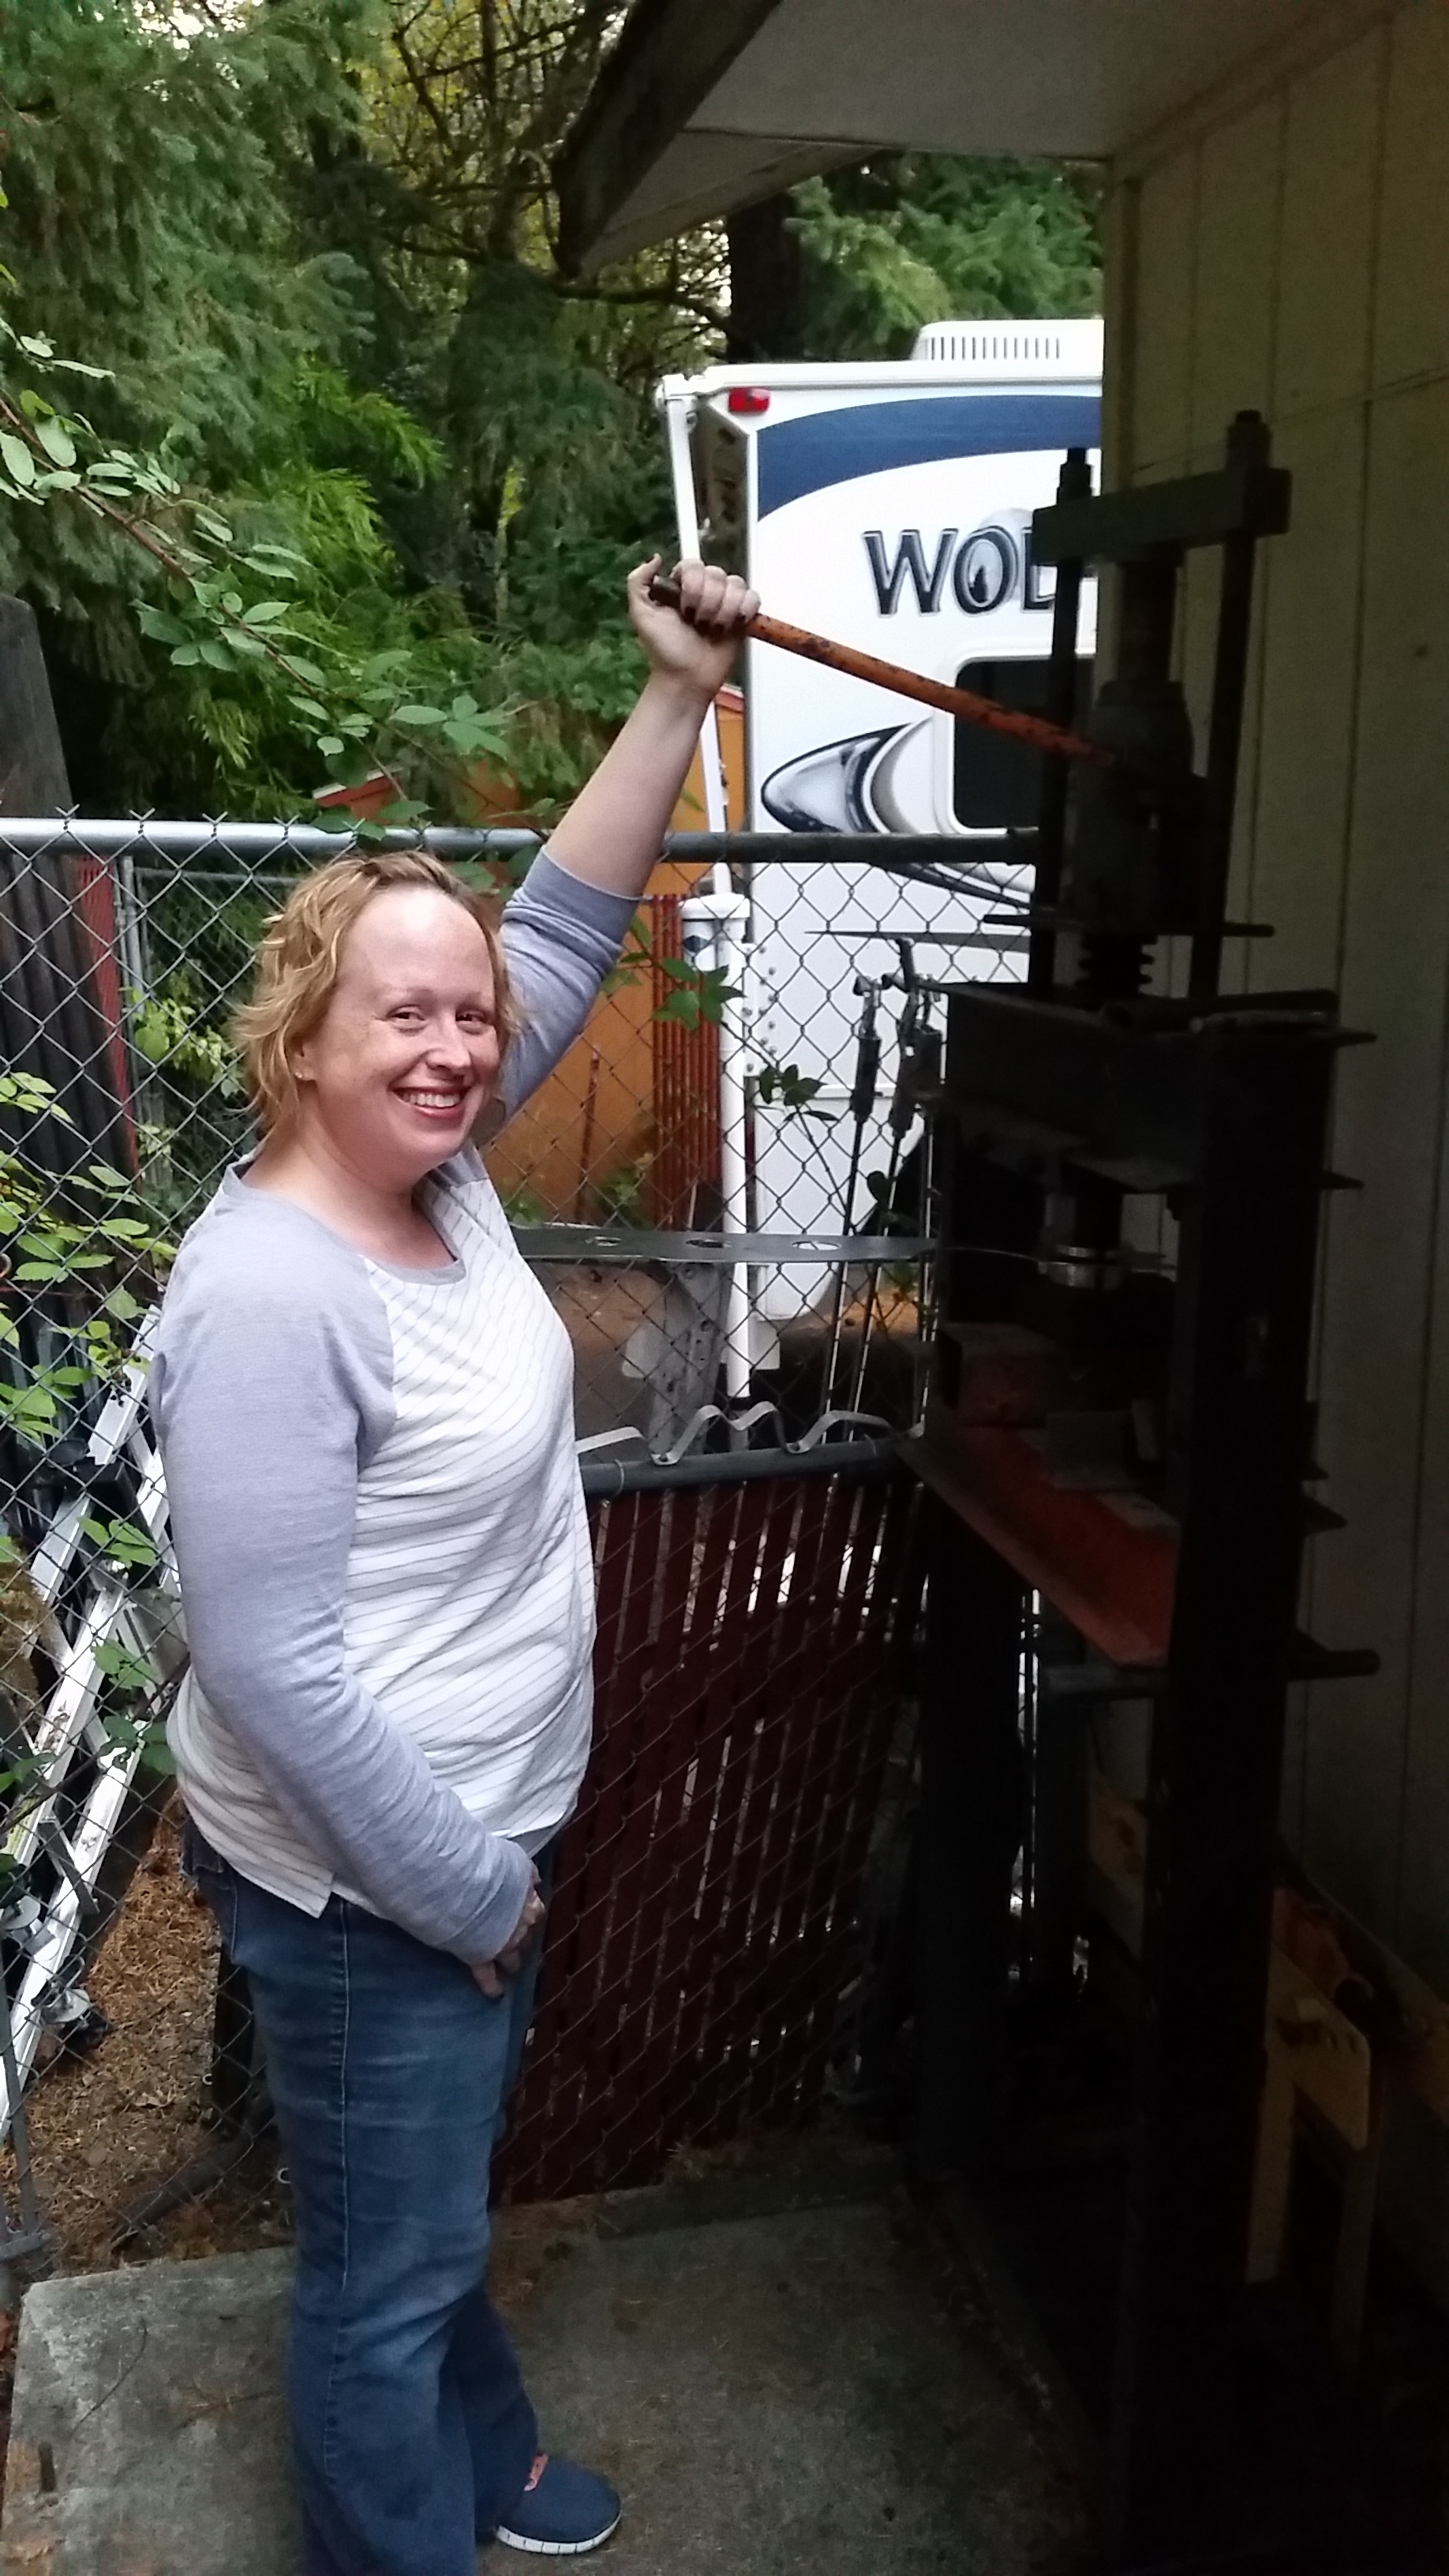
With both sides welded up good and the template made up I got these cut out and ready to get dimple died.....had to wait for my helper, she is the official dimple die operator.
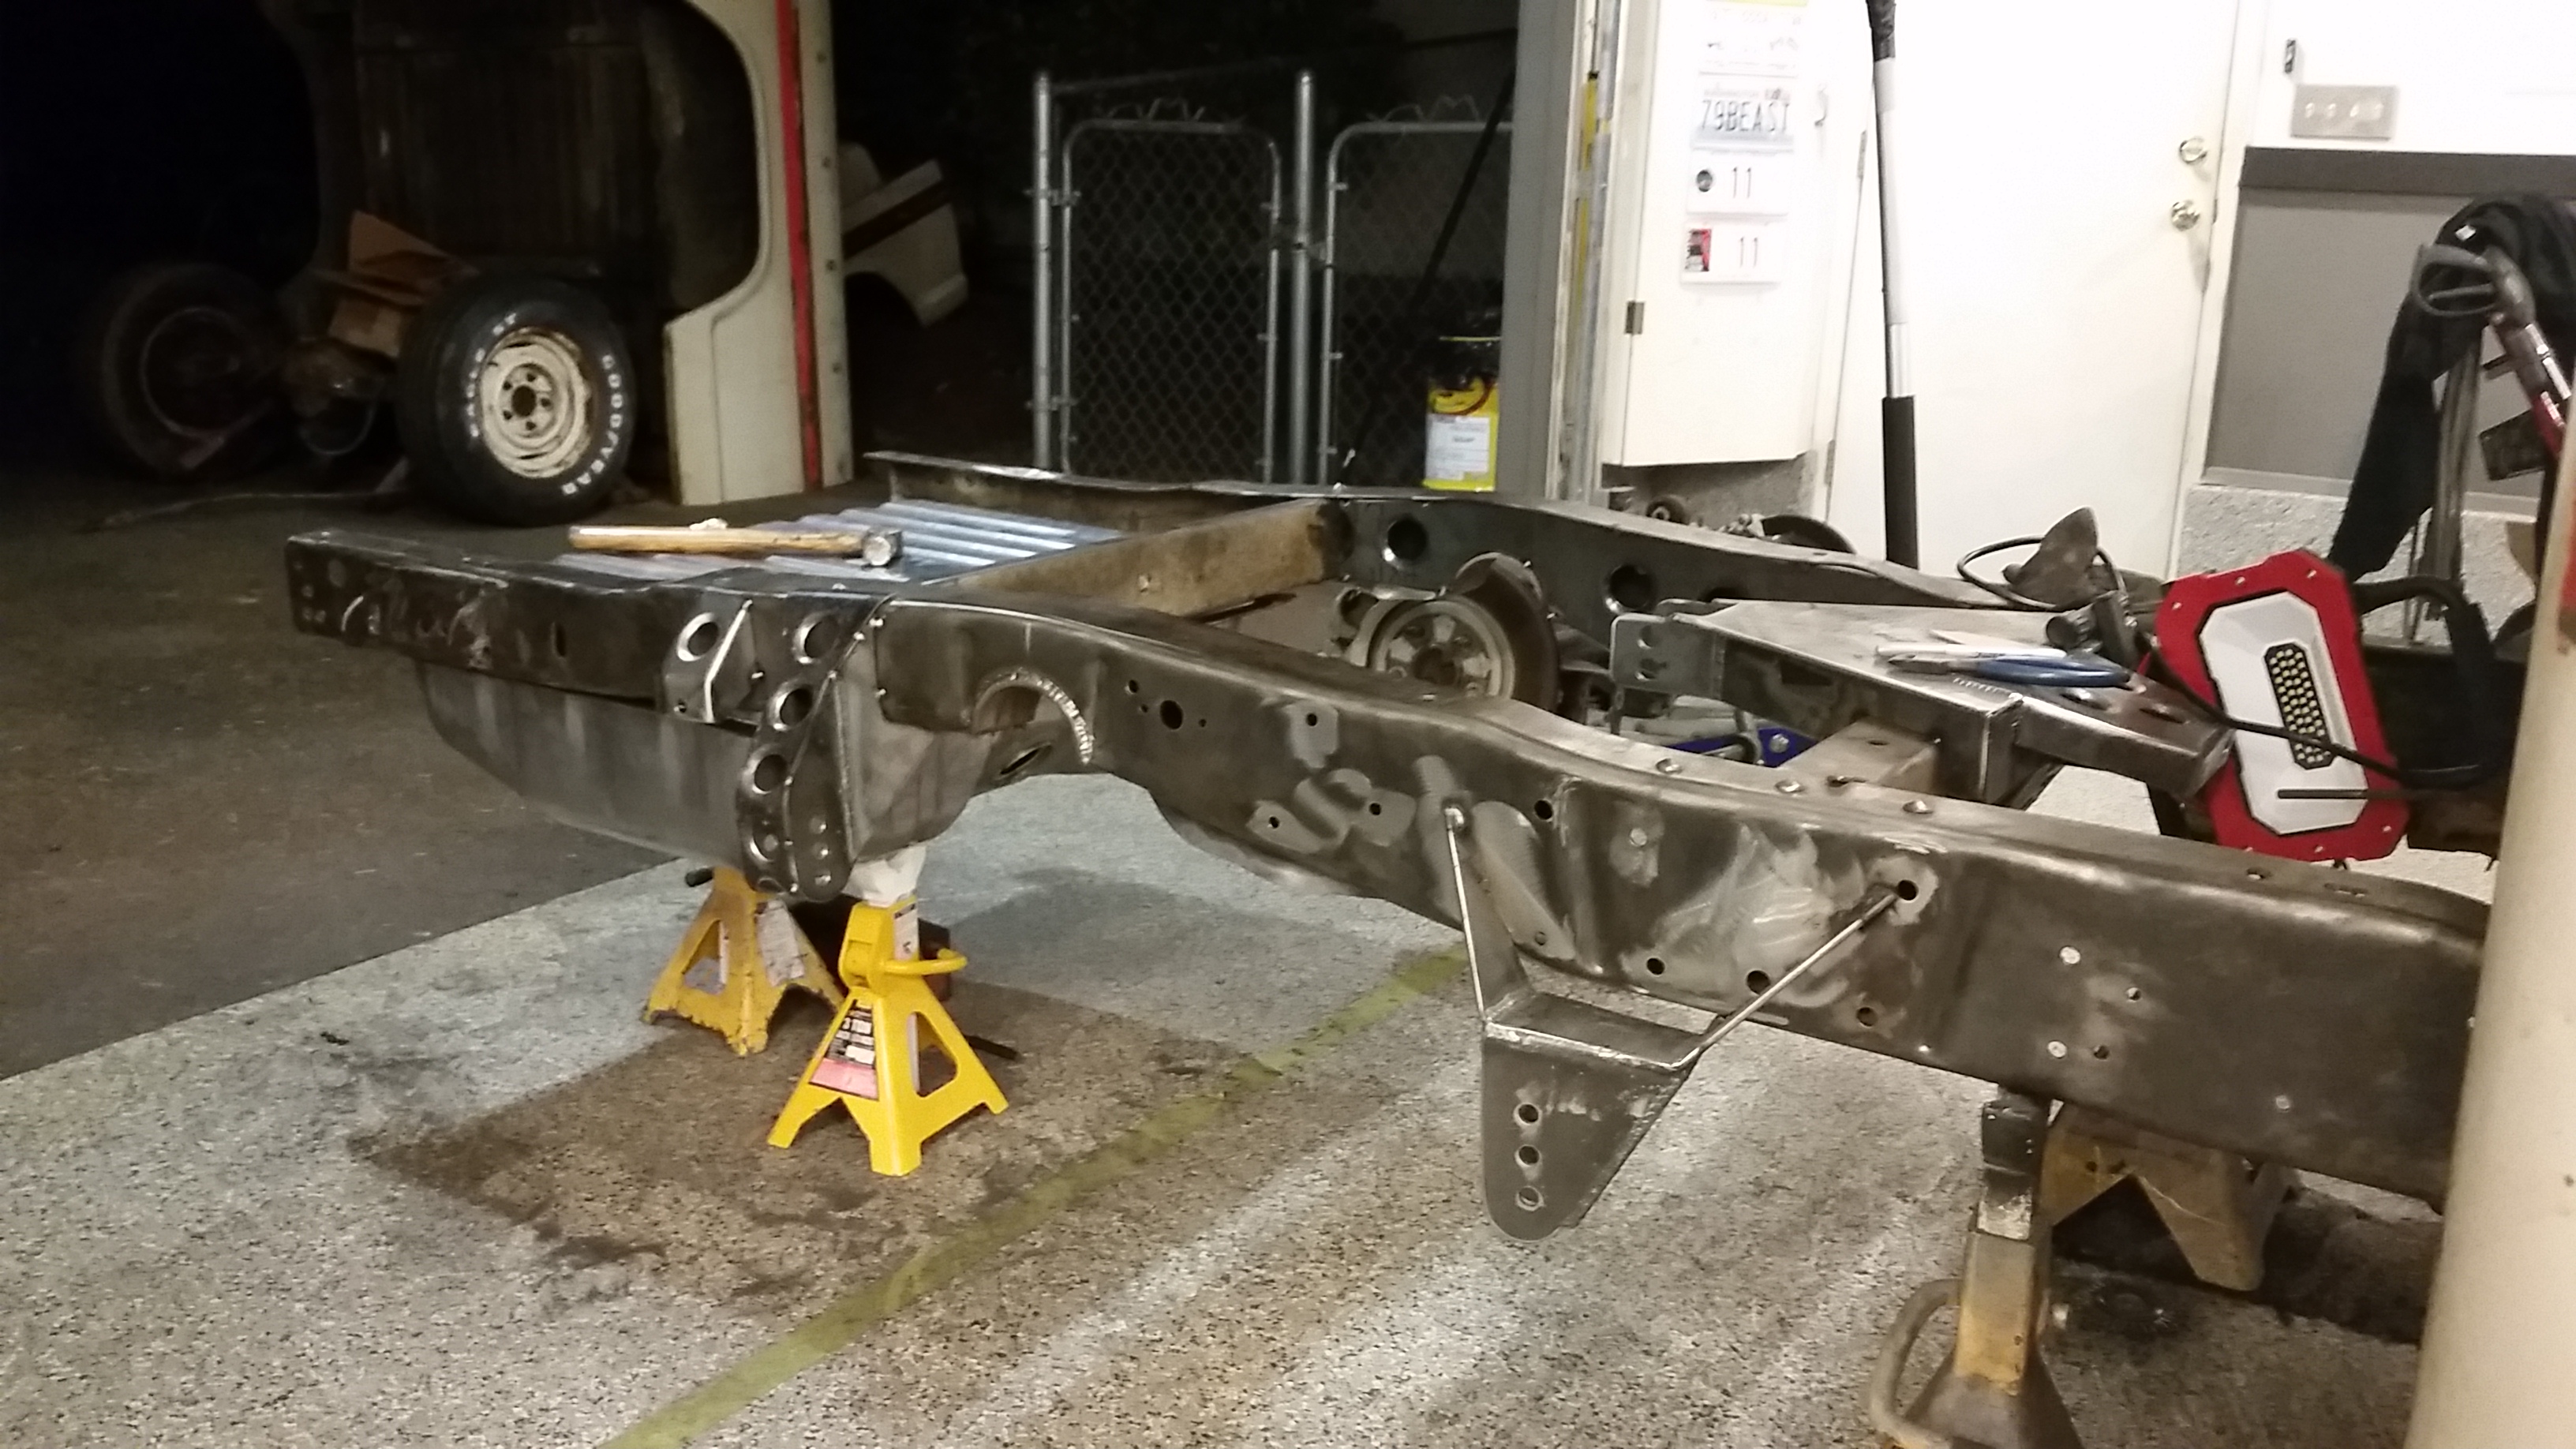
Pulled the tank links and rearend before hand so I could get to cleaning up all the undercoating inside the frame rails...that was fun.
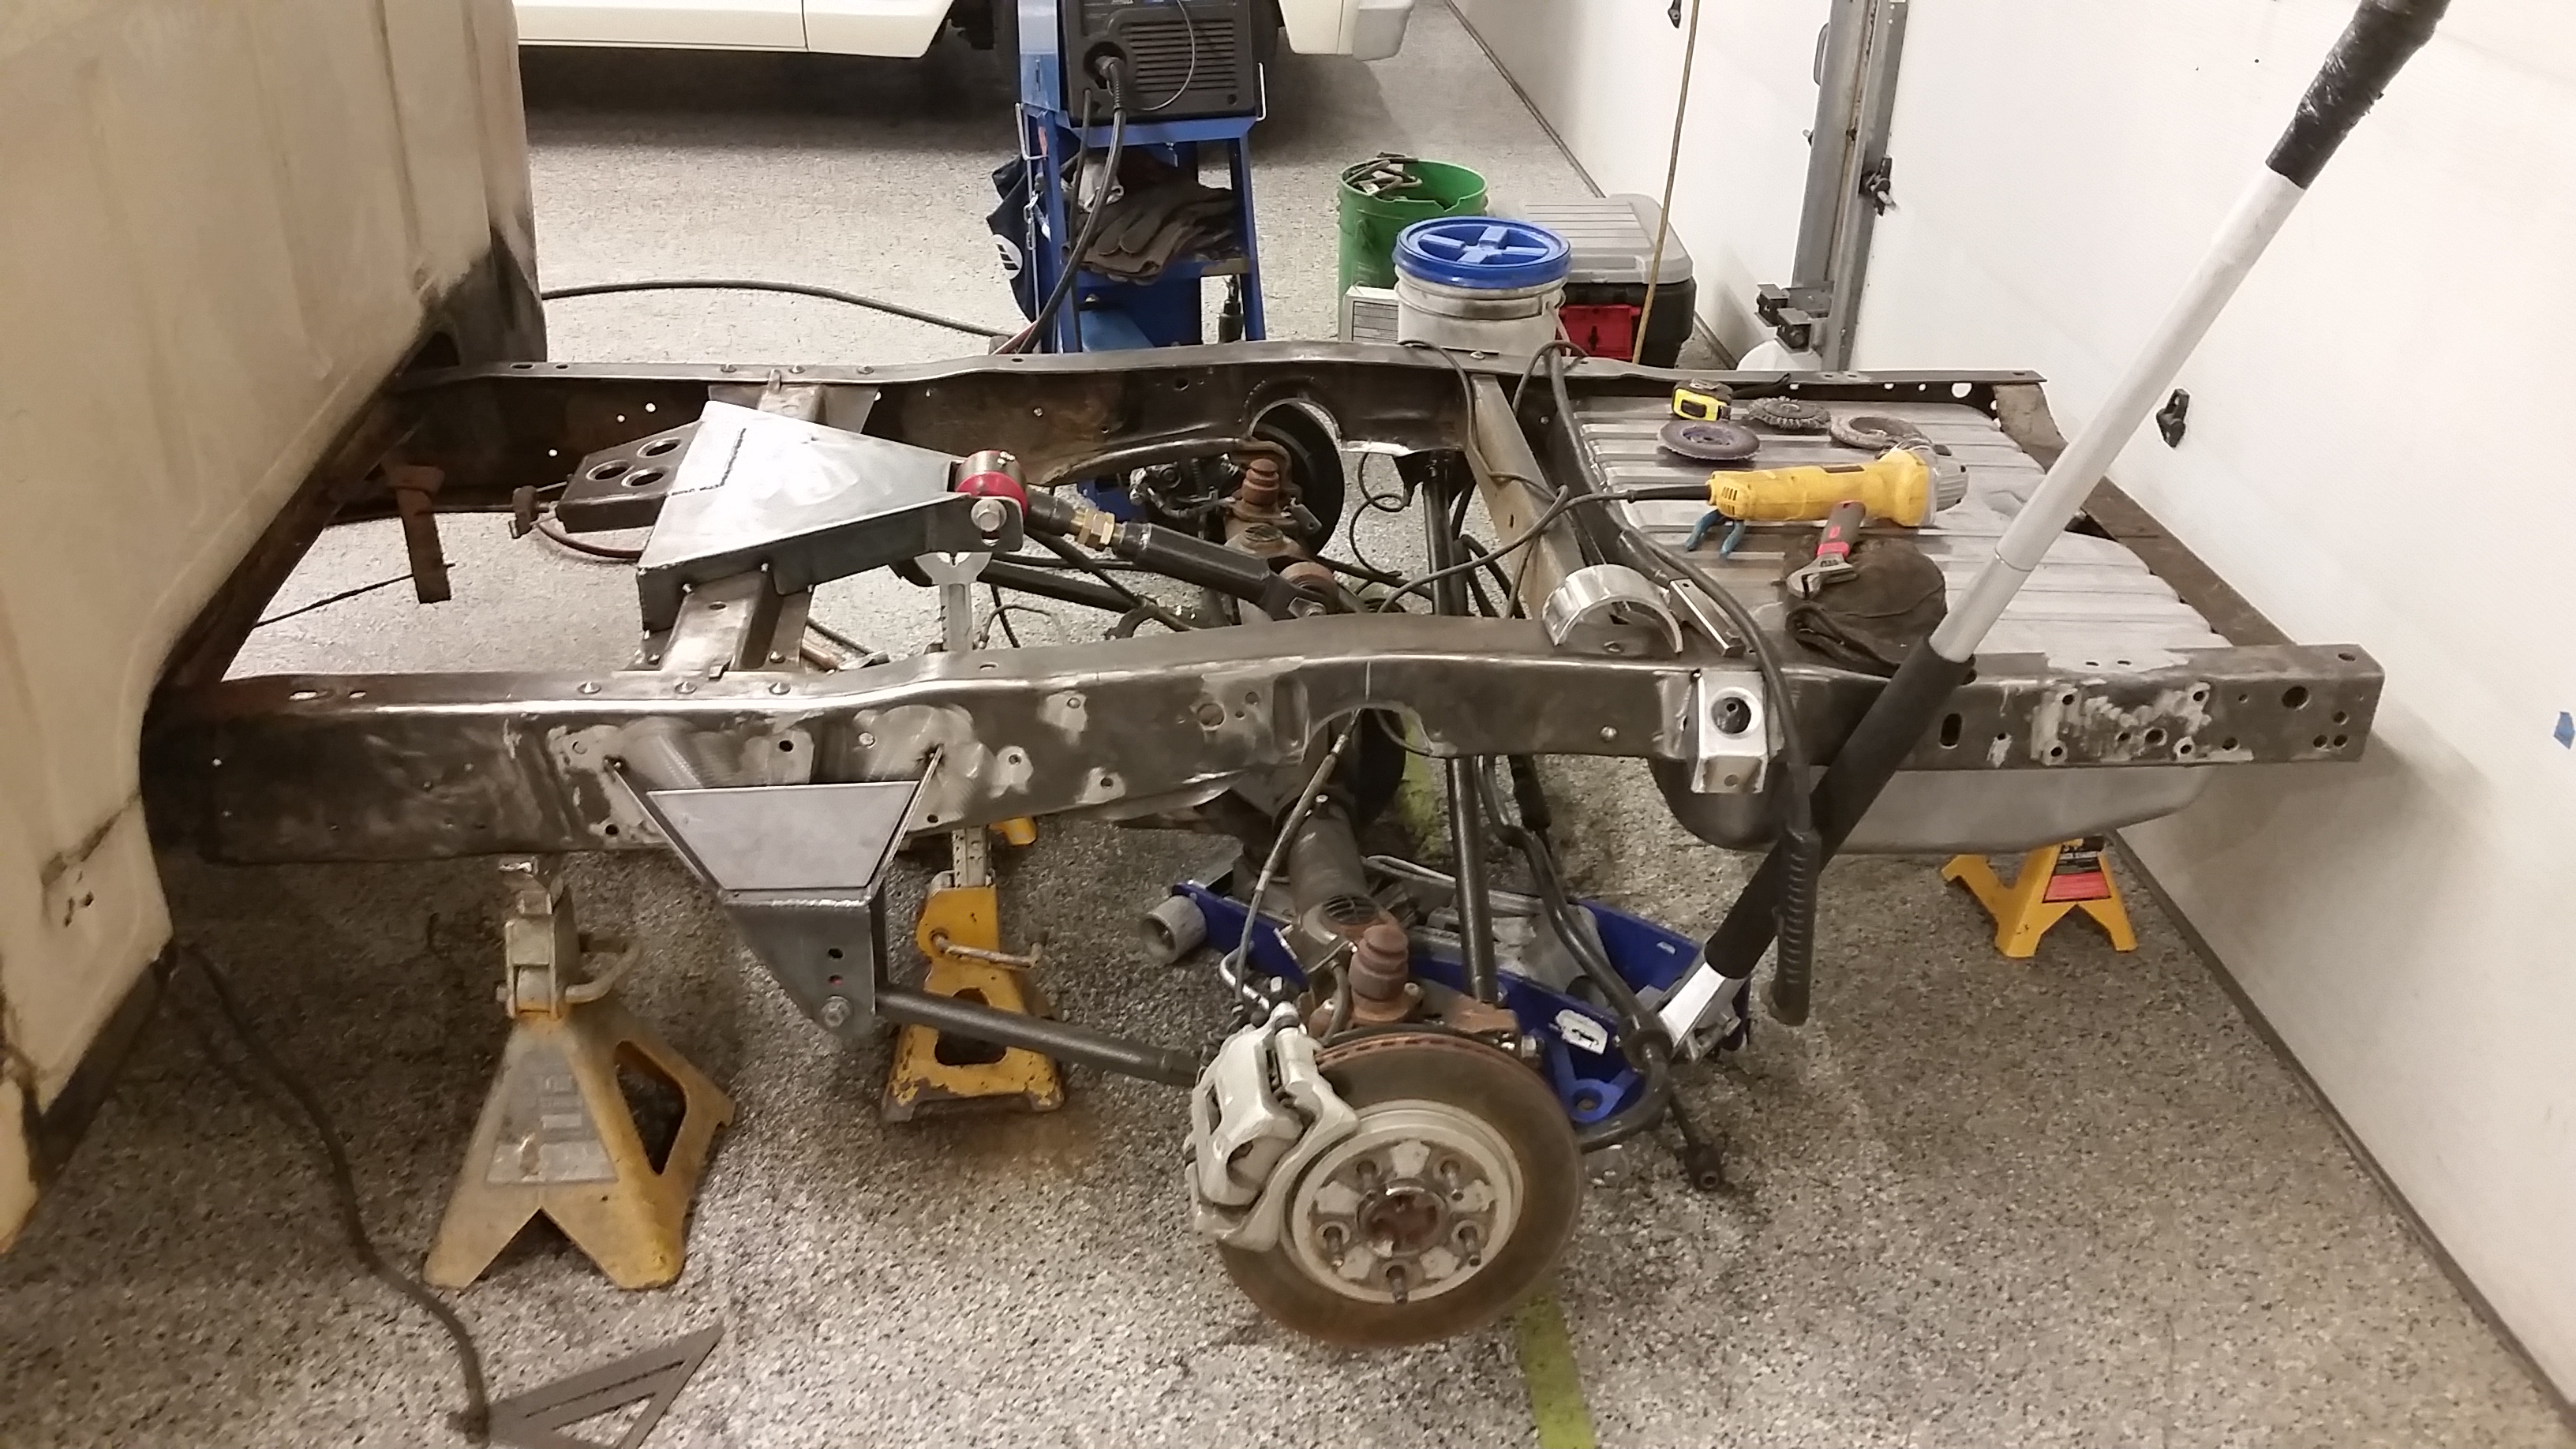
There is a ton of work into the back end of this old beater now......I like this pic.
Also rear shocks and springs showed up today but I think they are too short. Anyone following along have a recommendation for how long of a shock you were able to tuck under your bed? Seems like I am going to be stuck with some pretty short guys.
Sean
Yeah, should be fun. Building it for a purpose this time.
Thank you, Cant really hate these short bed bump side trucks, they are getting more popular too.
I really appreciate all of your guys comments, hope that you can give me some feedback on what you have done for rear shocks, how much travel and what length they are.
Onto today's less that spectacular work.
Thank you very much guys.....I like doing the fab work a lot.
I am however exhausted. This week has been a ton of work.
Had to pick up some welding supplies this morning and get some more metal so it was an early morning on the road too.
Got home and got right to work on the truck until about 10 minutes ago.
Started off by marking off the rear frame for the small c notch and cutting a piece of 4" tubing for the notch. Keep in mind I dont have a lot of big tools here in the little garage so cutting through a piece of 4.5" 1/4" wall pipe was about as big as my little portaband could get through.
You can also see that my work area sometimes turns into a ****hole too,

Got it prepped and burned it it good after supporting the rear of the frame.

With both sides welded up good and the template made up I got these cut out and ready to get dimple died.....had to wait for my helper, she is the official dimple die operator.


Pulled the tank links and rearend before hand so I could get to cleaning up all the undercoating inside the frame rails...that was fun.

There is a ton of work into the back end of this old beater now......I like this pic.

Also rear shocks and springs showed up today but I think they are too short. Anyone following along have a recommendation for how long of a shock you were able to tuck under your bed? Seems like I am going to be stuck with some pretty short guys.
Sean
#22
10-17-2015, 07:55 AM
Here is what I did. I figured out my total axle travel and where my mount points needed to be for the shocks. Then go to this KYB technical page and pick out a shock that suits your application.
KYB Americas | Dimensions
Then ebay the part # and you should find the shock; new and cheap usually. Probably could use the QA1 technical page as well.
KYB Americas | Dimensions
Then ebay the part # and you should find the shock; new and cheap usually. Probably could use the QA1 technical page as well.
#23
10-17-2015, 09:18 AM
Here is what I did. I figured out my total axle travel and where my mount points needed to be for the shocks. Then go to this KYB technical page and pick out a shock that suits your application.
KYB Americas | Dimensions
Then ebay the part # and you should find the shock; new and cheap usually. Probably could use the QA1 technical page as well.
KYB Americas | Dimensions
Then ebay the part # and you should find the shock; new and cheap usually. Probably could use the QA1 technical page as well.
#26
10-17-2015, 10:19 PM
Thanks man, appreciate the feedback.
I struggle with the shock mounts today. Took me till about 3 this afternoon to get the first one done. I ended up getting the next longest QA1 which is a 14" extended 10.125 collapsed shock with a single adjuster. For my intended purpose for the truck I needed to have the shocks and springs at the outside of the framerails yet try and clear the tires, brakes, panhard bar, sway bar oh and keep them under the bed floor.
Here is what I came up with today.
In progress.
Capped off.
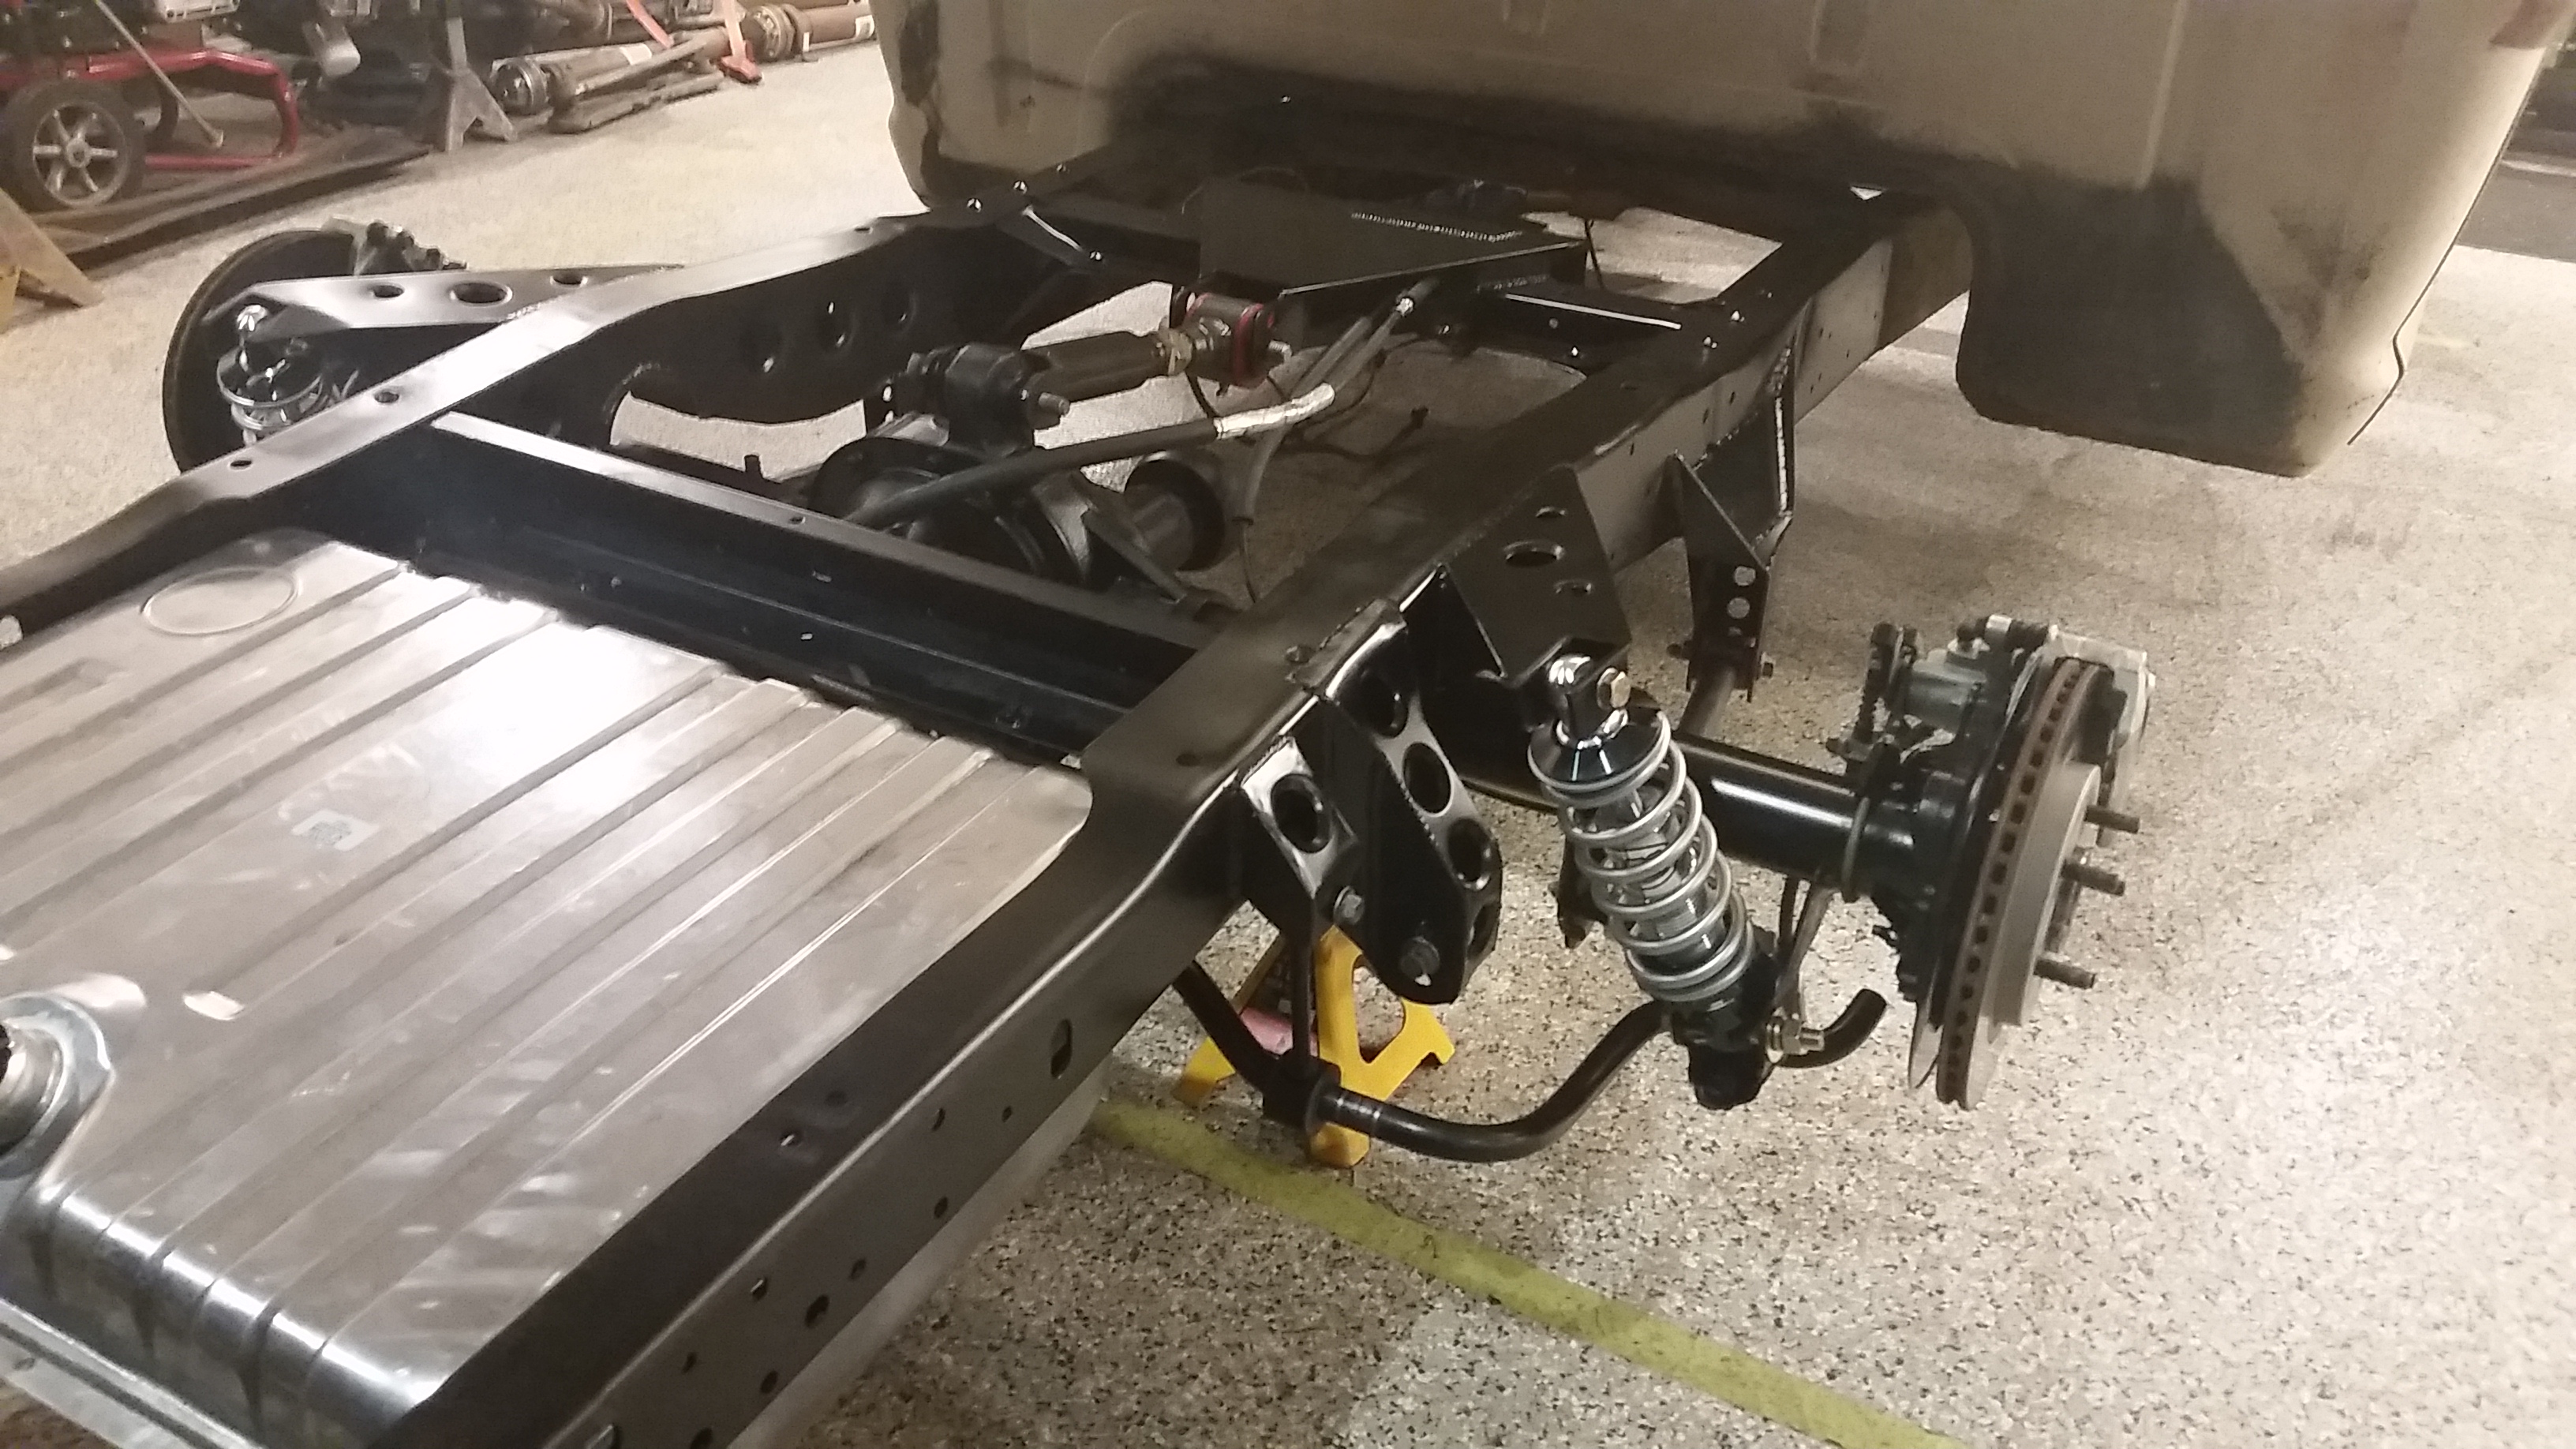
With the shock and spring in there.

Passenger side done, just needs a little bit more clean up and I might plate the bottom of these, they need a little something on the bottom.
I am happy with the placement of the shocks, not so much with the design but there was just so many limitations I was working in. I wanted to do tube but there was just no room for it.
Shocks are right where they should be, ride height is in the center of the stroke and I have 4.75" total travel.
Thanks for following along in the build.
Sean
I struggle with the shock mounts today. Took me till about 3 this afternoon to get the first one done. I ended up getting the next longest QA1 which is a 14" extended 10.125 collapsed shock with a single adjuster. For my intended purpose for the truck I needed to have the shocks and springs at the outside of the framerails yet try and clear the tires, brakes, panhard bar, sway bar oh and keep them under the bed floor.
Here is what I came up with today.
In progress.


Capped off.


With the shock and spring in there.


Passenger side done, just needs a little bit more clean up and I might plate the bottom of these, they need a little something on the bottom.

I am happy with the placement of the shocks, not so much with the design but there was just so many limitations I was working in. I wanted to do tube but there was just no room for it.
Shocks are right where they should be, ride height is in the center of the stroke and I have 4.75" total travel.
Thanks for following along in the build.
Sean
#27
10-18-2015, 10:20 PM
Mocked up the plating on the bottom of the shock mount spent a couple more hours with the wire wheel on the frame and fired up the old welder. I did replace the lens in my hood today, man that makes a world of difference.
Worked back and forth, side to side and up and down to keep the heat moving around on the frame, the frame was also supported on the rear and I was loading it to try and get rid of a little sag on the passenger rear.
Pretty happy about this progress right here. Wish I would have taken a better photo and removed my welding blanket.
Funny thing about trying to crank out work is I forgot to snap many more of the progress pictures. But here is a rundown of what happened. Tear the rearend apart, clean the backing plates, dust shield, anti vibe plates, sway bar, bushings, wire wheel the entire rearend, clean paint and reasemble.
Wire wheel the entire frame from the crossmember back, clean up all the weld splatter, clean and paint the back half of the frame.
Build new custom width spacer for the QA1 coilovers, drill out the shock mounting holes to 9/16".
Drill out holes in frame for fuel tank straps, weld in nuts....do this before painting =)
Final assembly...
My goal was to roll the truck in on monday and have it on the suspension by the end of my vacation.
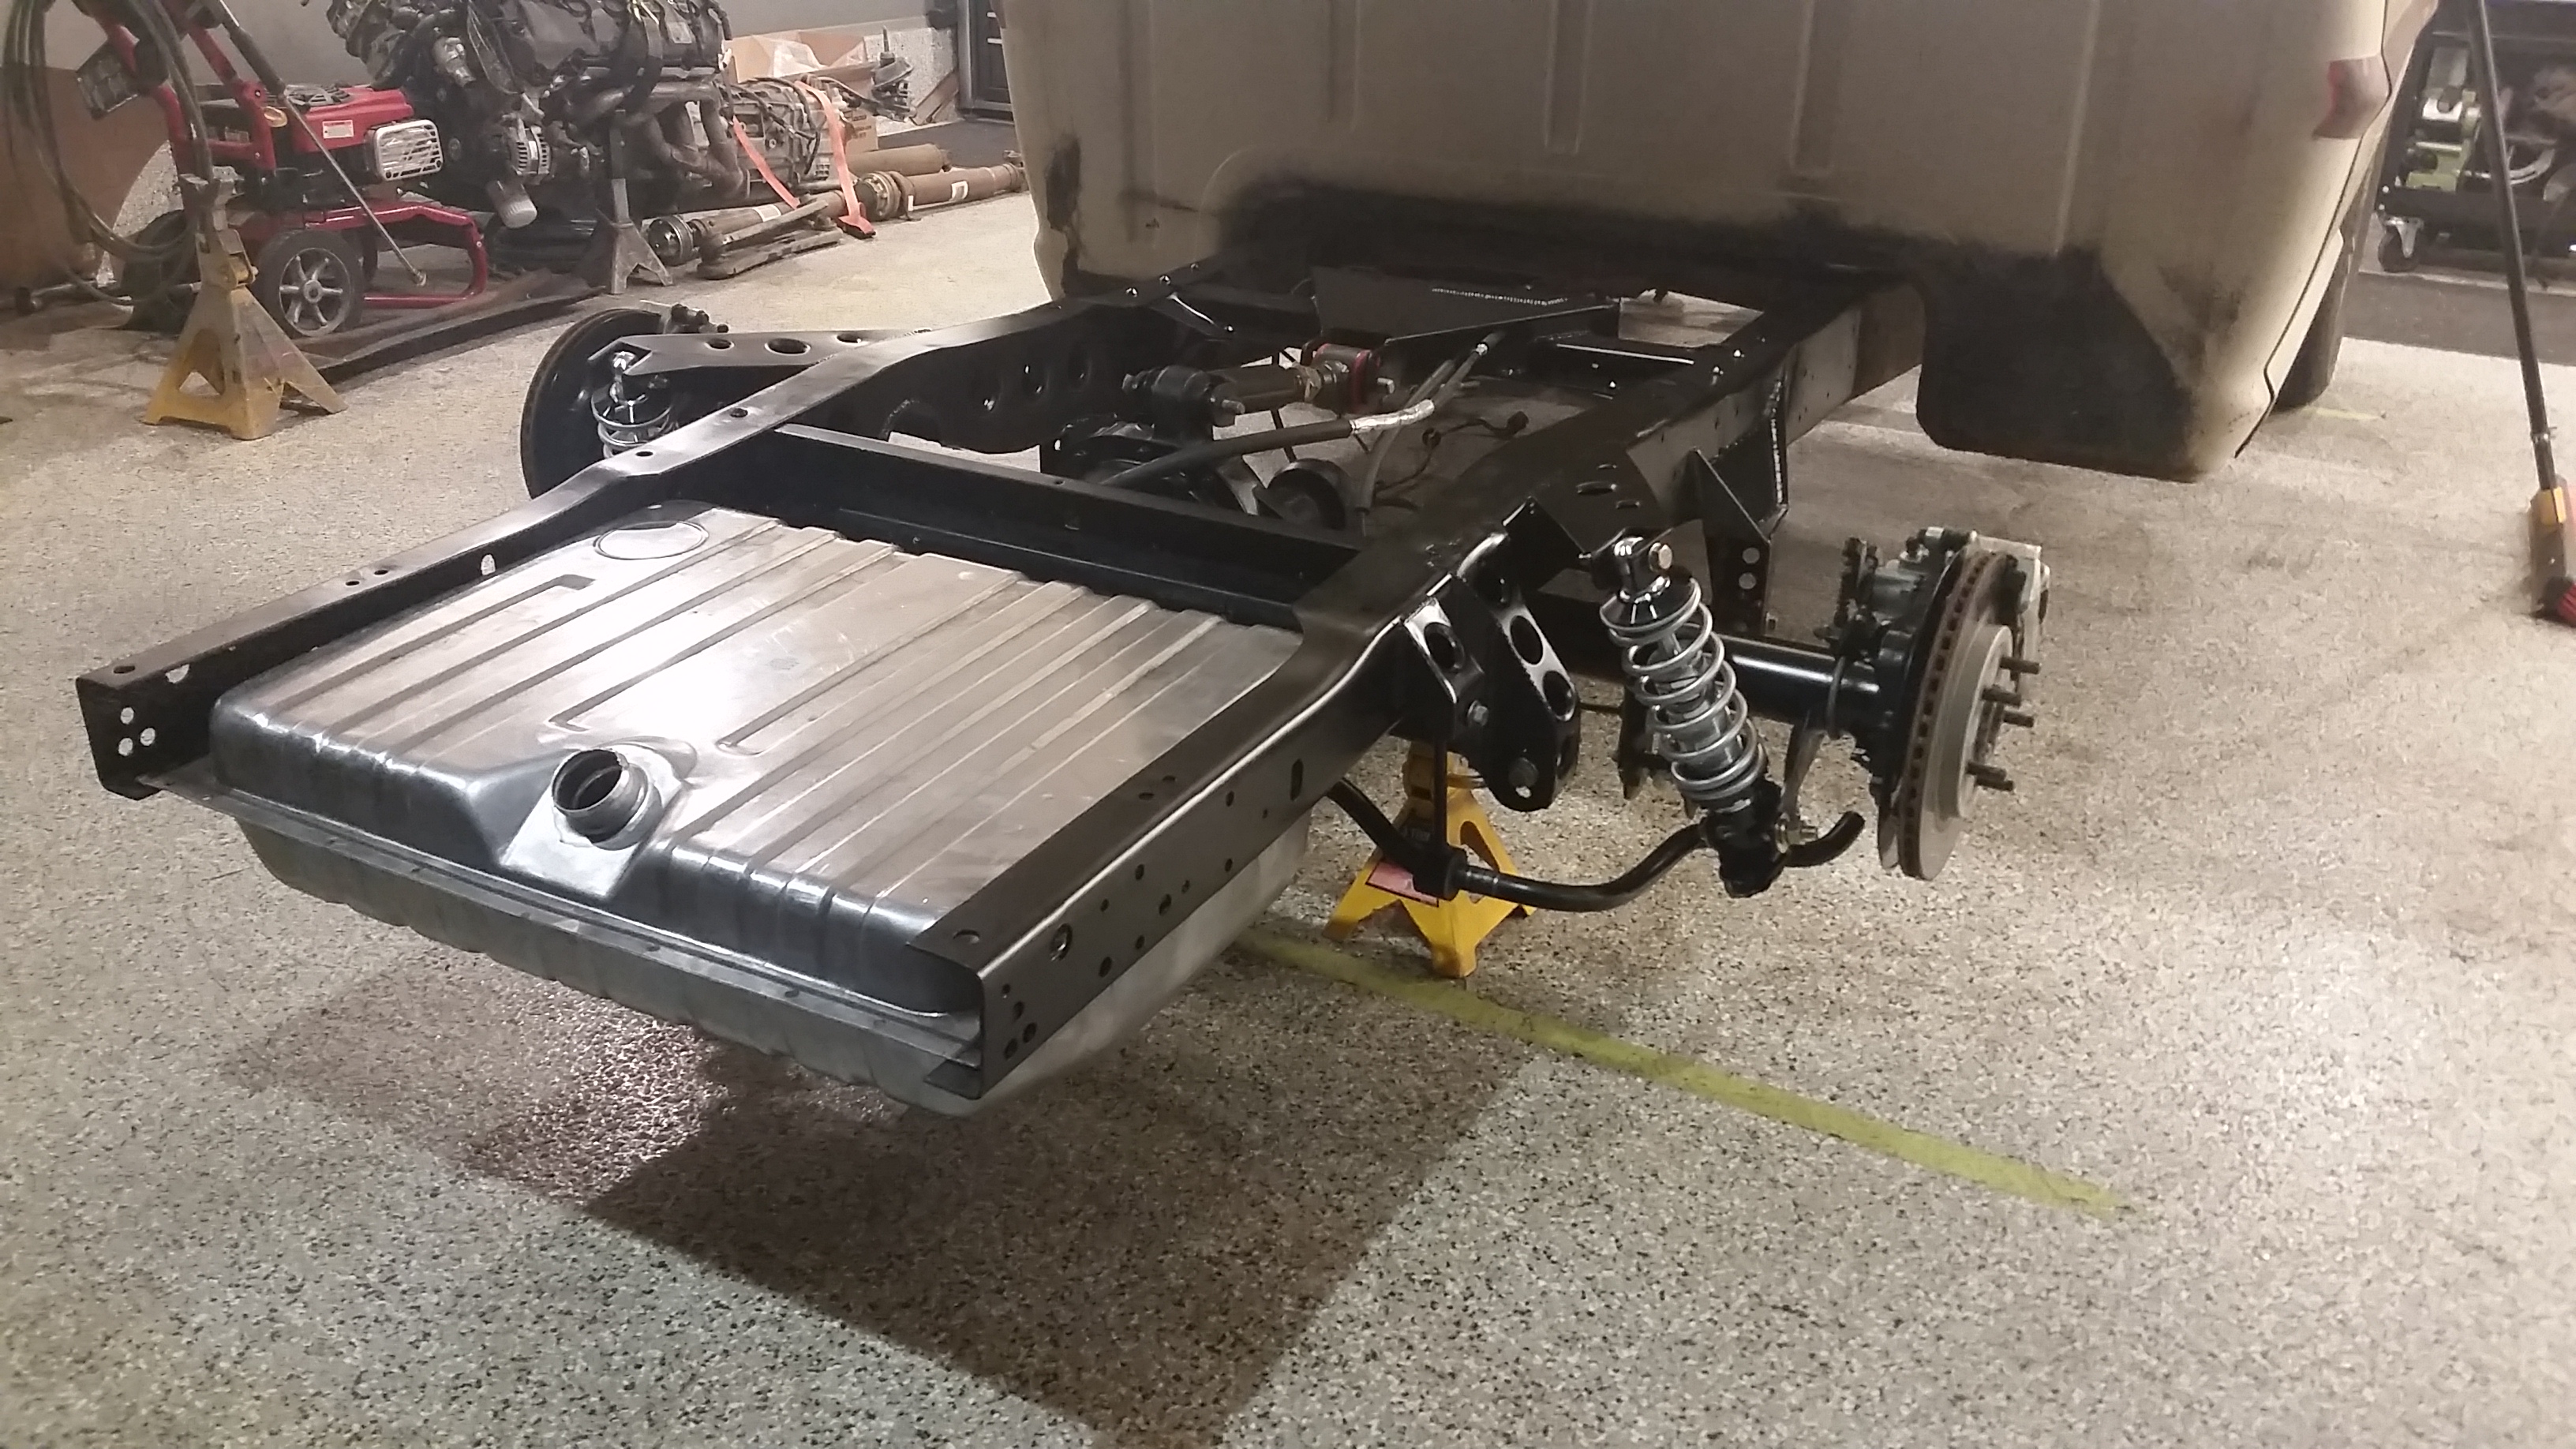
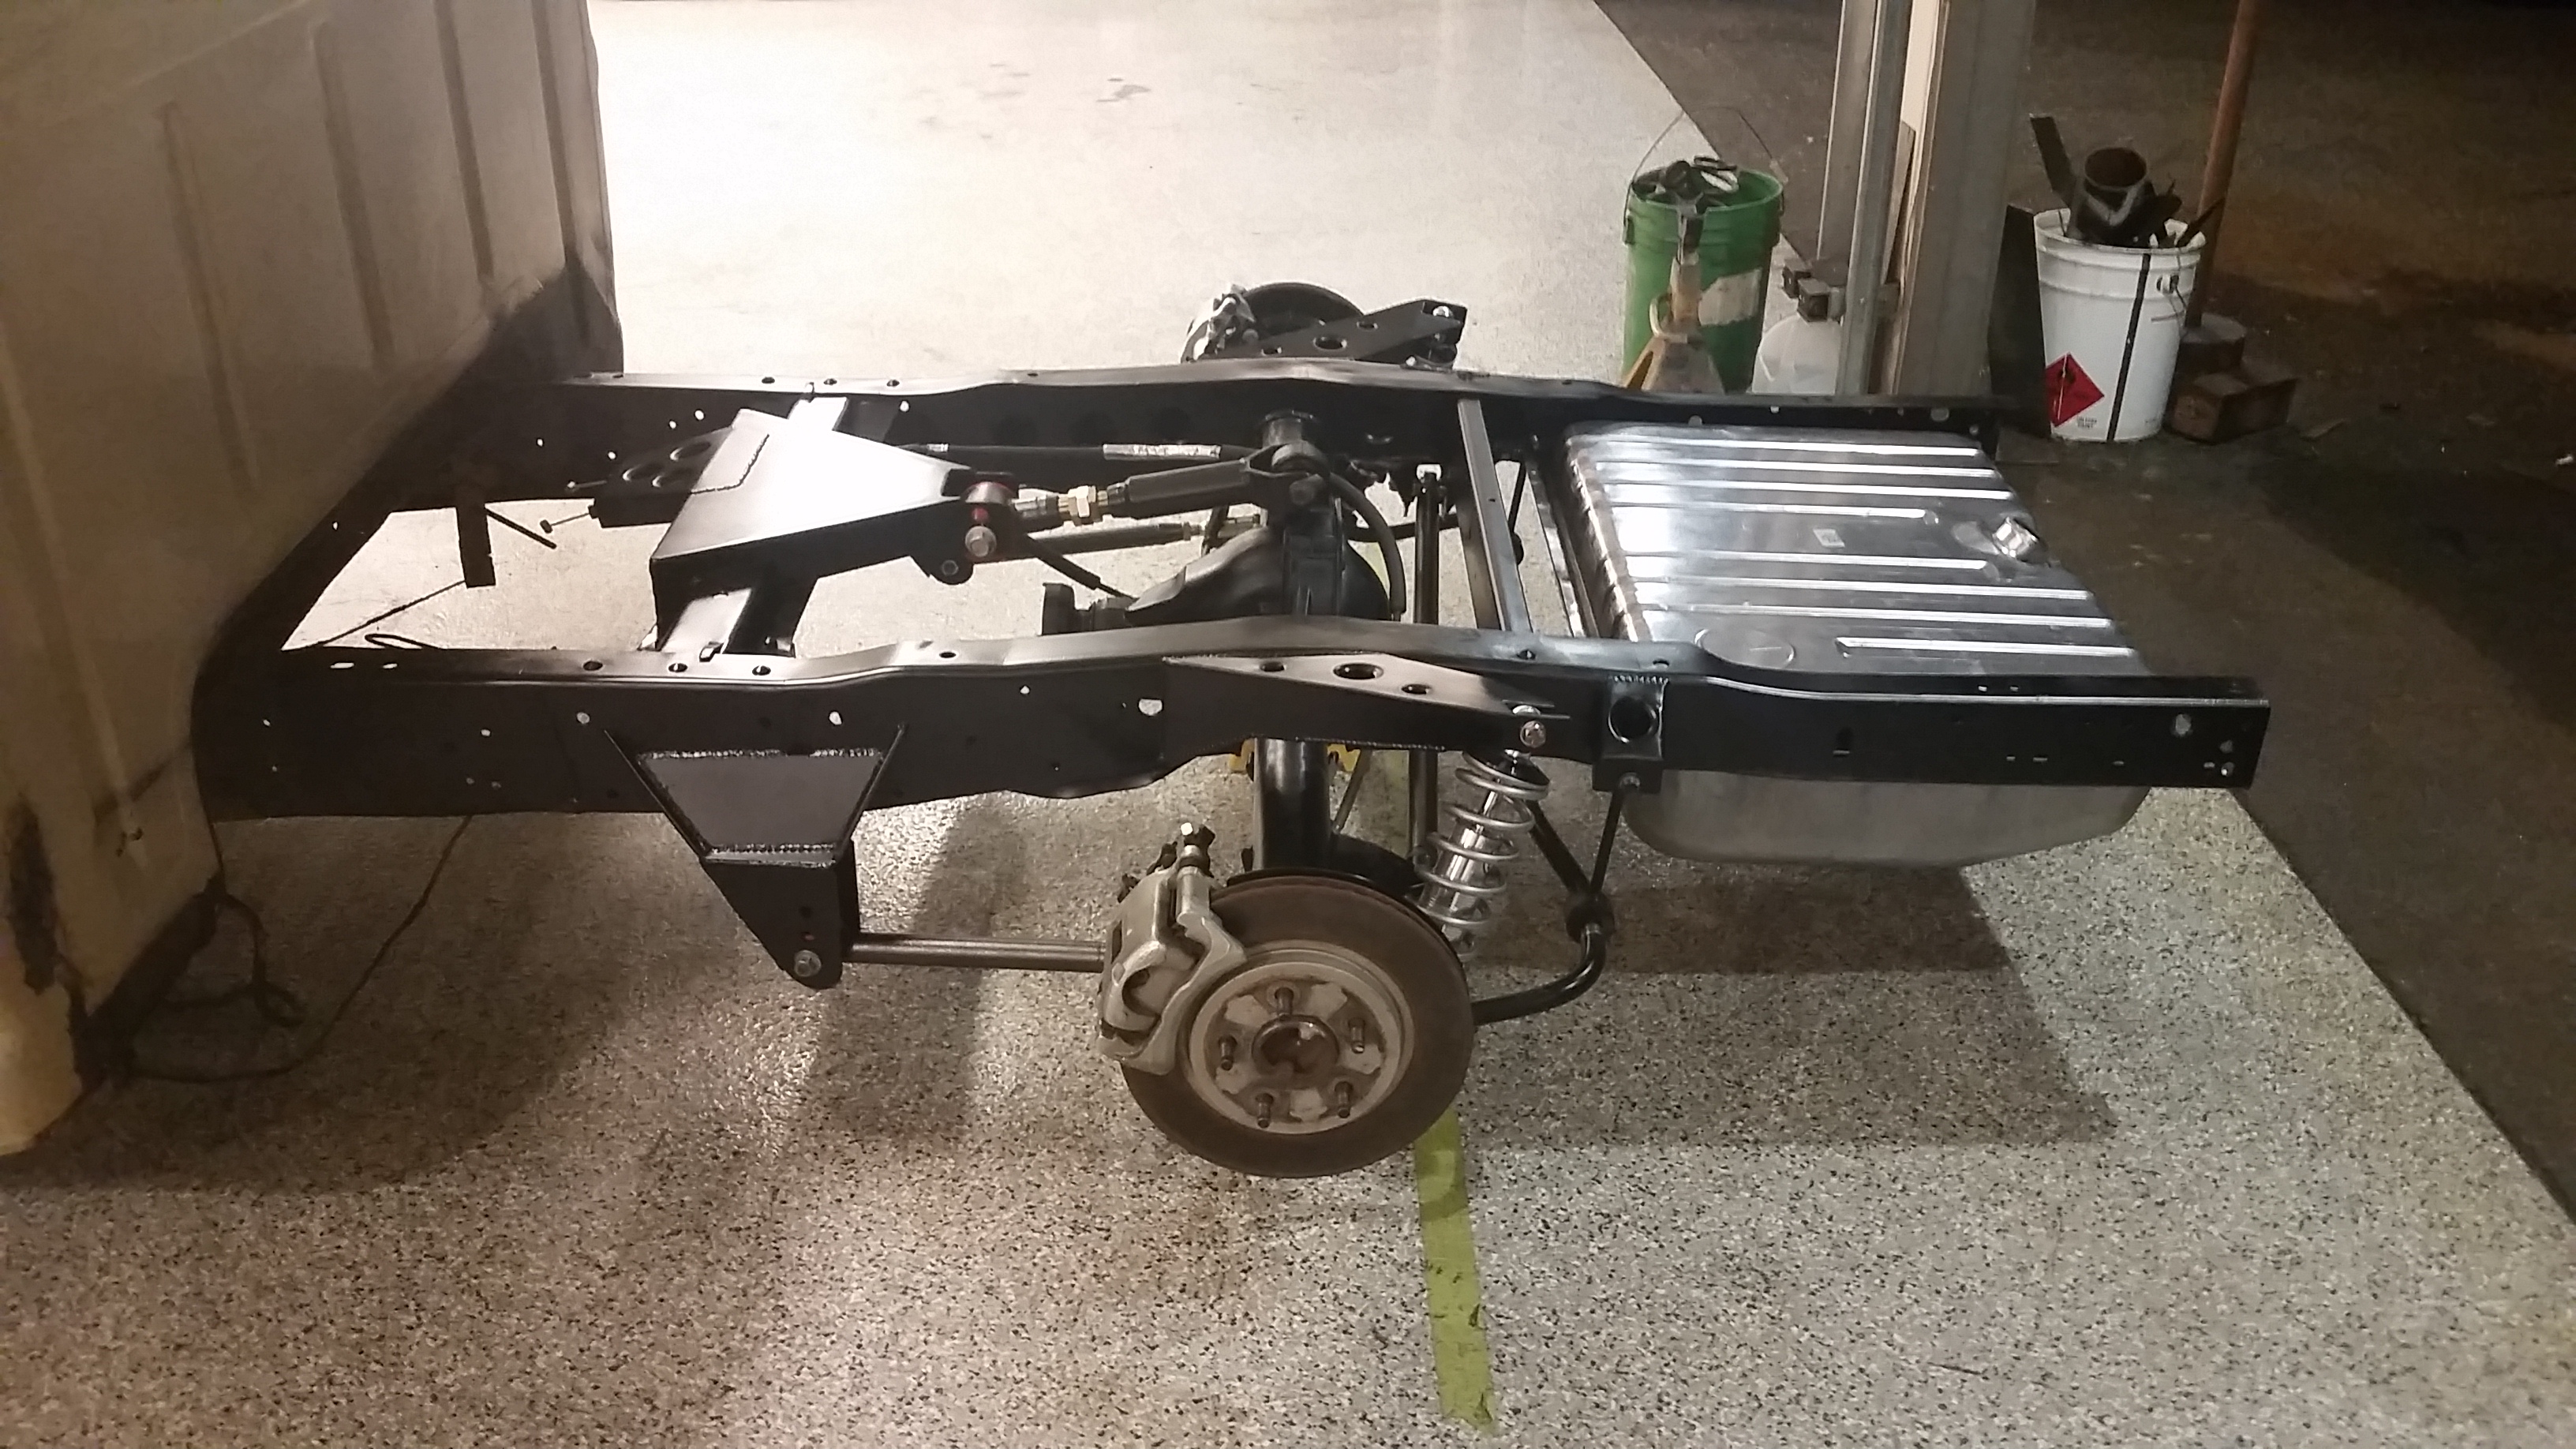
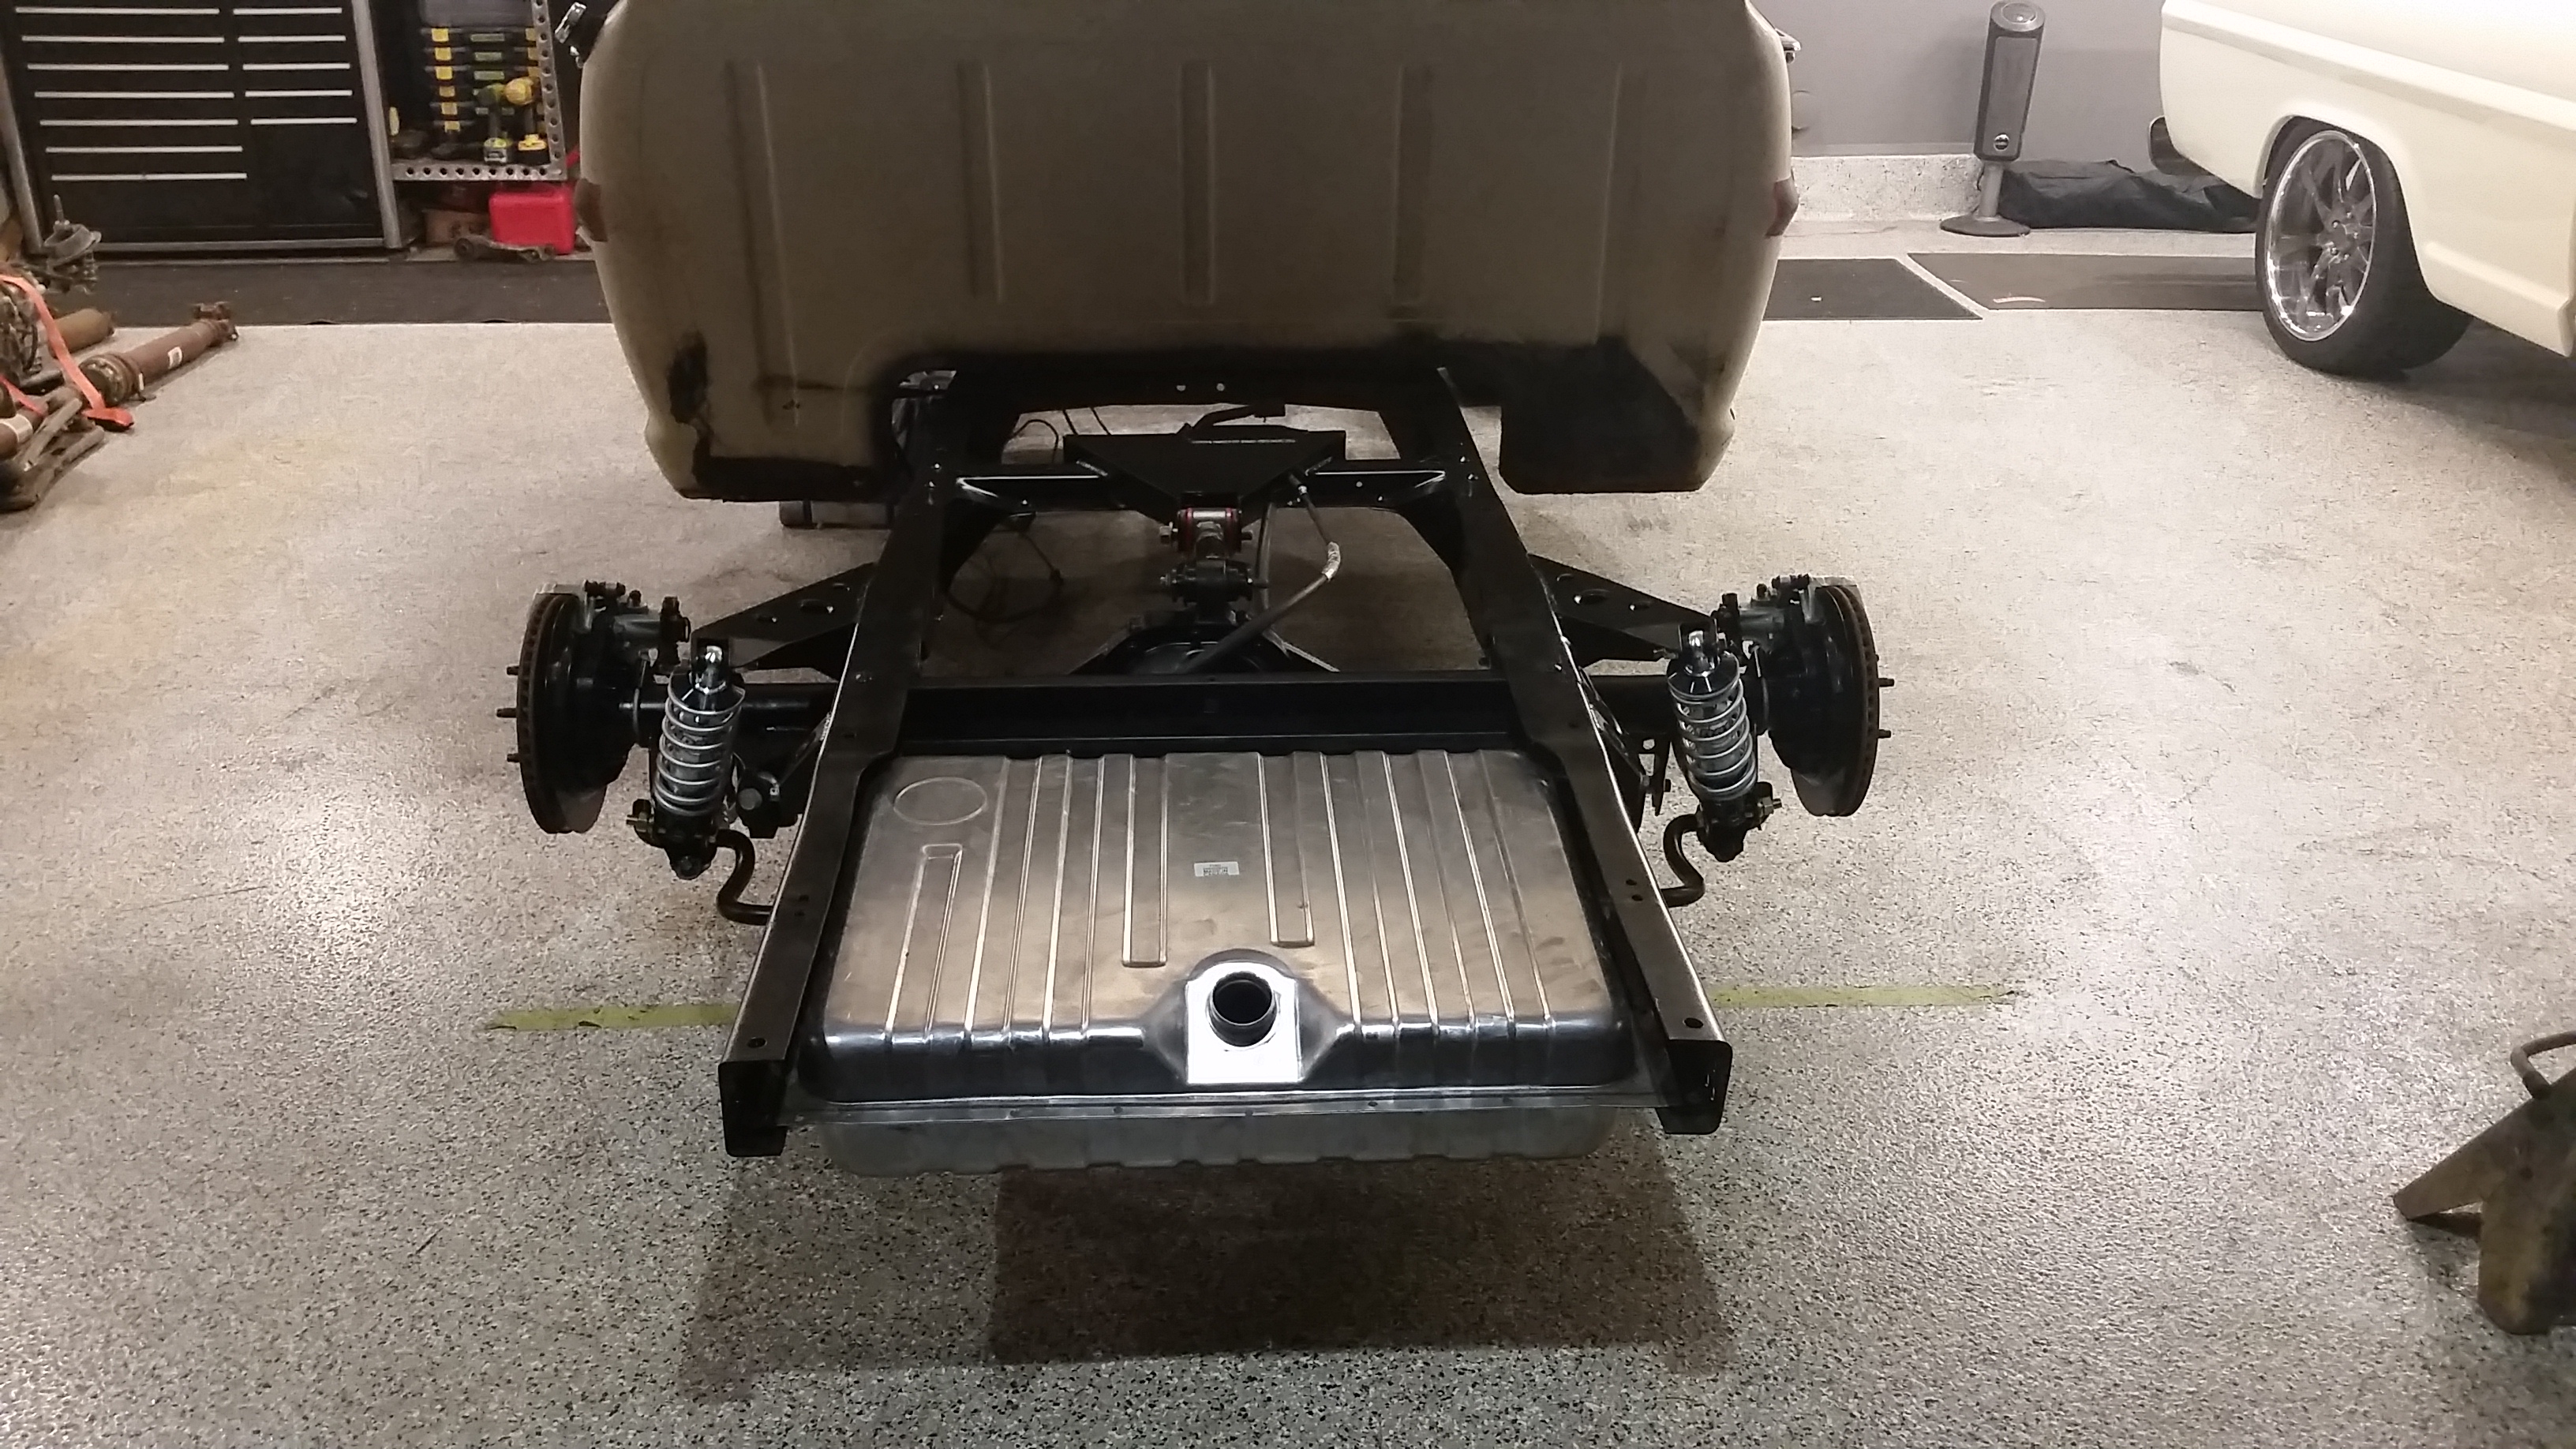
Super stoked about the progress, rear springs are just the first stab at it, likely will need to change but with no tension on them, its at about ride height. They are 220 lb springs.
Net up, Master cylinder, booster and brake lines, steering column and steering shaft adapted to crown vic. But next weekend Ill be dirbiking all weekend =)
Hope to have that stuff wrapped up in the next few weeks and the motor dropped in soon.
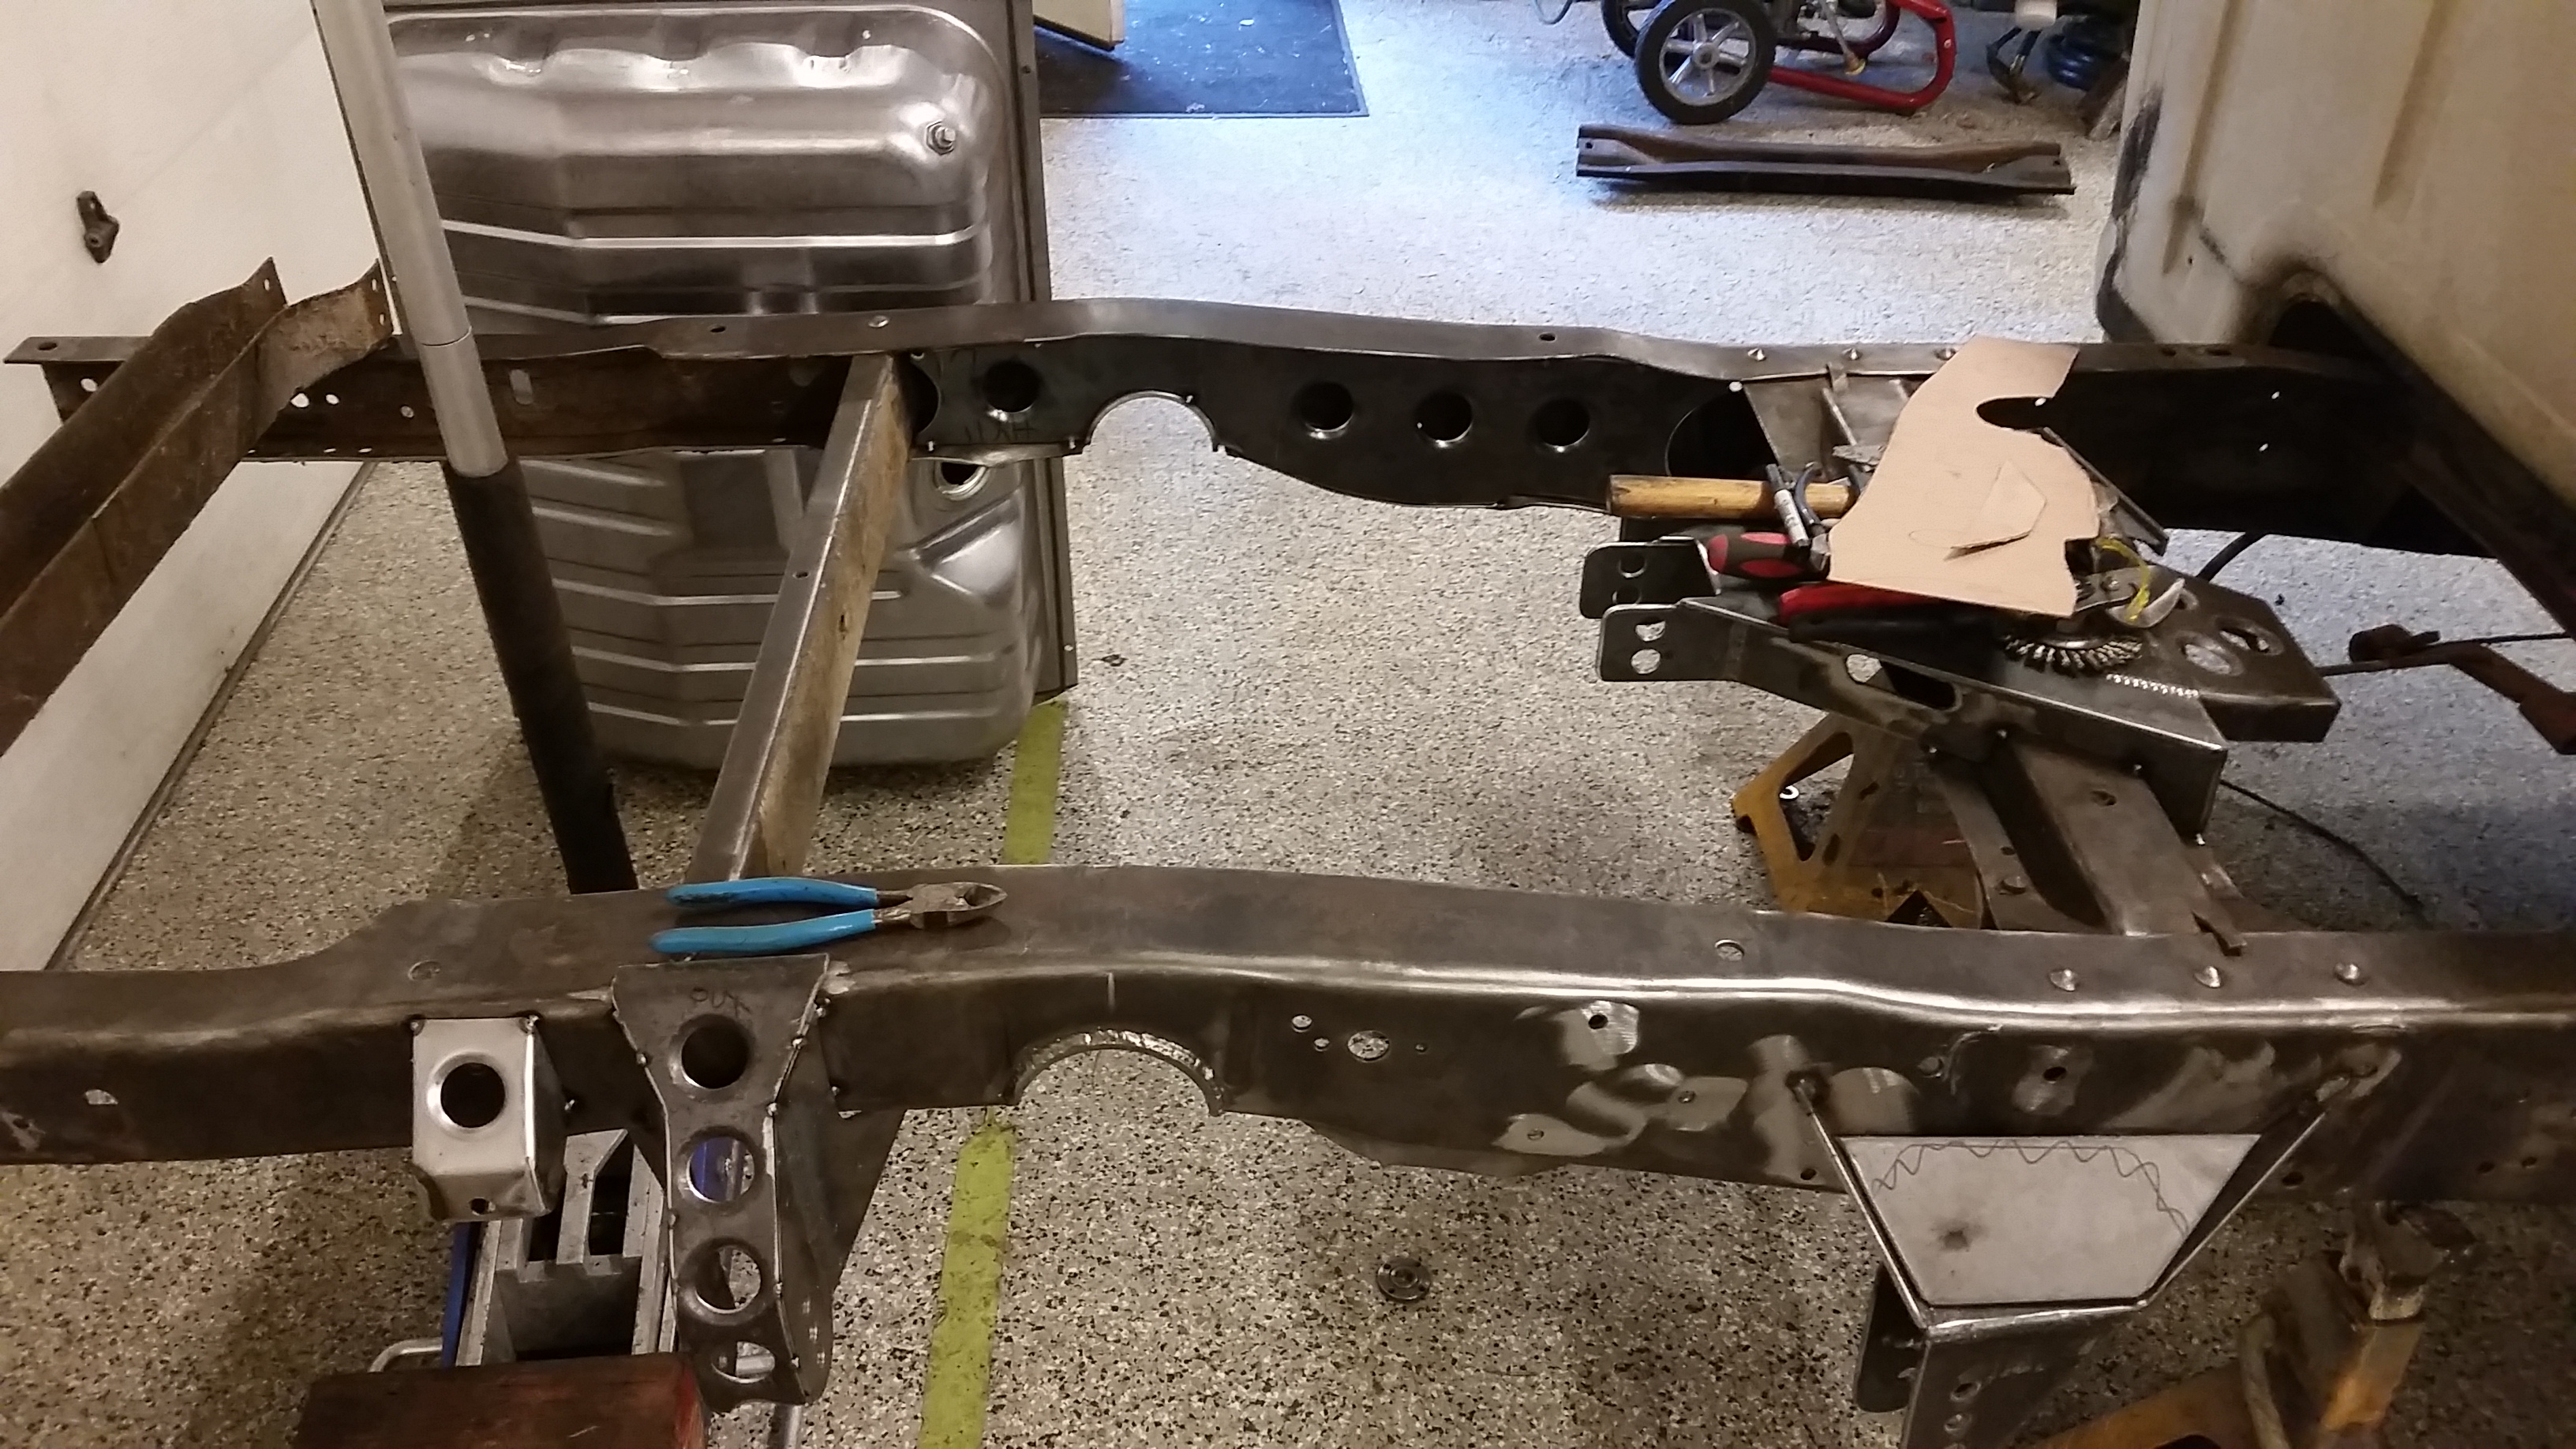
Parting shot for the night. New project and last years project..

Sean
Worked back and forth, side to side and up and down to keep the heat moving around on the frame, the frame was also supported on the rear and I was loading it to try and get rid of a little sag on the passenger rear.

Pretty happy about this progress right here. Wish I would have taken a better photo and removed my welding blanket.

Funny thing about trying to crank out work is I forgot to snap many more of the progress pictures. But here is a rundown of what happened. Tear the rearend apart, clean the backing plates, dust shield, anti vibe plates, sway bar, bushings, wire wheel the entire rearend, clean paint and reasemble.
Wire wheel the entire frame from the crossmember back, clean up all the weld splatter, clean and paint the back half of the frame.
Build new custom width spacer for the QA1 coilovers, drill out the shock mounting holes to 9/16".
Drill out holes in frame for fuel tank straps, weld in nuts....do this before painting =)
Final assembly...
My goal was to roll the truck in on monday and have it on the suspension by the end of my vacation.


Super stoked about the progress, rear springs are just the first stab at it, likely will need to change but with no tension on them, its at about ride height. They are 220 lb springs.
Net up, Master cylinder, booster and brake lines, steering column and steering shaft adapted to crown vic. But next weekend Ill be dirbiking all weekend =)
Hope to have that stuff wrapped up in the next few weeks and the motor dropped in soon.
Parting shot for the night. New project and last years project..

Sean
#28
10-19-2015, 02:44 PM

Junior User
Join Date: Apr 2015
Location: CA
Posts: 71
Likes: 0
Received 0 Likes
on
0 Posts

#30
10-19-2015, 09:15 PM
Things are looking great. Love the dimple die work. I wish I would have used them a little more on mine. What dimple die set did you buy and I assume you are using a hole saw to drill the holes. Hindsight 20 20; I wish I would have bought the swag off-road dimple dies that match the hole knocker sets that can be used with a porta power. Way easier than drilling the holes and being held hostage to a press.