
Lawdawg79 Build Thread
#1
 09-09-2015, 10:20 PM


Lawdawg79 Build Thread
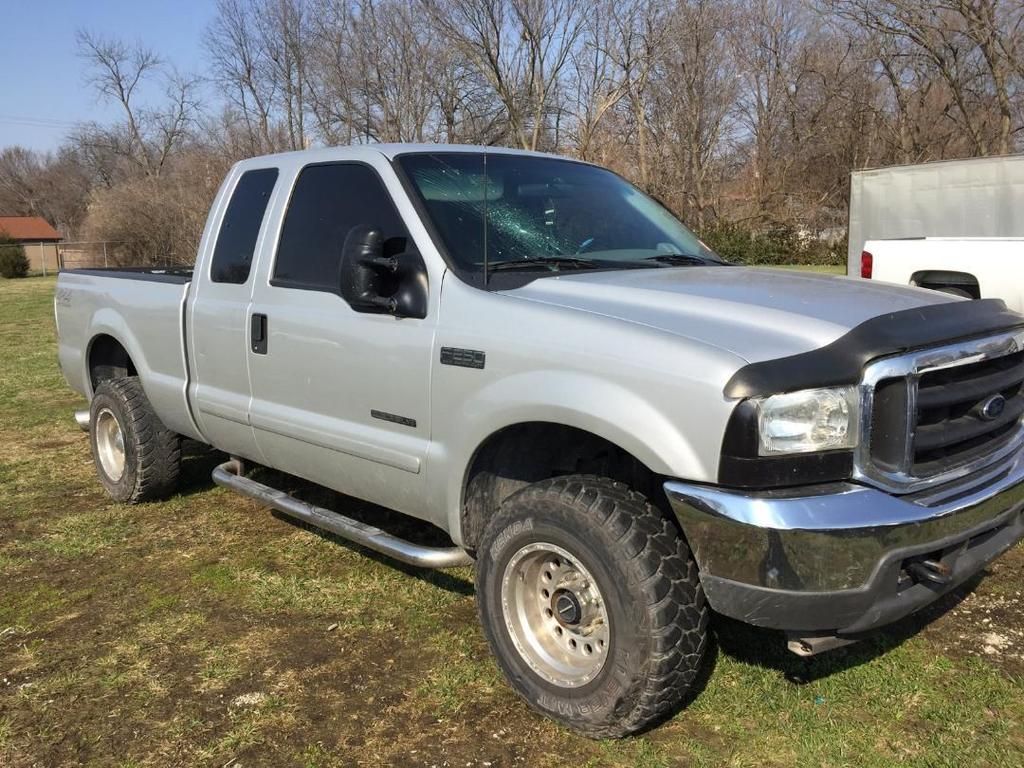
Decided to start a thread on my truck. I picked her up in early May of this year, 2001 F250 XLT Xcab SB, 181,000 on the odometer.
It may take me a few days to get this thread caught up with everything ive done thus far so bare with me.
She was a repo i got through my repo man friend. Bought it from the bank for $3000.00 cash.
Here she is the day i picked it up.
First thing it needed was two new batteries and a windshield. I got that taken care of and had every fluid in the truck except the diffs changed.
I also changed the fuel filter.
When i got it, she already had the 6637 big air filter, 4" turbo back sinister exhaust, and an edge evo 2 installed. I immediately set the edge to factory settings and have had it there since i picked her up.
Checked my turbo for dusting and it looked good.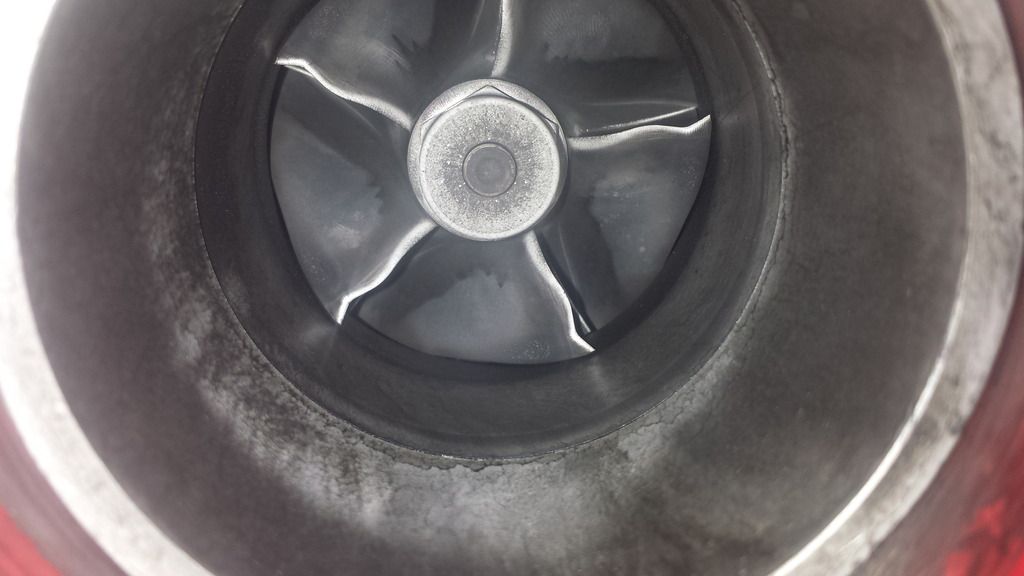
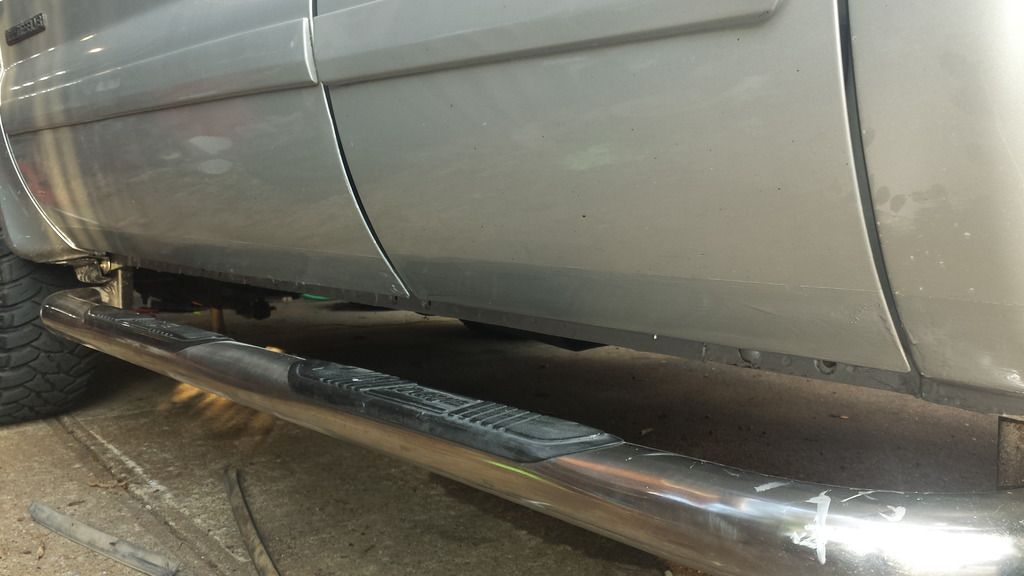
Had some rust on the bottom of my doors which i found to be a bit worse than i thought, but not horrible. The PO used silicone caulk around the rubber pieces at the bottom of the doors in a vain attempt to stop the rust, imo it probably made it worse as when i peeled the caulk off it had moisture behind it. So i cleaned it all up, wire wheeled it down and saturated it with rust bullet pre-treatment. I then masked off the bottom of the doors and went to work with silver rust bullet. I applied 3 coats to the doors, and bottom of the cab/door sills, as well as the cab corners. The RB was a pretty close match and even brushing it on i was pleased with the end result.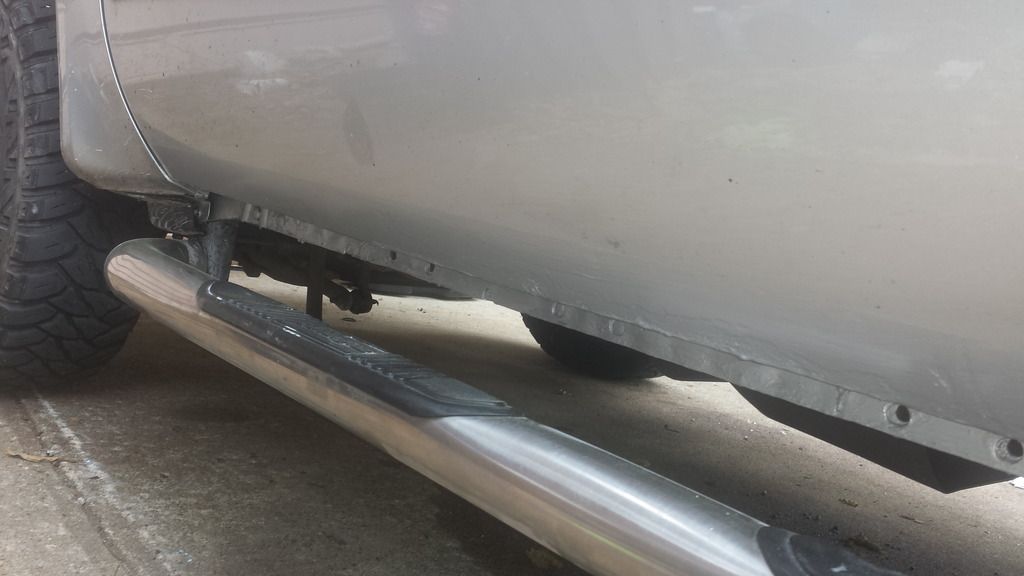

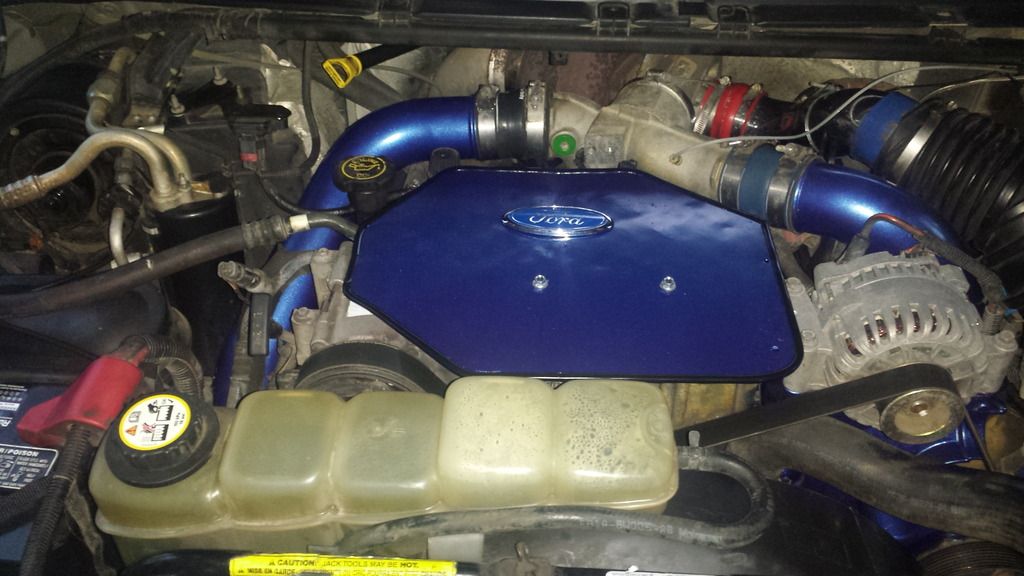
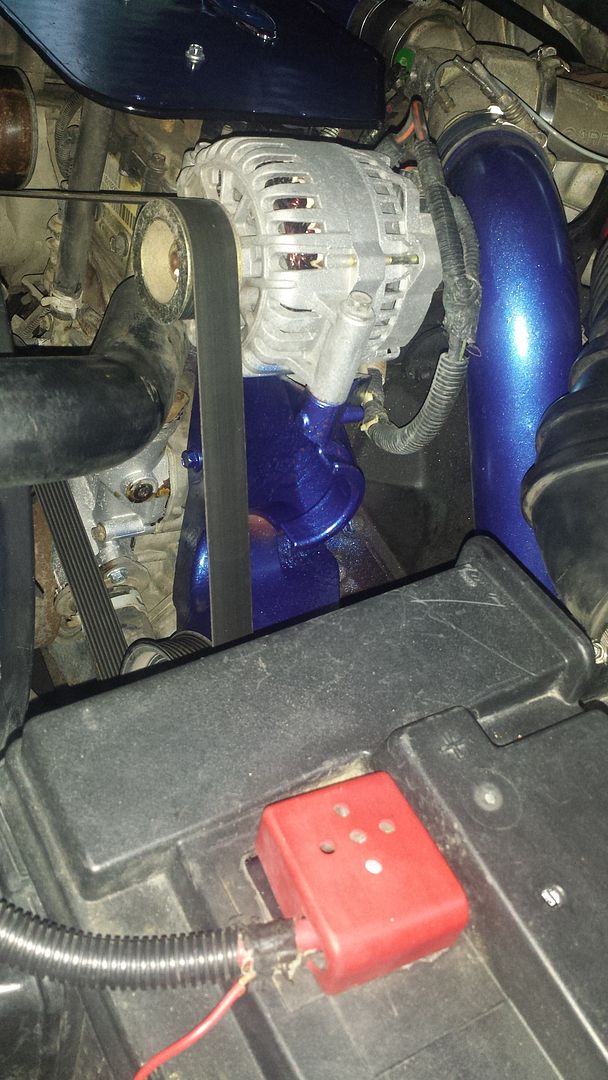
The PO had the up tubes painted a gawd awful lime green. So i took those off and repainted them cobalt blue. The truck had no engine cover, so i took a piece of scrap aluminum checkerplate i had and cut it to fit. I used the back/smooth side as the checker side was a little beat up, snd i wanted a smooth look anyway. I also painted that and applied the ford emblem i found in my glove box. I used some of that self ashesive black door edge ding trim on the edges of my diy engine cover to make it look a lil better. I also painted my alternator bracket, and the brackets that secure the radiator and tire tools.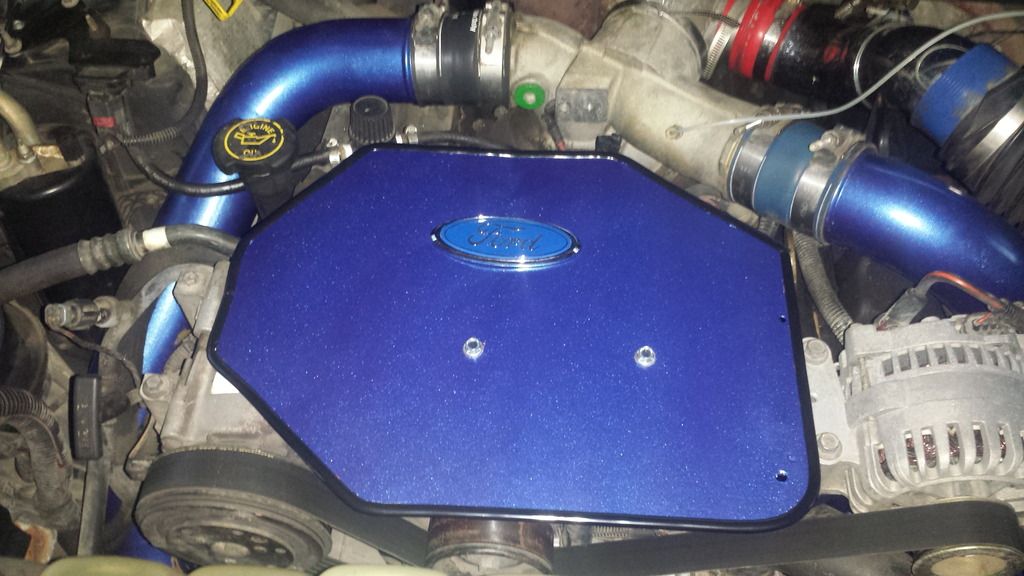
Here is the lone rusty wheel well.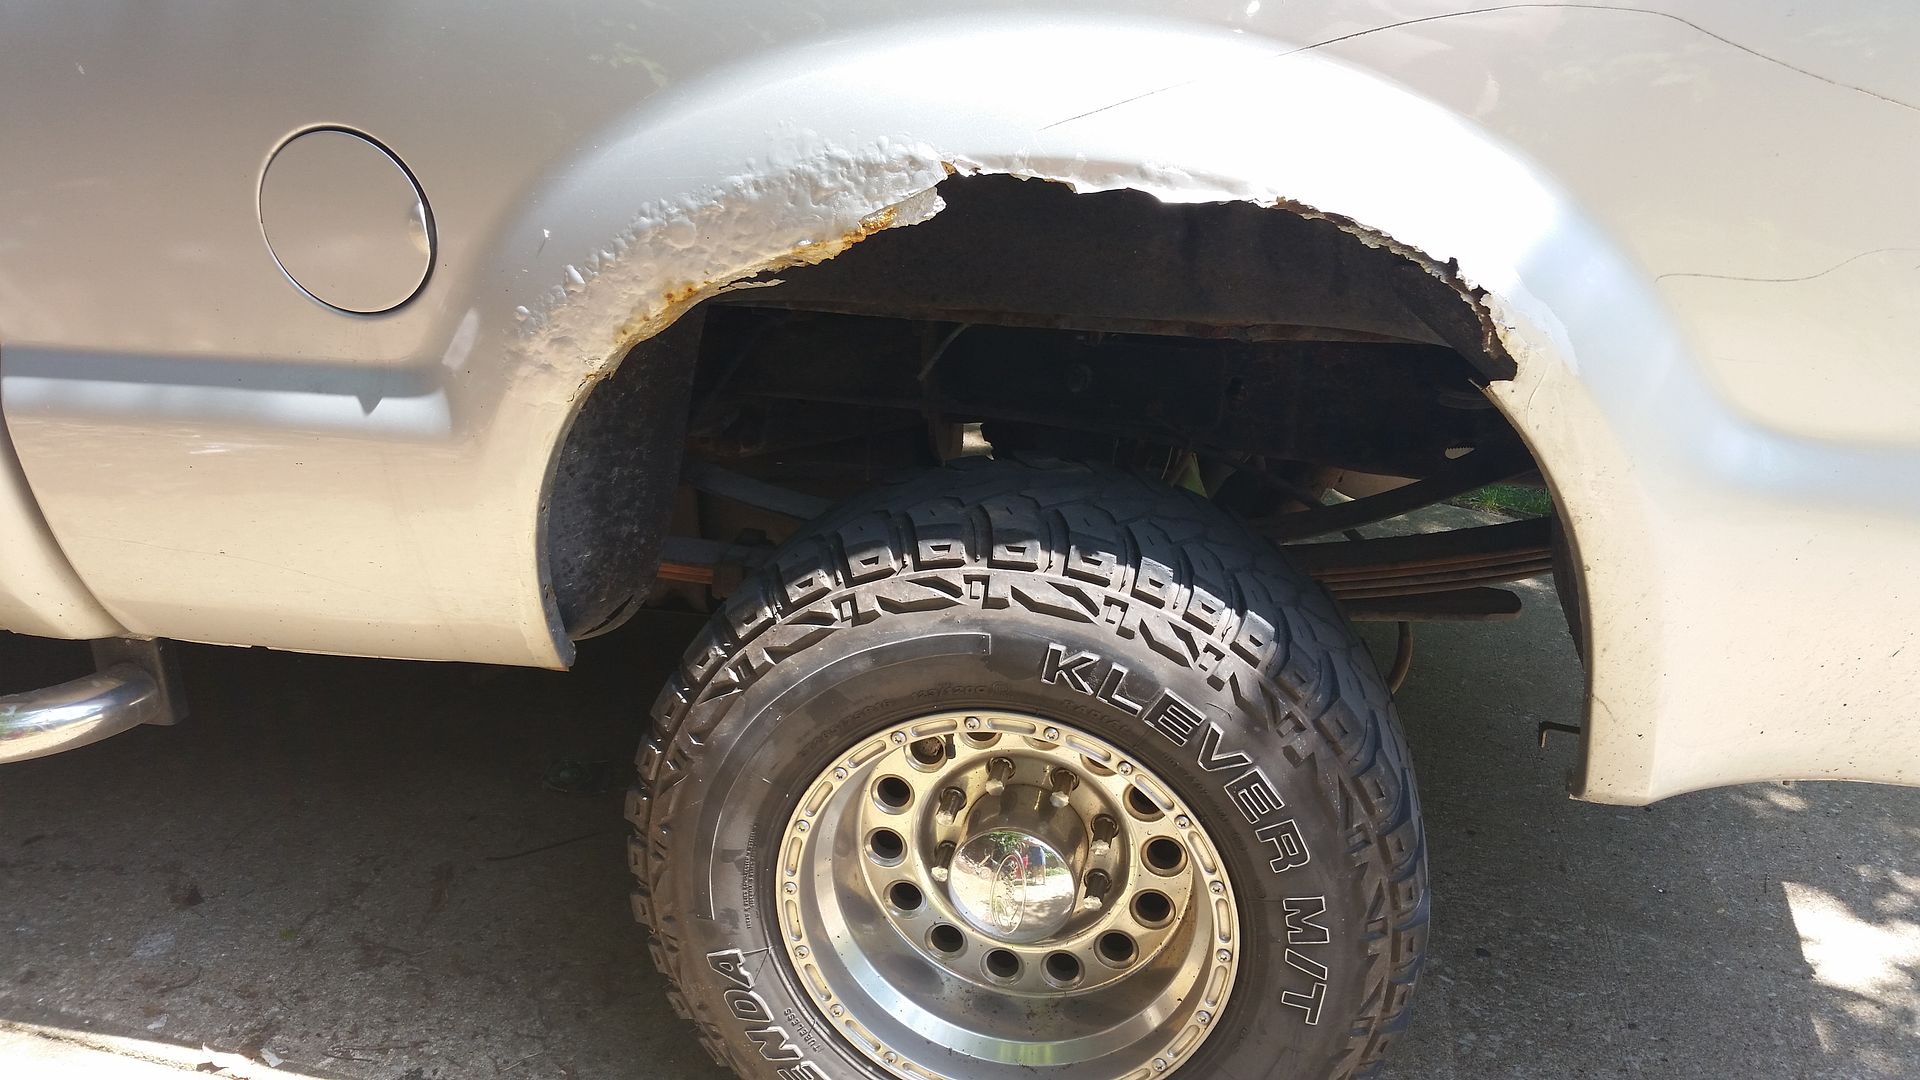
It may take me a few days to get this thread caught up with everything ive done thus far so bare with me.
She was a repo i got through my repo man friend. Bought it from the bank for $3000.00 cash.
Here she is the day i picked it up.

First thing it needed was two new batteries and a windshield. I got that taken care of and had every fluid in the truck except the diffs changed.
I also changed the fuel filter.
When i got it, she already had the 6637 big air filter, 4" turbo back sinister exhaust, and an edge evo 2 installed. I immediately set the edge to factory settings and have had it there since i picked her up.
Checked my turbo for dusting and it looked good.

Had some rust on the bottom of my doors which i found to be a bit worse than i thought, but not horrible. The PO used silicone caulk around the rubber pieces at the bottom of the doors in a vain attempt to stop the rust, imo it probably made it worse as when i peeled the caulk off it had moisture behind it. So i cleaned it all up, wire wheeled it down and saturated it with rust bullet pre-treatment. I then masked off the bottom of the doors and went to work with silver rust bullet. I applied 3 coats to the doors, and bottom of the cab/door sills, as well as the cab corners. The RB was a pretty close match and even brushing it on i was pleased with the end result.


The PO had the up tubes painted a gawd awful lime green. So i took those off and repainted them cobalt blue. The truck had no engine cover, so i took a piece of scrap aluminum checkerplate i had and cut it to fit. I used the back/smooth side as the checker side was a little beat up, snd i wanted a smooth look anyway. I also painted that and applied the ford emblem i found in my glove box. I used some of that self ashesive black door edge ding trim on the edges of my diy engine cover to make it look a lil better. I also painted my alternator bracket, and the brackets that secure the radiator and tire tools.


Here is the lone rusty wheel well.


#3
09-09-2015, 10:28 PM
Another project i did was some A/C maintenance, which was needed, but was motivated by my blower wheel going out on me.
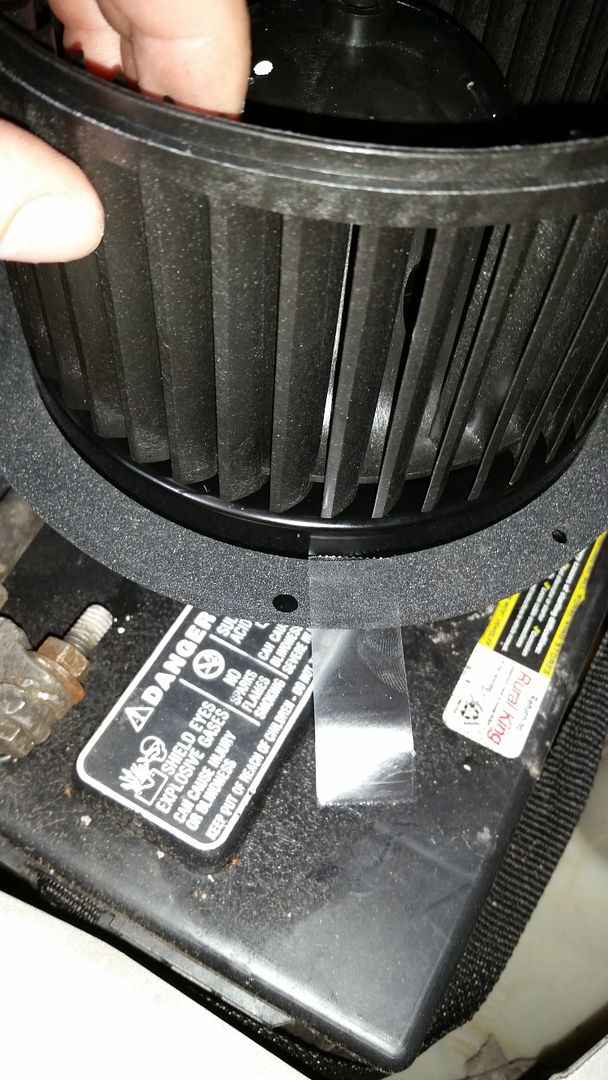
I removed the blower wheel and as anyone who has had it out know, you can see just a tad of the evaporator coil. It was packed, i sprayed out what i could see and then used my cel phone on video record as an inspection camera. This is after the first bit of spraying.
Since there is no way any hose nozzle is going to get up in that little hole, i took the garden hose and fed it in the hole w my right hand. I then used my left hand to crimp the hose, let pressure build, and then released it. This method worked very well, but if you can get a little bit of a kink to the hose as it goes into the evaporator box it gets more of a jet of water. Kinda like when you could hold your finger over a hose end to make it spray harder.
I did this for about 10-15 mins, pausing to re-inspect with my phone on record.
#4
09-09-2015, 10:49 PM
This is the last inspection video, i sprayed it one last time after i recorded this figured that was good enough. I also at the end made sure to spray the bottom out as best i could to insure that the drain area wasn't clogged with all the funk i sprayed out.
Which reminds me of another tip to remember in this process. Spray in short bursts, and pause at times to allow the water to drain out the condensate drain so you dont flood anything out. Your putting in way more water, faster than the drain can handle.
Once the cleaning job was done it was time to install the blower wheel. Its pretty straightforward. For anyone doing this, the gasket on the blower is a total pita to keep in place when installing the blower into the housing. Its also pretty flimsy and seems like it could tear easily. My solution was to use a few pieces of scotch tape to hold the gasket in place. I have had no ill results from using the tape.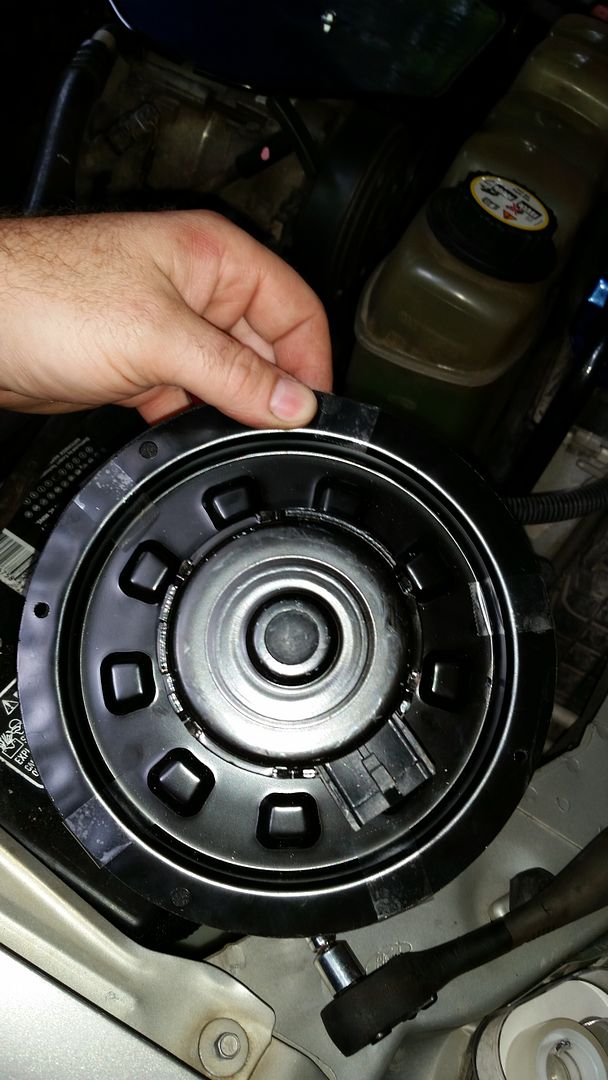


#5
09-09-2015, 11:03 PM
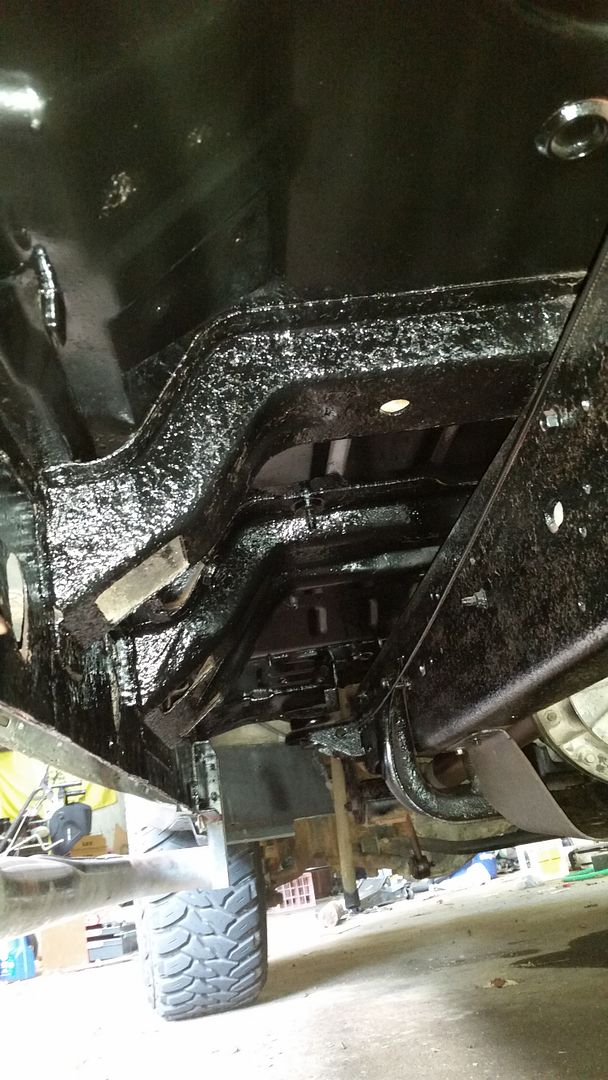
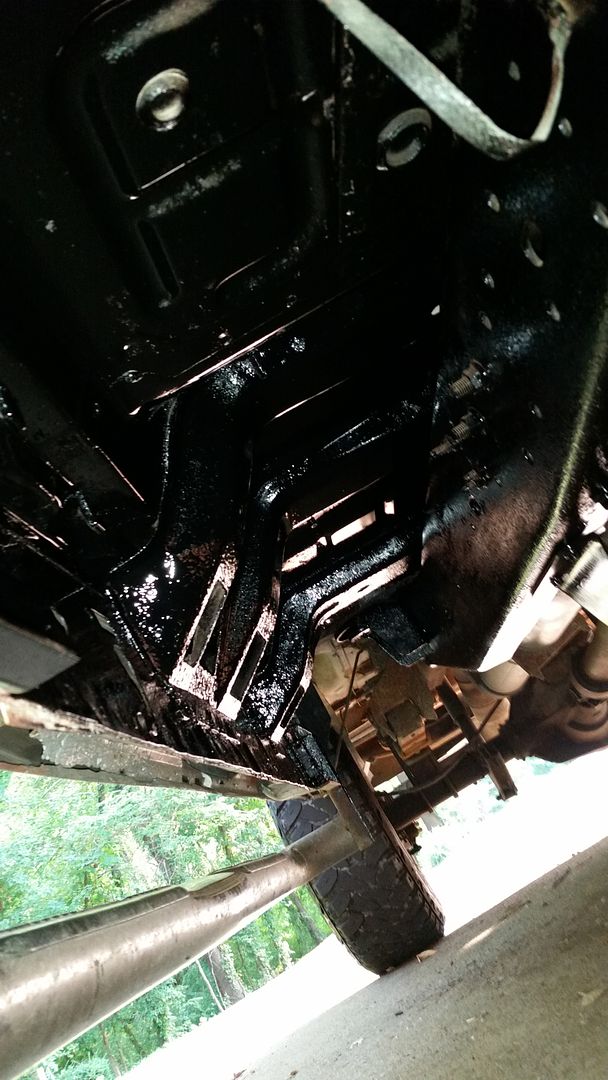
Another project has been tackling the underbody rust. I debated and pondered what product i was going to use. I have used both rust bullet and por15 in the past. Both are great products, but they are spendy, tedious, and time consuming to apply properly. I decided on rustoleum, im moving to San Antonio from St.louis so at most i have only one more winter of salt to endure.
As of now I only have completed the underside from the frame to underneath the doors. I spent about 30 mins pers side with a wire wheel and a steel hand brush removing all the loose rust and dirt. I then took a rag with wax/grease remover and wiped down what i could the best i could. I let that dry off and then applied a good coat of rustoleum rusty metal primer. After that i sprayed 3 good coats of gloss black rustoleum enamel. Another good thing about rustoleum is its cheap and fairly easy to touch up anything in the future.
Sorry, i forgot to take before pics, but here is the end result. I plan to spray fluid film up inside the re-enforcement
Channels where im unable to get paint into. I also painted the frame, figured im down there, may as well hit everything.


#6
09-09-2015, 11:20 PM
I got her back from the transmission shop about 2 weeks ago. The transmission was fried. Triple disc billet TC installed, borg warner internals, and a transgo tugger hd2 shift kit.
Give me a few days and i will get some more pics and stuff posted up here. Thanks for checkin out my thread, to be continued.
Give me a few days and i will get some more pics and stuff posted up here. Thanks for checkin out my thread, to be continued.
#7
09-09-2015, 11:32 PM
Posting Guru
Trending Topics


#9
09-10-2015, 12:38 PM
Postmaster
#10
09-10-2015, 09:52 PM
Postmaster

#11
09-10-2015, 11:11 PM
#12
09-11-2015, 08:46 AM

Senior User
Join Date: Aug 2015
Location: Iowa
Posts: 311
Likes: 0
Received 0 Likes
on
0 Posts
#13
09-11-2015, 06:55 PM
Postmaster

#14
09-12-2015, 04:19 AM

#15
09-12-2015, 04:26 AM
Just get under there and do one section at a time, dont have to do it all in one weekend. You will be glad later you did it, especially with the predictions of lots of snow in the coming winter seasons.