6 Volt Starter Rebuild, 52 F-3
#1
6 Volt Starter Rebuild, 52 F-3

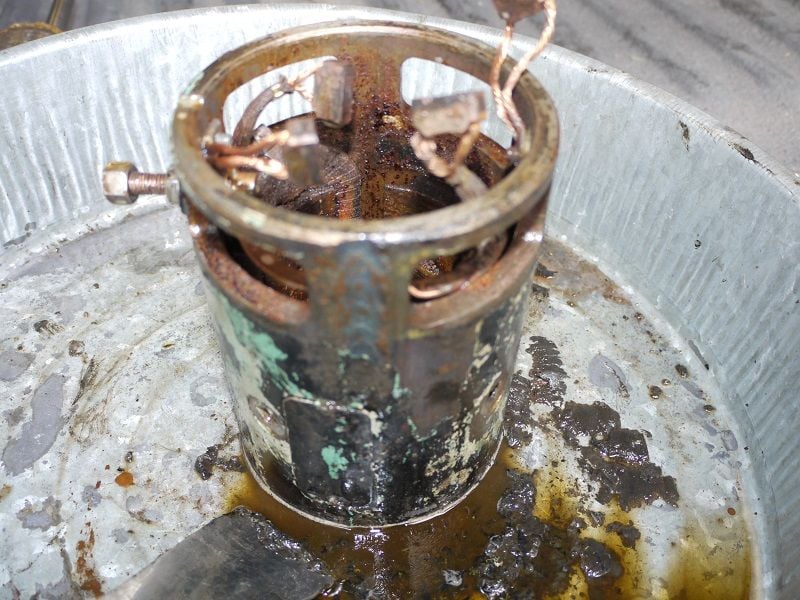
Pretty crusty.

Still has the green engine paint under the last coat of black. Maybe painted over back in the day after a rebuild?
My engine was cranking over but, too slow. The battery cables that came with the truck looked like Wally World specials so I made some #00 cables.
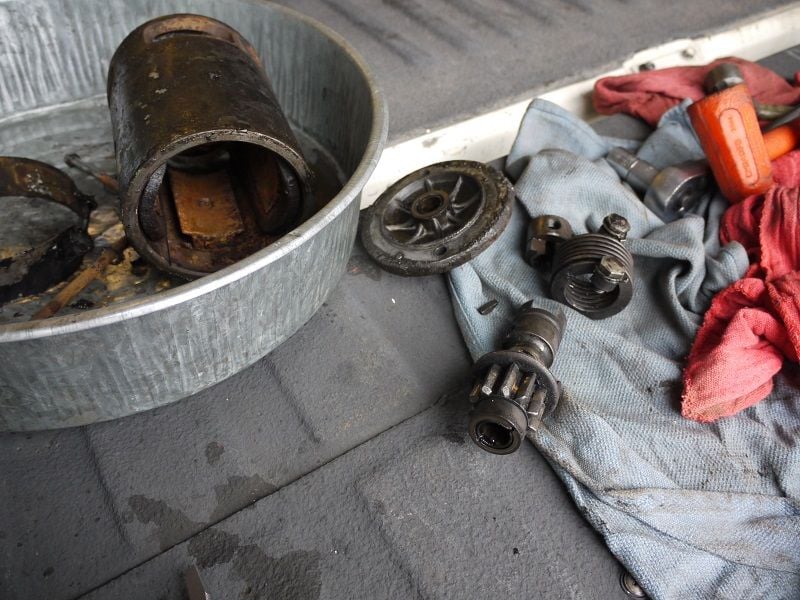
A little better but not much. I had the battery load tested and it was good so I pulled the starter to take a look.
#3
#4

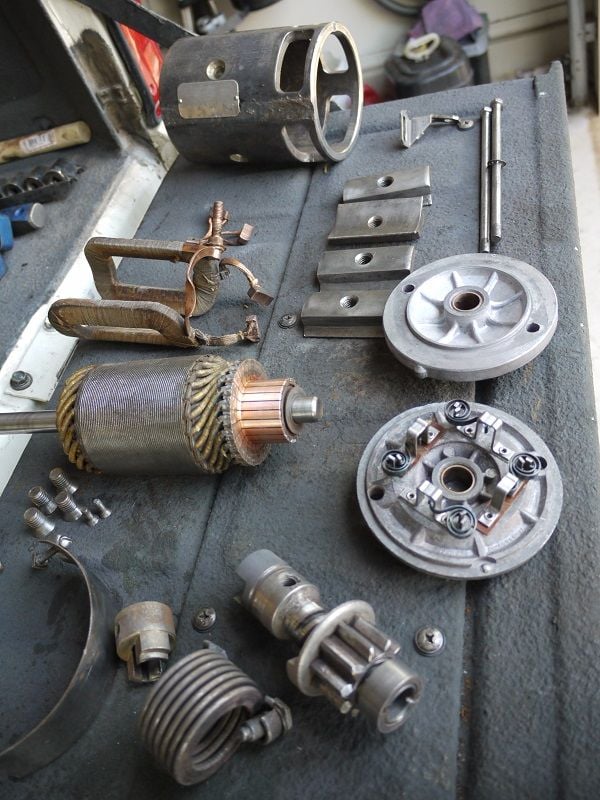
All clean and ready to go back together. I soaked the non electrical parts in a bucket of carb cleaner. Used orange citrus cleaner and brushes on the rest. Found some American Made brushes and bushings on the bay for a few bucks each. What a difference!
A local rebuilder wanted $250 so I just went for it. Glad I did.
#5
Thanks for the Pics, Scotty!
I know with the generators, iirc once the commutator is turned the mica separators have to be undercut a hair below the copper. Not sure about starters.
I might try to find someone with a growler, or even replace the armature with new? They are only $15 or $20 new. At least, for the 12 volt versions. I mean - if you're goin' to all that trouble to begin with. I'd want to ohm out those pole shoes and make sure they are in spec.
Nice work! A good Ford starter has a unique sound.
#6
I read somewhere in my research that I should not undercut the separators on a starter.
I did checks with a meter as per rebuild specs and it all checked good. Just no way for me to test under load as the pro's equipment can.
I would have surely replaced the armature or field coils if I had to before paying a shop $250. I only have a few bucks in this and it works great.
Really not much to these and to me fixing it is most of the fun.
Thanks for the compliment!
The following users liked this post:
The following users liked this post:
Trending Topics
#9
I think when you cut the mica it leaves a small space for the copper to bridge across. When I did mine I used some emery cloth and cleaned the commutator up and called it good. When soldering the two brushes in make sure every thing is good and clean. Had an issue with one of mine. Good luck.
#10
#11
#12
To remove the square head bolts I went to the hardware store and bought a piece of square stock. I think it was 5/16".
It was slightly too big so I slid one end back and forth on top of a file I put in a vice. I slid it on the file to make sure I kept it square. Did all four sides just enough for a nice tight fit in the bolt. Took maybe 15 minutes.
I left the other end full size because it fit my 5/16 square nut socket. Again I think it was 5/16". I'll have to double check.
Tapping it down into the square head bolt helps break it loose. My old school Vessel Impact Driver worked but all I really needed was my 3/8 ratchet. All came out with no damage.
An old timer at the Caterpillar dealer I worked at showed me how to remove recessed fittings and bolt like this. I saw guys use heat, impacts, you name it, to TRY and remove them and ultimately drill them out.
The old guy would take a punch and give the bolt or fitting one good smack, then turn the item out by hand. He'd use a brass punch on the more delicate stuff.
#14
#15


 Yeah, How did you do that?,...jack


