1950 F3 Shop Truck
#16
 08-18-2015, 06:57 PM

Join Date: Aug 2015
Location: Perry, IA
Posts: 20
Likes: 0
Received 0 Likes
on
0 Posts
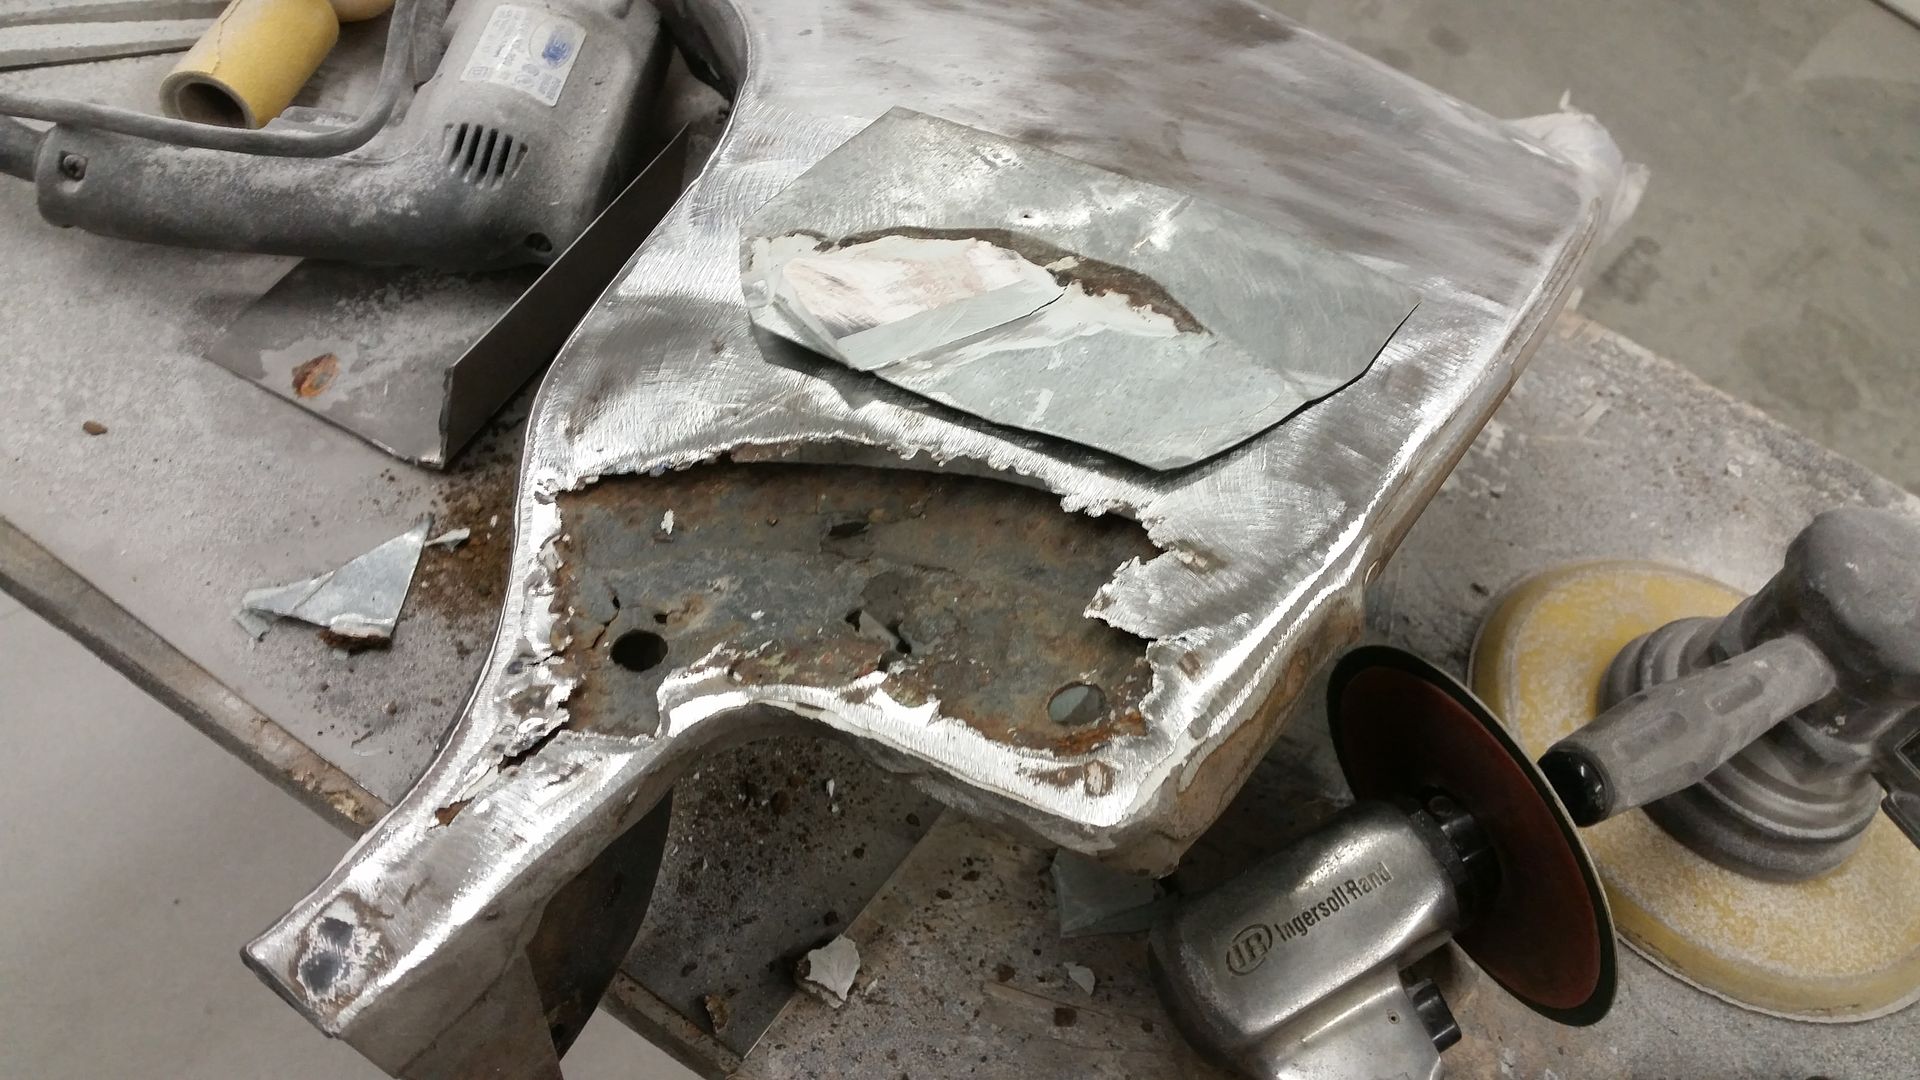
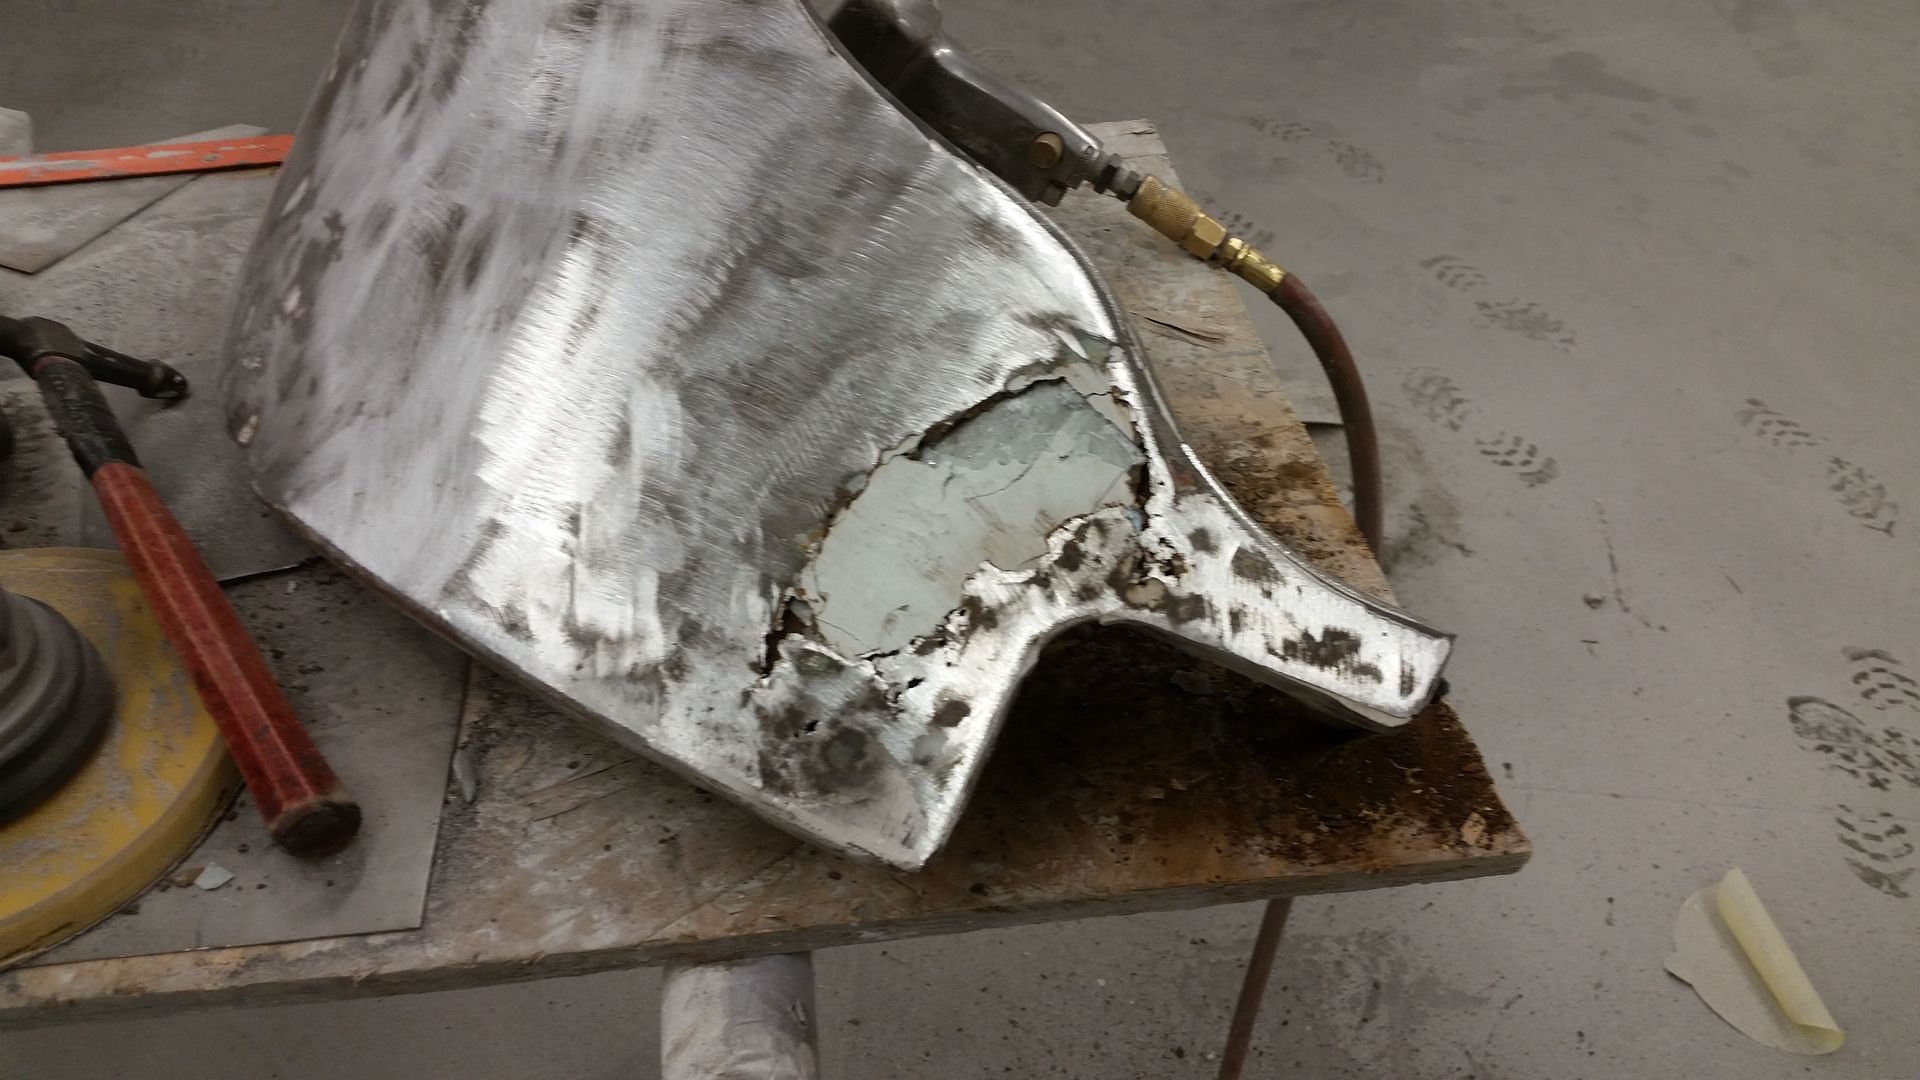
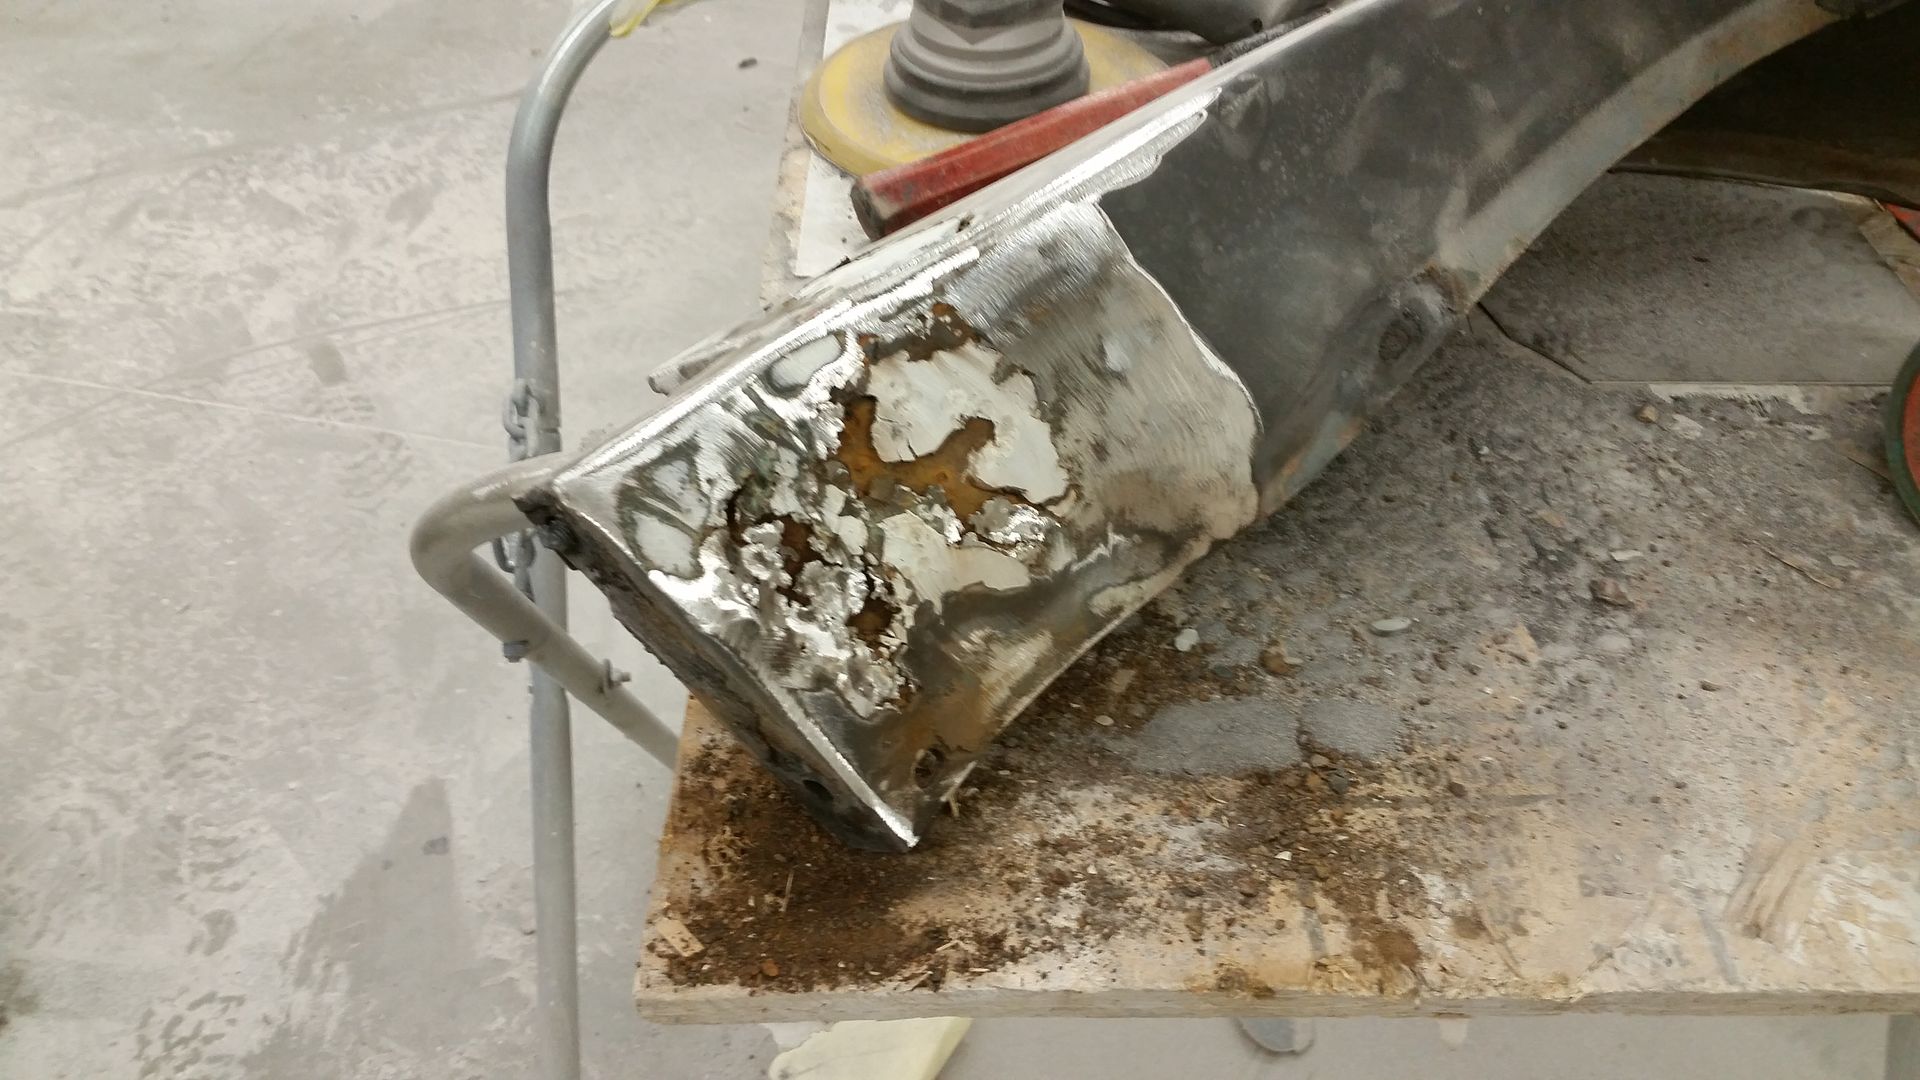
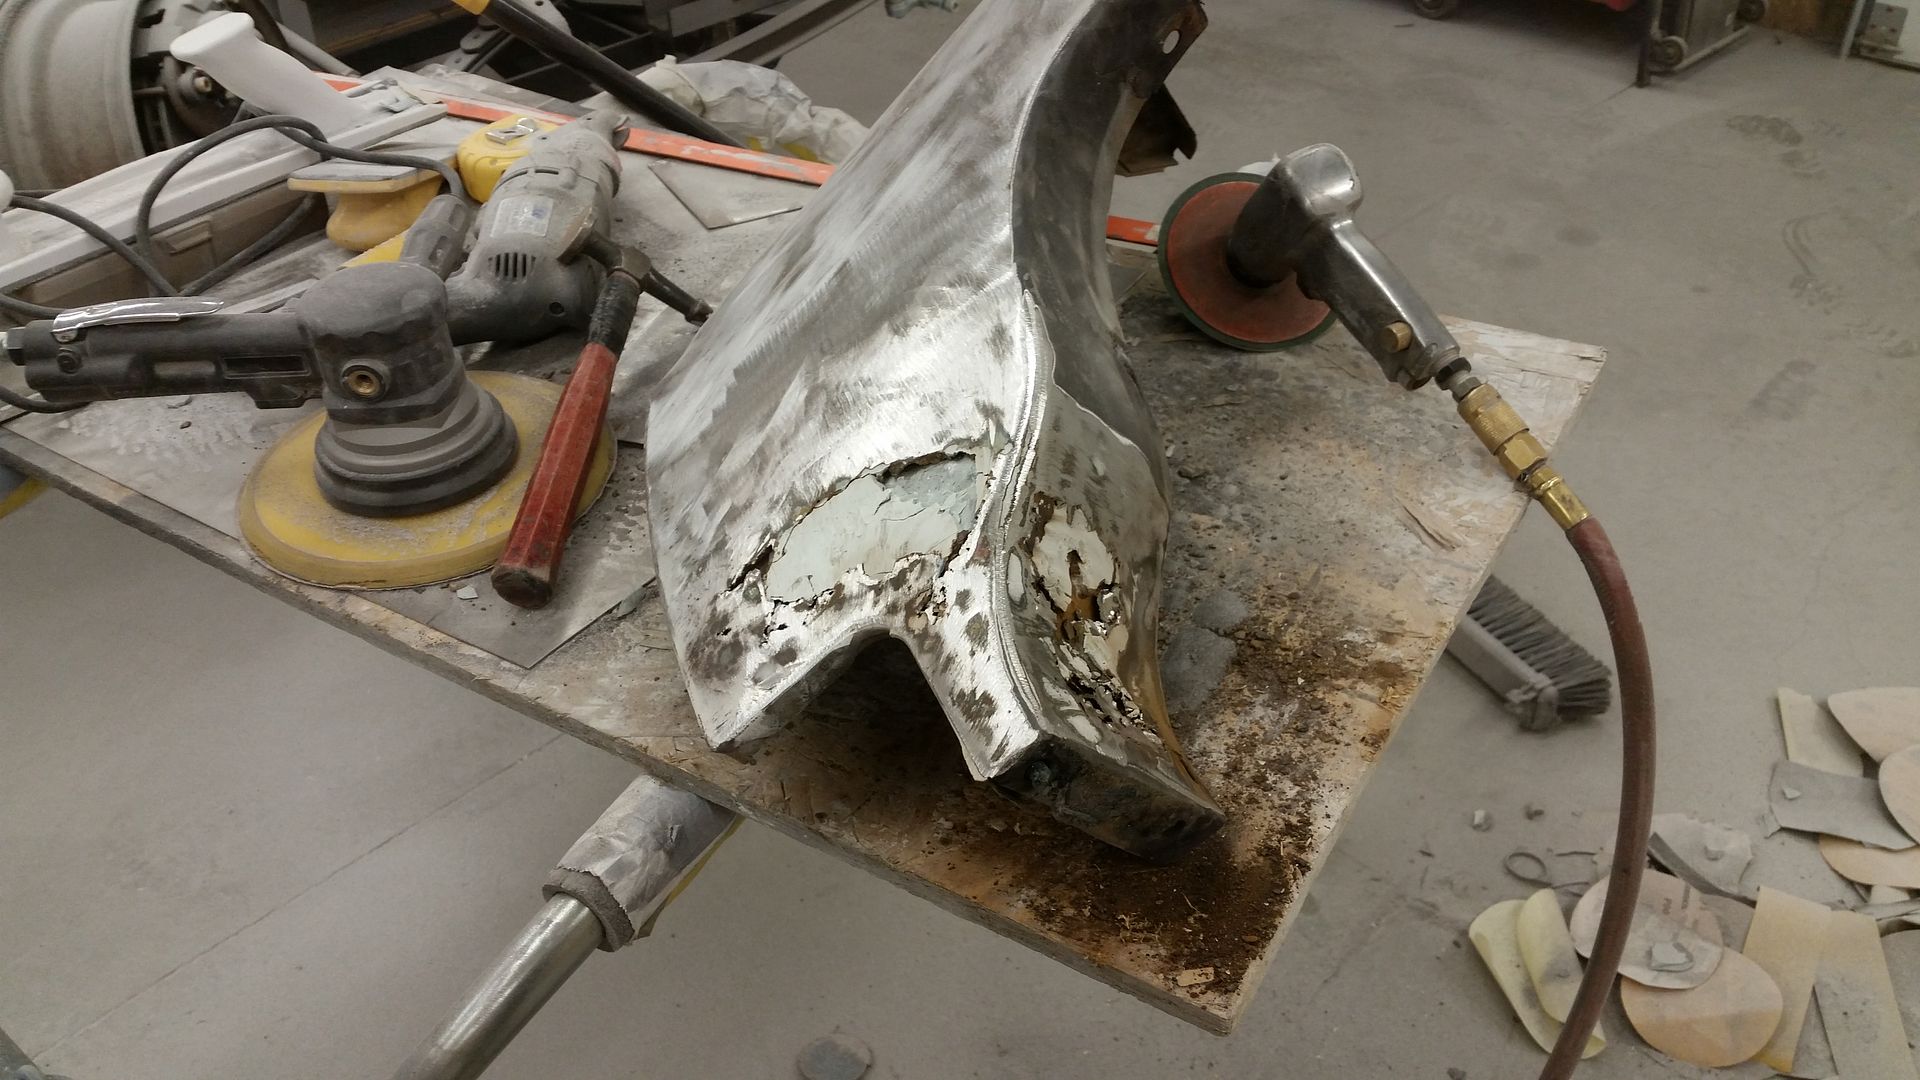
Next inline was fixing the rust on the fenders and aprons...
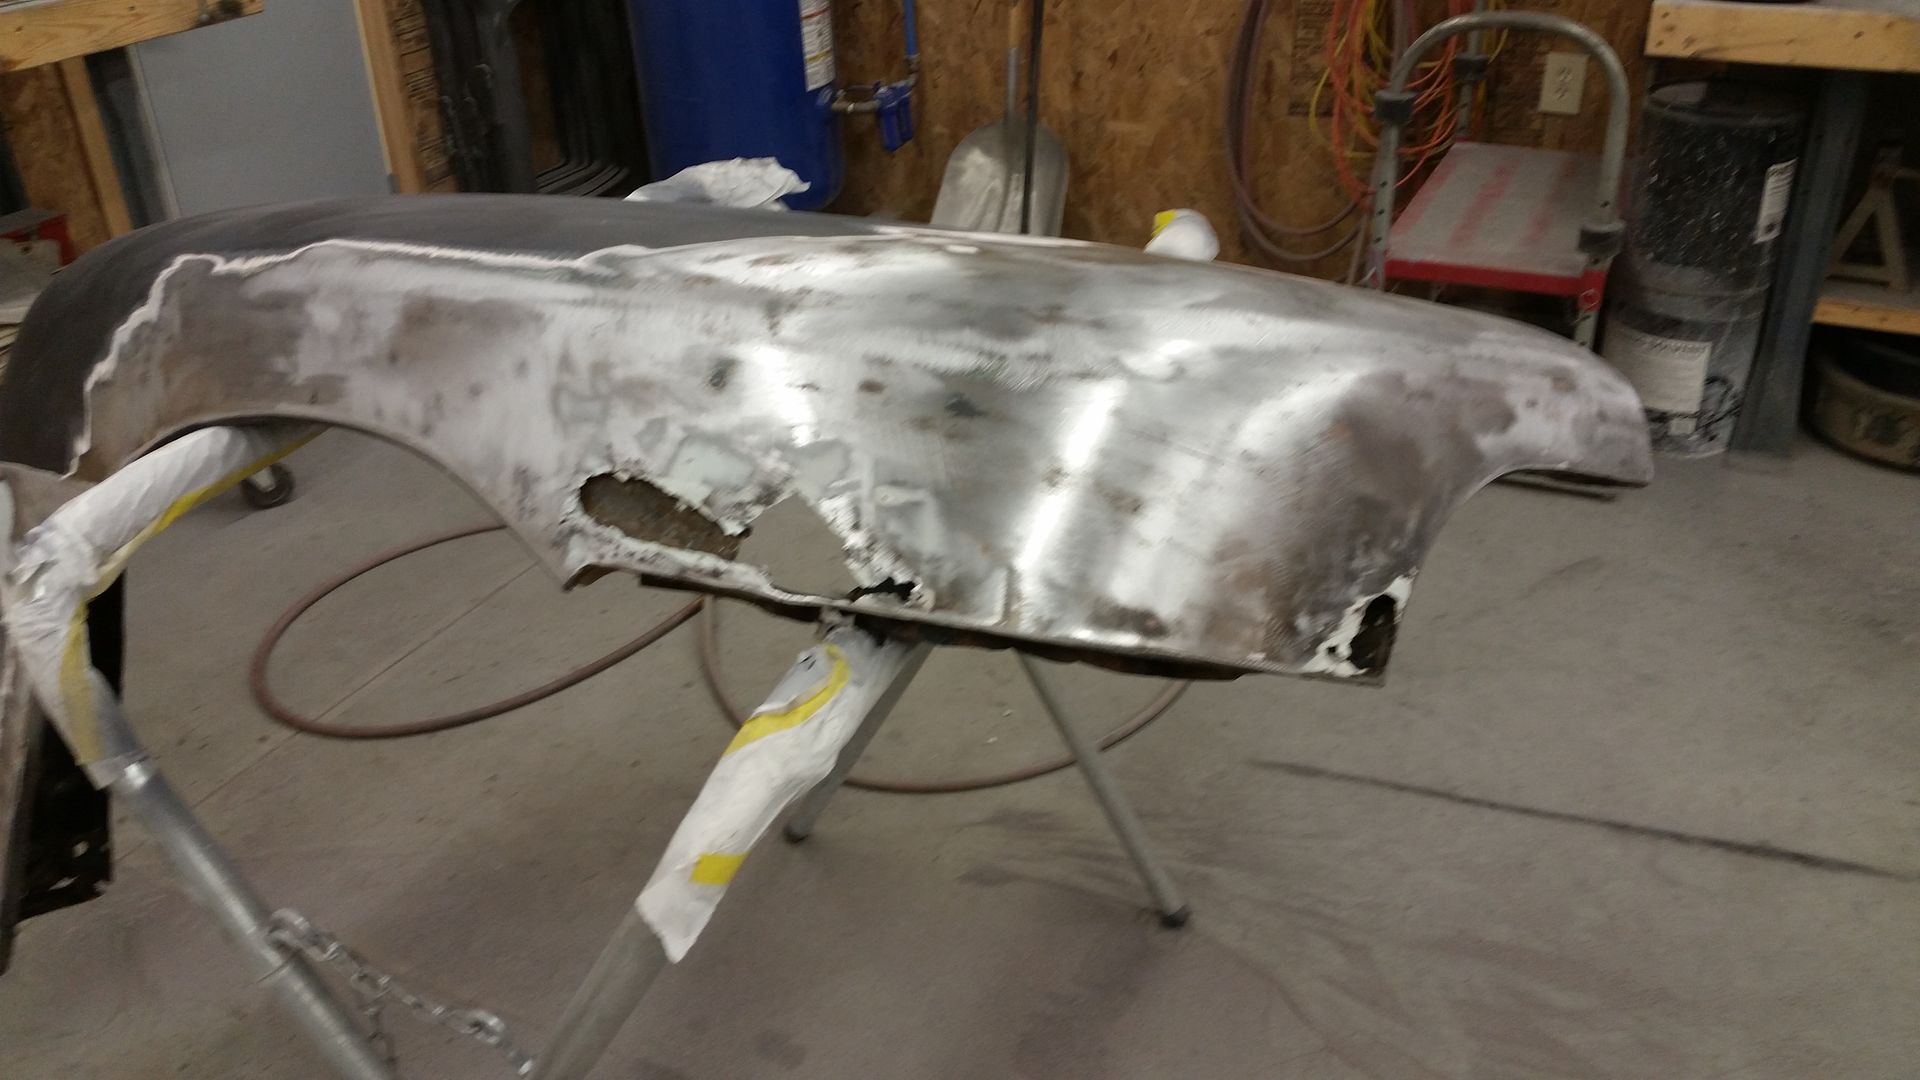
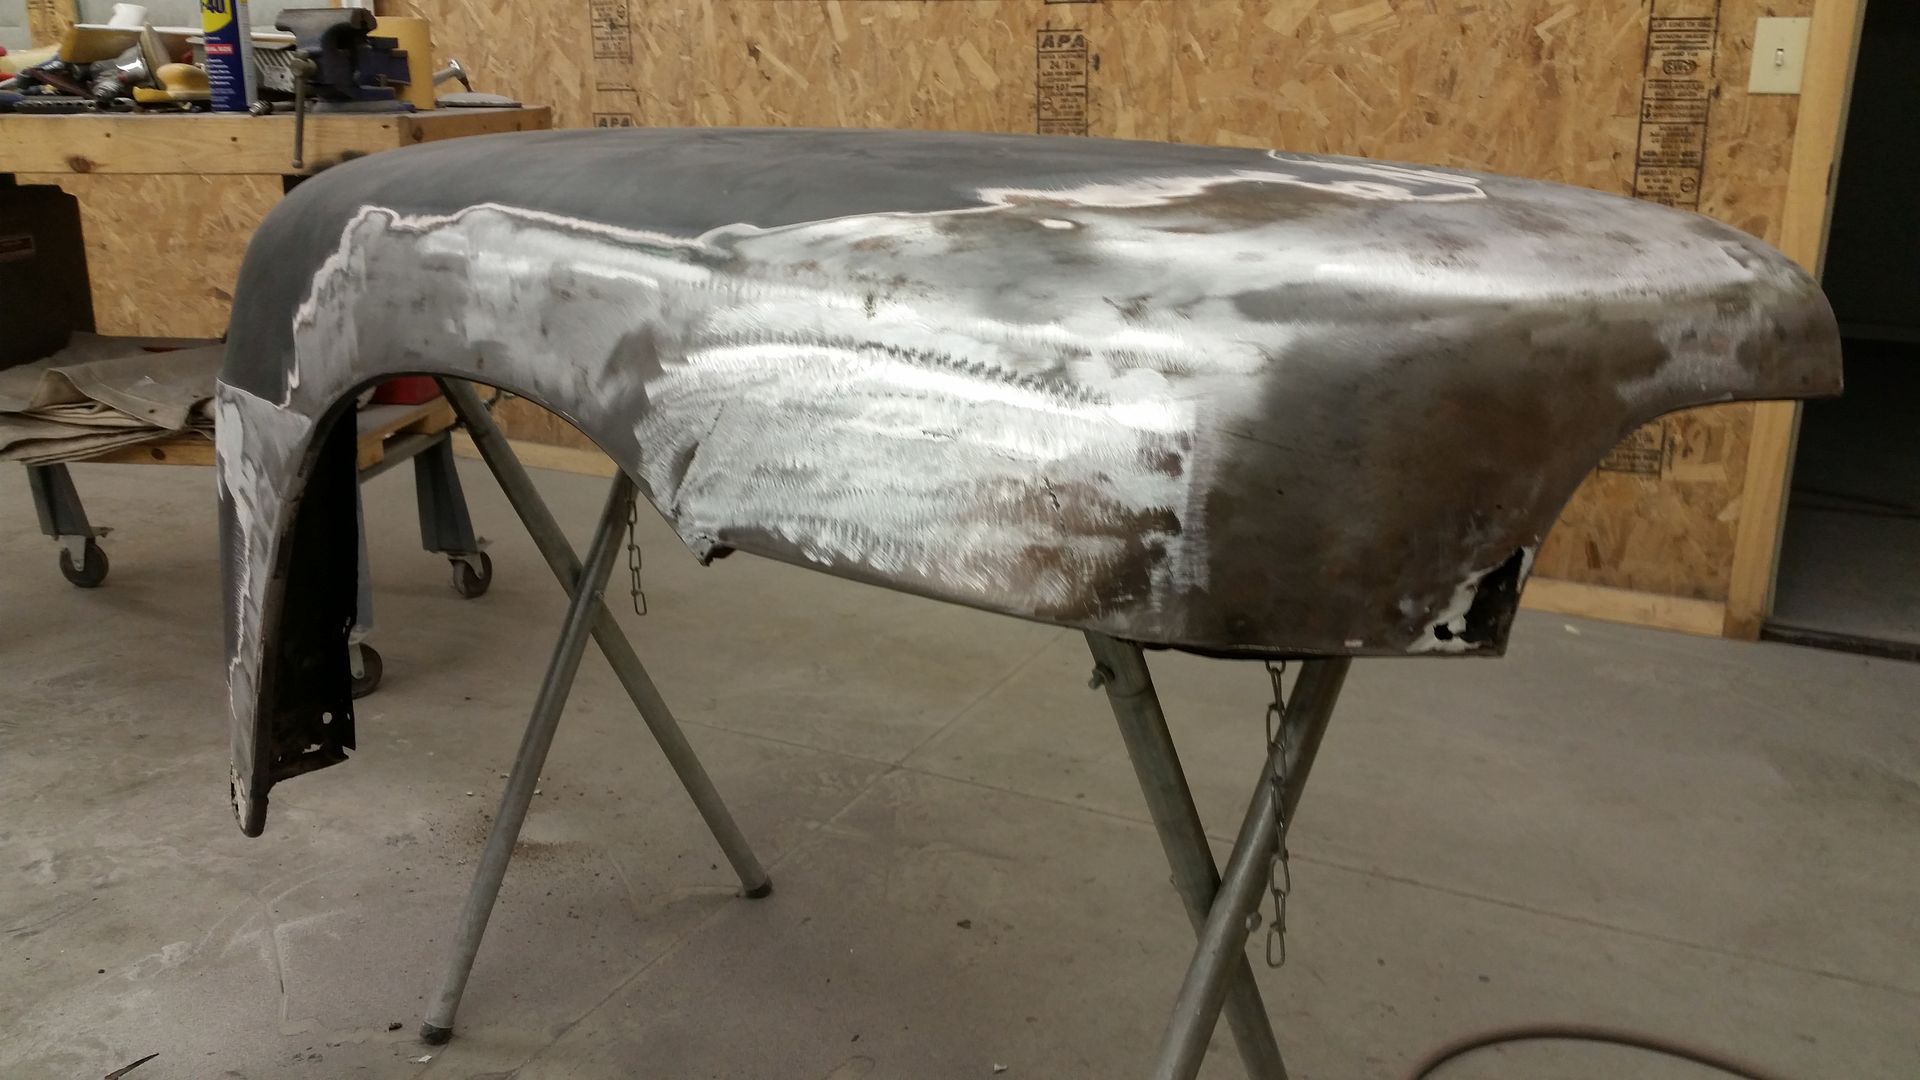

Both fenders were in basically the same shape, but I cant seem to find the pics of the drivers fender. Aprons were in pretty sorry shape too
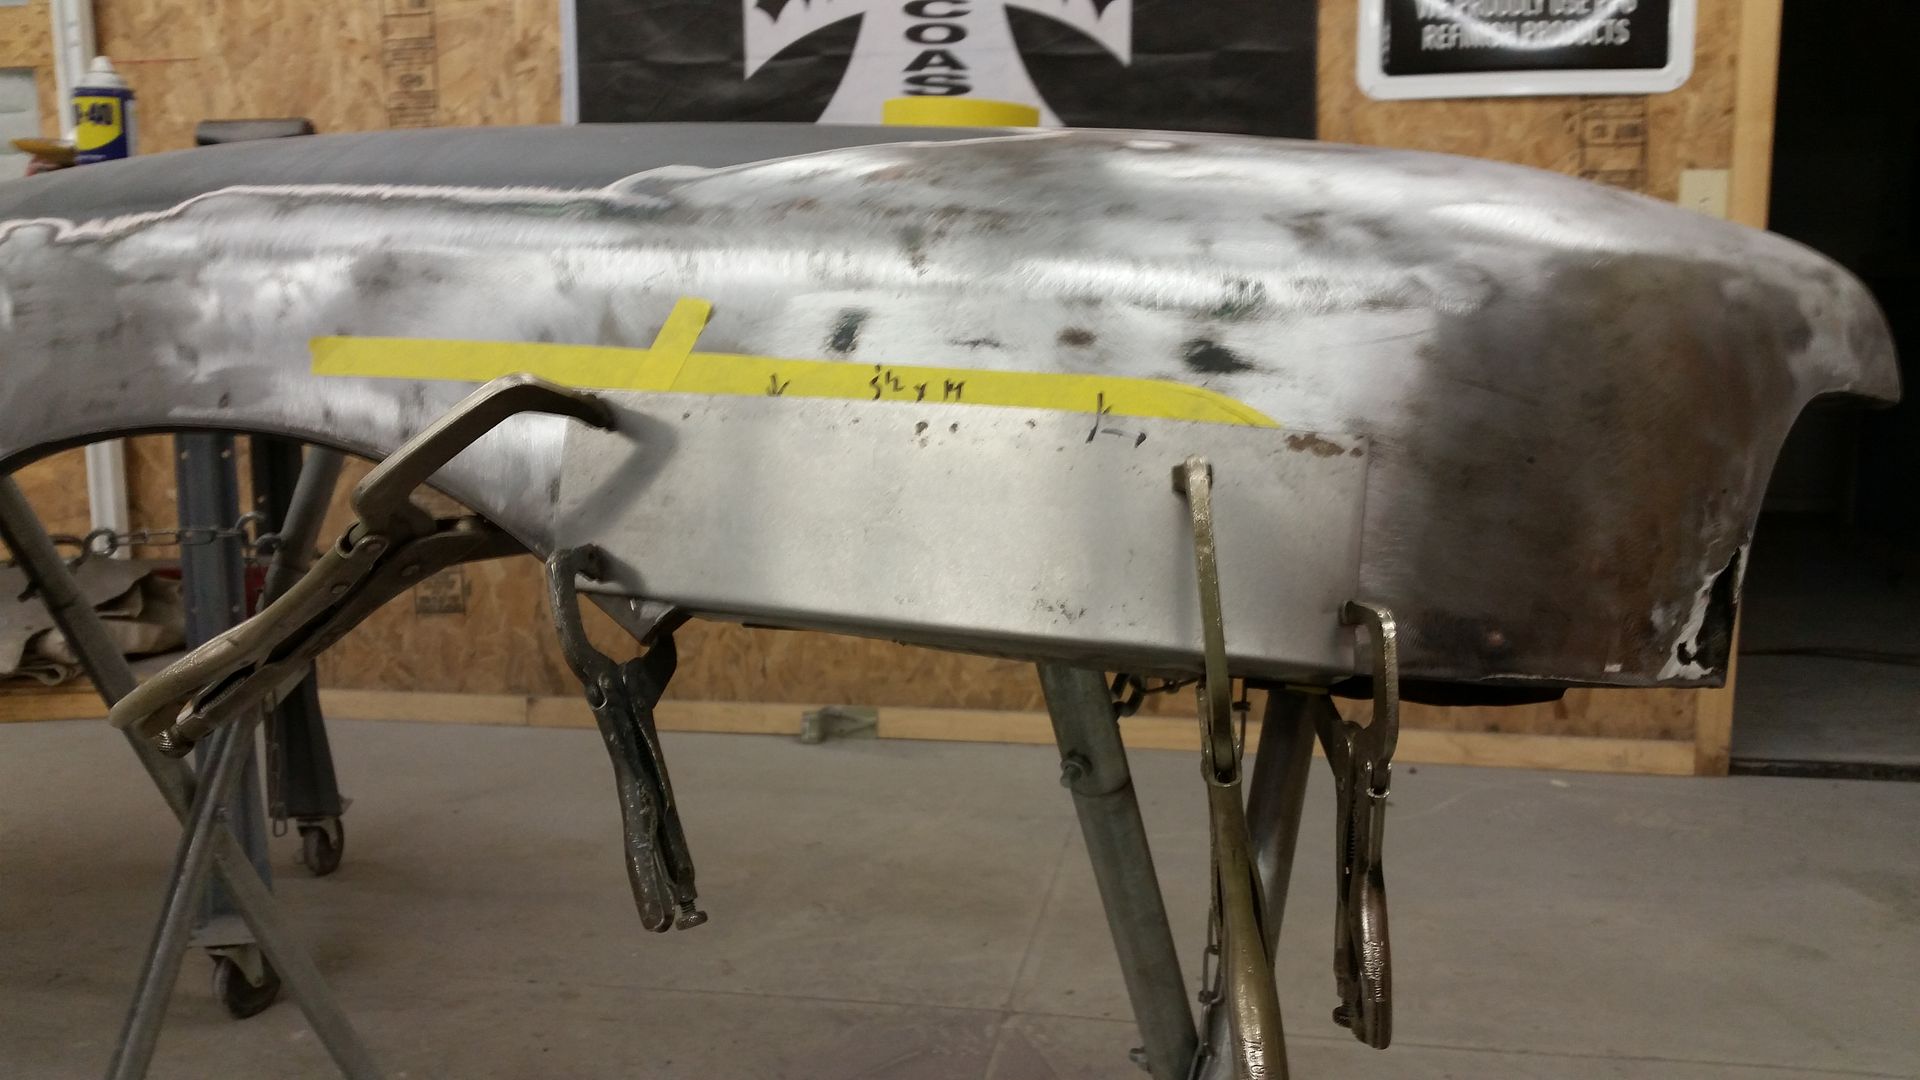
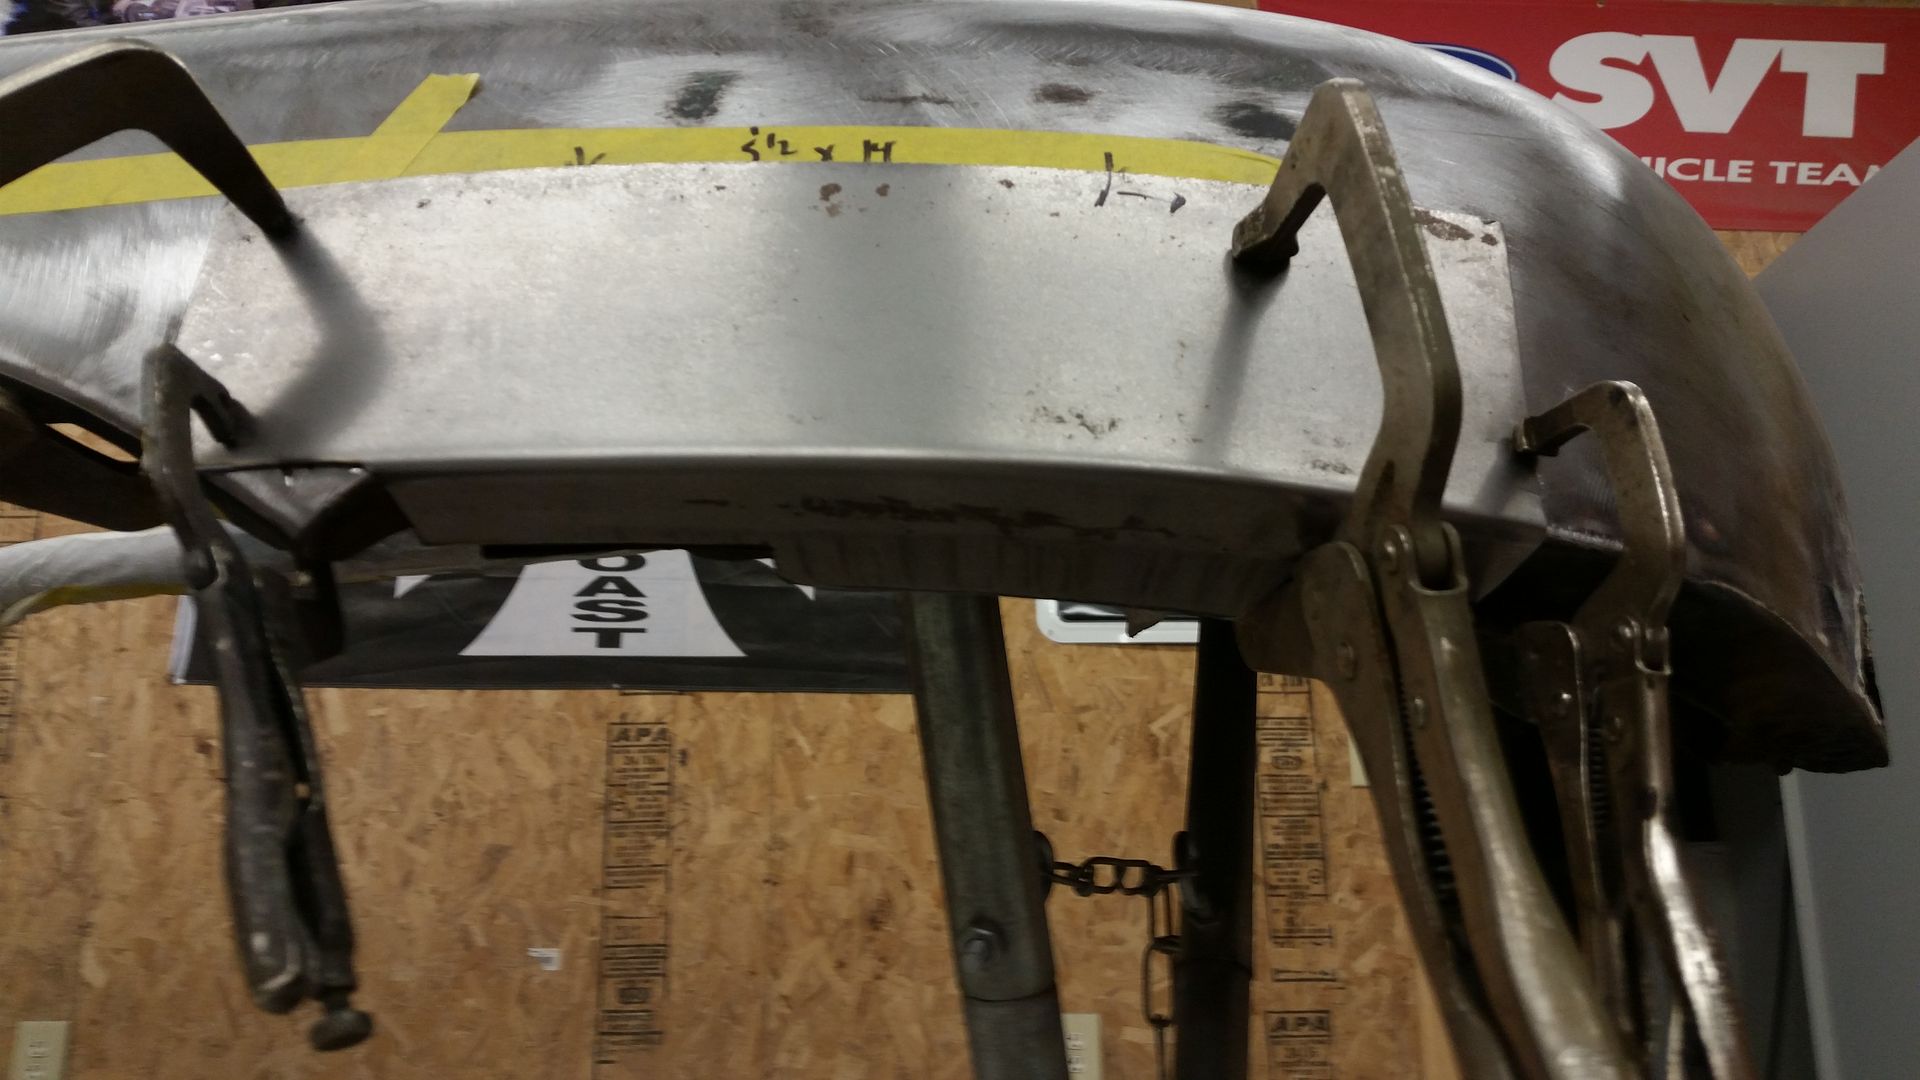
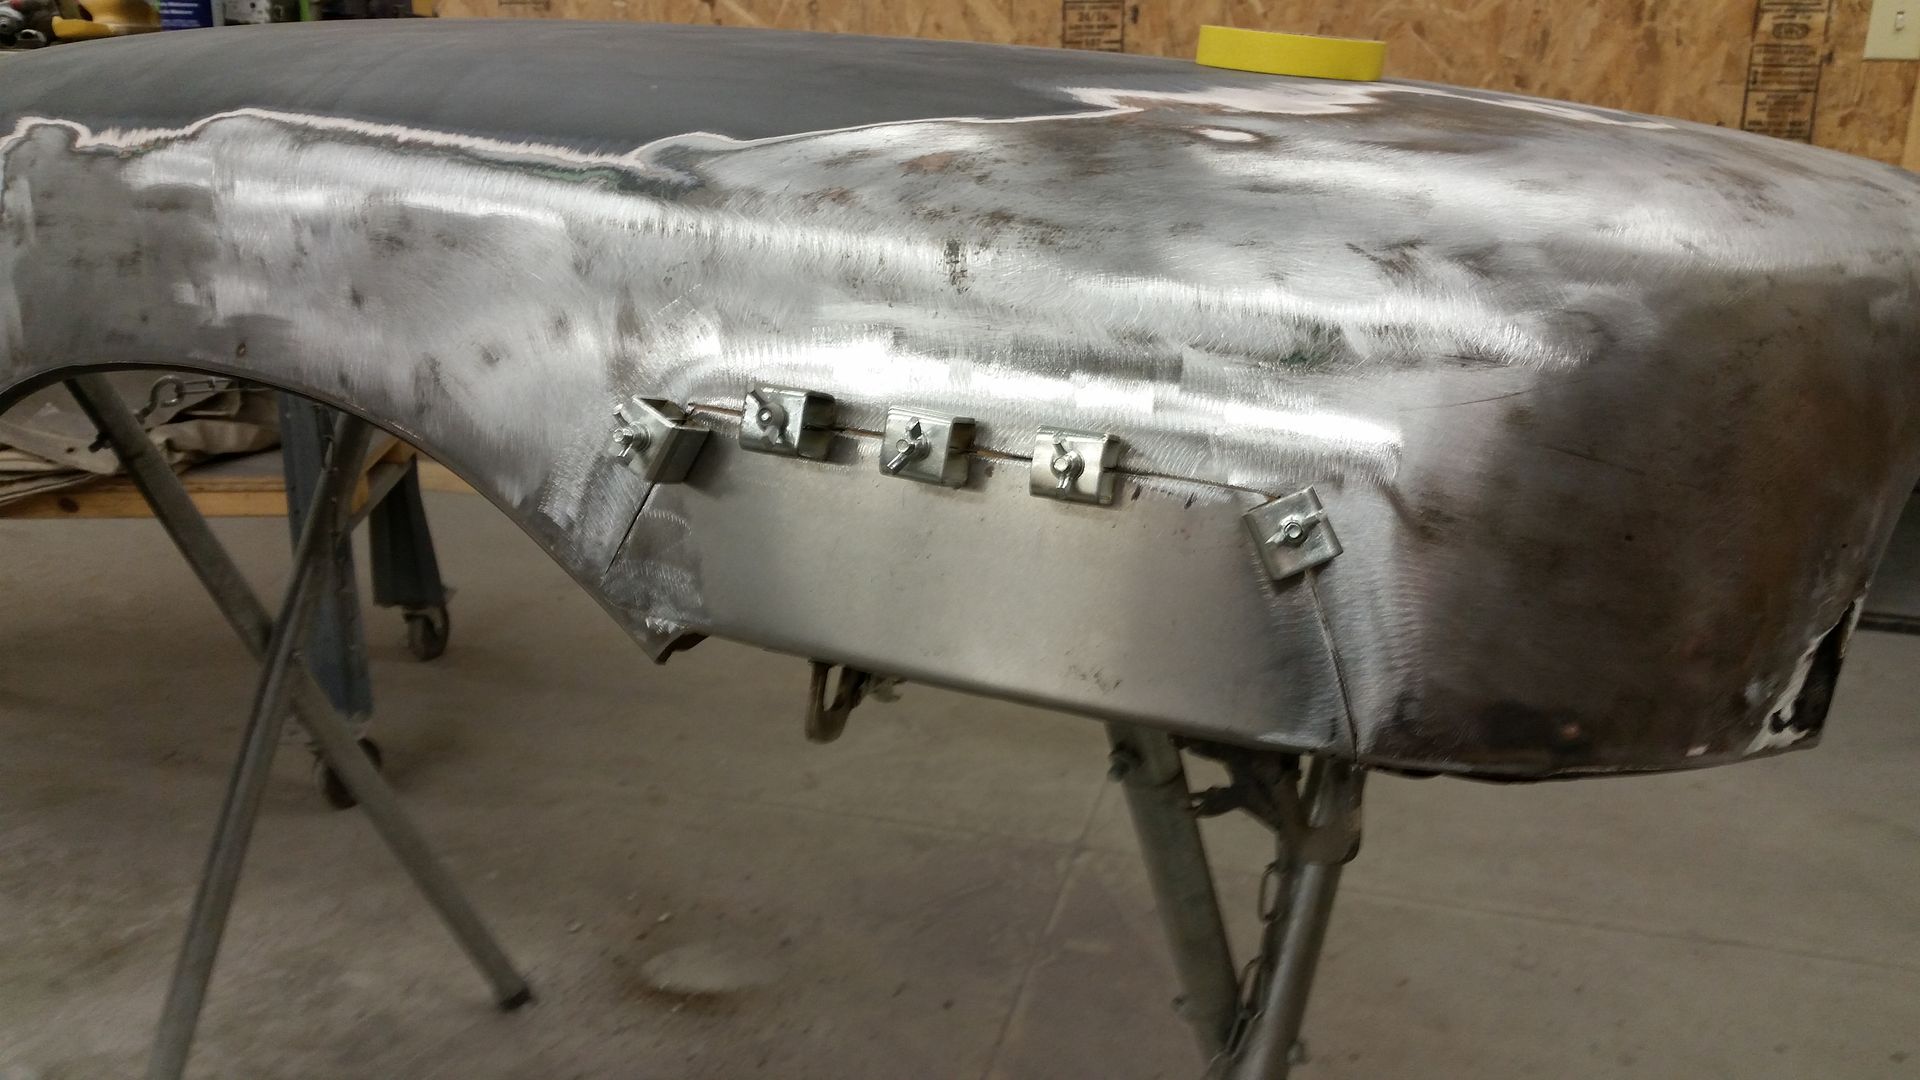
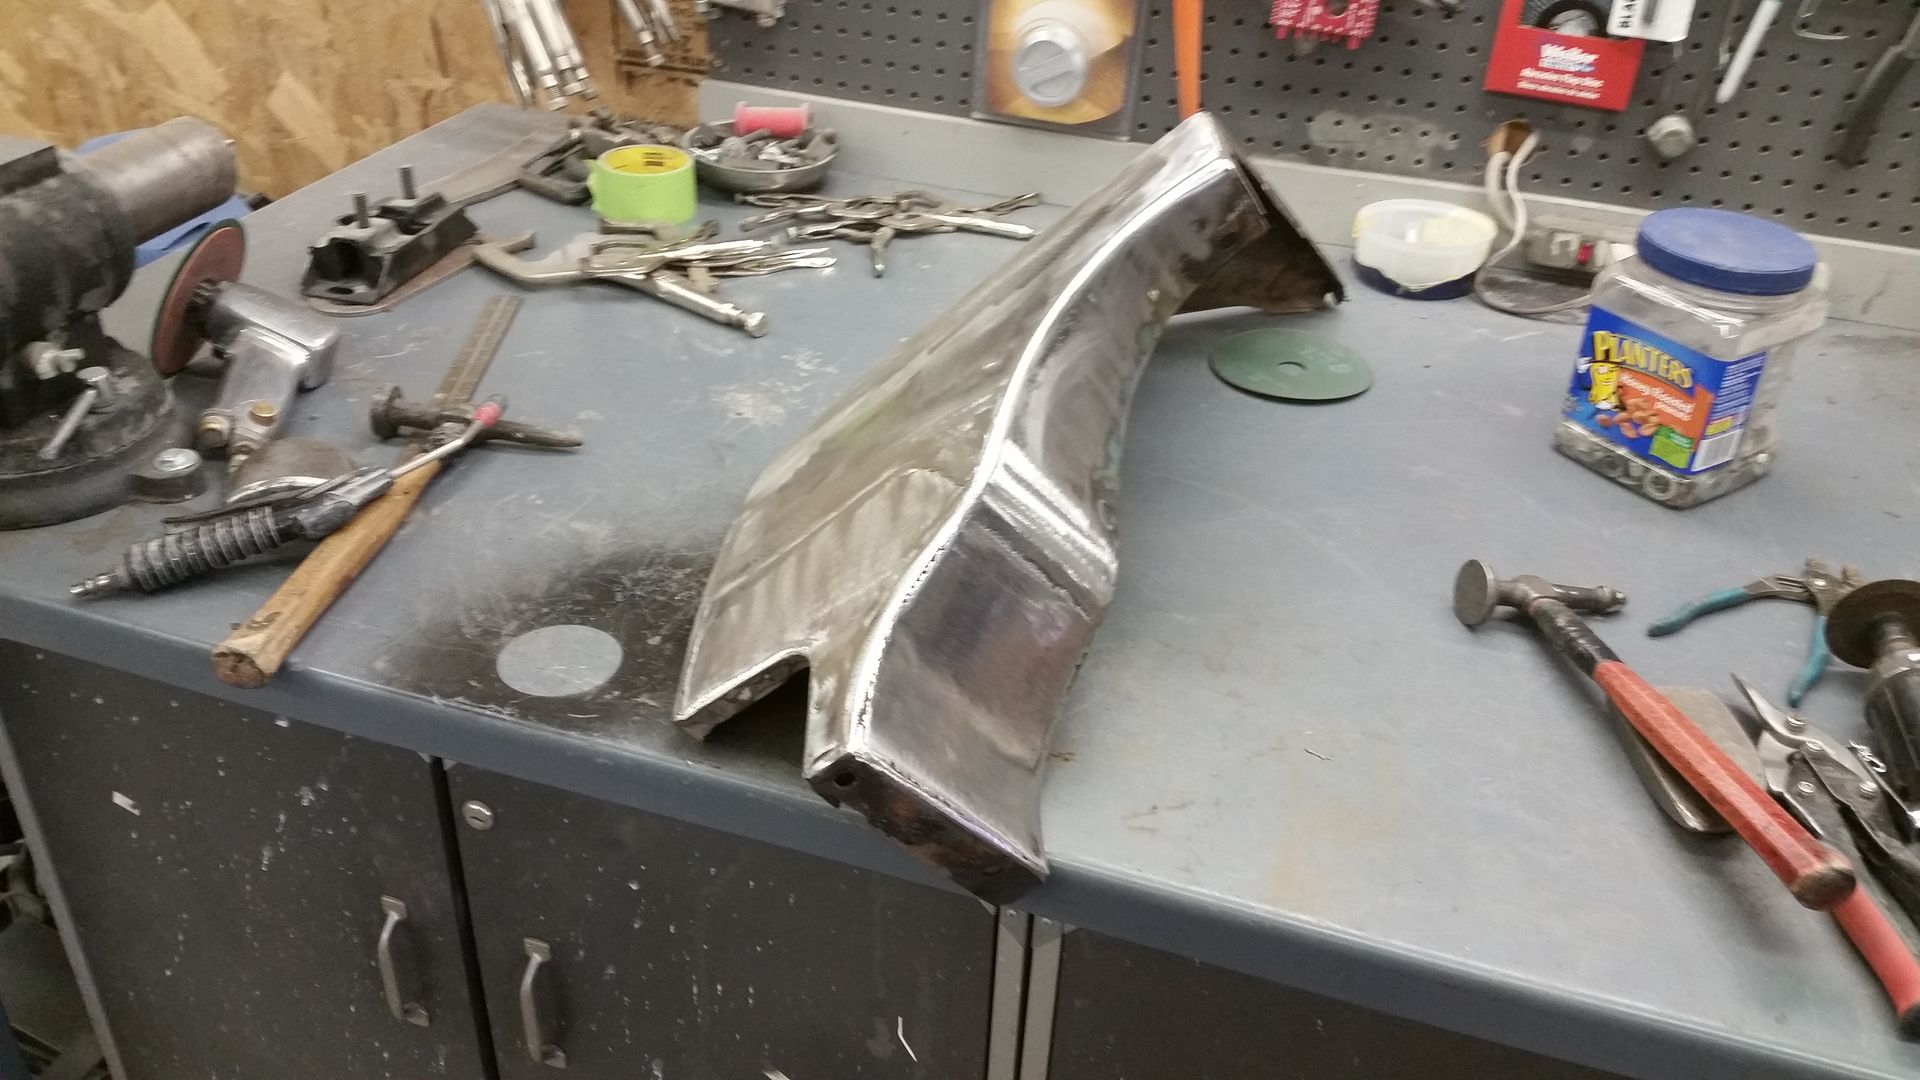
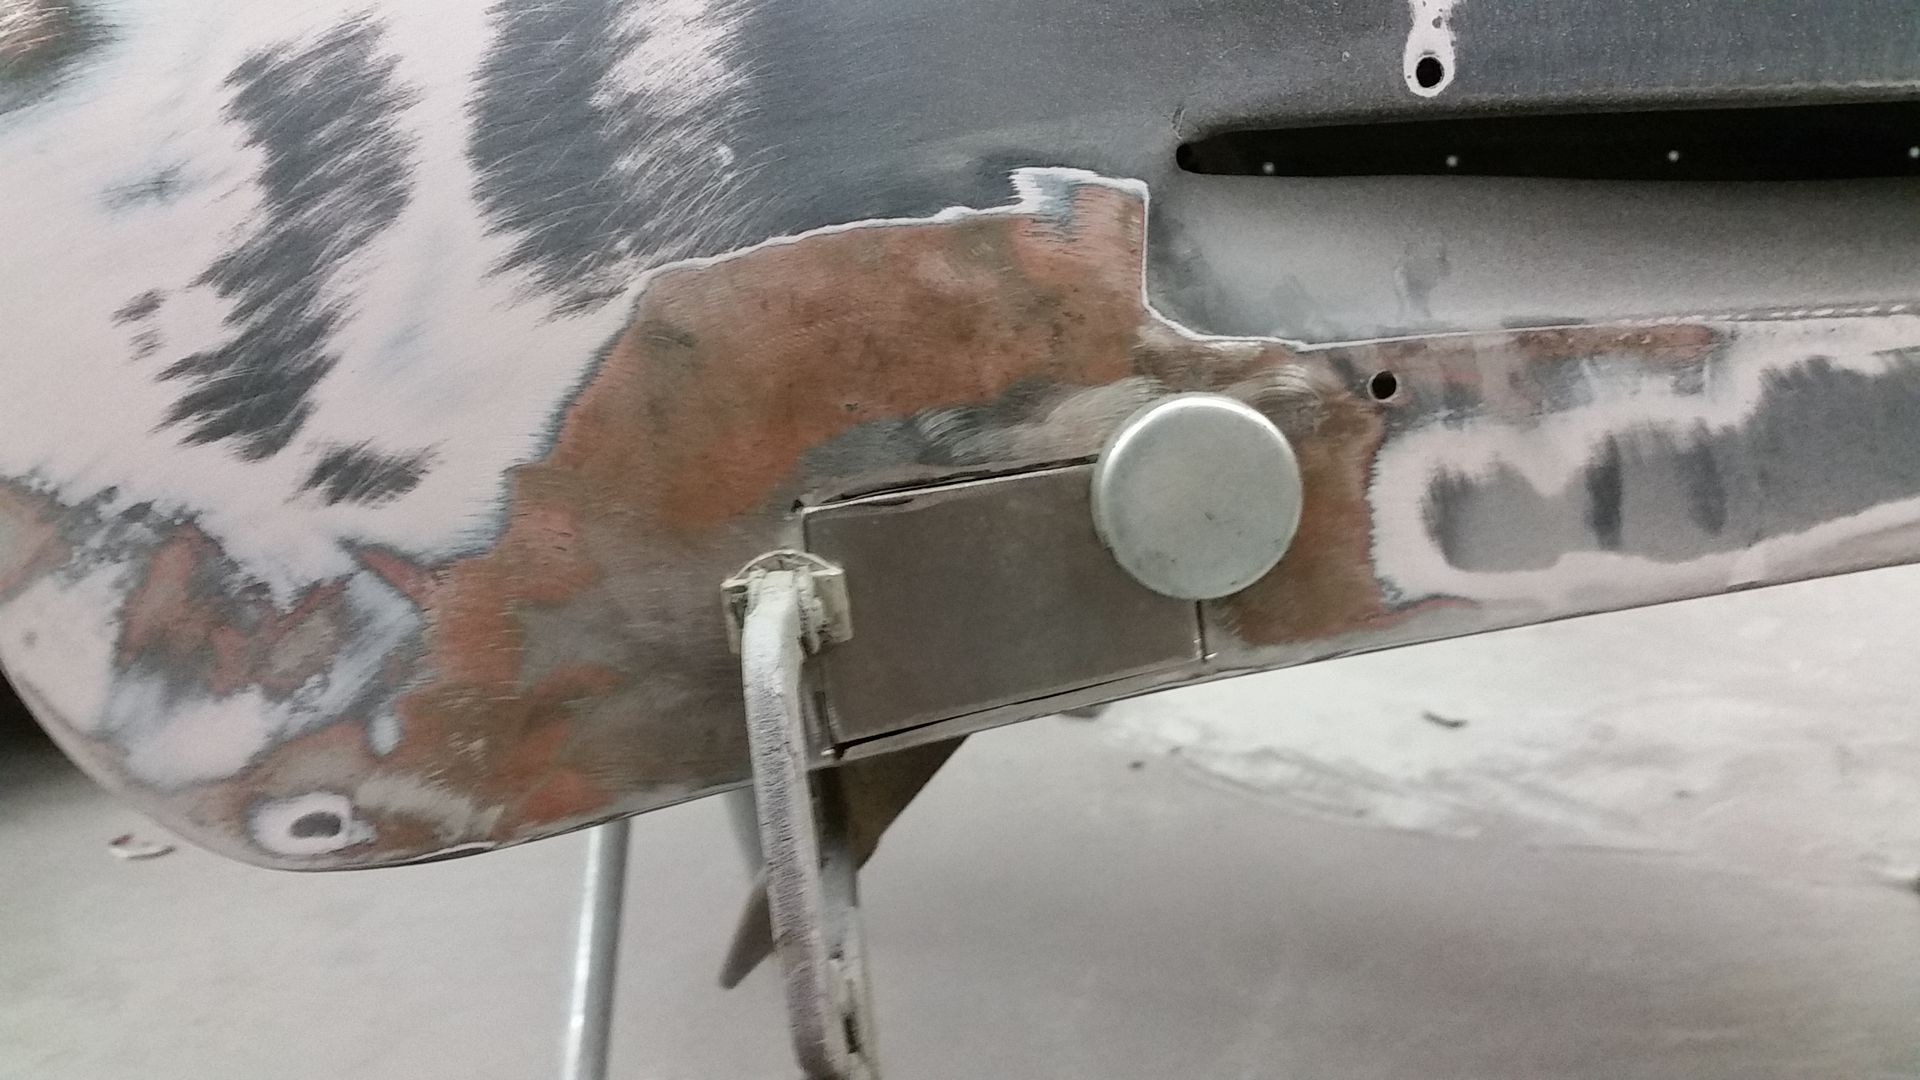
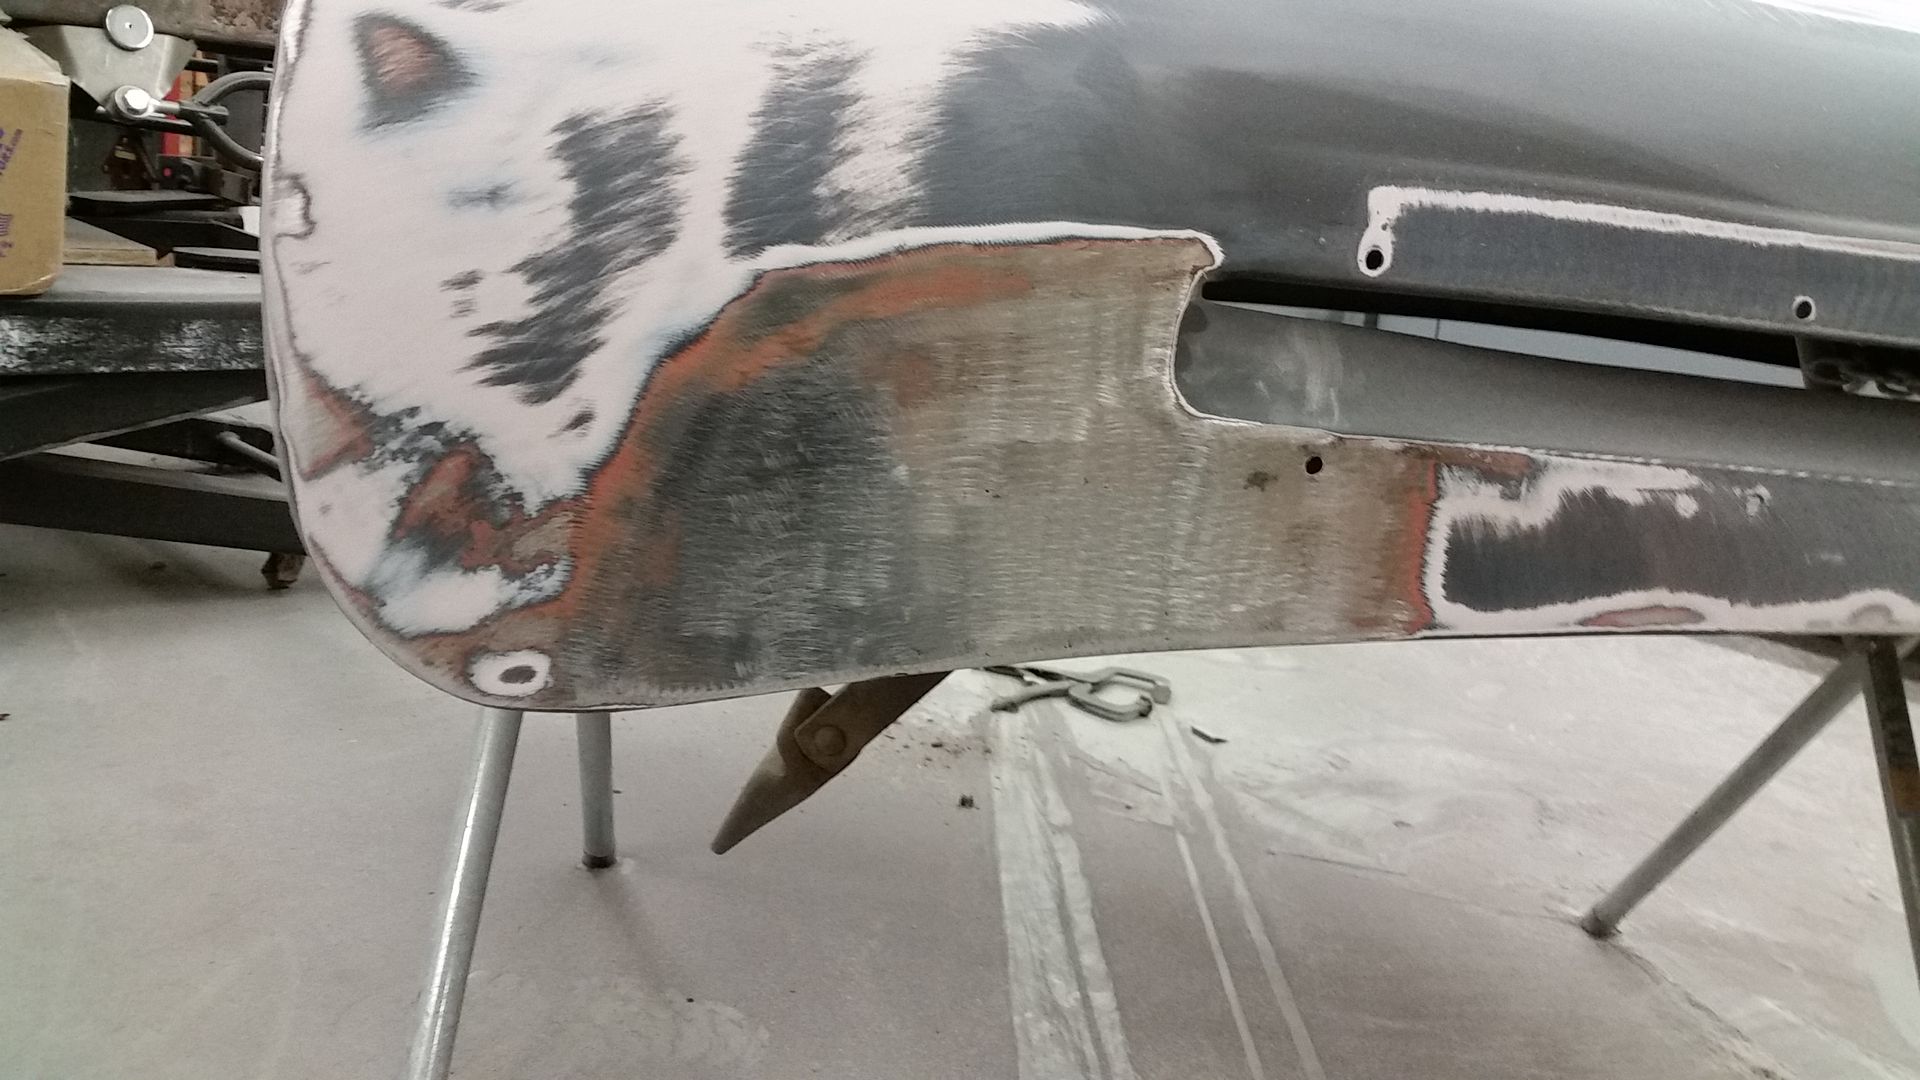
New metal welded in ready to be finished out
Hood even had a couple spots on each side that had to be repaired
Parts getting some primer

Back on truck to check the fit


Both fenders were in basically the same shape, but I cant seem to find the pics of the drivers fender. Aprons were in pretty sorry shape too


New metal welded in ready to be finished out

Hood even had a couple spots on each side that had to be repaired


Parts getting some primer

Back on truck to check the fit


#17
08-18-2015, 07:14 PM
Join Date: Aug 2015
Location: Perry, IA
Posts: 20
Likes: 0
Received 0 Likes
on
0 Posts
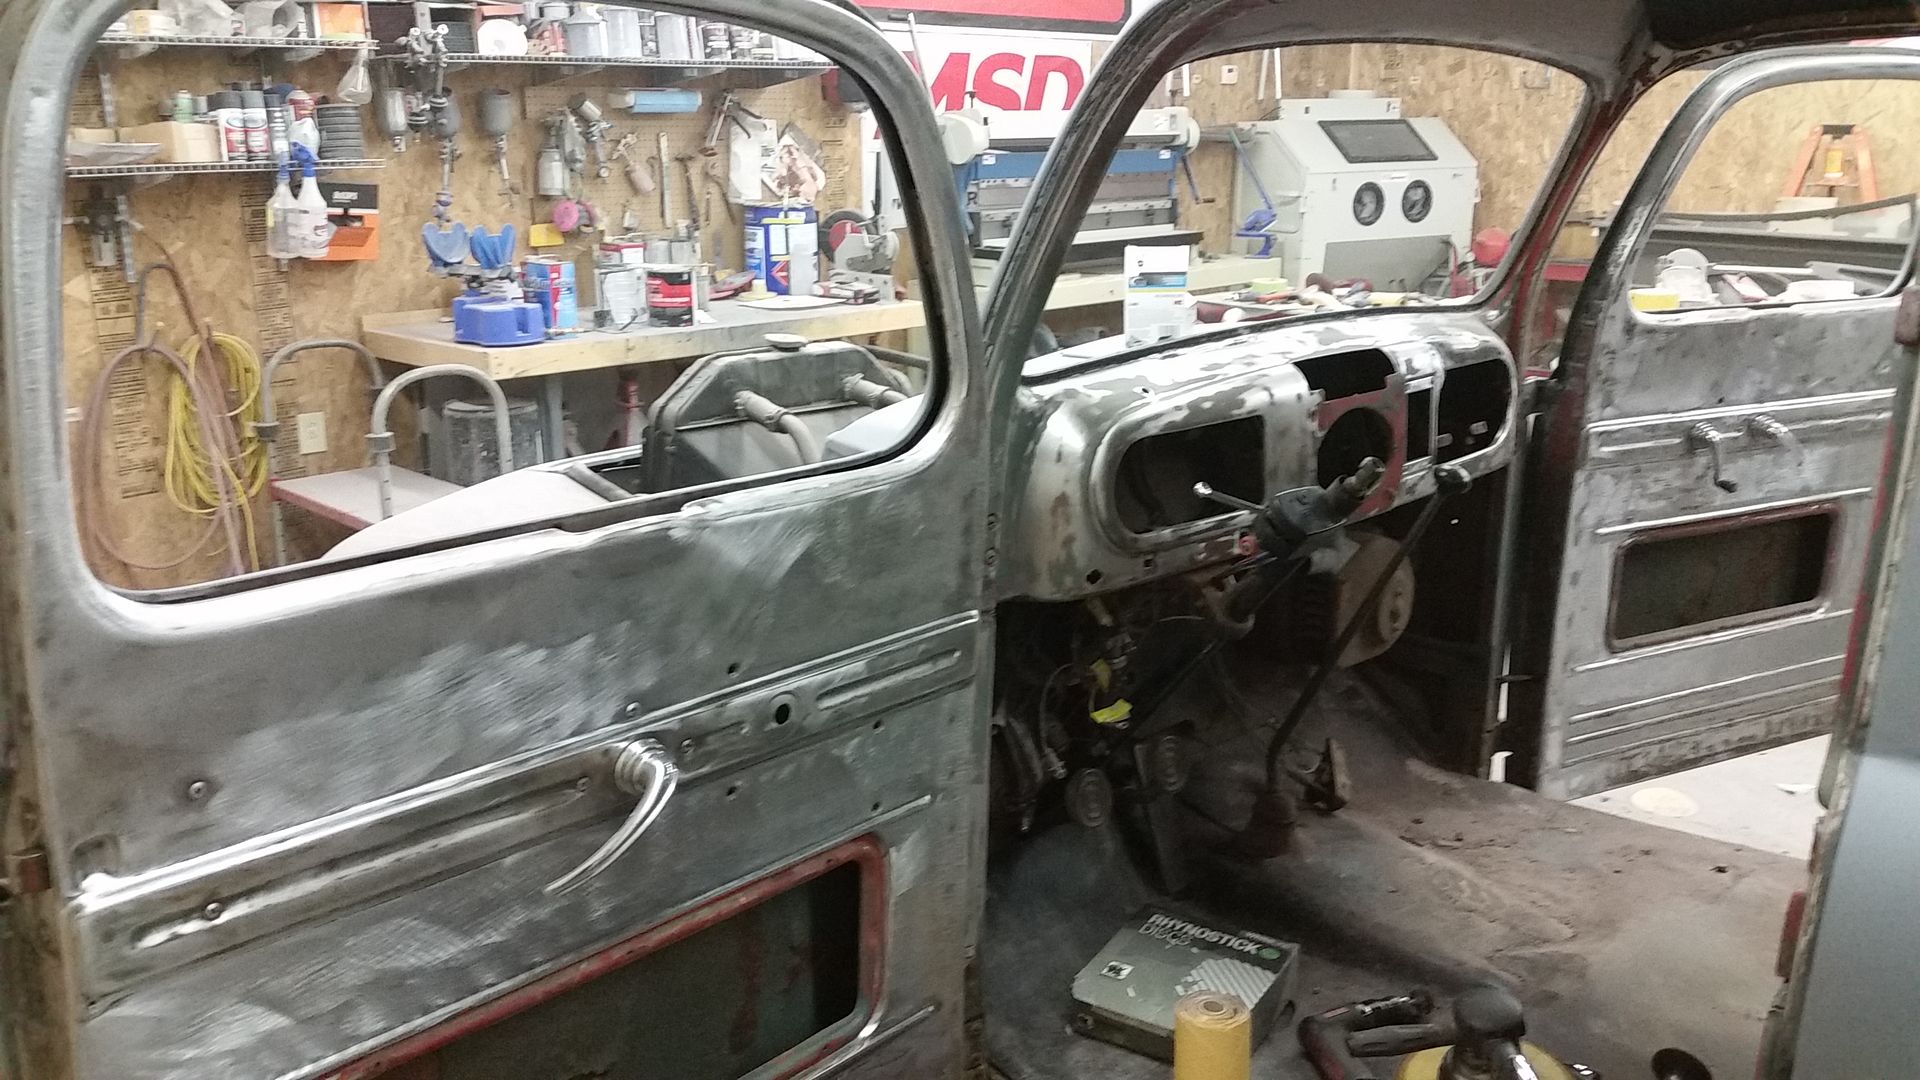
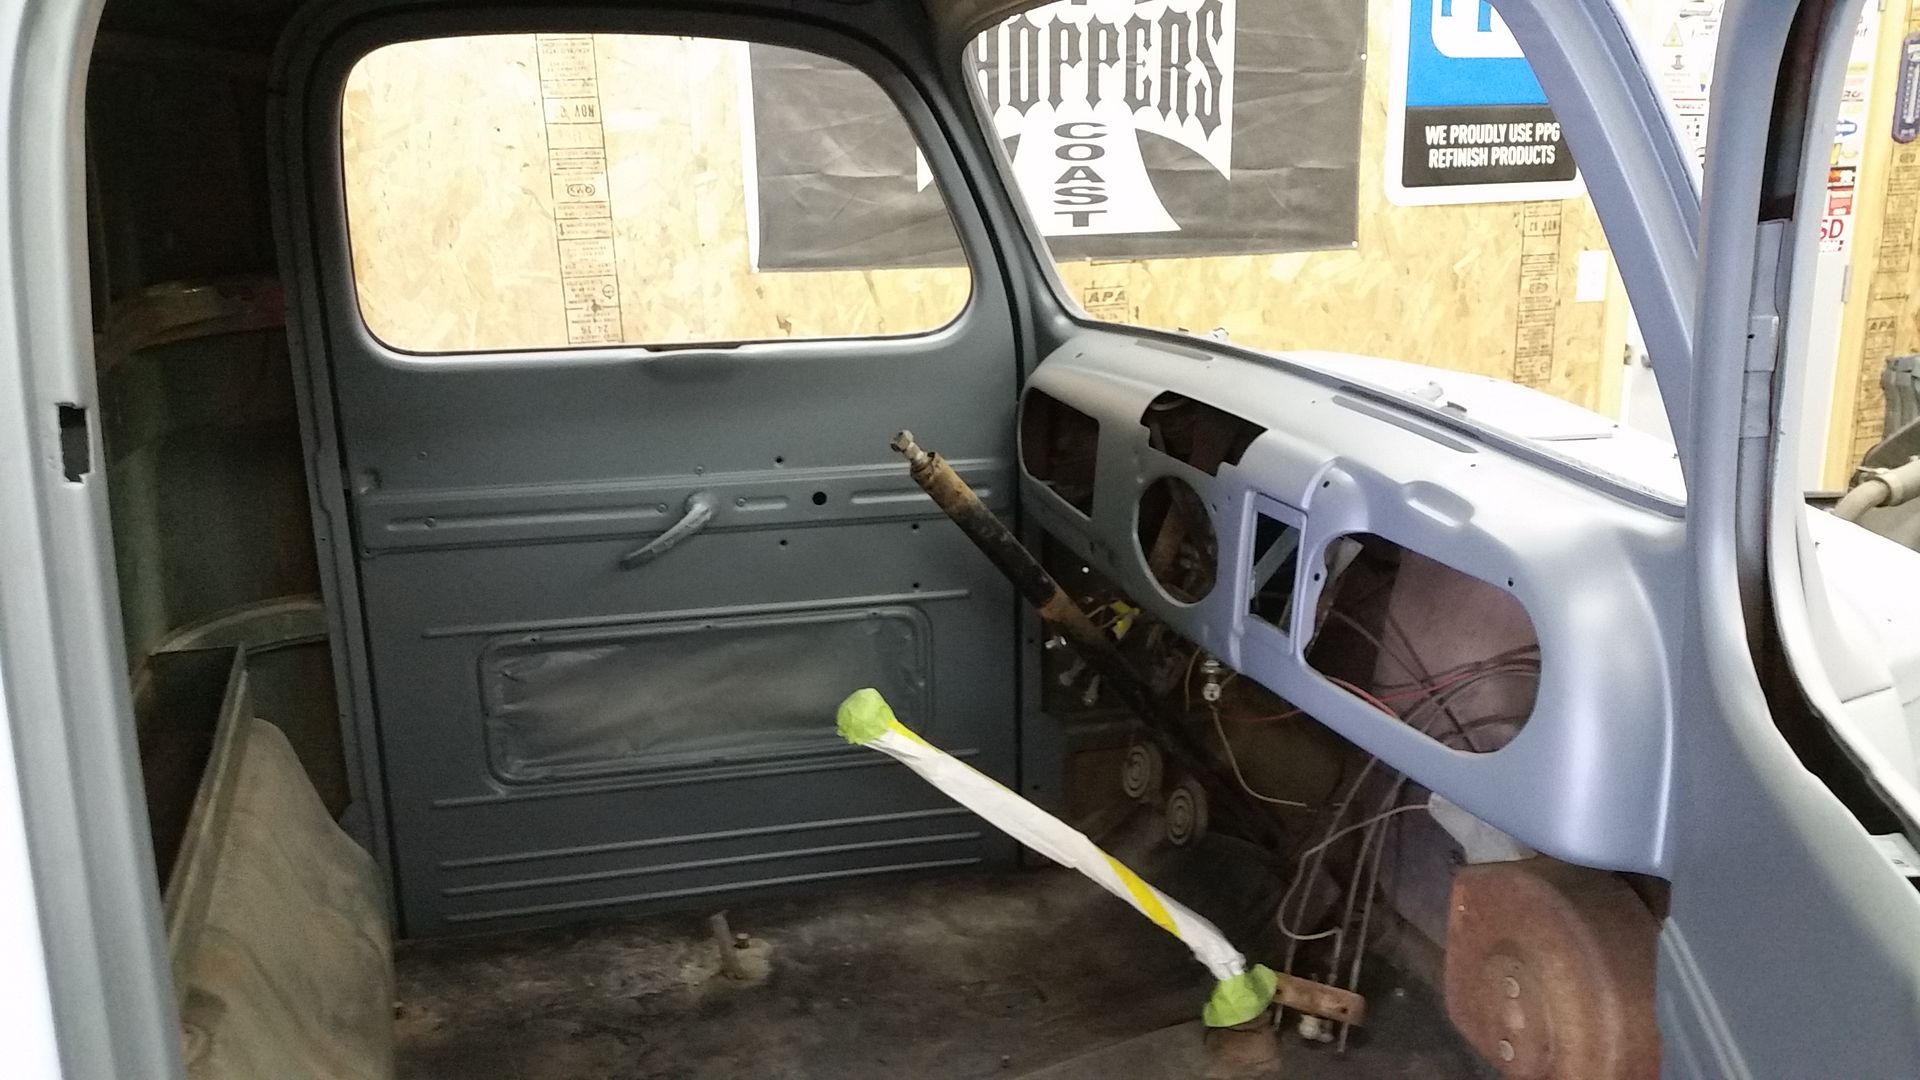
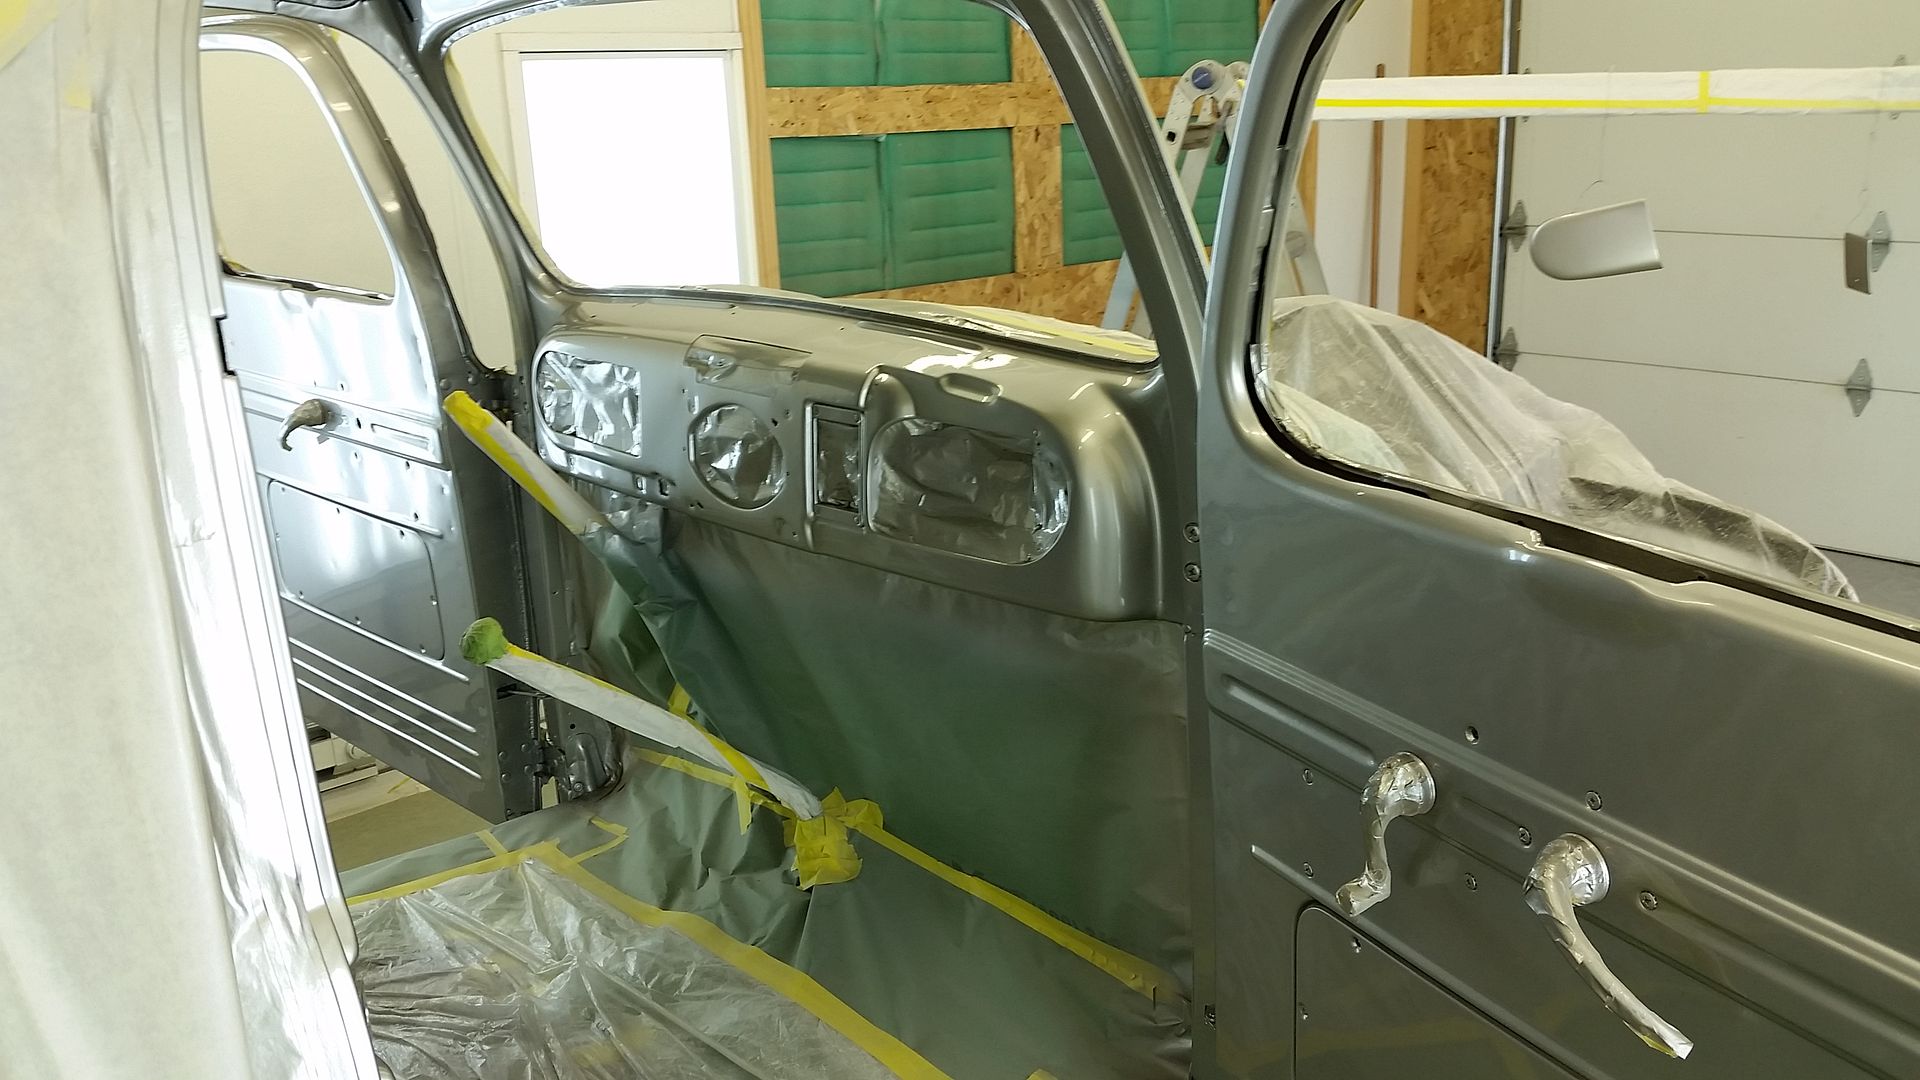
With the outside repair work done and in primer I moved onto the interior next. I had originally planned on just giving everything a good sanding then prime and paint it. Unfortunately at some point the interior had been spray painted & to make matters worse they ran the crap out of it in several areas. So it had to be stripped to bare metal.
Epoxy primed
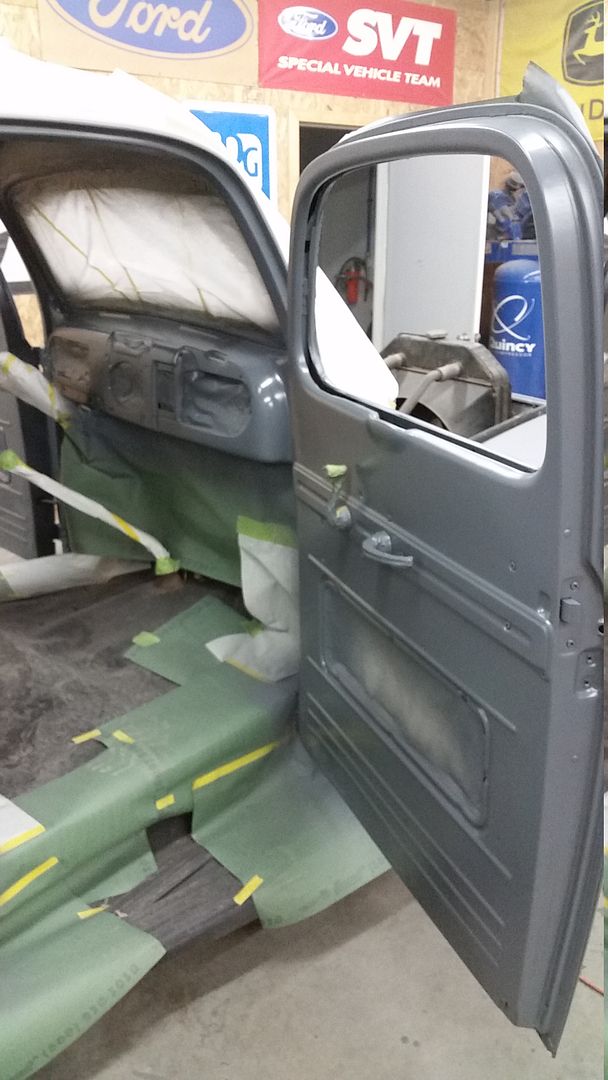
Prepped, masked up and ready for some paint
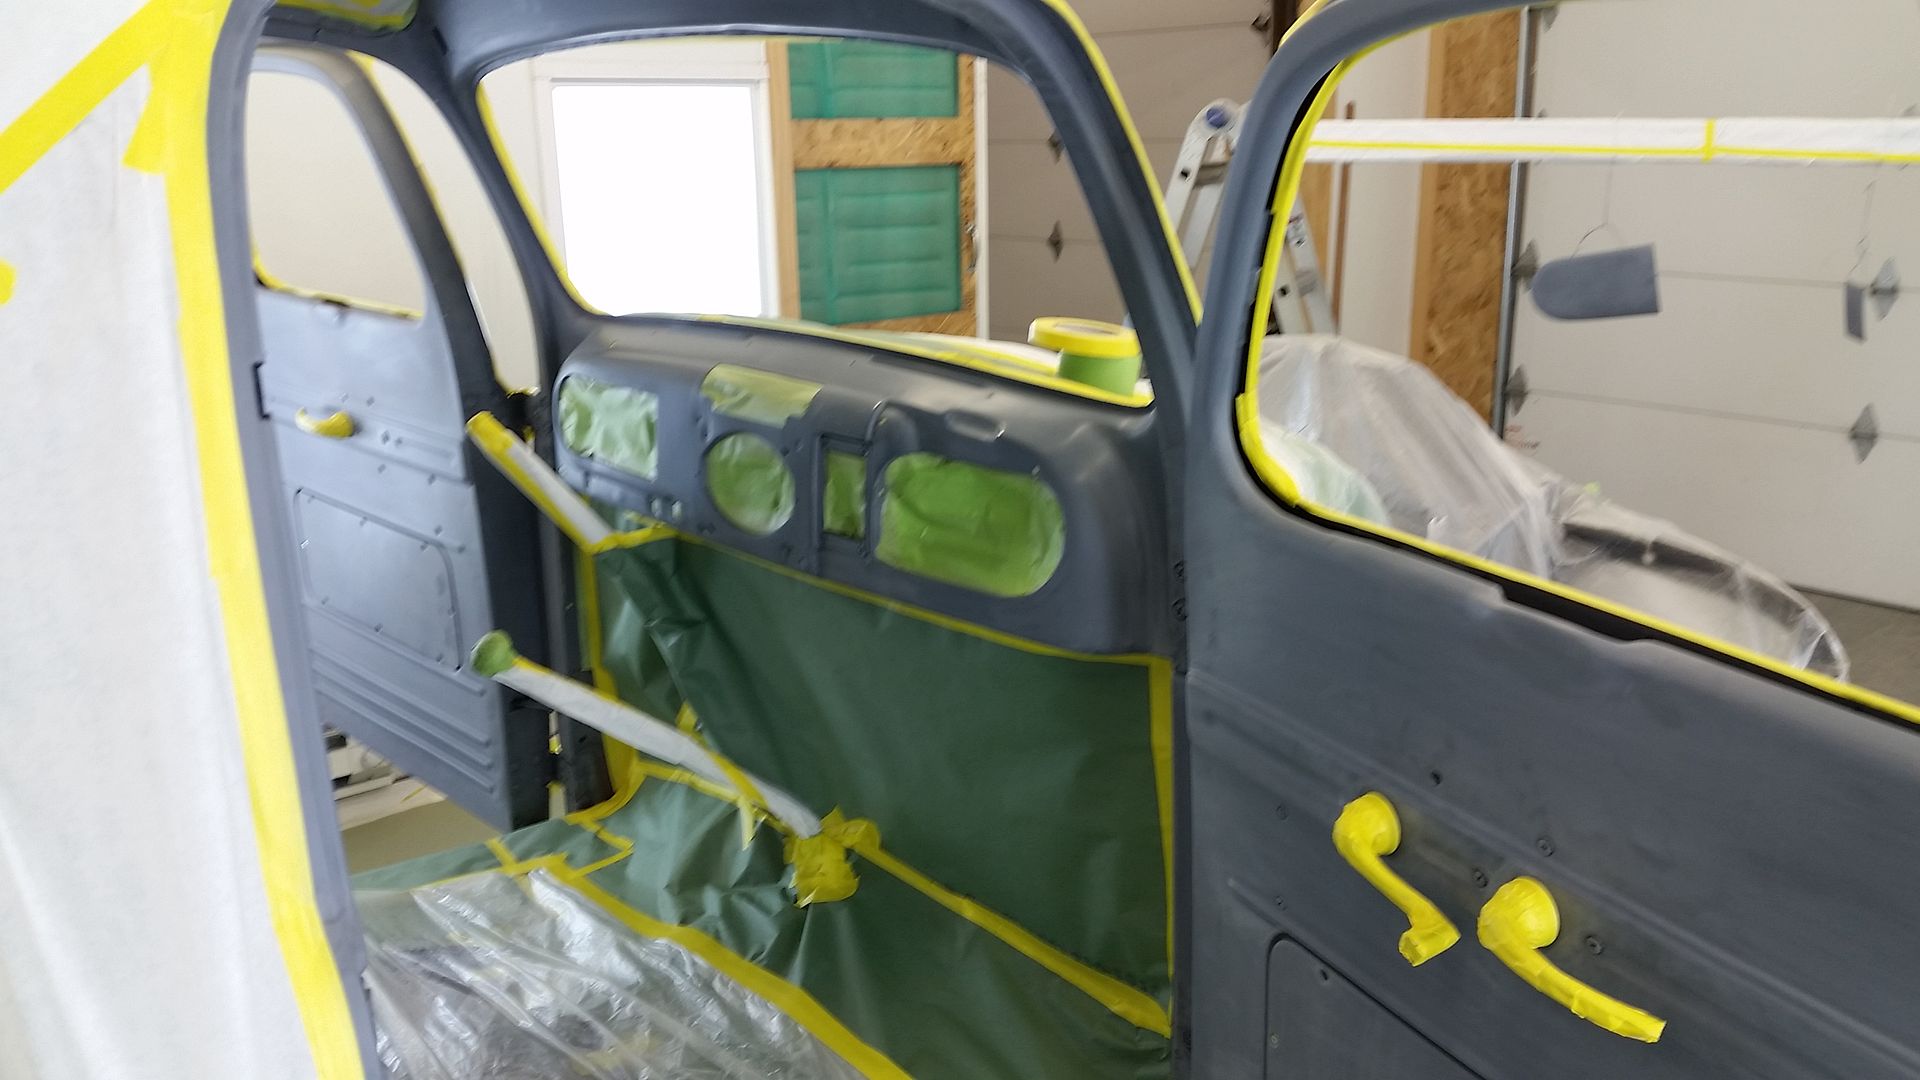
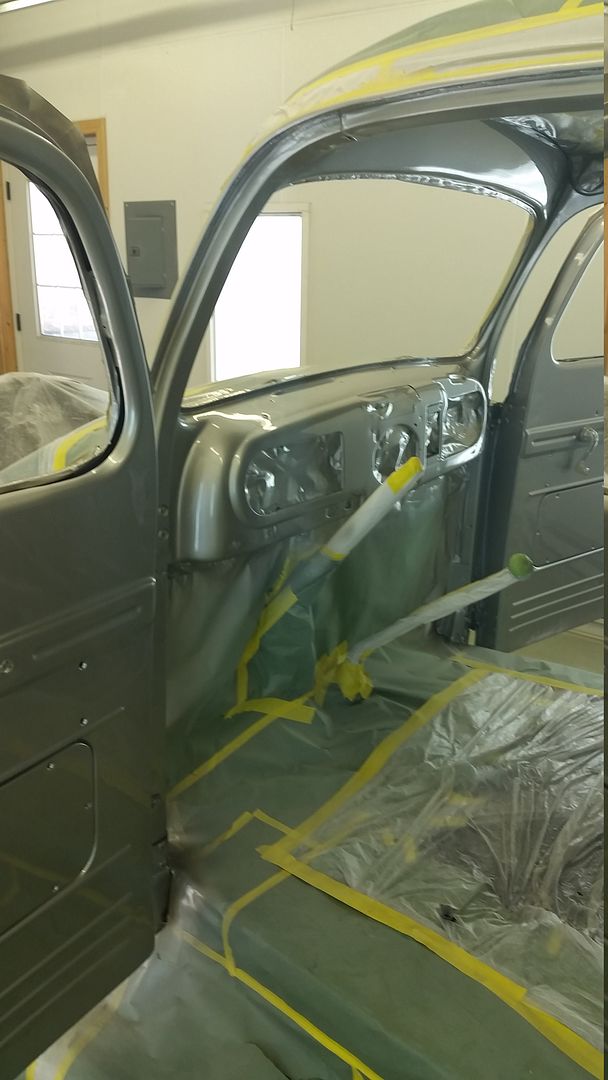
I used some House of Kolor left over paint I had from a previous job. First I shot the interior with a white sealer. Let it flash then applied the silver basecoat
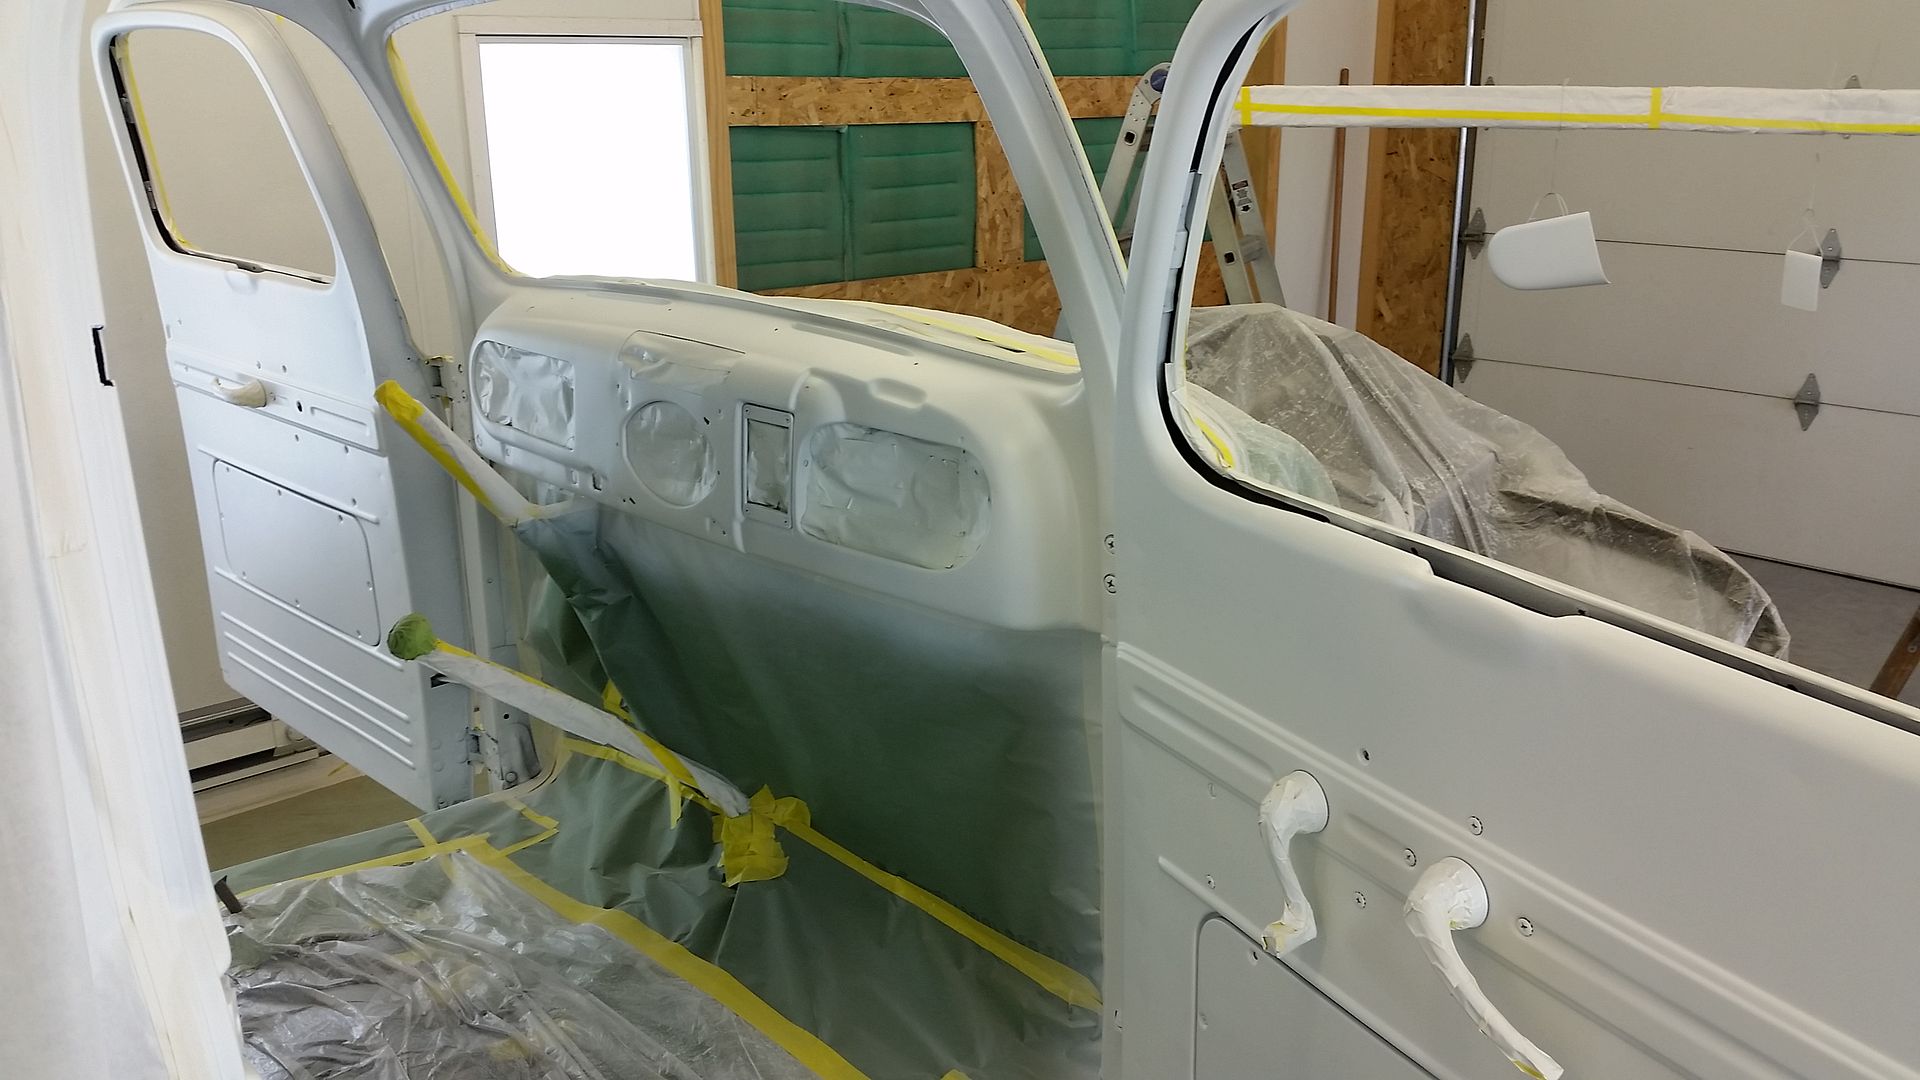
Platinum Pearl basecoat applied
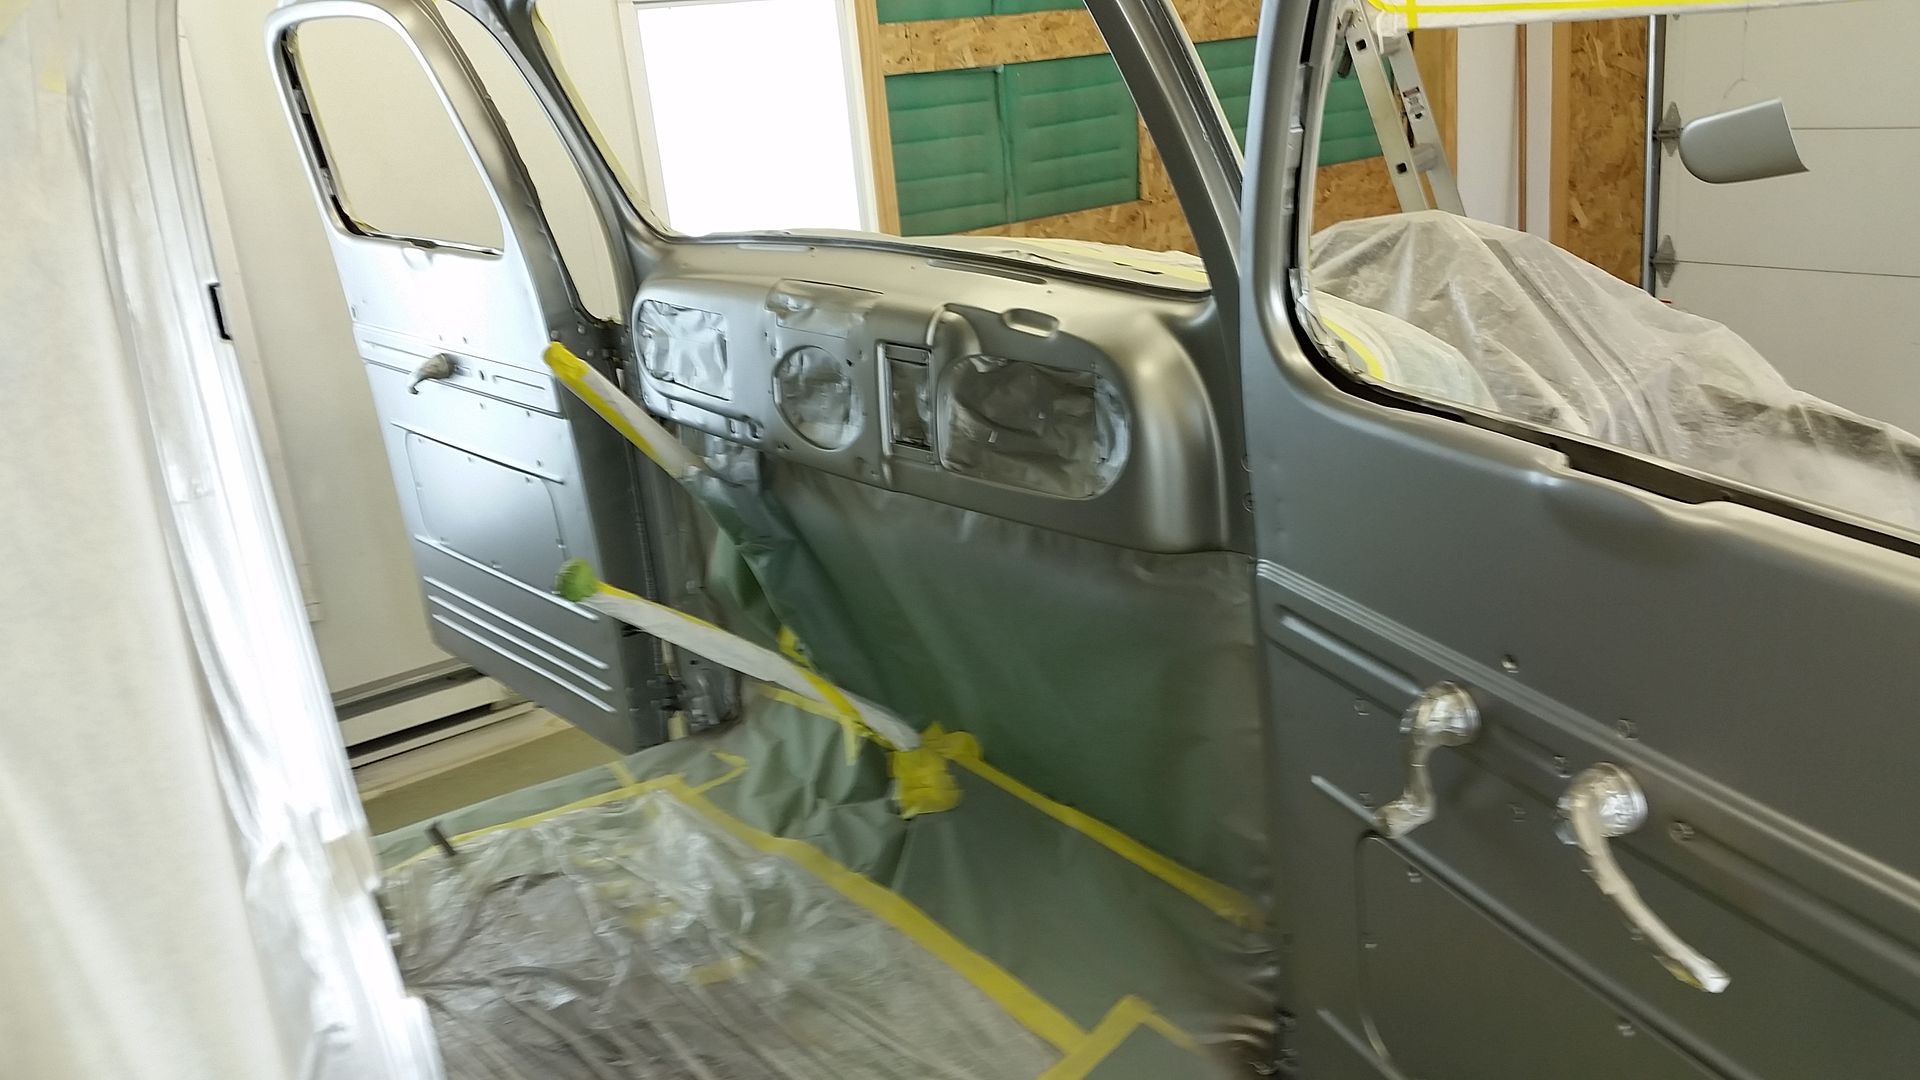
3 coats of UFC35 House of Kolor clear


Epoxy primed


Prepped, masked up and ready for some paint

I used some House of Kolor left over paint I had from a previous job. First I shot the interior with a white sealer. Let it flash then applied the silver basecoat

Platinum Pearl basecoat applied

3 coats of UFC35 House of Kolor clear


#18
08-18-2015, 07:35 PM
Join Date: Aug 2015
Location: Perry, IA
Posts: 20
Likes: 0
Received 0 Likes
on
0 Posts
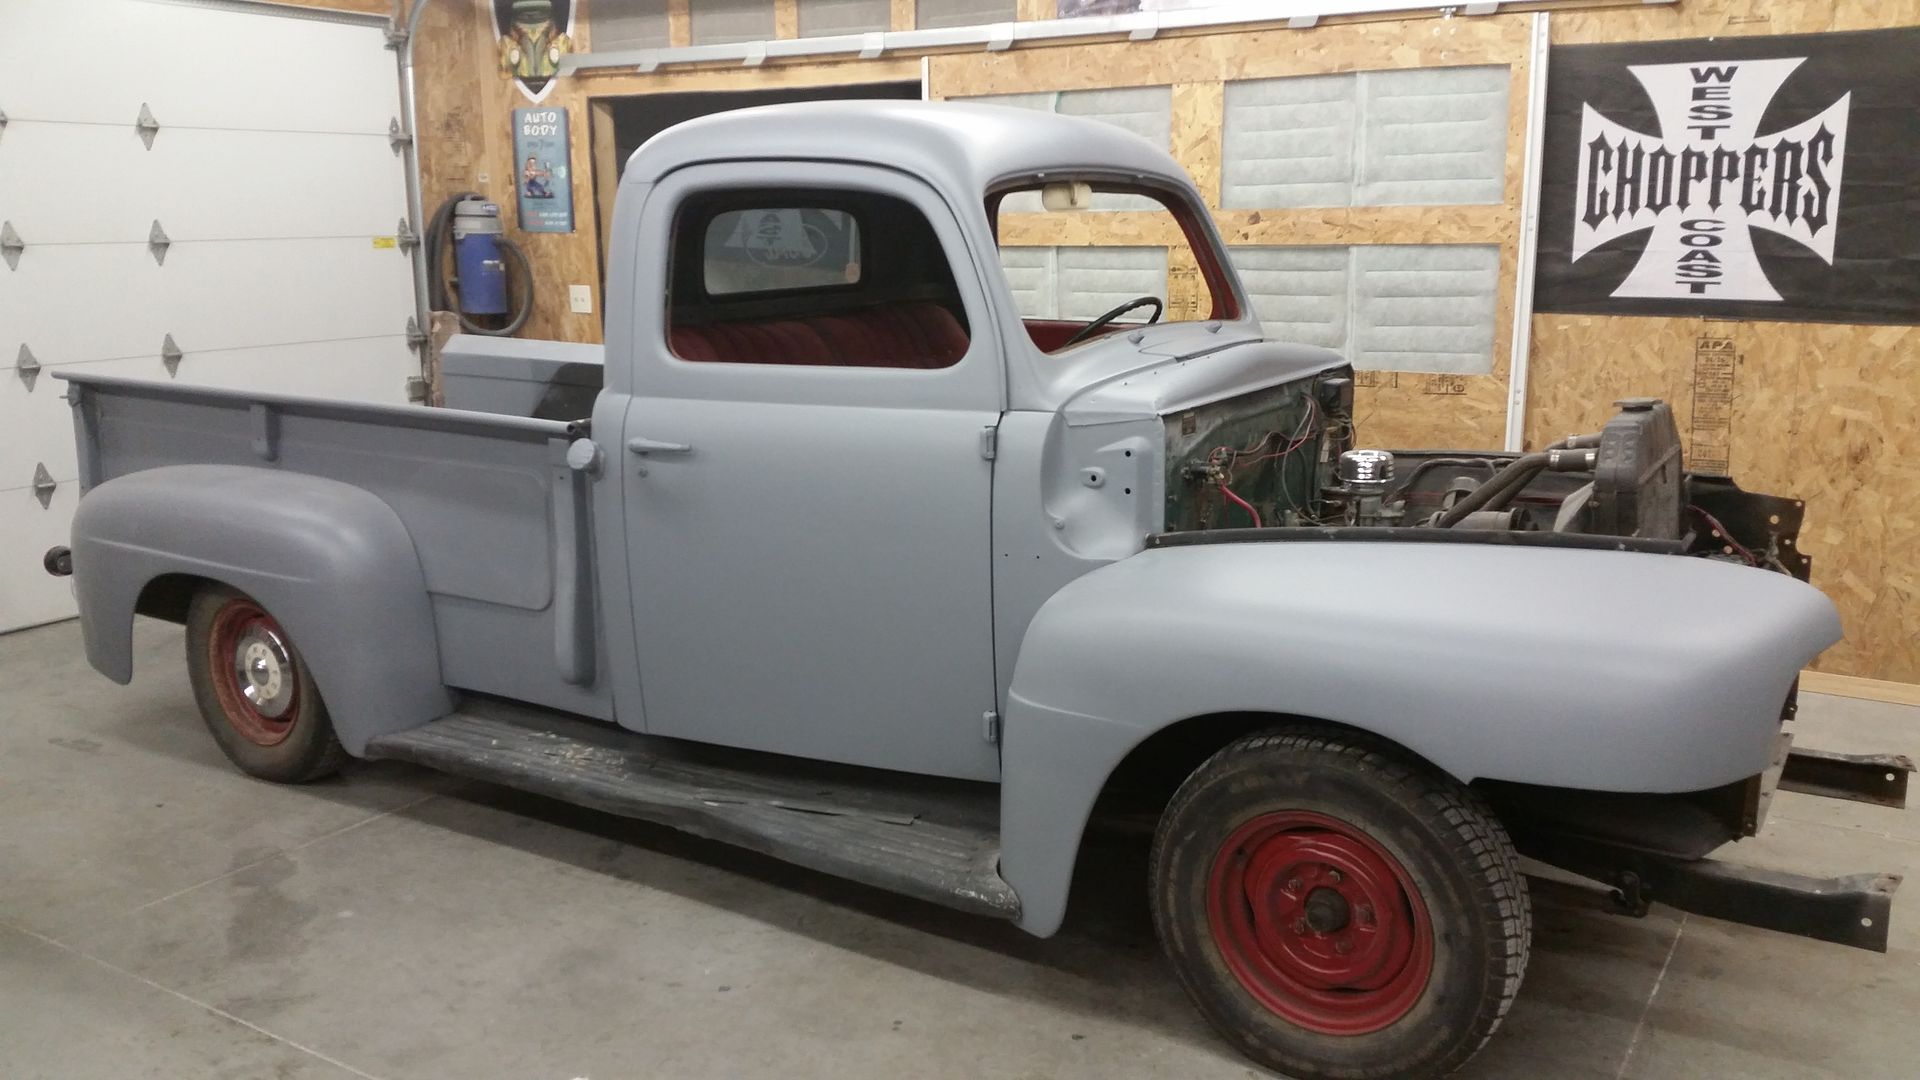
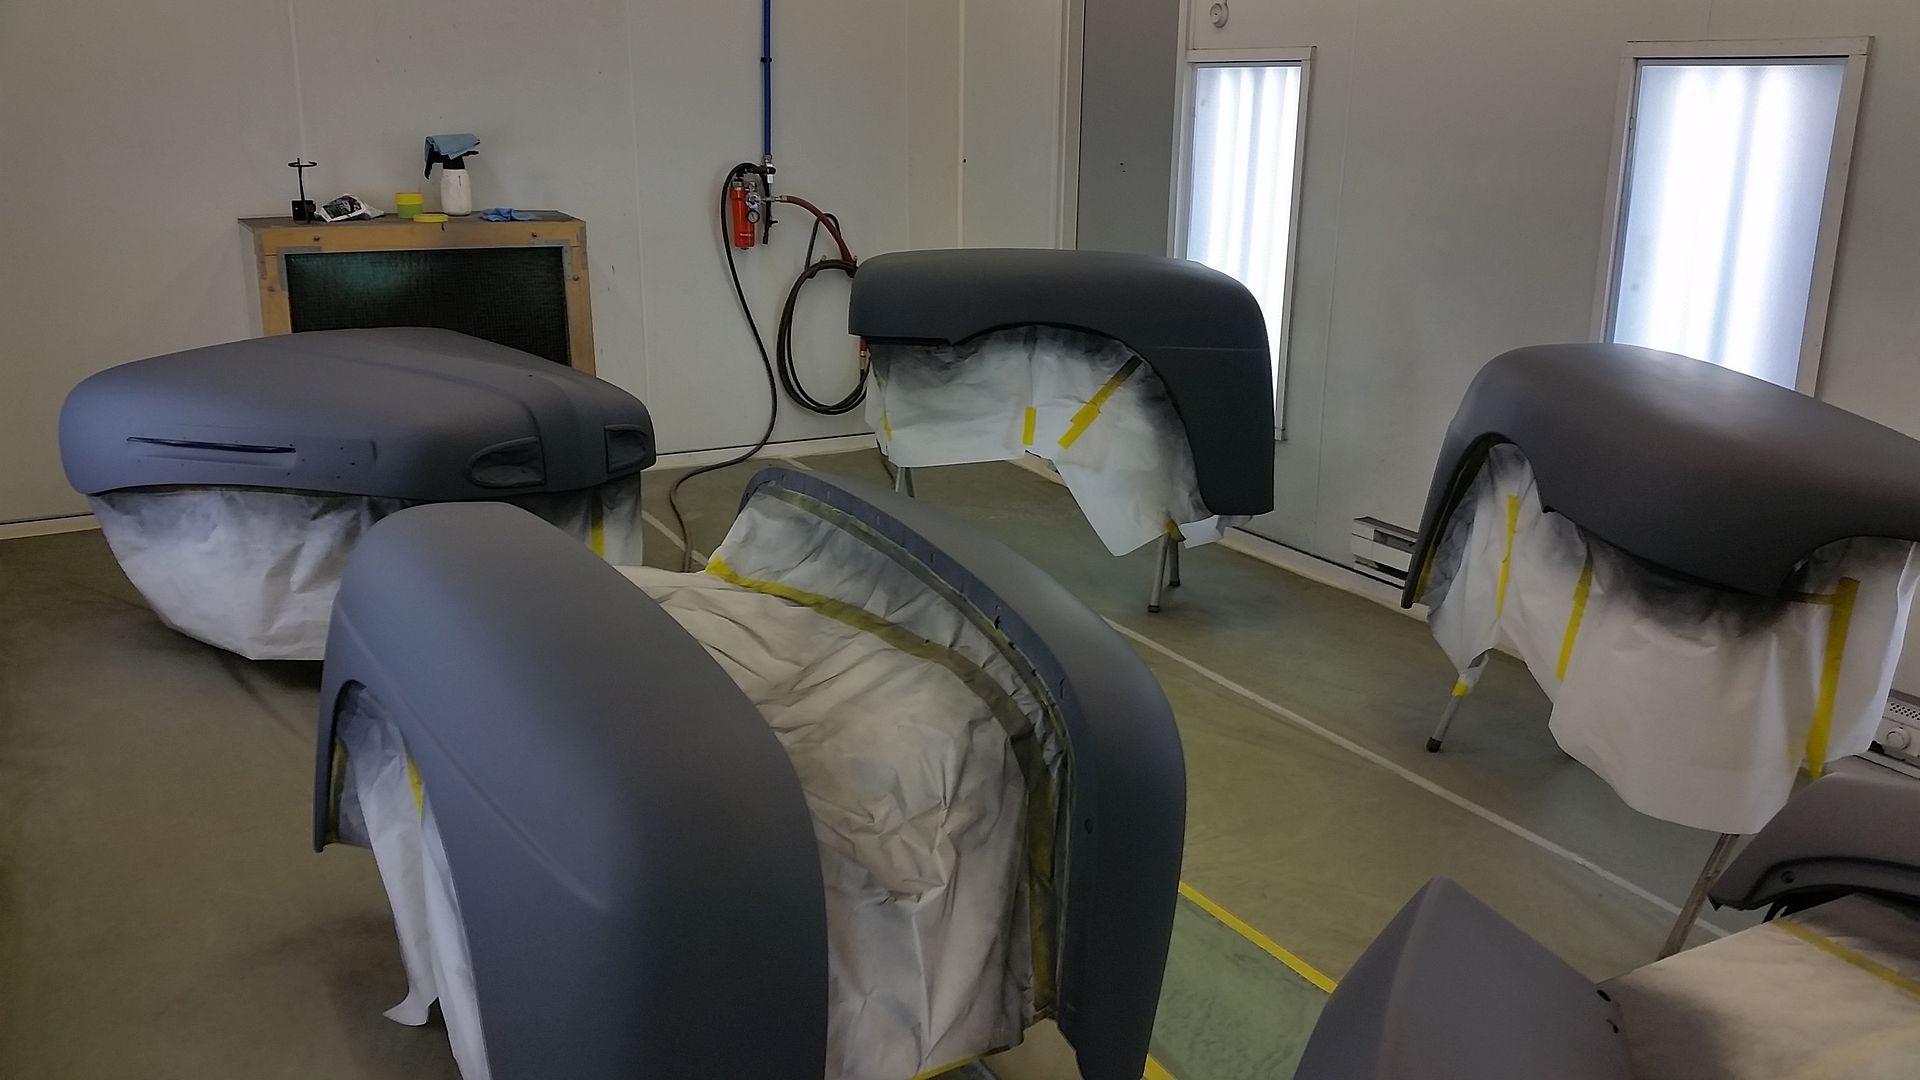
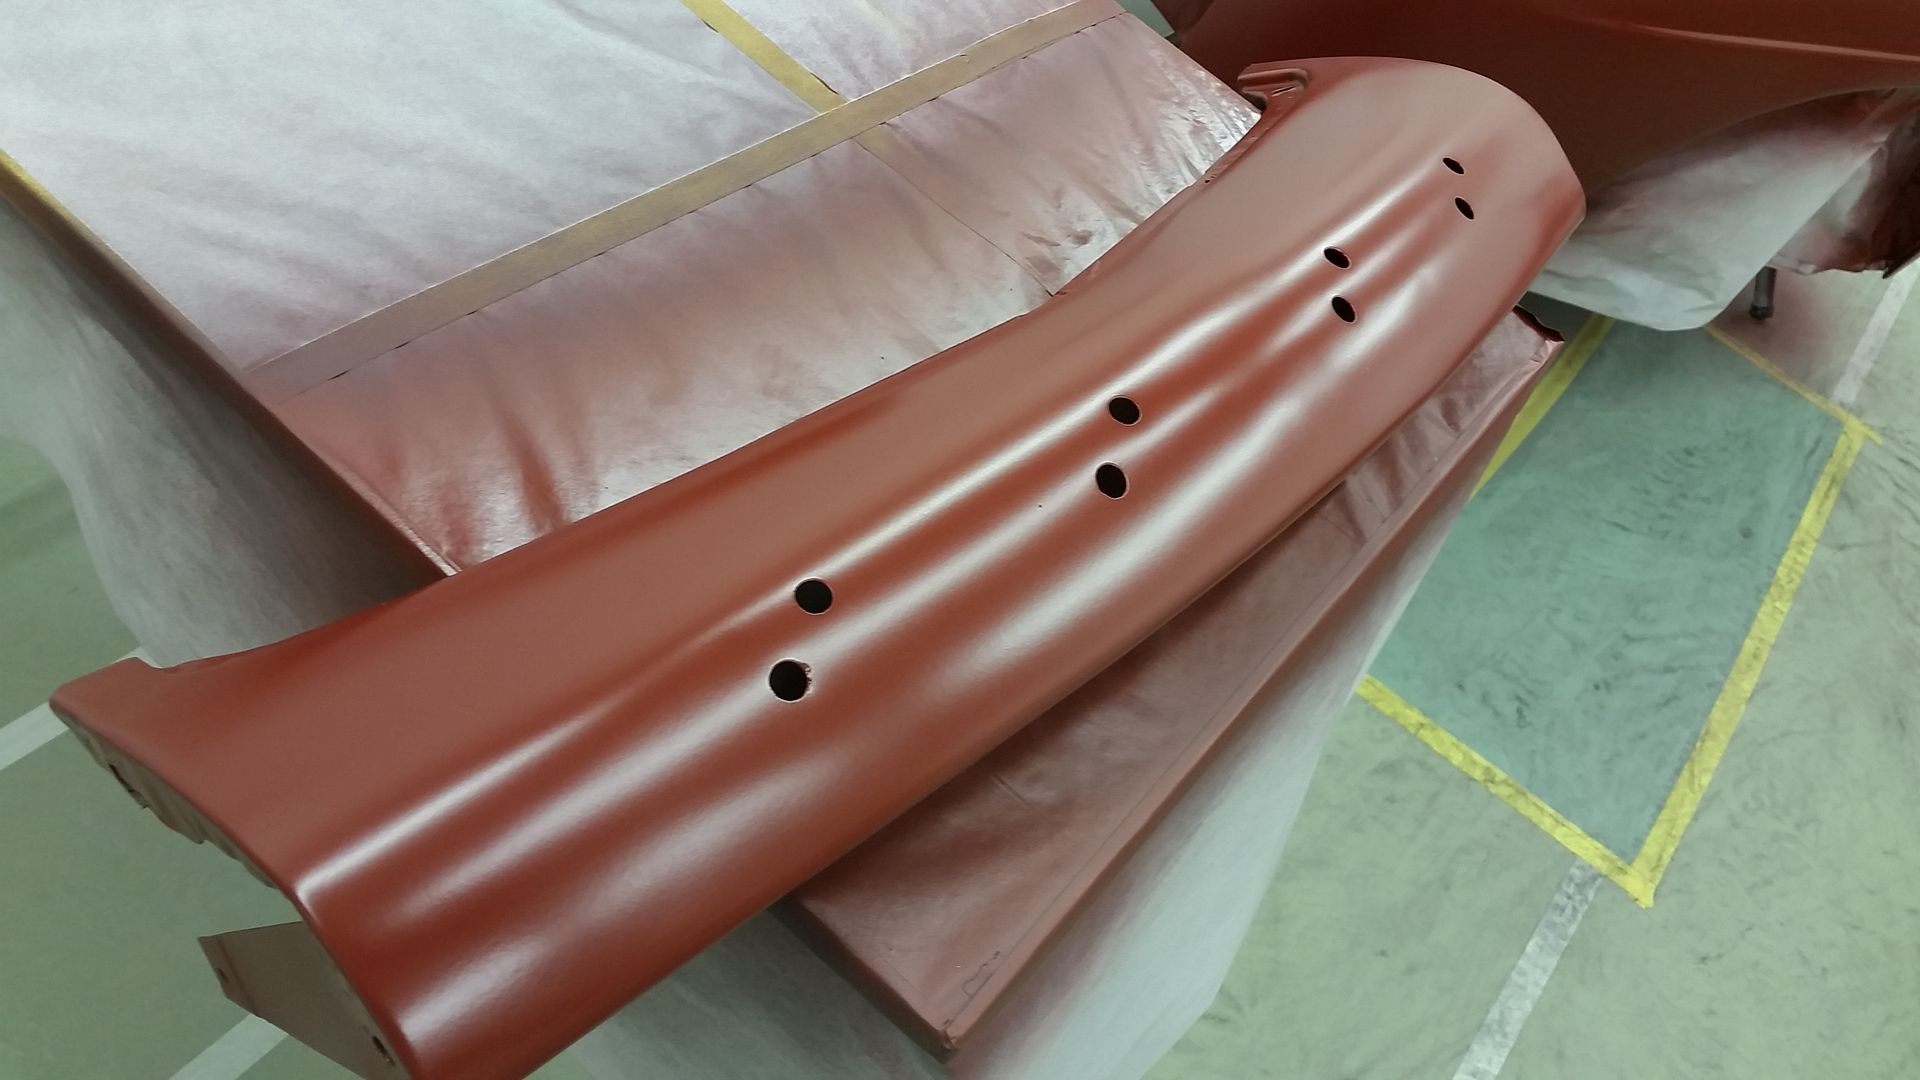
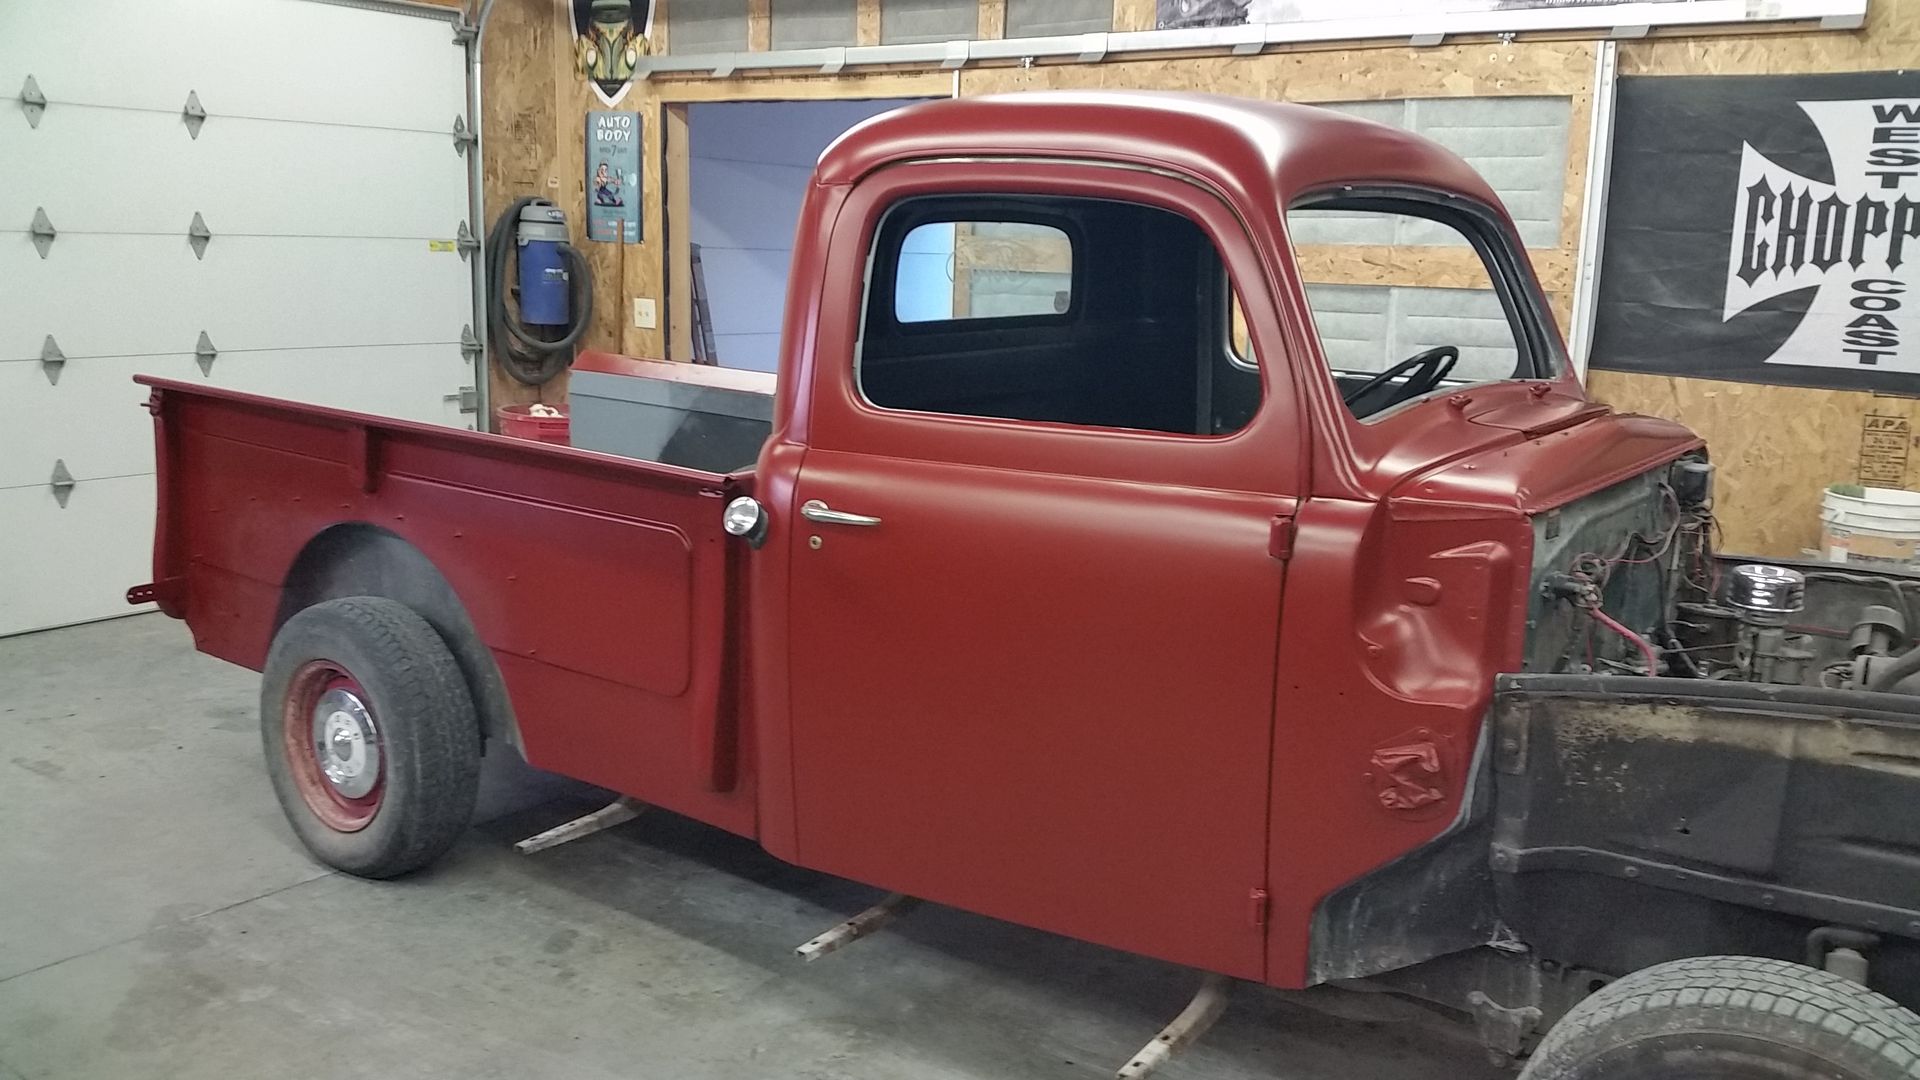
After the inside was painted I turned my attention to the outside. I start with 400 wet and finish it off with 600 wet. Wash thoroughly wash everything then mask it up. I done this truck in two stages. All 4 fenders, hood and aprons were painted separate from the cab & bed.
Masked and ready for sealer
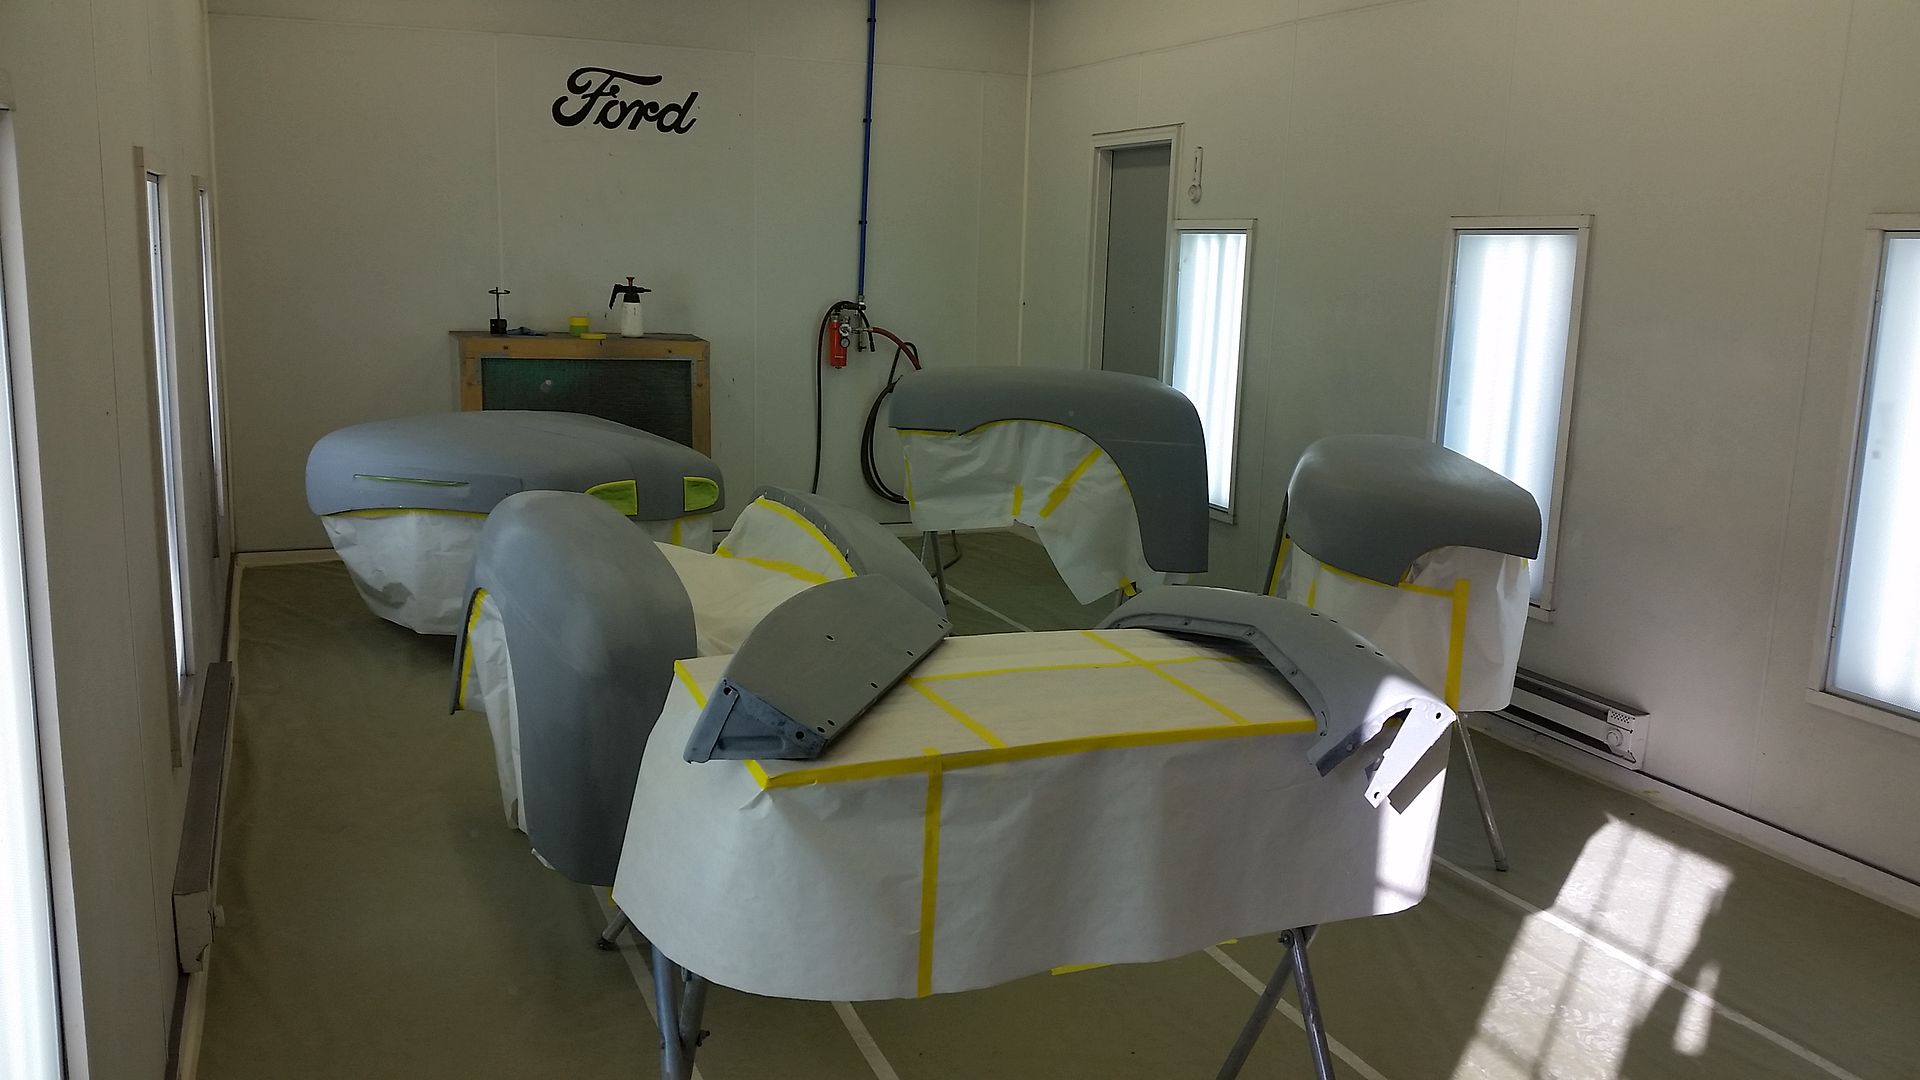
Dark grey sealer applied
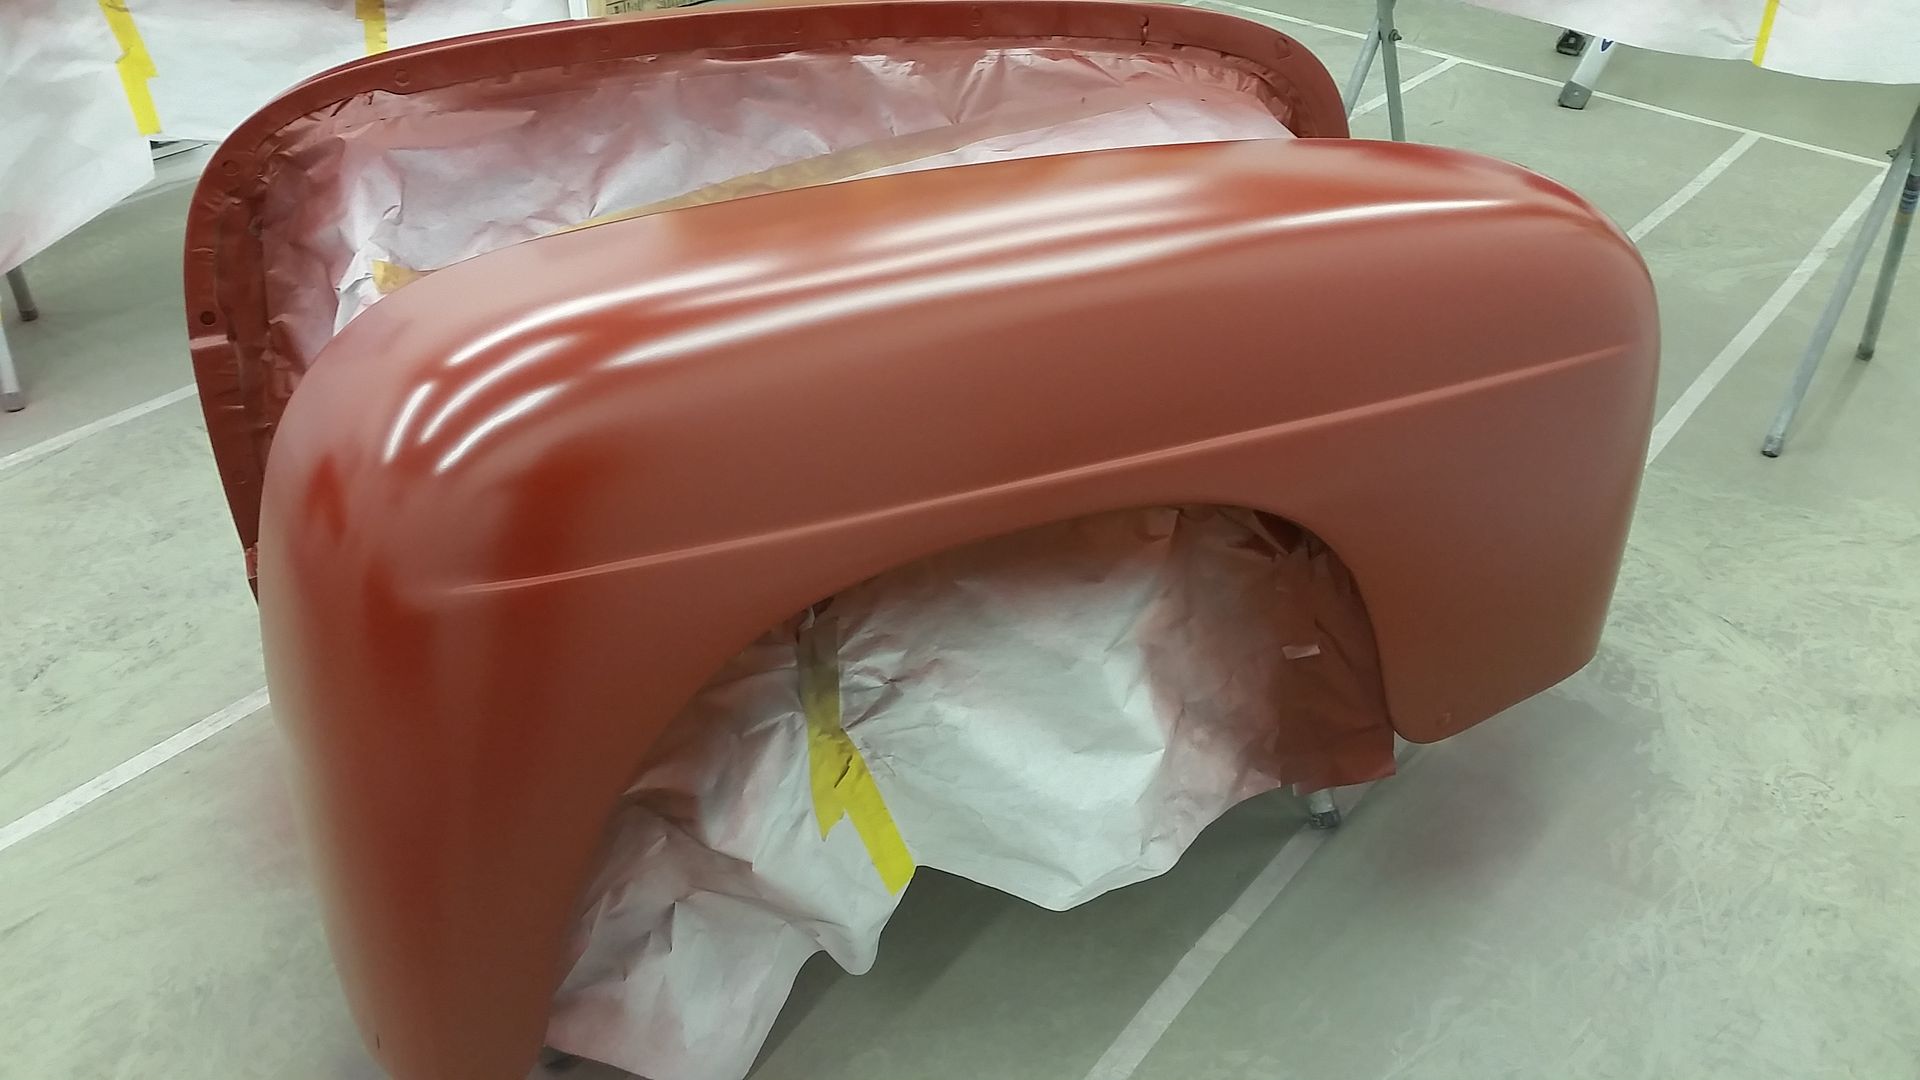
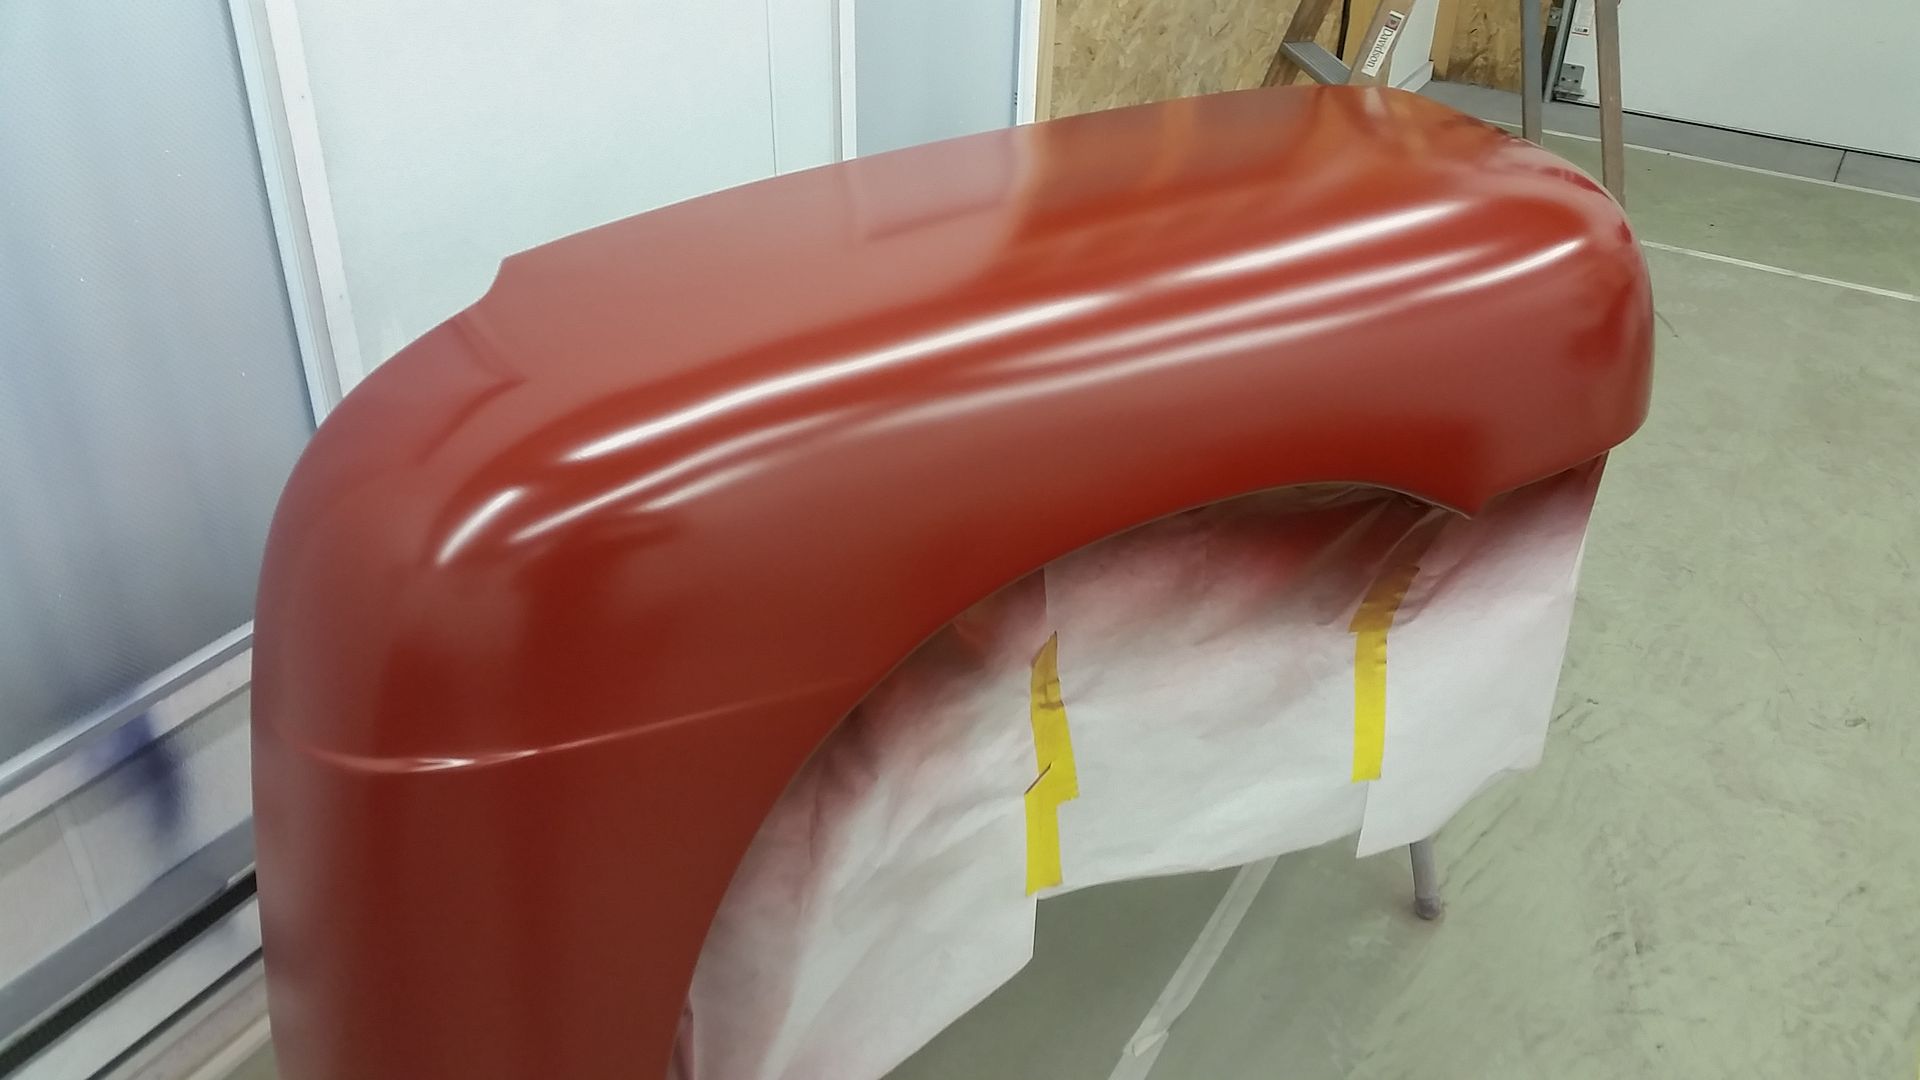
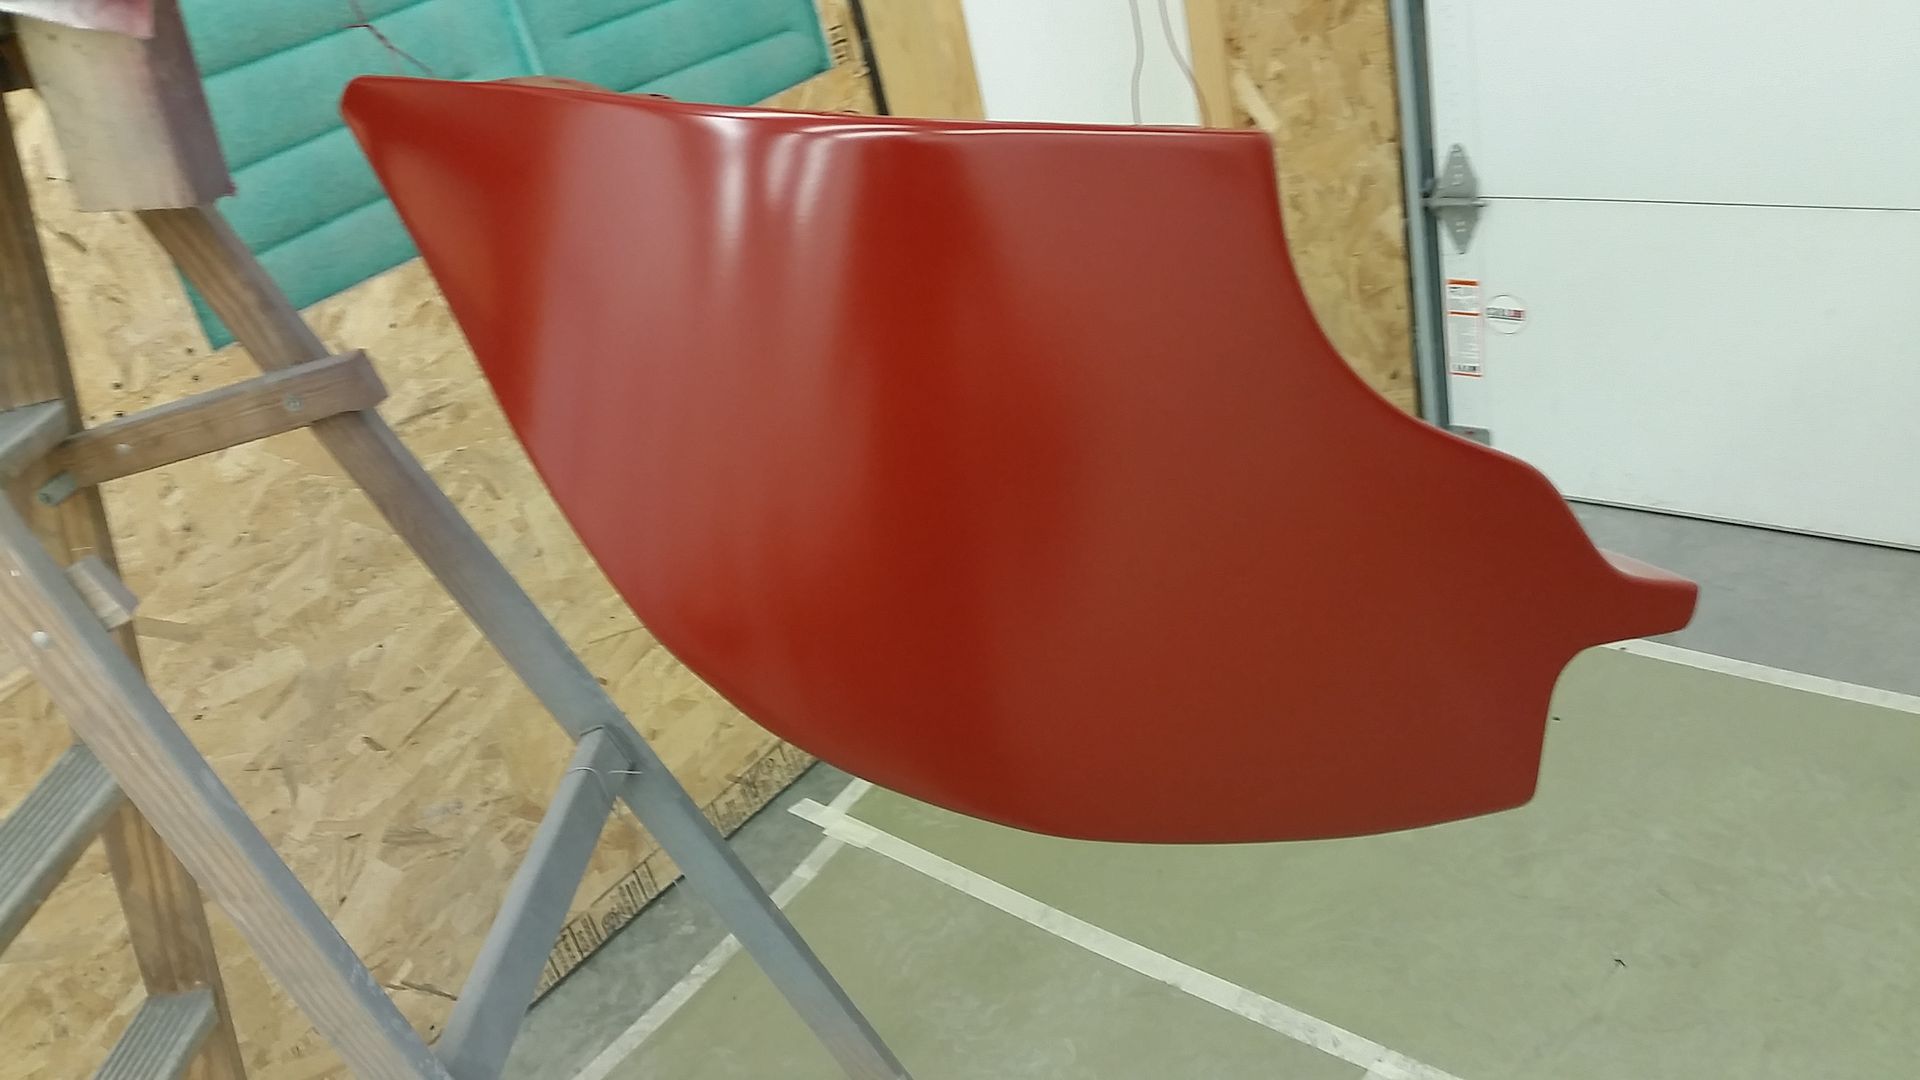
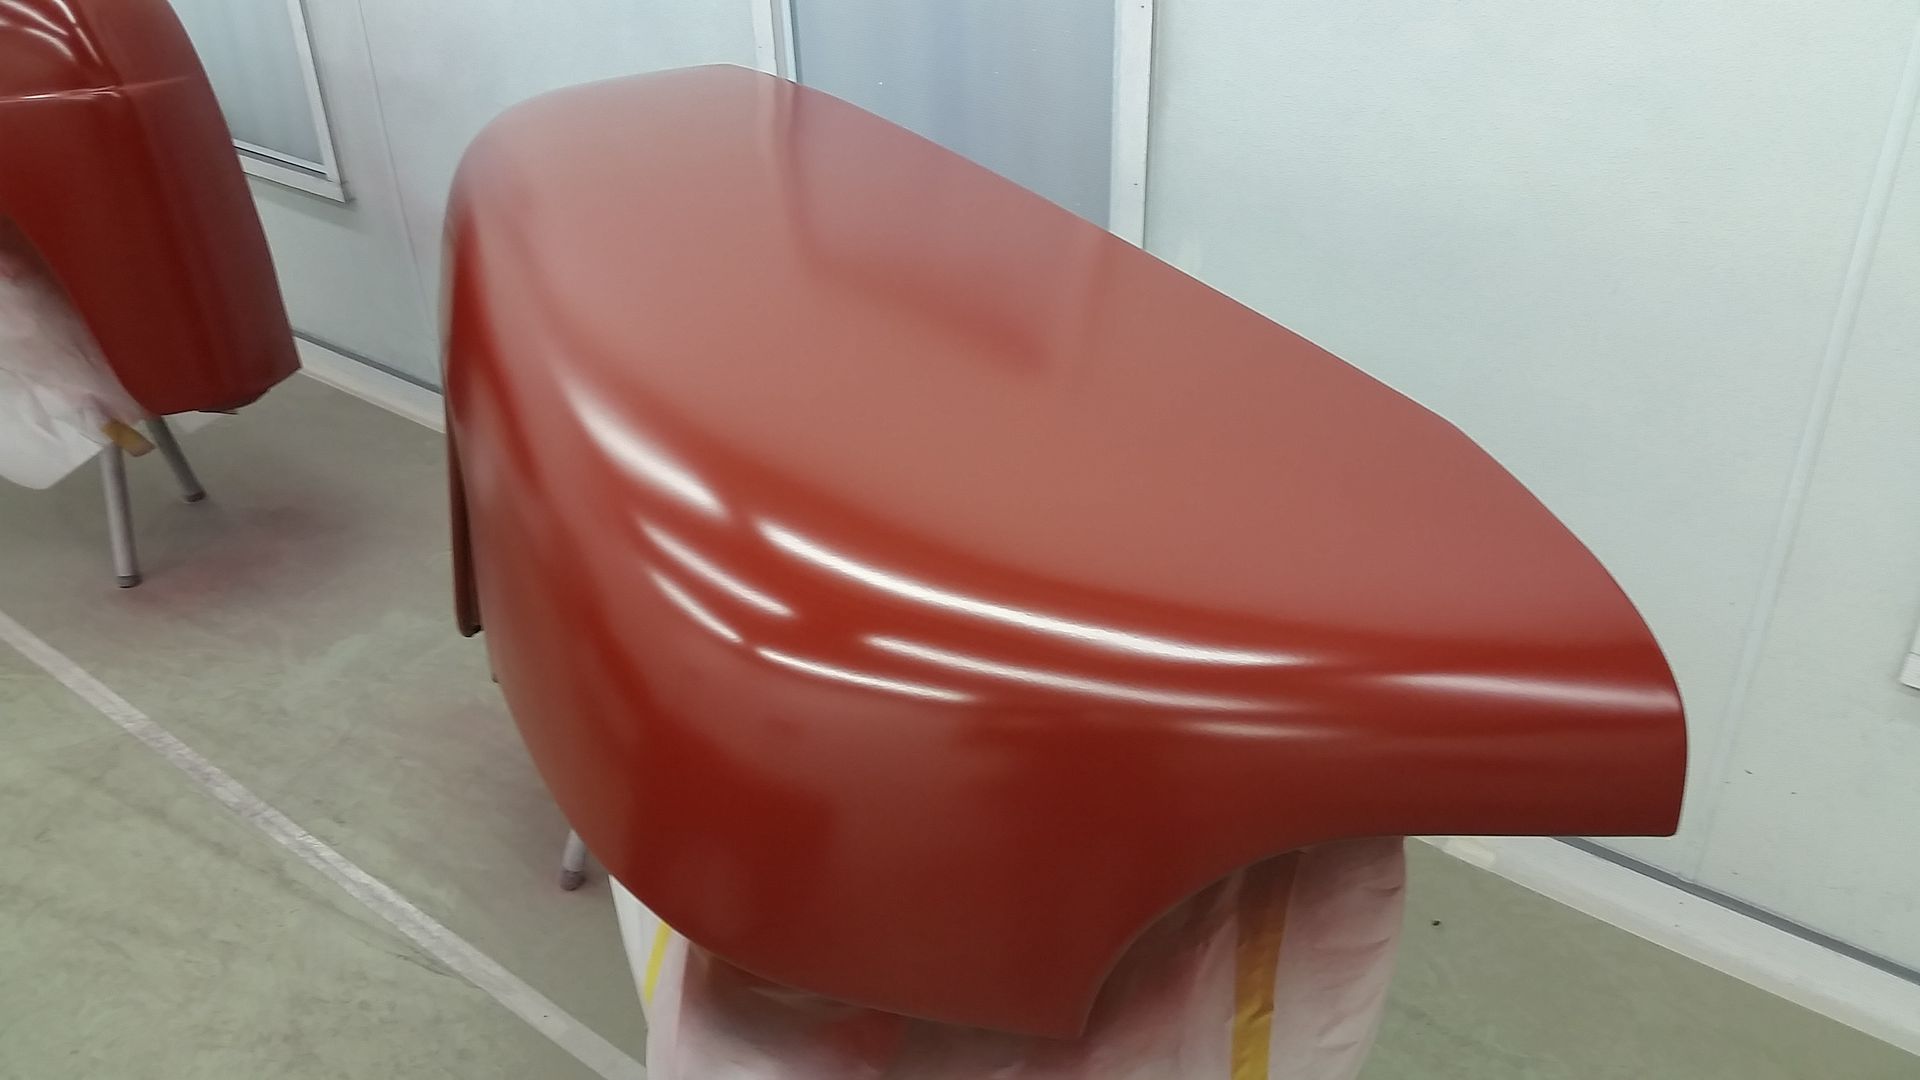
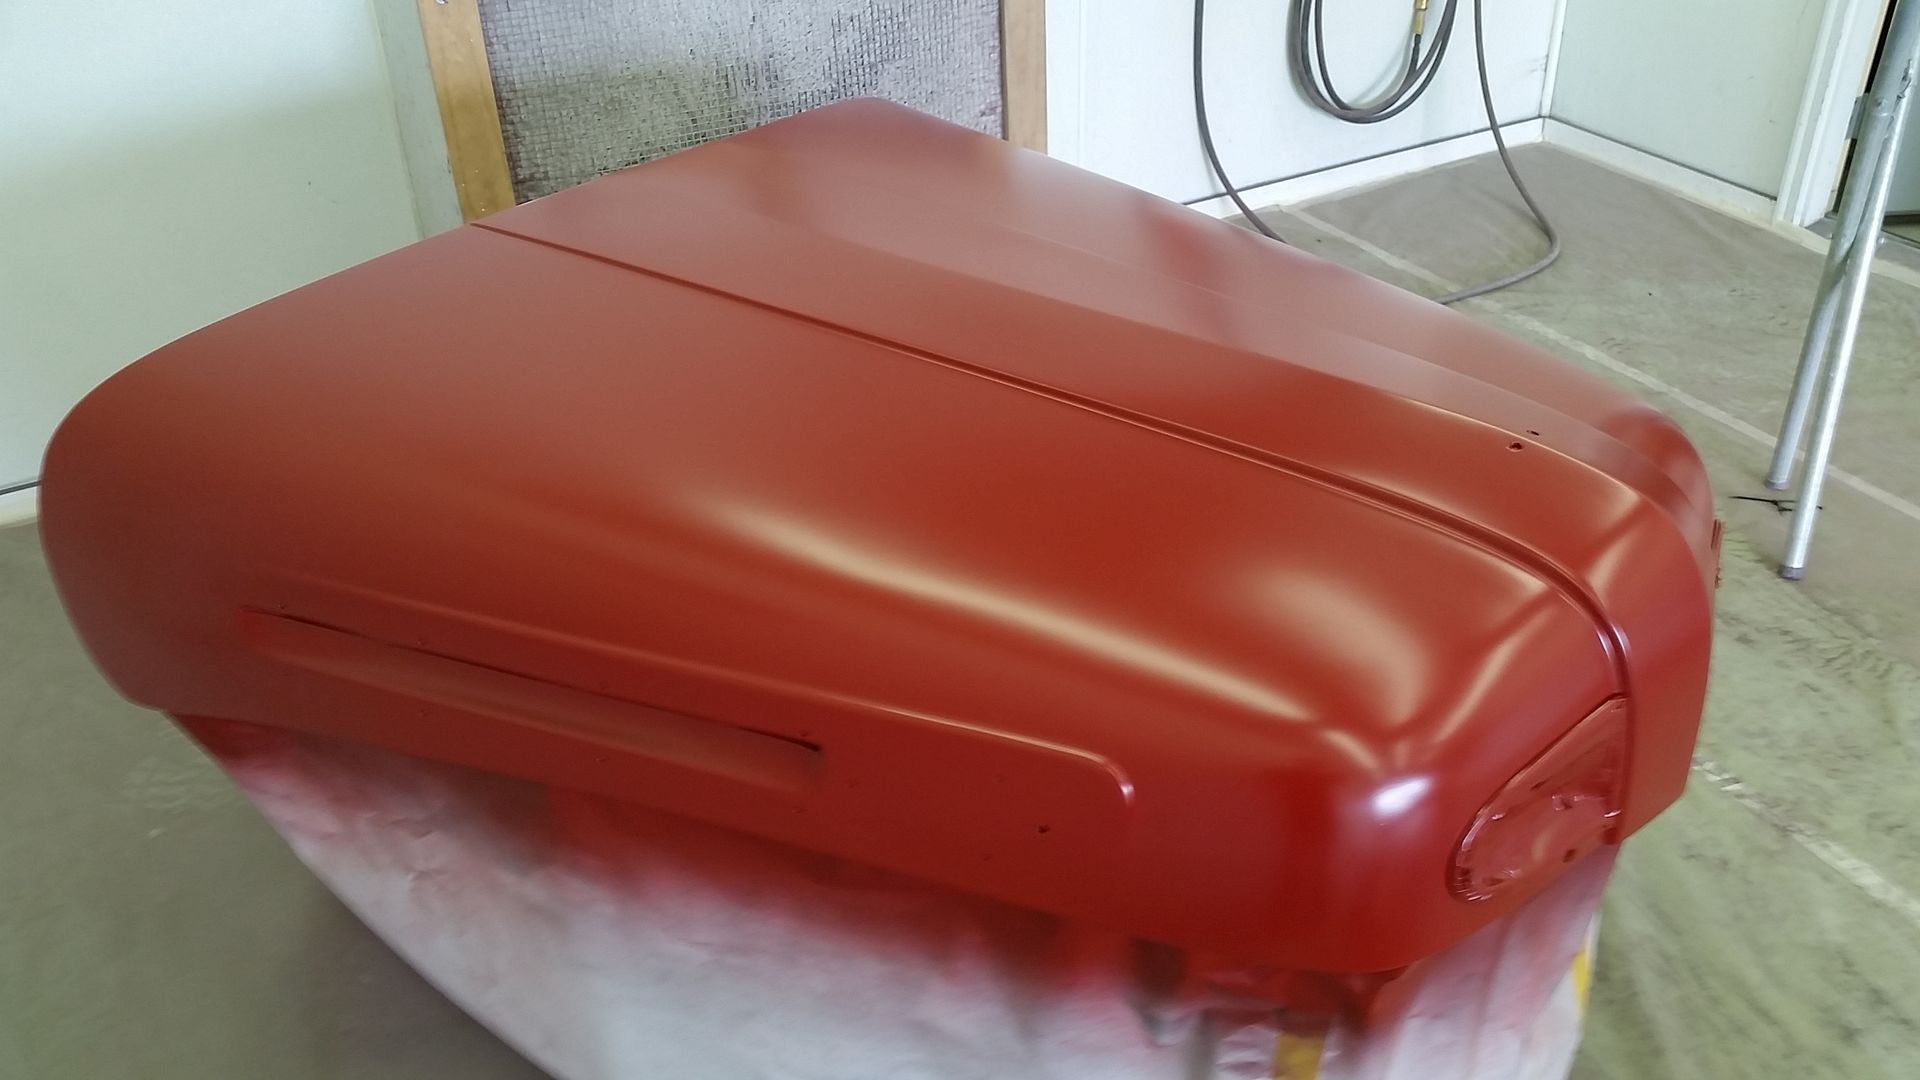
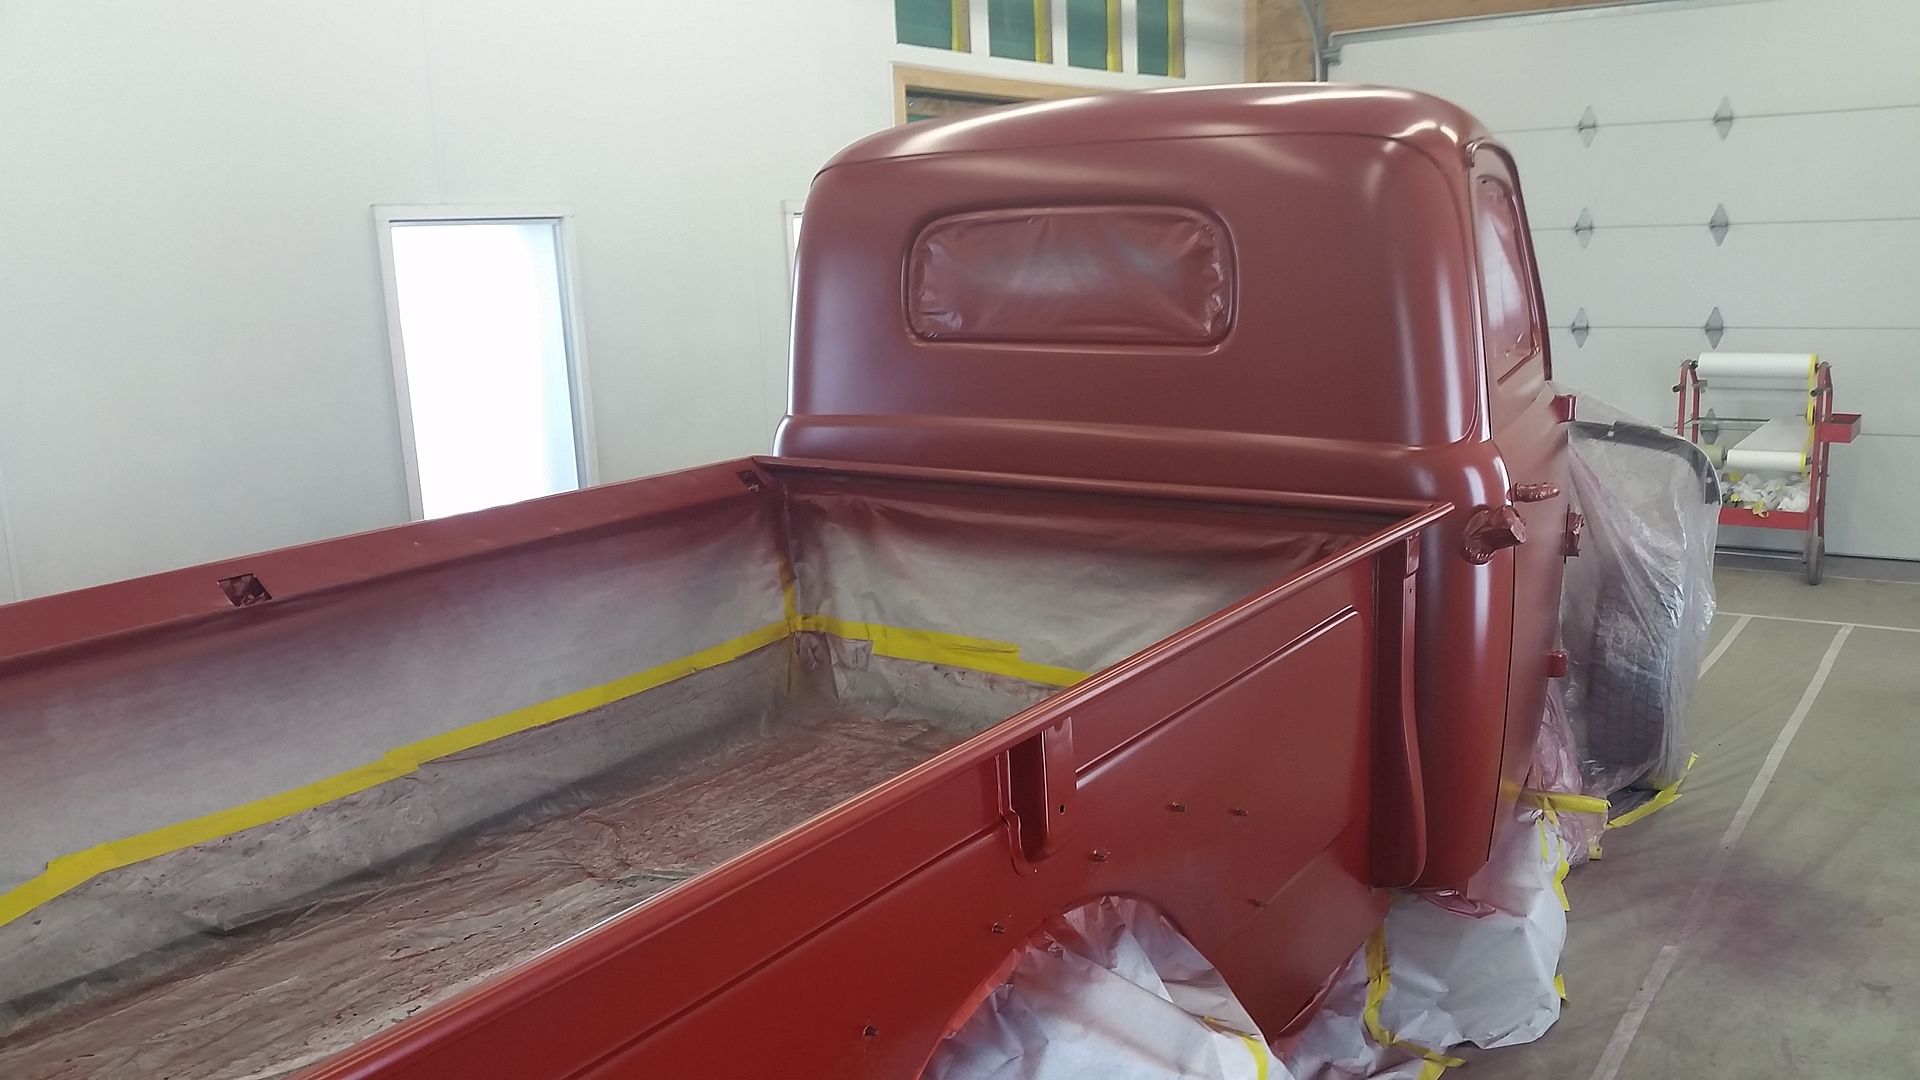
3 coats of Scarlett Red basecoat
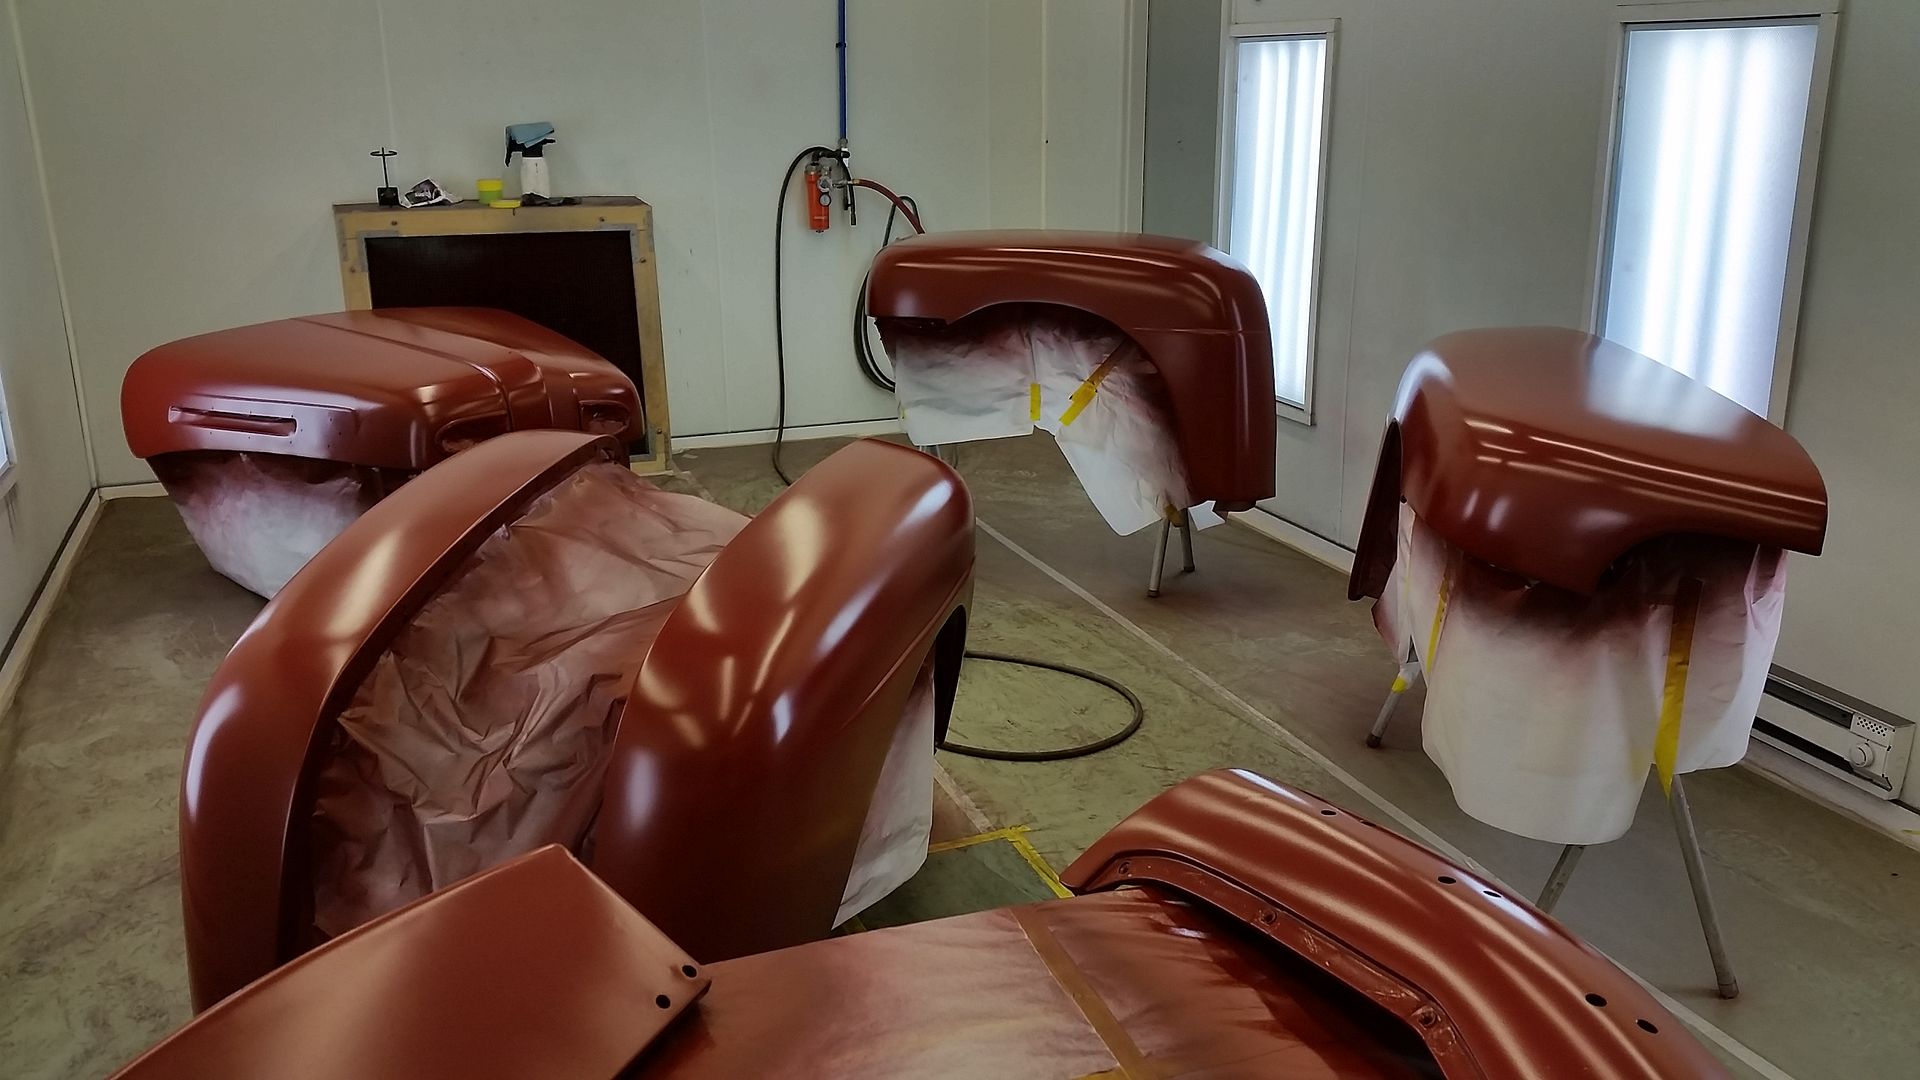
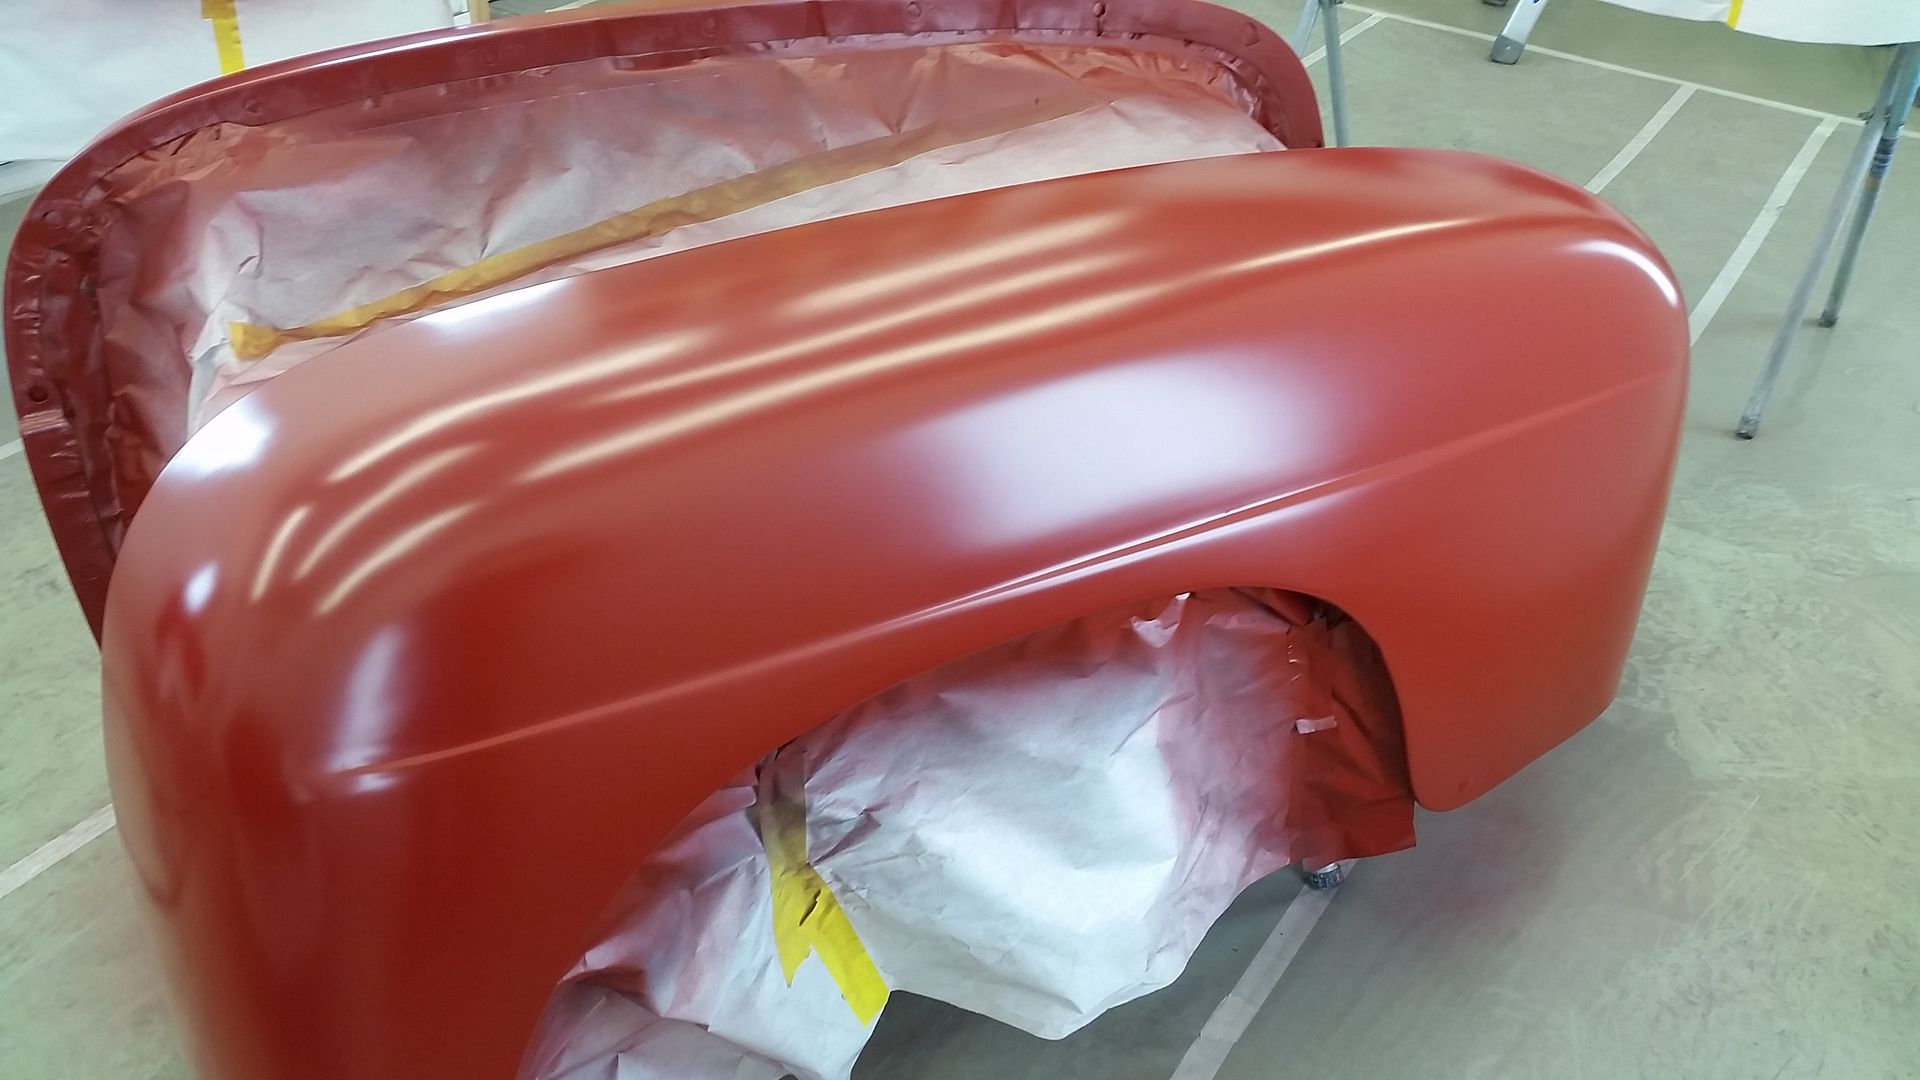
2 coats of UFC35 clear with a flattening agent mixed in. I mixed it at 90% meaning it will have 10% gloss when cured. When spraying a satin clear it goes on shiny then dulls as it cures. It can take up to 8hrs for it to dull out.
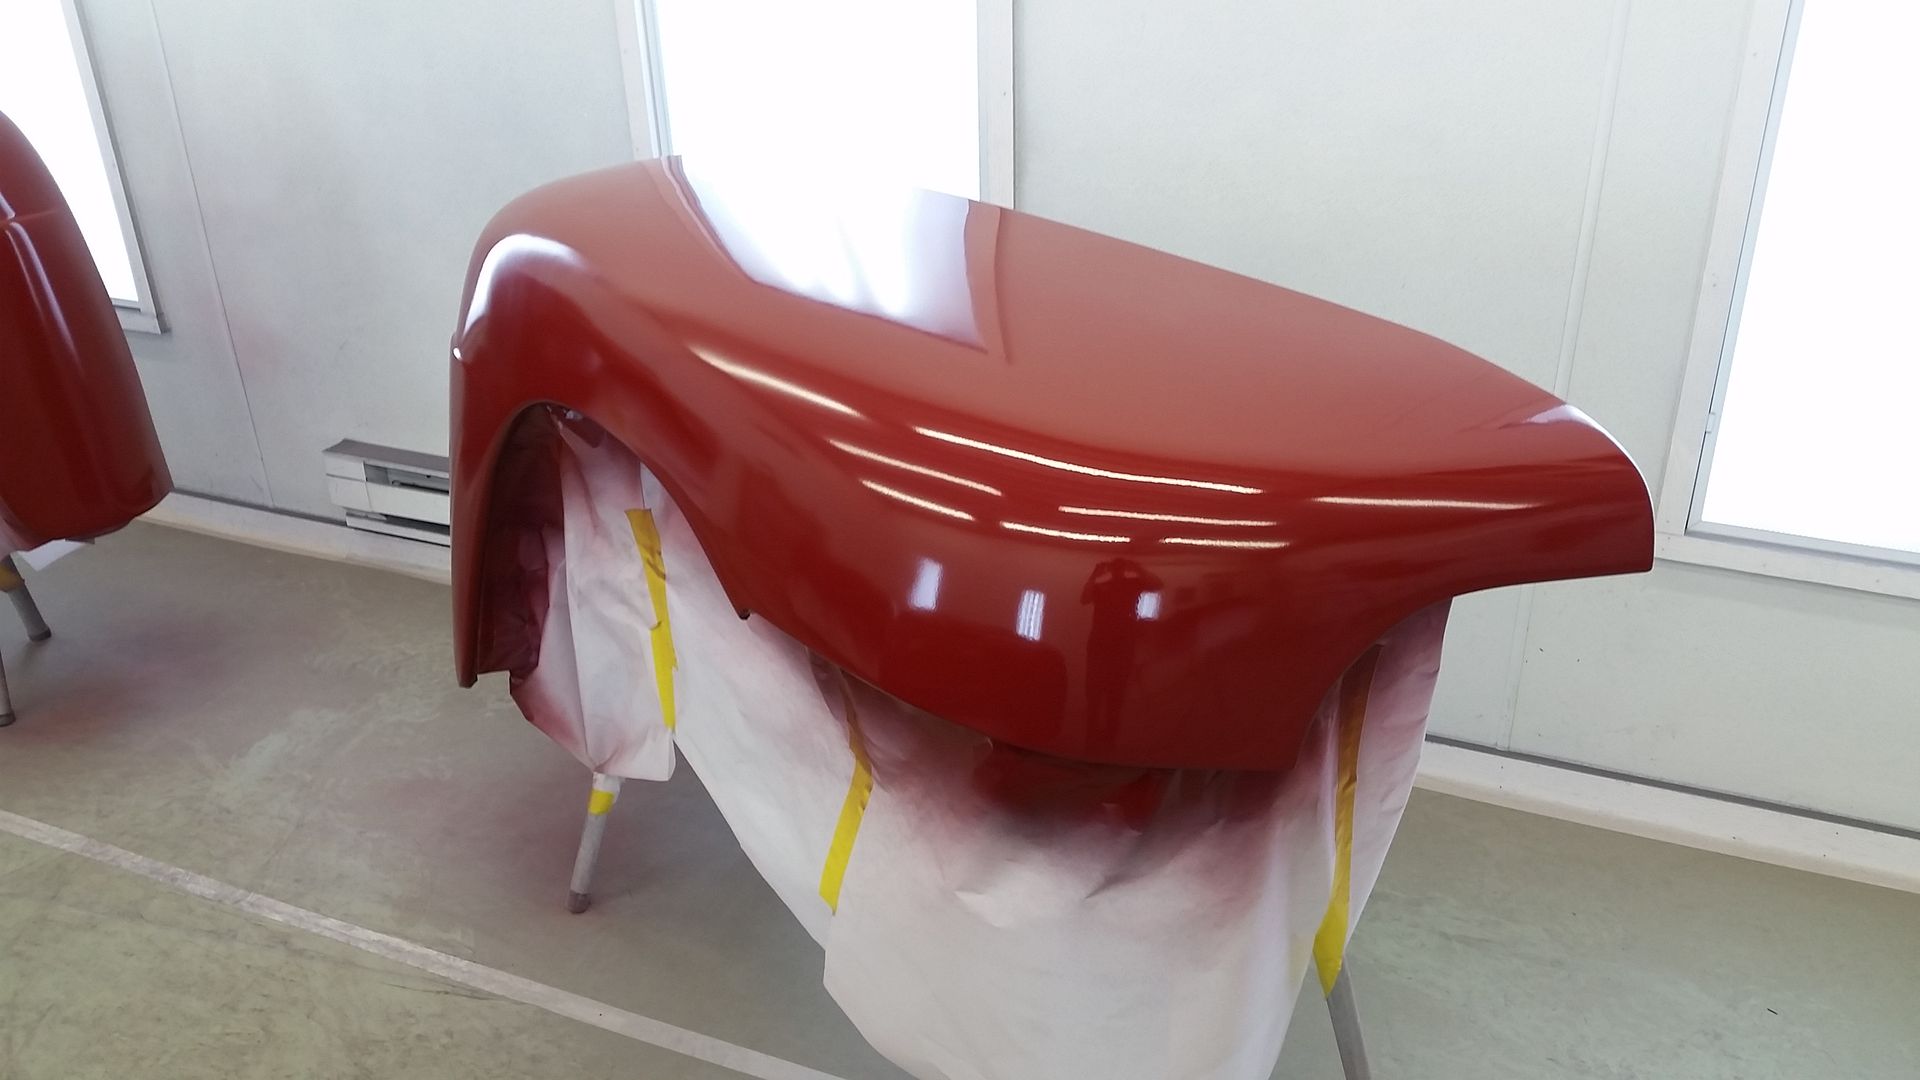
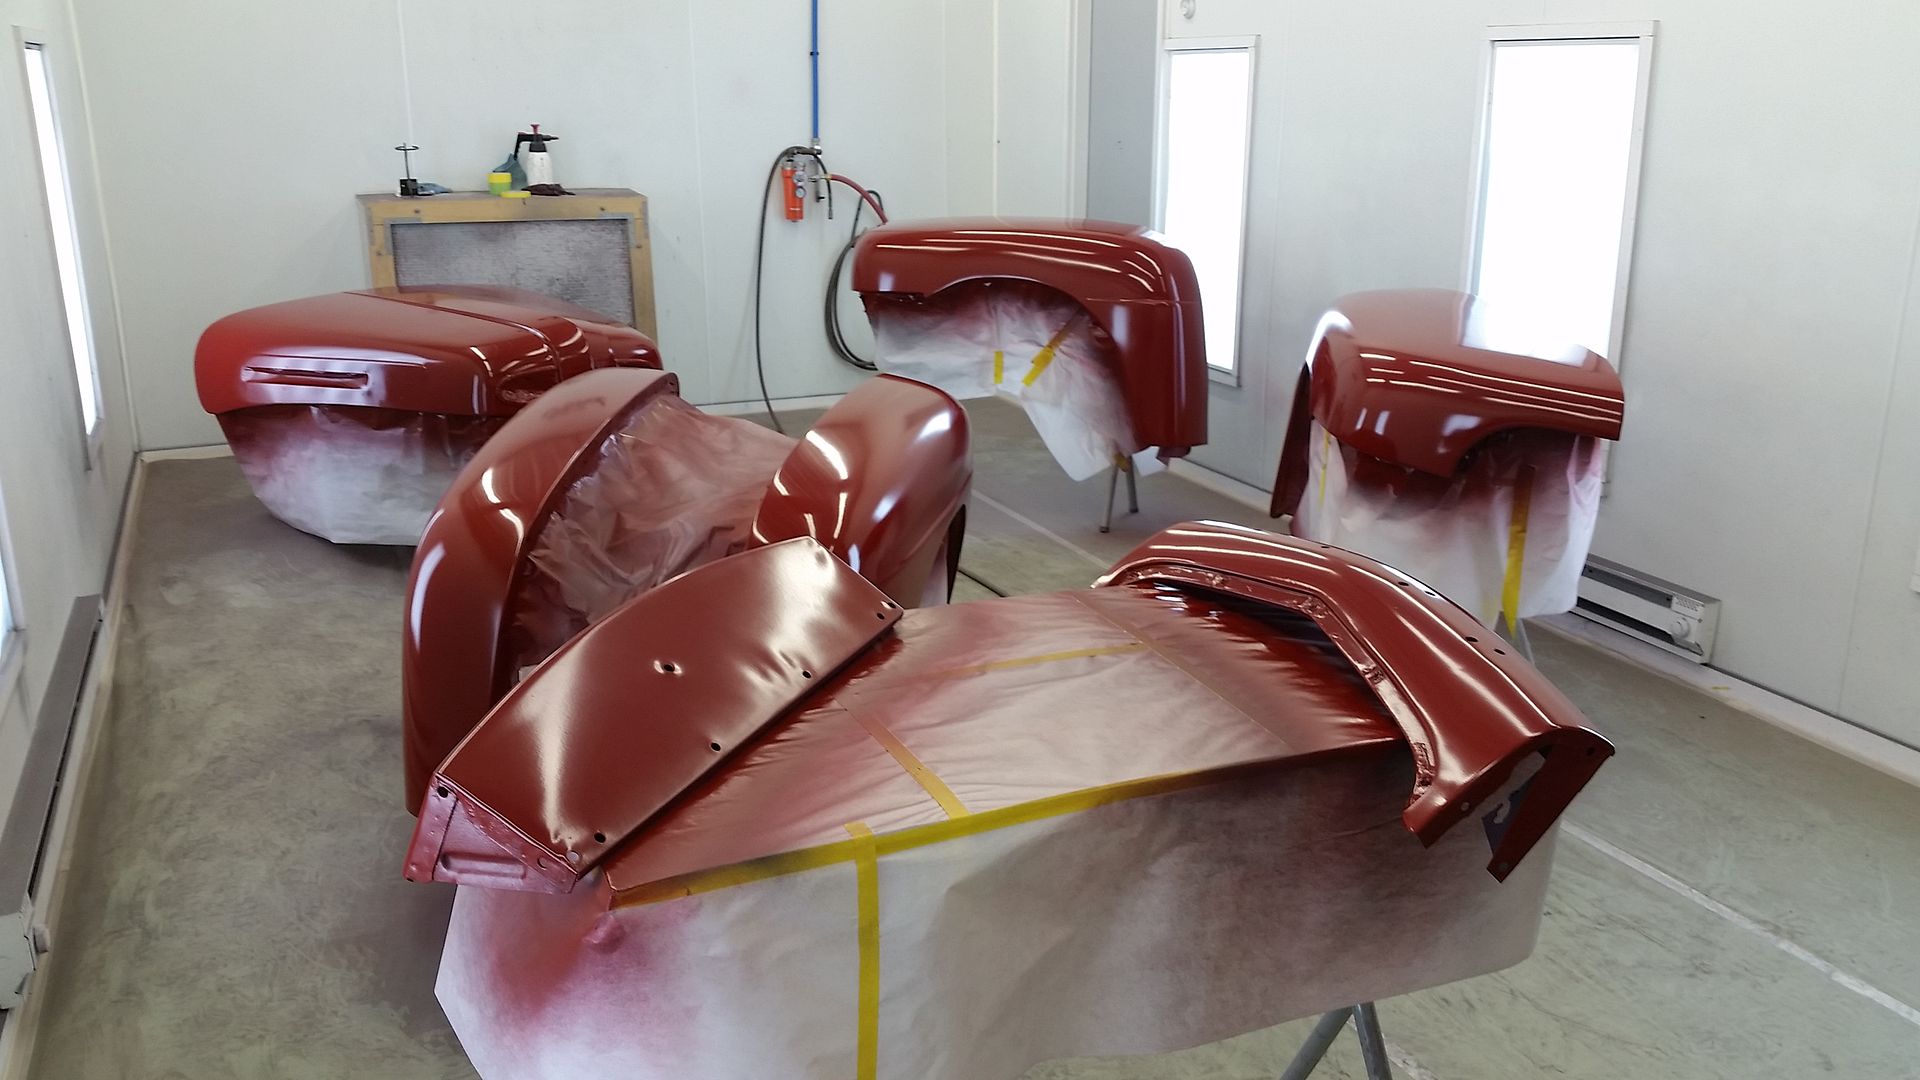
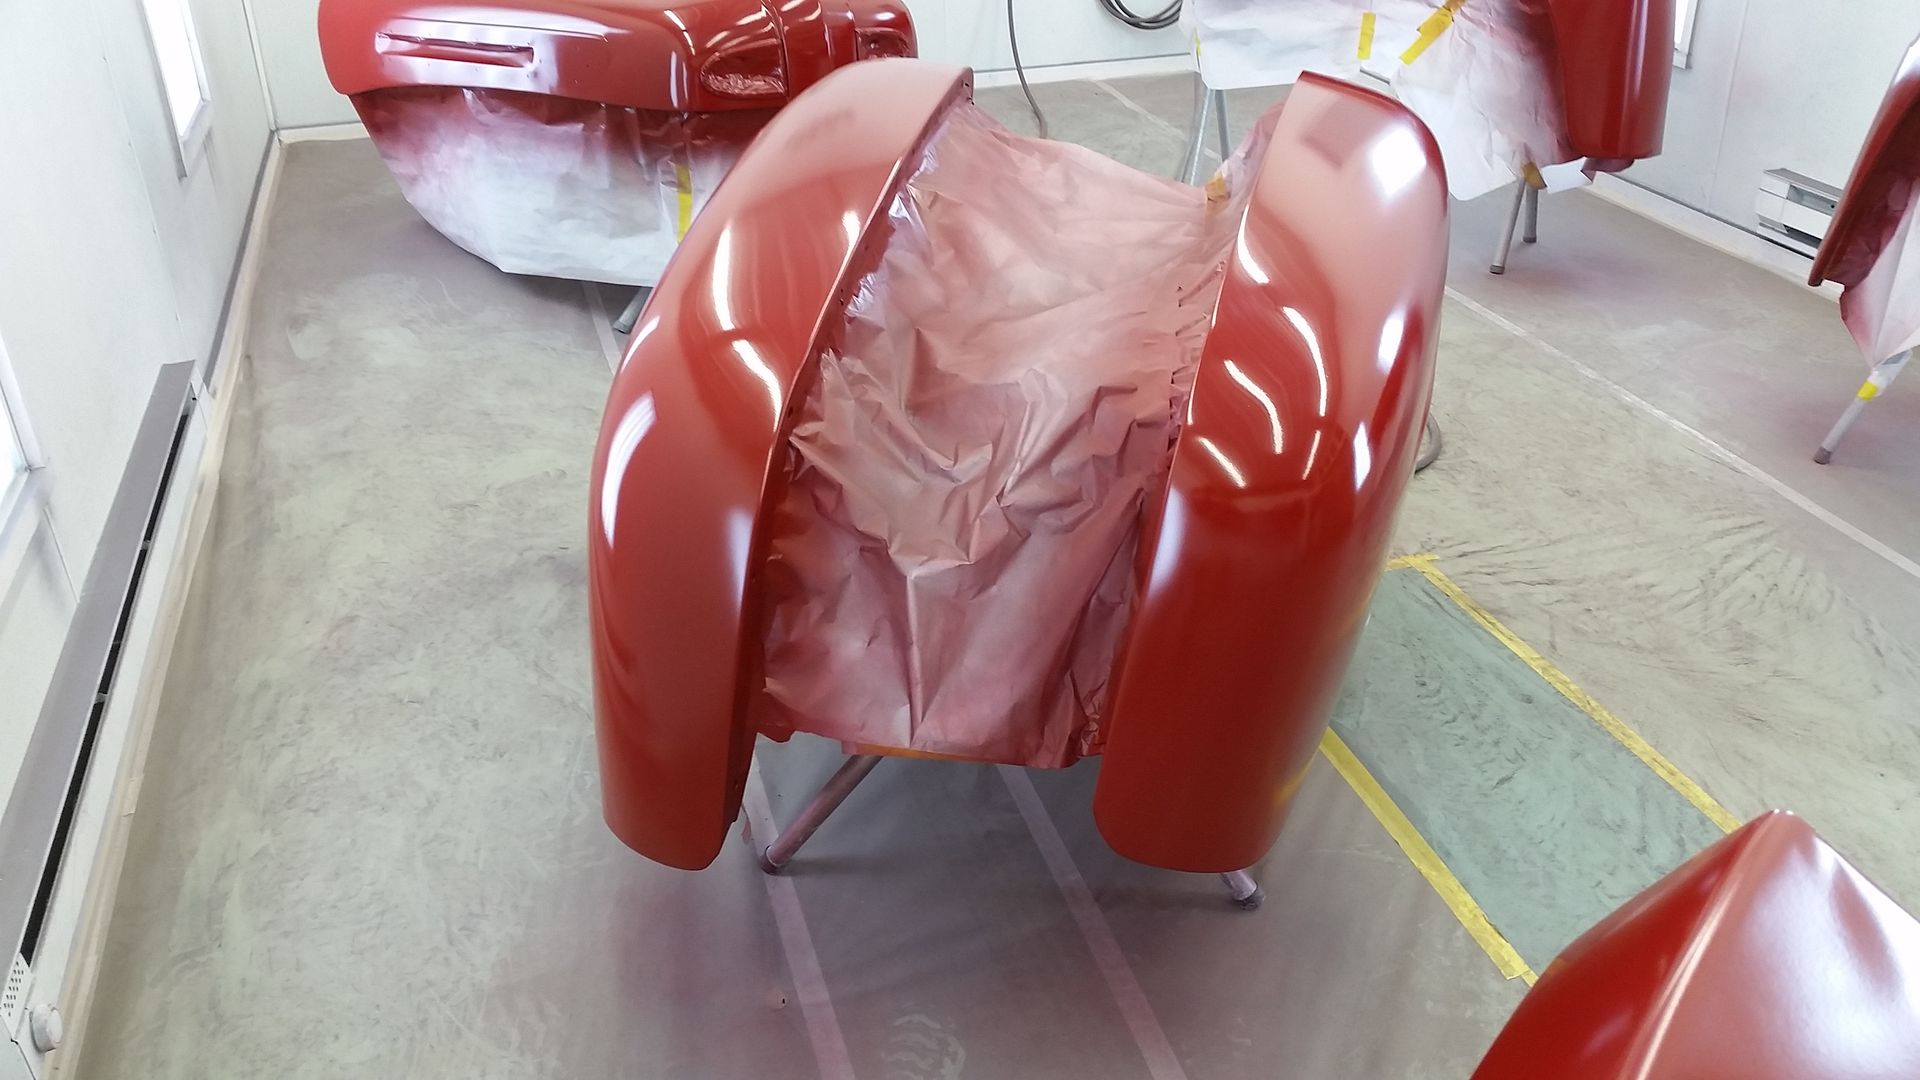
The next morning
Masked and ready for sealer

Dark grey sealer applied

3 coats of Scarlett Red basecoat


2 coats of UFC35 clear with a flattening agent mixed in. I mixed it at 90% meaning it will have 10% gloss when cured. When spraying a satin clear it goes on shiny then dulls as it cures. It can take up to 8hrs for it to dull out.


The next morning


#21
08-18-2015, 09:31 PM
Join Date: Aug 2015
Location: Perry, IA
Posts: 20
Likes: 0
Received 0 Likes
on
0 Posts
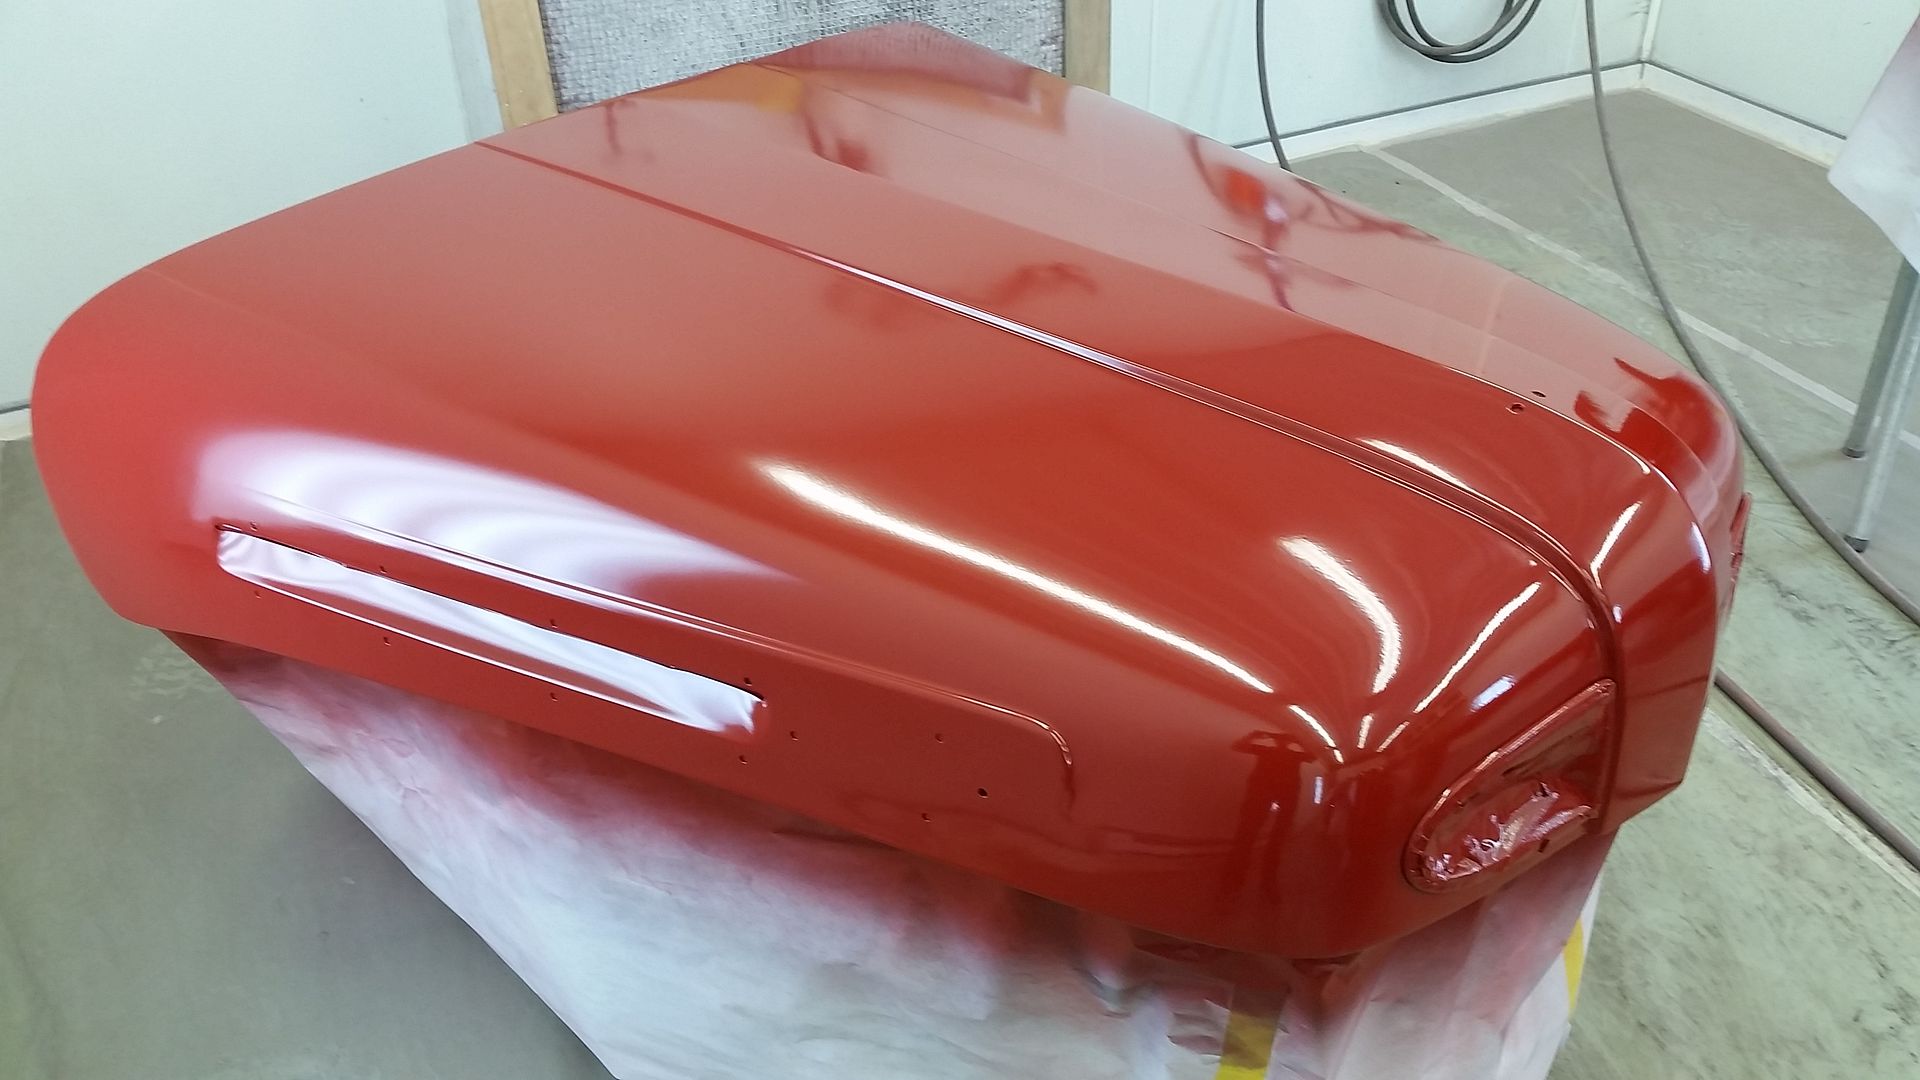
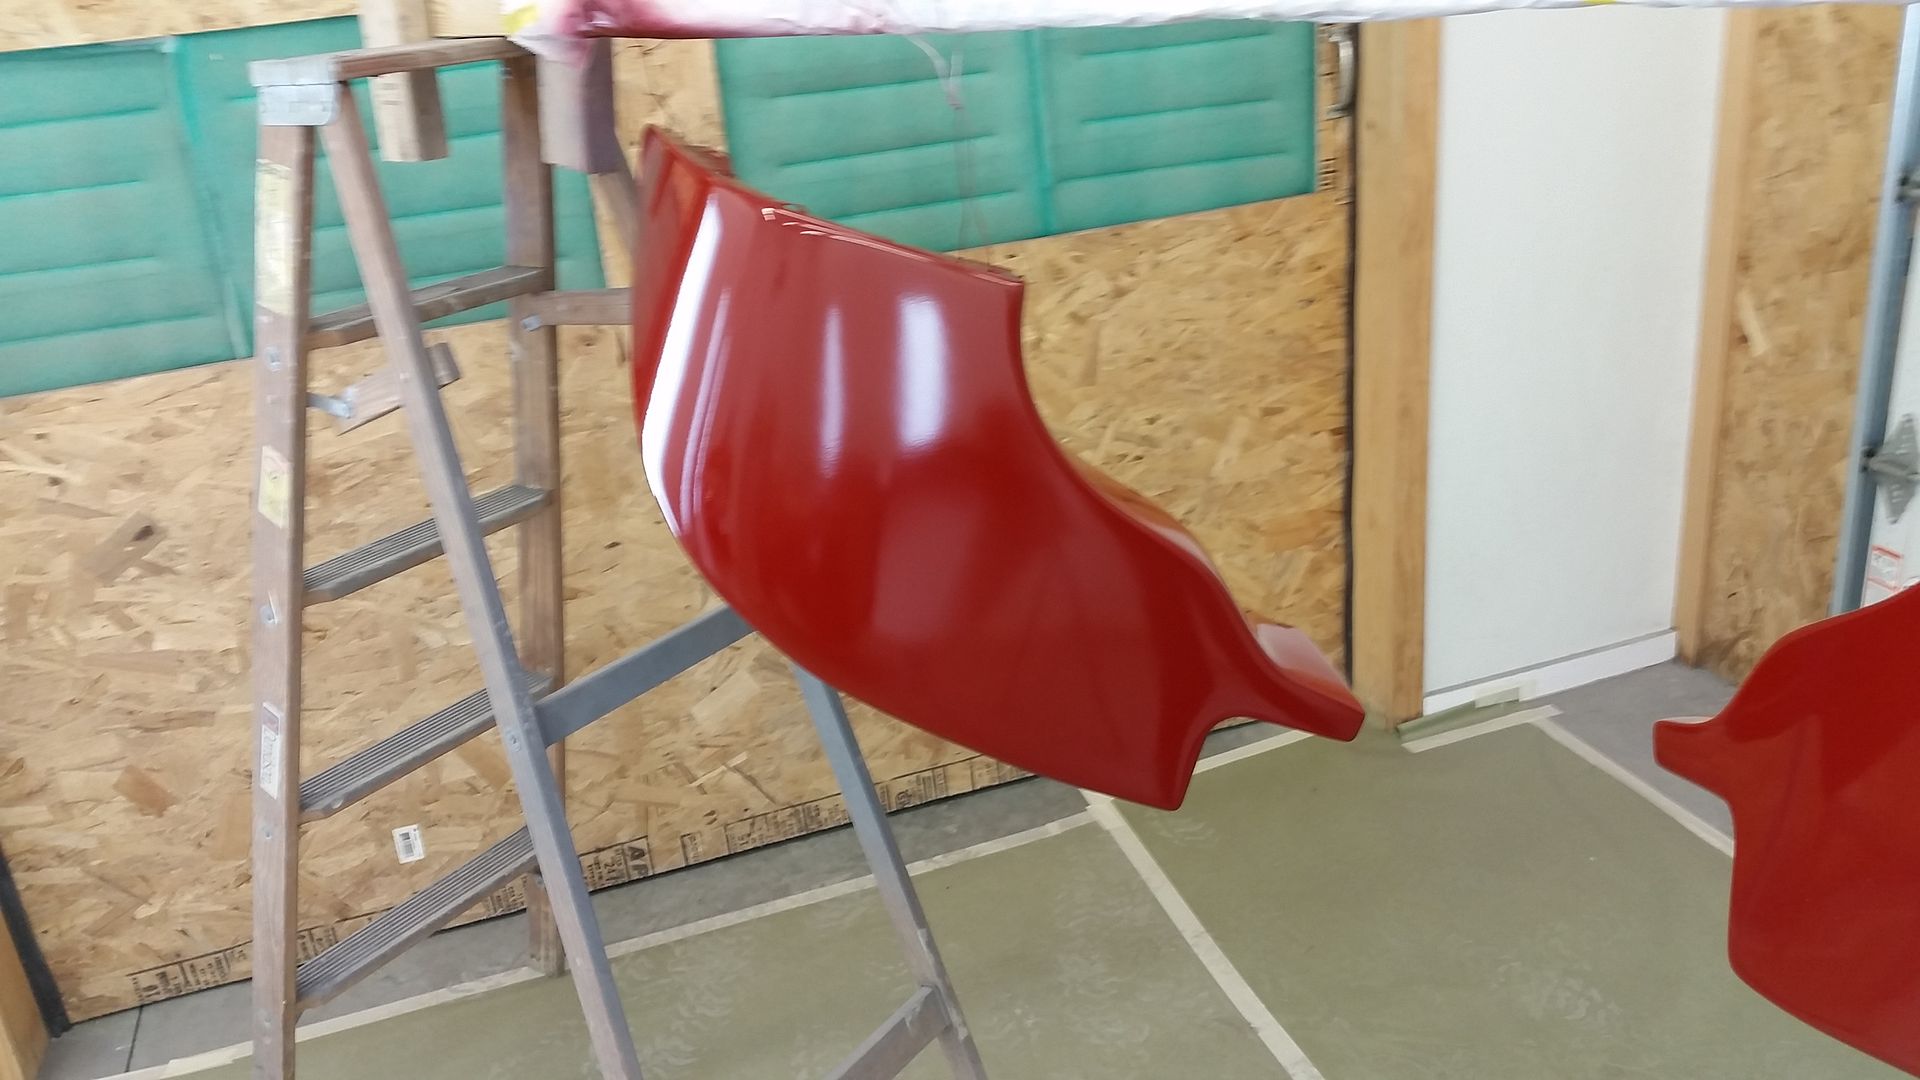
After the doghouse & rear fenders had cured for 24hrs
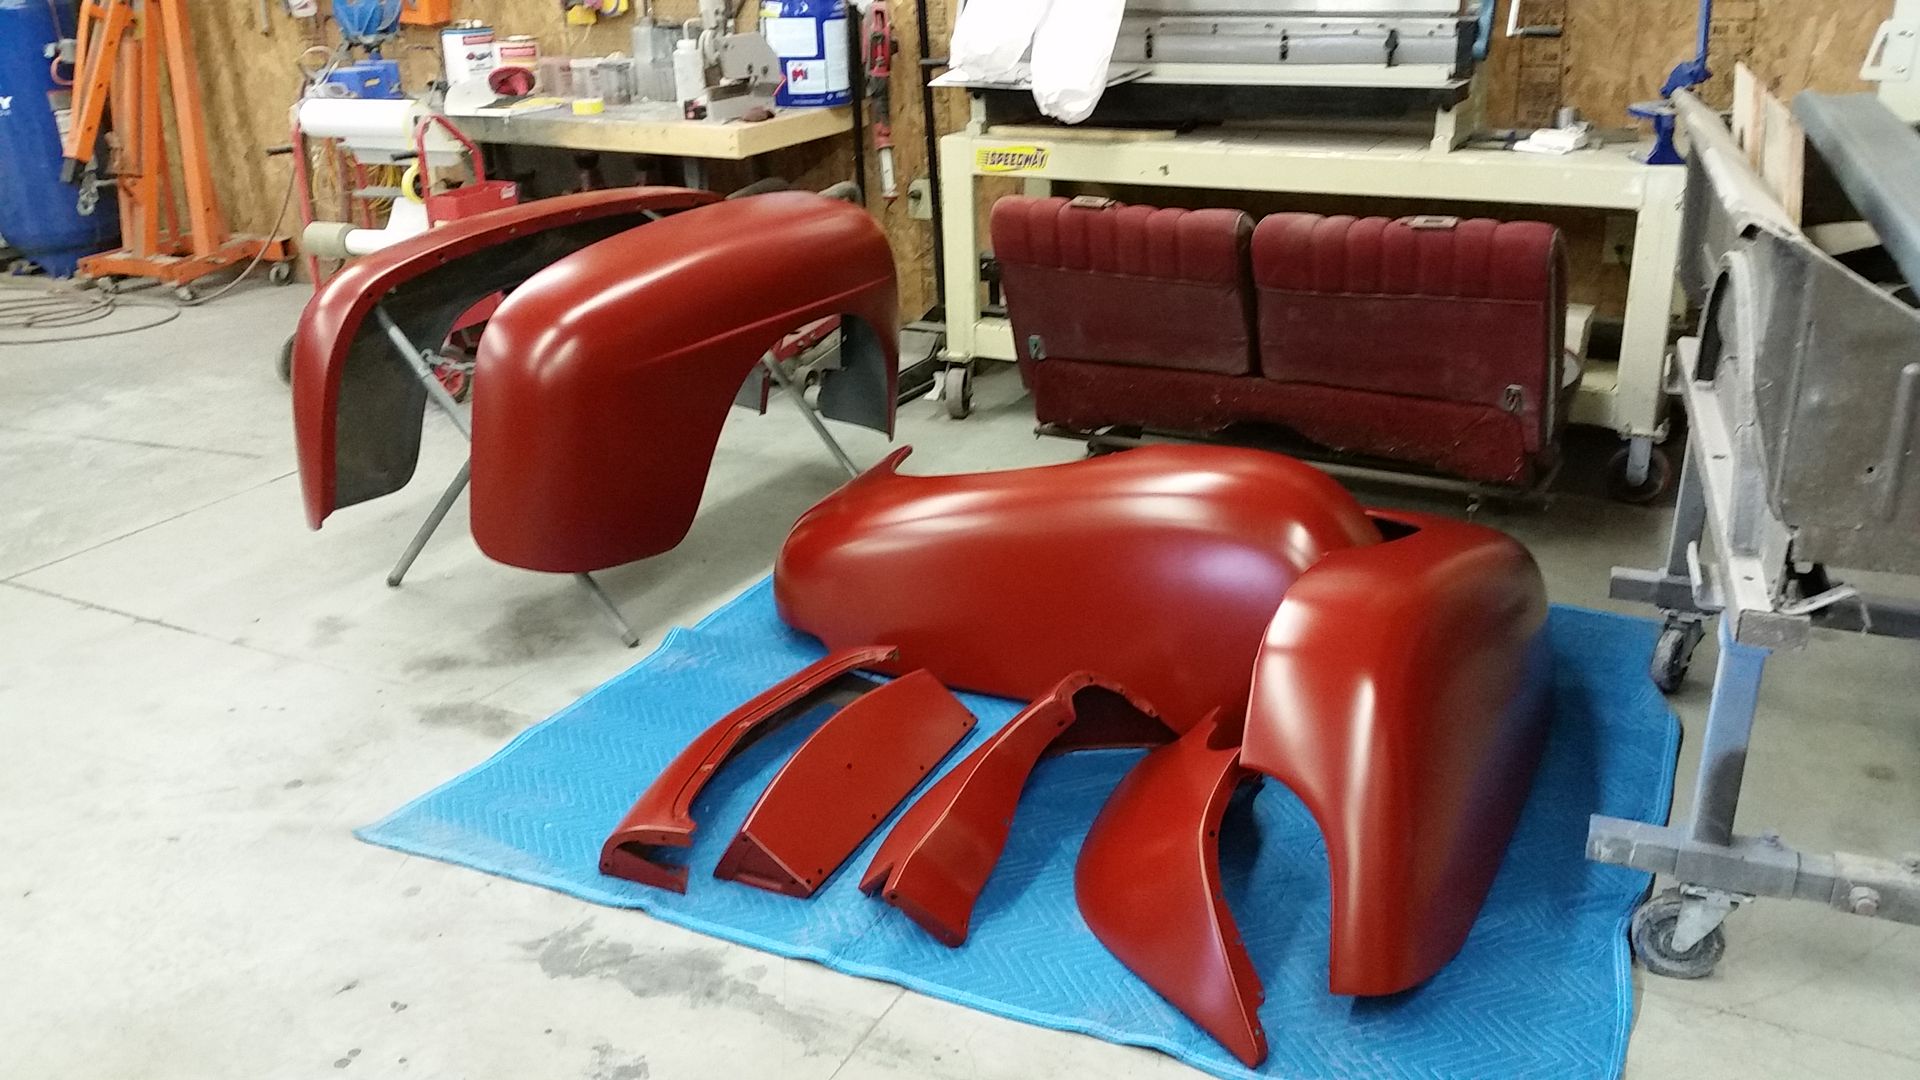
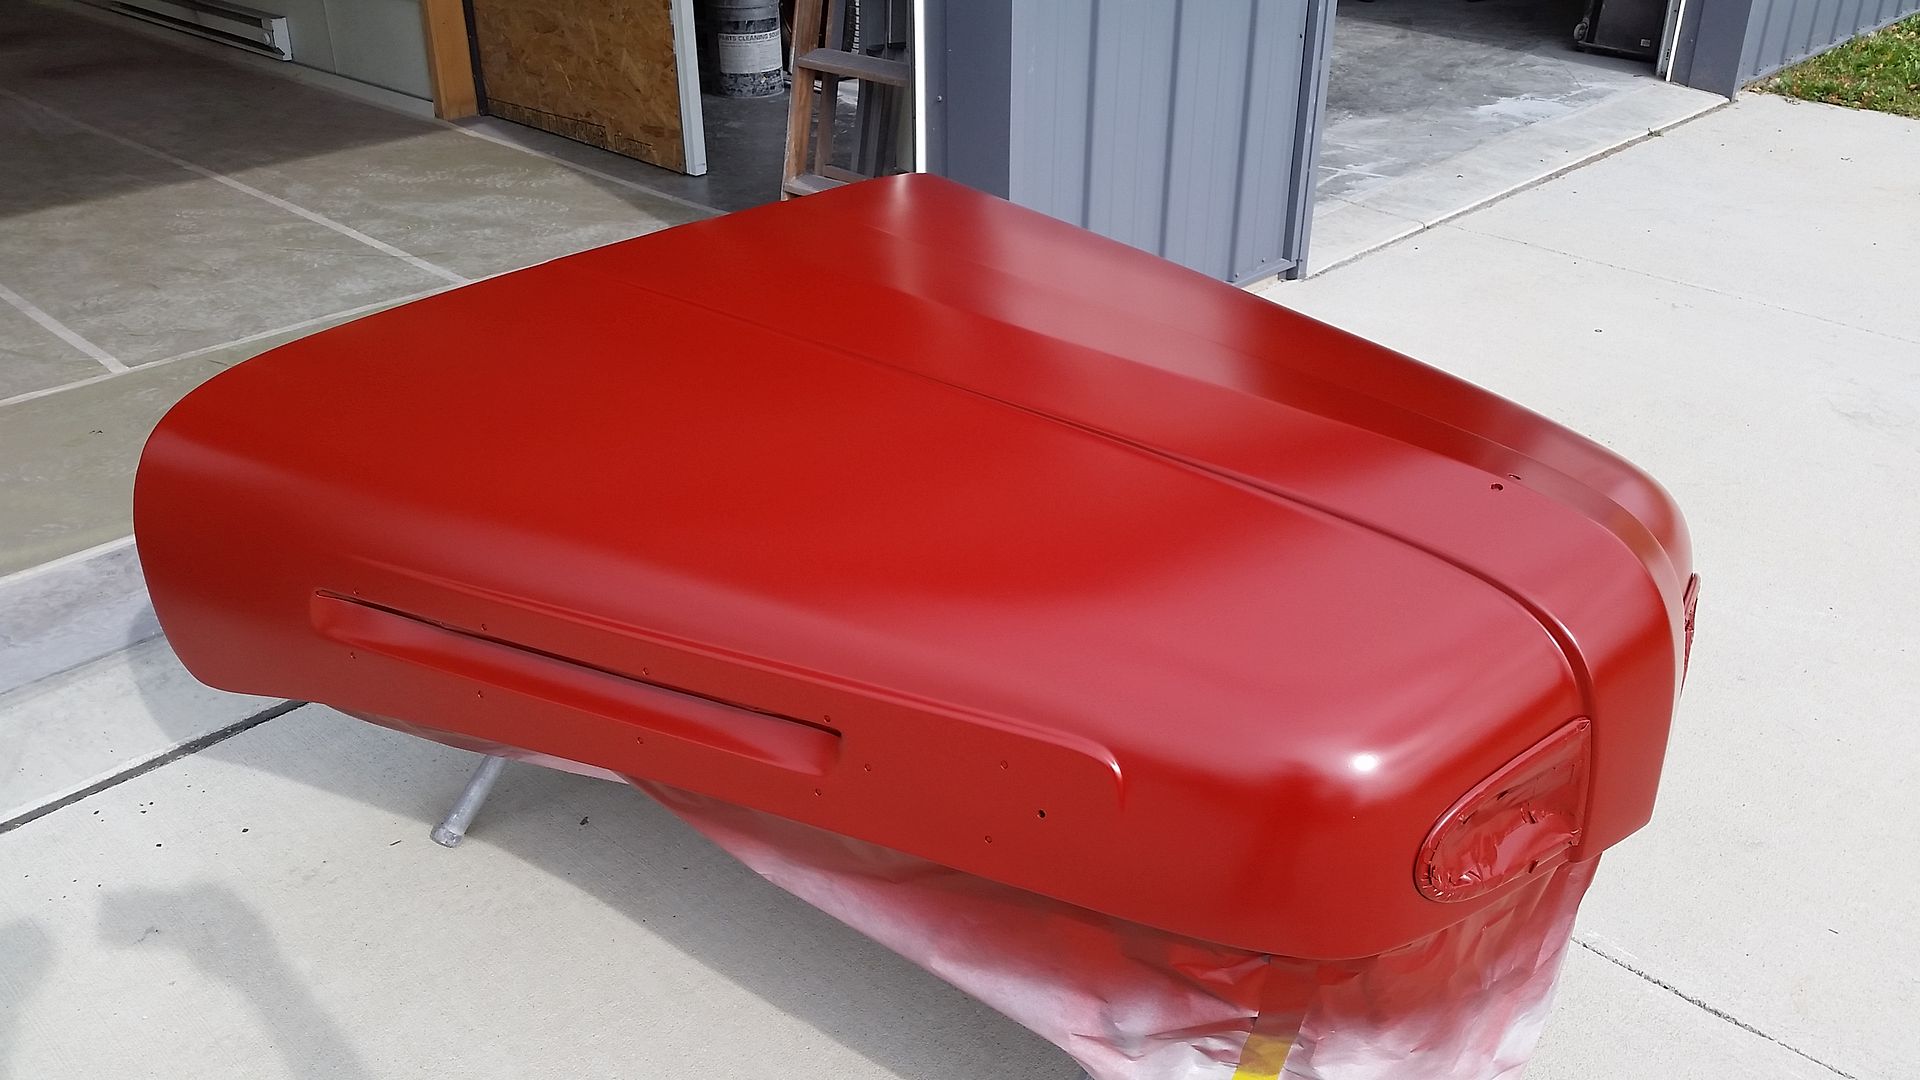
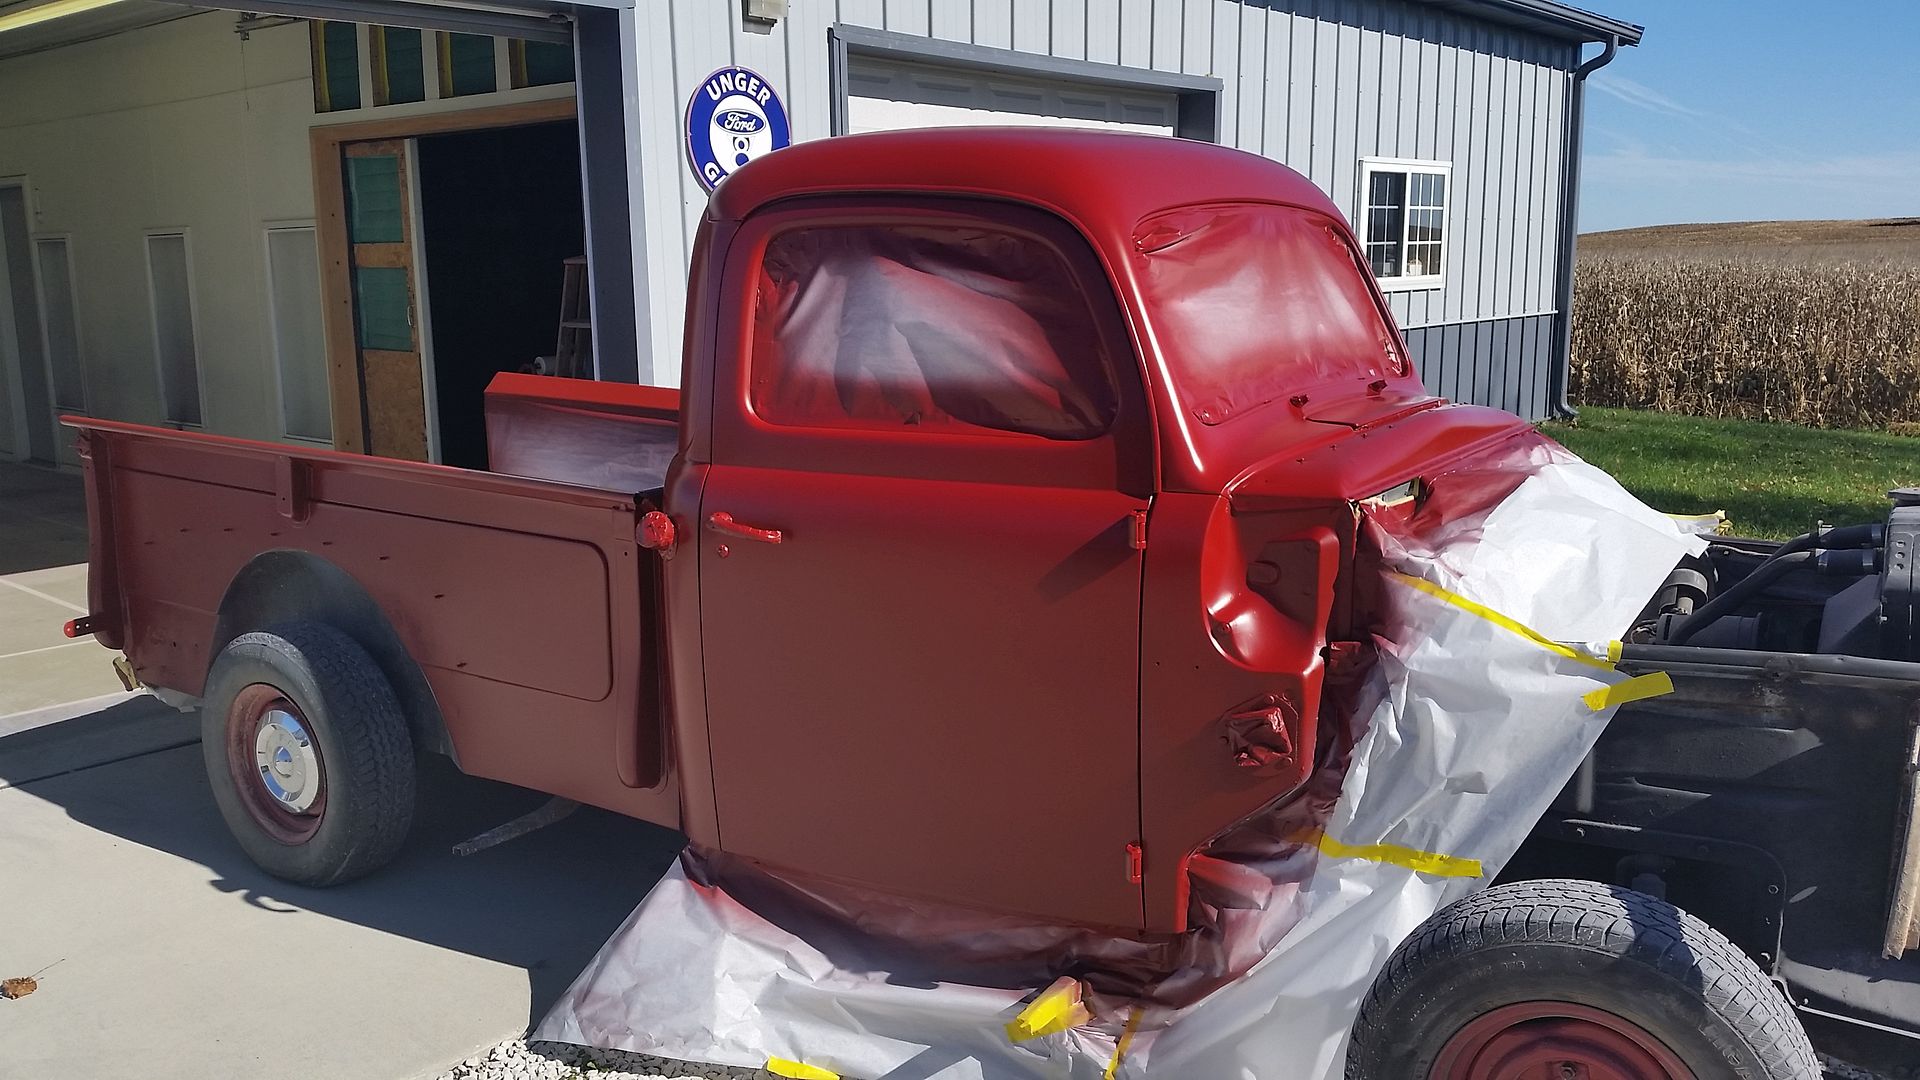
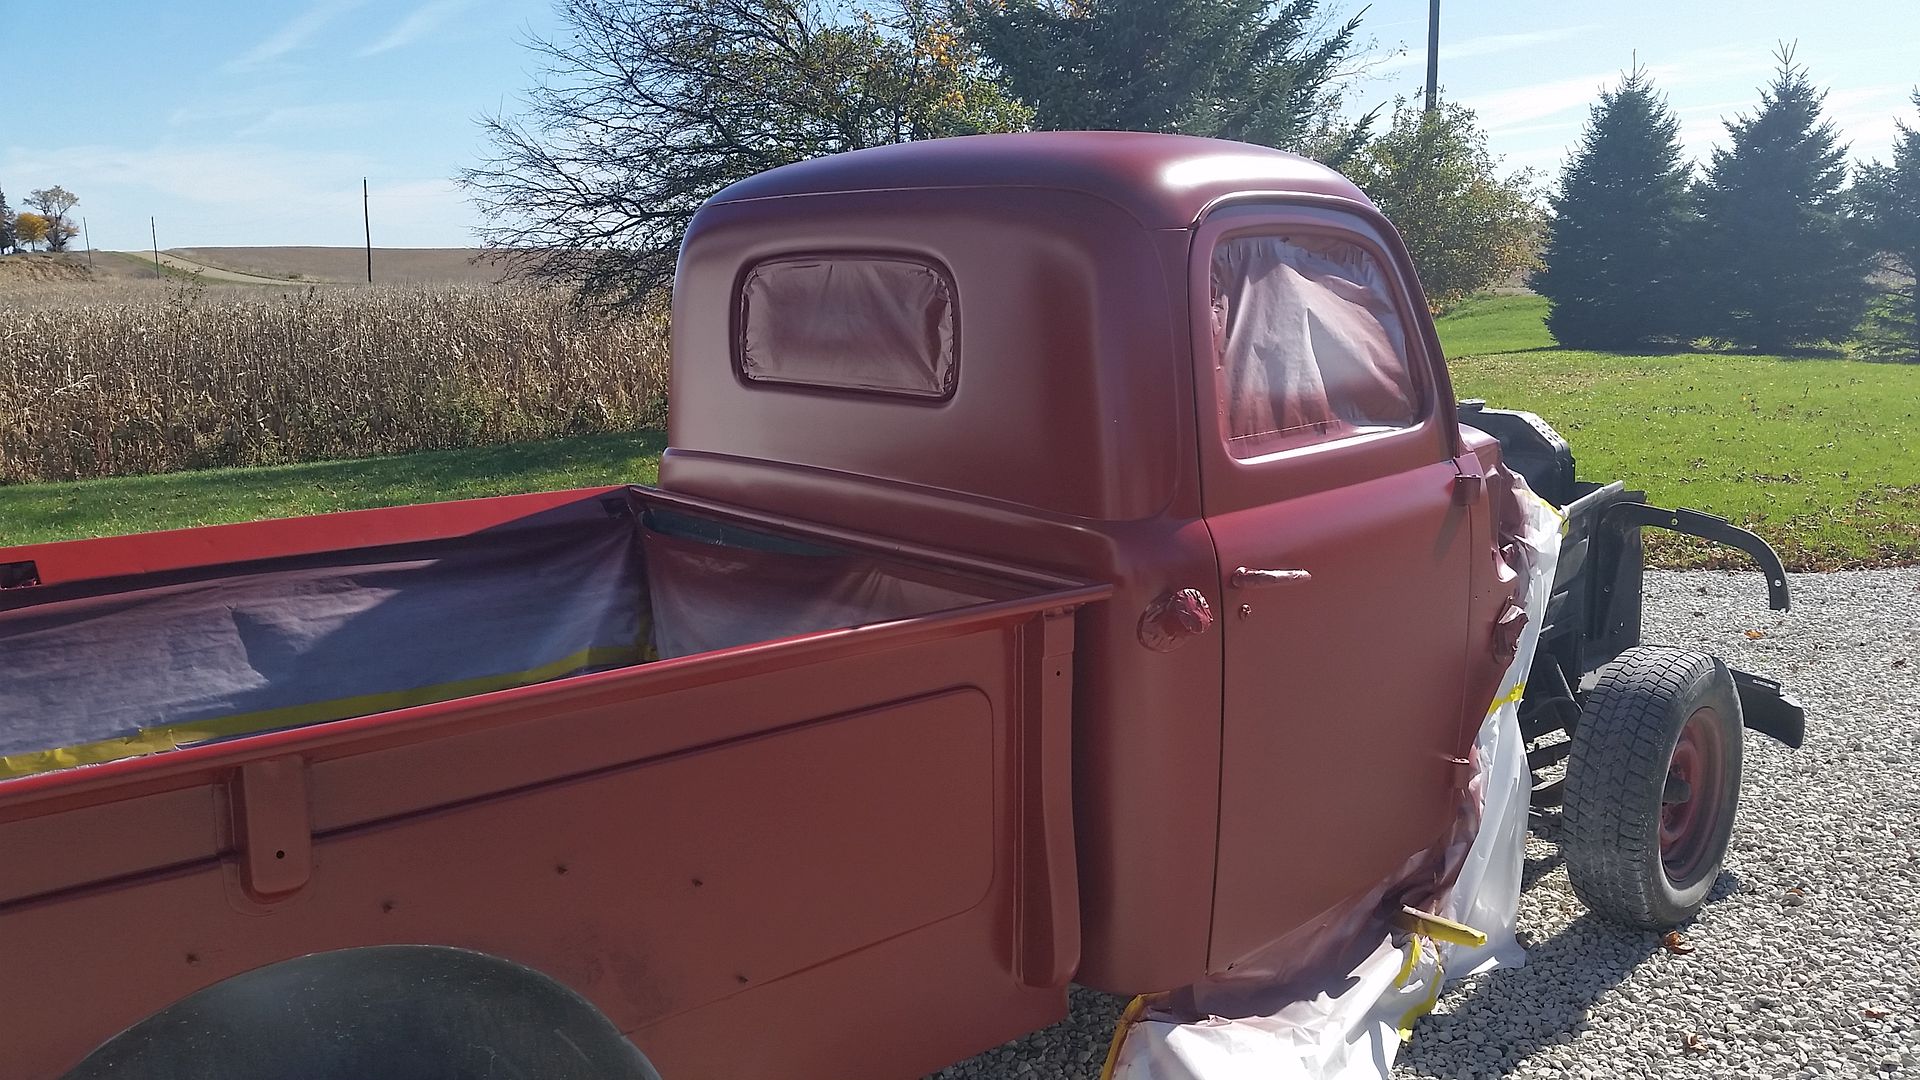
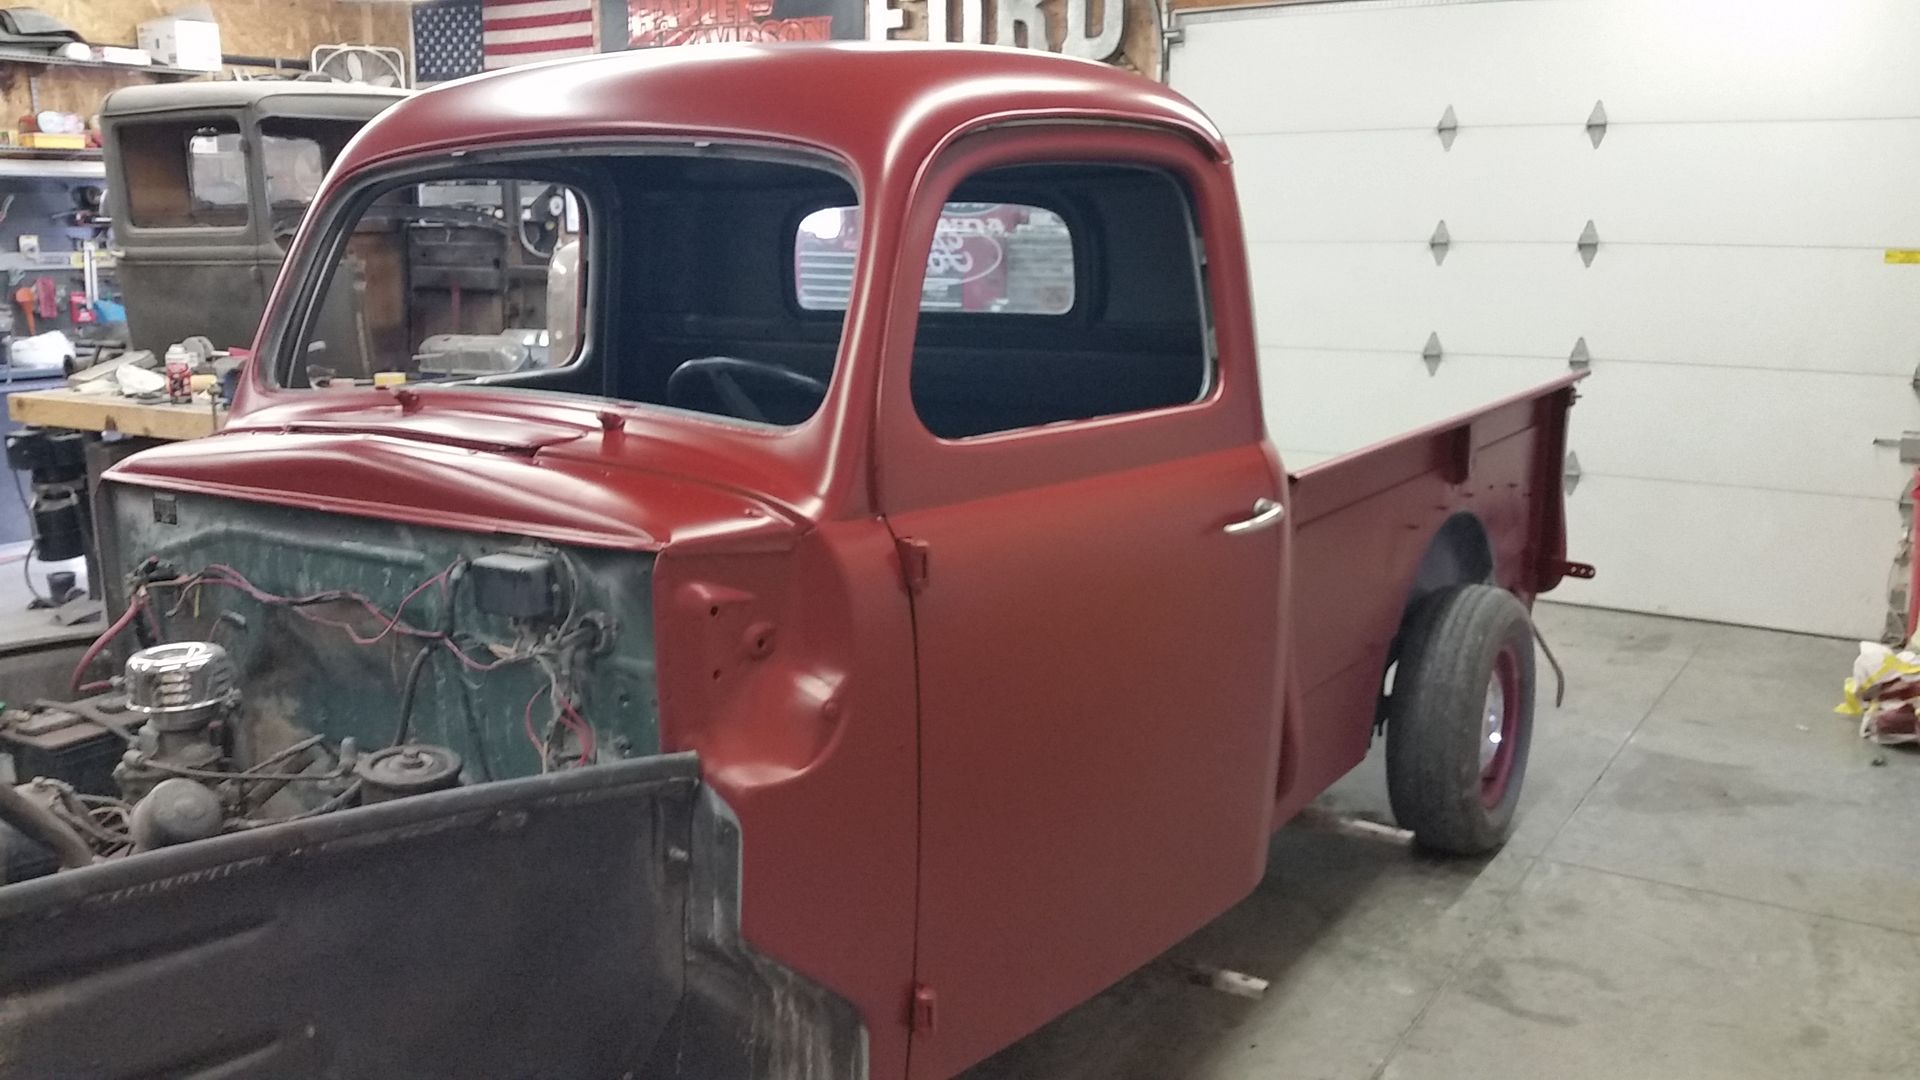
On customer jobs I will not paint a cab & bed together while still bolted down to the frame. Since this is more a shop truck build I didn't want to pull the bed so I just painted it together. I didn't take many pics that day till after it was shot. Went through the same process as the other parts..dark grey sealer fallowed by 3 coats of base color then a couple coats of flattened clear. The first couple pics are from when it was still curing so it has more shine.
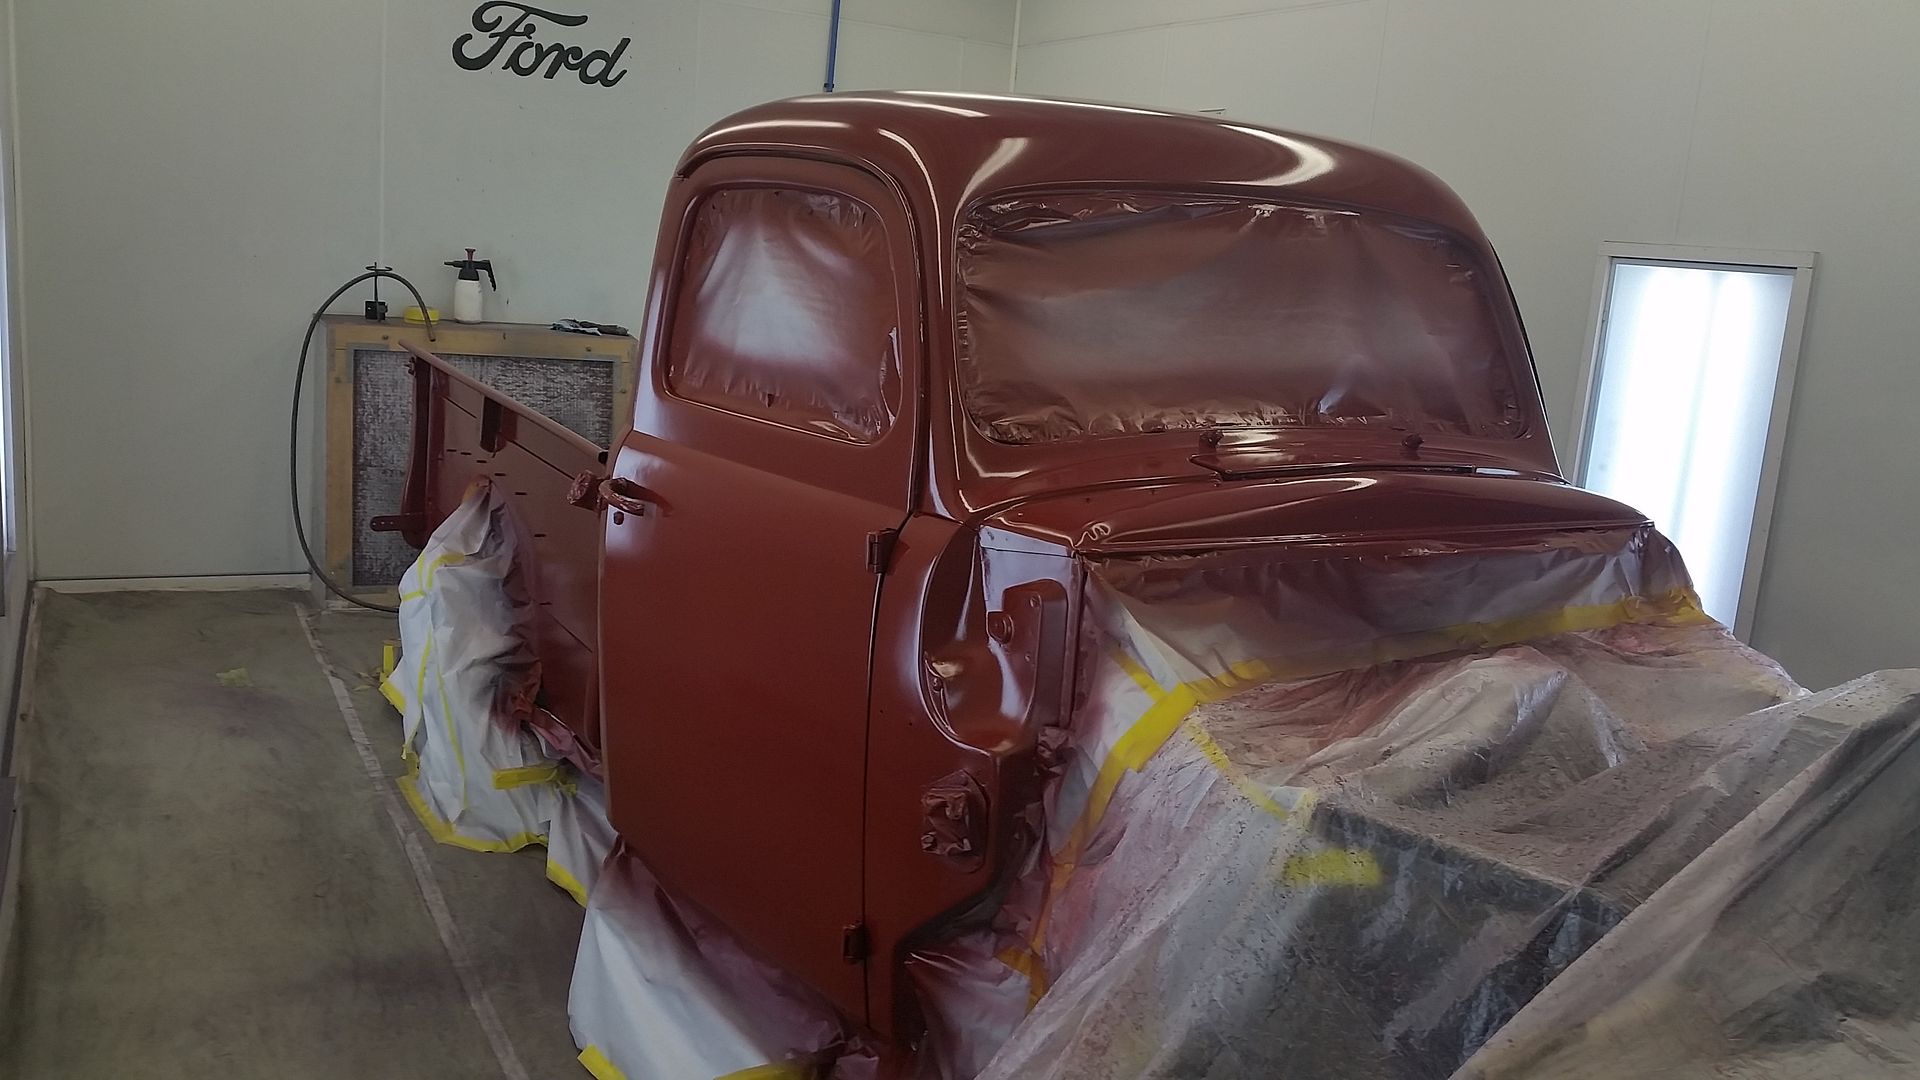
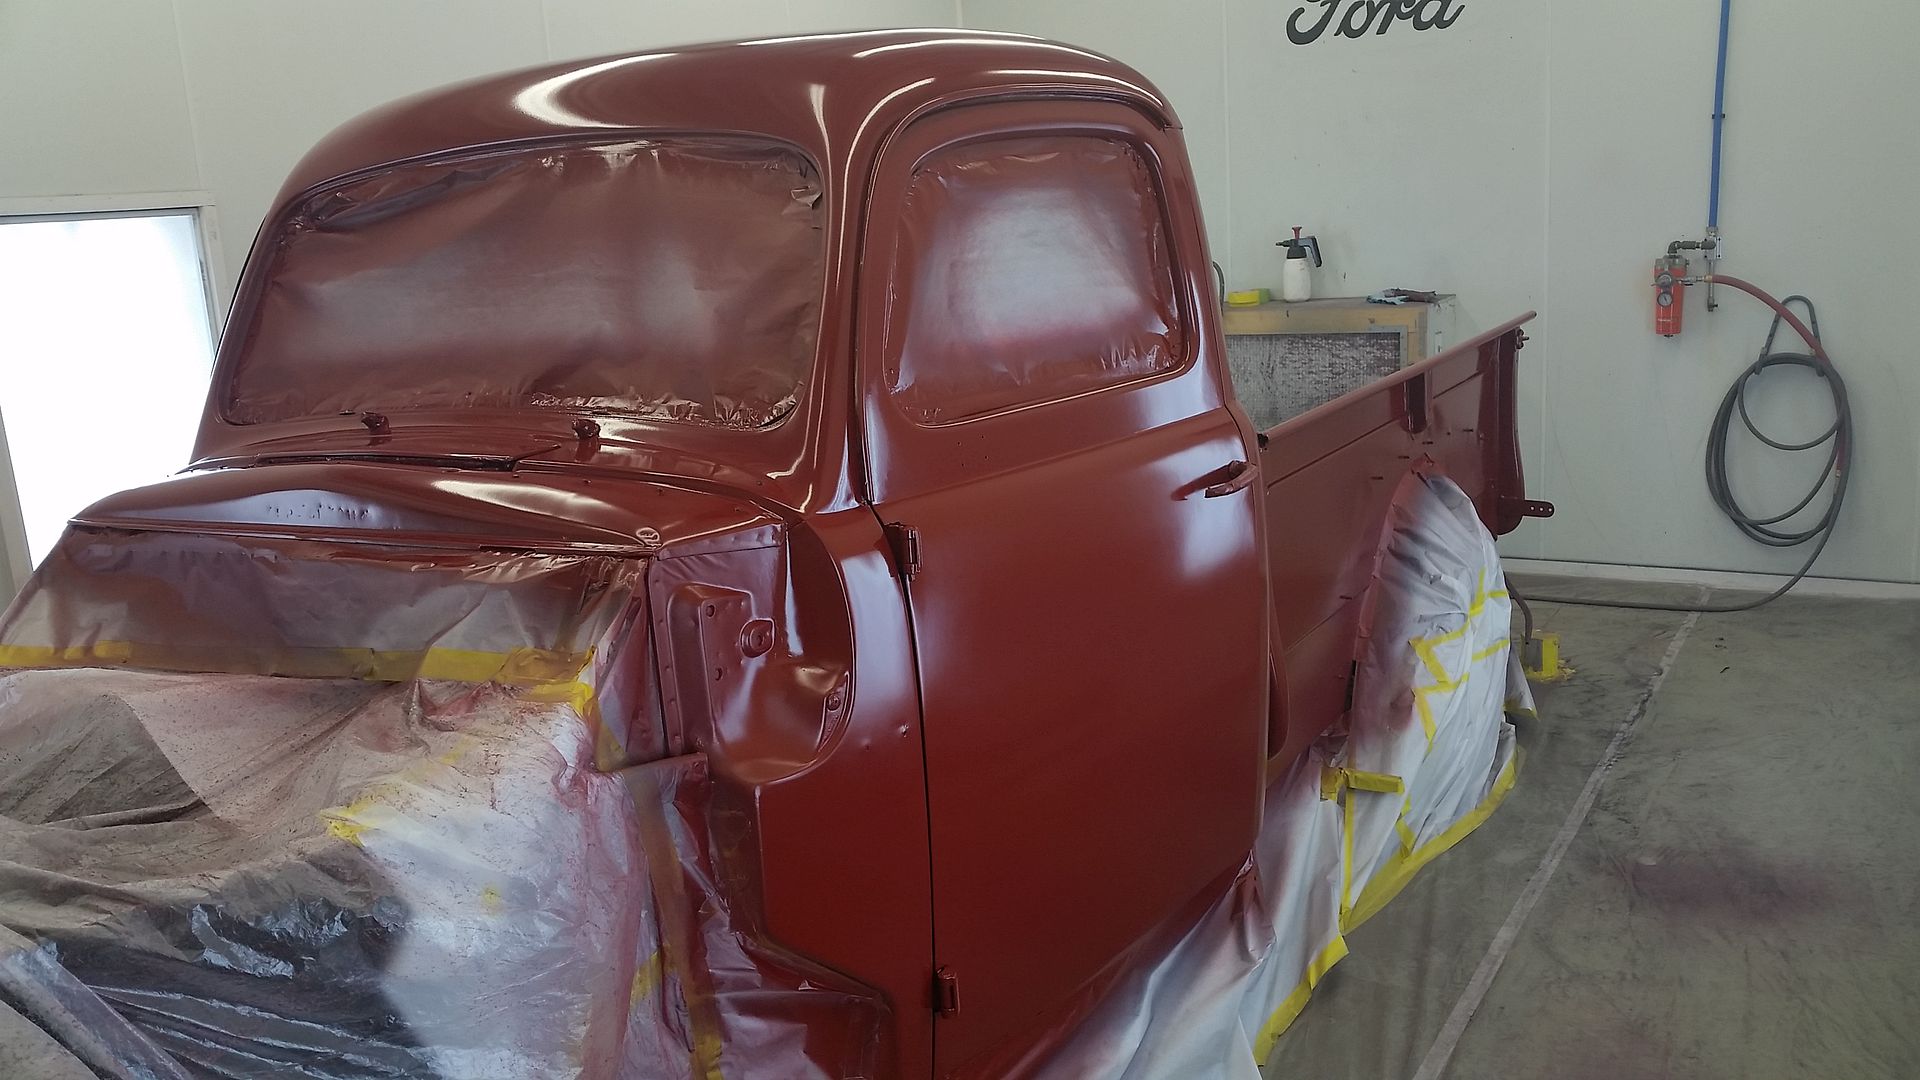
After some cure time
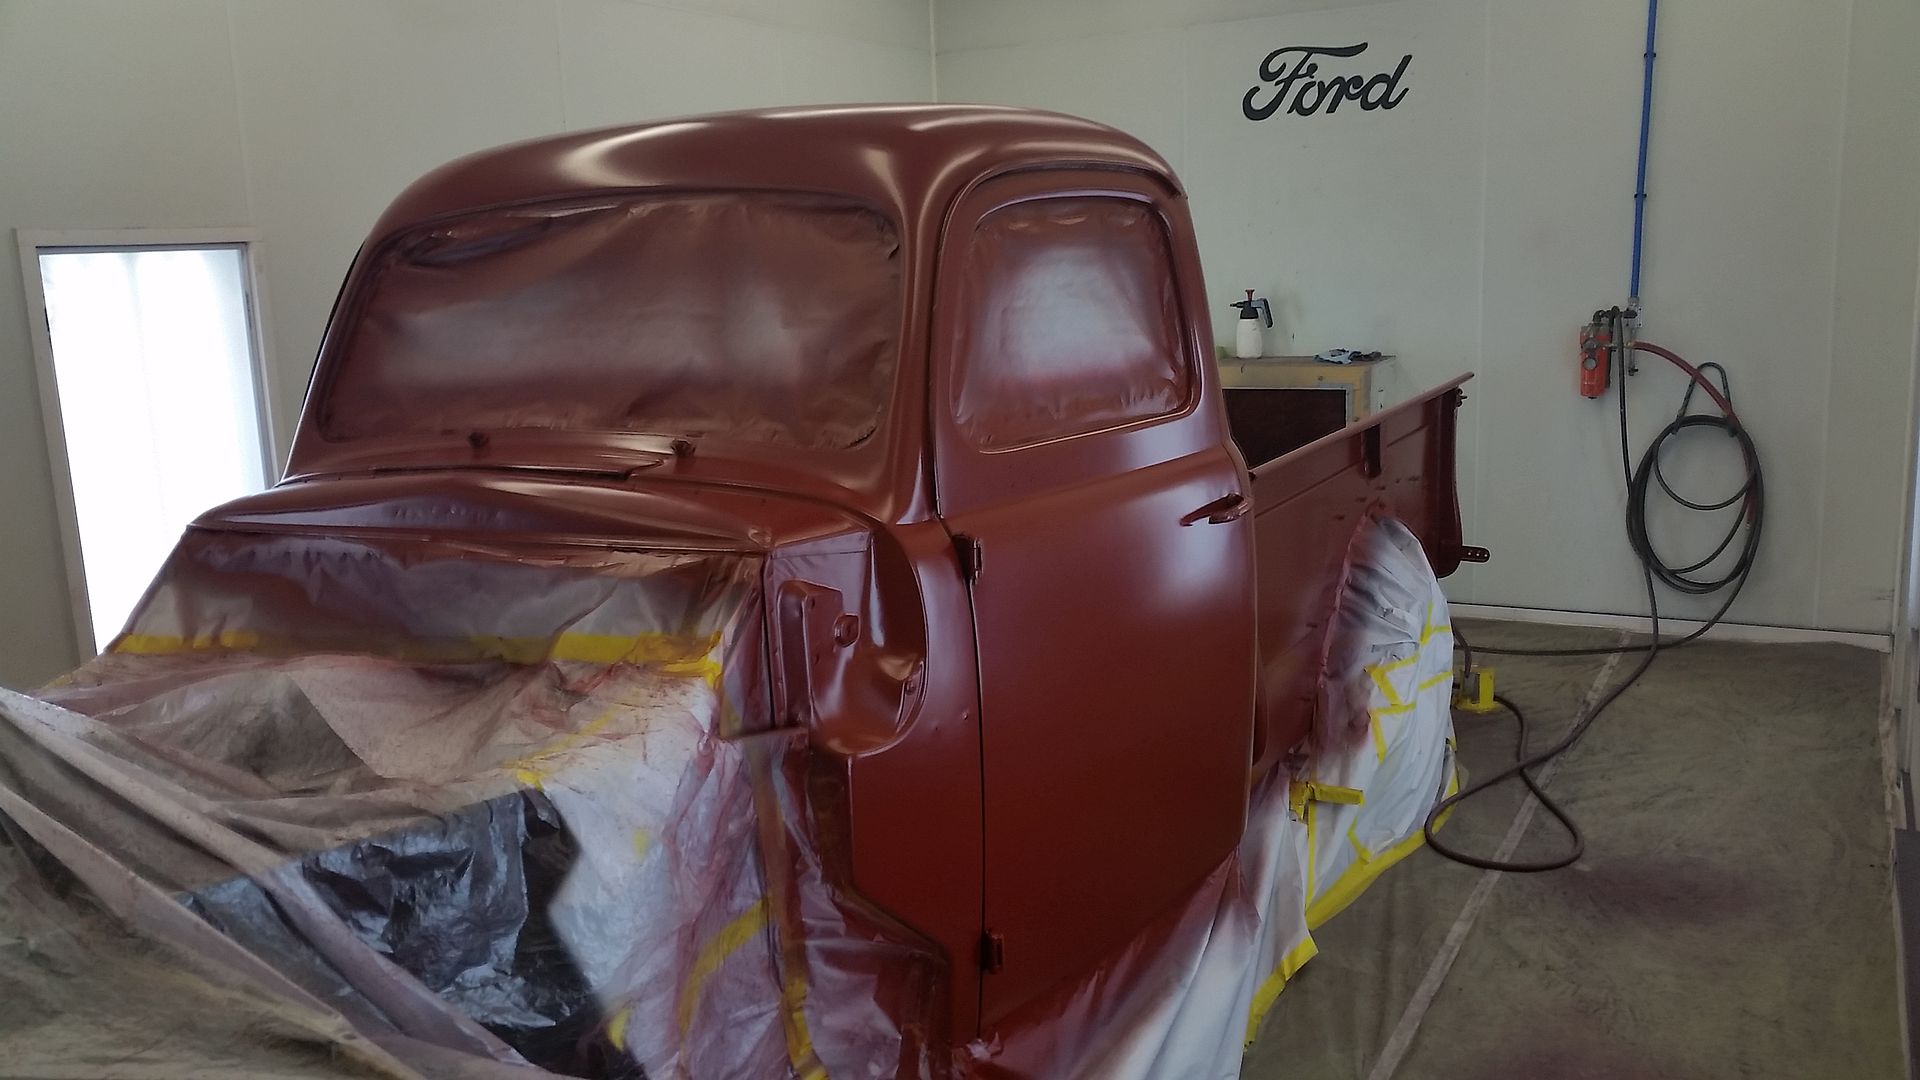
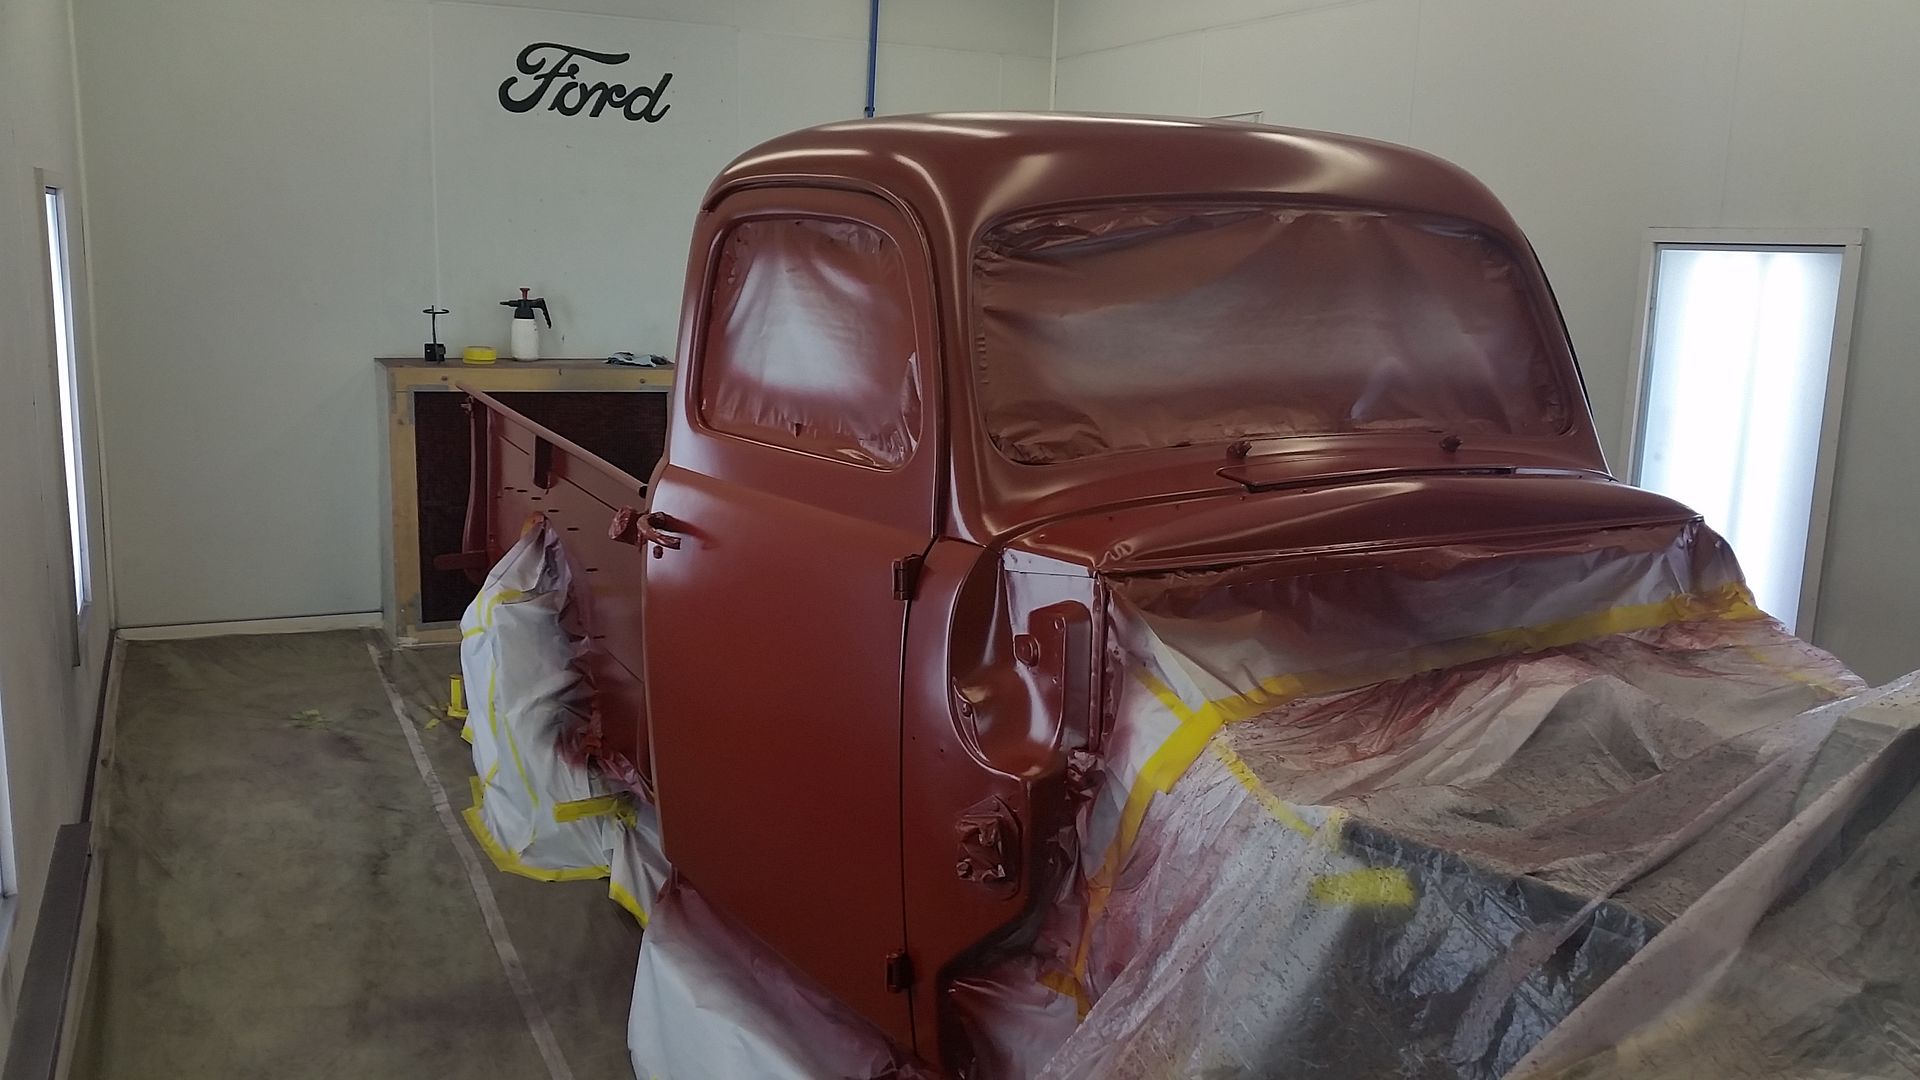
Outside in direct sunlight the redness really comes out. Inside at times it looks more maroon
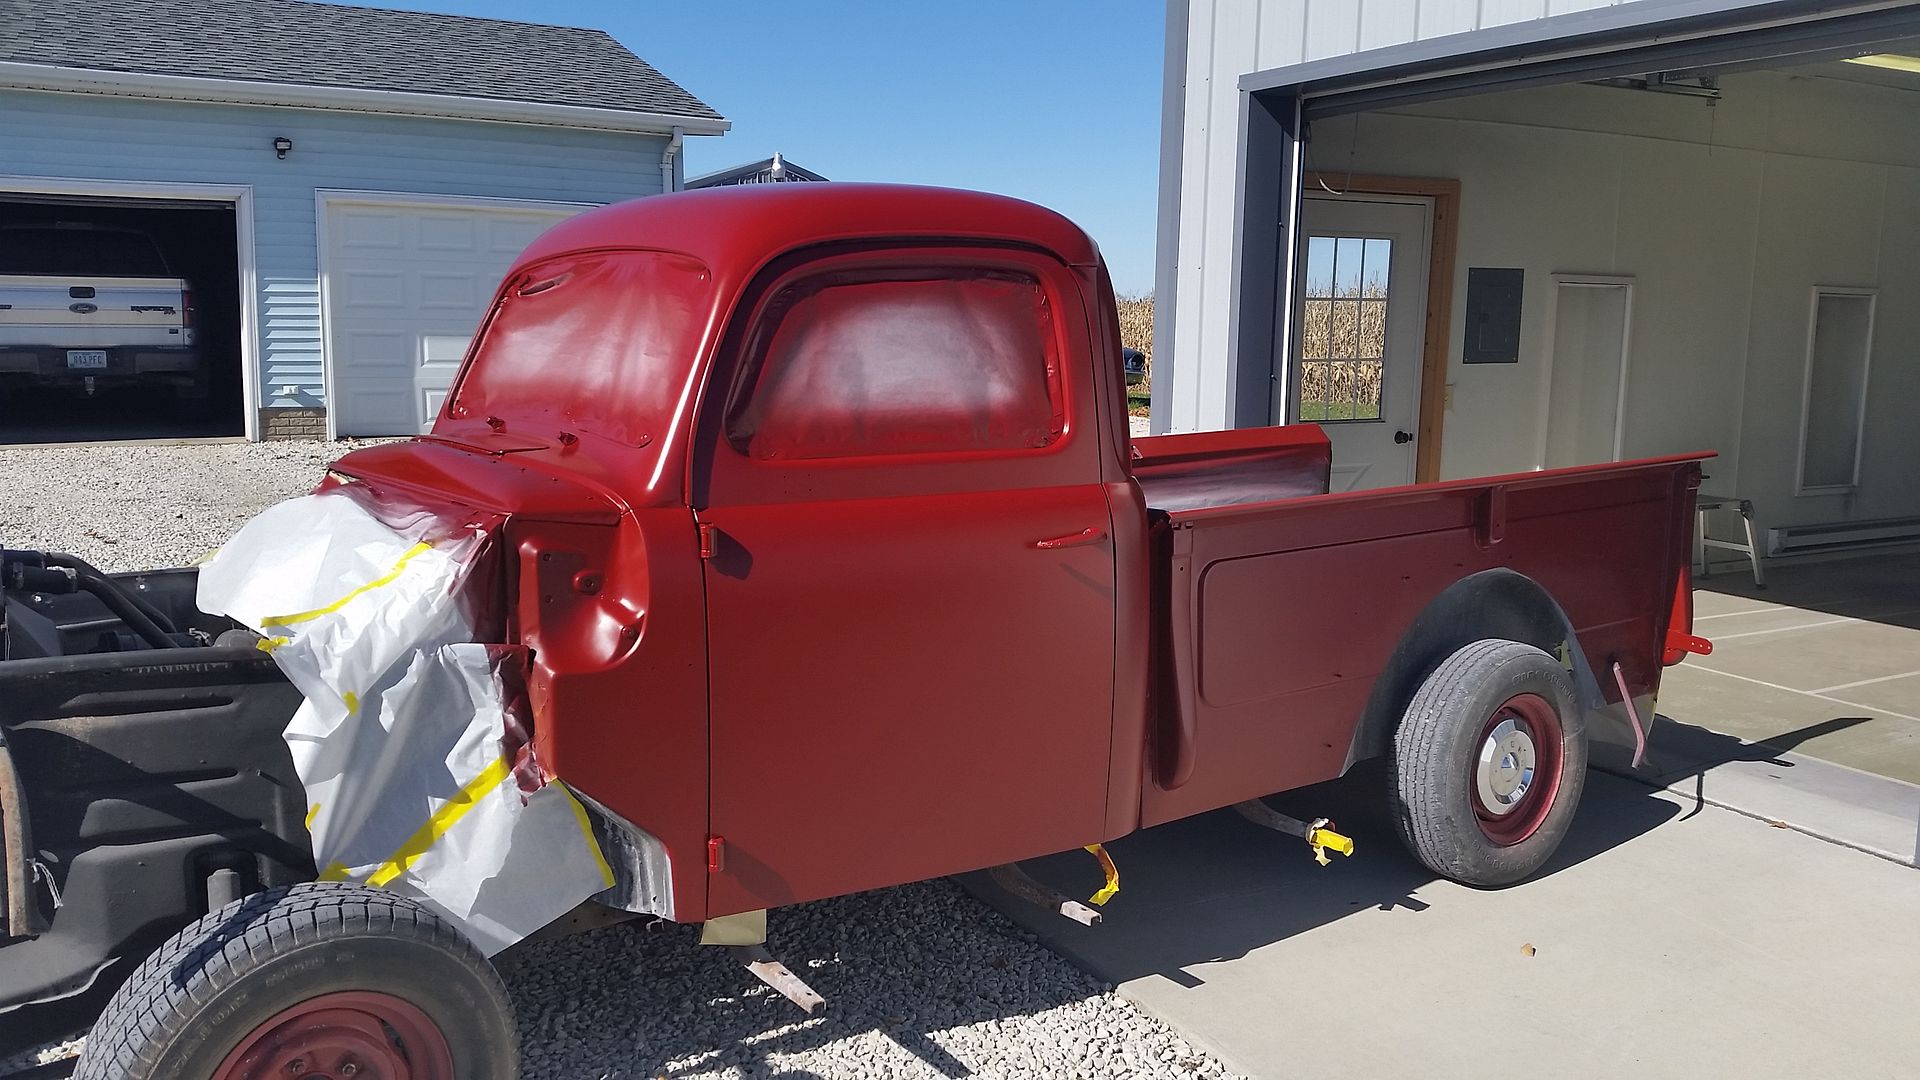
Unmasked and moved back to the other side of my shop
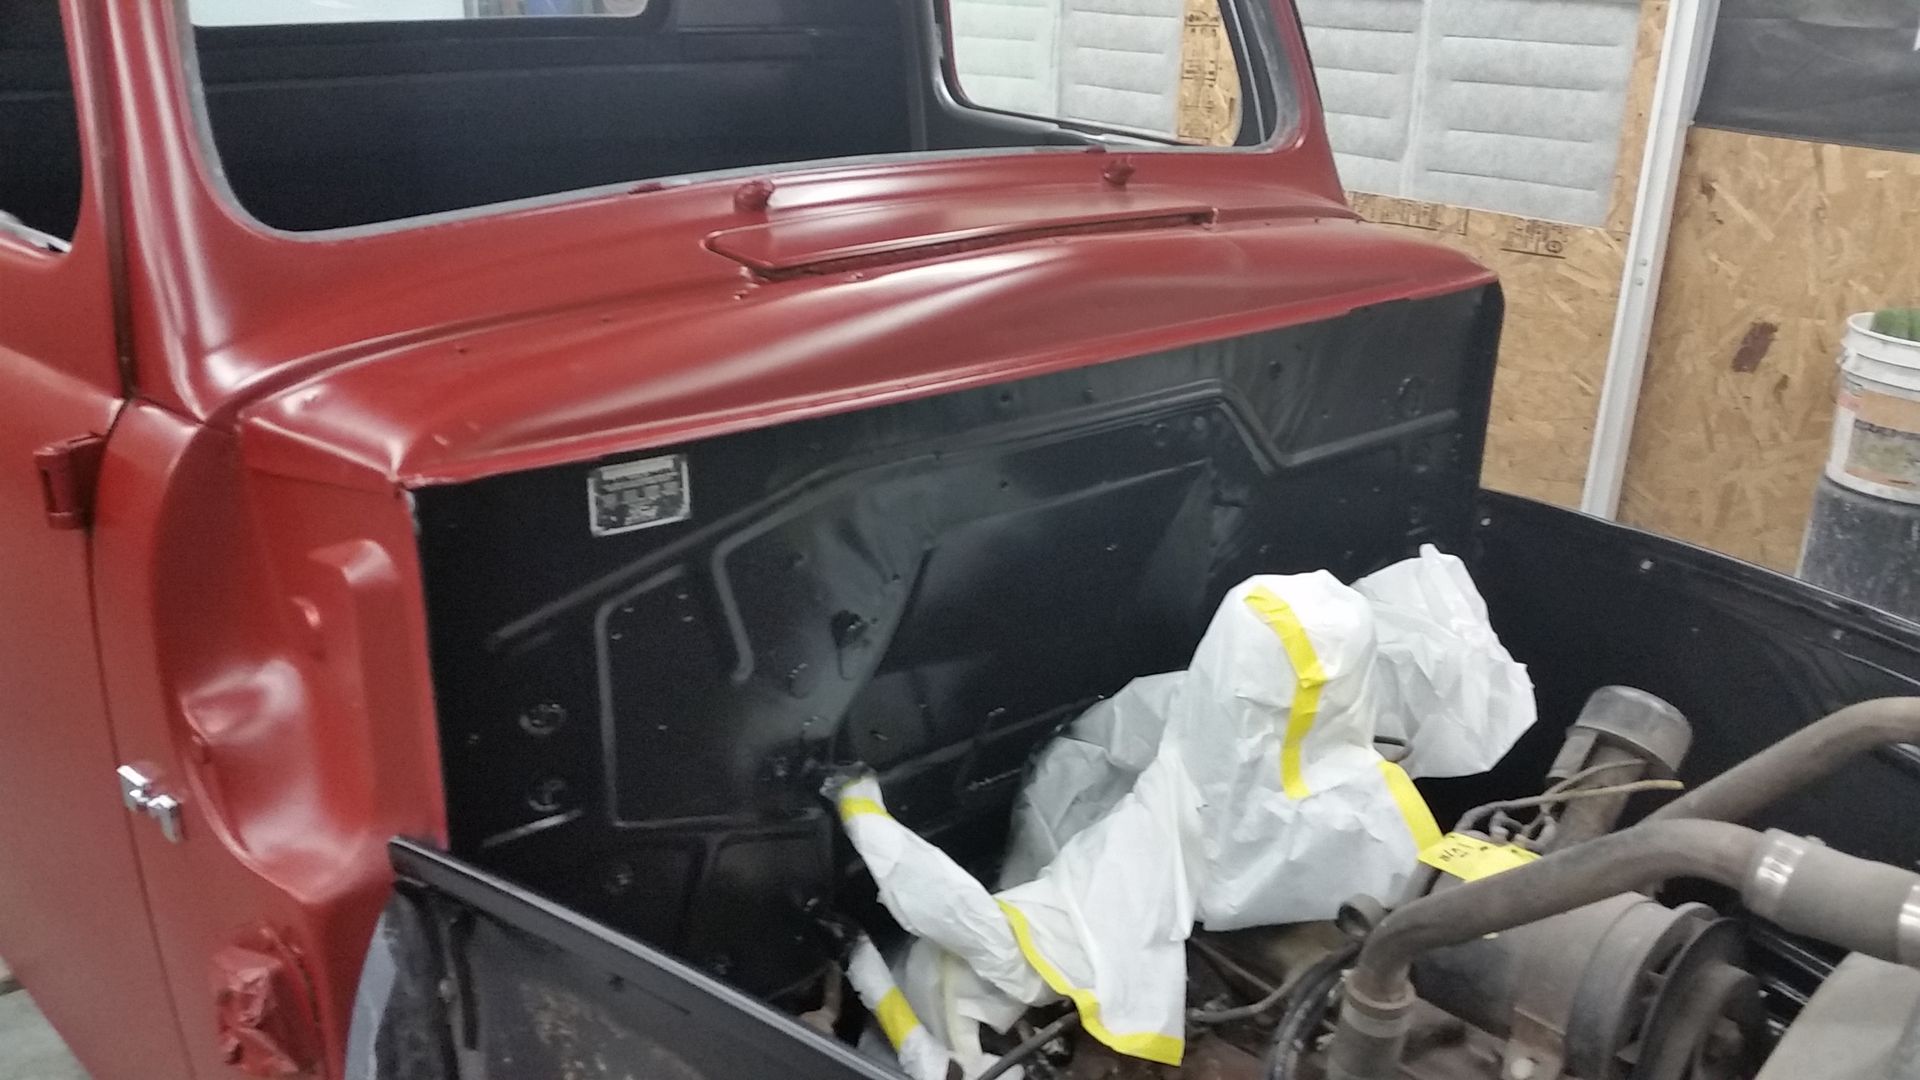
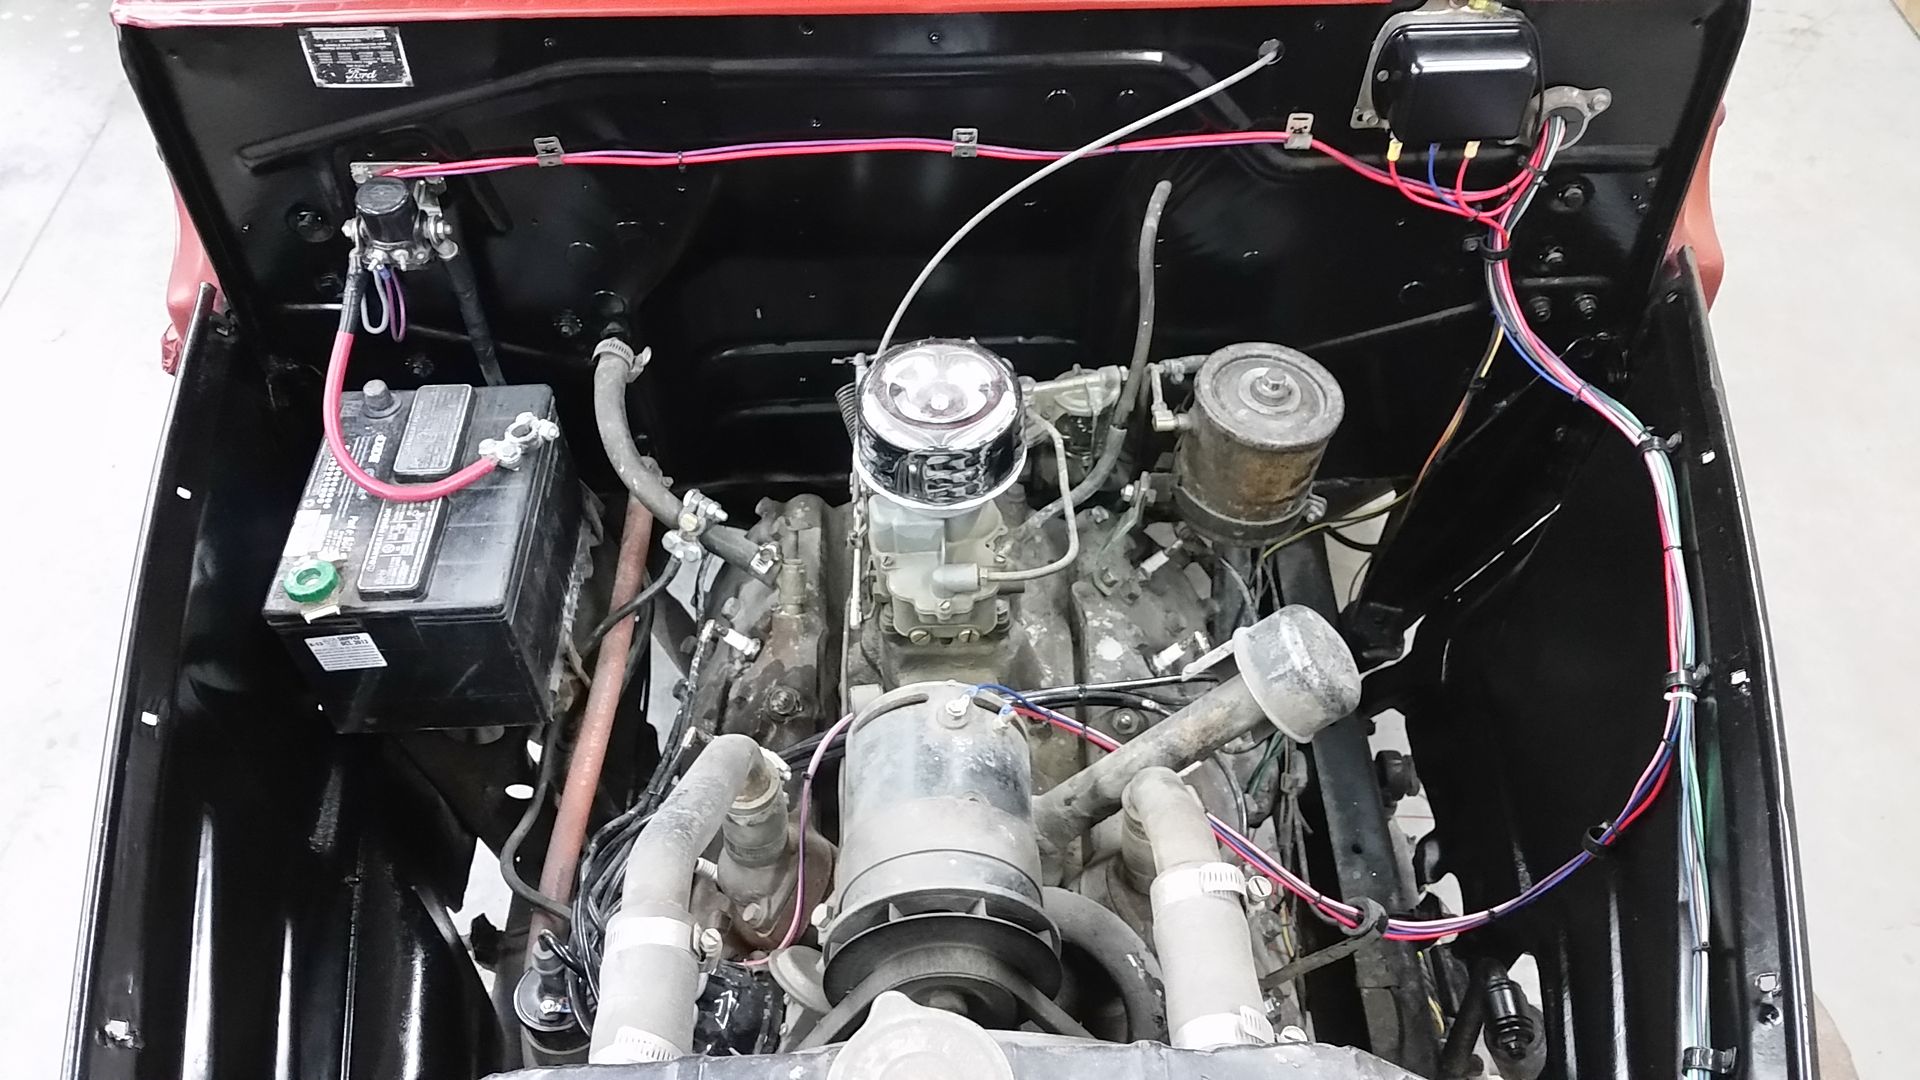
Firewall cleaned up


On customer jobs I will not paint a cab & bed together while still bolted down to the frame. Since this is more a shop truck build I didn't want to pull the bed so I just painted it together. I didn't take many pics that day till after it was shot. Went through the same process as the other parts..dark grey sealer fallowed by 3 coats of base color then a couple coats of flattened clear. The first couple pics are from when it was still curing so it has more shine.


After some cure time


Outside in direct sunlight the redness really comes out. Inside at times it looks more maroon


Unmasked and moved back to the other side of my shop


Firewall cleaned up

#22
08-18-2015, 09:51 PM
Join Date: Aug 2015
Location: Perry, IA
Posts: 20
Likes: 0
Received 0 Likes
on
0 Posts
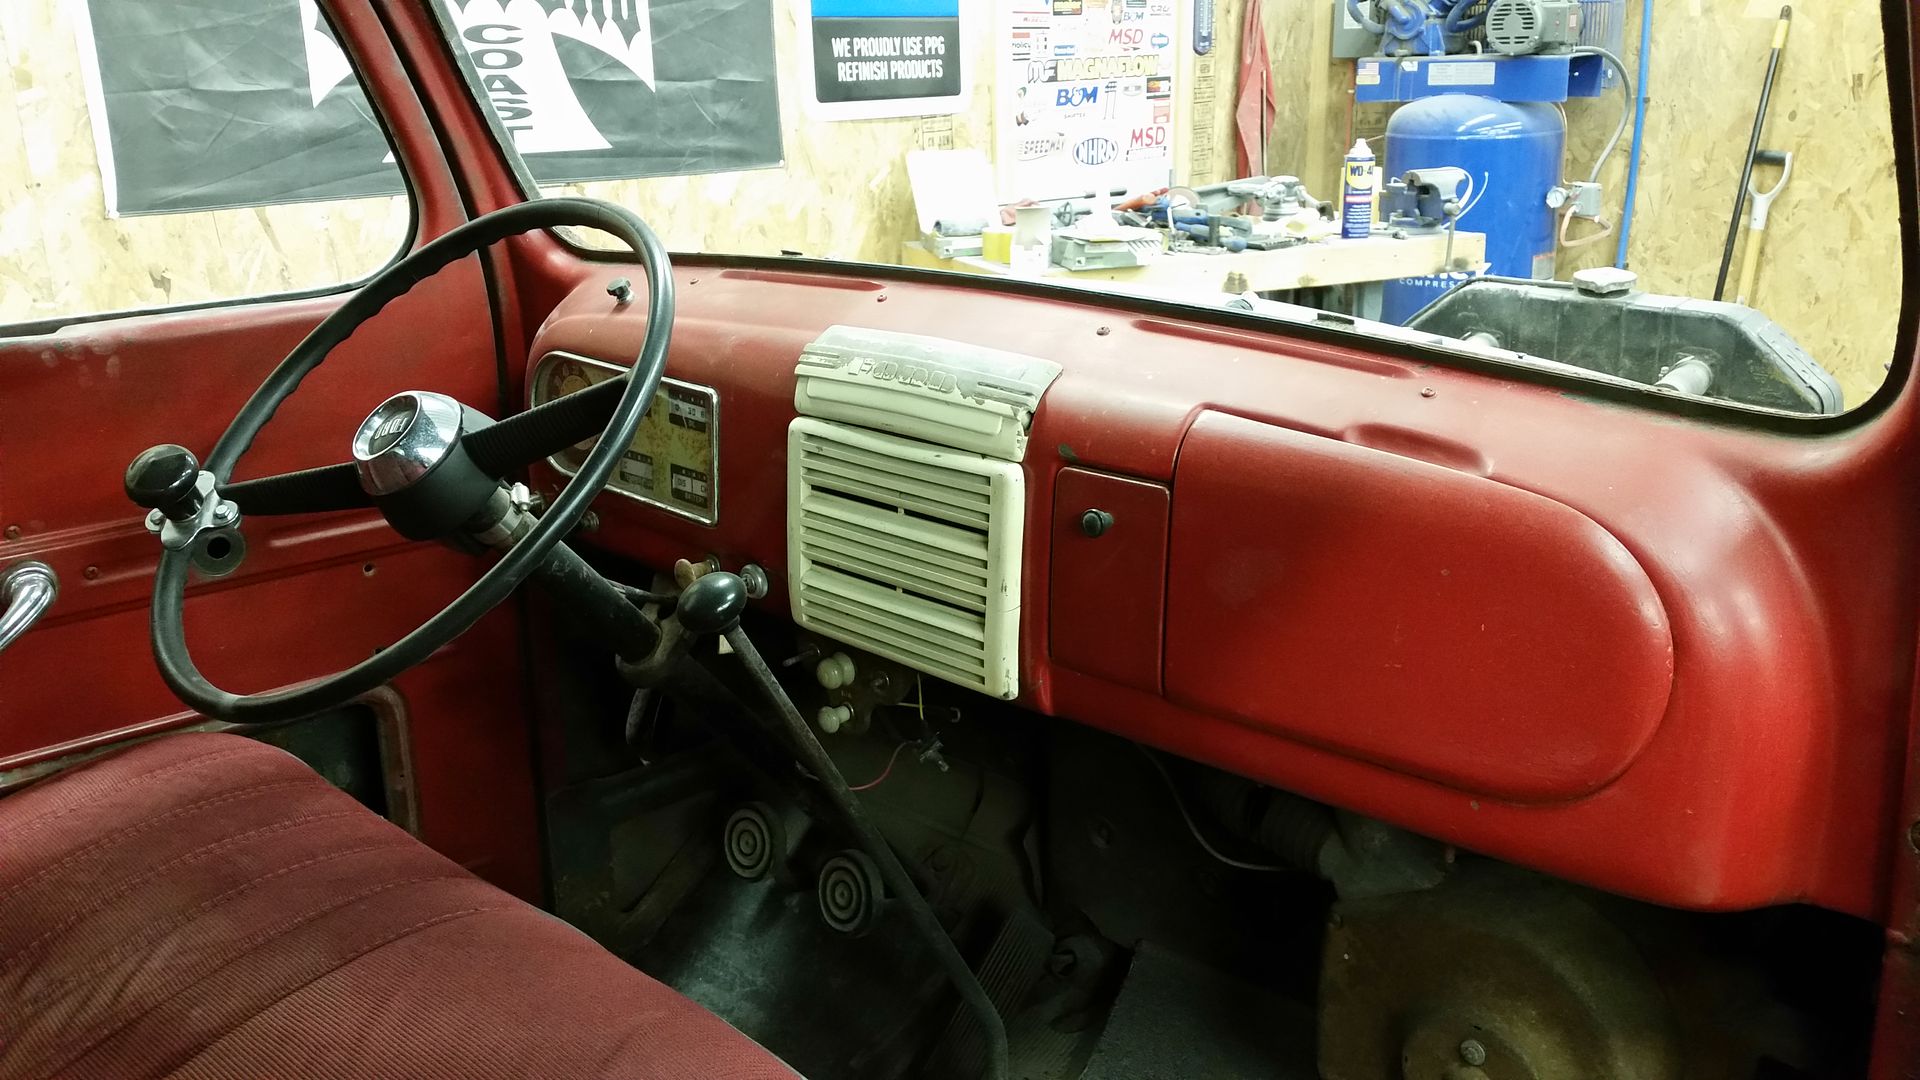
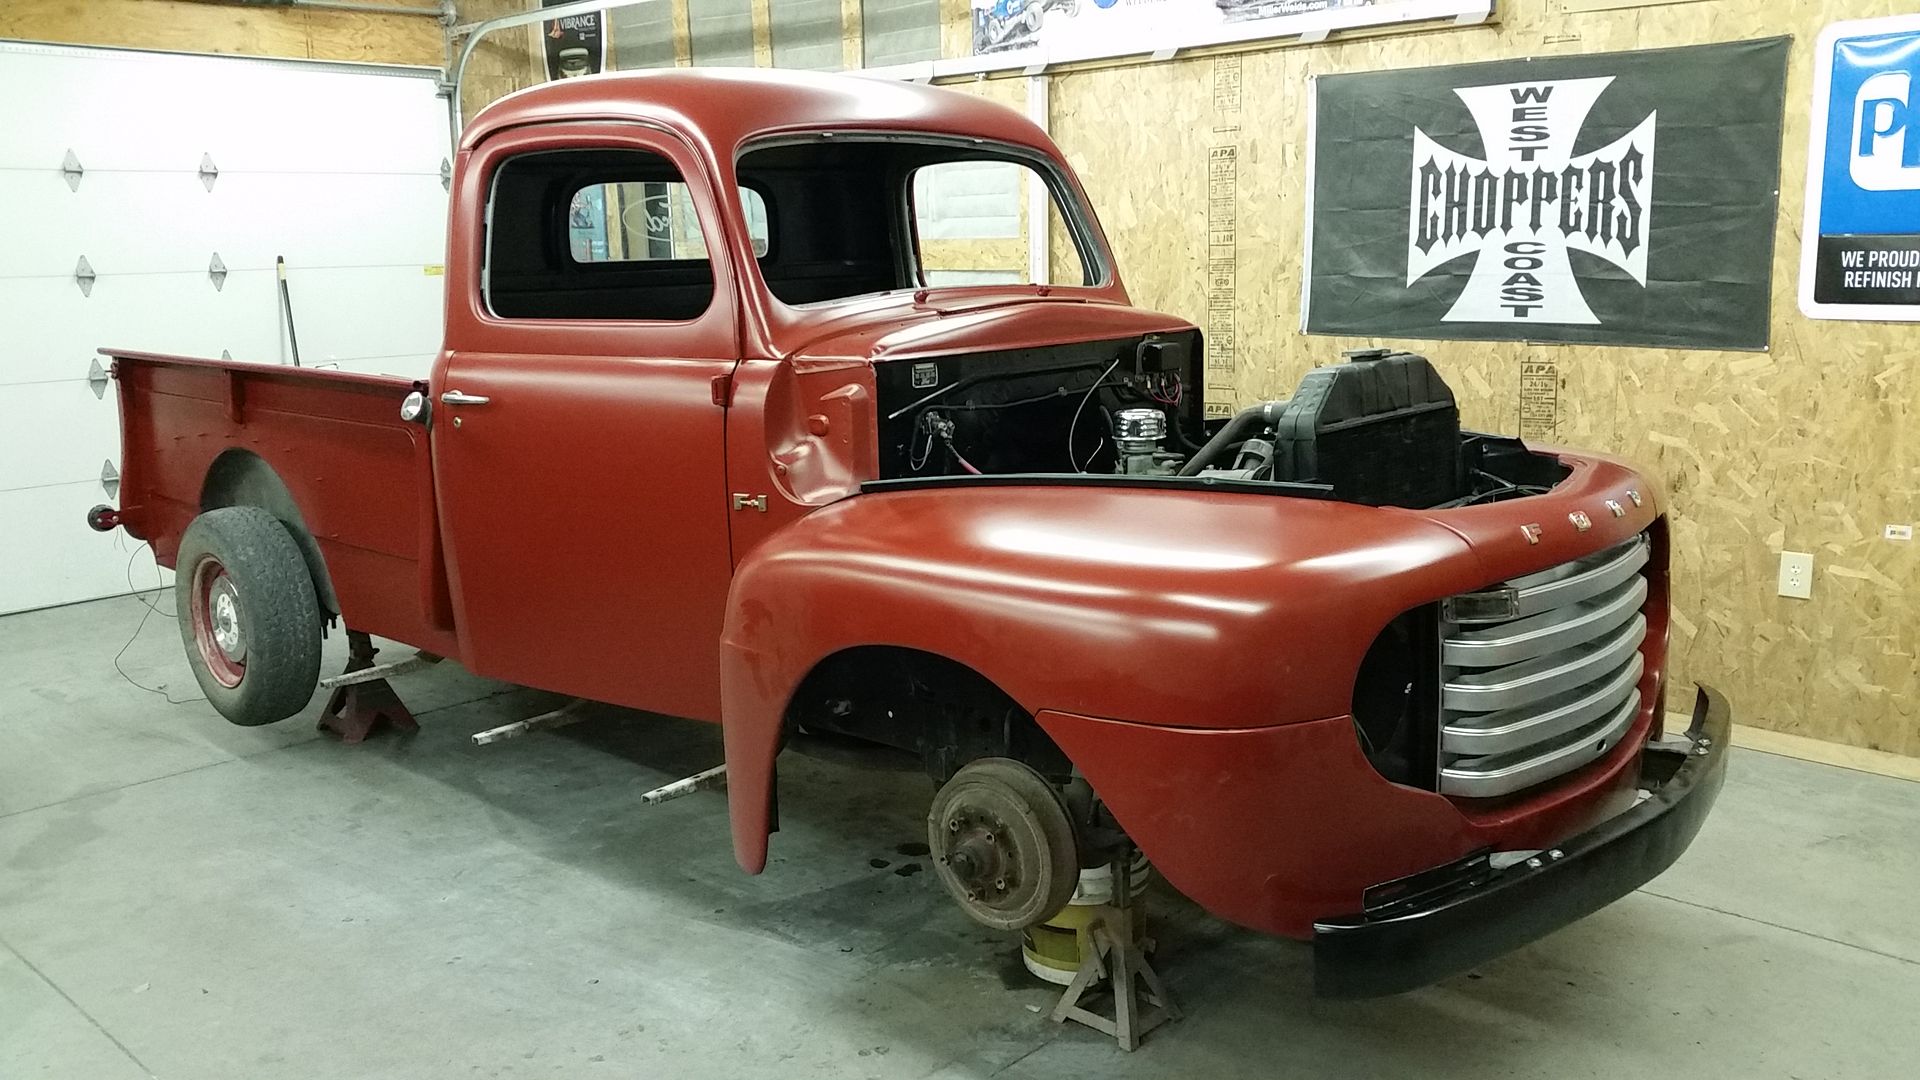
With everything painted, first thing I done was replace the wiring harness with a hot rod universal 12 circuit from Speedway Motors. Forgot to mention earlier the truck had been converted to 12 negative ground by a previous owner.
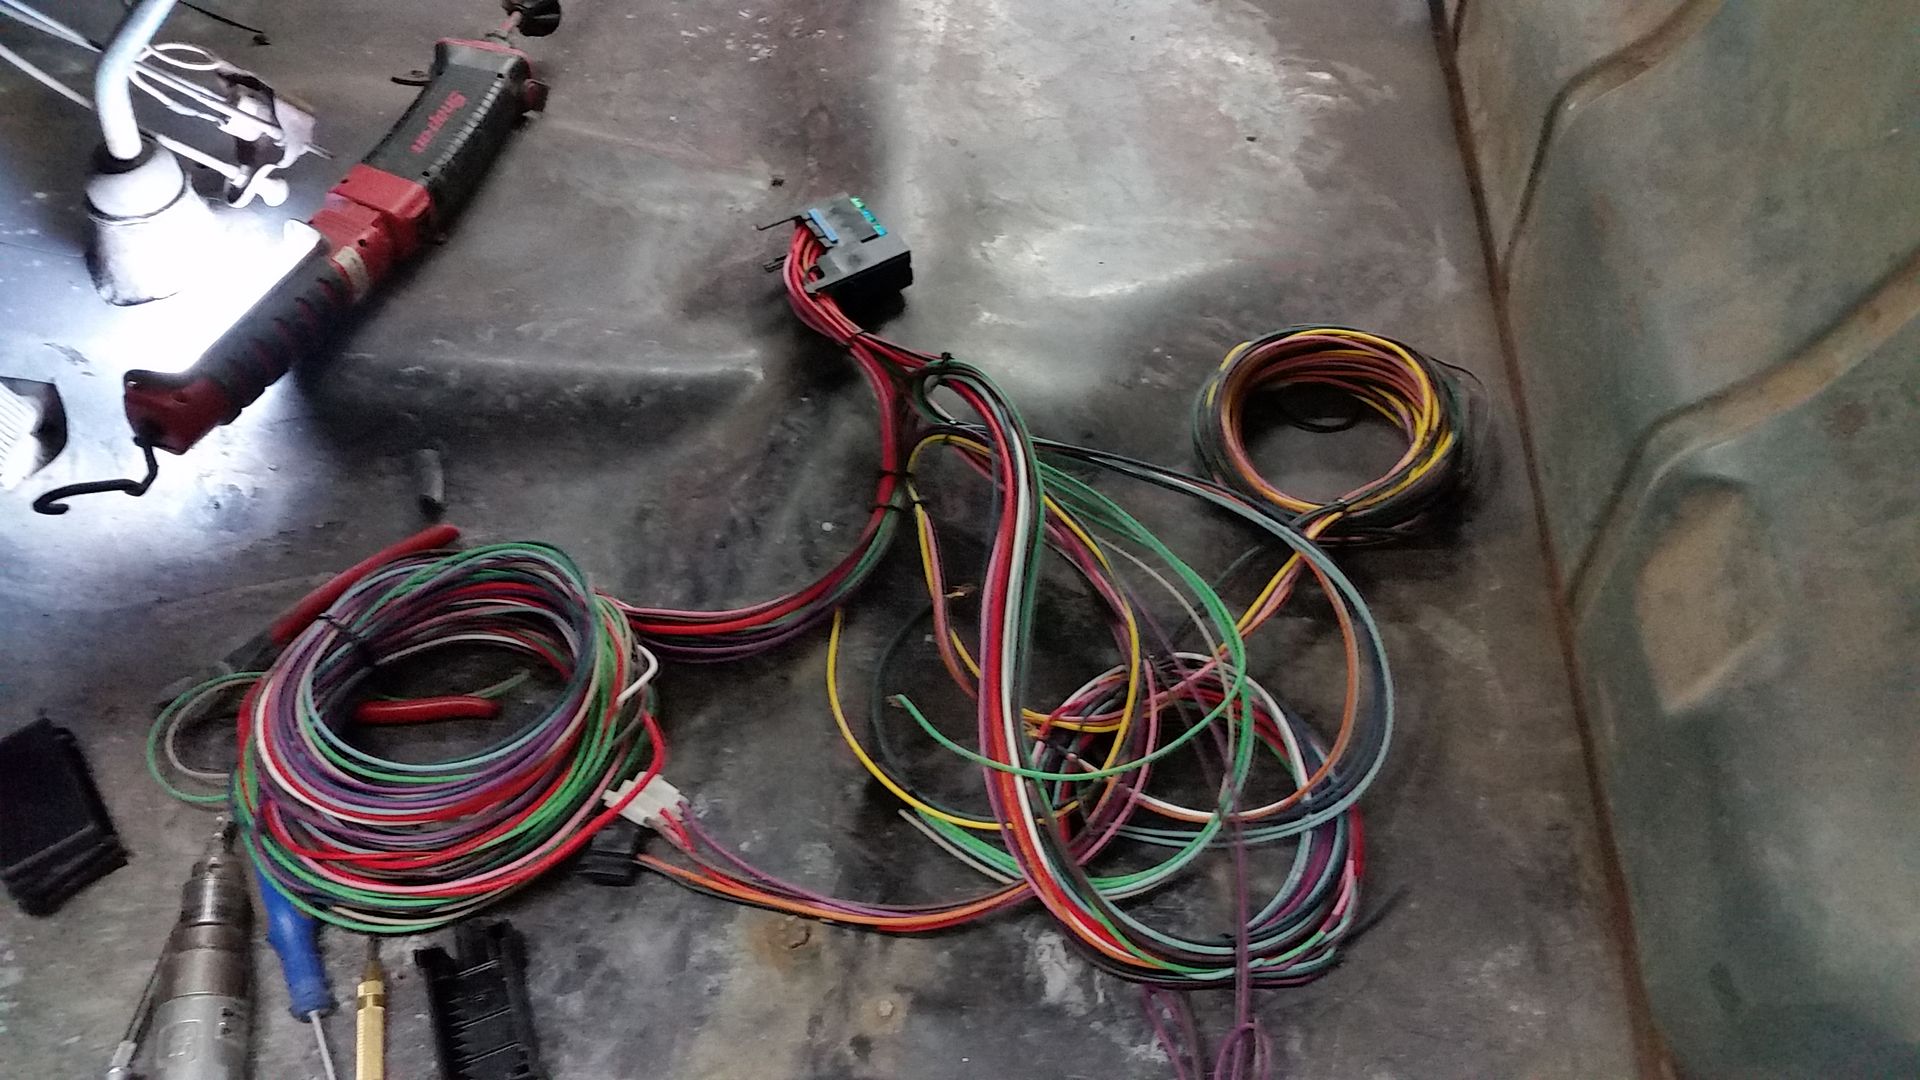
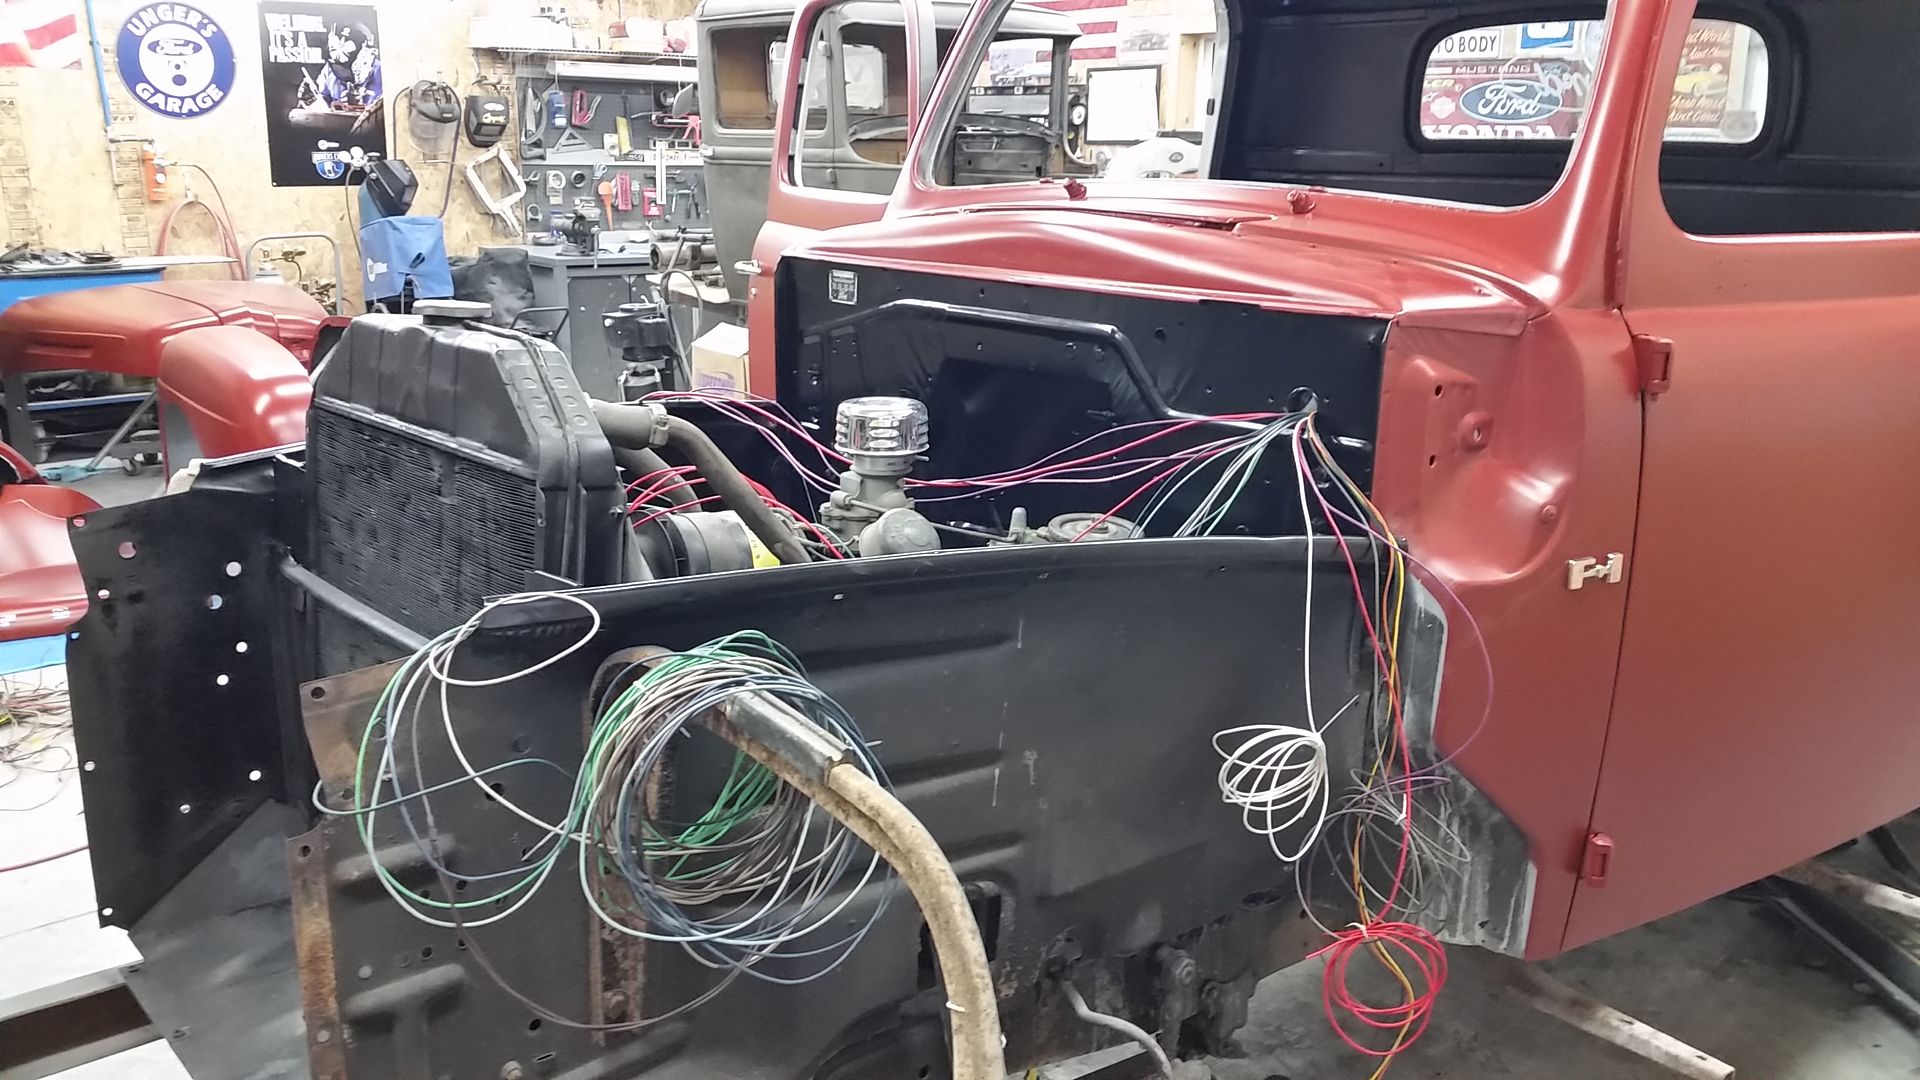
I mounted the block on the lower firewall above high beam switch. You can kinda see in this pic.
All the engine compartment wiring done

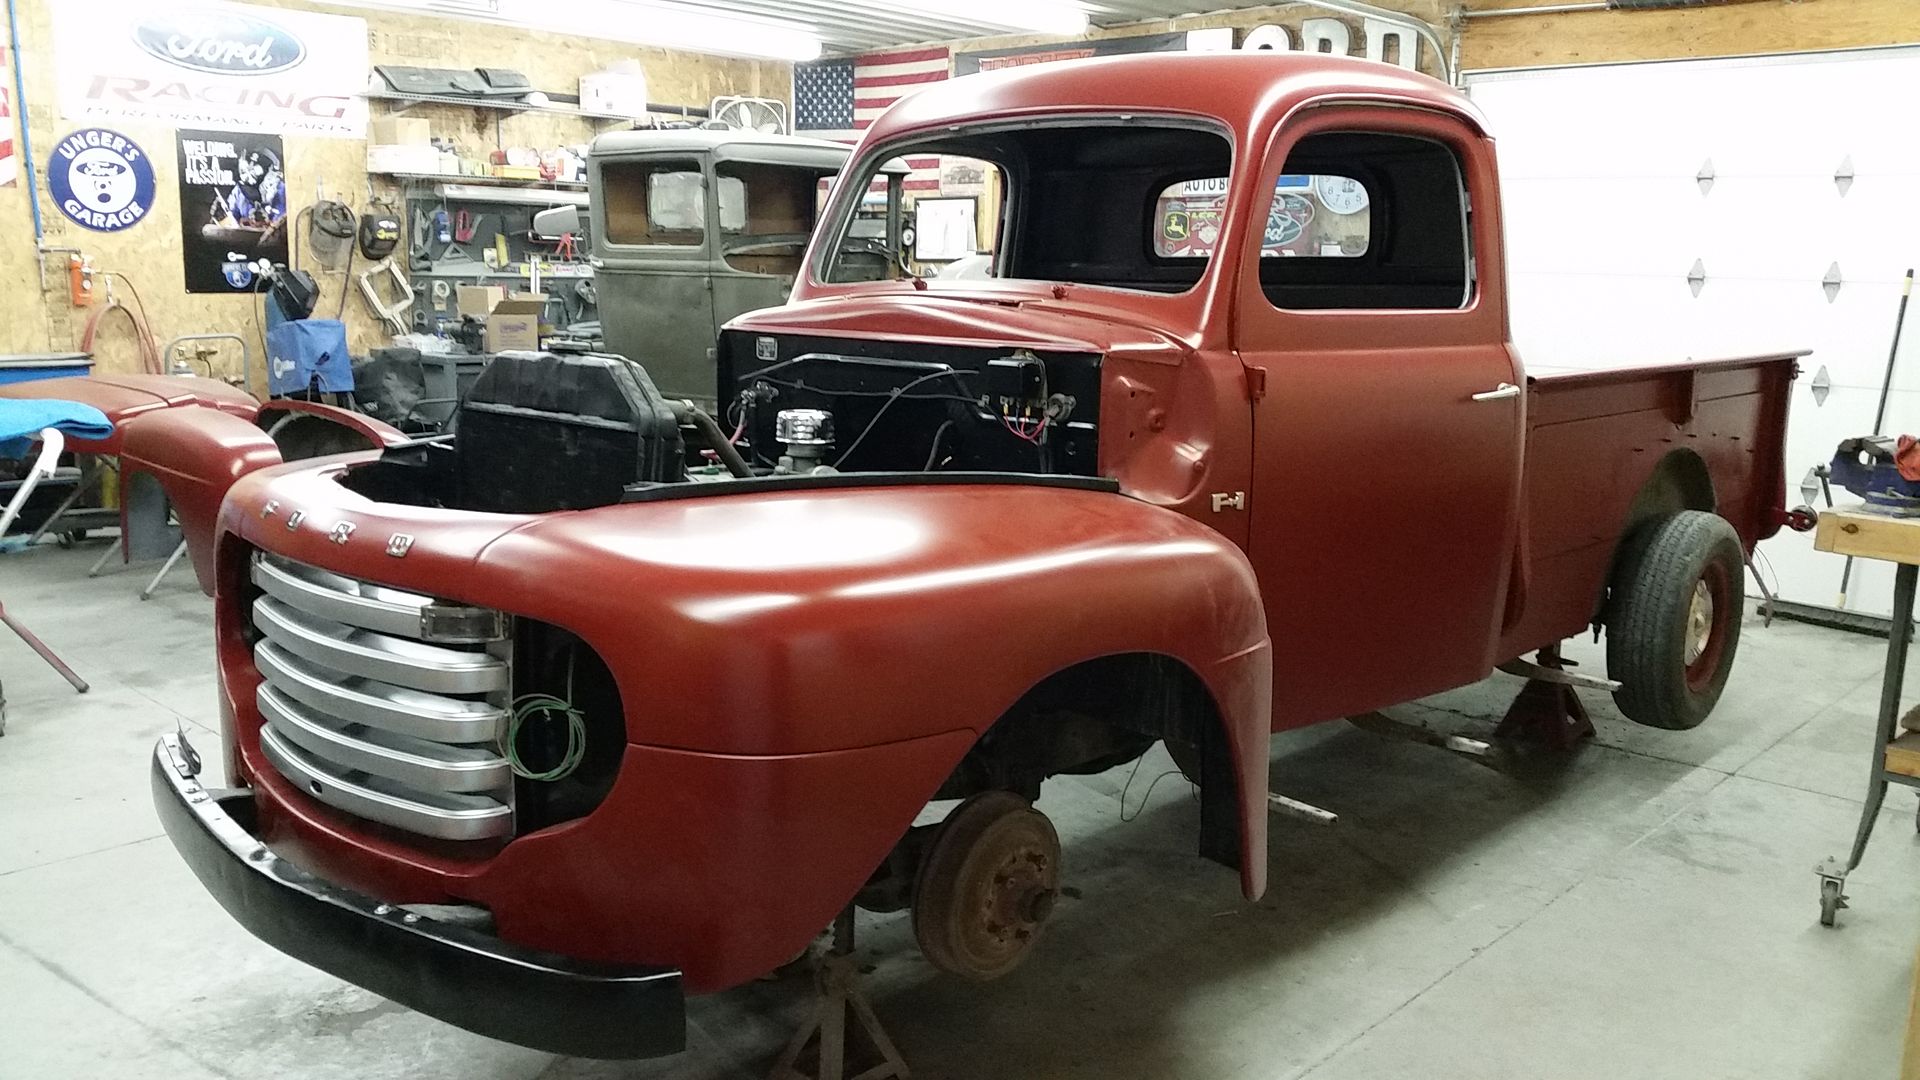
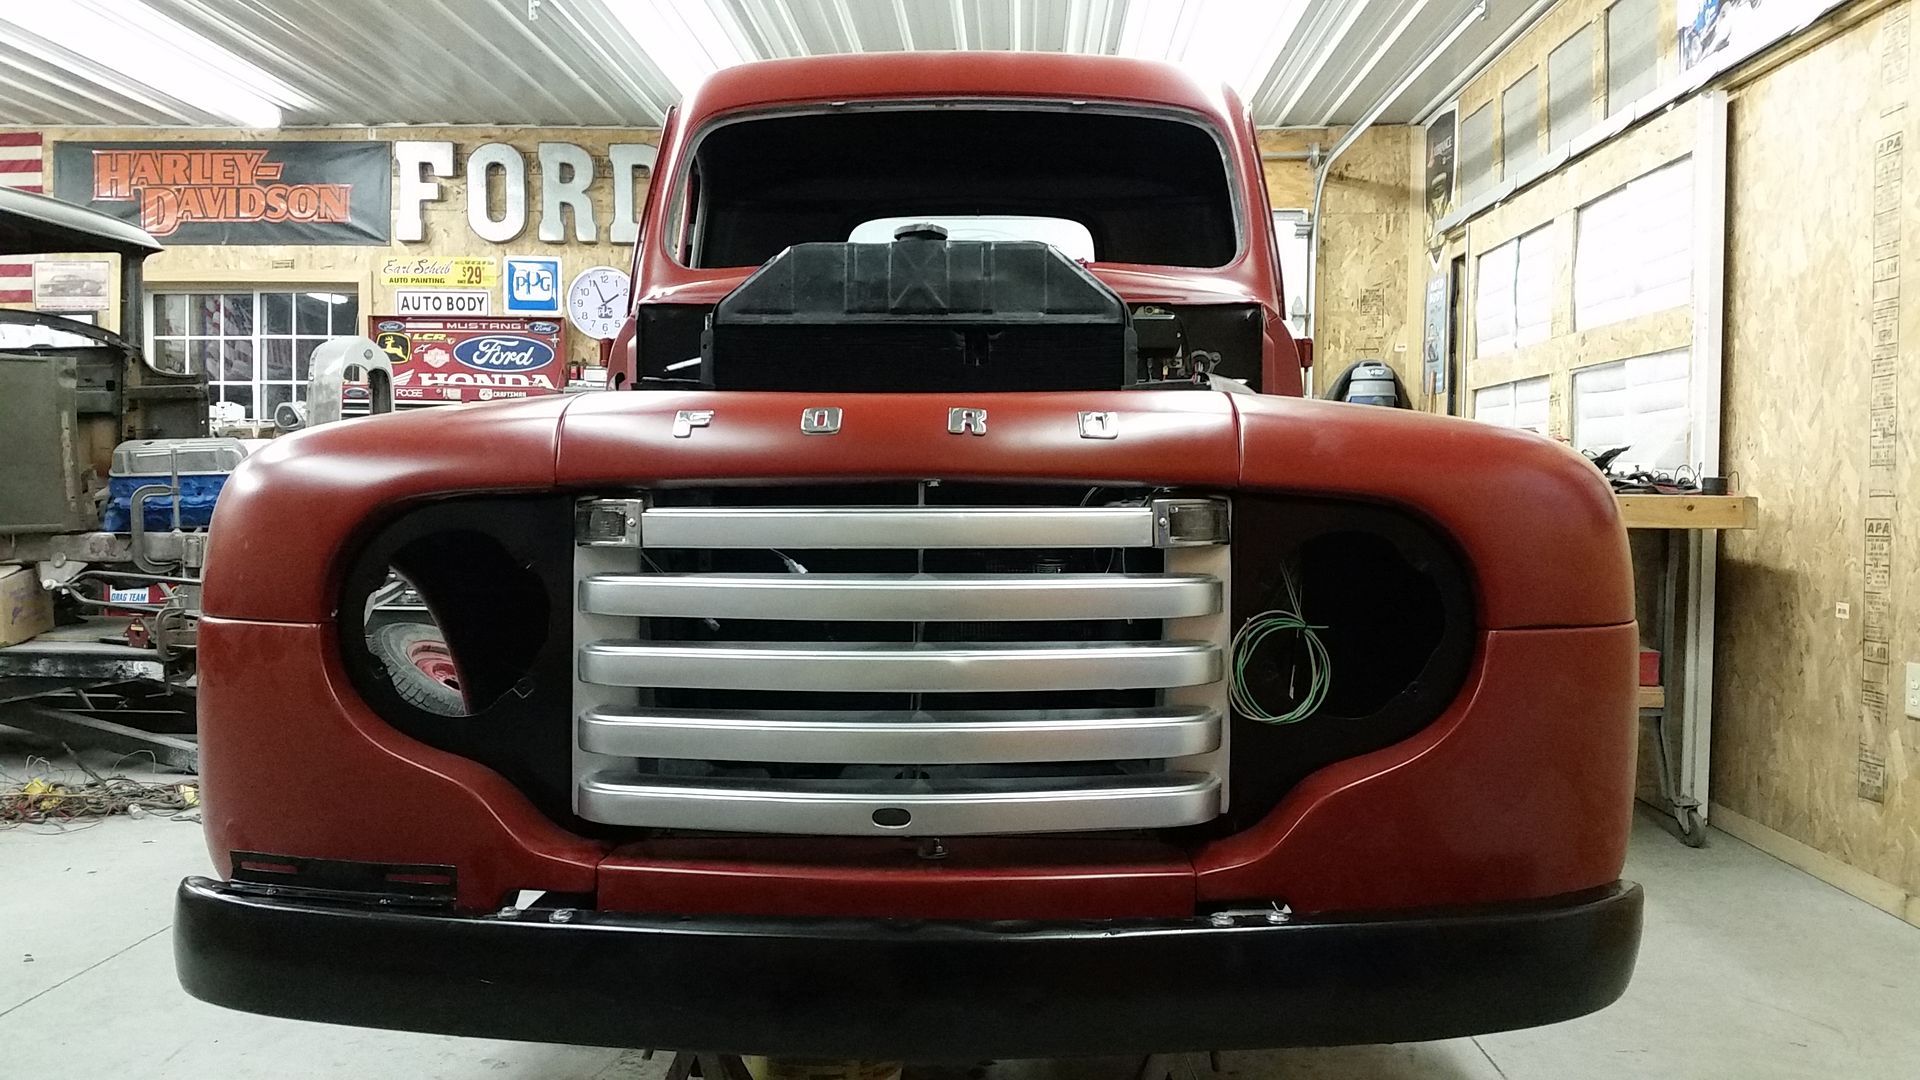
Starting to look like a truck again..hanging front sheet metal for the final time
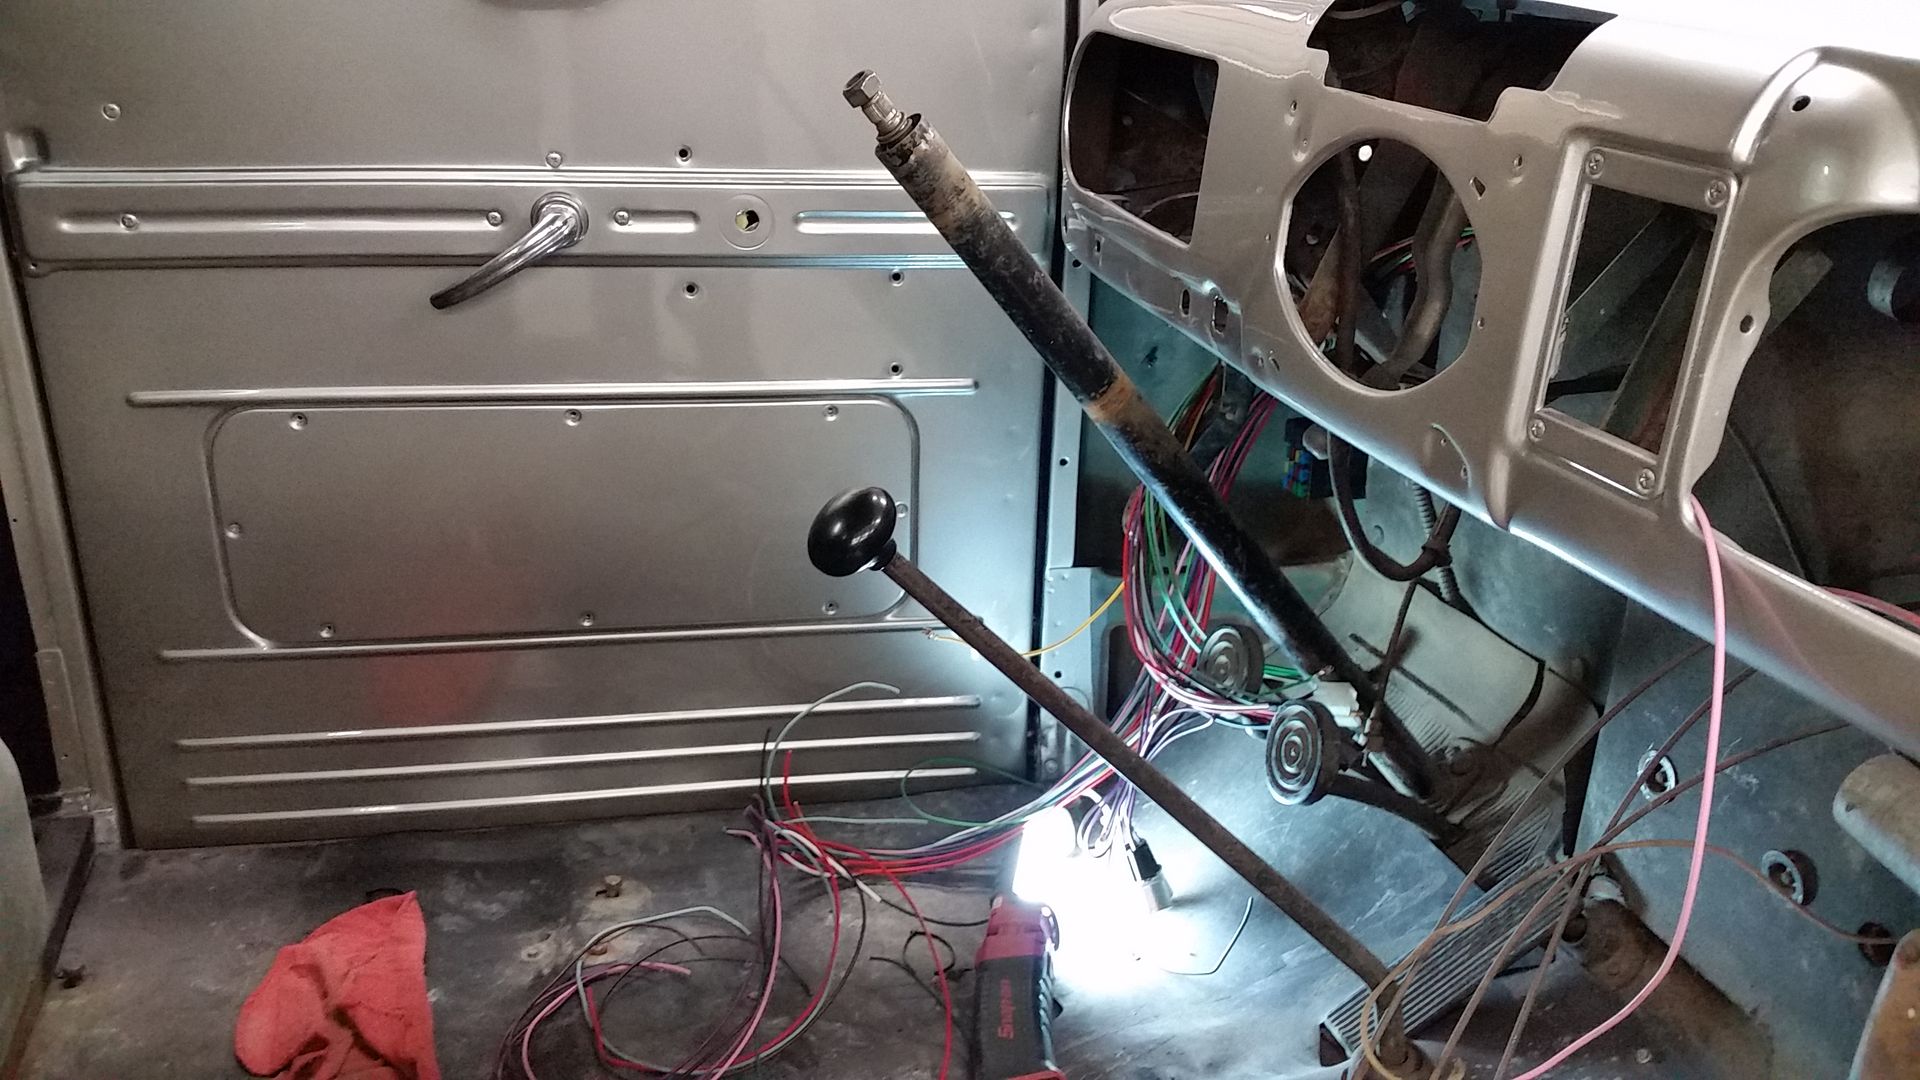
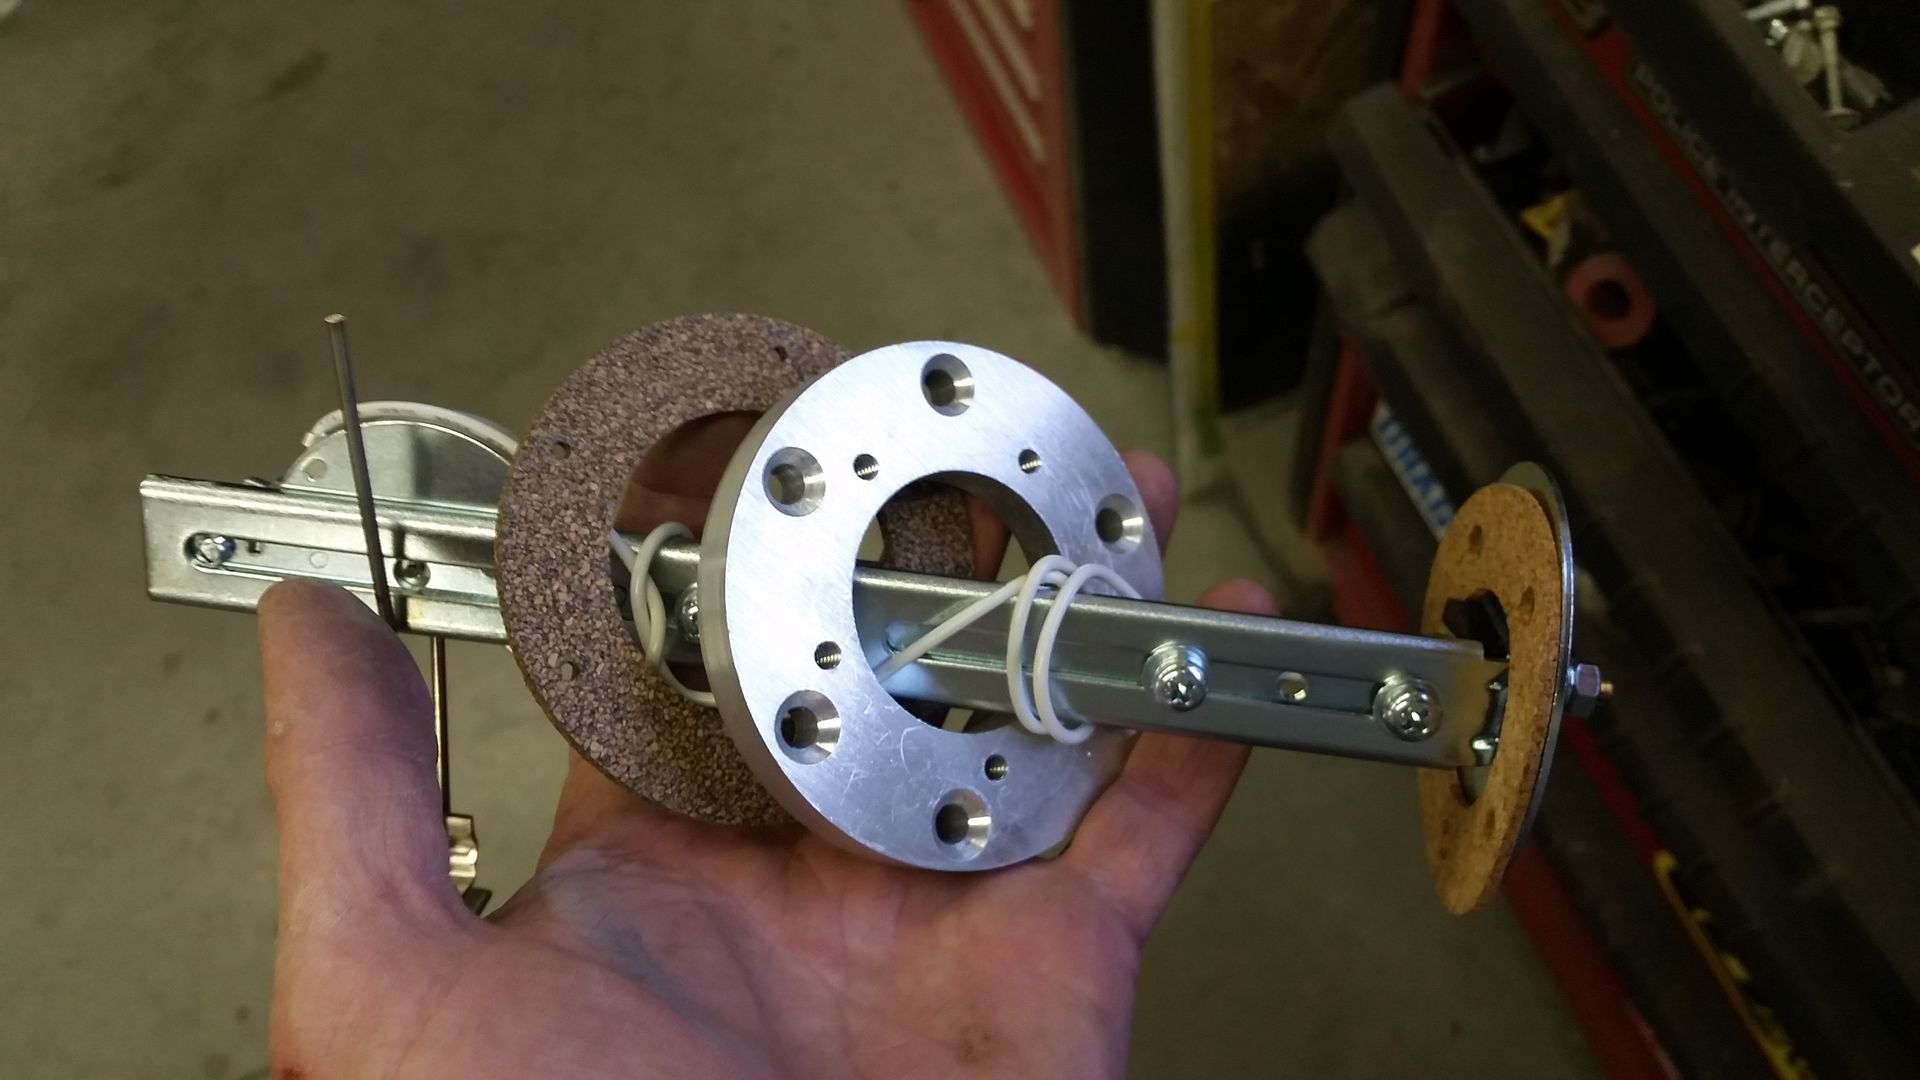
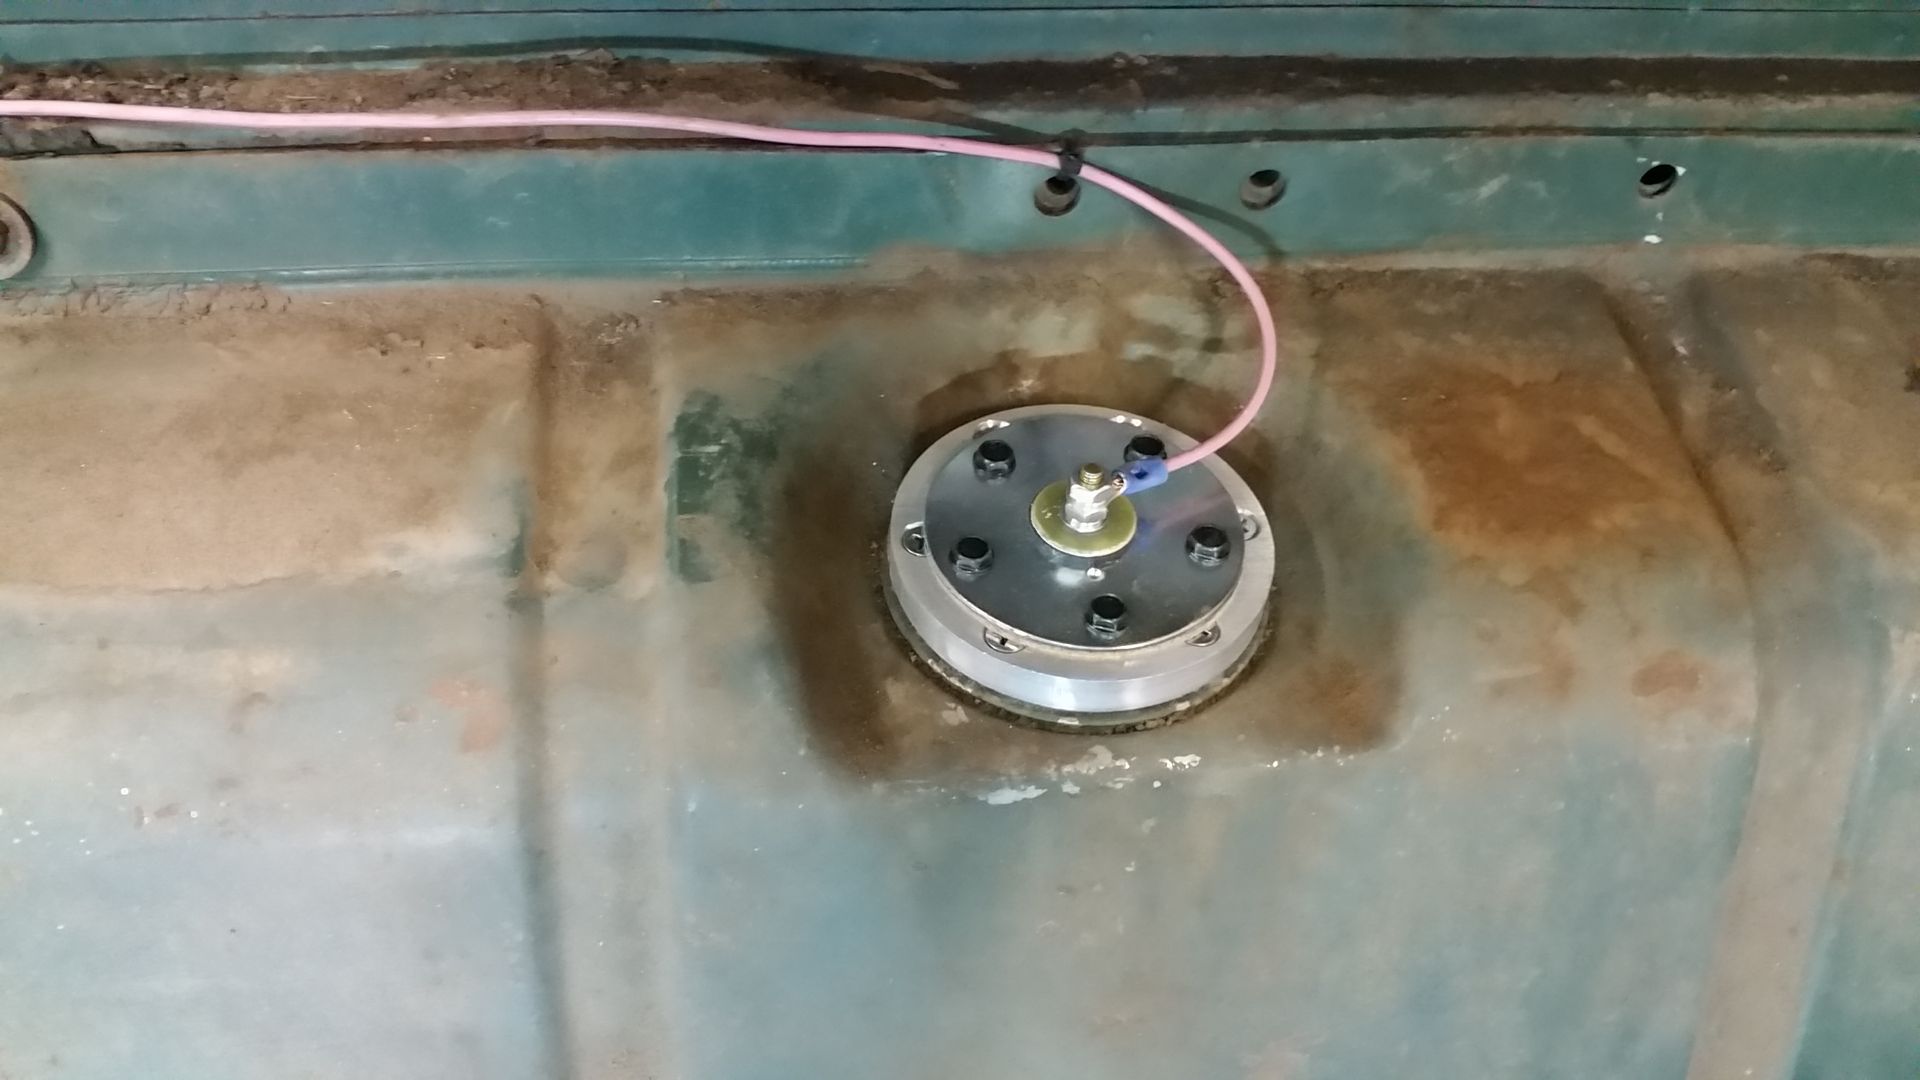
I'm running aftermarket gauges so I updated the fuel sending unit to an universal 12v from Speedway Motors with one of their adapters to make it fit the stock tank
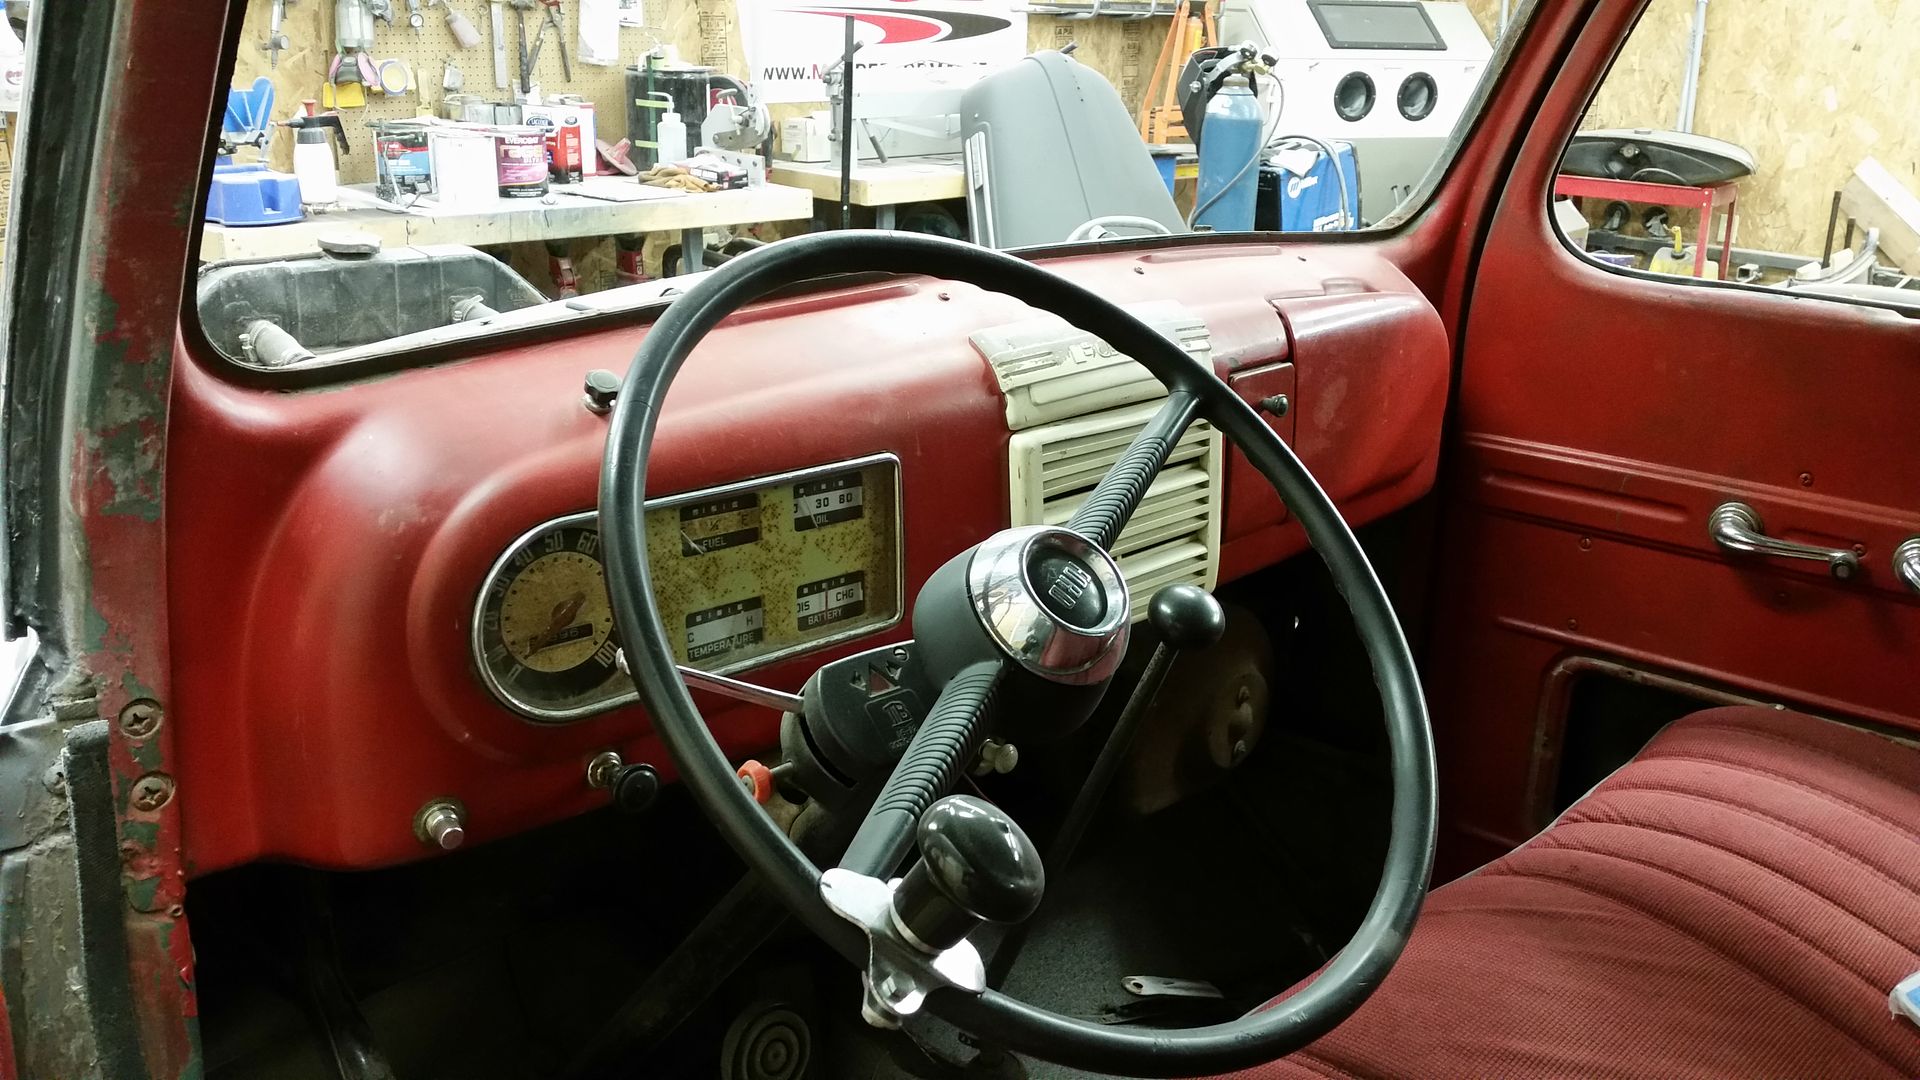
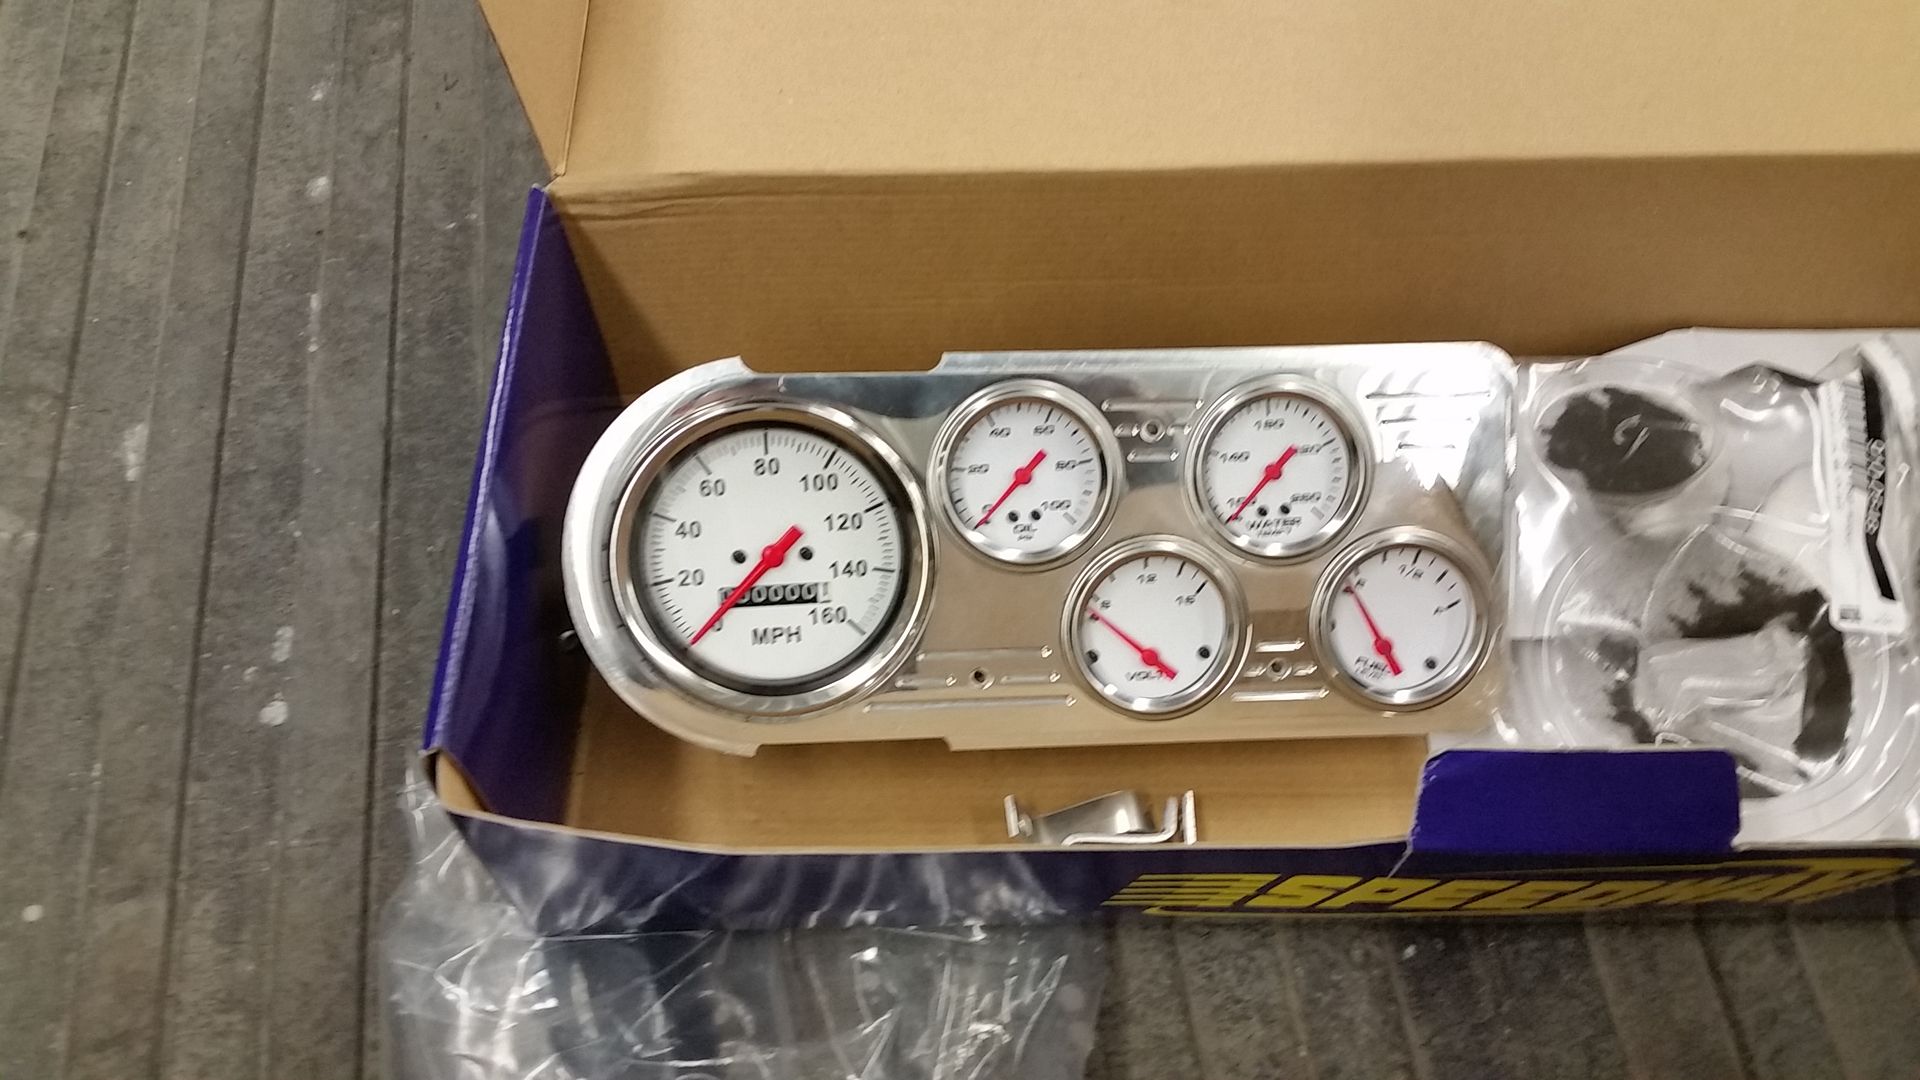
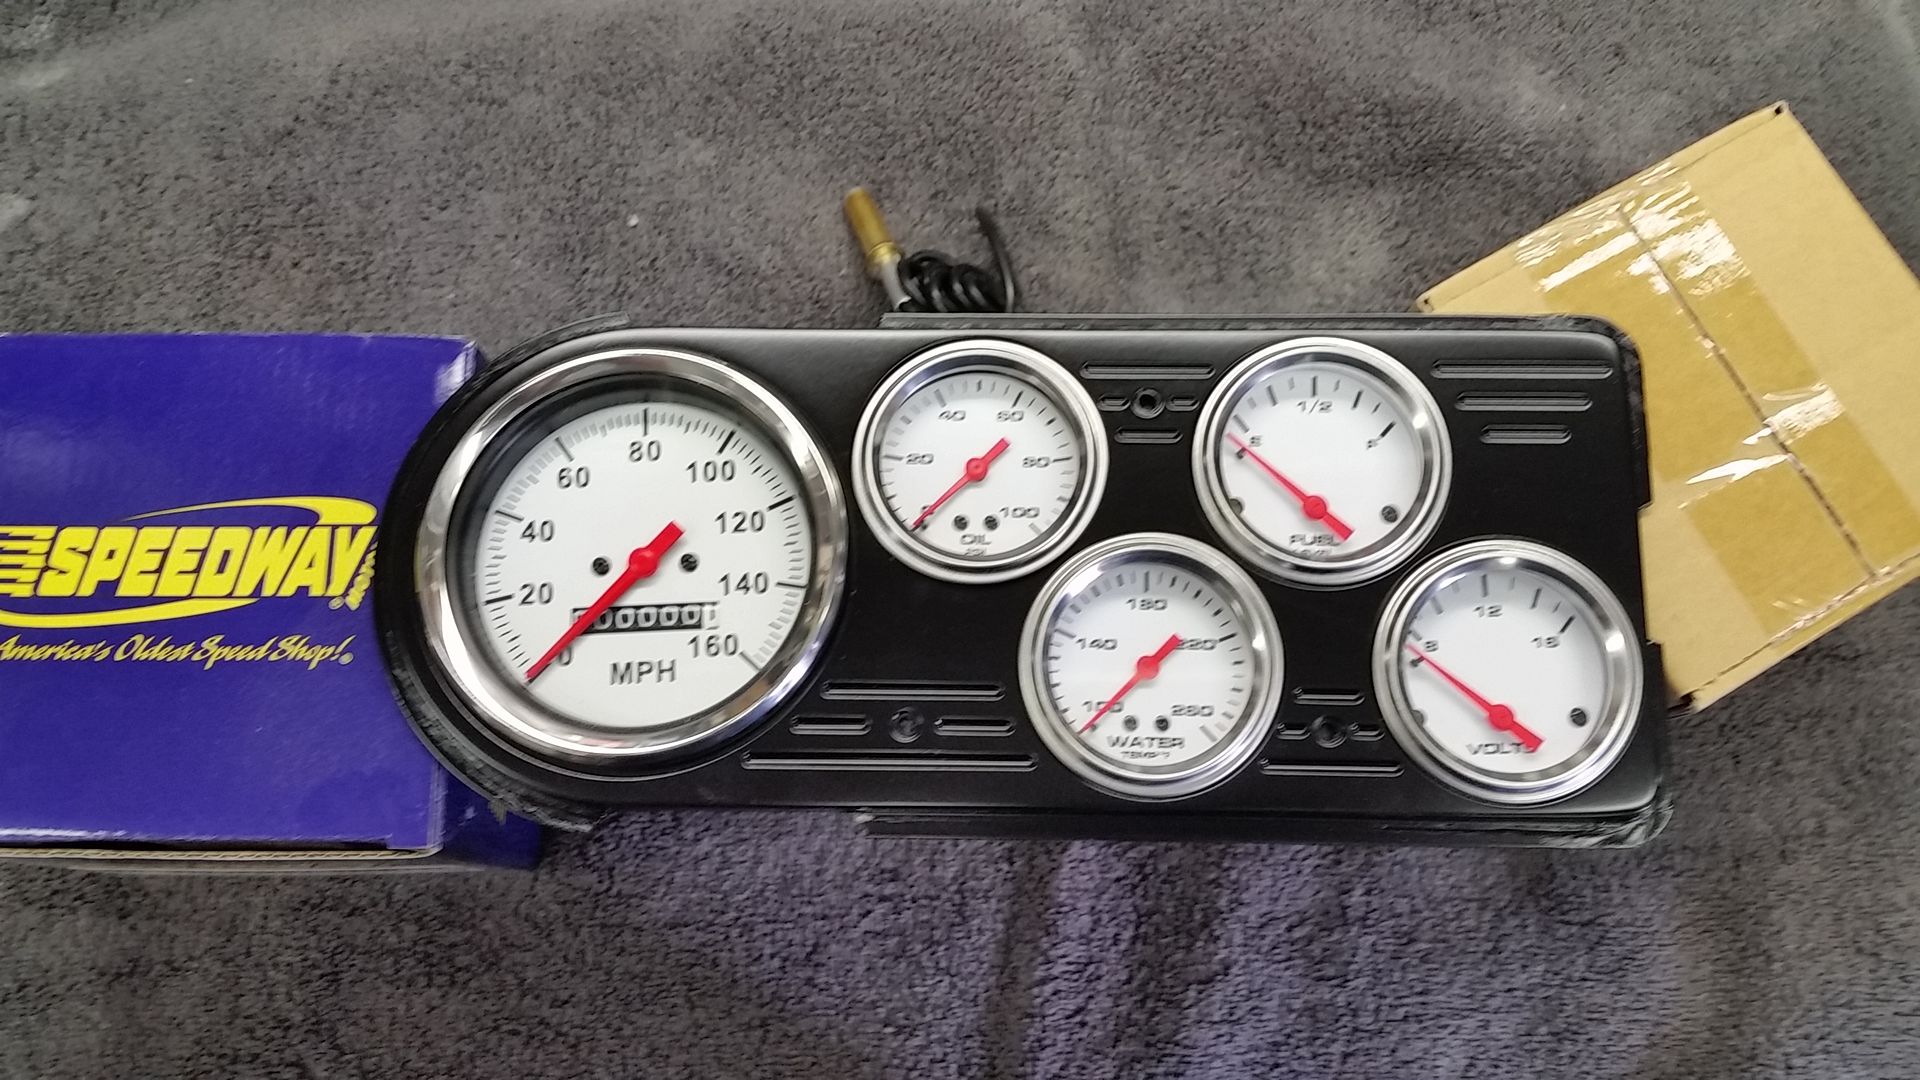
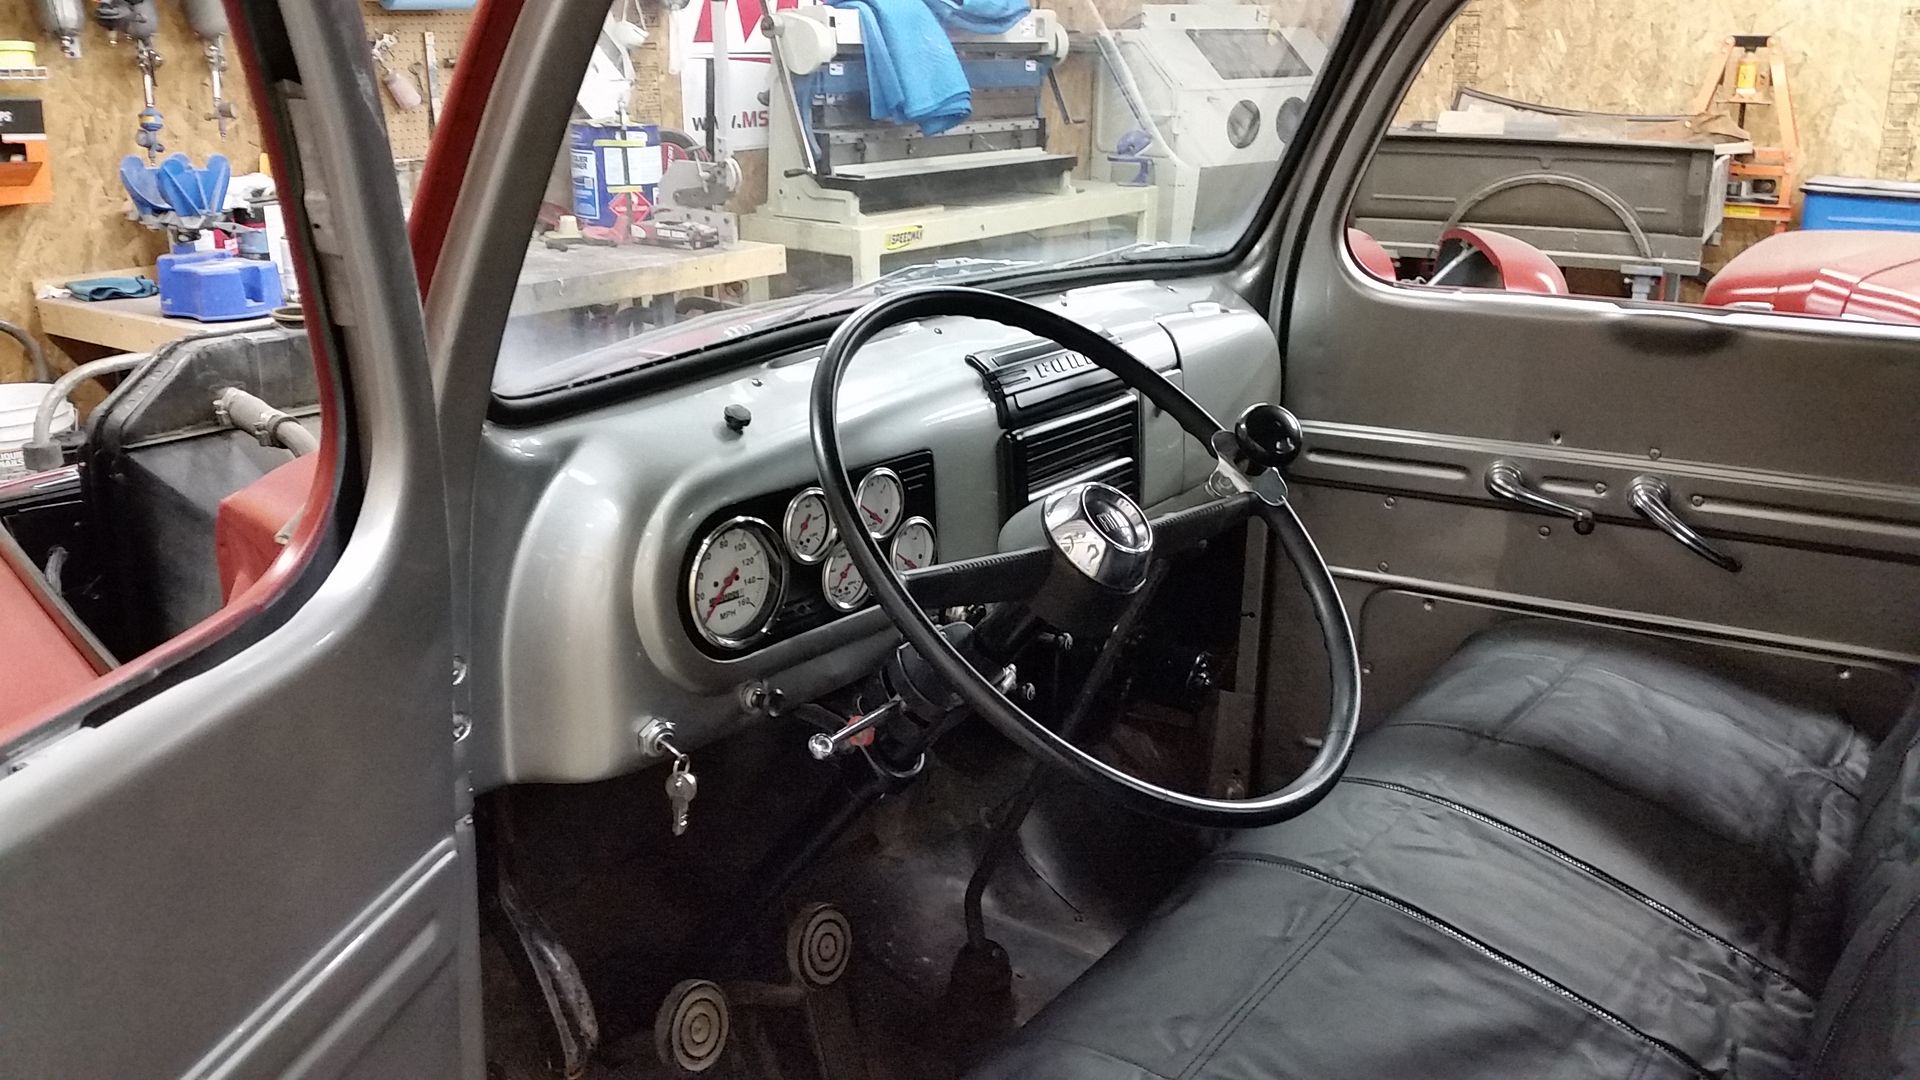
Gauge set I bought from Speedway. I didn't want the billet look in this truck so I painted the dash panel satin black

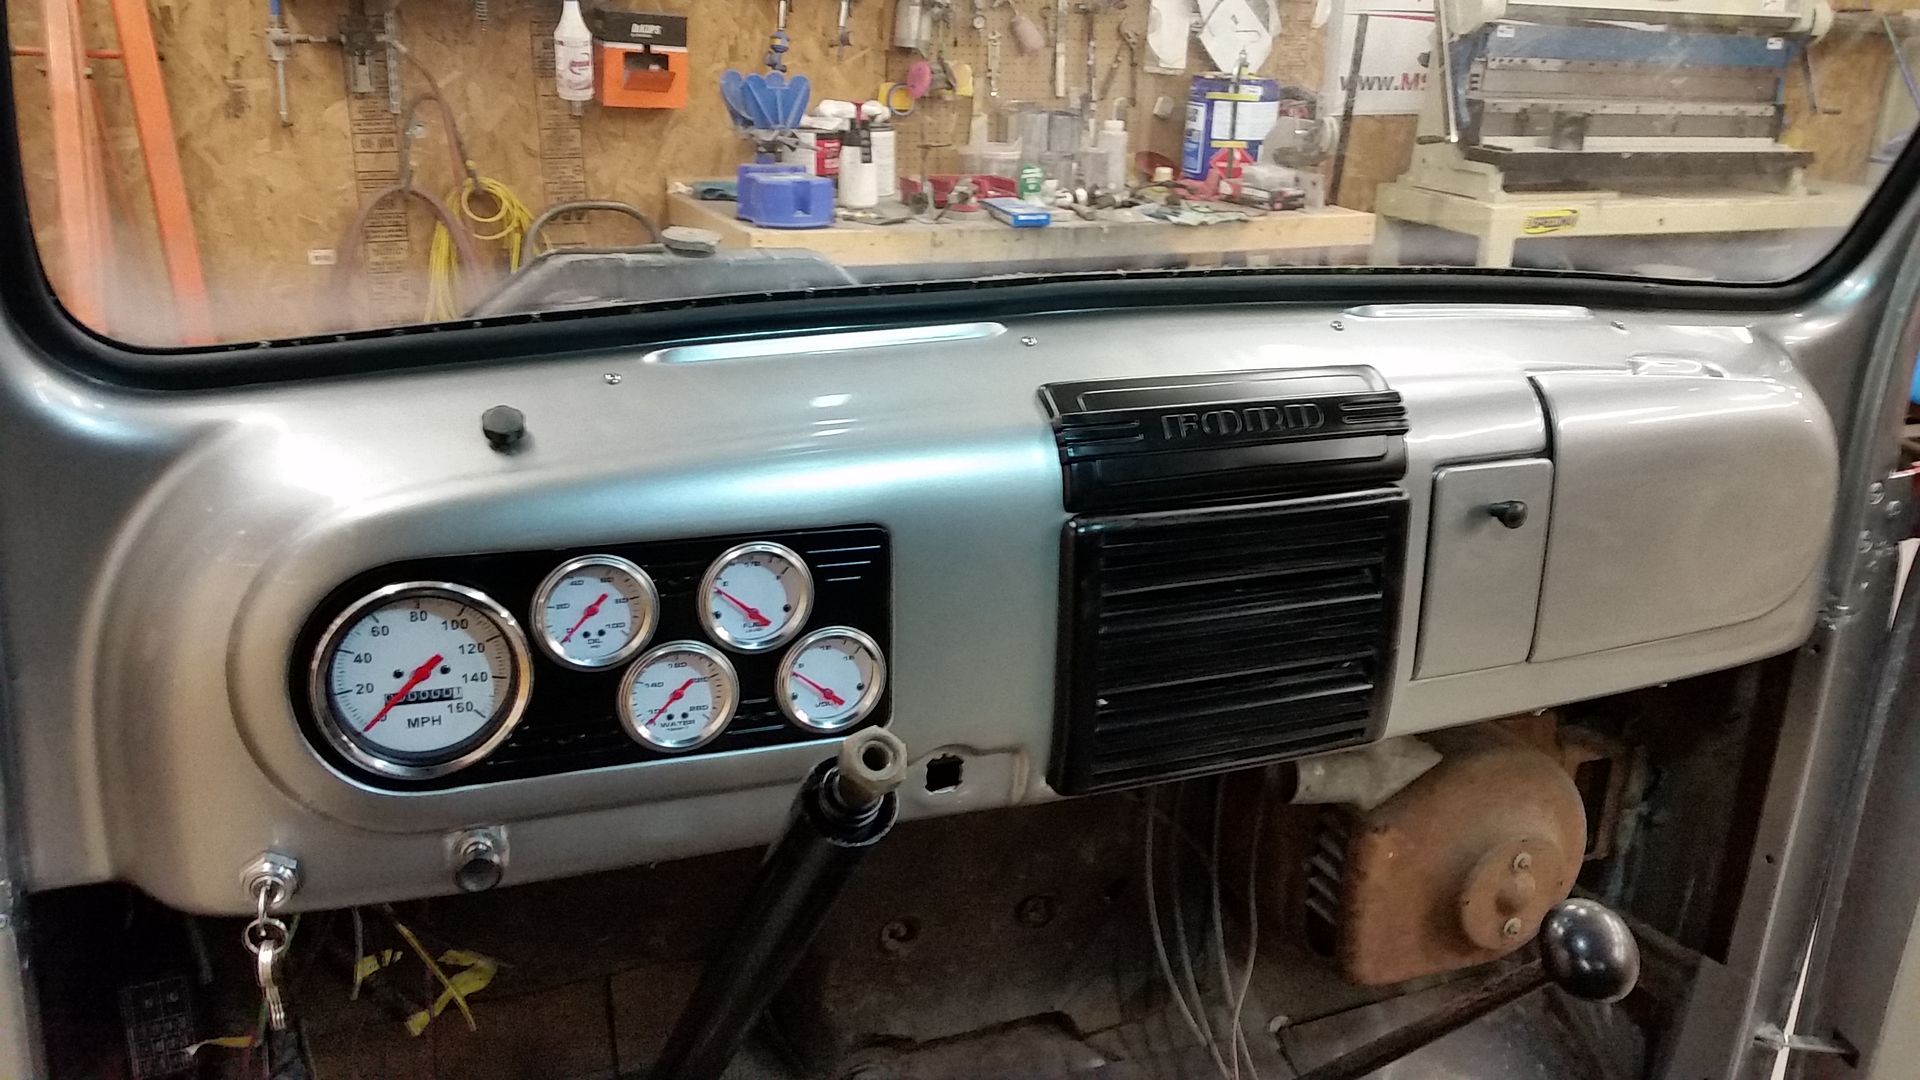
Interior starting to come together


I mounted the block on the lower firewall above high beam switch. You can kinda see in this pic.

All the engine compartment wiring done


Starting to look like a truck again..hanging front sheet metal for the final time


I'm running aftermarket gauges so I updated the fuel sending unit to an universal 12v from Speedway Motors with one of their adapters to make it fit the stock tank


Gauge set I bought from Speedway. I didn't want the billet look in this truck so I painted the dash panel satin black


Interior starting to come together

#23
08-18-2015, 10:25 PM
Join Date: Aug 2015
Location: Perry, IA
Posts: 20
Likes: 0
Received 0 Likes
on
0 Posts
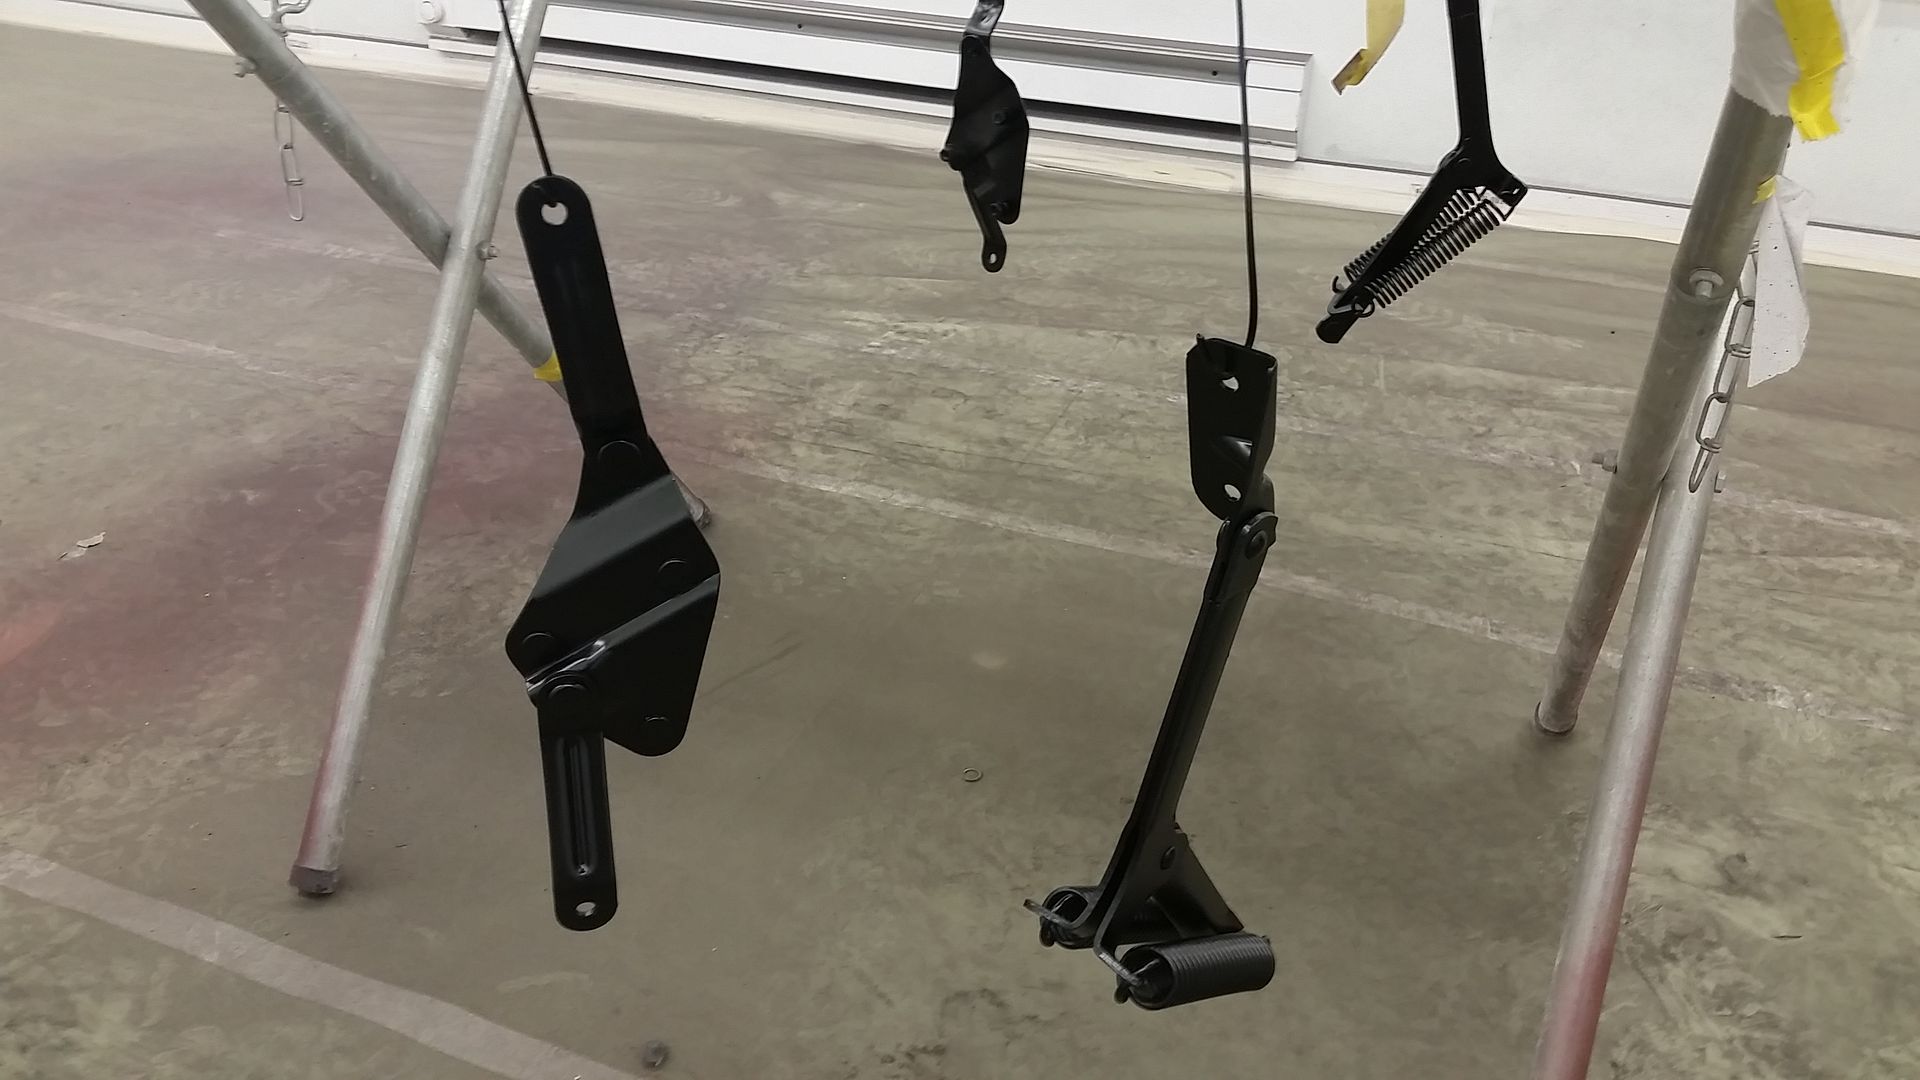
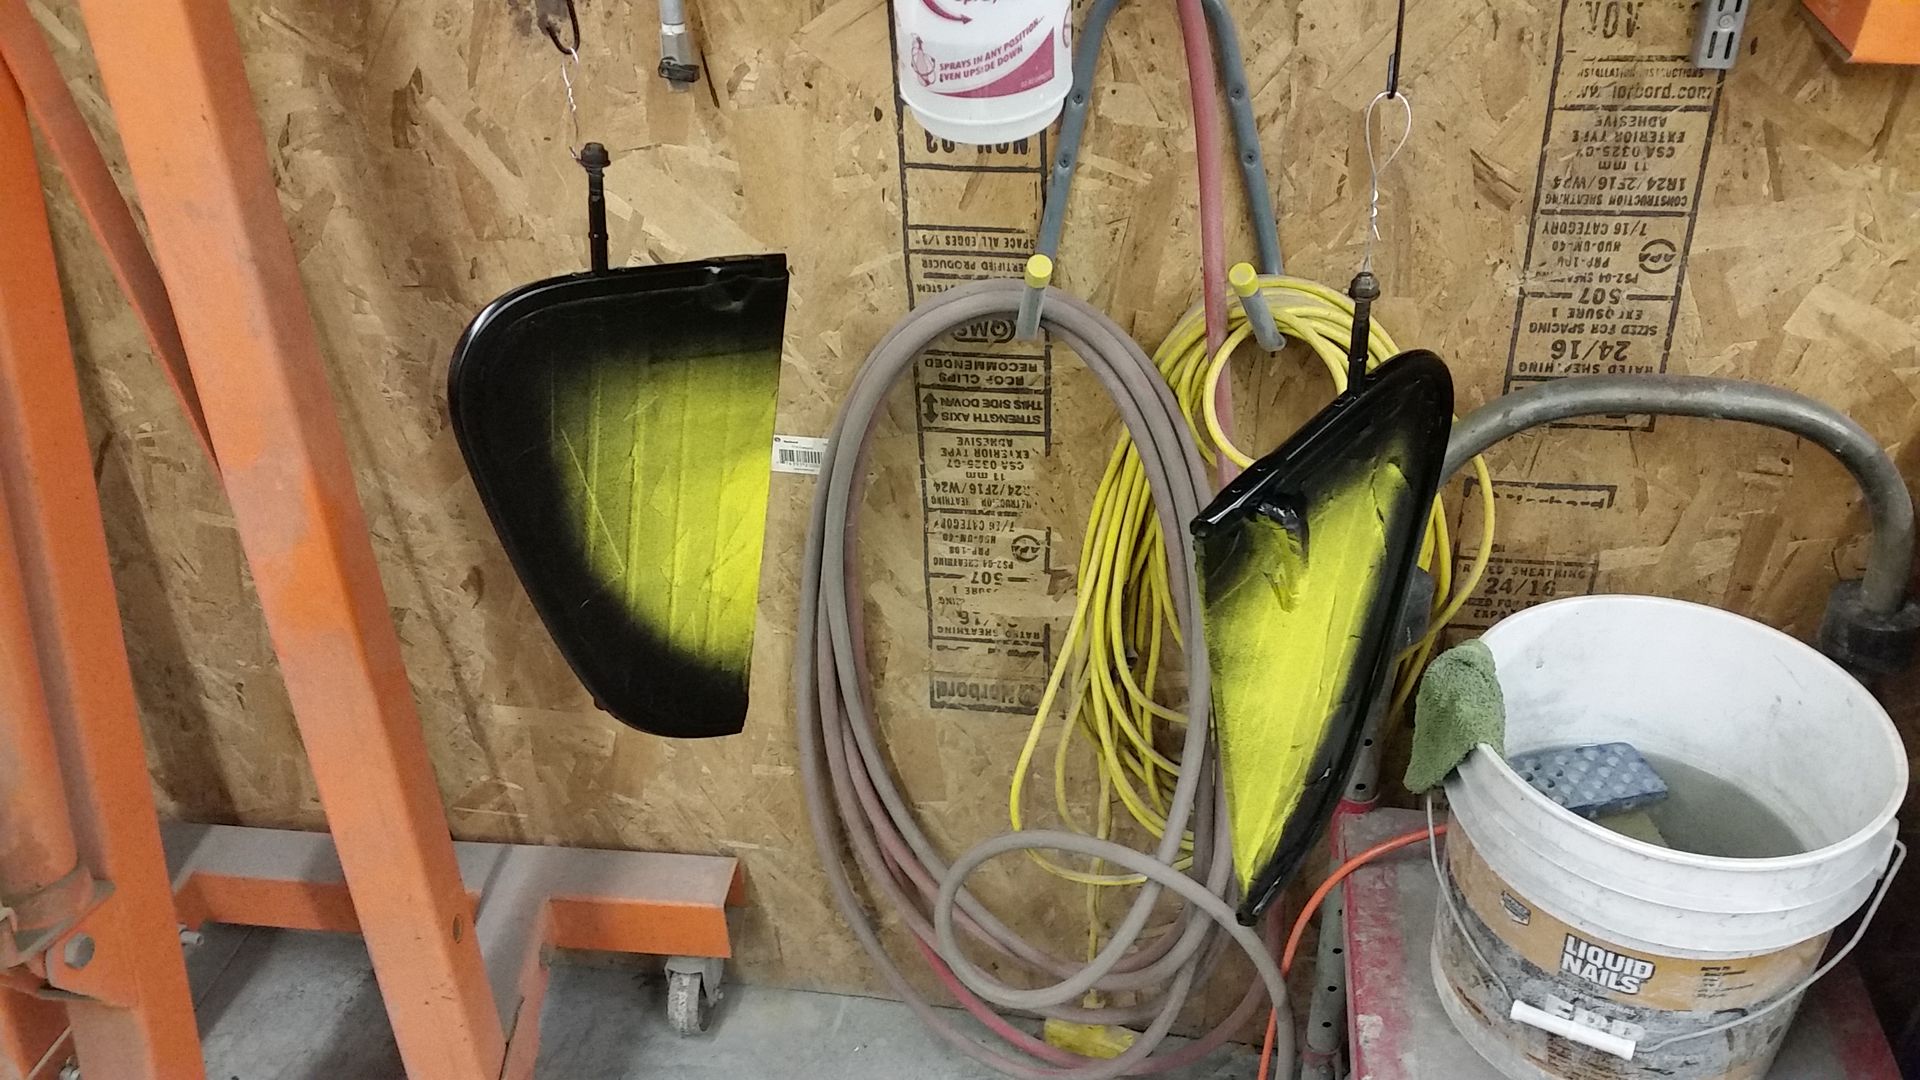
Blasted and shot many misc. parts satin black
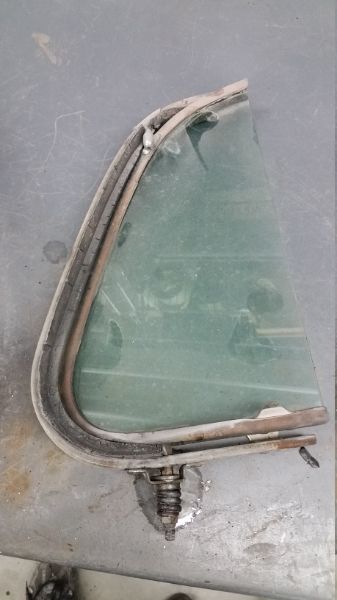
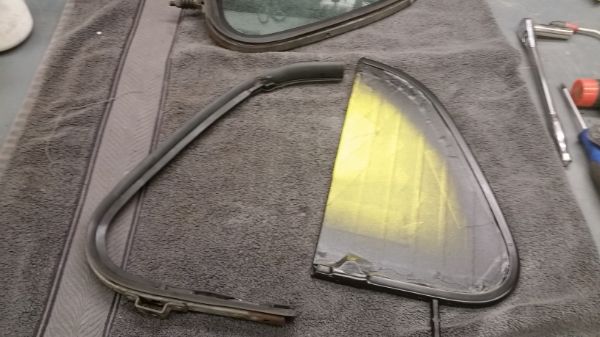
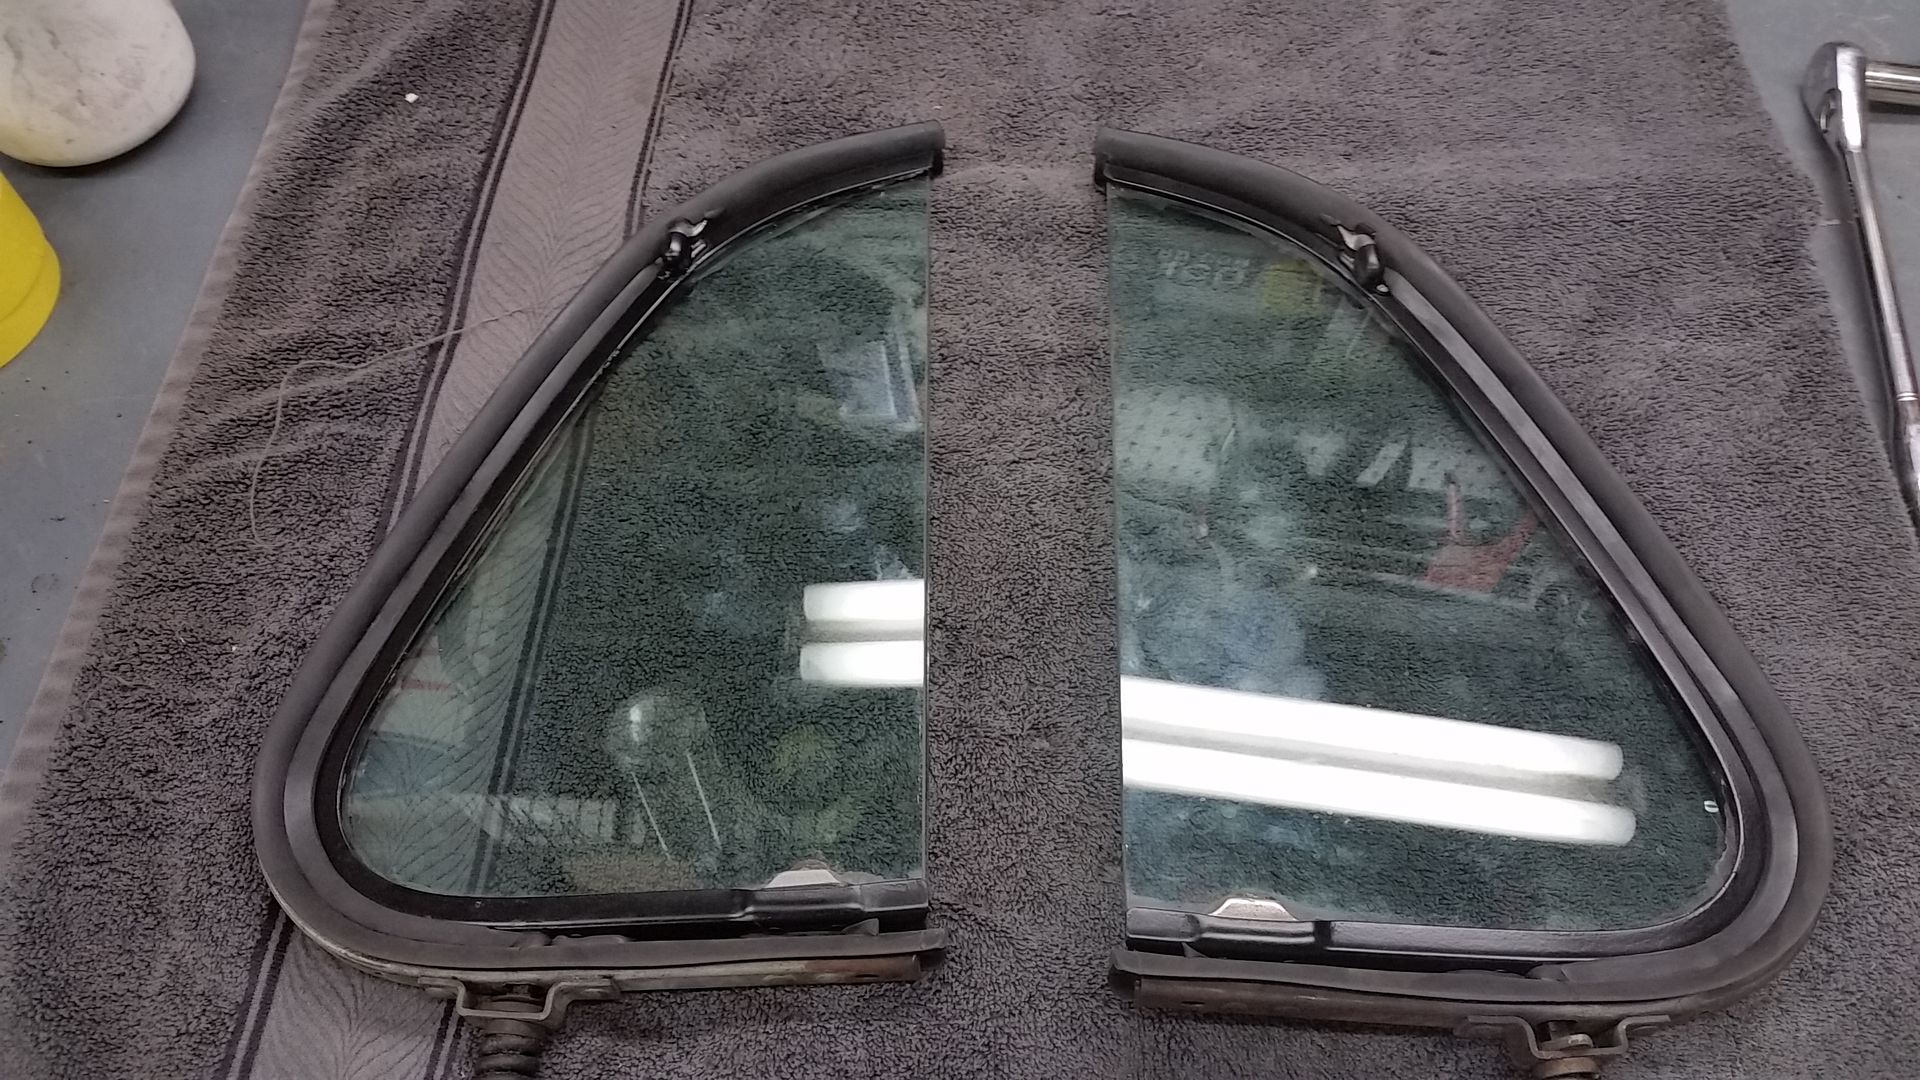
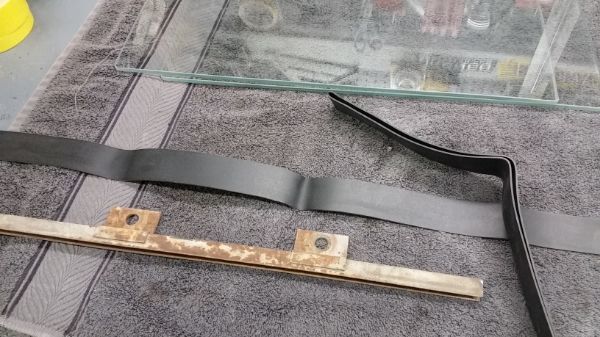
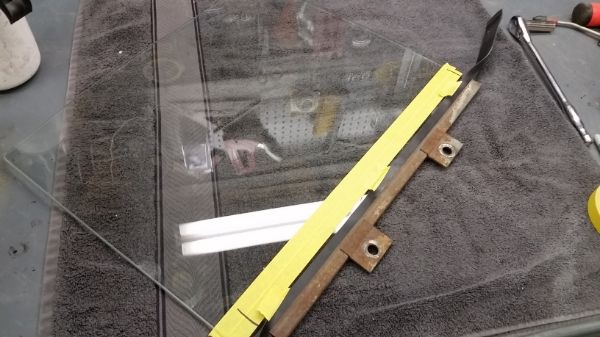
Replaced the vent window gaskets
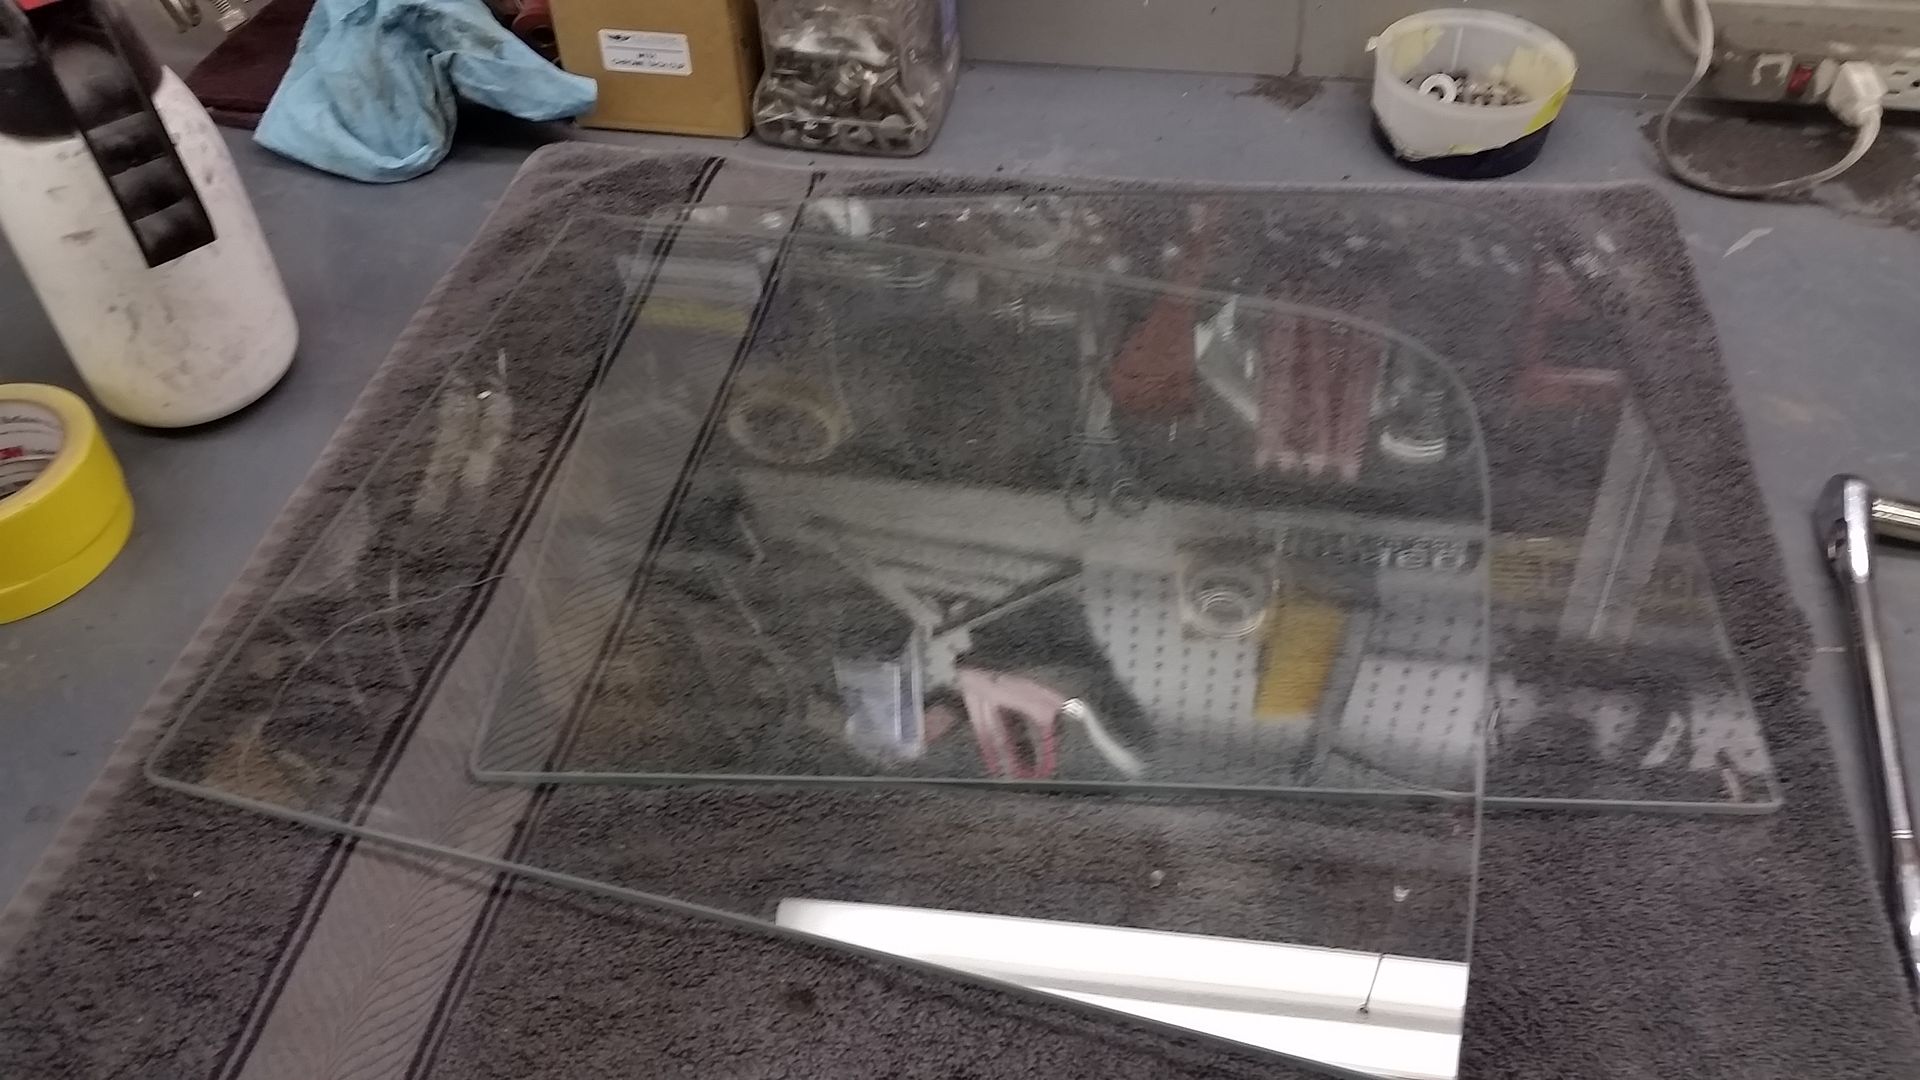
Both side door windows were cracked so I picked up new pair from LMC along with a windshield gasket

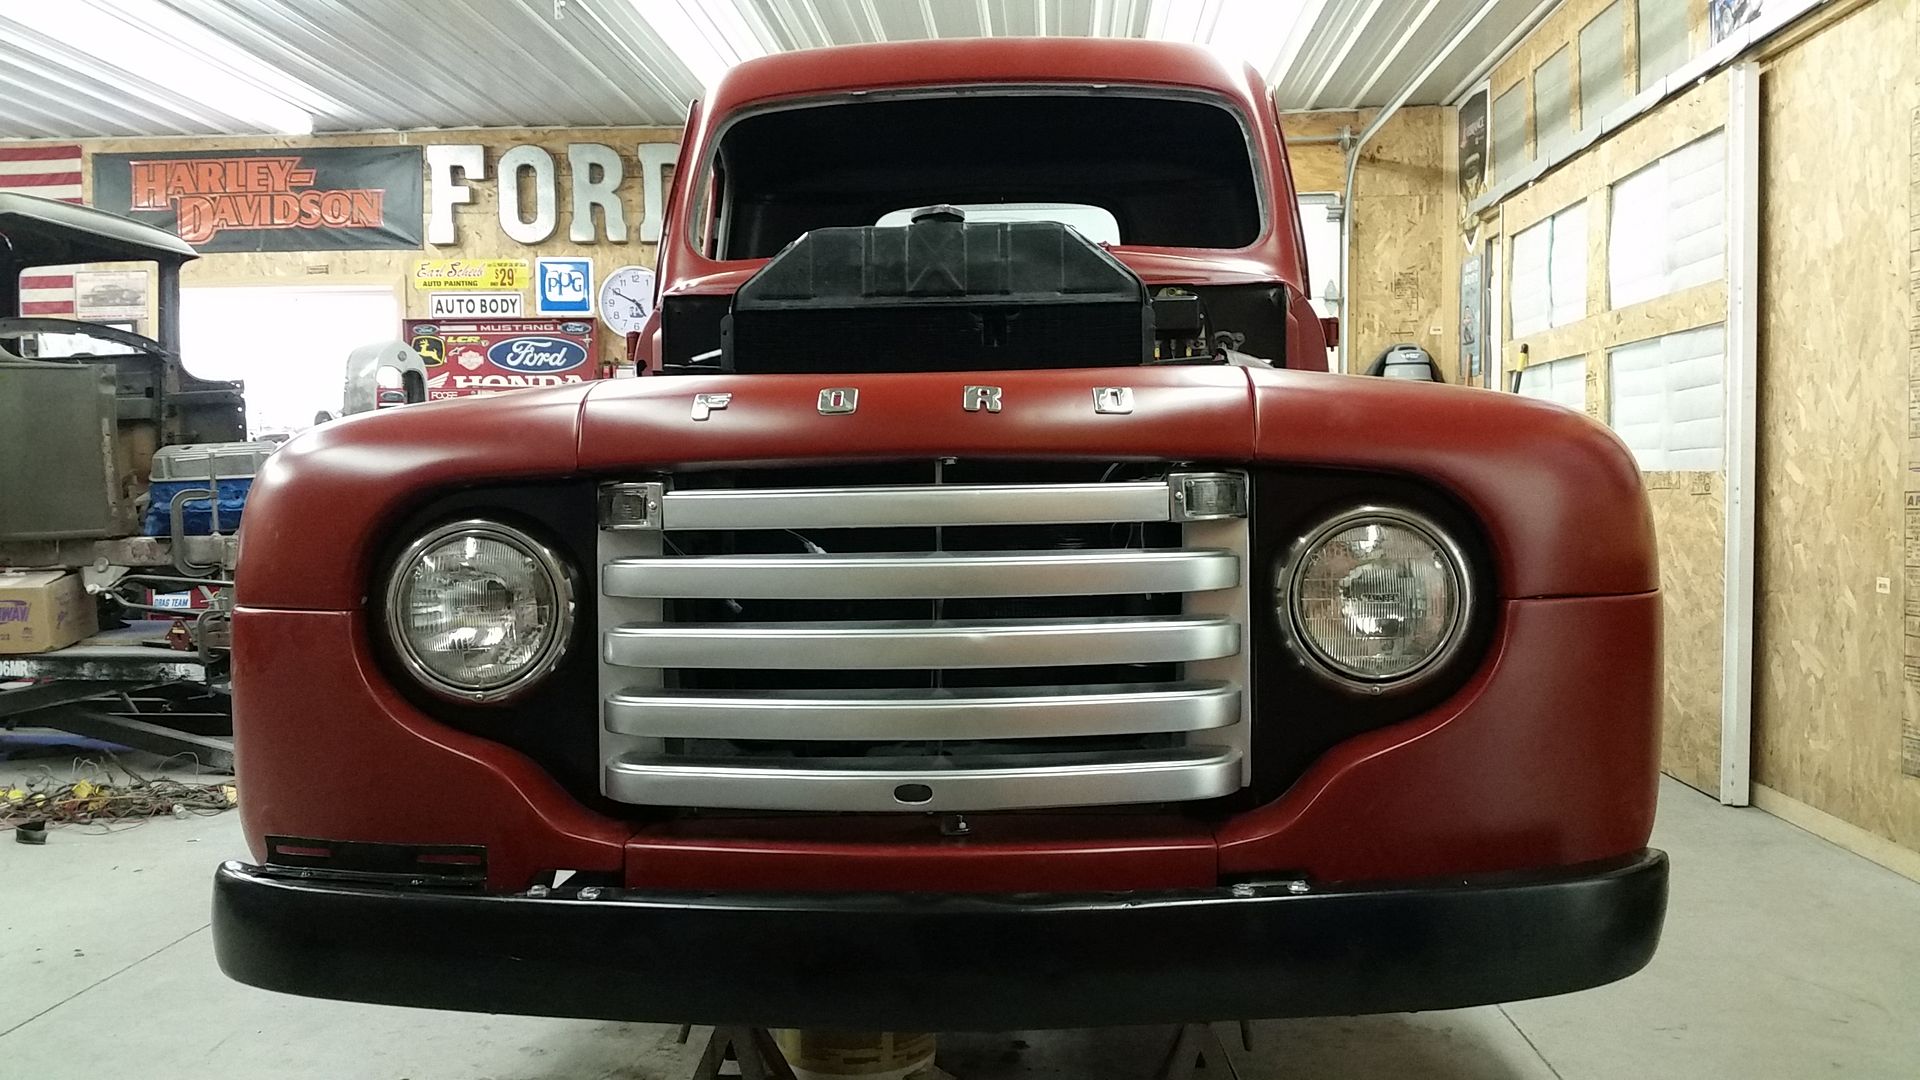
All the glass back in & hood on
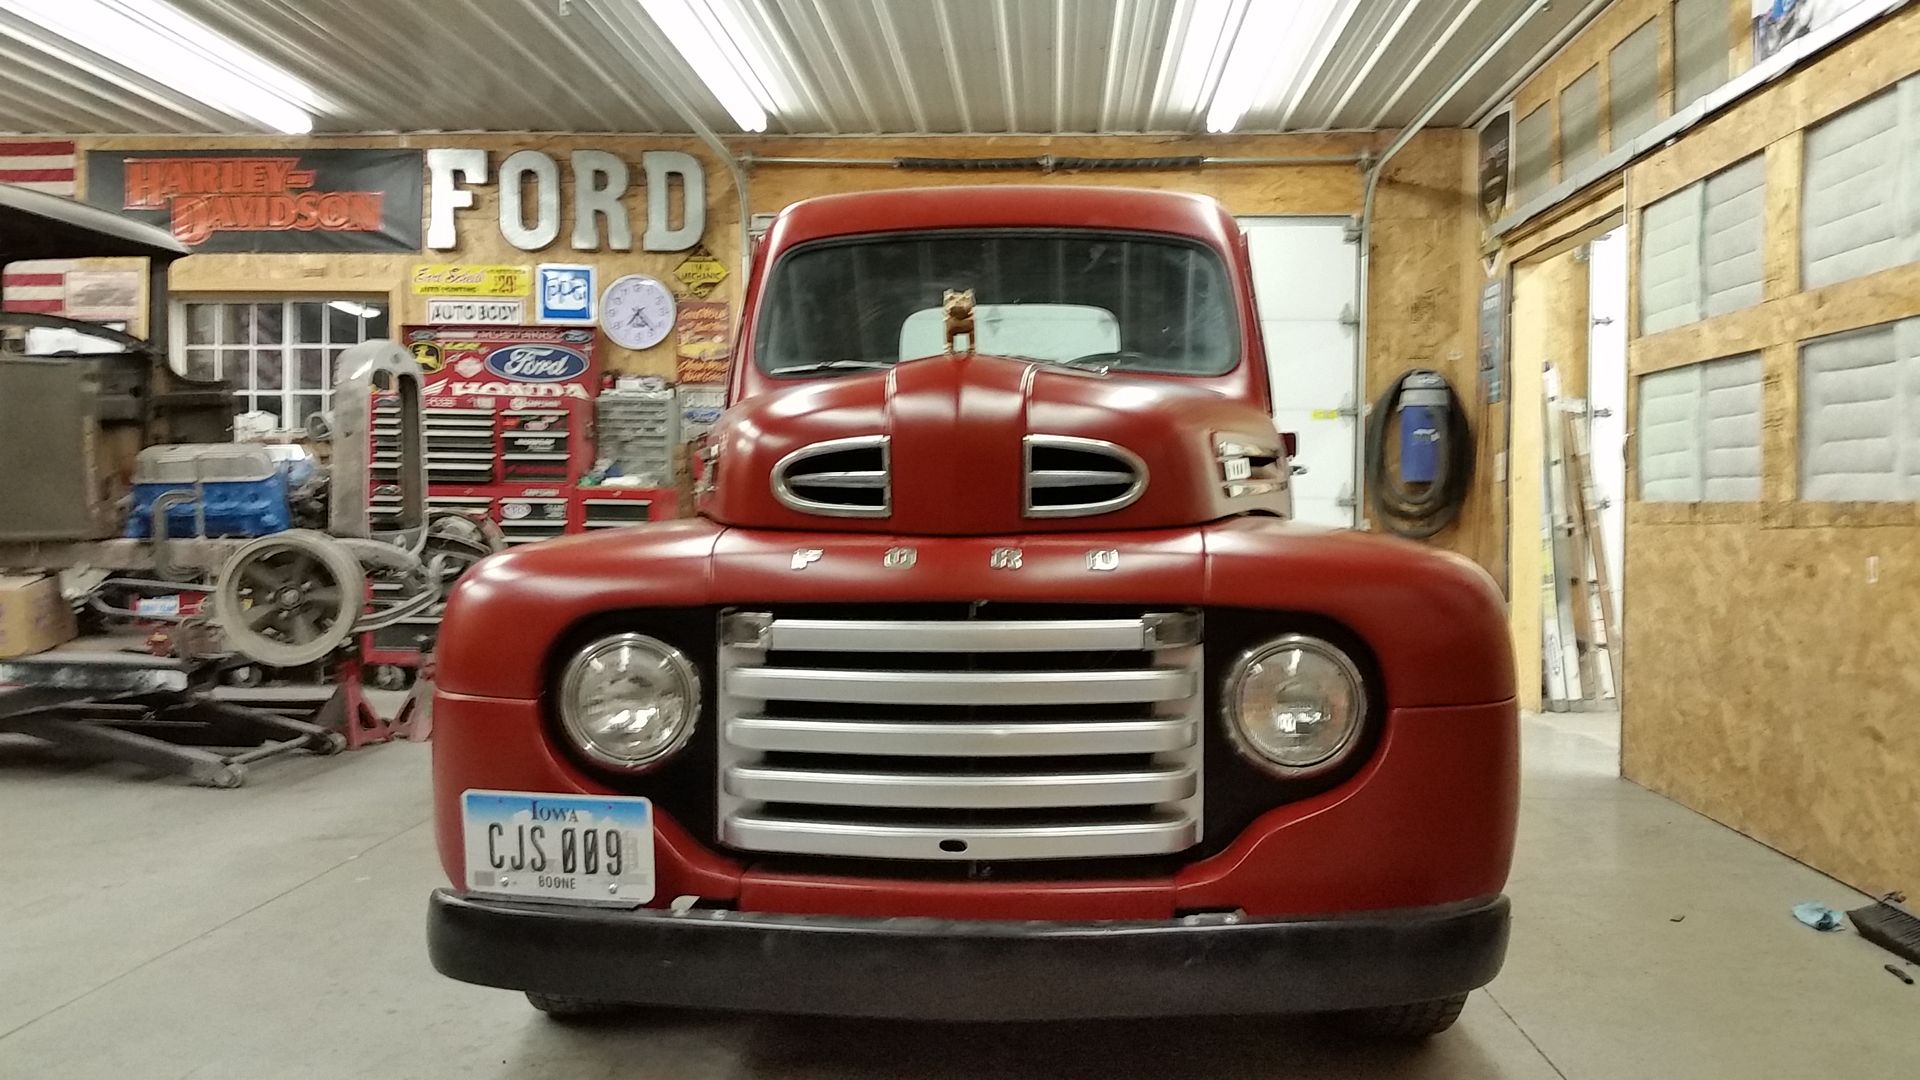
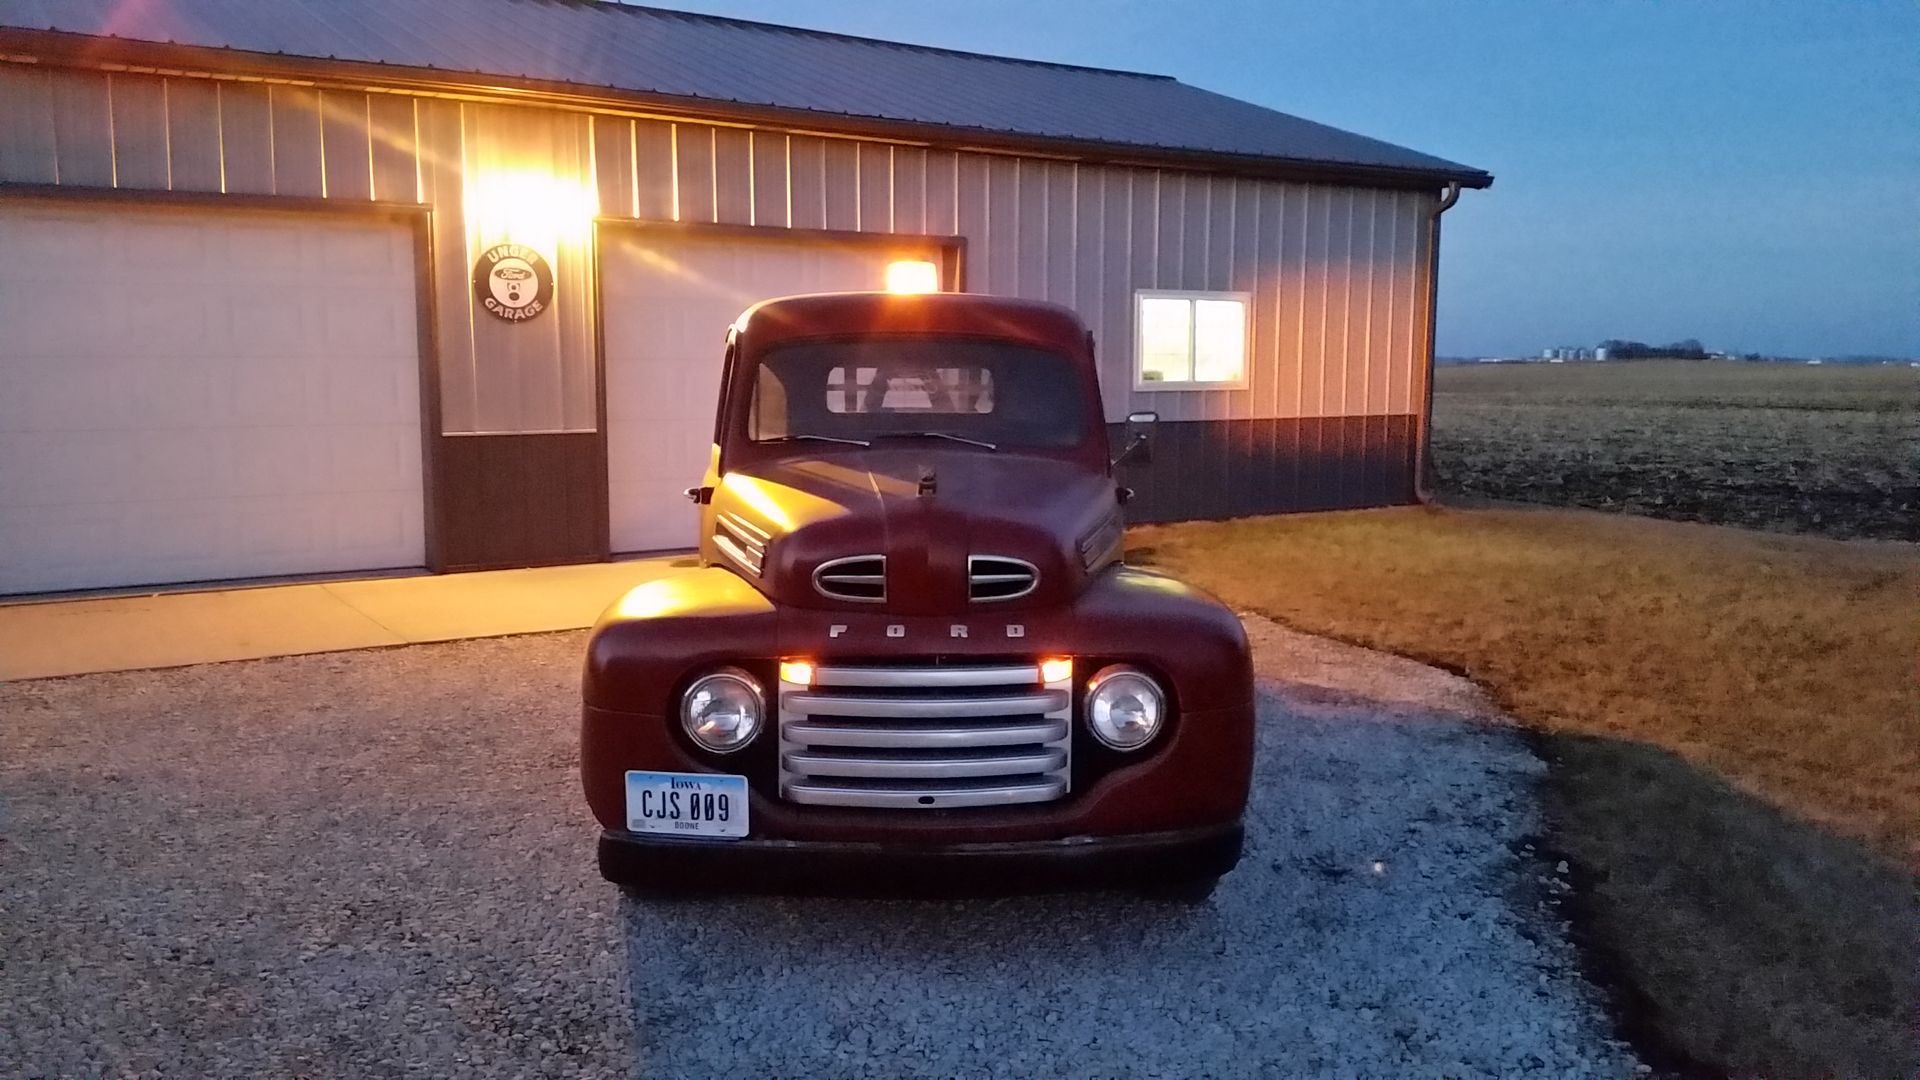
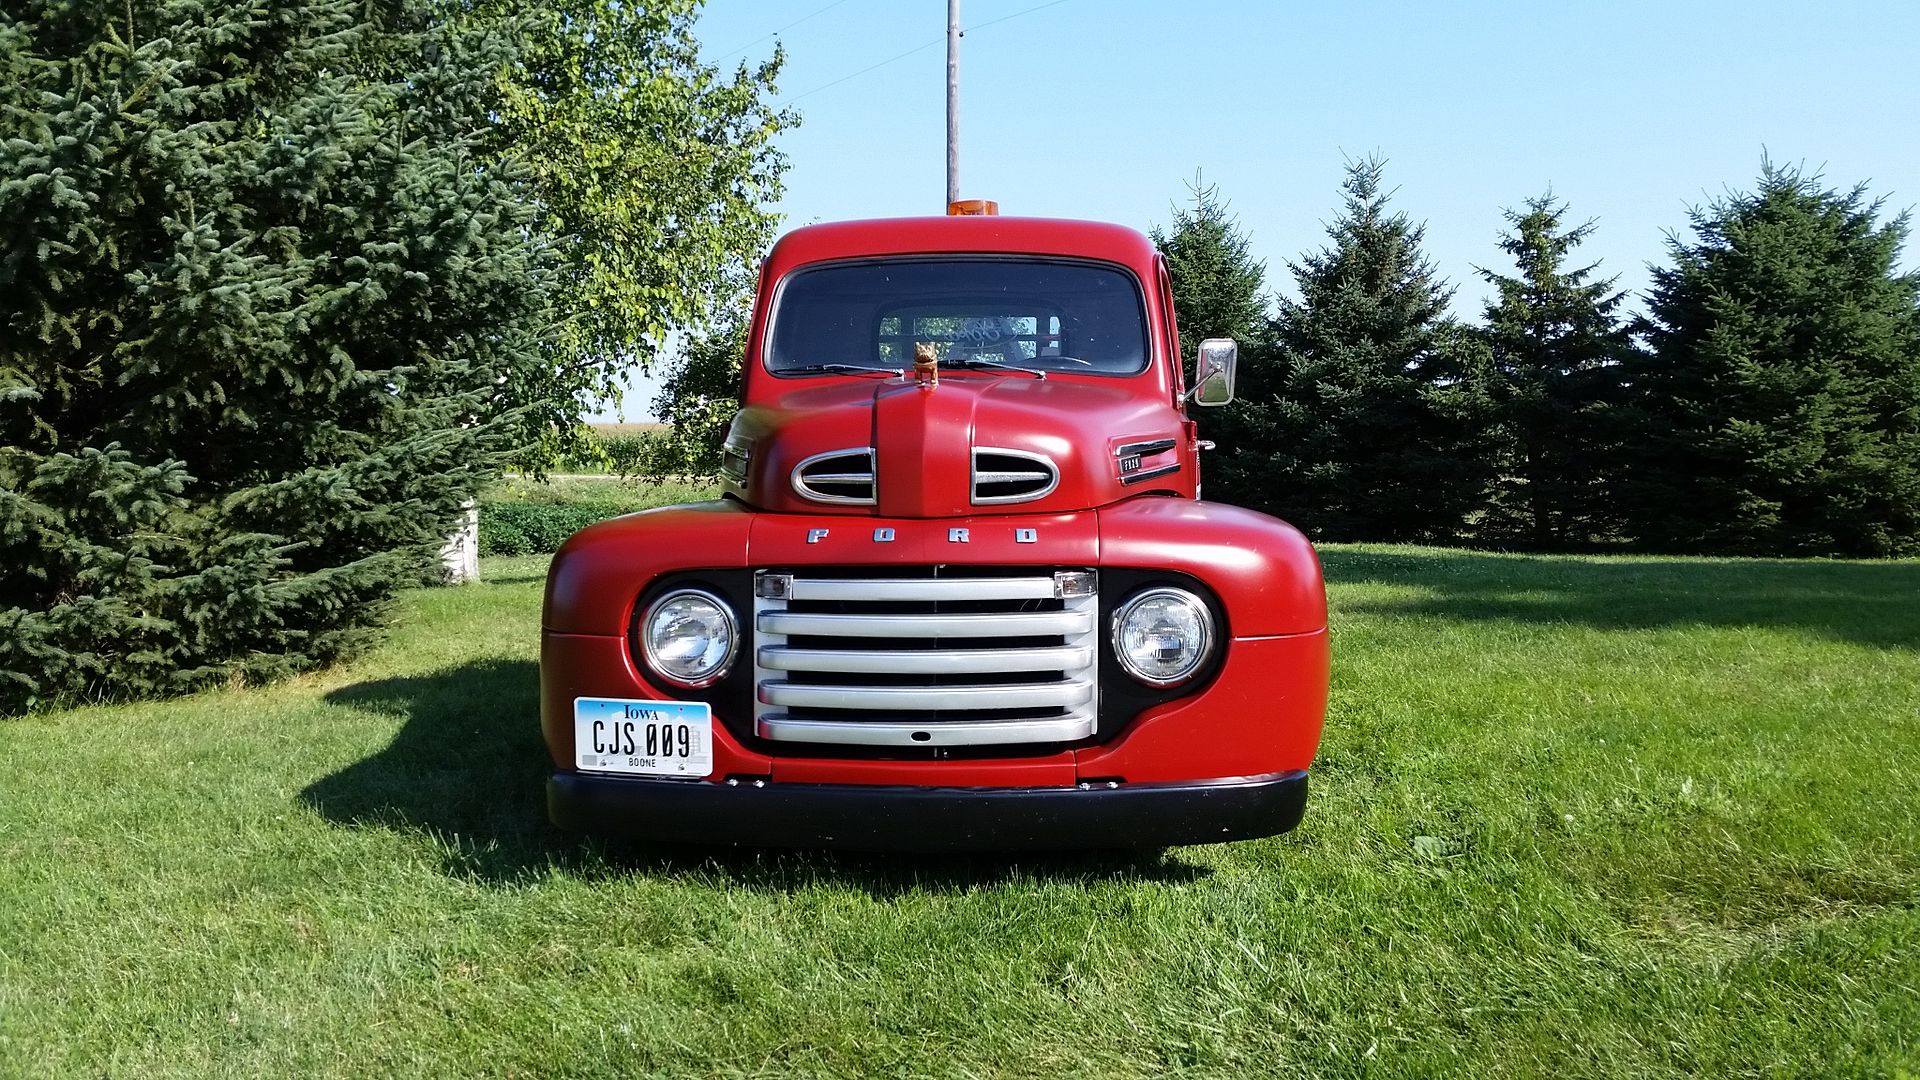
Front head on view of this truck is my favorite
Interior finished up
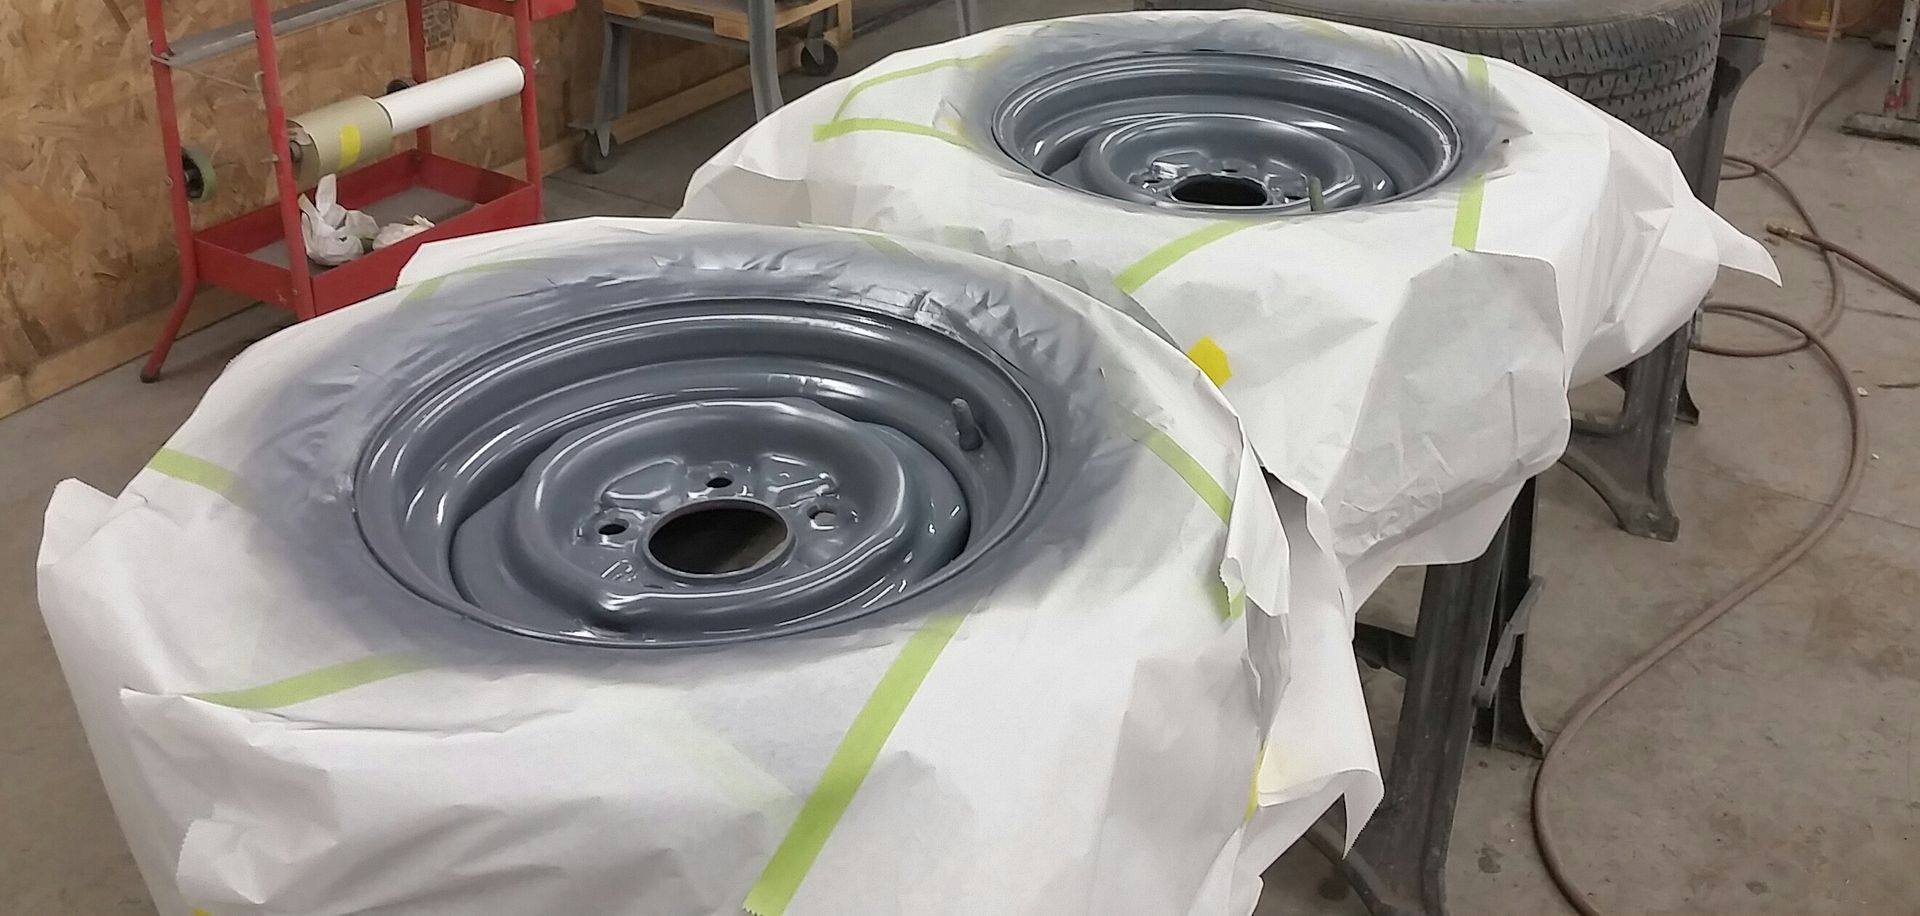
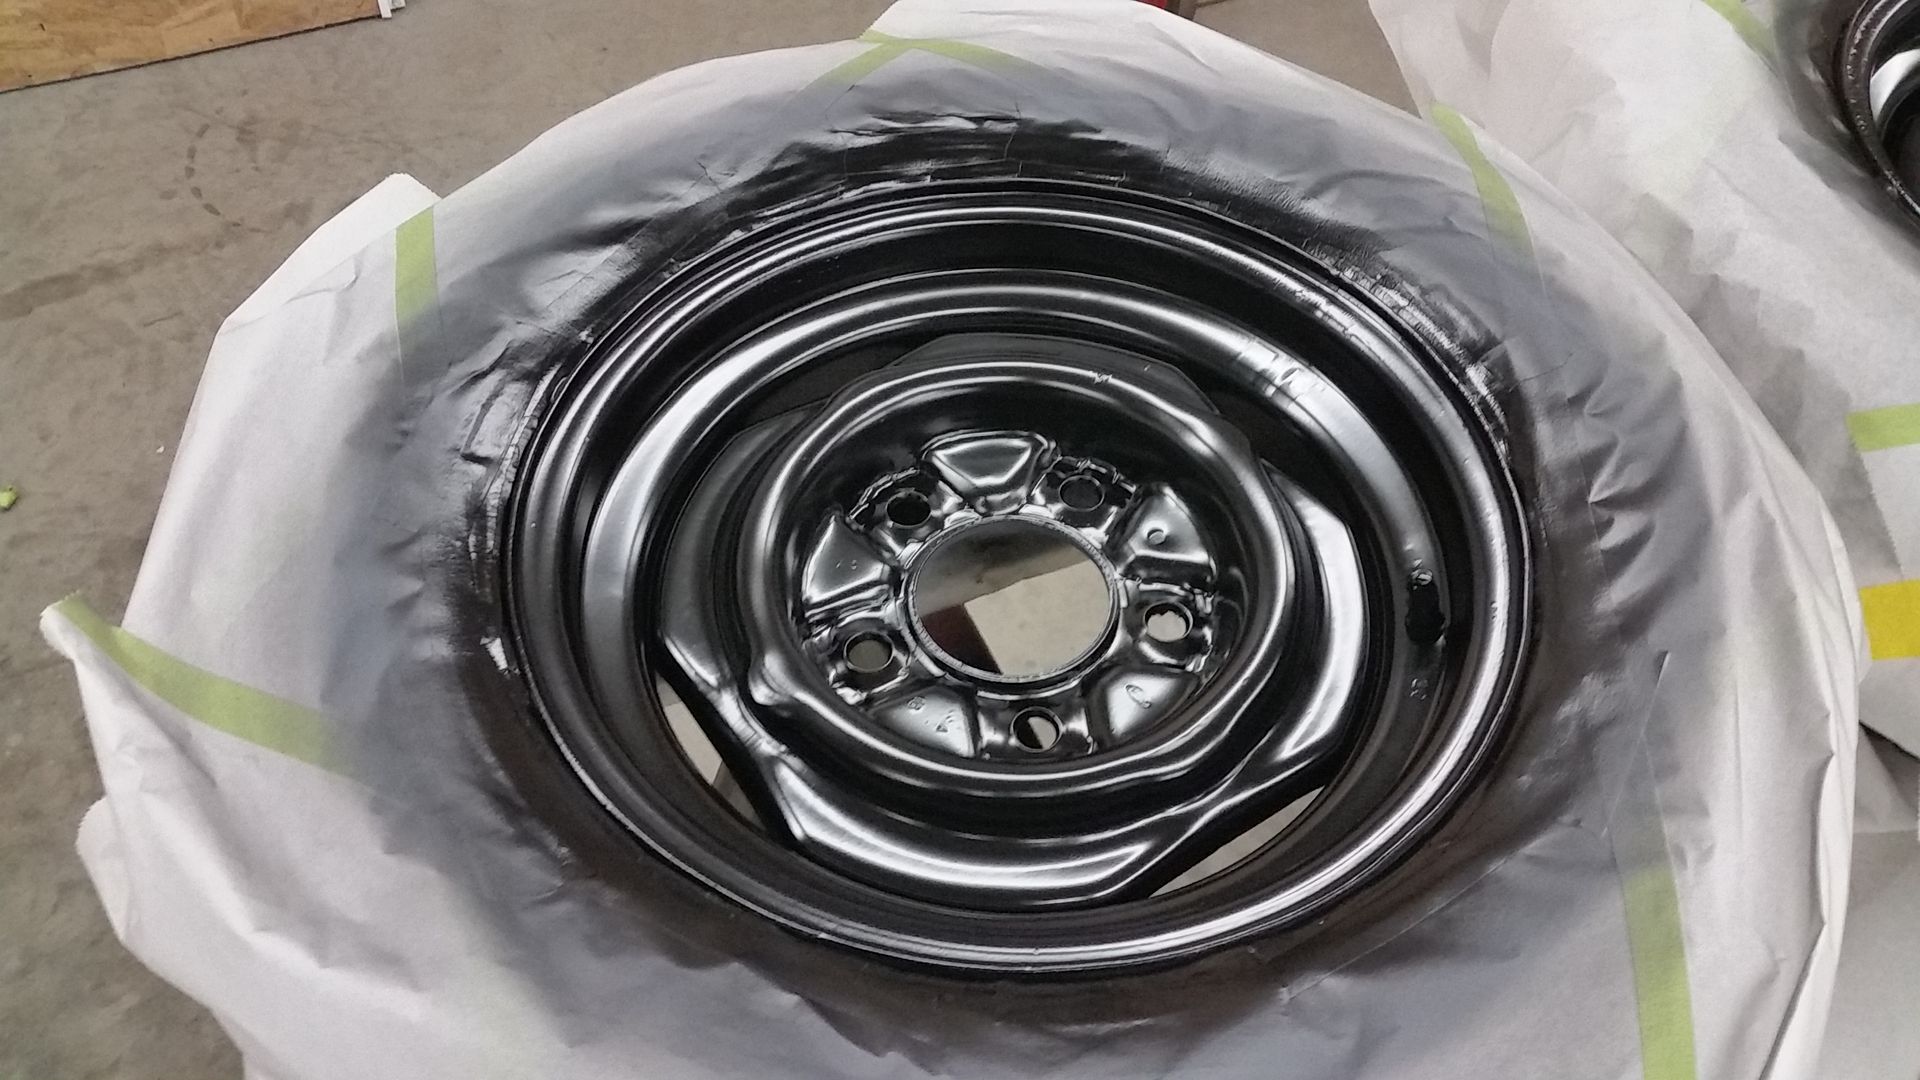
Wheel blasted, epoxied ans painted satin black
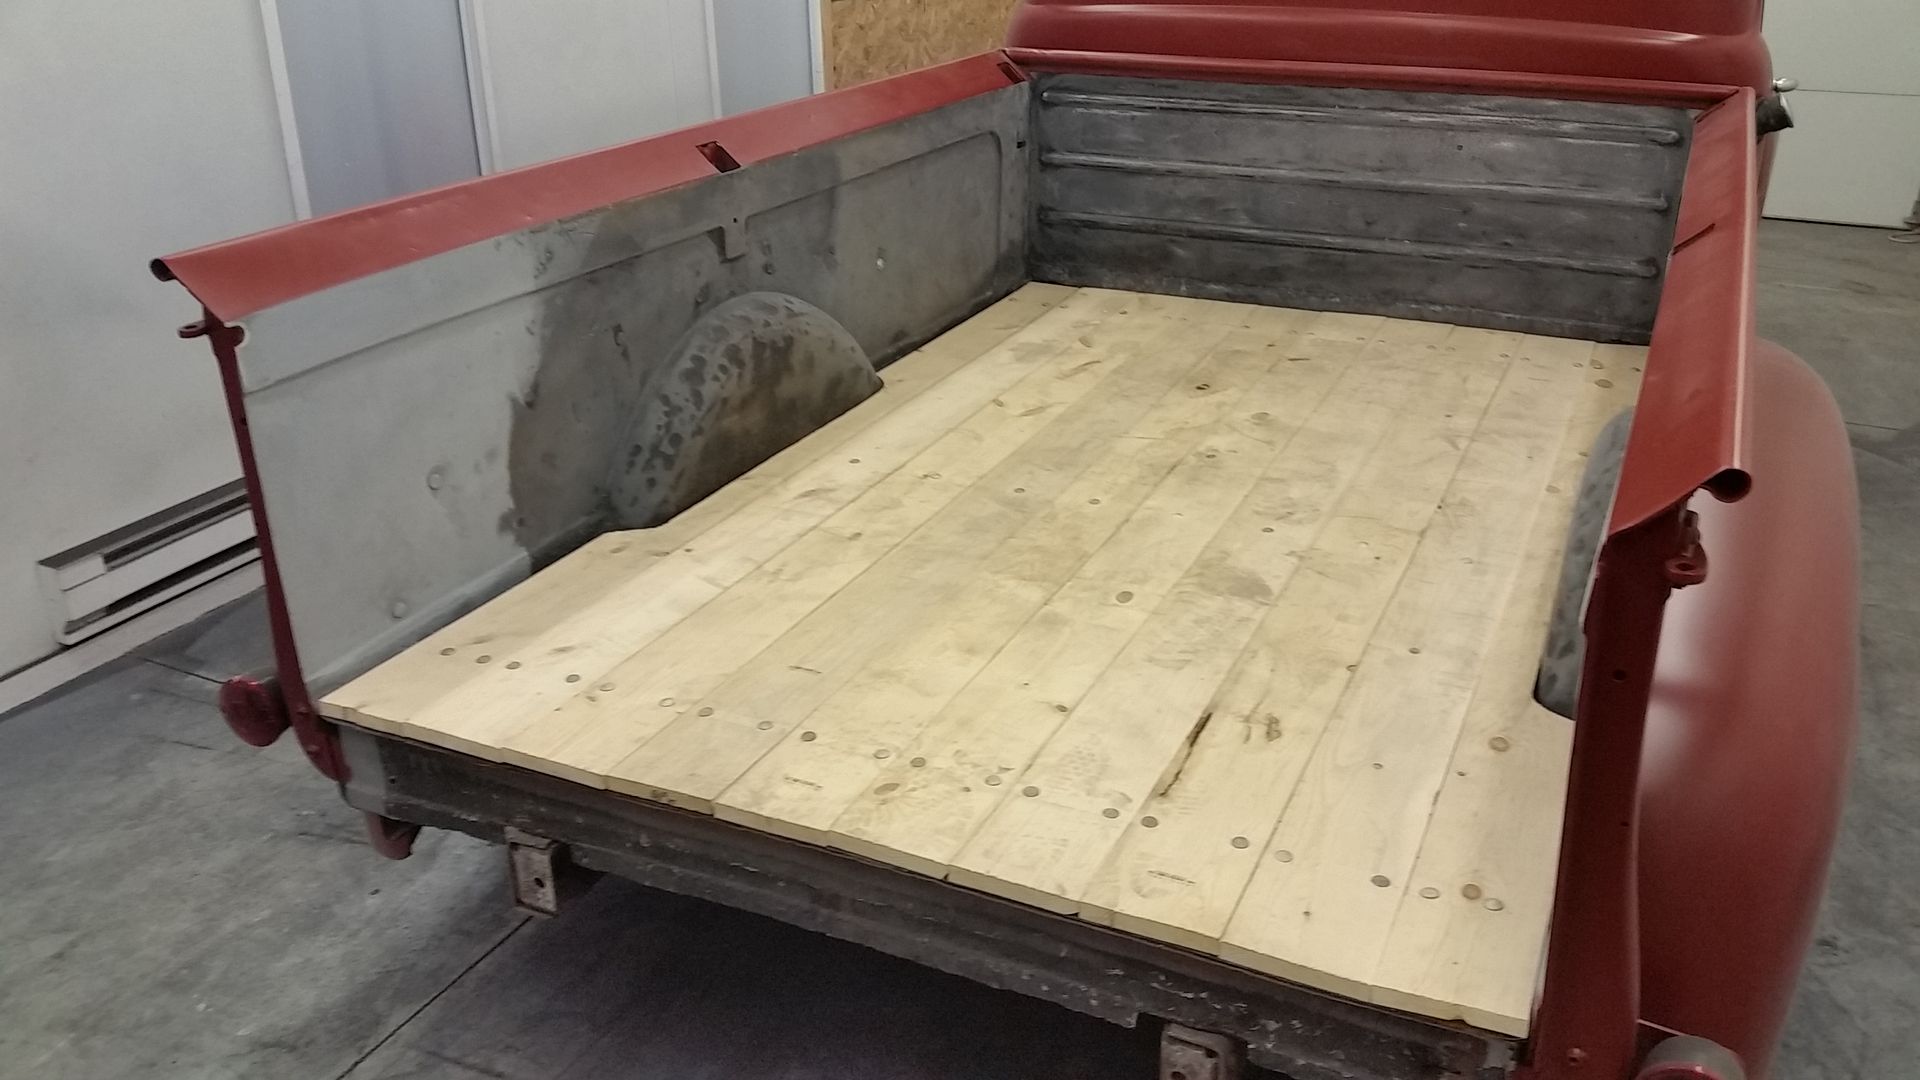
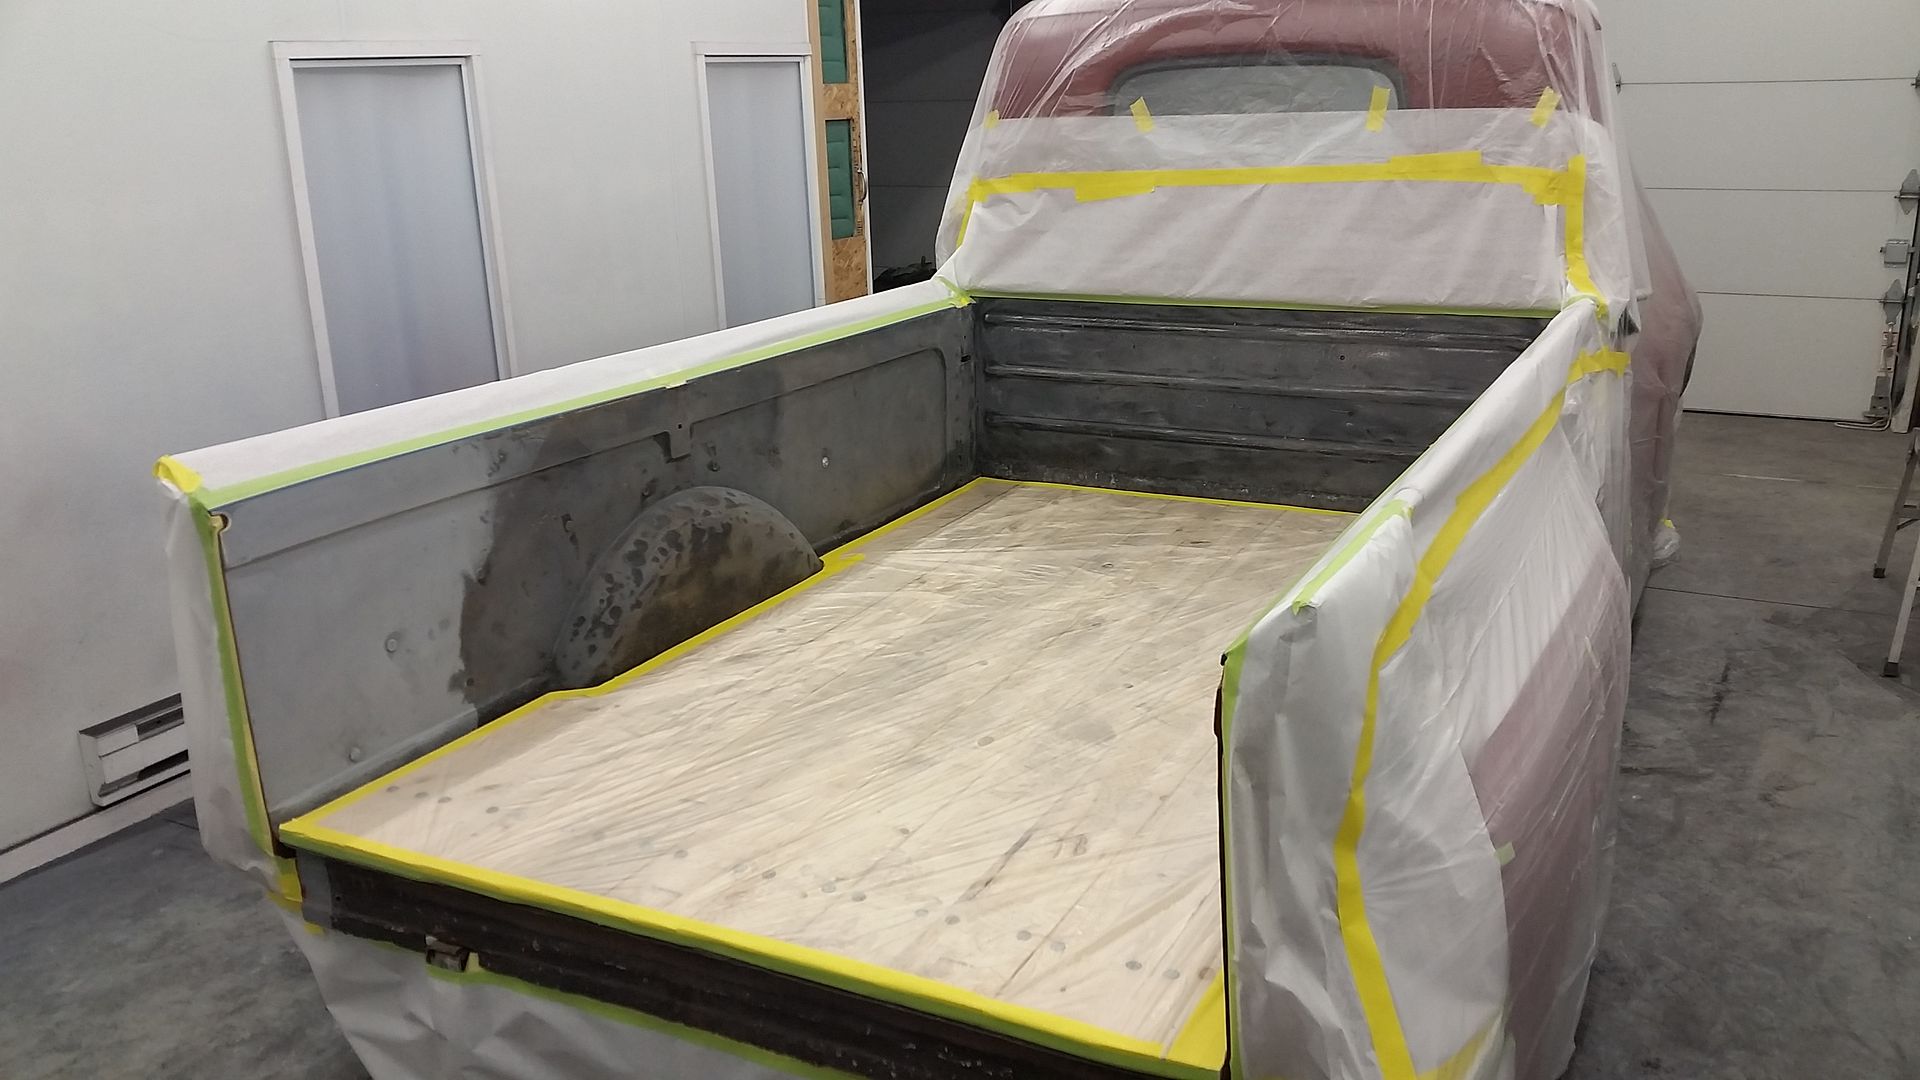
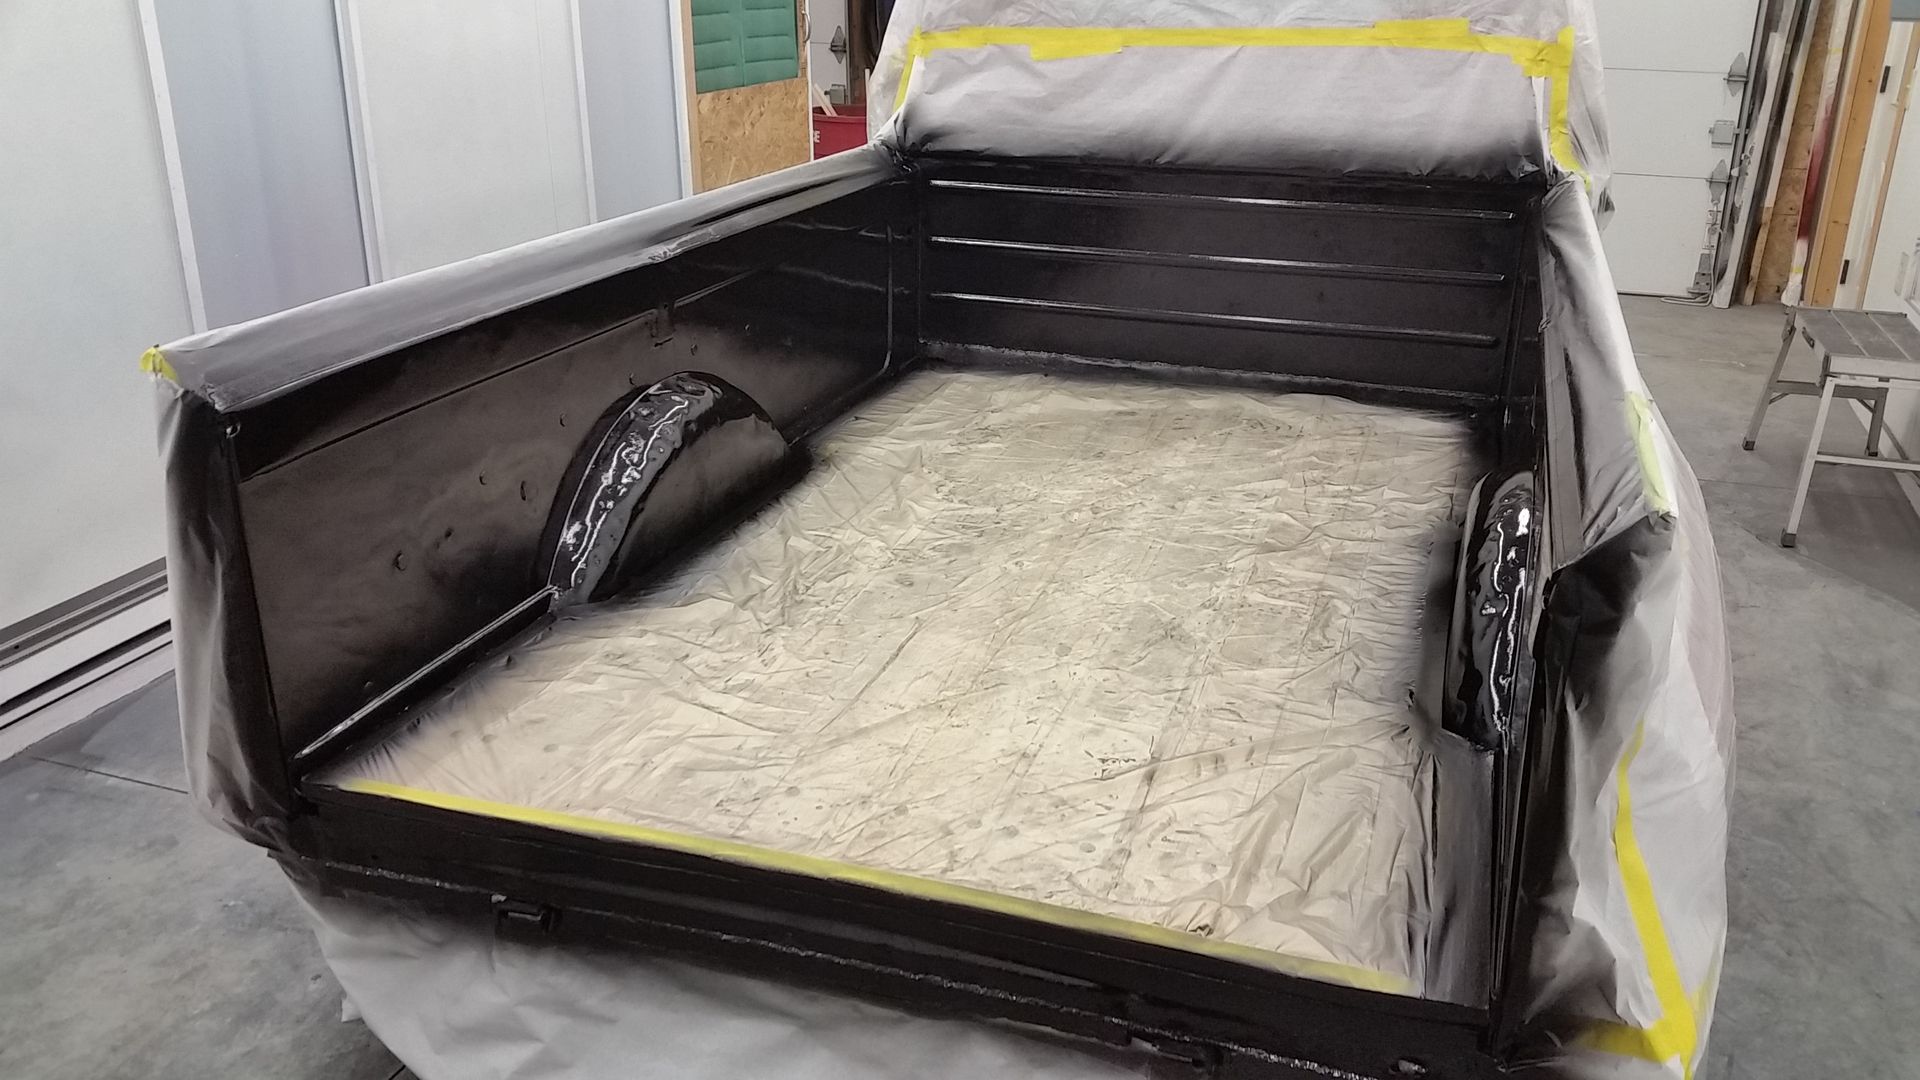
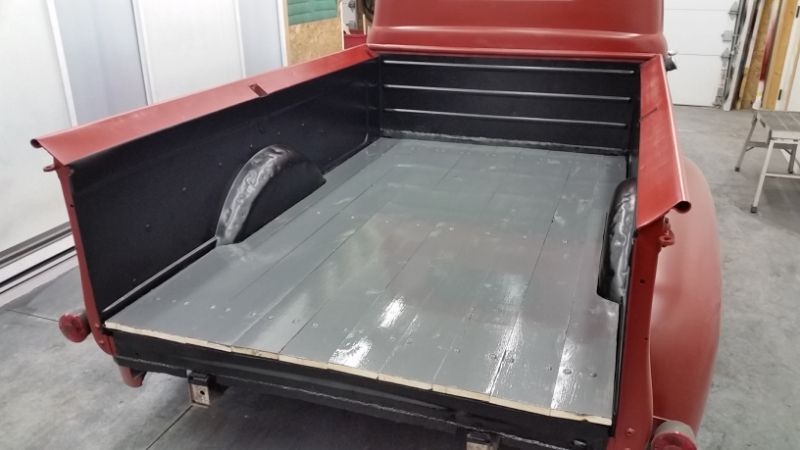
The original bedwood had gotten soft in the front so at some point a piece of 1/8' sheet was layed over top it, which was fine except they never drilled any drain holes in the front so it was rusting out in the front corners. The wood crossmembers underneath are still pretty solid so I just laid 1x6 on top then drilled through everything and carriage bolted it all together.


Replaced the vent window gaskets


Both side door windows were cracked so I picked up new pair from LMC along with a windshield gasket


All the glass back in & hood on

Front head on view of this truck is my favorite

Interior finished up

Wheel blasted, epoxied ans painted satin black


The original bedwood had gotten soft in the front so at some point a piece of 1/8' sheet was layed over top it, which was fine except they never drilled any drain holes in the front so it was rusting out in the front corners. The wood crossmembers underneath are still pretty solid so I just laid 1x6 on top then drilled through everything and carriage bolted it all together.


#24
08-19-2015, 12:32 AM

Lead Driver

#25
08-19-2015, 01:20 PM
Join Date: Aug 2015
Location: Perry, IA
Posts: 20
Likes: 0
Received 0 Likes
on
0 Posts
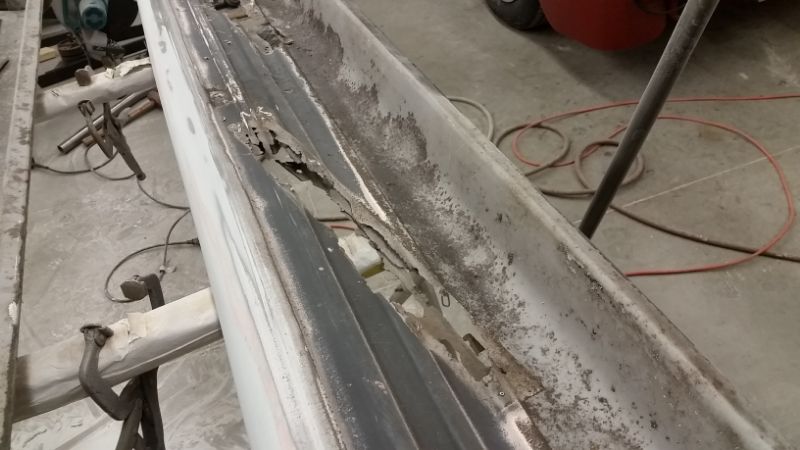
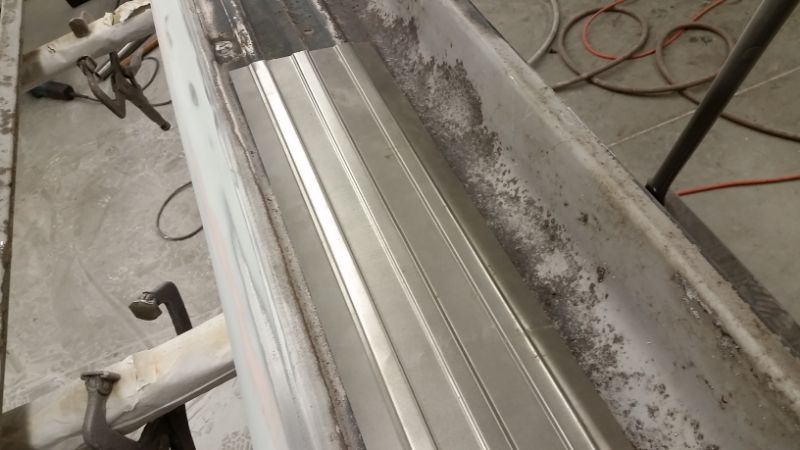
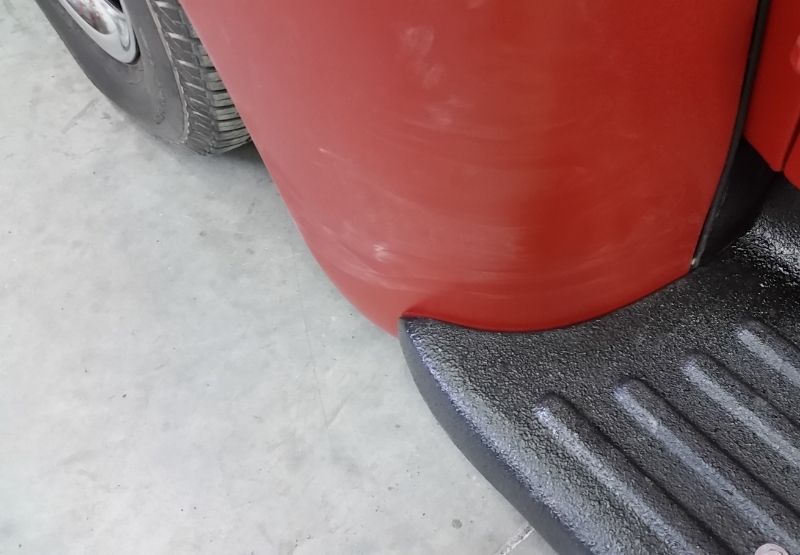
At this point the body was done except for the running boards. Mine were in bad shape, rusted out where the braces are and bent badly where they were ran into something. Looked around for a better set but really didn't come up with much. So I salvaged what I had. Hammered out the dent edges till they looked presentable and bead rolled some patch panels for the top then gave them a coat of Raptor Liner bed liner.
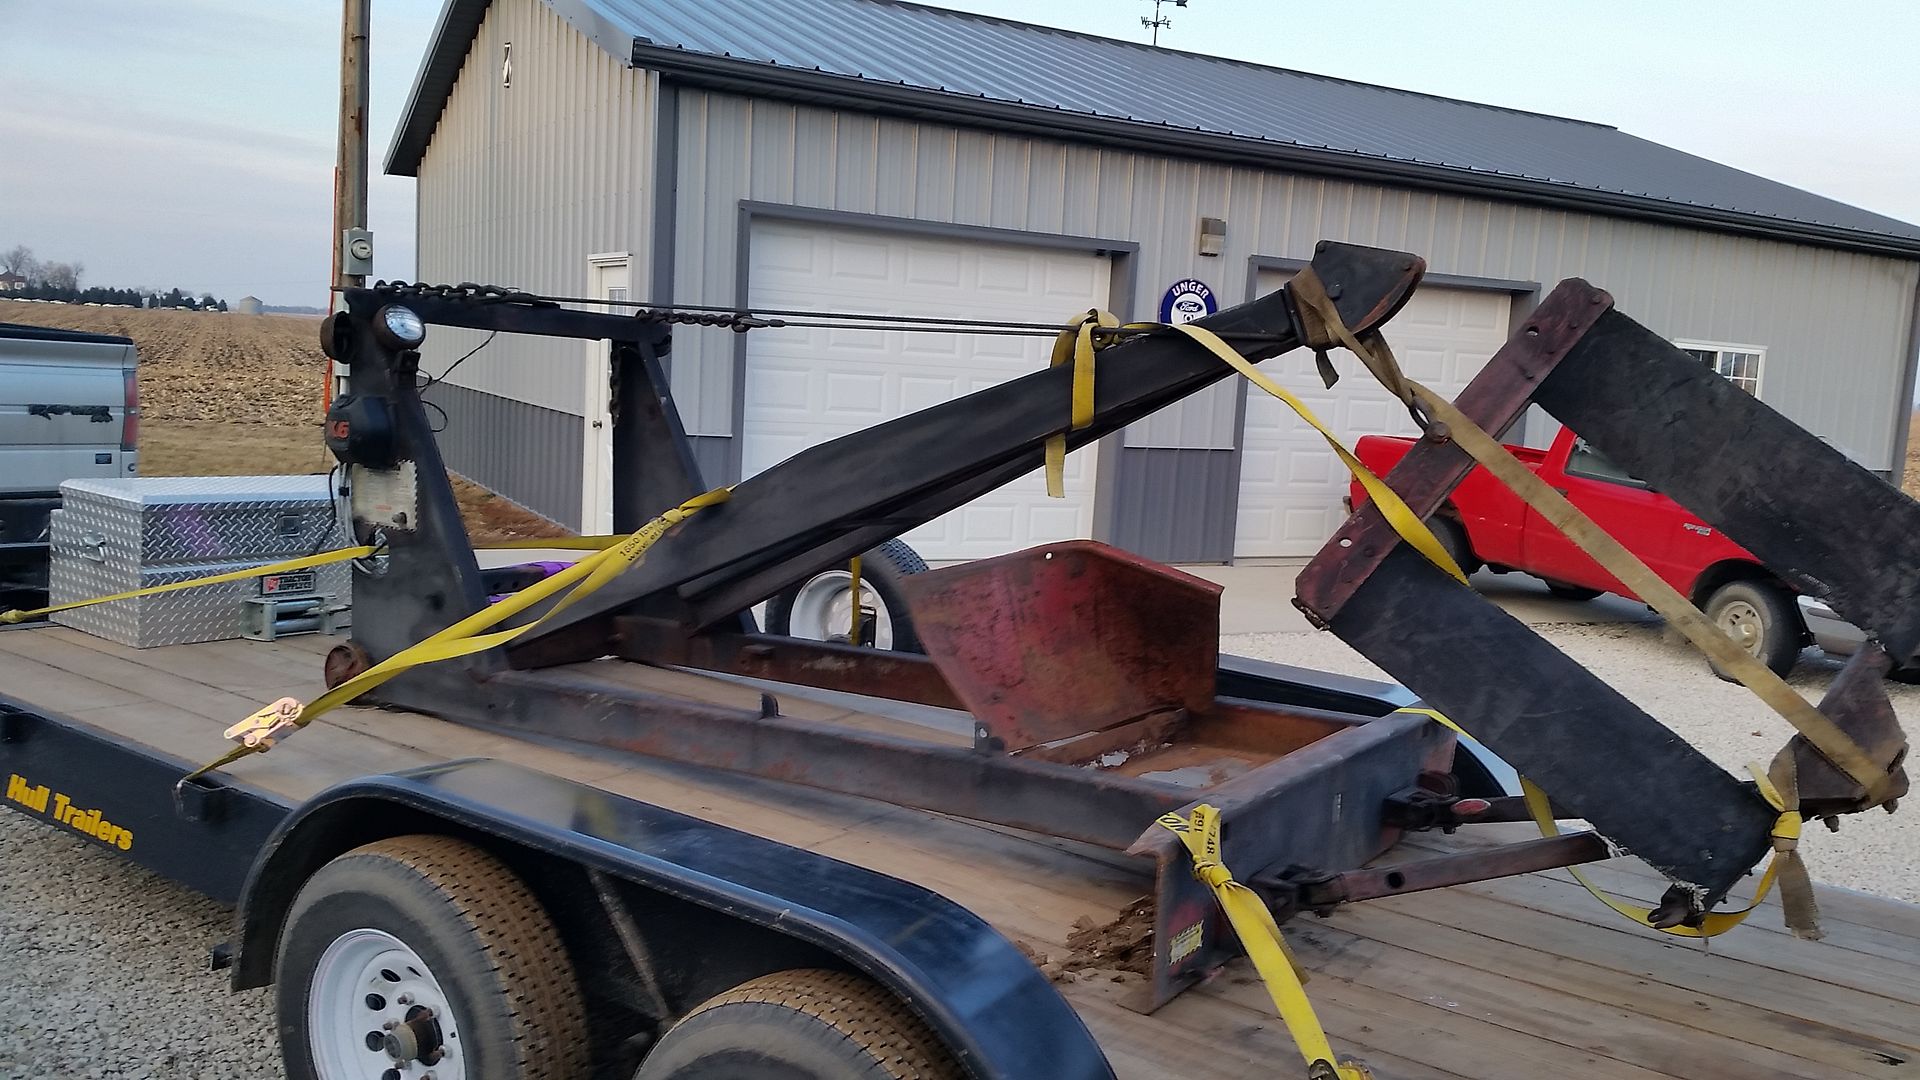
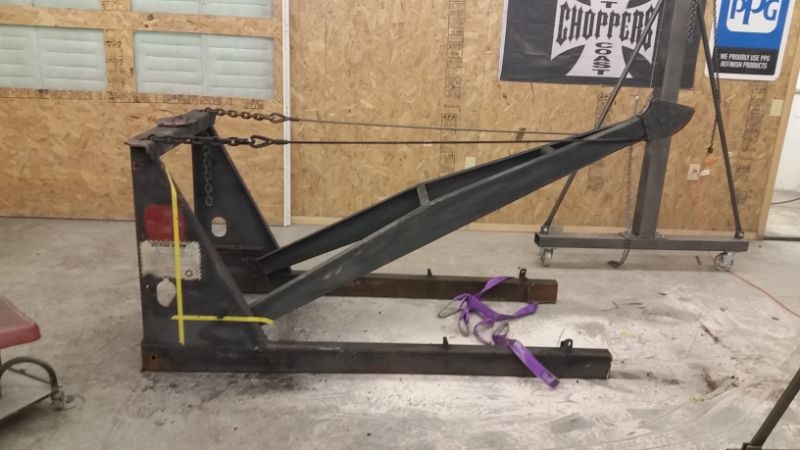
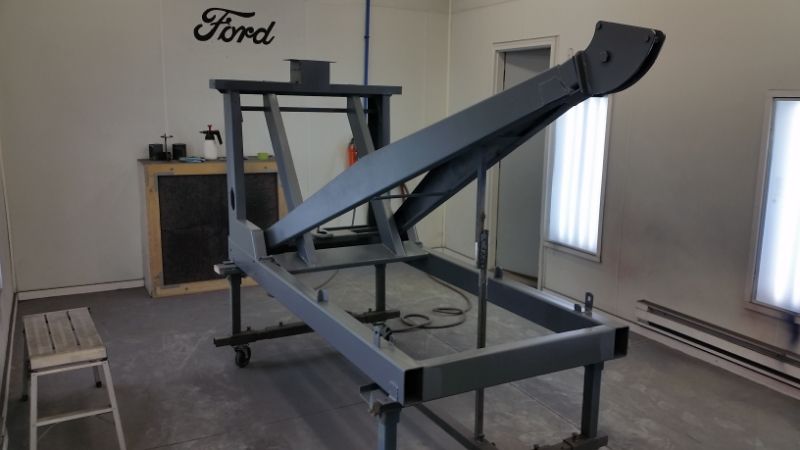
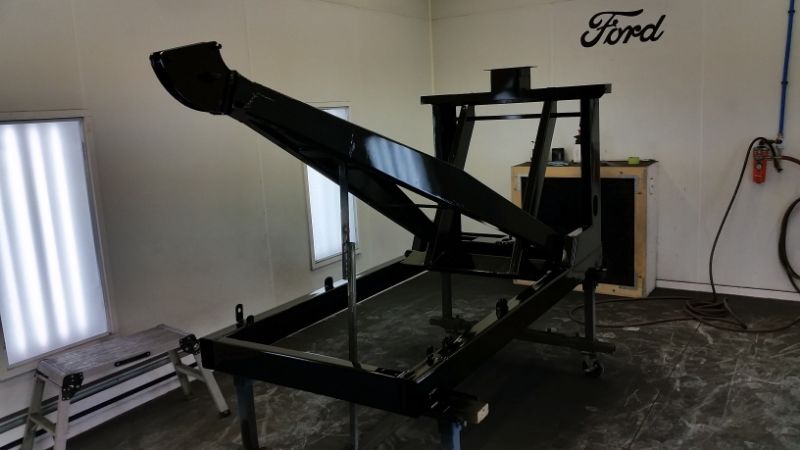
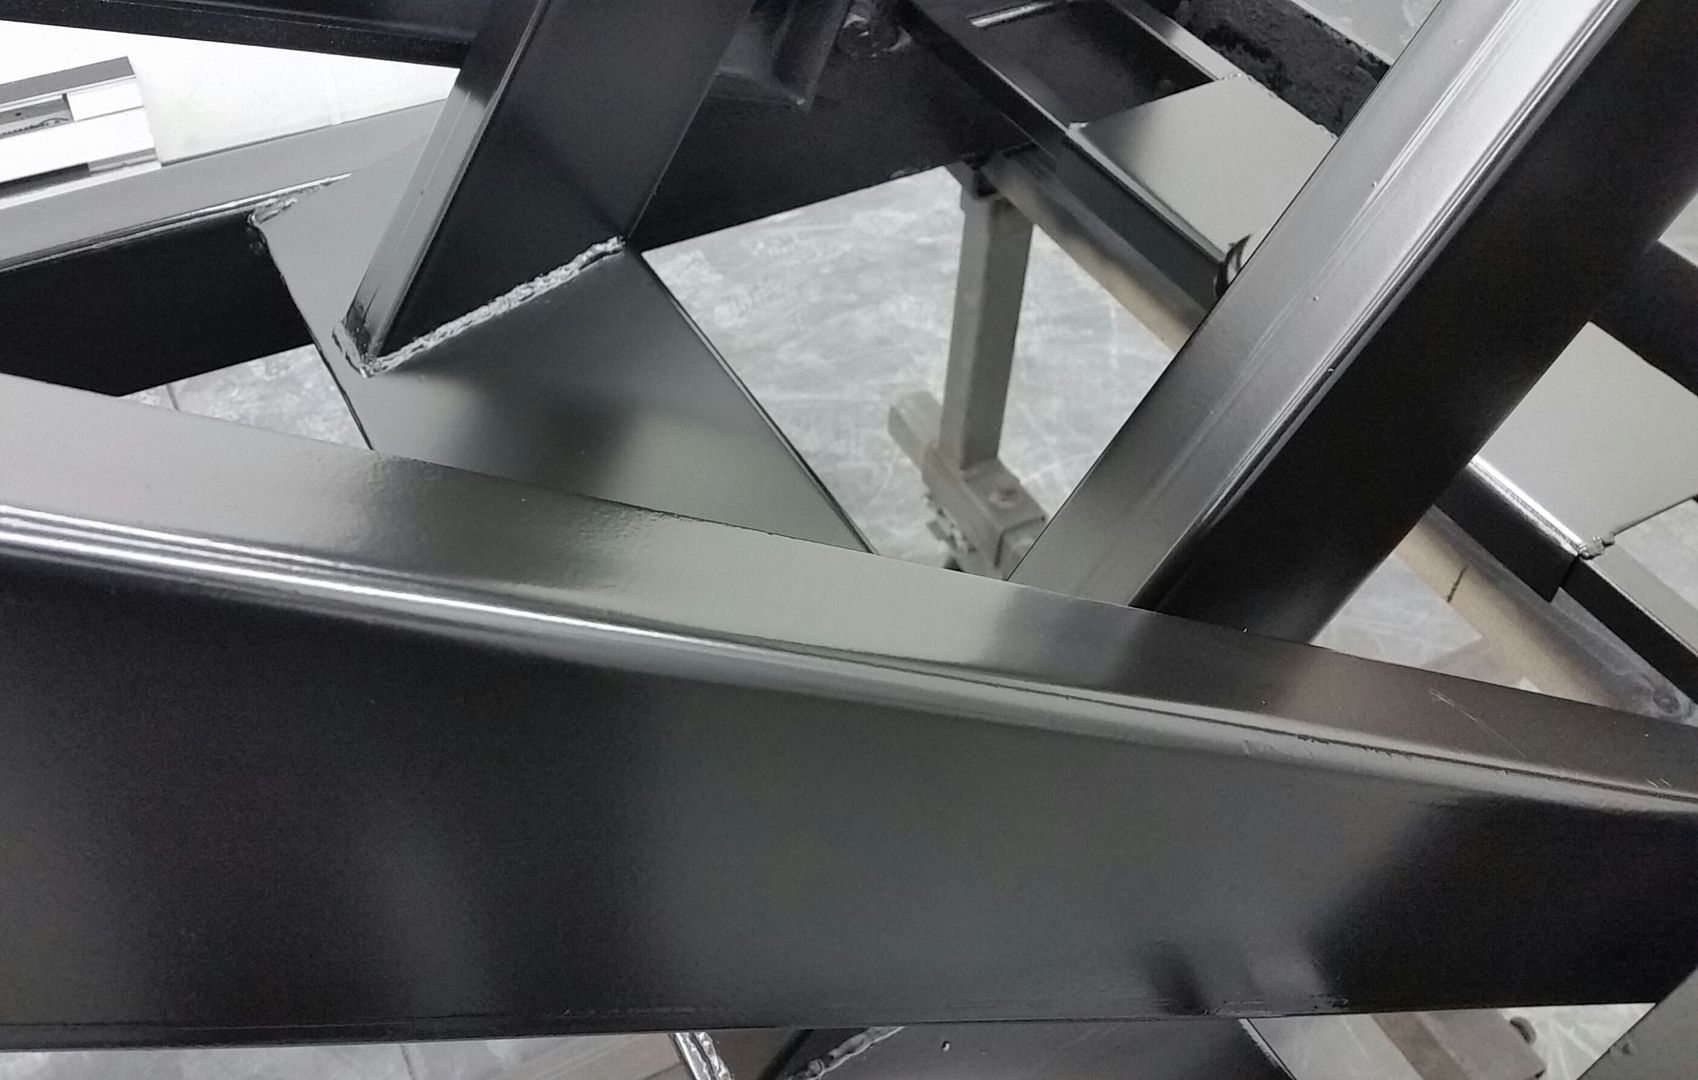
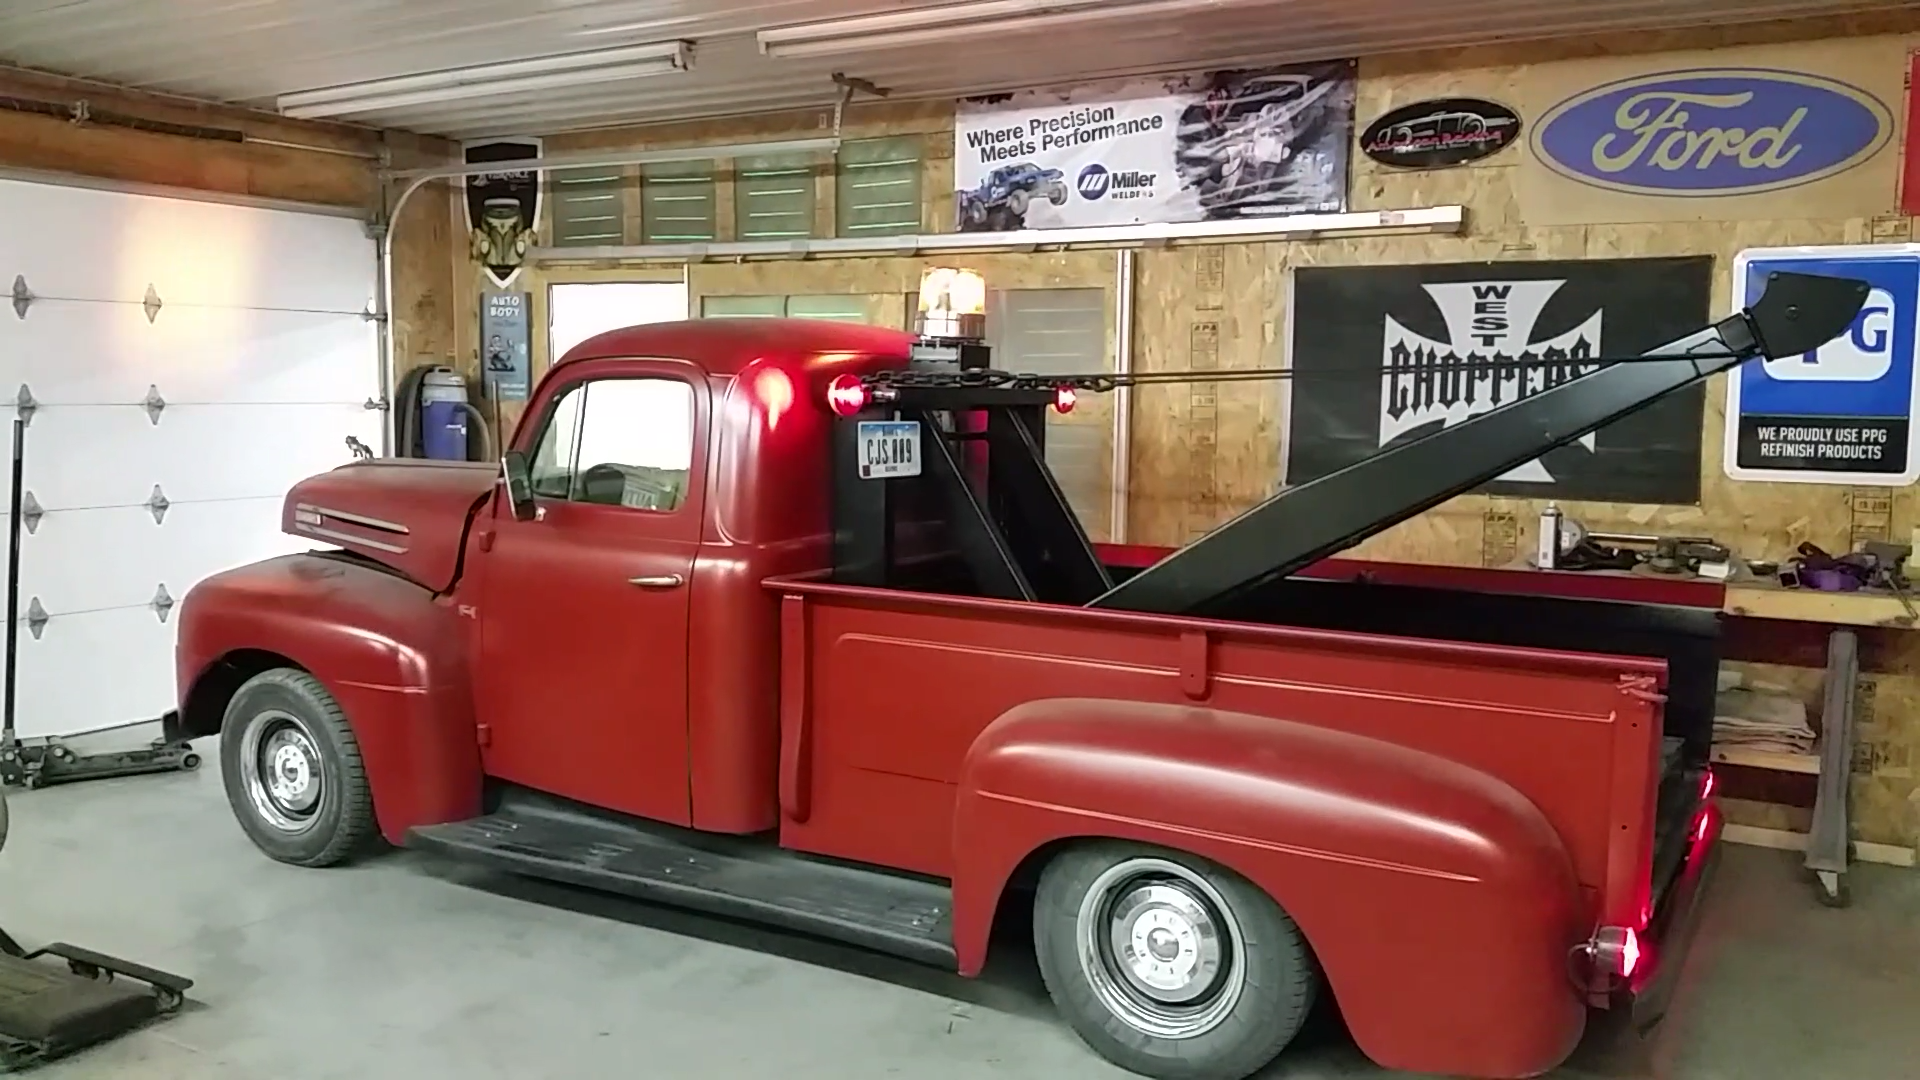
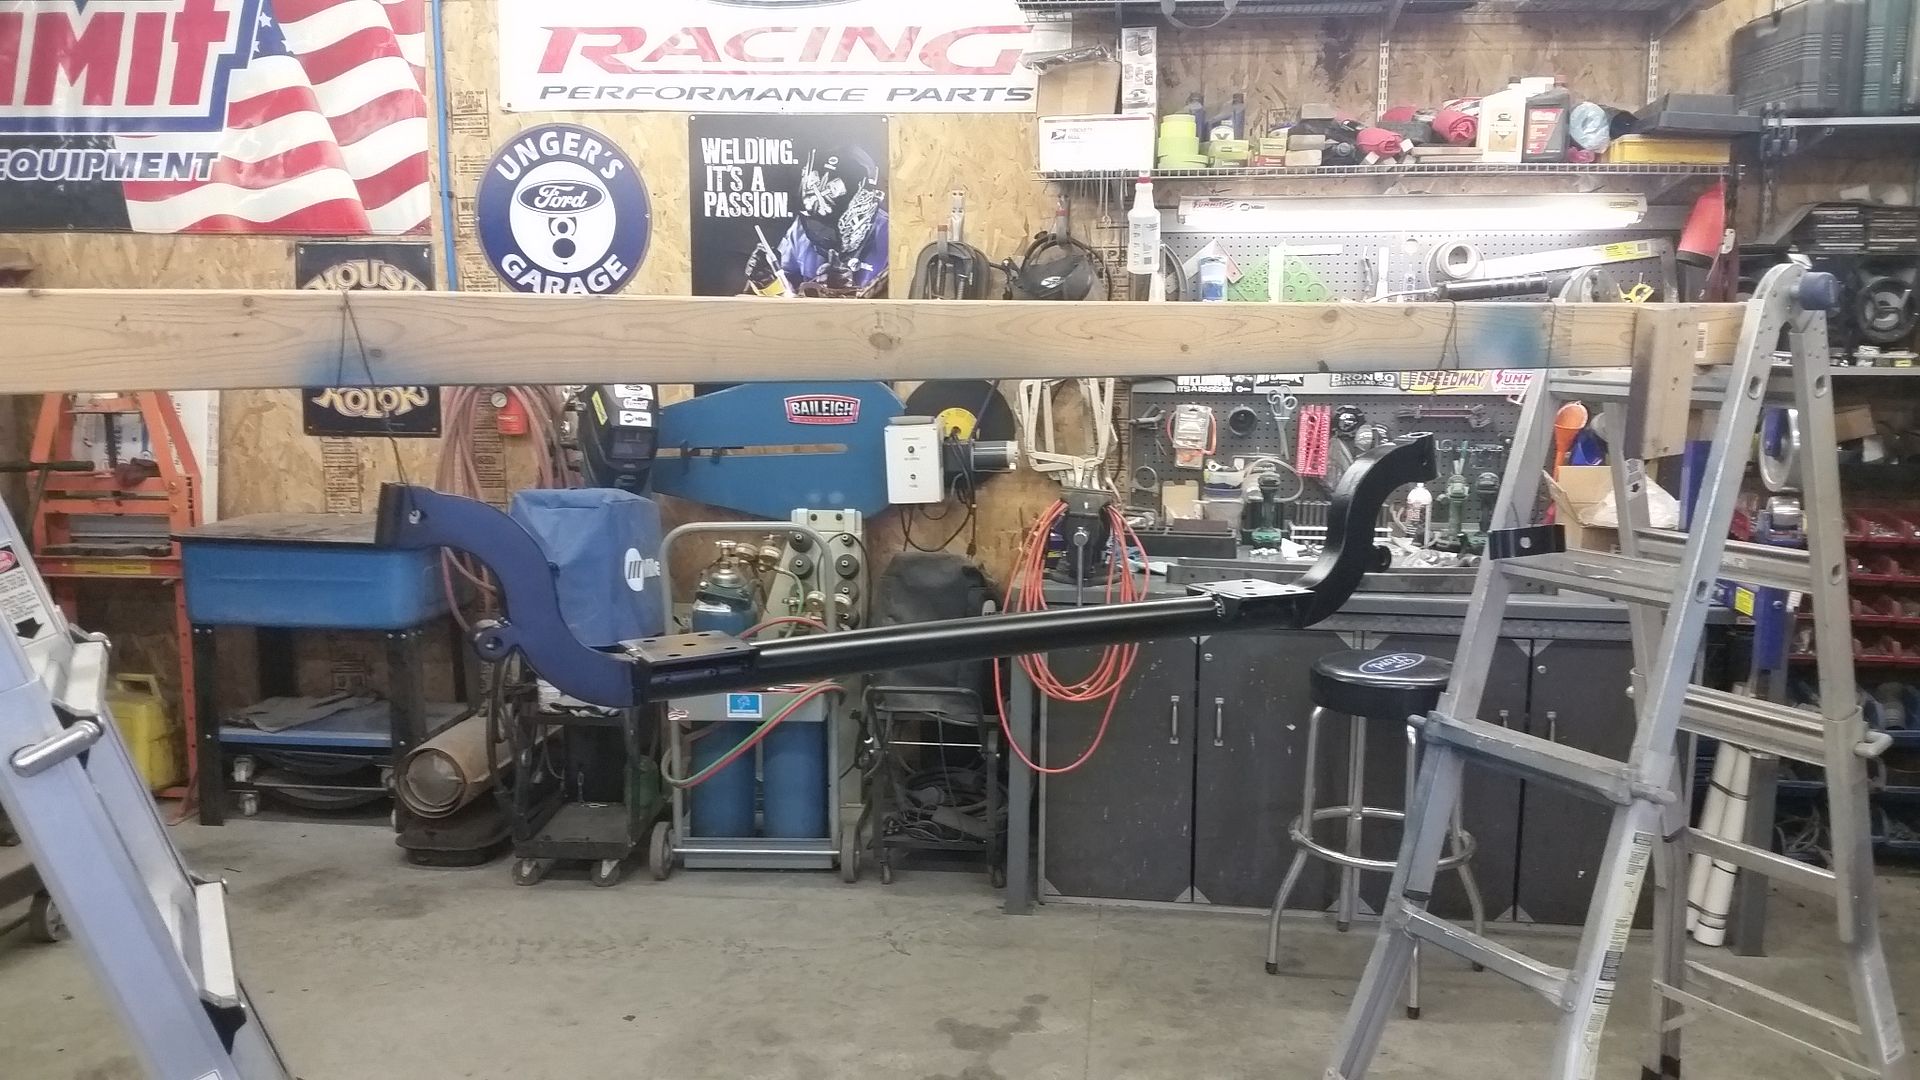
Next was onto the wrecker boom. It was an old Reese slide in unit made for an 8' bed. So it had to be shortened and I made some modifications to it to get the look I wanted. After everything was welded up I sandblasted it and painted it with implement paint satin black
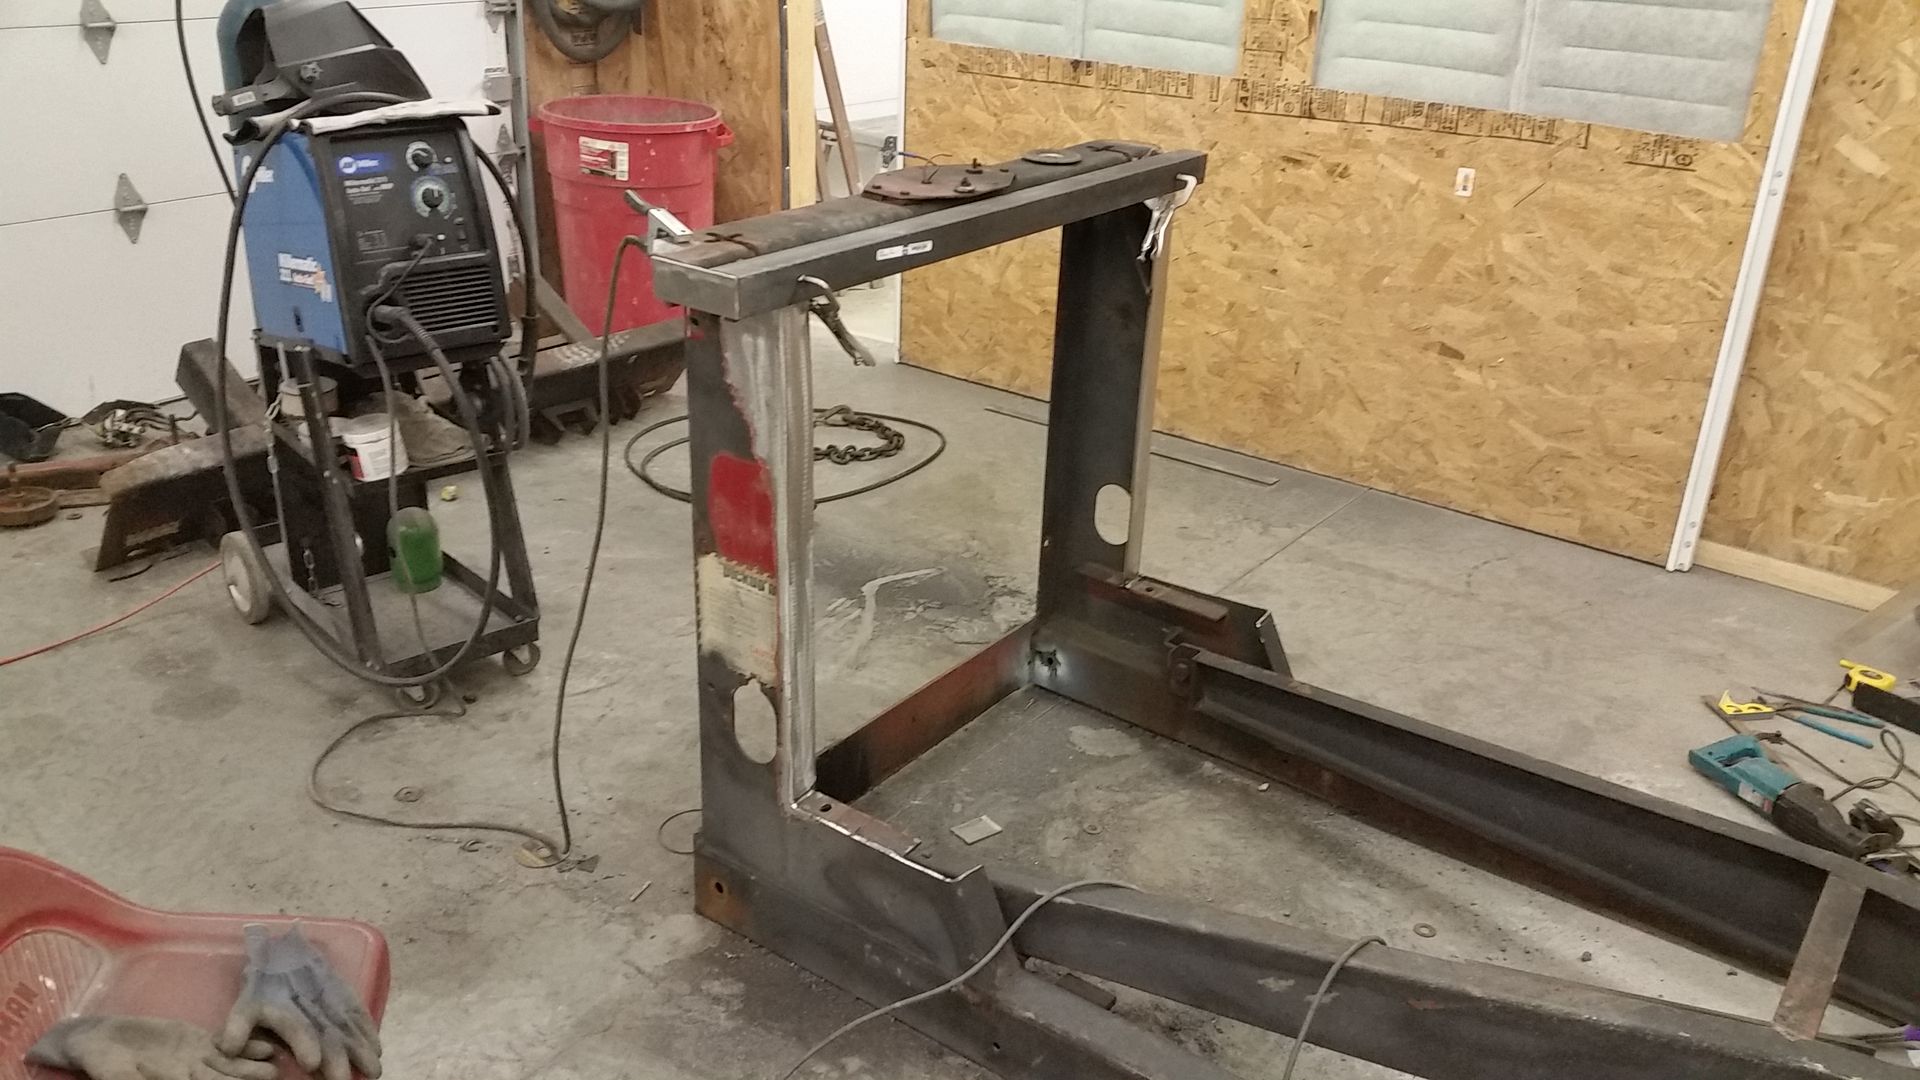

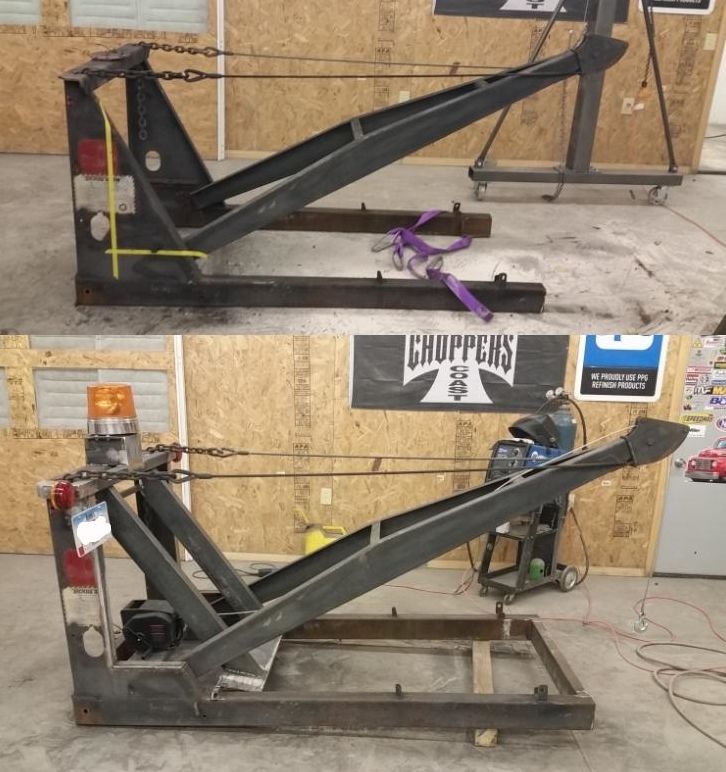
Epoxy primed & ready for some paint
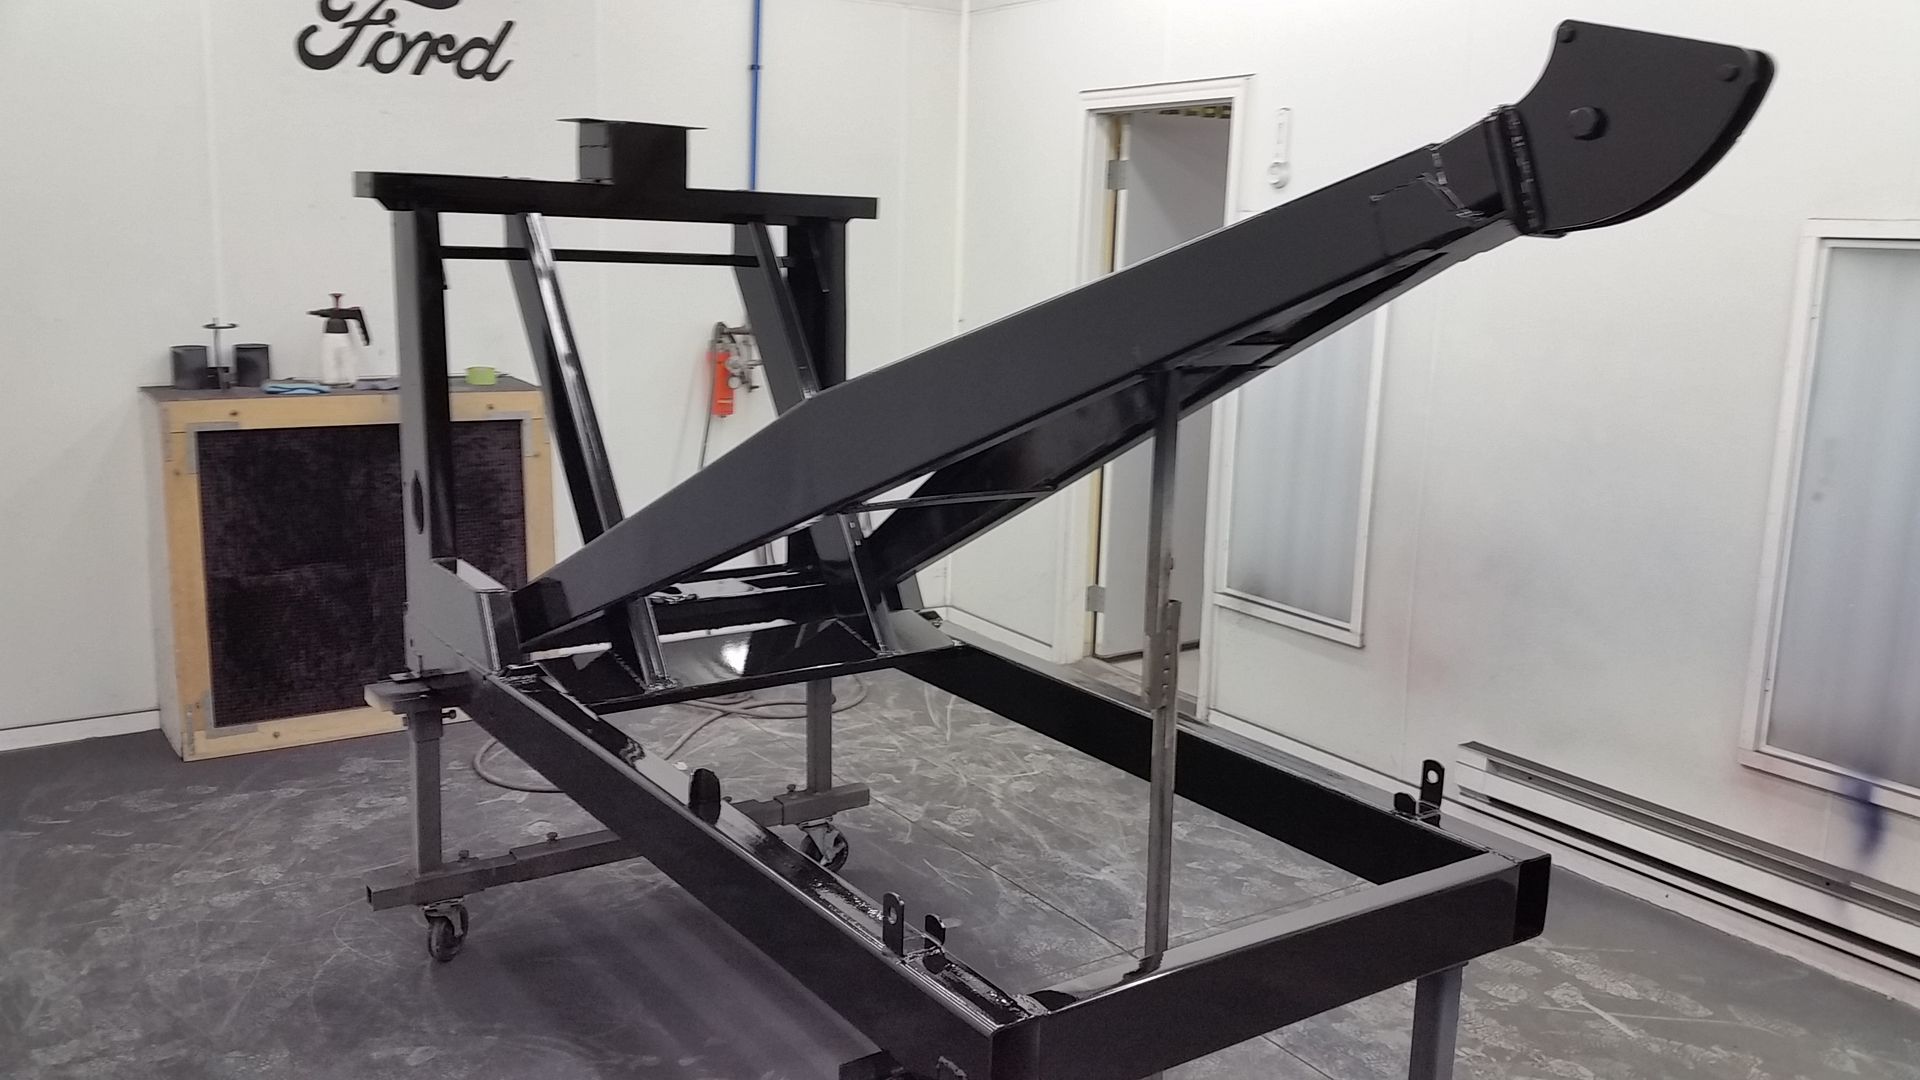
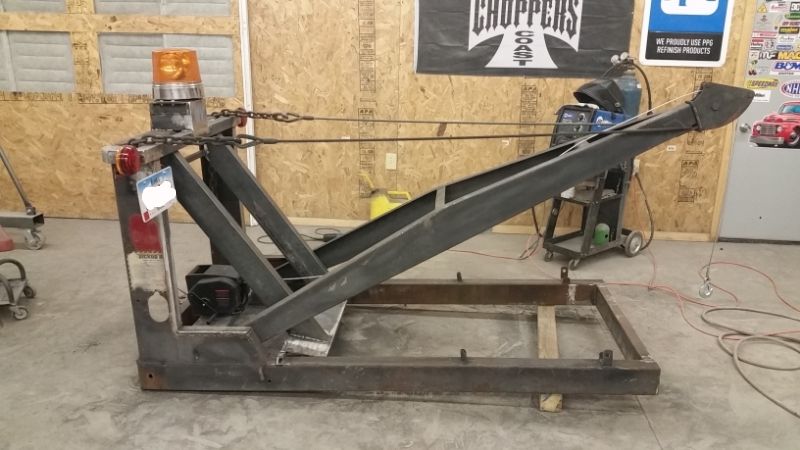
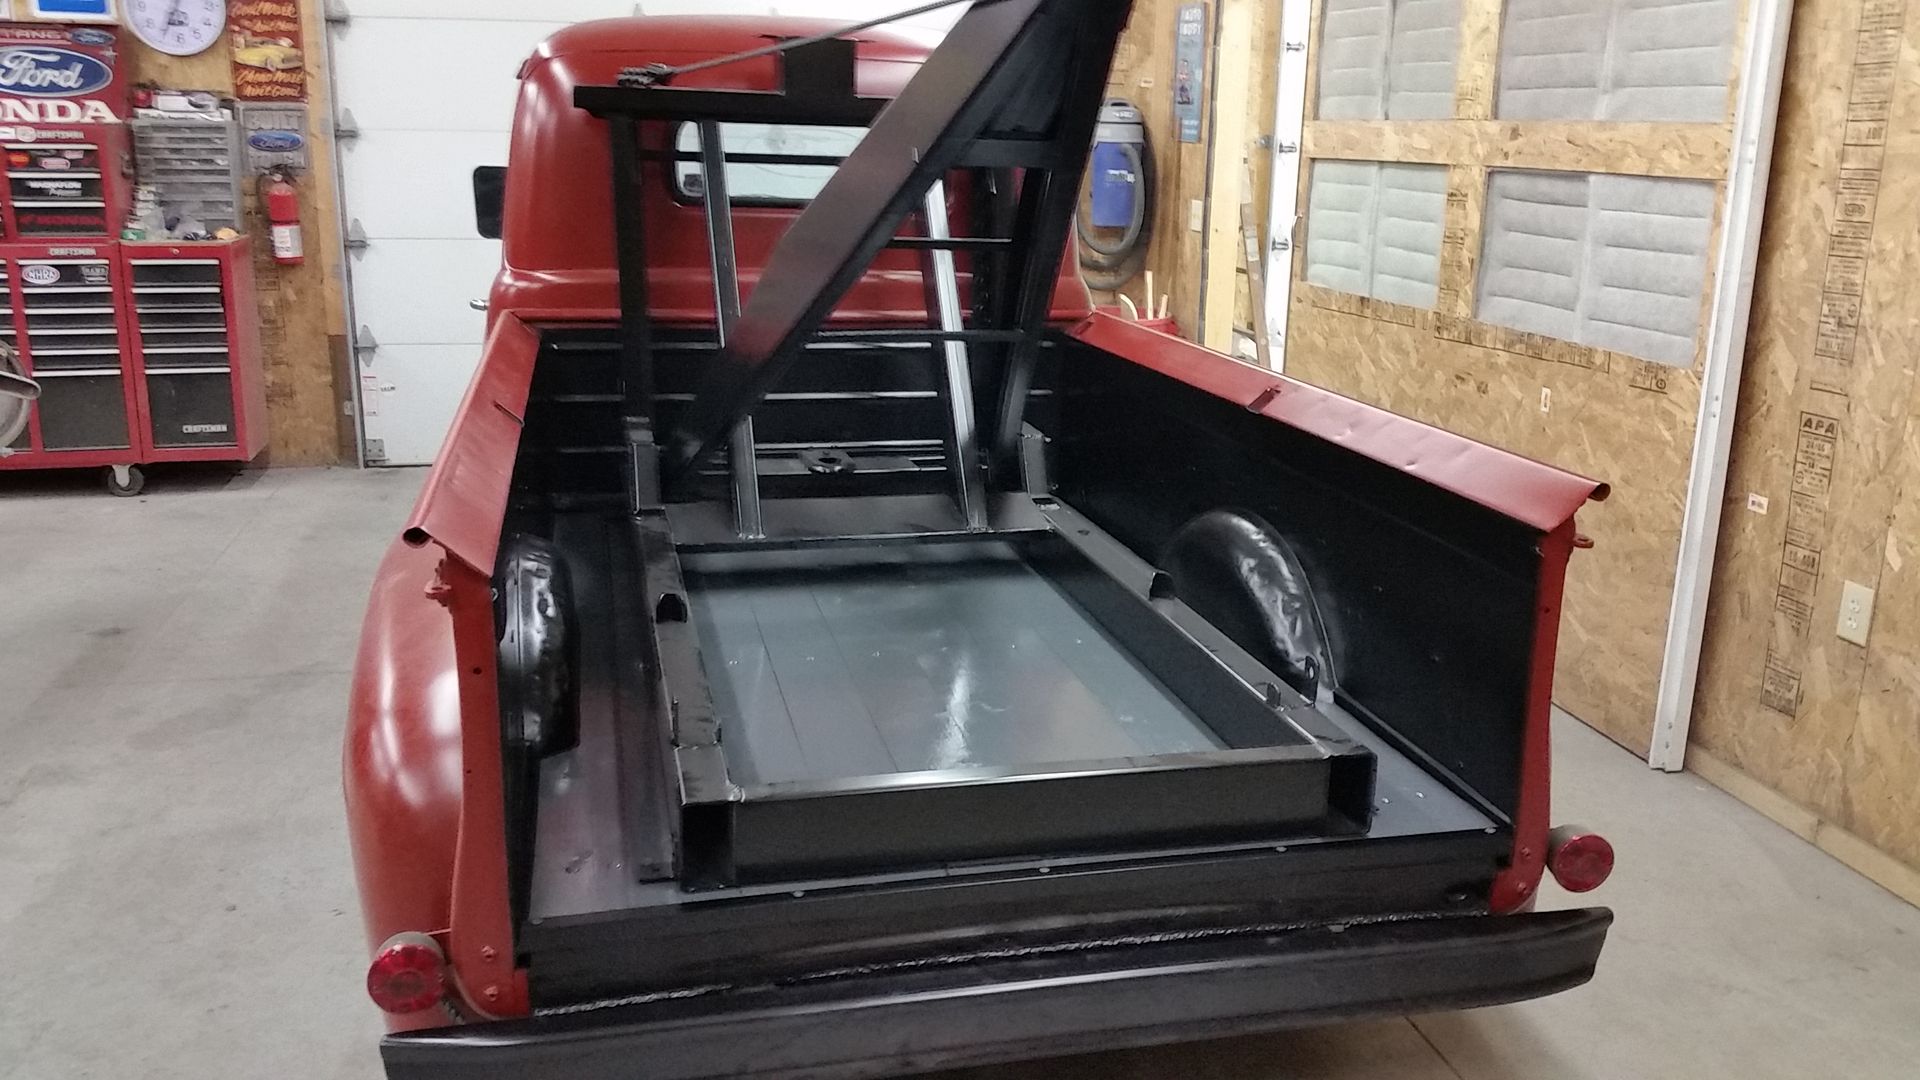
Going into the truck
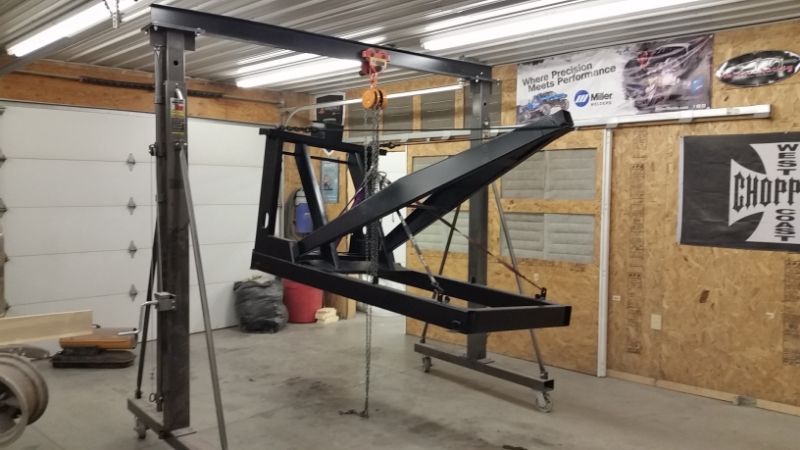
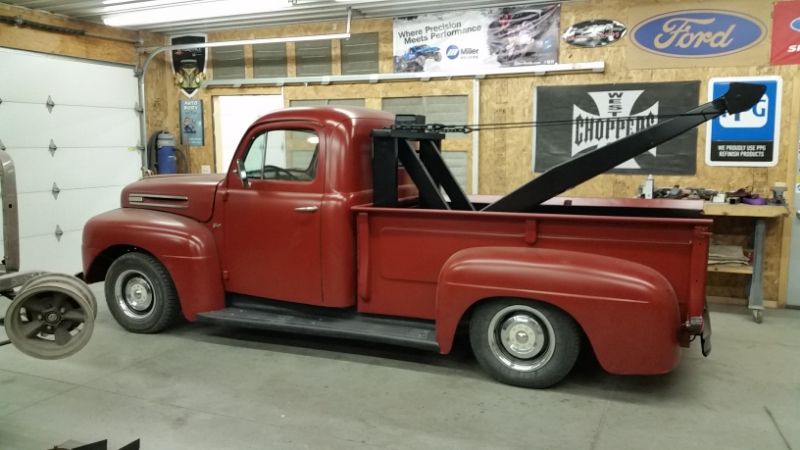
Testing out the beacon


Next was onto the wrecker boom. It was an old Reese slide in unit made for an 8' bed. So it had to be shortened and I made some modifications to it to get the look I wanted. After everything was welded up I sandblasted it and painted it with implement paint satin black


Epoxy primed & ready for some paint


Going into the truck


Testing out the beacon


#26
08-19-2015, 01:46 PM
Join Date: Aug 2015
Location: Perry, IA
Posts: 20
Likes: 0
Received 0 Likes
on
0 Posts
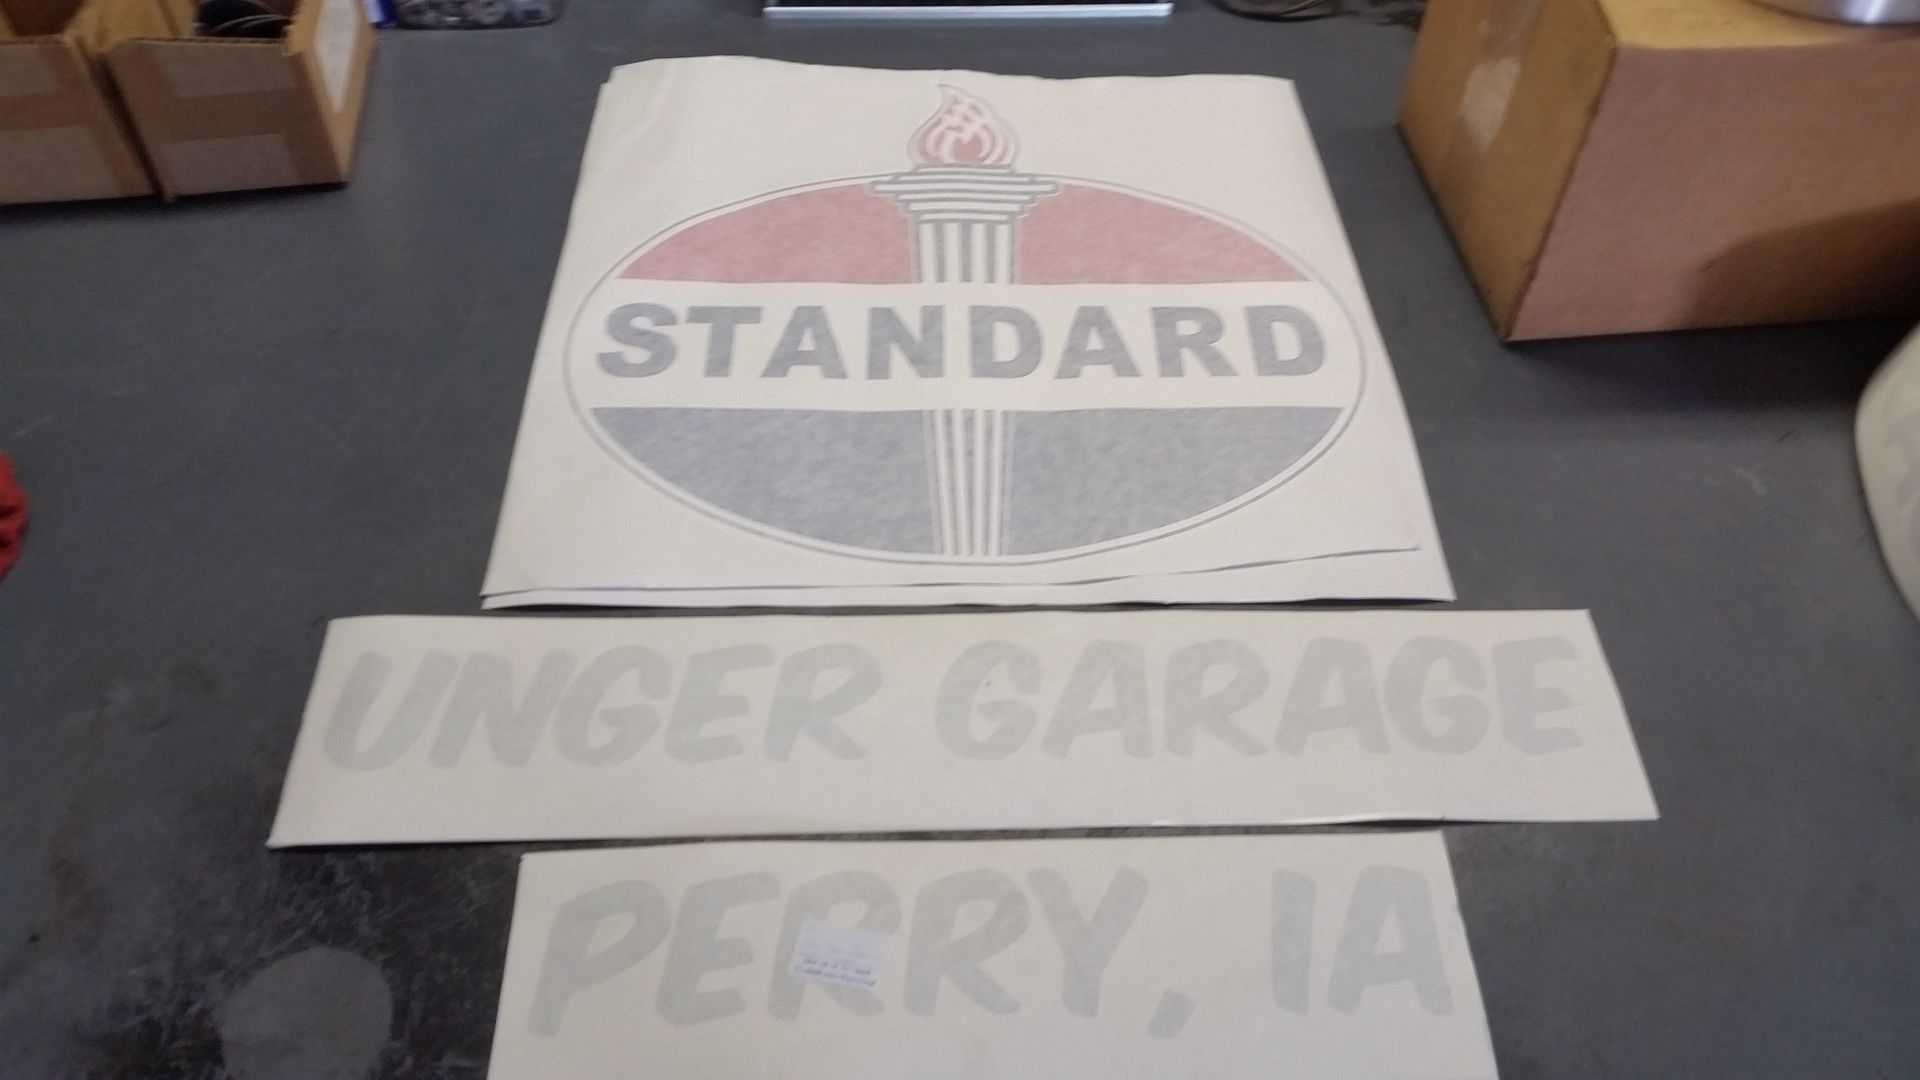
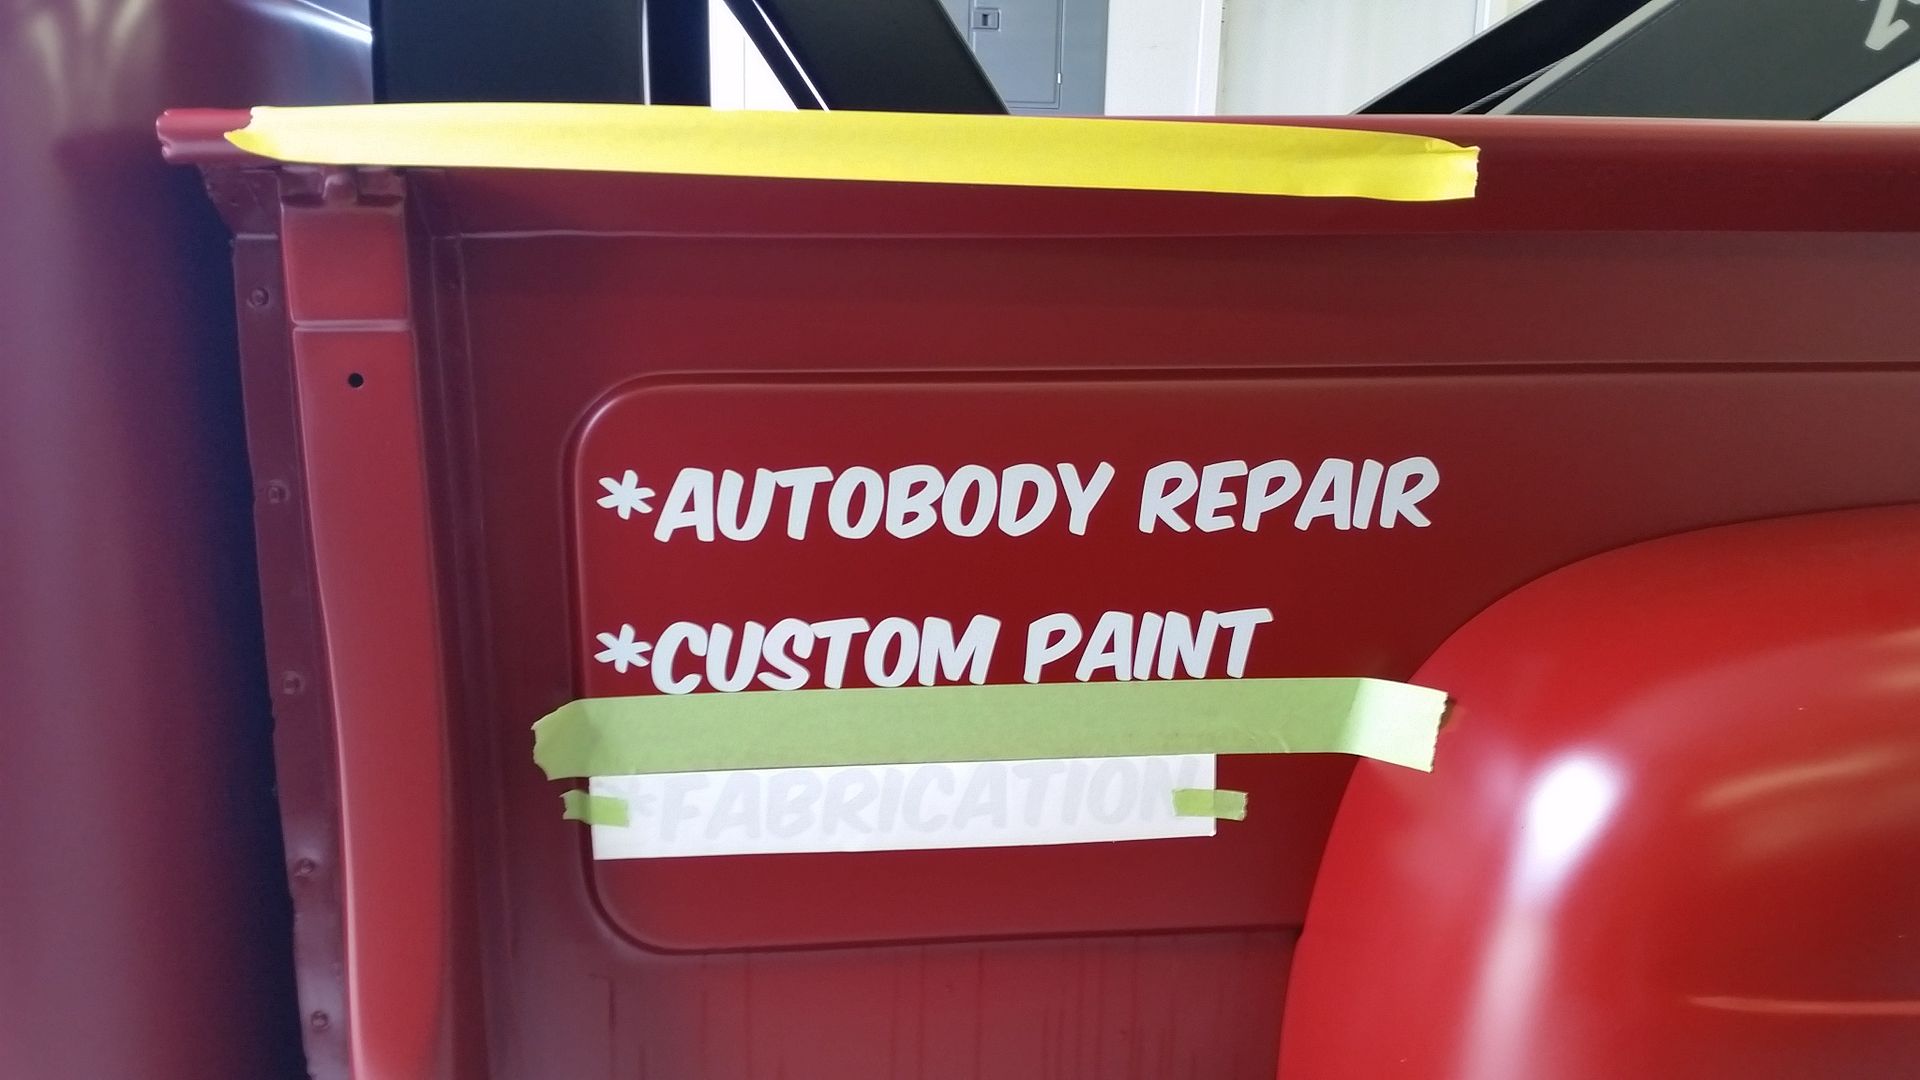
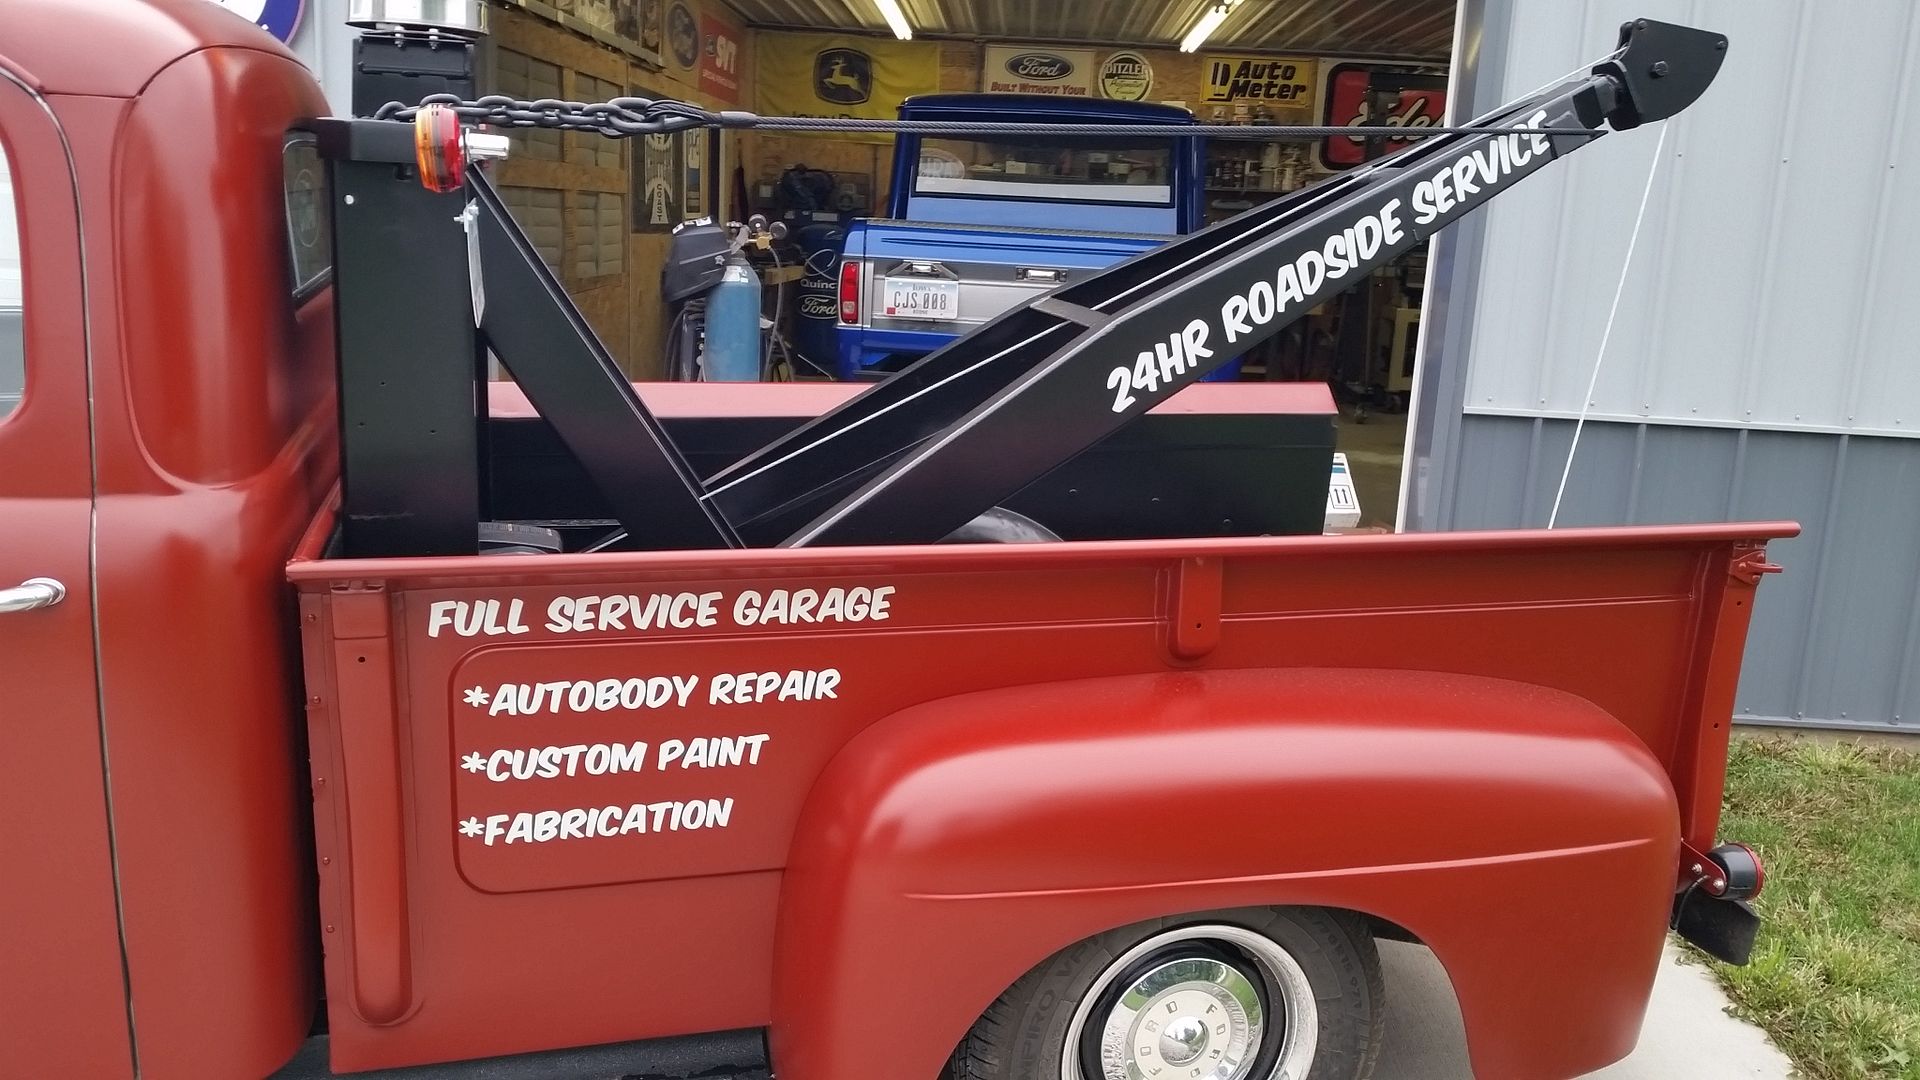
Truck was back together at this point. I found a place online that sold gas pump restoration items and they had the Standard Oil logo in various sizes. Picked an appropriate size for the doors and had a local sign shop make the shop lettering for me.
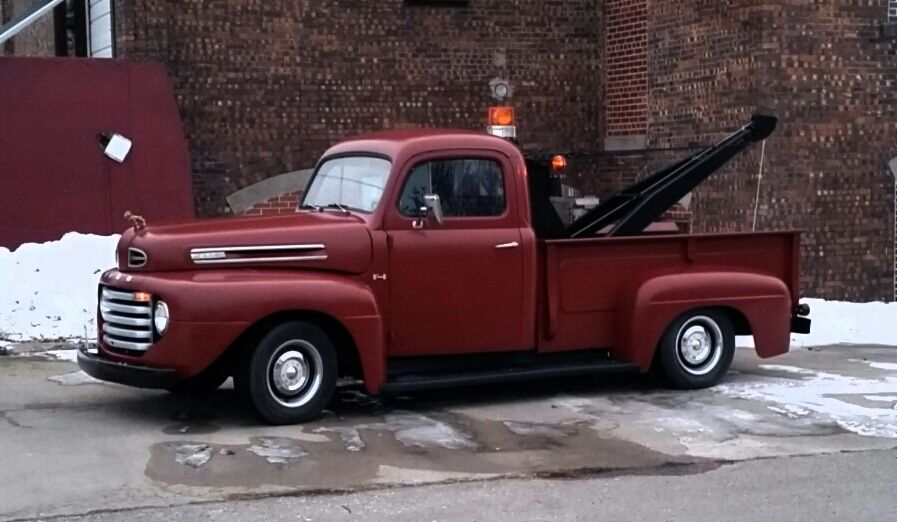

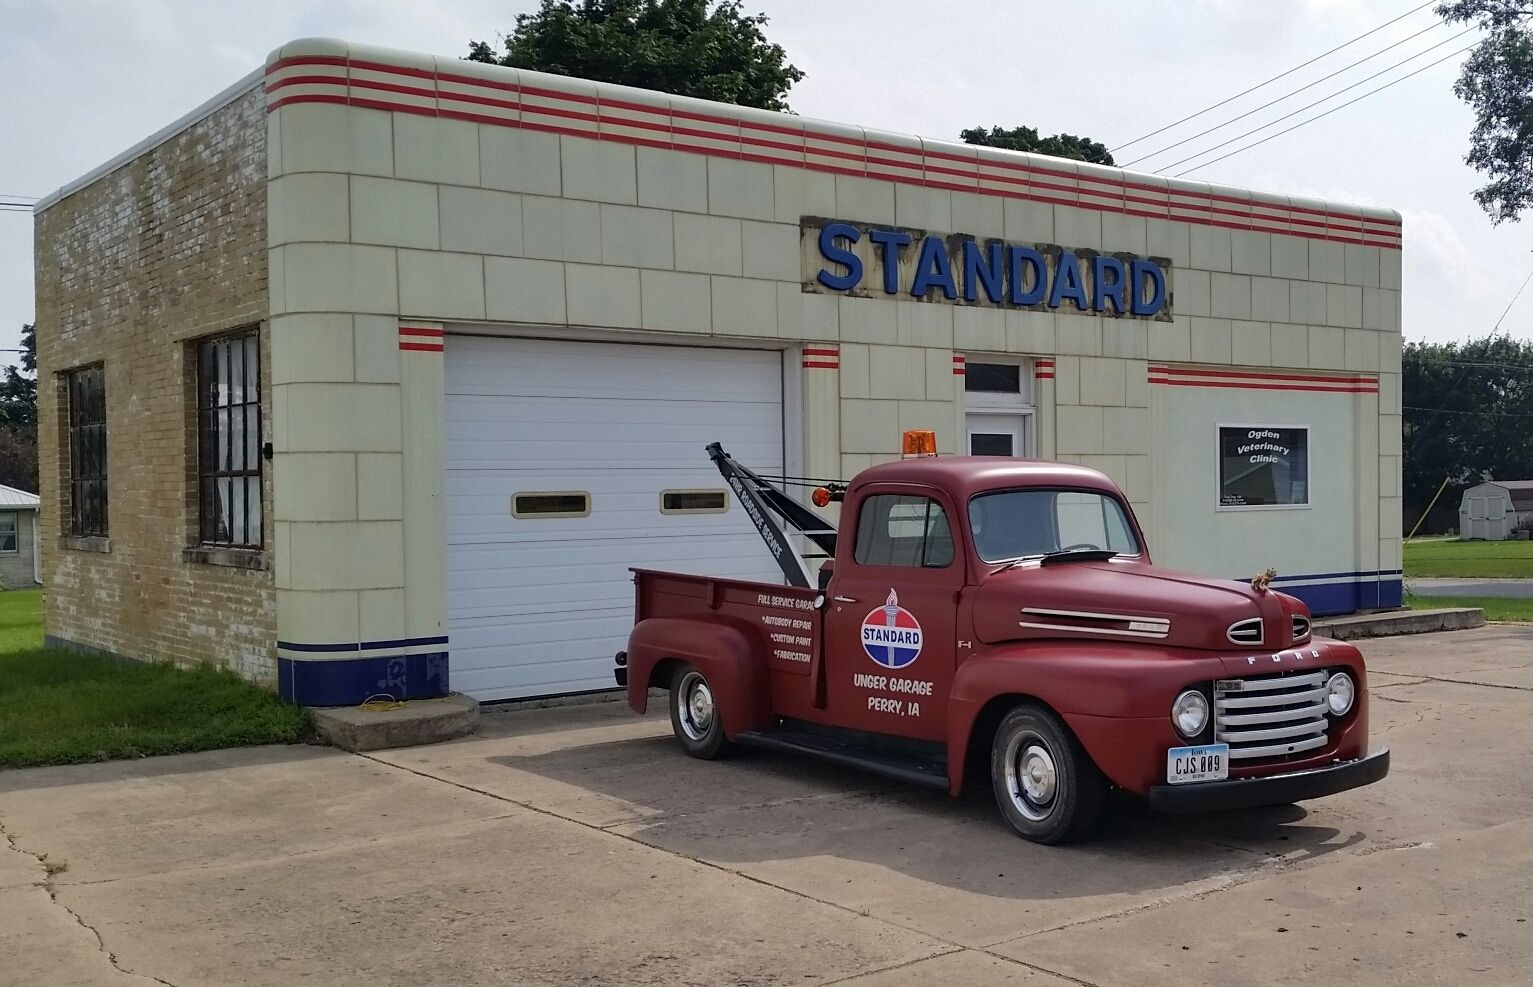
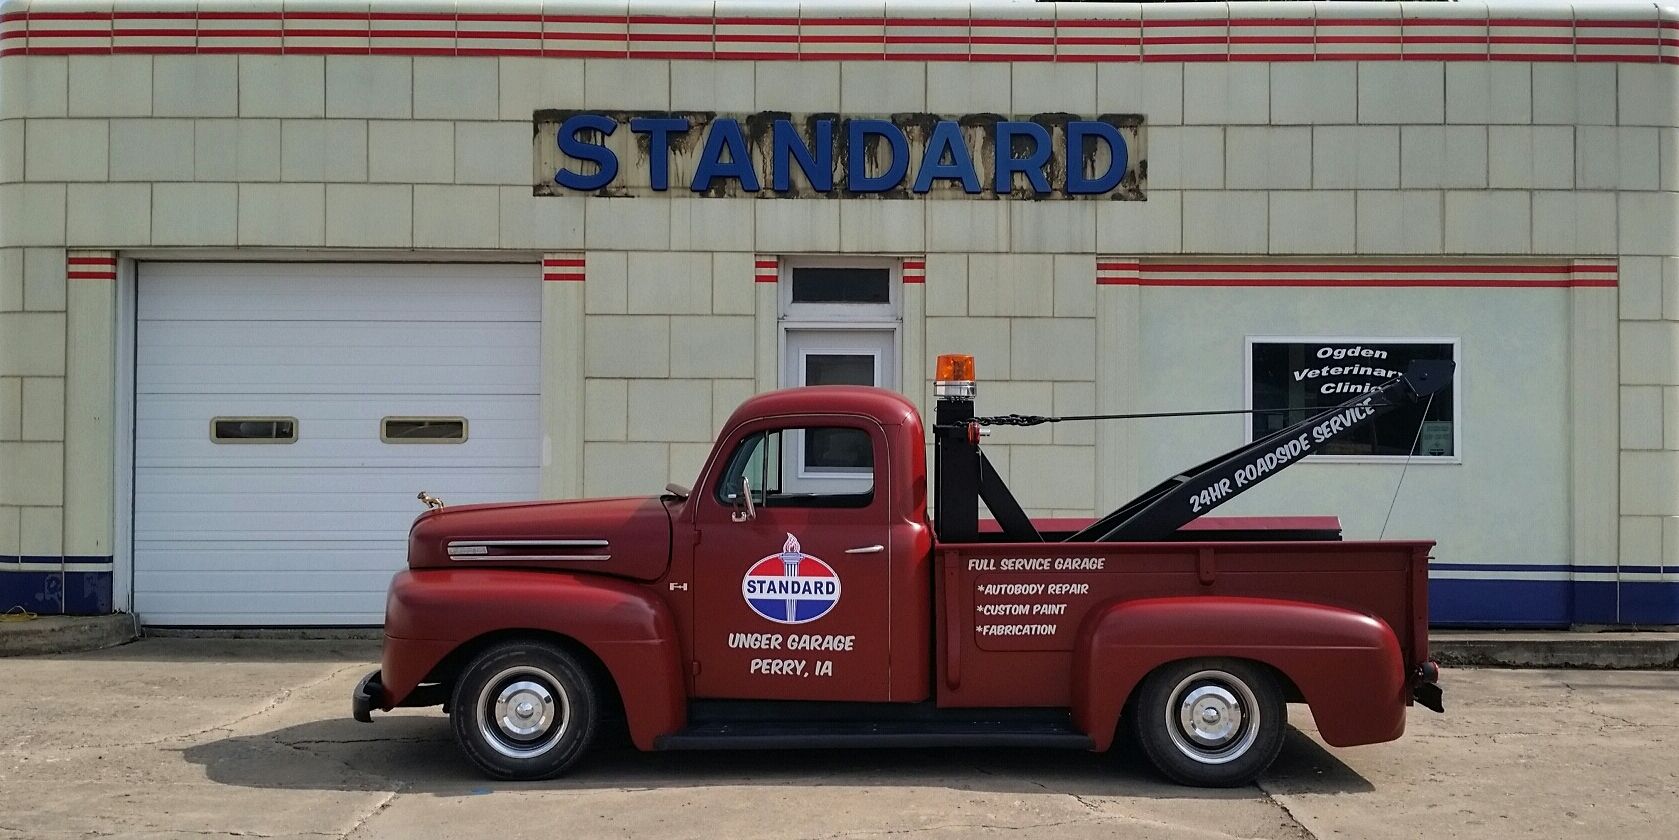
A couple pics outside an old Standard Oil Station along the Lincoln Highway old US30 here in central Iowa
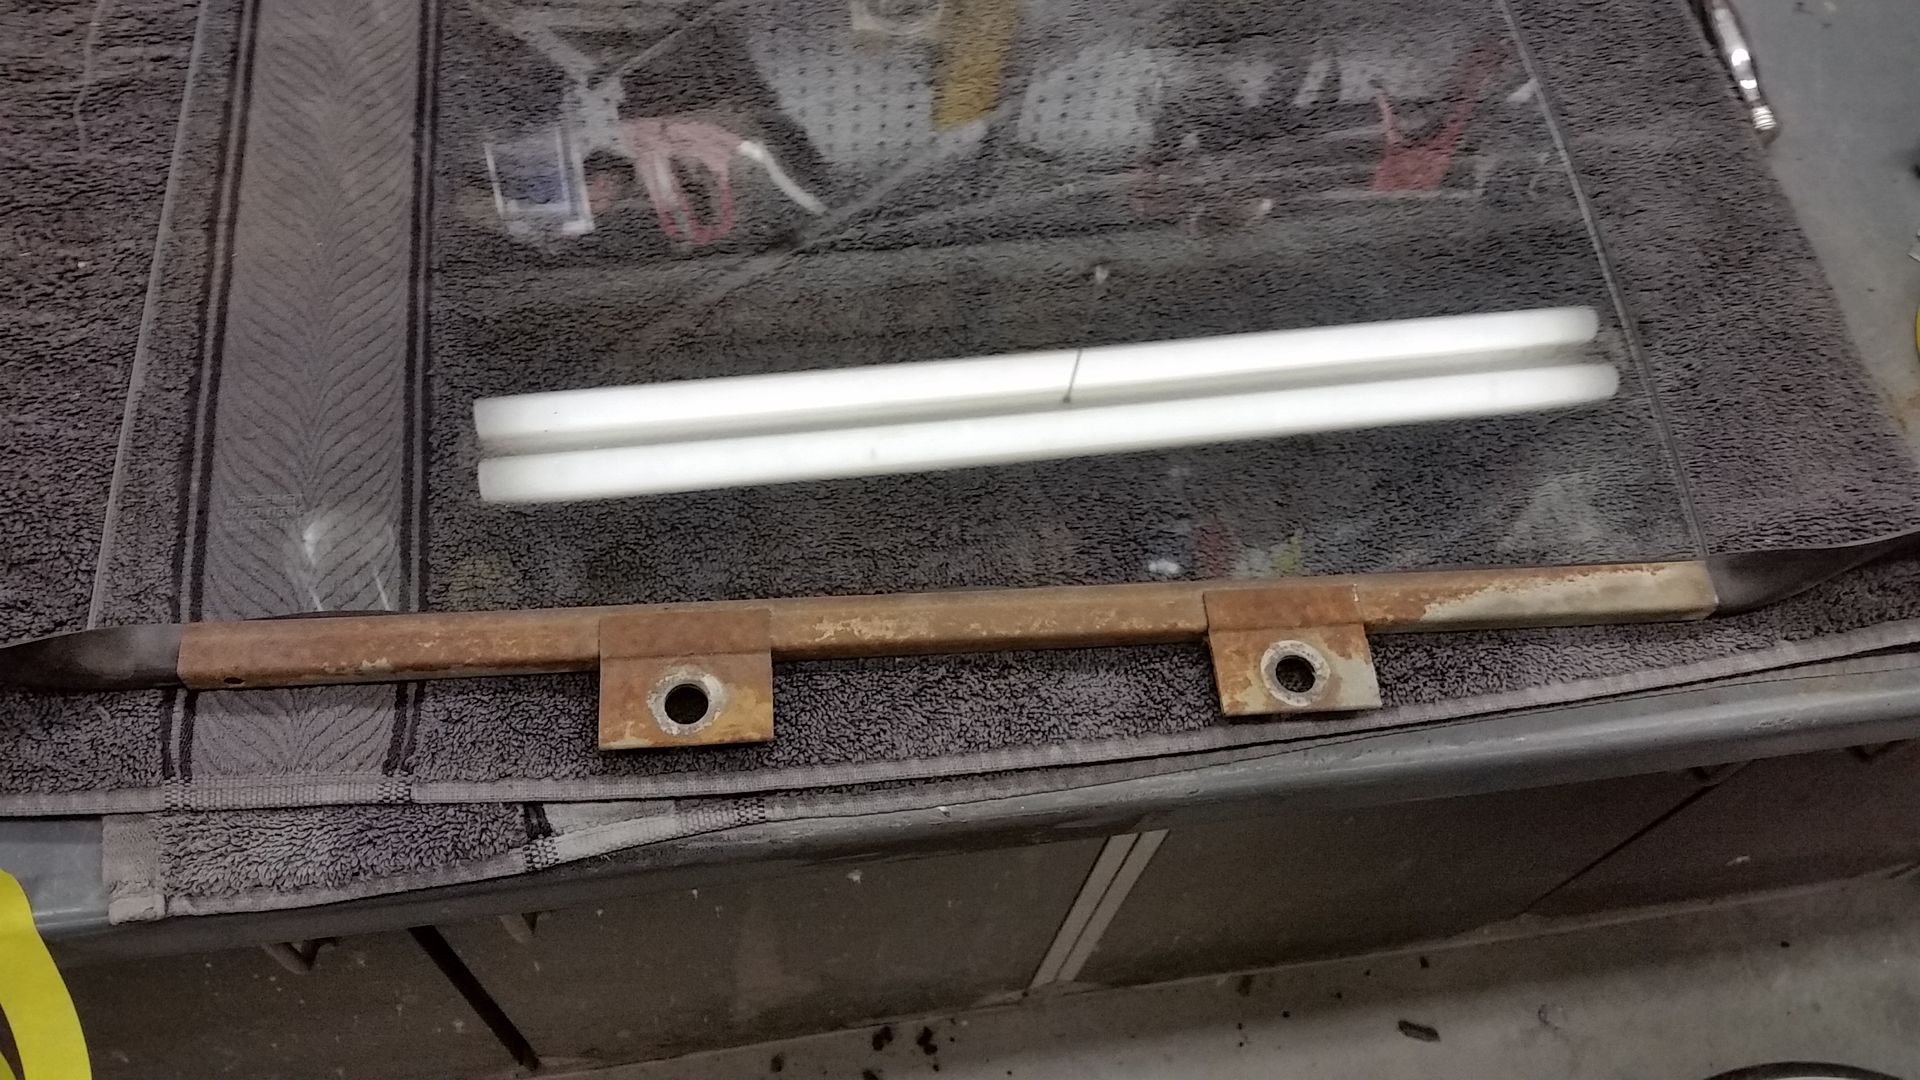
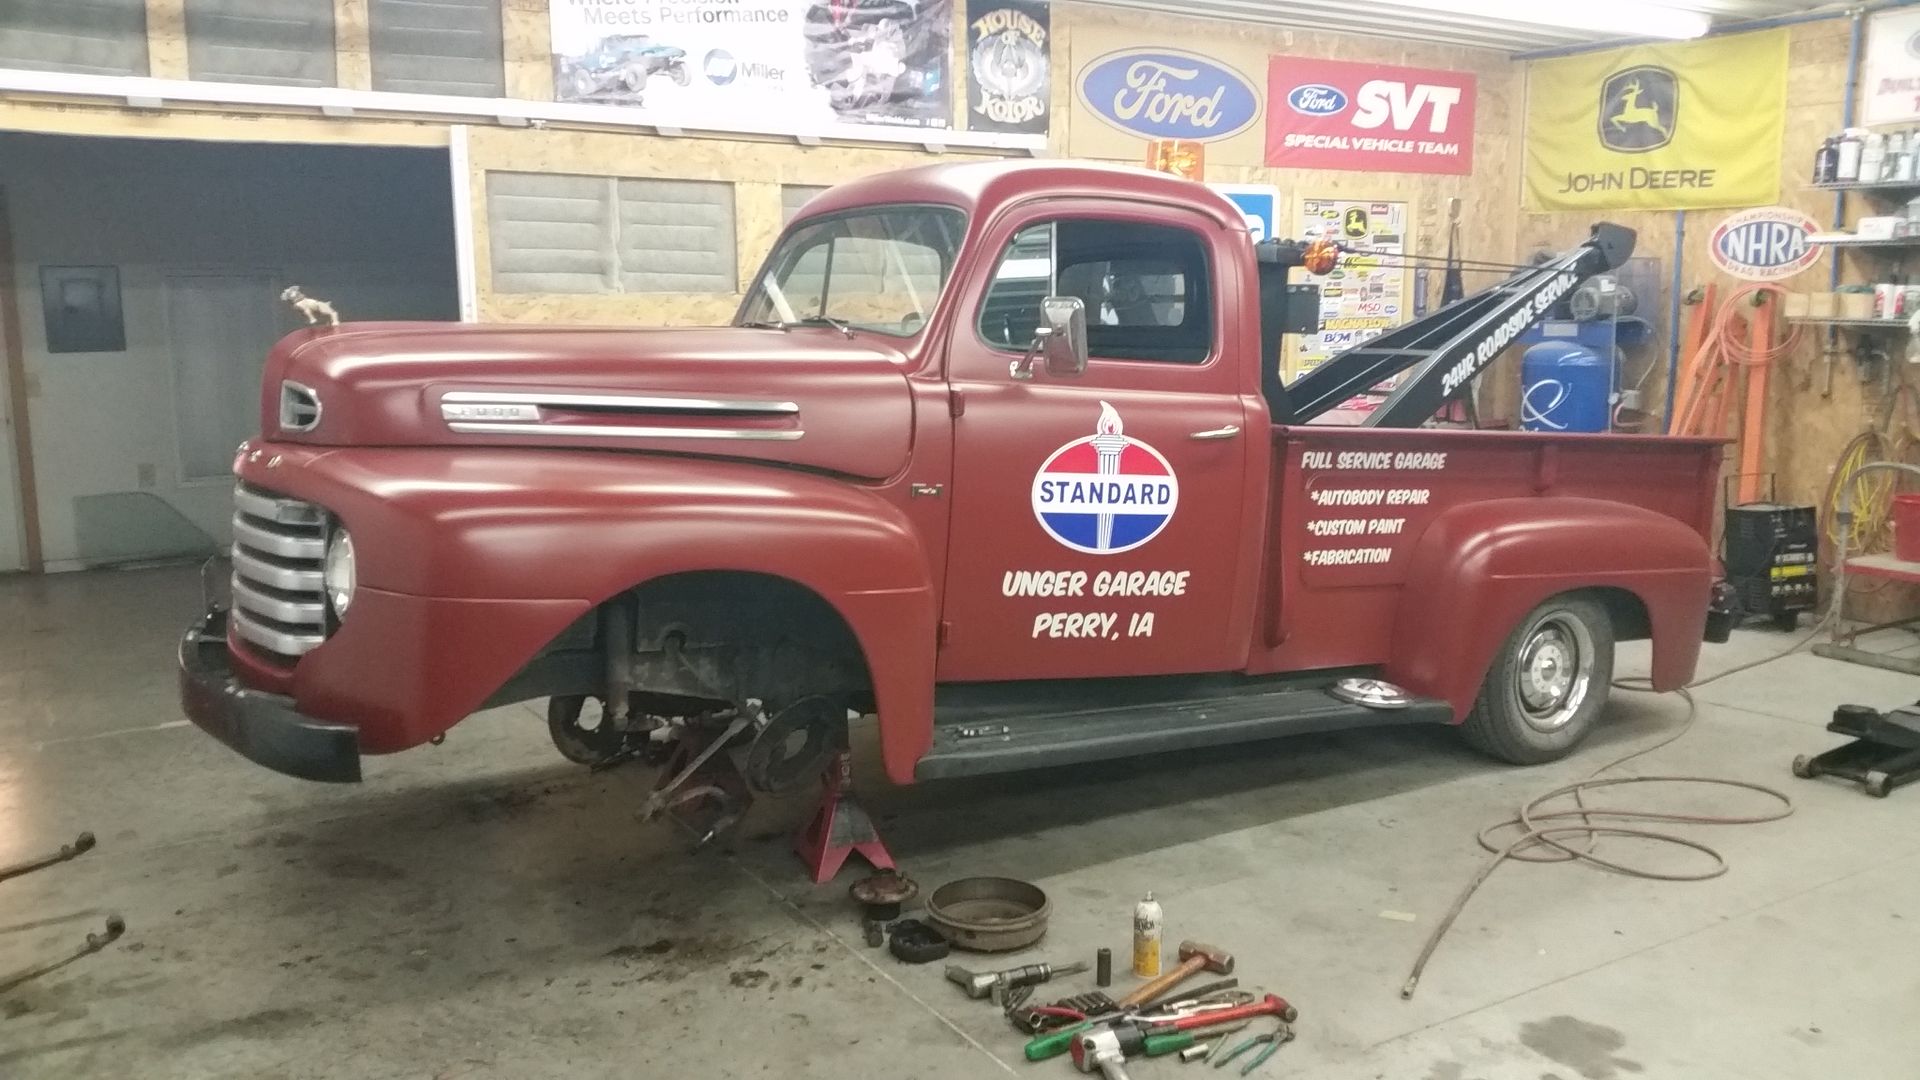
When I originally lowered the front I had pulled 3 springs out. It never really gave me the stance I really wanted but it was close. As time went on & I began driving it more the old springs settled and I began hitting the bump stops a lot so I gave in last week and bought a 3" drop axle and 3' lowering springs from Speedway Motors.
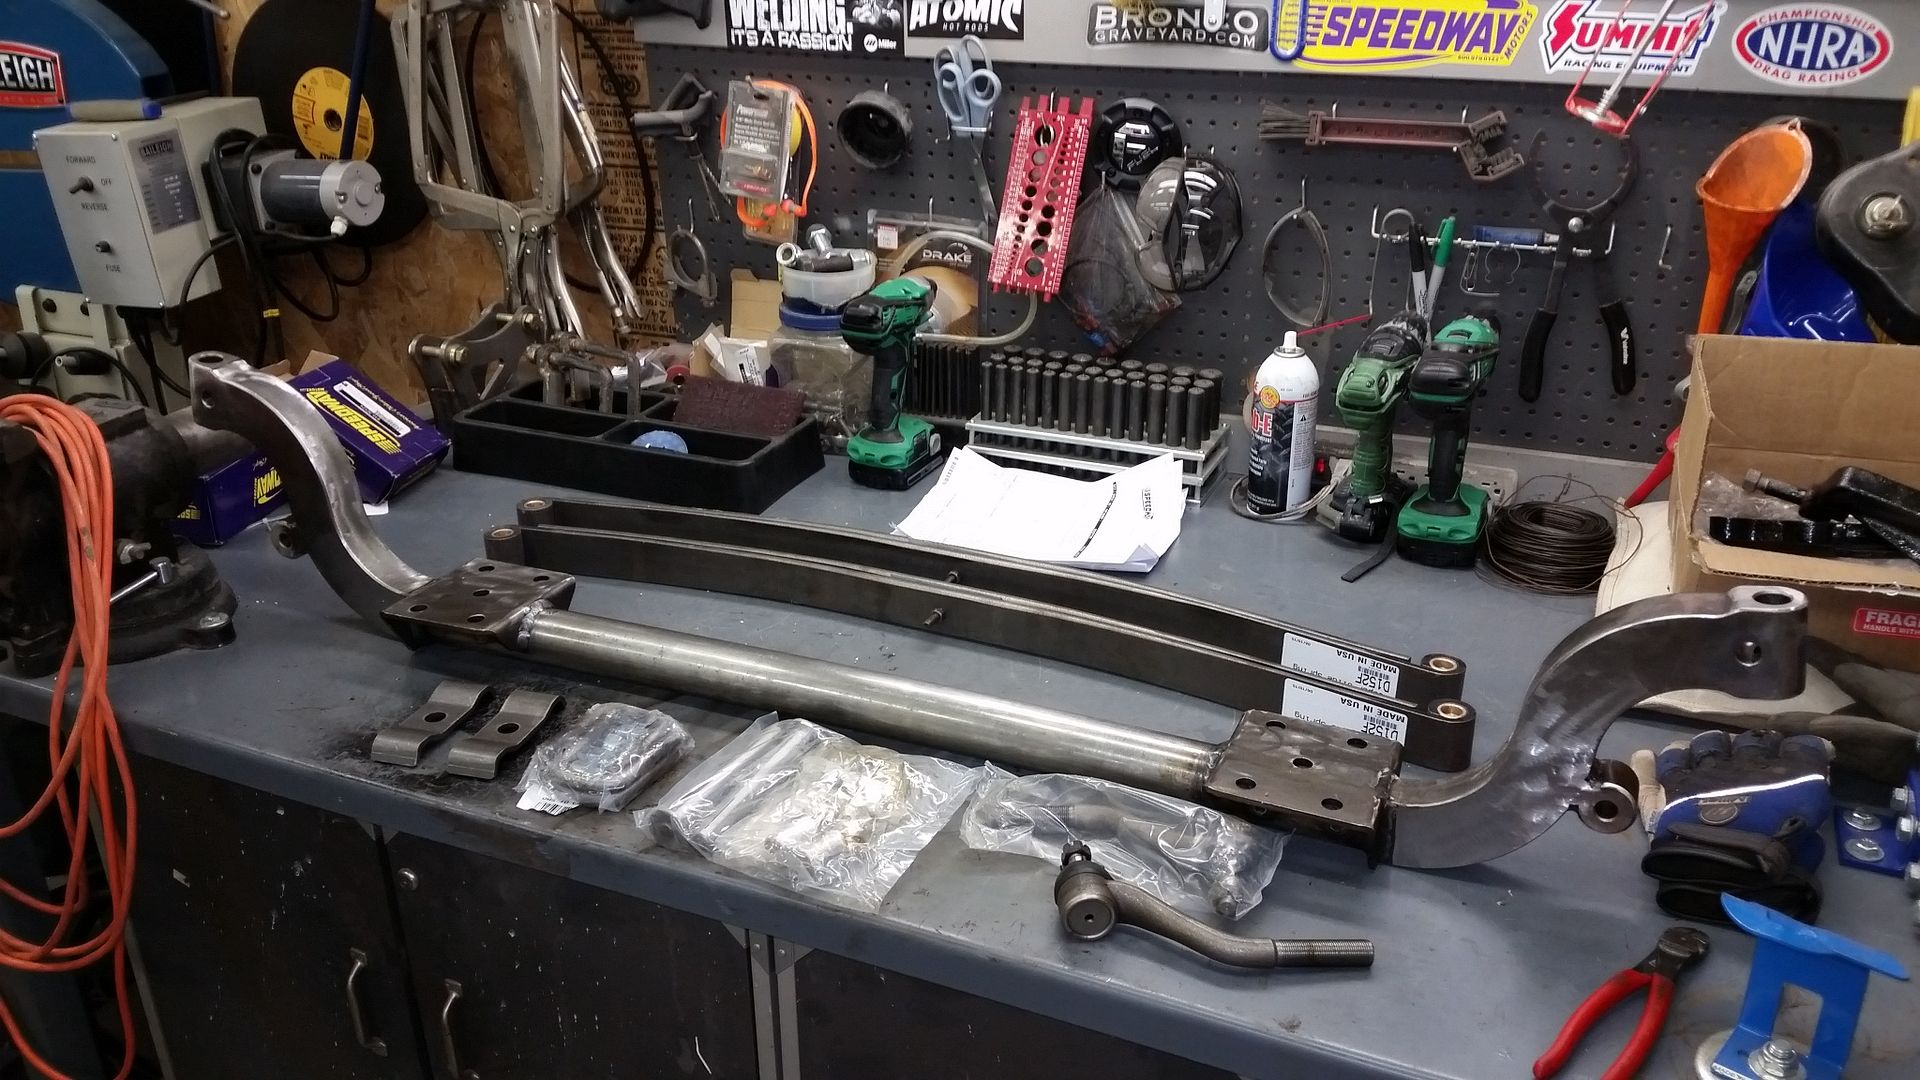
Sent the spindles out to a local machine shop and had new bushings pressed in and line honed to fit the new king pins

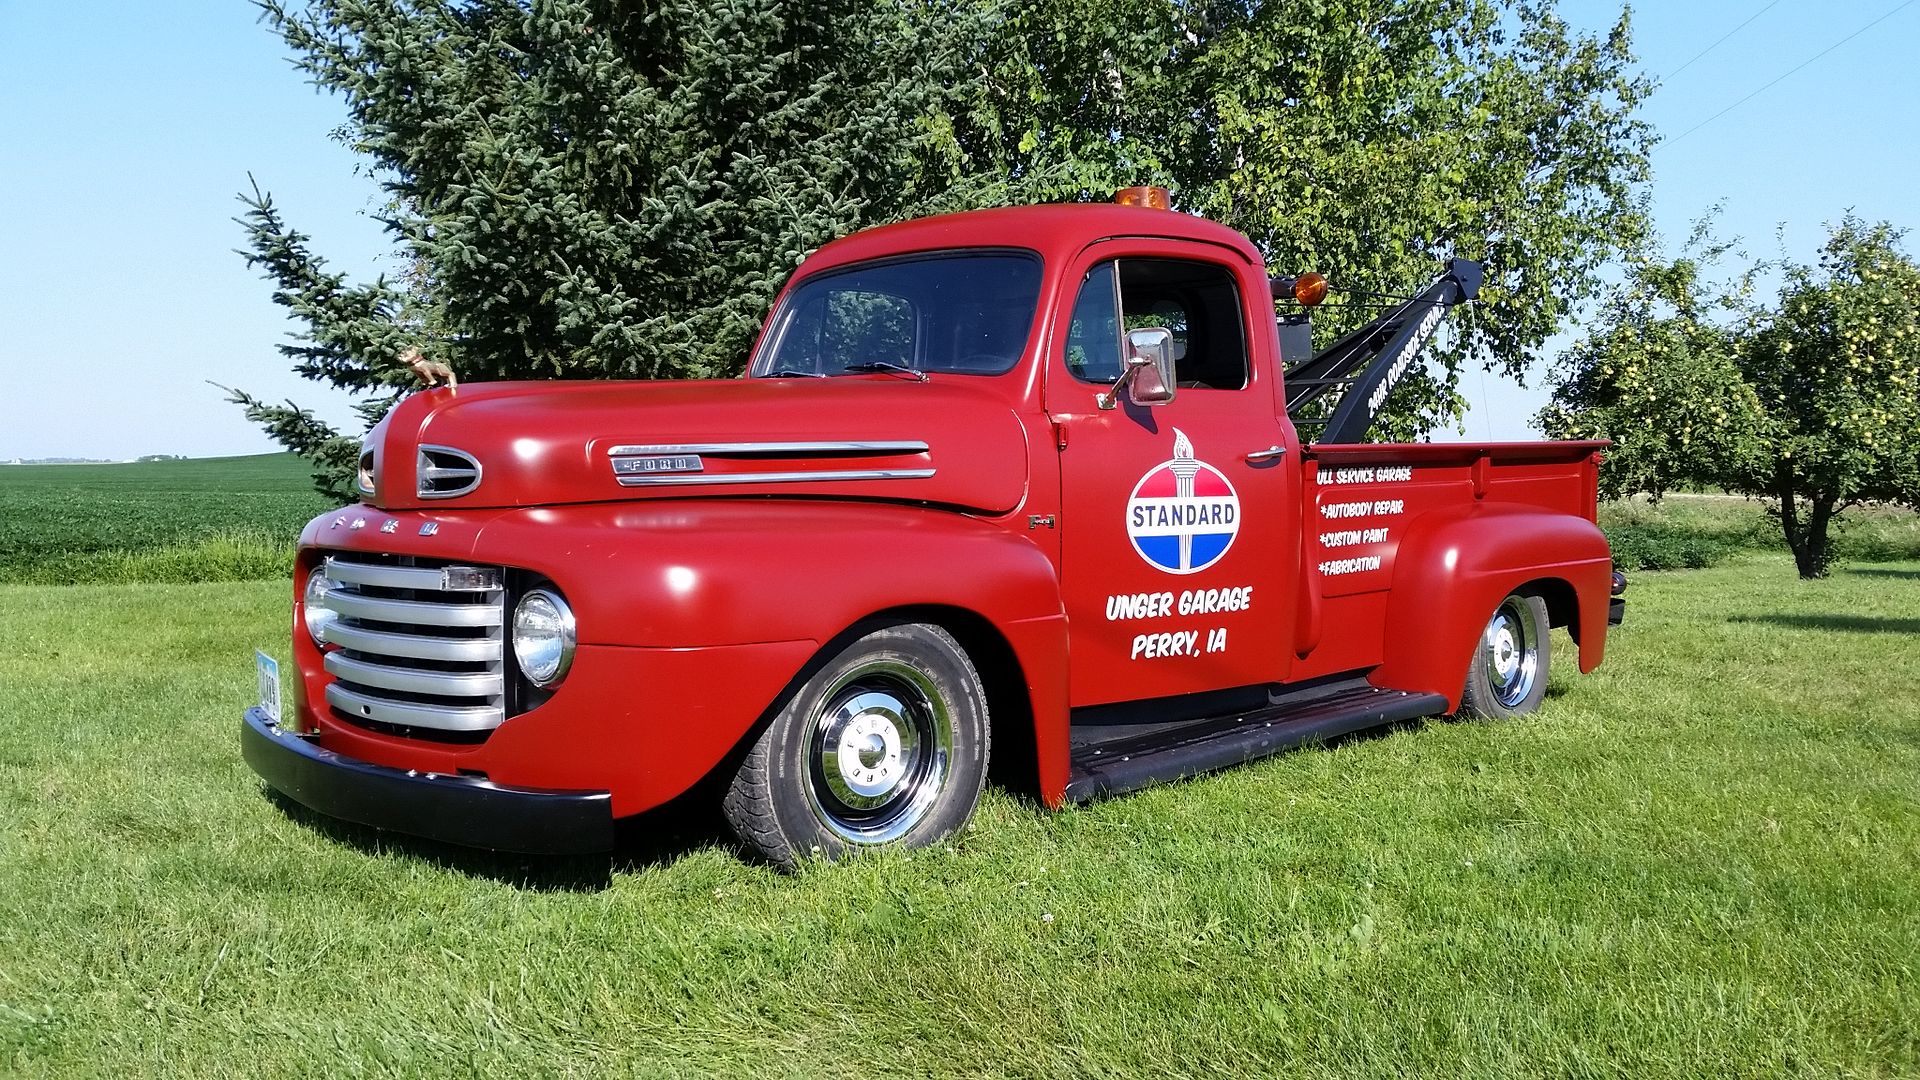
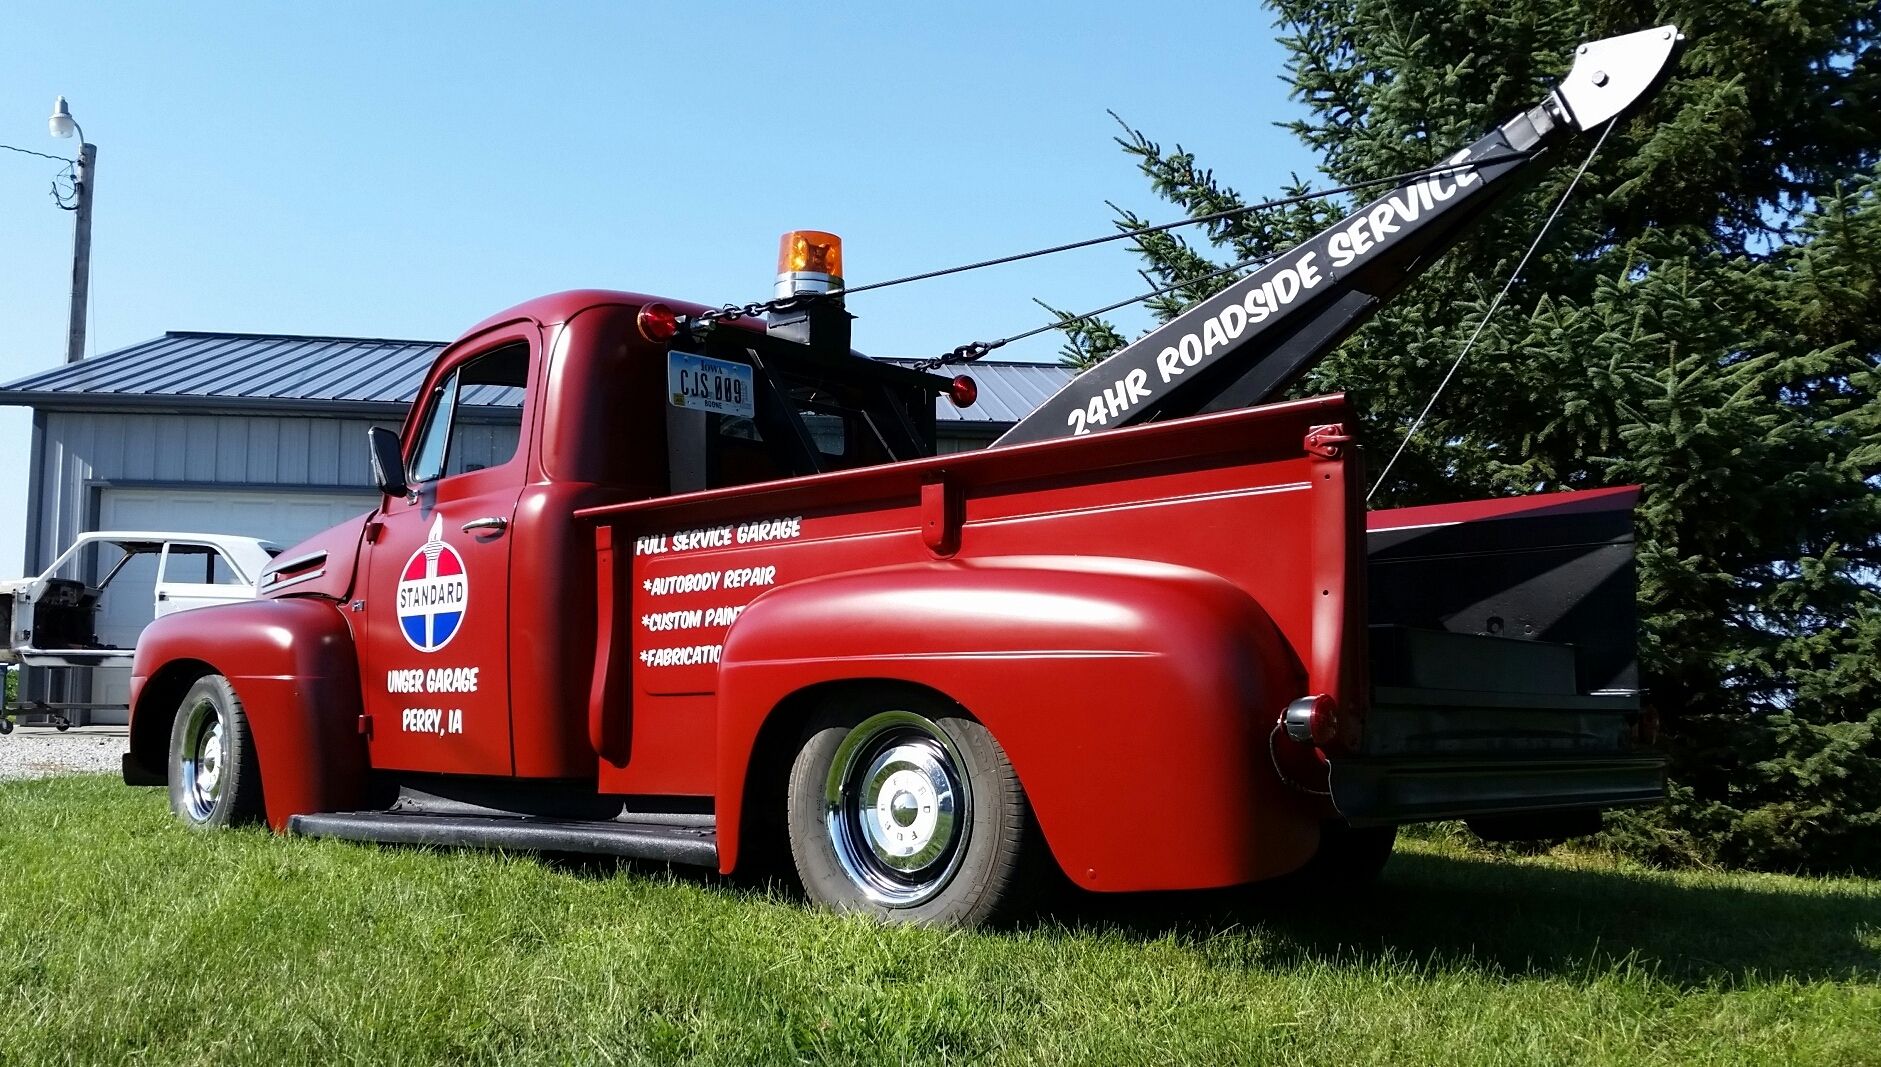
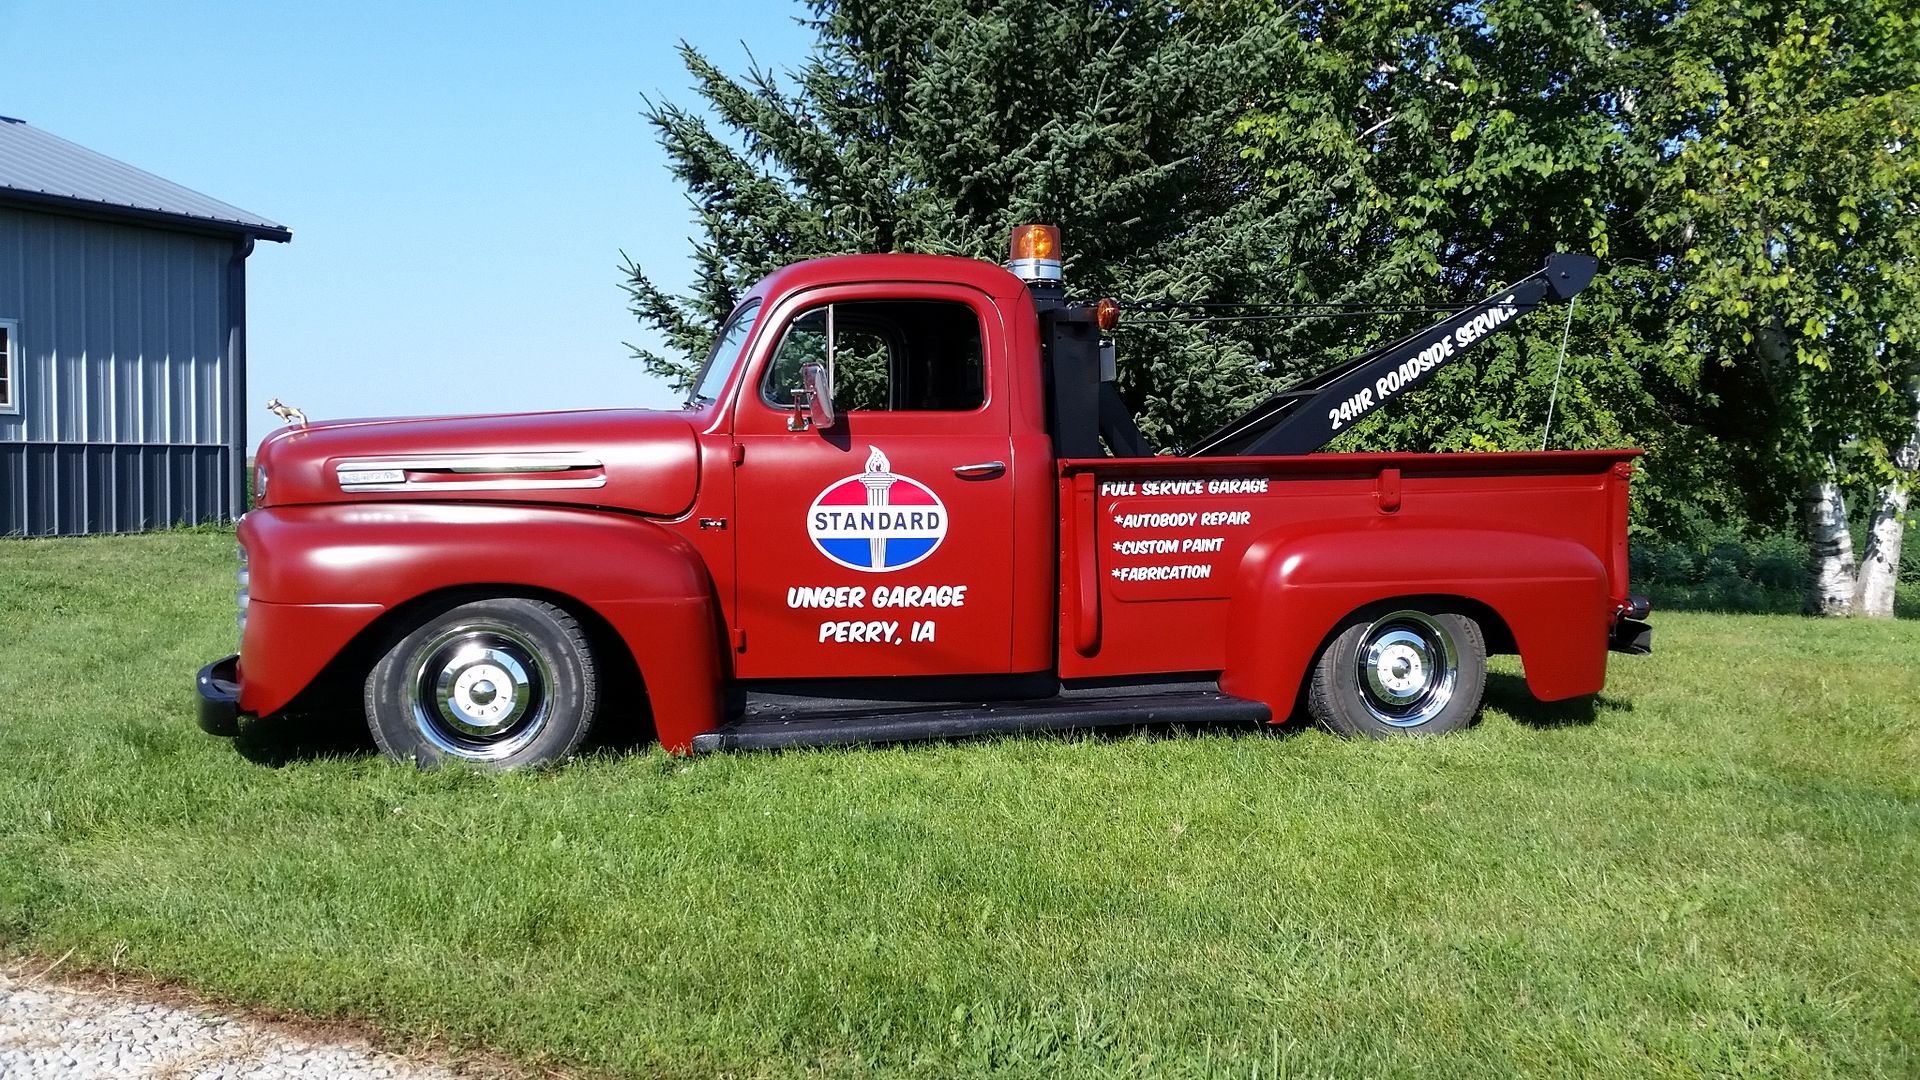
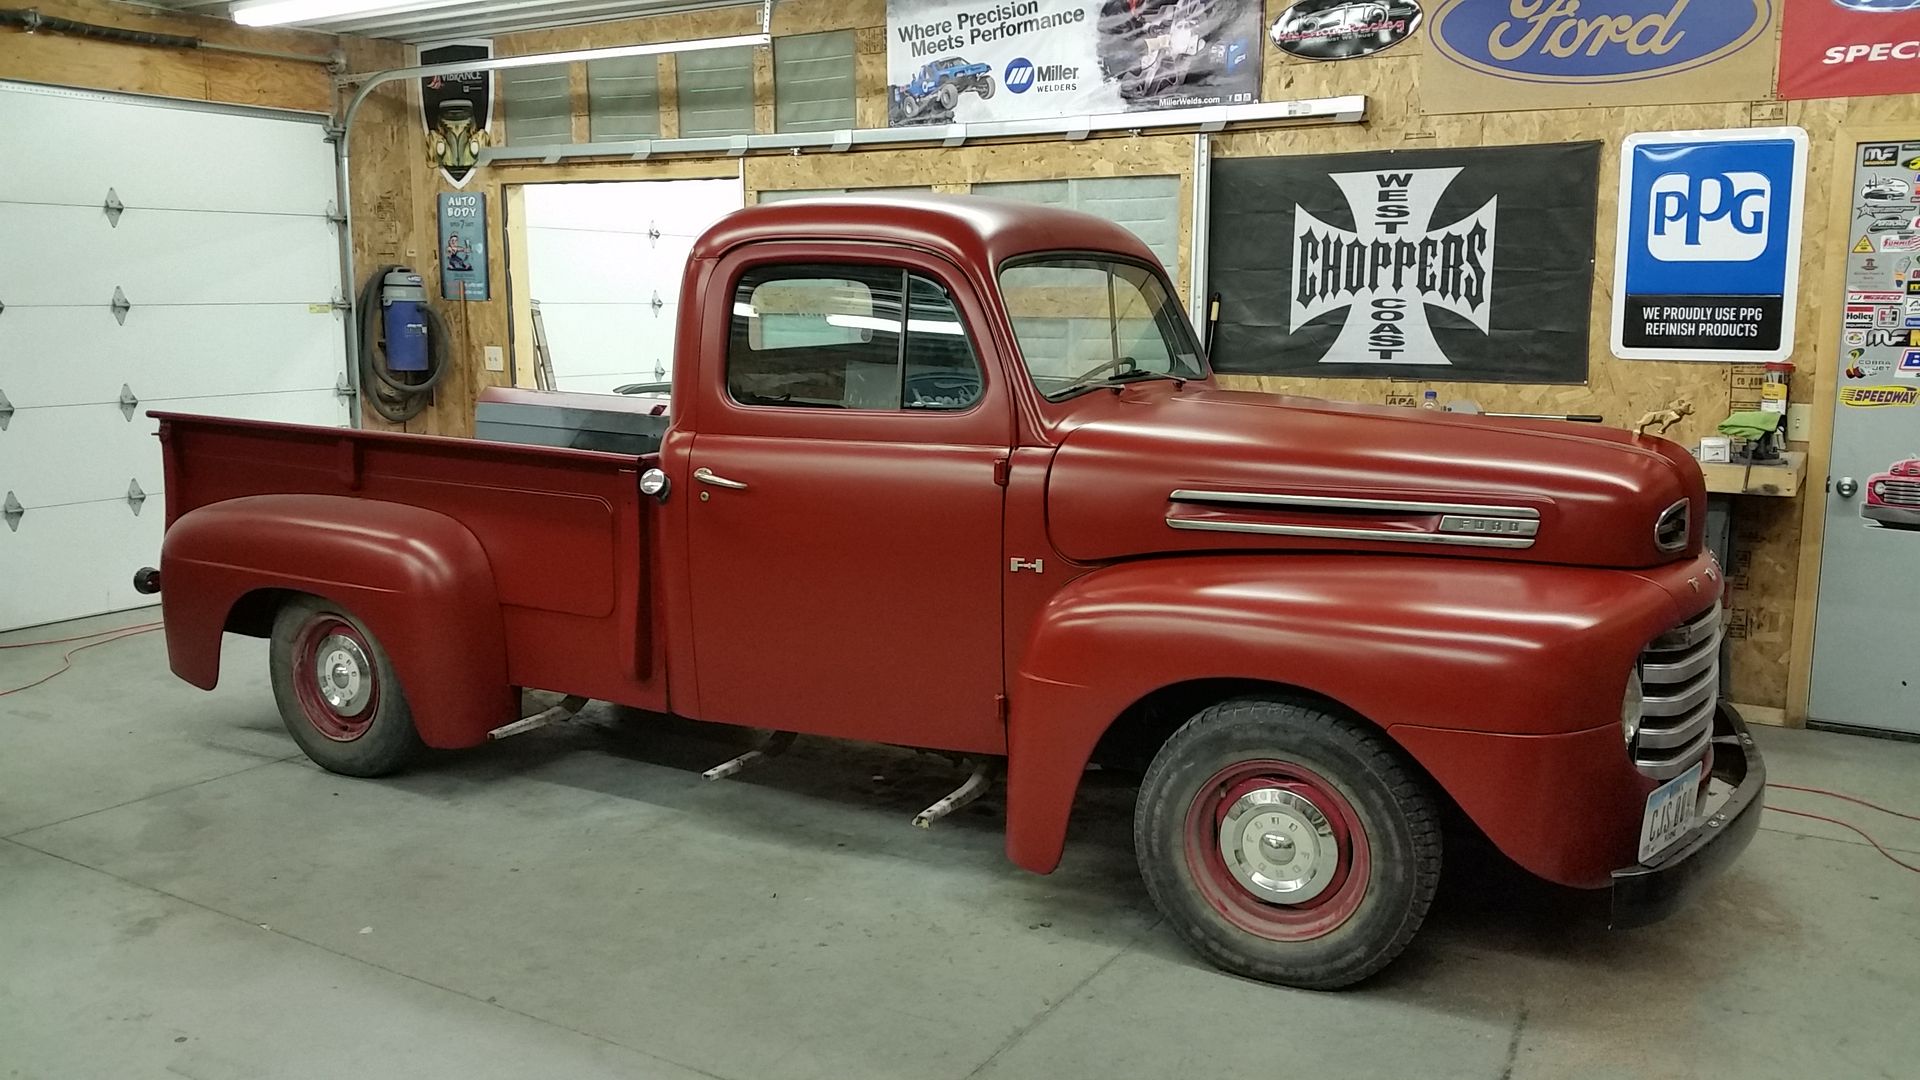
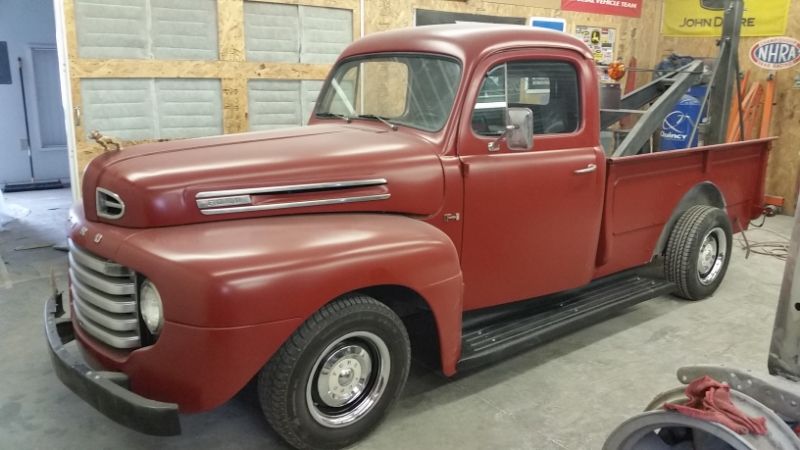
A couple days ago I pulled the old dog dishes off and installed a set of bullet hub covers. Gives it a little more Hot Rod look. I hope I didn't bore everybody with all the pics


A couple pics outside an old Standard Oil Station along the Lincoln Highway old US30 here in central Iowa


When I originally lowered the front I had pulled 3 springs out. It never really gave me the stance I really wanted but it was close. As time went on & I began driving it more the old springs settled and I began hitting the bump stops a lot so I gave in last week and bought a 3" drop axle and 3' lowering springs from Speedway Motors.


Sent the spindles out to a local machine shop and had new bushings pressed in and line honed to fit the new king pins


A couple days ago I pulled the old dog dishes off and installed a set of bullet hub covers. Gives it a little more Hot Rod look. I hope I didn't bore everybody with all the pics

#27
08-19-2015, 02:46 PM
Lead Driver
 Thanks for feeding our addiction.