When you click on links to various merchants on this site and make a purchase, this can result in this site earning a commission. Affiliate programs and affiliations include, but are not limited to, the eBay Partner Network.
After a lot of thoughts, more research and readings on this side (thanks all for sharing your knowledge and experiences), I jumped forward and bought a "rebuild" 351W as a replacement.
I´m having a 1982 Ford F100 Shortbed Flareside, that came originally with a 255 V8. Not been taken good care of, the PO`s left me no choice then to replace the tired little engine.
Started a thread, looked into crate engines and then.... made the decision to buy a "rebuild" 351W from a guy in the area.
The 351W came originally out of 1984 car, and was fresh rebuild. The seller had sandblasted the block, but not painted it. He was not sure, which color to choose, as the Mustang was not painted either the engine was planned for. This project died, he sold the Mustang and was now offering the engine.
I saw the video of it being on a engine stand, running. Here´s the story of light and shadow. enjoy and I look forward to your feedback..
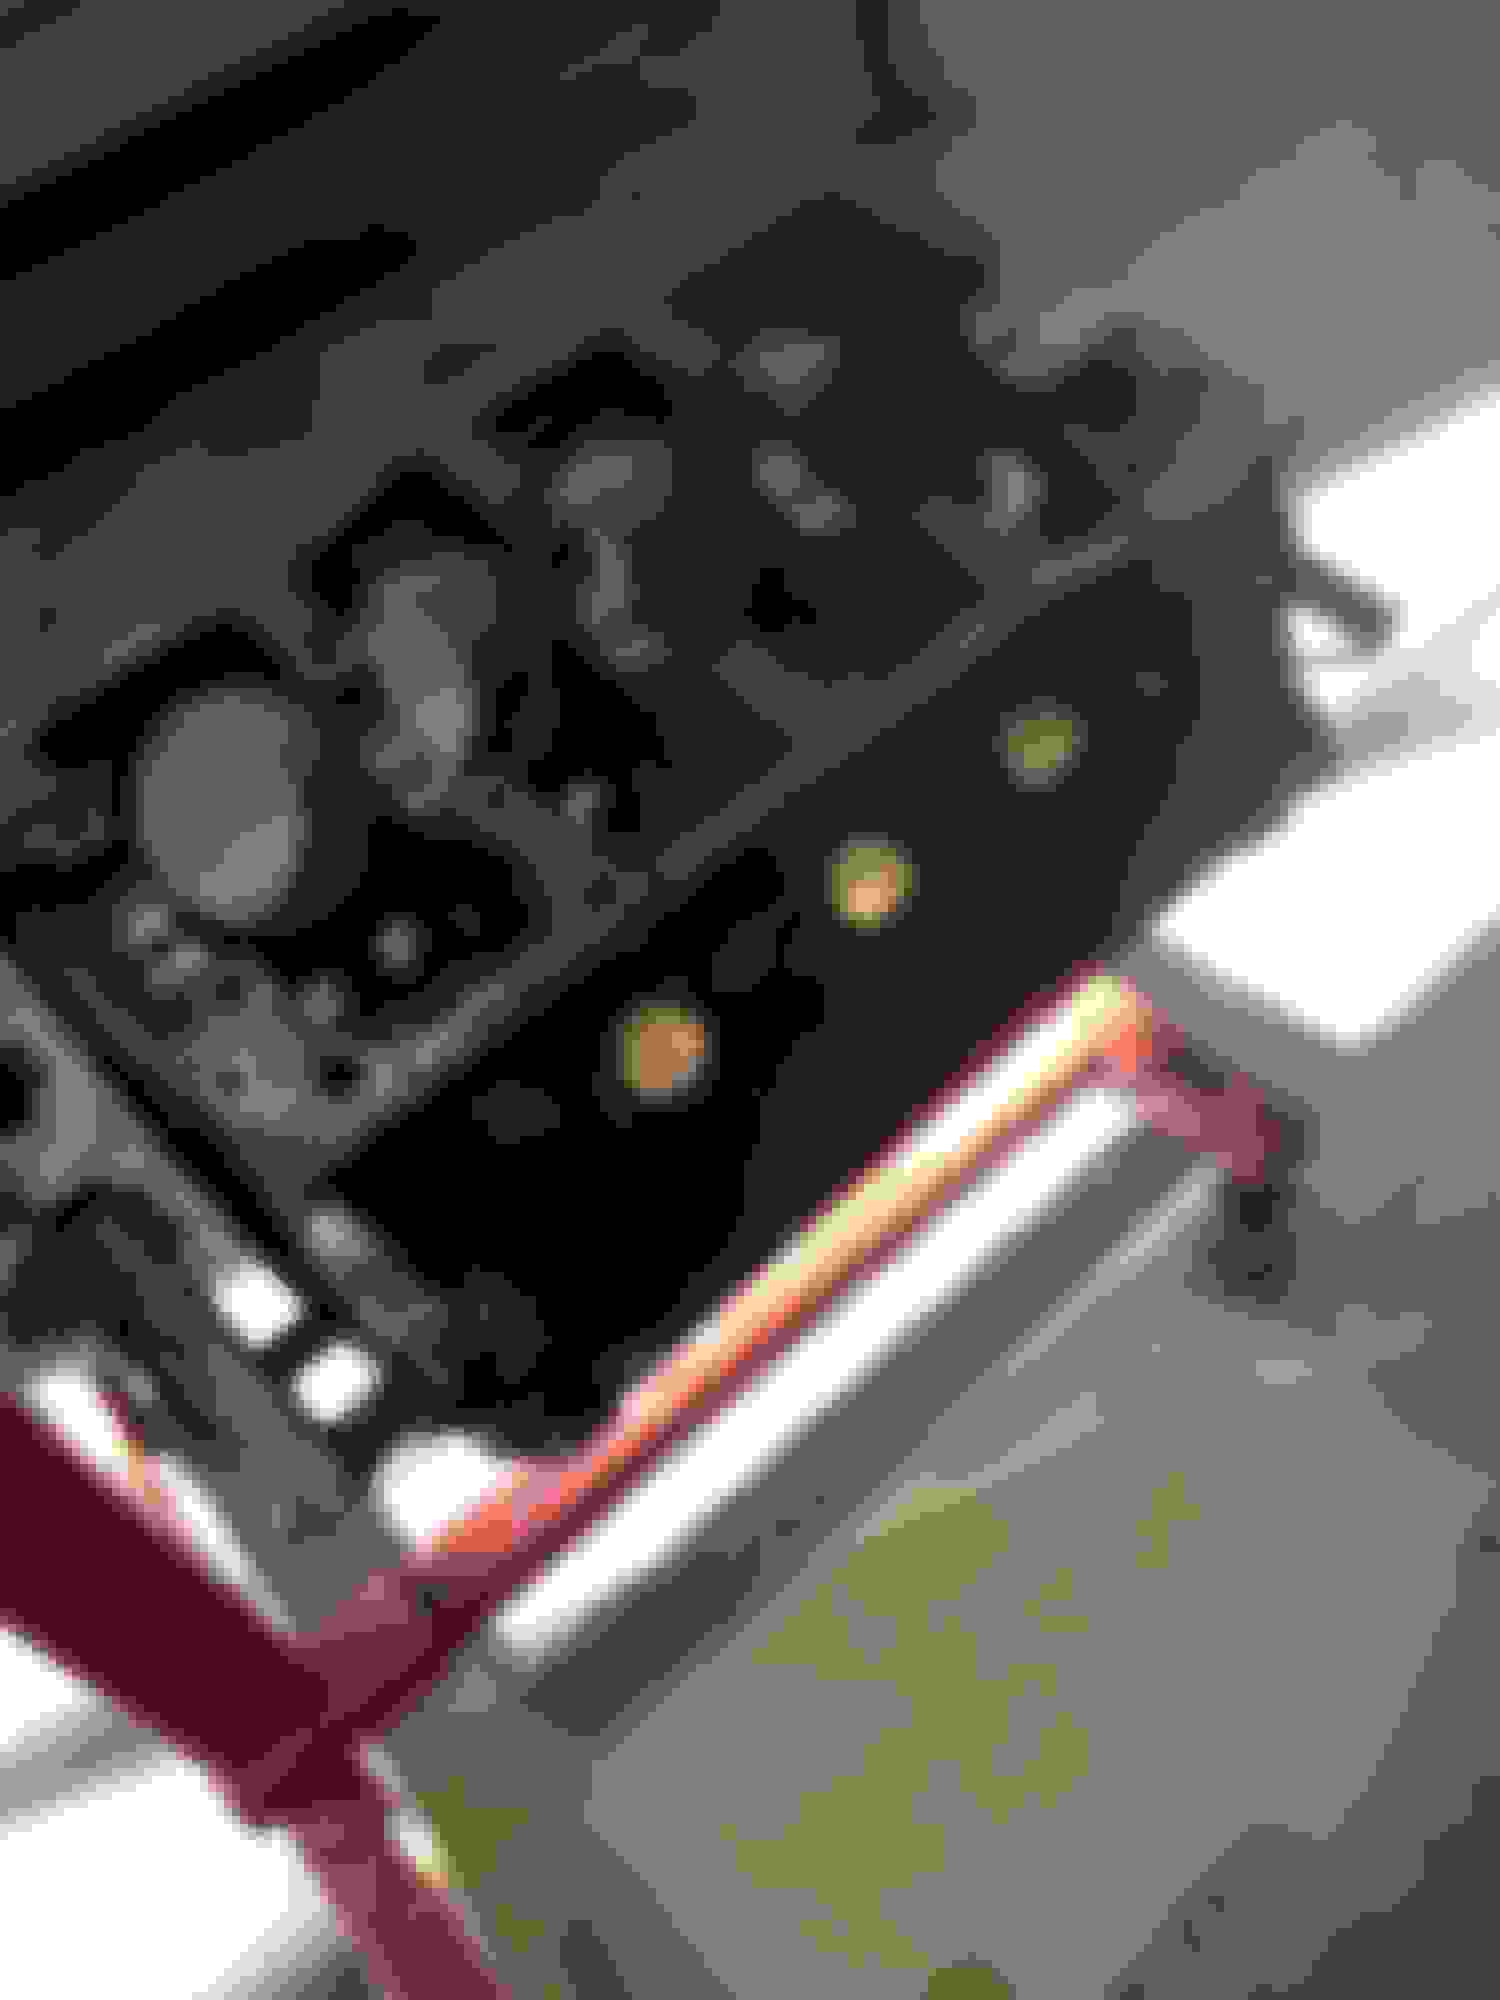
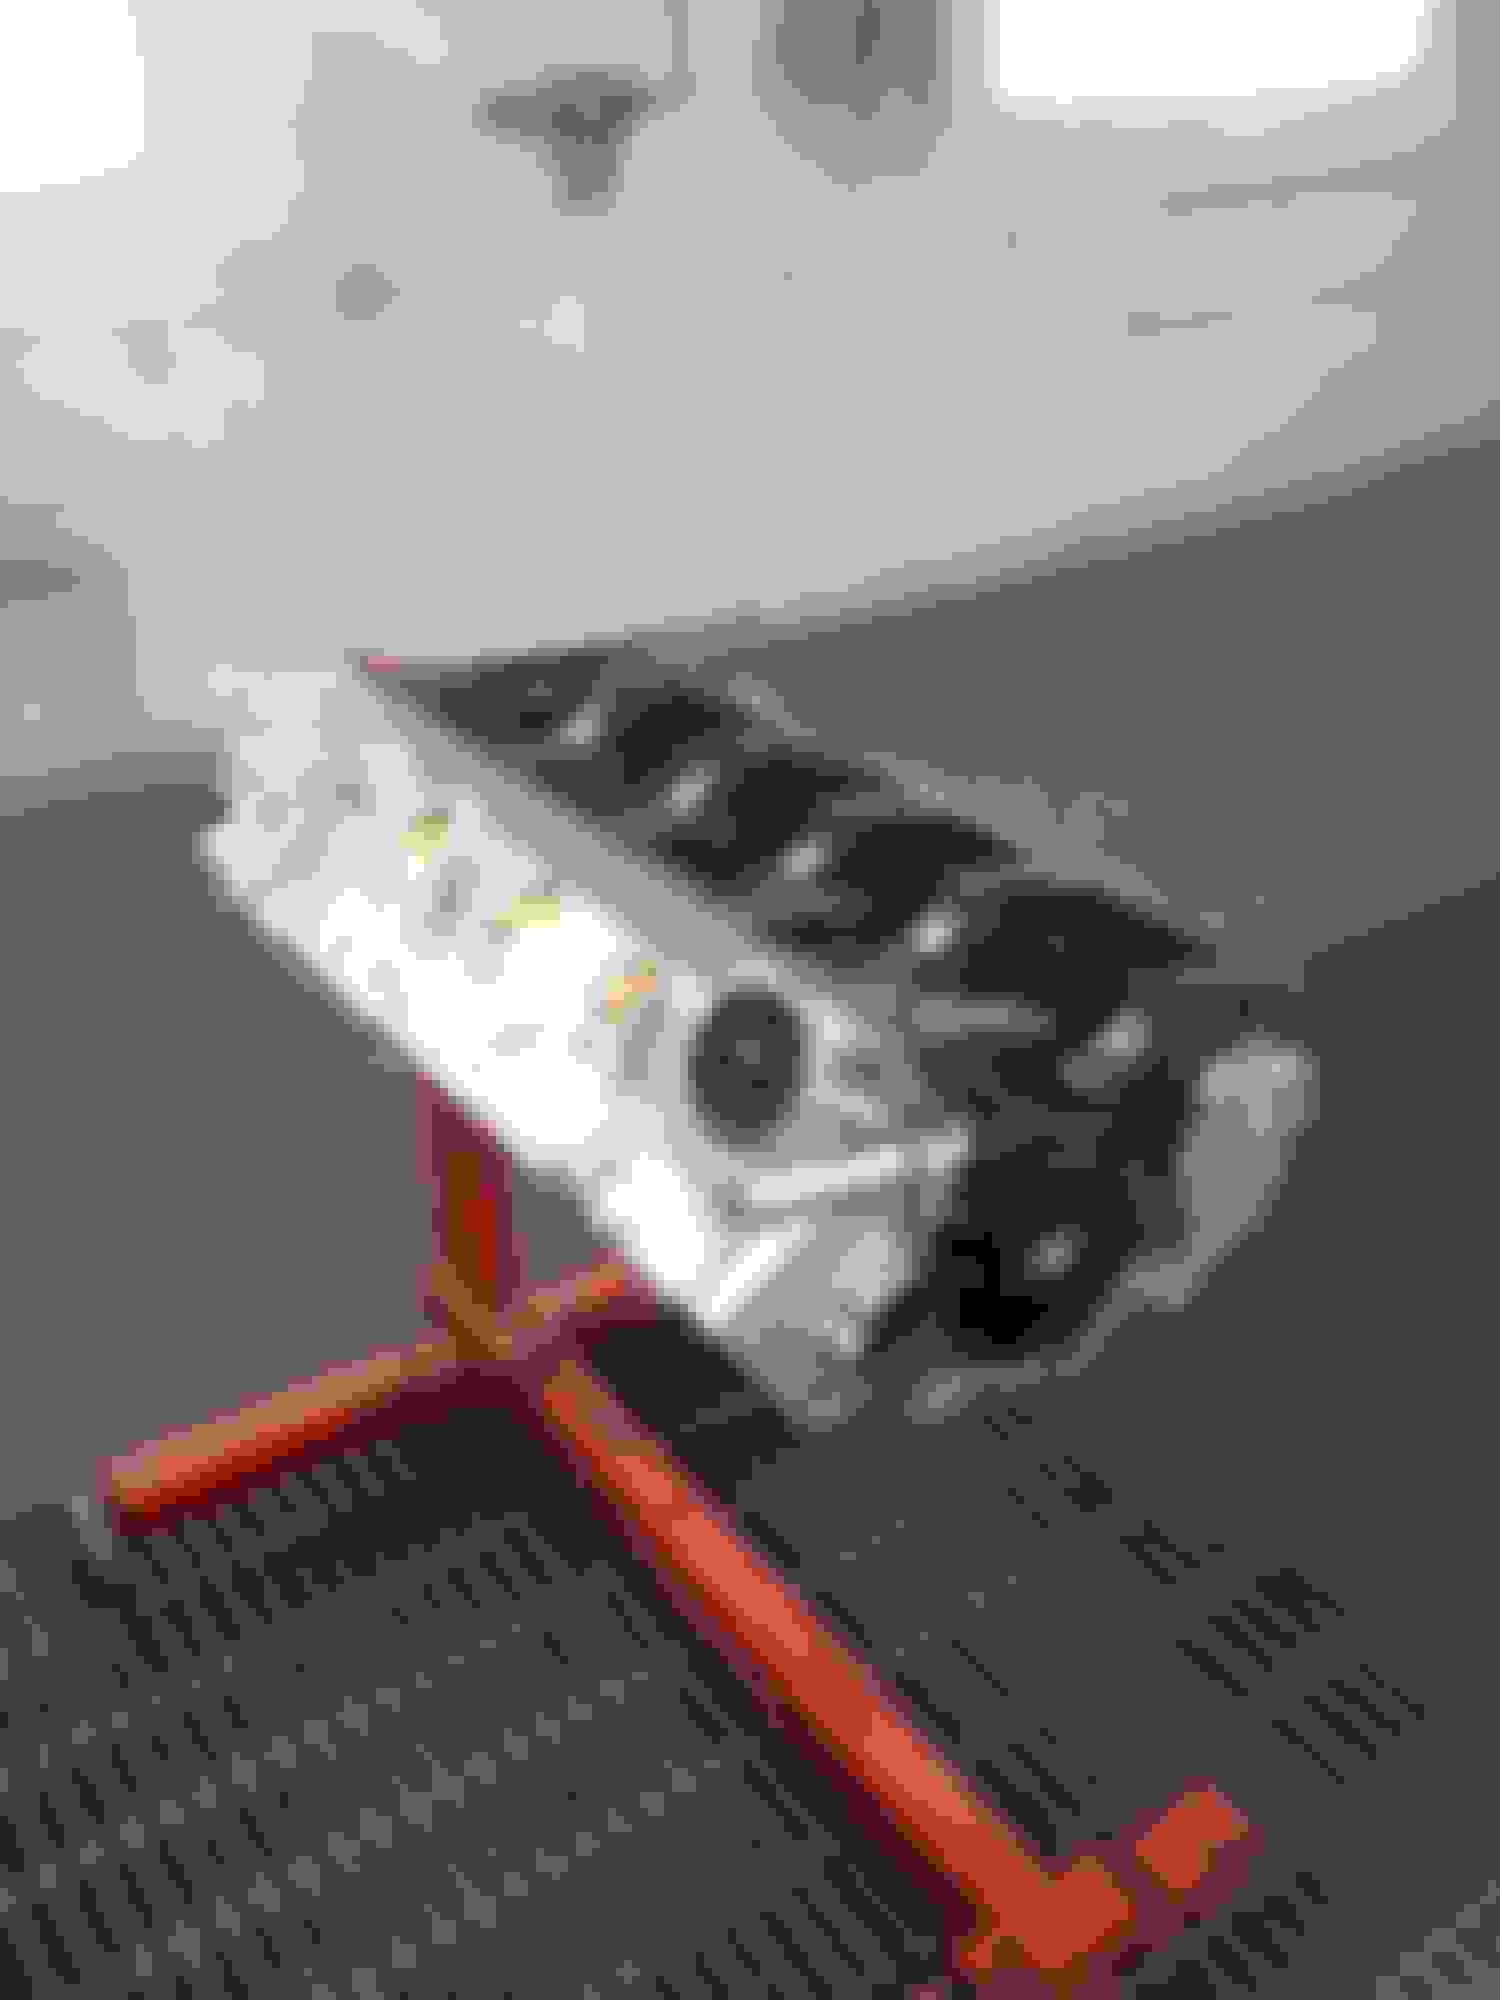
When I got it home, I brought to the shop i can work on it. Put it on a engine stand and took off that ugly, rusty waterpump.
The oil pan was ugly, so to repaint it, we drained the oil and took the pan off..
without the intake..
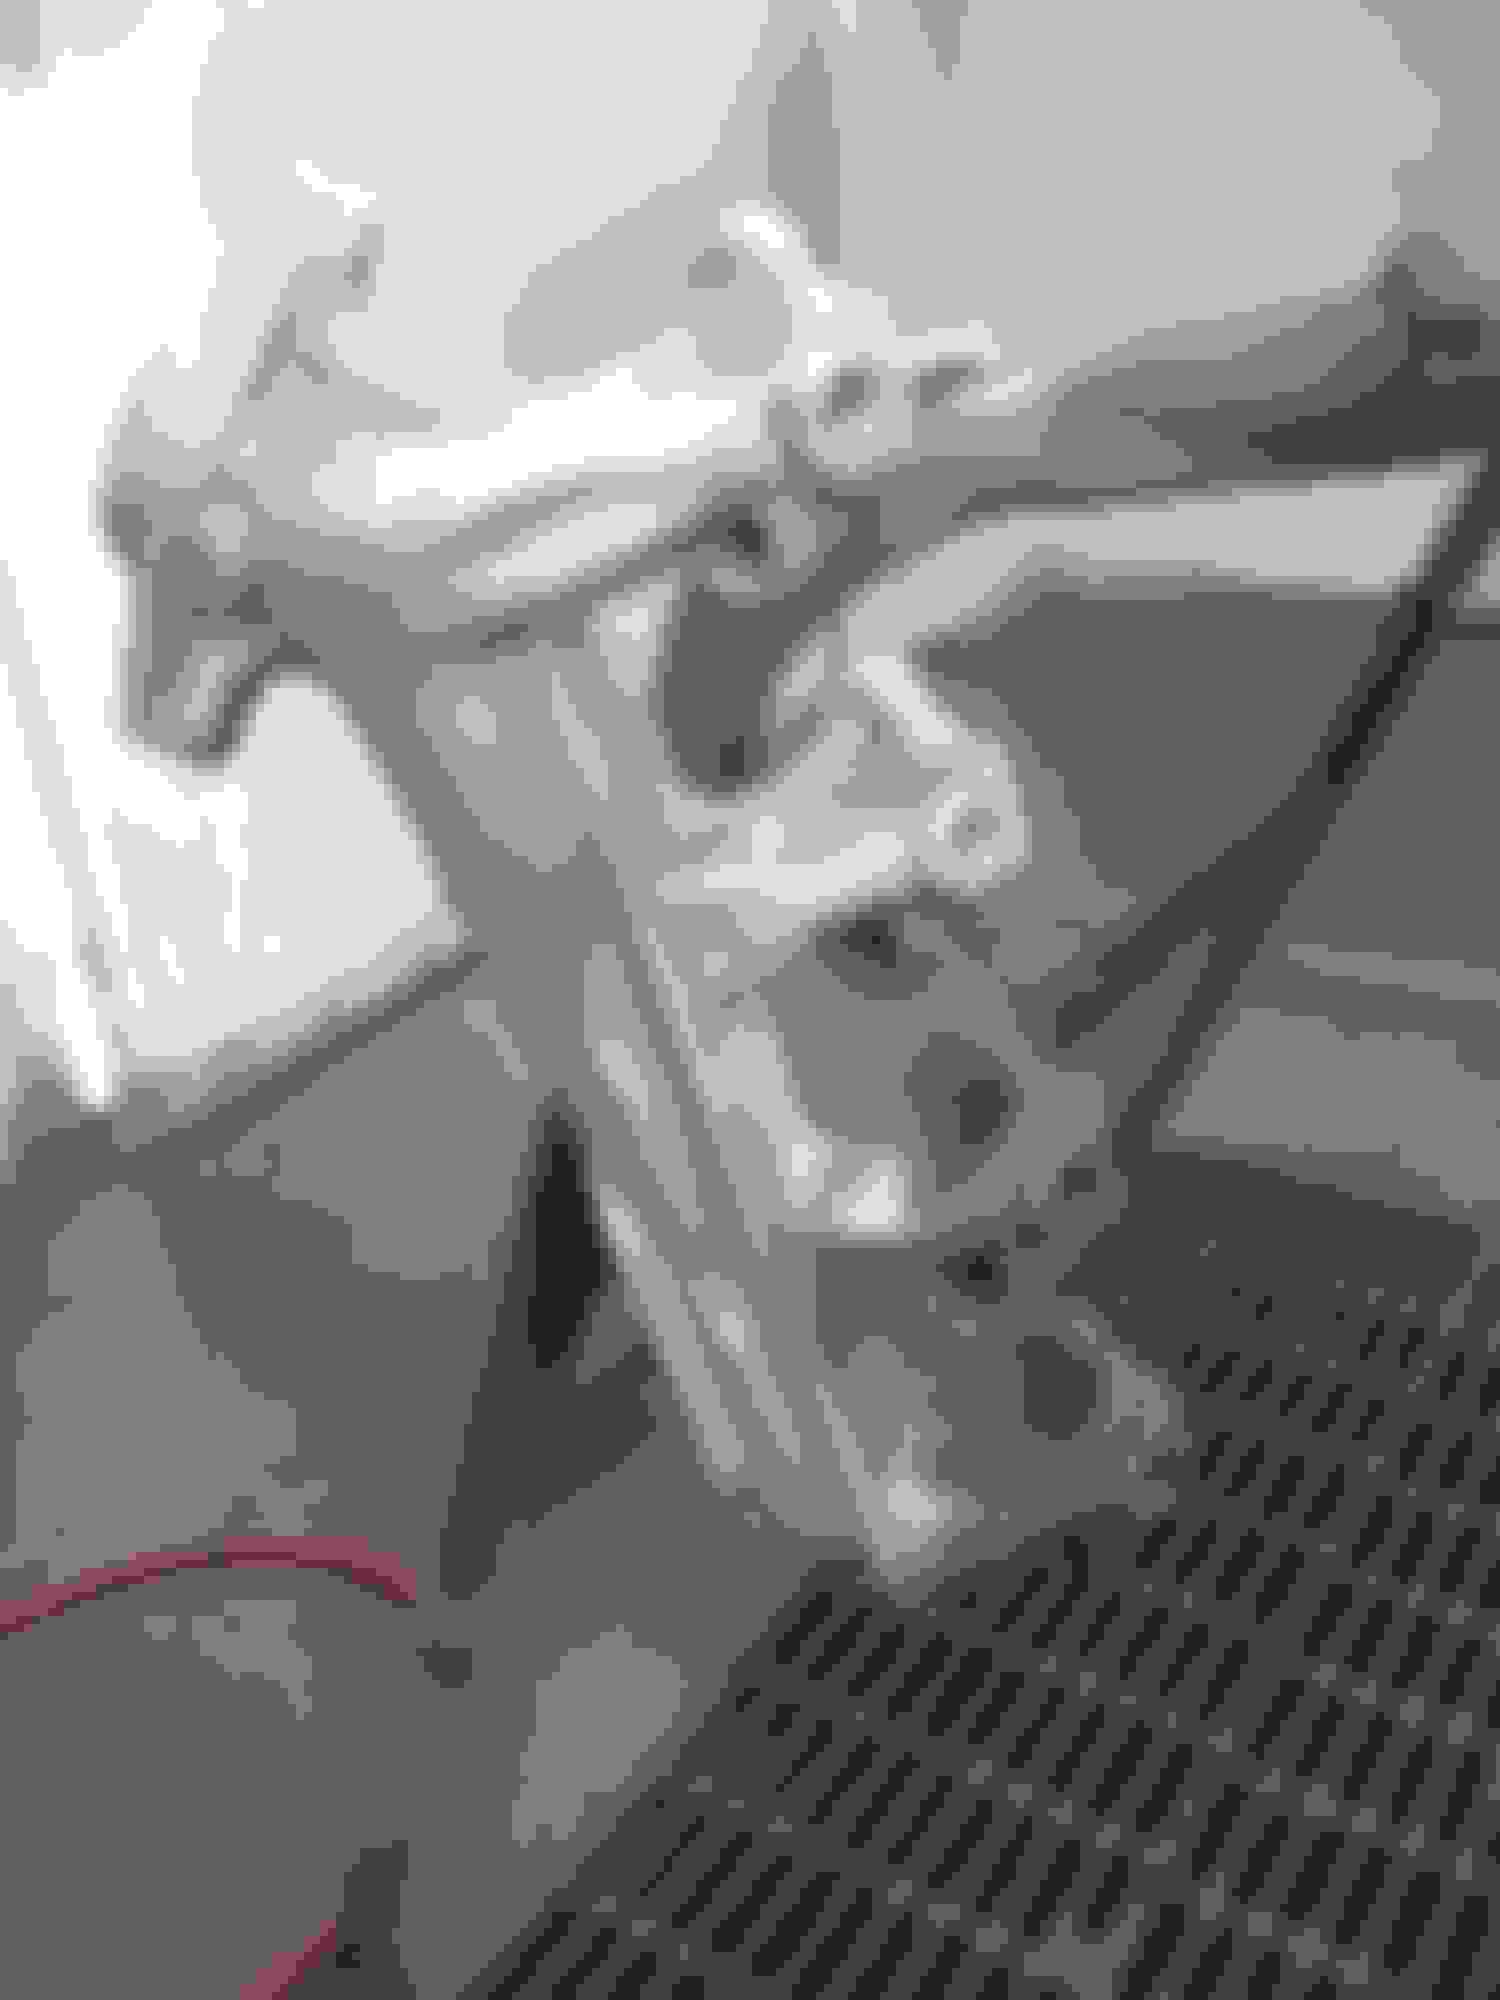
oil pump and extender. In the oil pan was a lot of grease and old oil:??????
That´s the provision for the oil dipstick. For the cars, it came through the block instead the oil pan. Some I... had pushed a screw in and filled it with what locked like sealer.....
The Edelbrock performer intake was unfortunately without EGR. As I´ll move to NY State next year, I need to take all the emission stuff on it- bye bye and hello new Intake w EGR...
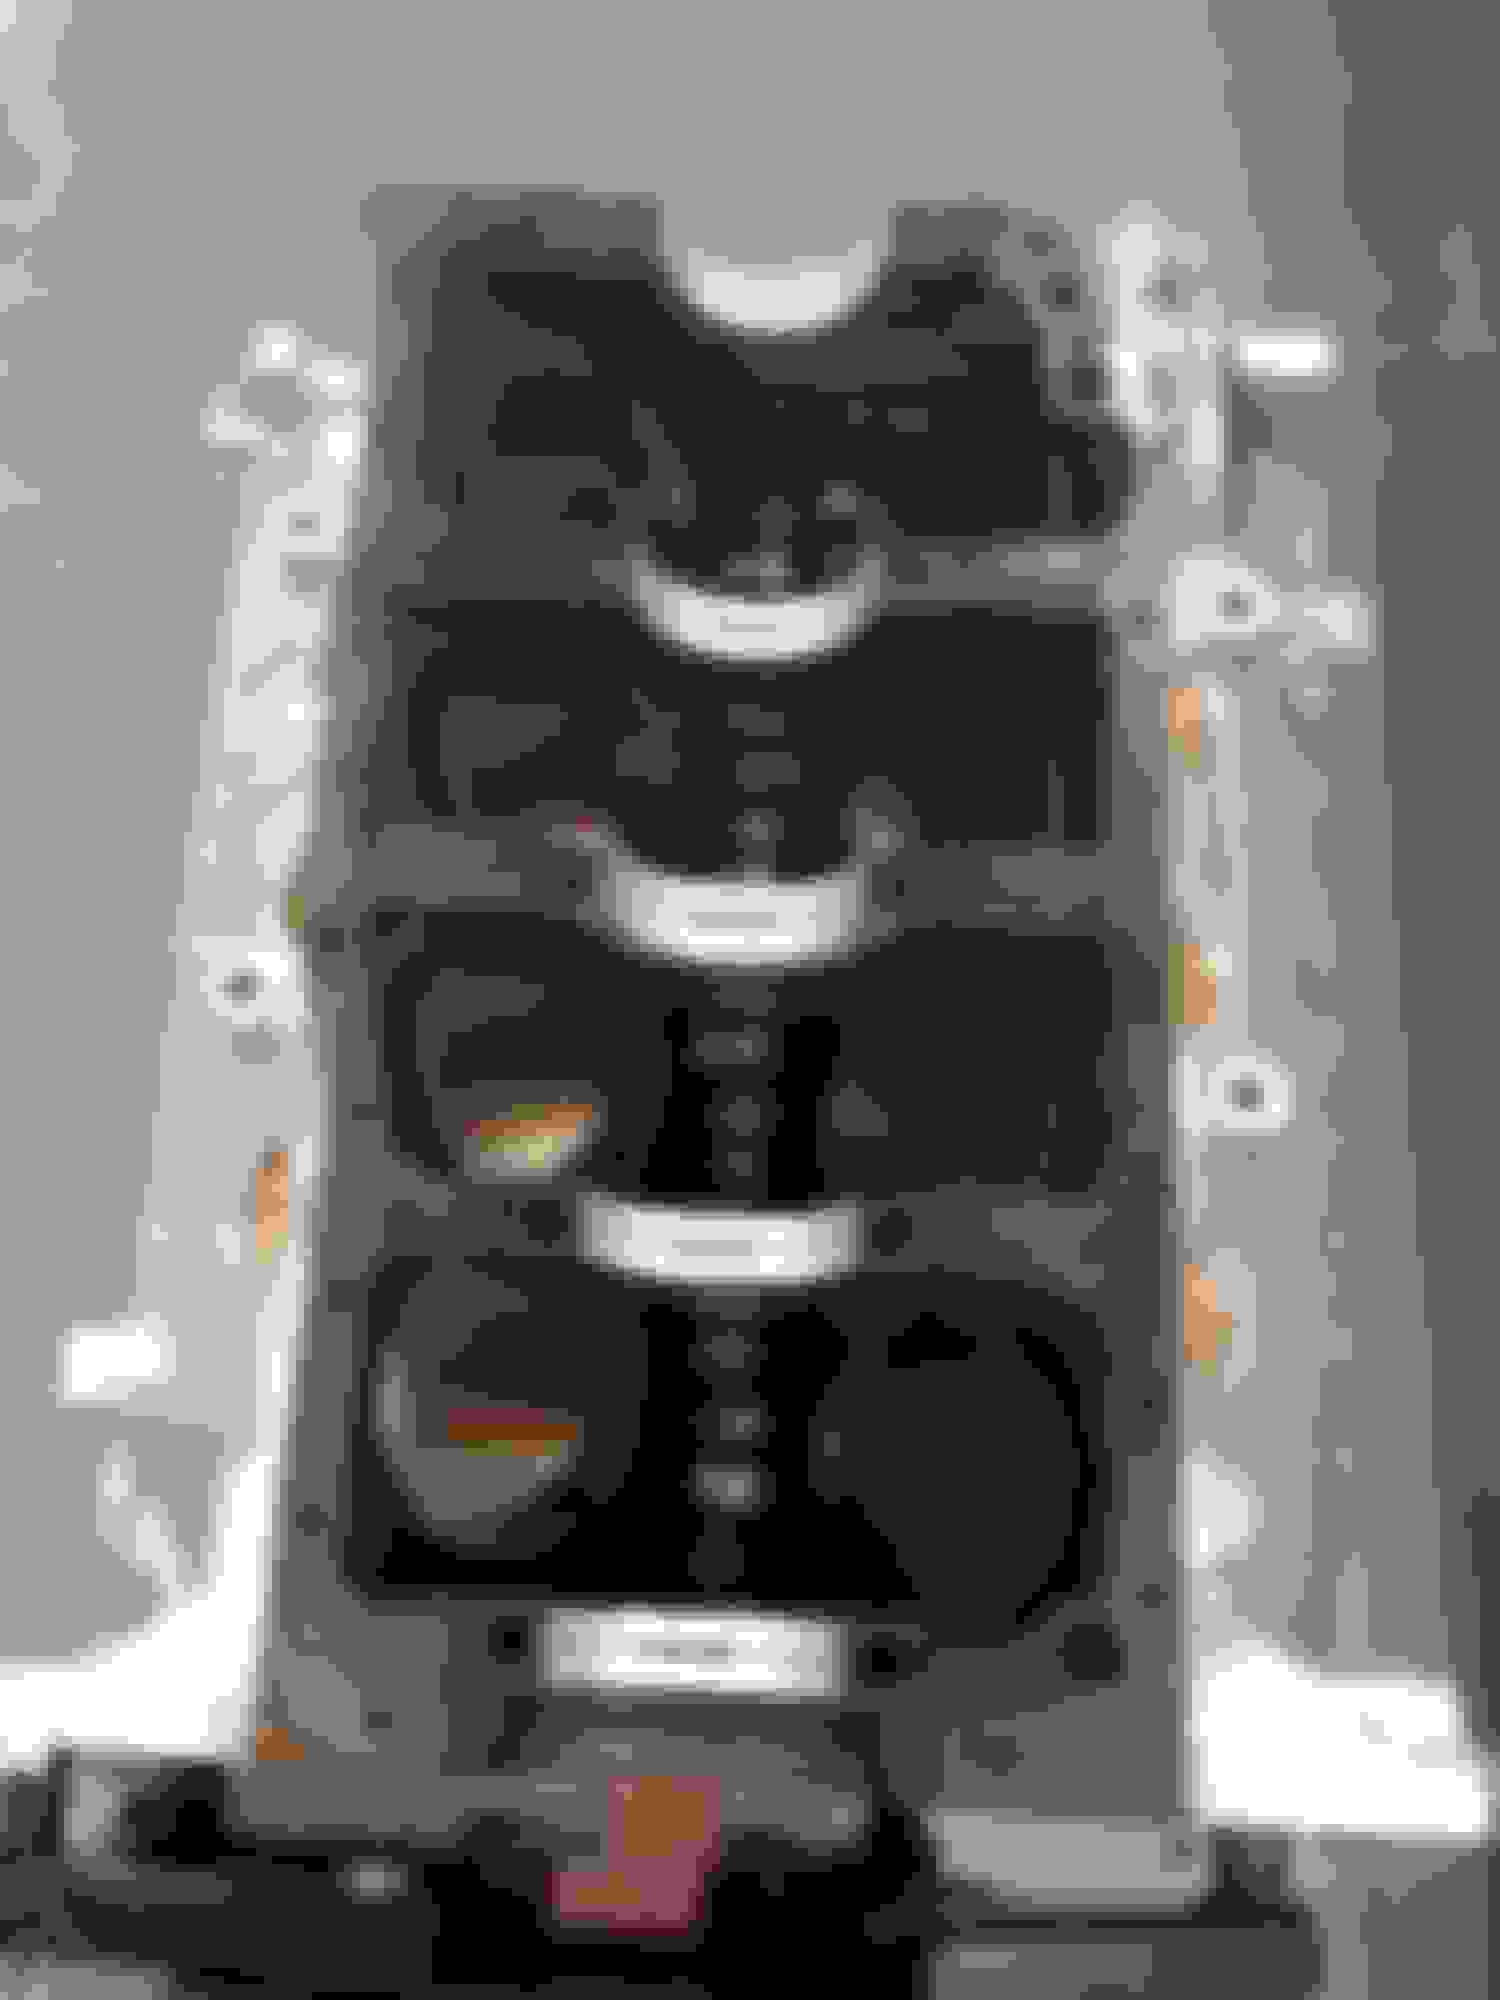
After taking apart, I found as follows:
- Machine work was done good. Pistons, everythin looked as it should be.
- in the reassembly, the I... somehow decided to fill the engine with old, greasy oil. Bad News.
- Good News: the engine seem only to run one time on the dyno, so only the main bearings were affected and had to be changed. Everything else looked good. Bearings were -20, new ones cost around 60,- $.
you can see the copper coloured stretch, where grease made some damage. Would not have lasted long...
Took the empty block, pressure washed it and then took everything into the paint booth for prep and paint. Used the POR15 engine paint kit. Decided to go with silver (look out for my resto thread of my truck and sometime you might agree with that choice).
ready for the pressure washer...
primer on it...
and with the final color...
painted also the heads....
...and with high temp paint the exhaust manifolds..
After putting a new rear main seal and a new front seal in it was it time to finish the lower end. New oil pump and extender, and putting th erepainted oil pan on it...
So guys, this is the adventure so far. I think, I was still lucky with the engine so far, and the total cost was still less than half of a crate. Hoping, that it will run also for good....
I´m waiting on the arrival of the new Air intake (edelbrock performer w EGR), I already have a new Edelbrock 600cfm 4bbl carb at home, new waterpump, timing indicator and nice pulleys.
Here is now the point, where I need support: I decided to stay with my Duraspark II ignition system, Have a new distributor and will keep my ignition coil. The biggest challenge: I have to put on all the emission stuff. So, while everyone is getting rid of his air pump and the smog system, I actually have to put it on. When I´m in the final stage of the assembly (this is my first engine btw...) I will need some serious help to get the vacuum and other stuff right..
So stay alert and thanks in advance for your comments and thoughts...
If you get it in a running car before you move would it need to have all the emissions equipment intact or just pass the smog test?
What cam is in it? Biggest thing I'd change while it's apart!
SDDL UP: for the emission stuff: I'm going back to Germany in a few years and want to take it back with me. To get a historic registration, it has to be Stocklike. I rather do all right once instead of starting over and over again. So, yes. I'll put all of the emissions stuff on it completely.
For the cam: the stock cam in it looked to good to throw away. My plan for the truck is as a cruiser, no towing, hauling, mudding or drag. Just want to enjoy it on the weekends.
Given my level of expertise, I'm happy to get it together right and there is a lot more to do on the truck. Will start a thread this weekend...
 07-24-2015, 08:10 PM