1999 era ford ranger 4x4 inner tie rods, a sorta how to
#1
 07-17-2015, 03:25 PM

1999 era ford ranger 4x4 inner tie rods, a sorta how to
I got into mine today (finally) and figured to share some of what I found. I will probably add a few more after I do the other side (got stopped with fl afternoon downpour)
It seems like some of how to do this is found on the interwebs, but there are a few tricks and such that I found/figured out. Most "how tos" dont even mention the inner tie rods. And with the 4x4 things are a little more tricky. So maybe this will help.
Here is a thread from an explorer forum that discusses some of it and has some good info. At the bottom of this thread I have included a video from youtube.
http://www.explorerforum.com/forums/...d.php?t=187888
First off. You have to get an inner tie rod tool. I did loaner tools from autozone (they were not the best fit) It will look something like this:

Im not going to try to rewrite everyone elses how tos..as they have dont a pretty good job.
One trick I didnt think of was to turn the wheel all the way to the side you are working on. That will give you a little better access.
In my case, I was not doing the outer tie rods, so I measured from a place on the frame to the edge of the outer tie rod to get my rough in alignment. If doing the inners and outers you can do the same thing, measure from a point on the frame to the spindle at the area the outer tie rod connects. It doesnt matter where, just as long as you use the same places when you go back together AND DONT MOVE THE OTHER TIRE OR STEERING WHEEL! The reason for this is that I see mention of marking the threads, etc. Problem with that is that if there is a slight difference in what was on there before and the new part you can end up with something differnt than you started. Measuring from a fixed point to fixed point is a little more
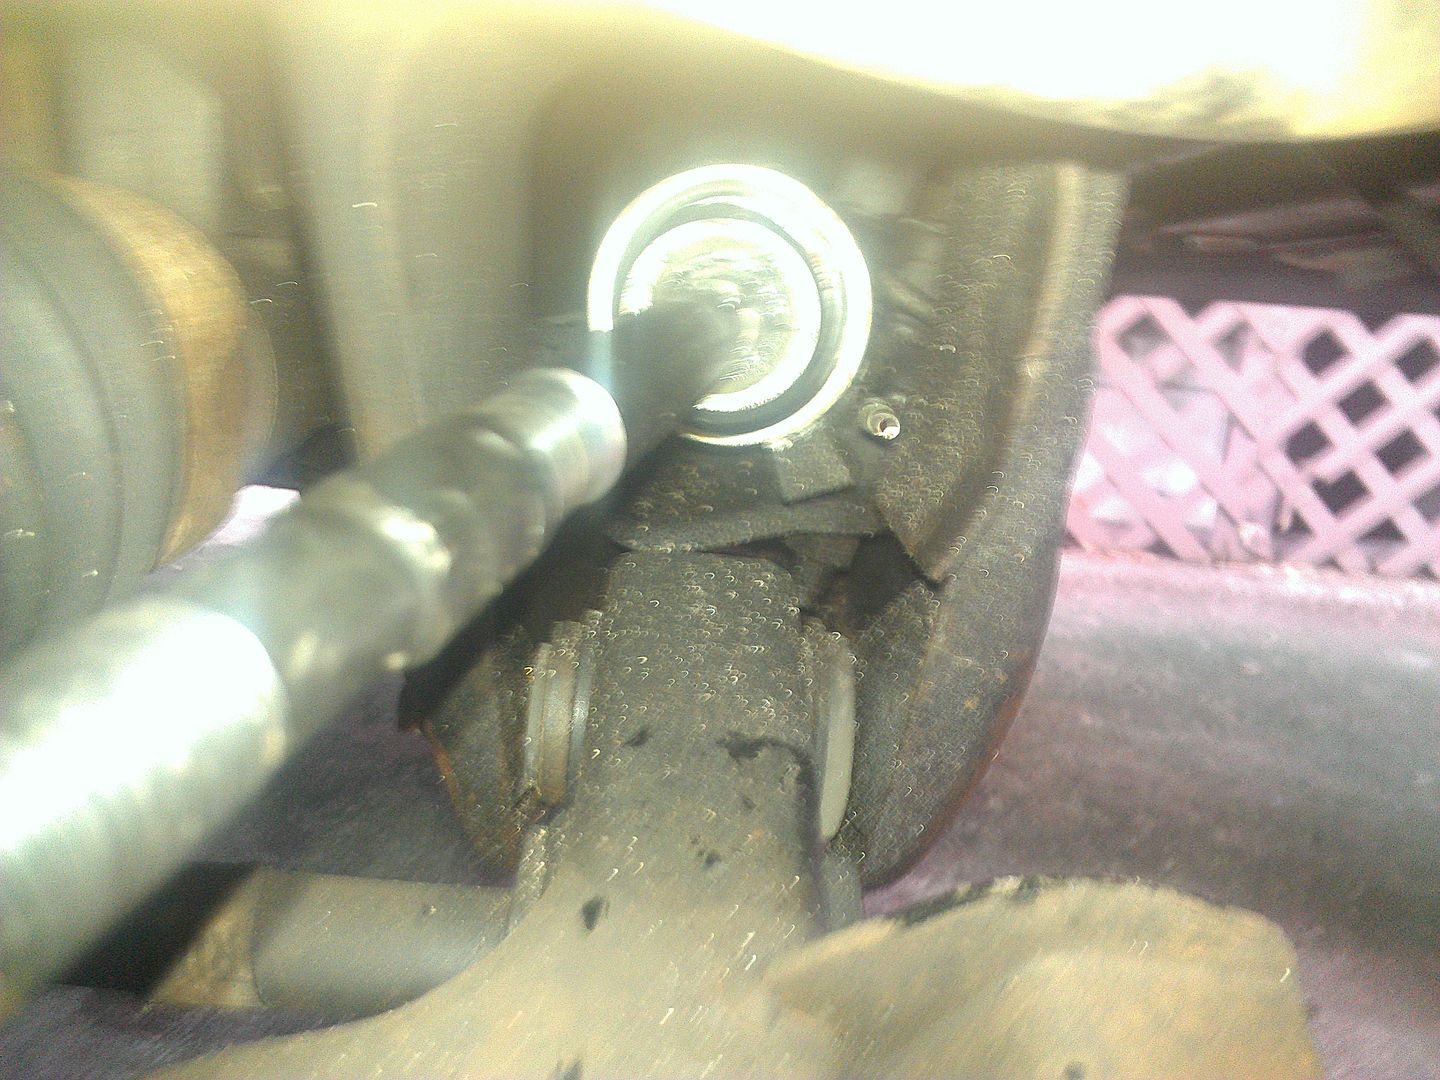
The boot was another thing that I just didnt see explained all that well. The outer portion of the boot is held on with a hose clamp of some kind. But the inner clamp is a "permant" clamp that use a special clamp tool. Well to get it out...stick a screwdriver up in there and pry some slack. Dont worry about it as the easiest way to deal with this is to replace it with a zip tie. Also, there is a "nipple/bung/hole/outcropping" that goes into a hose. when looking at your vehicle it should be down and to the front (so 4:30 oclockish on the passenger side of the truck and 7:30 oclockish on the drivers side). Initially when looking up in there it was hard to see what I was looking at and just what held the boot on. So I took a few pics to share.
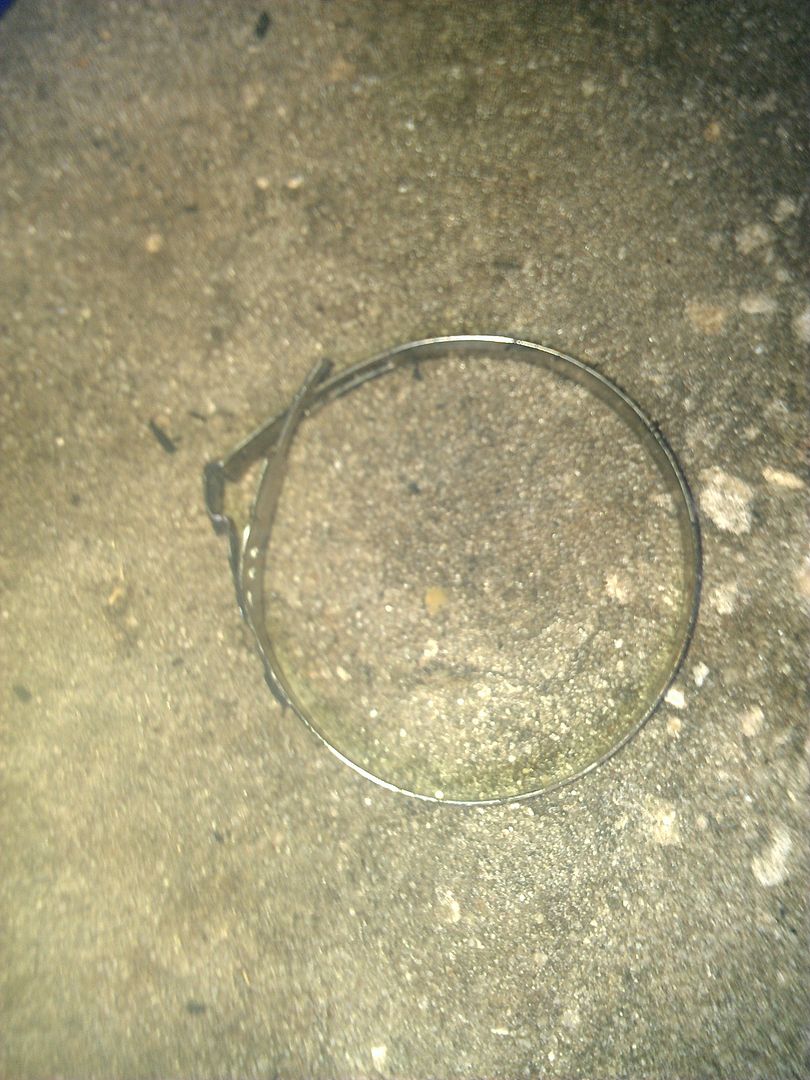
Inside Boot clamp
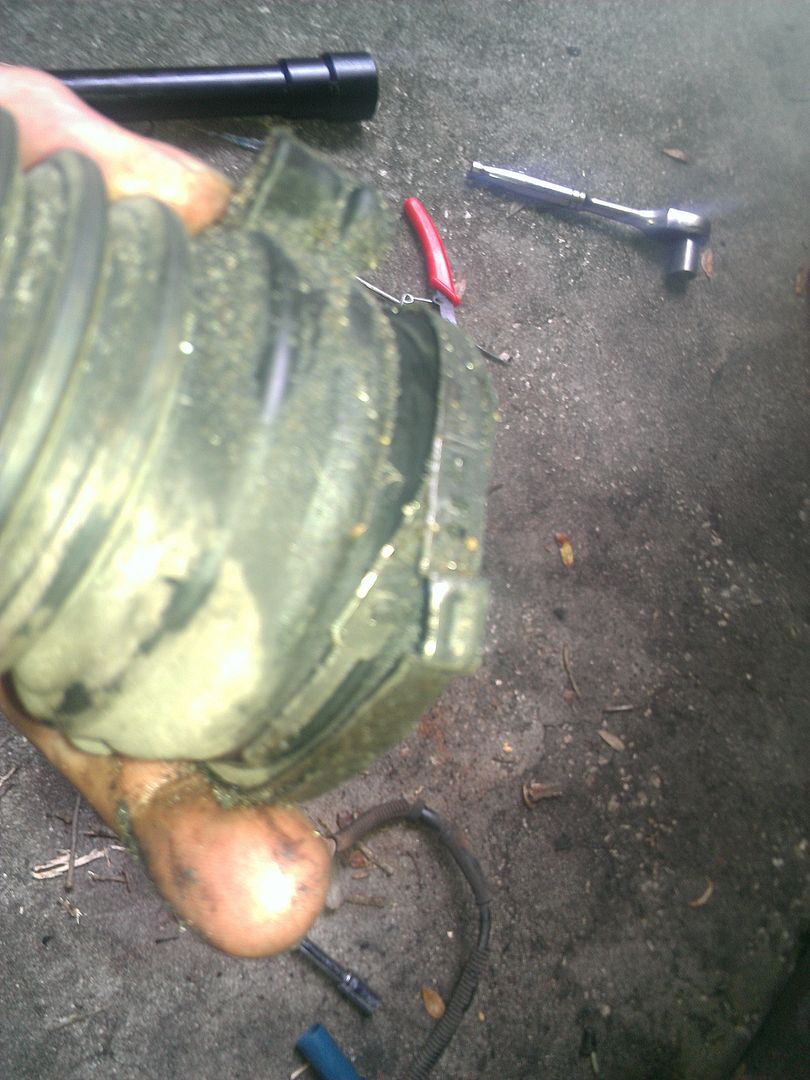
Inside boot clamp
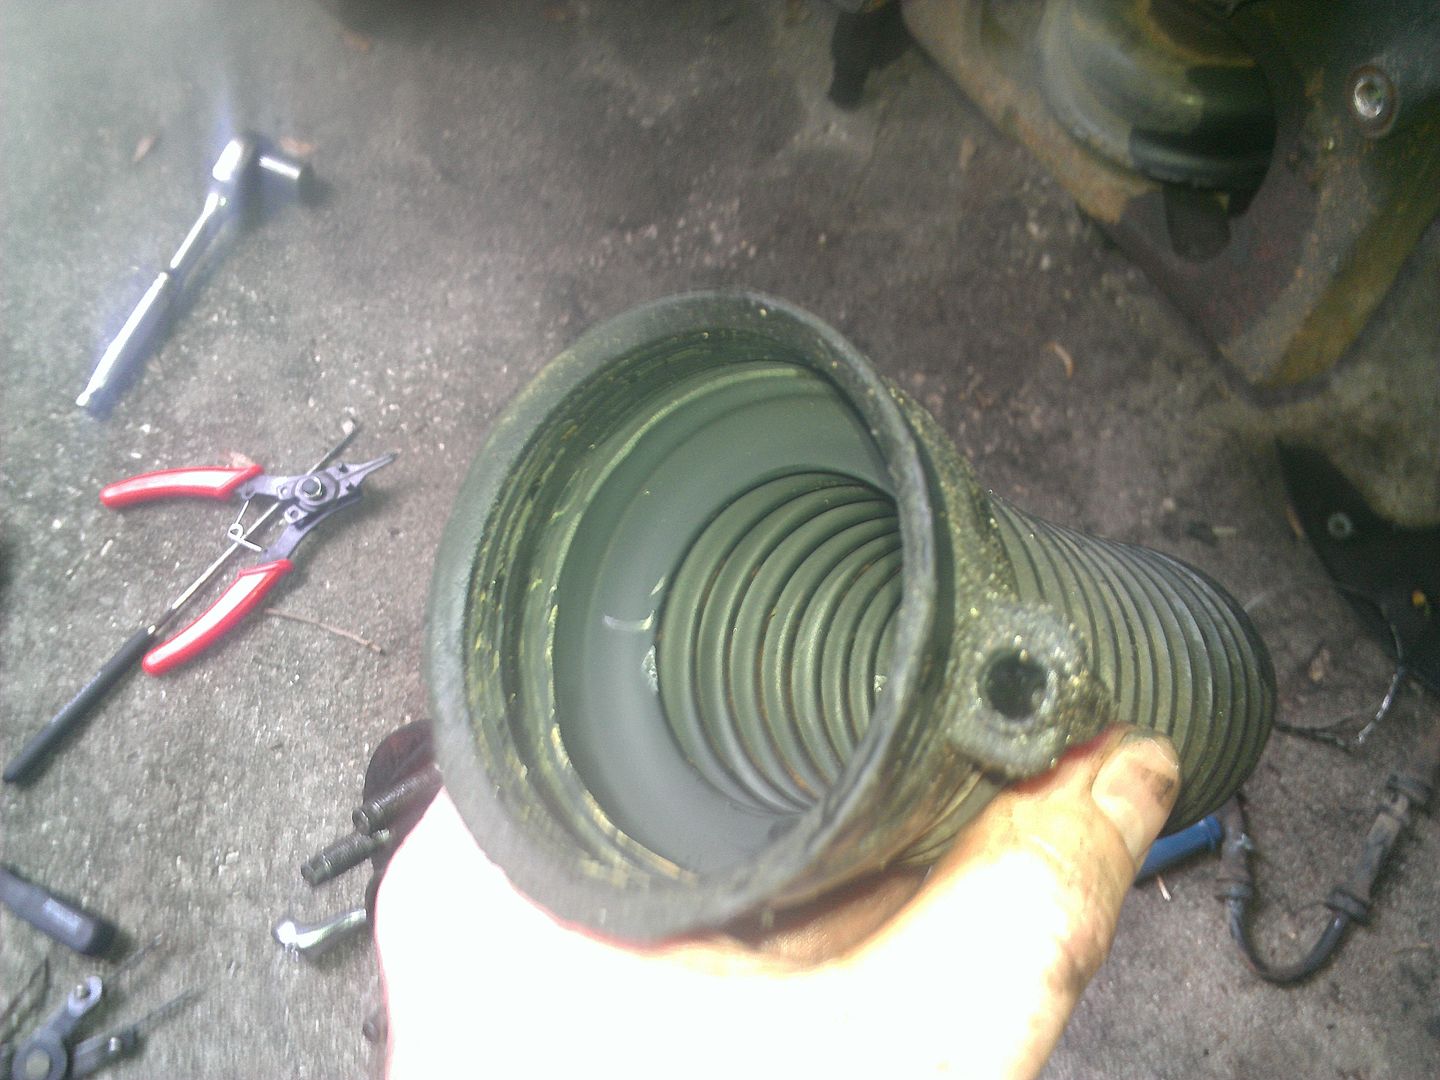
Boot showing the "nipple/bump" on right
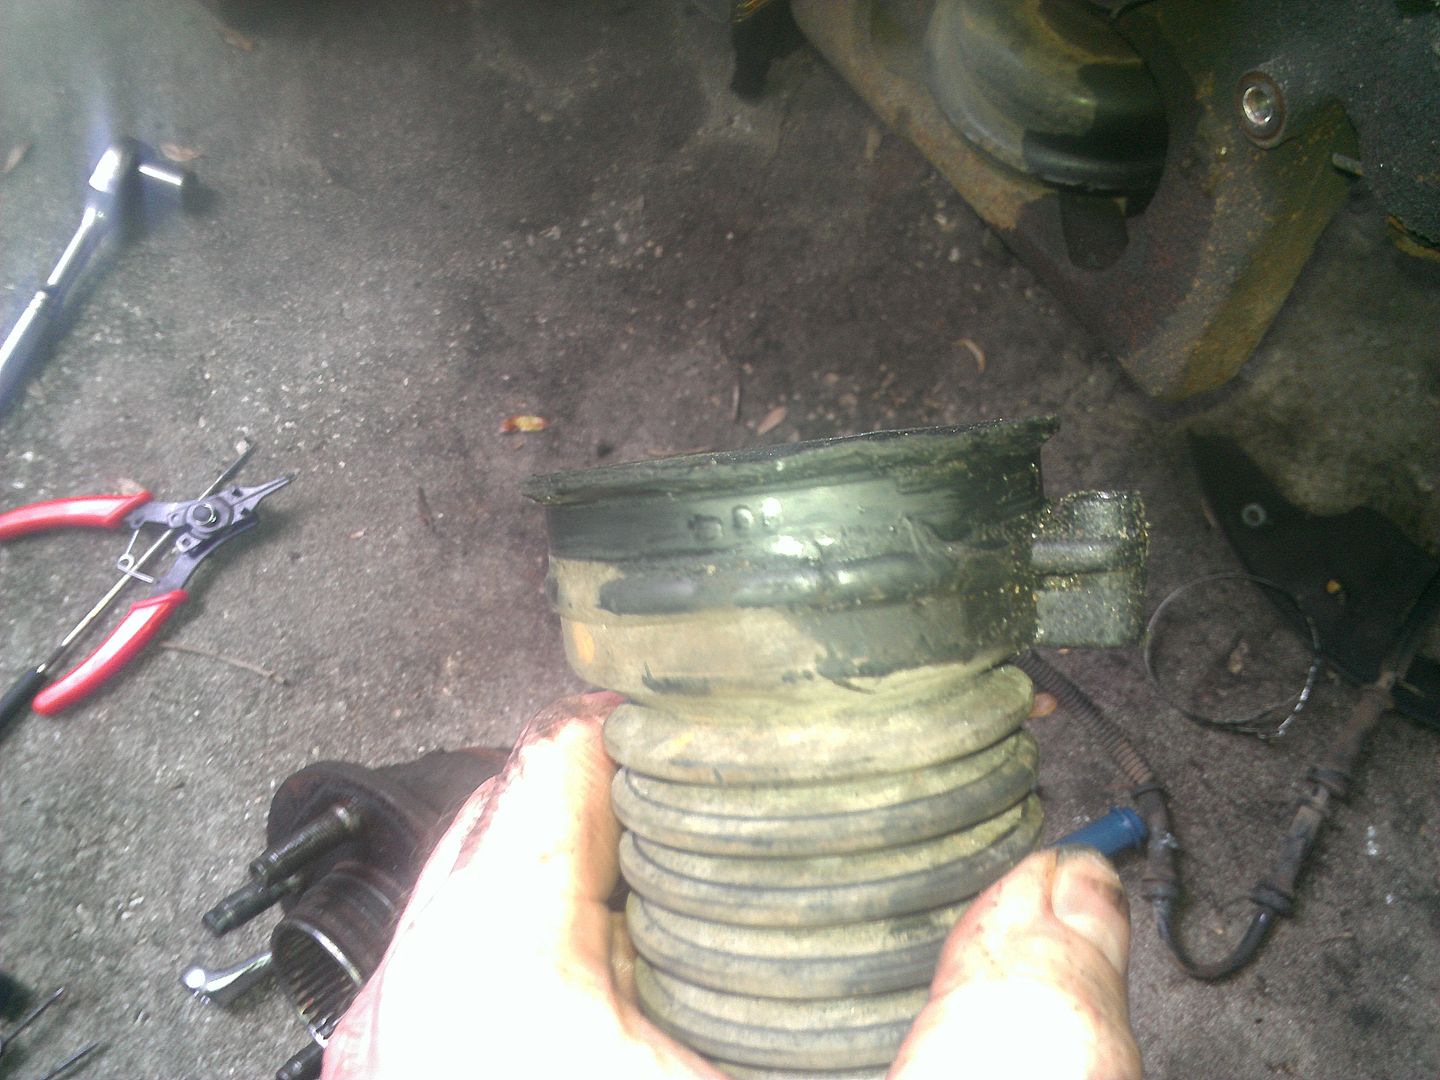
again on the right
hose that goes into the boot on the lower right, needs to be lined up
It seems like some of how to do this is found on the interwebs, but there are a few tricks and such that I found/figured out. Most "how tos" dont even mention the inner tie rods. And with the 4x4 things are a little more tricky. So maybe this will help.
Here is a thread from an explorer forum that discusses some of it and has some good info. At the bottom of this thread I have included a video from youtube.
http://www.explorerforum.com/forums/...d.php?t=187888
First off. You have to get an inner tie rod tool. I did loaner tools from autozone (they were not the best fit) It will look something like this:

Im not going to try to rewrite everyone elses how tos..as they have dont a pretty good job.
One trick I didnt think of was to turn the wheel all the way to the side you are working on. That will give you a little better access.
In my case, I was not doing the outer tie rods, so I measured from a place on the frame to the edge of the outer tie rod to get my rough in alignment. If doing the inners and outers you can do the same thing, measure from a point on the frame to the spindle at the area the outer tie rod connects. It doesnt matter where, just as long as you use the same places when you go back together AND DONT MOVE THE OTHER TIRE OR STEERING WHEEL! The reason for this is that I see mention of marking the threads, etc. Problem with that is that if there is a slight difference in what was on there before and the new part you can end up with something differnt than you started. Measuring from a fixed point to fixed point is a little more
The boot was another thing that I just didnt see explained all that well. The outer portion of the boot is held on with a hose clamp of some kind. But the inner clamp is a "permant" clamp that use a special clamp tool. Well to get it out...stick a screwdriver up in there and pry some slack. Dont worry about it as the easiest way to deal with this is to replace it with a zip tie. Also, there is a "nipple/bung/hole/outcropping" that goes into a hose. when looking at your vehicle it should be down and to the front (so 4:30 oclockish on the passenger side of the truck and 7:30 oclockish on the drivers side). Initially when looking up in there it was hard to see what I was looking at and just what held the boot on. So I took a few pics to share.
Inside Boot clamp

Inside boot clamp

Boot showing the "nipple/bump" on right

again on the right

hose that goes into the boot on the lower right, needs to be lined up


Thread
Thread Starter
Forum
Replies
Last Post