When you click on links to various merchants on this site and make a purchase, this can result in this site earning a commission. Affiliate programs and affiliations include, but are not limited to, the eBay Partner Network.
Well its taken me a long time, but finally started putting A/C in. Decided to go with Vintage air Mark IV A/C only and keep the original heater.
This unit to me looks more like what might have been put in back in the day. But it didn't tuck in as well as my mock-up cardboard model. So to keep it a little further from my knees, the heater was moved over about 3 inches. Then the A/C could move over as far as possible without interfering with the glove box door. Used a couple of flat bar pieces to make the new bracket, letting me use the original mounting holes.
Using the original stand off bushings plus a nut, pushed the heater and brackets just far enough off the firewall to allow the new A/C lines to use the old heater line holes in the firewall. So new holes were made for the heater lines.
Then a place for the rest of the components were found. Vintage air recommends the drier be put in the cab or coolest location. Just couldn't find a place under the dash so decided to mount it in front of the radiator support and behind (sorta) the headlight.
Then mounted the condenser and started plumbing, using the EZ clip fittings and hose from Eaton.
A new 4 core copper and brass radiator was added also!
Thats about as far as its gone, just wiring things up now. Waiting on a new tool for the EZ clips, thought my PEX tool would work NOT.
The hose and clamps are marketed specifically for Auto A/C systems. Its nice not having to run them down to the hose shop to have them swaged. Allows for me to clock each fitting, lay out the whole system and the clamp them. This is the first time I have used them, will see if there are any leaks tomorrow when its vacuumed and charged.
Well all is go with the A/C, although today was hardly a test day for A/C, high ~ 70 degrees and wet.
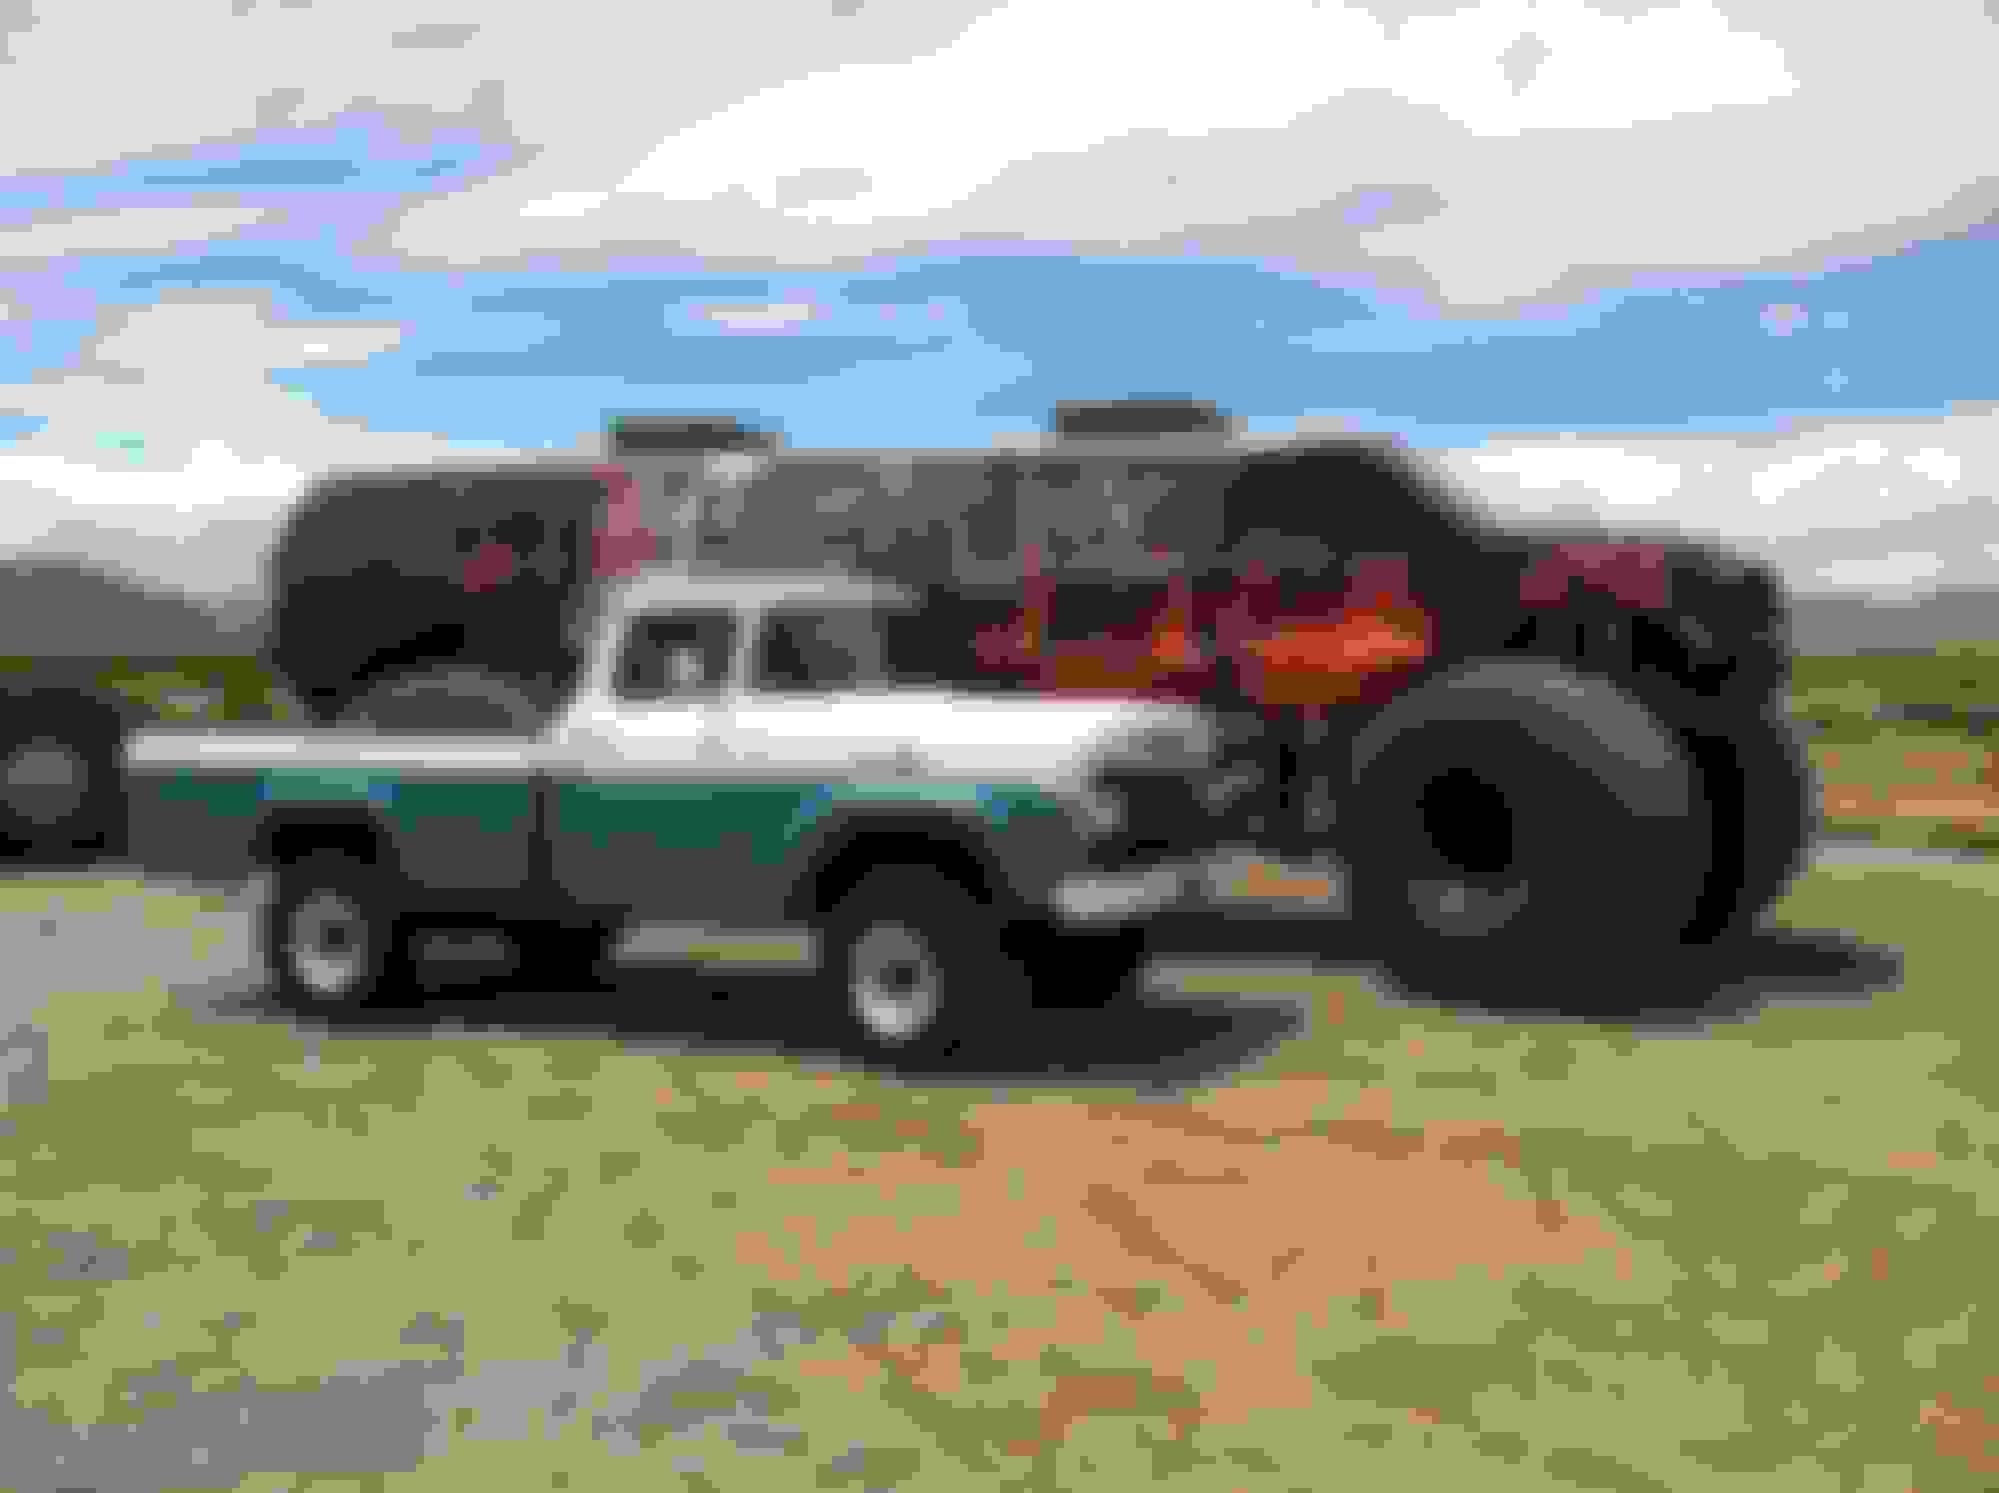
It was a nice day for a drive. So we went over into AZ and bought a lotto ticket. Then took a few pictures!
These first two are with a monster limo, you can also fire off a 50 cal machine gun at this outpost.
Wally Teddy is a thing of beauty. I love looking at pictures of it anywhere it is. I hope that kit keeps you cool. You give me hope that when I get that far along with my projects it wont be to hard to add the cool. Keep on truckin.
 05-07-2015, 09:15 AM