When you click on links to various merchants on this site and make a purchase, this can result in this site earning a commission. Affiliate programs and affiliations include, but are not limited to, the eBay Partner Network.
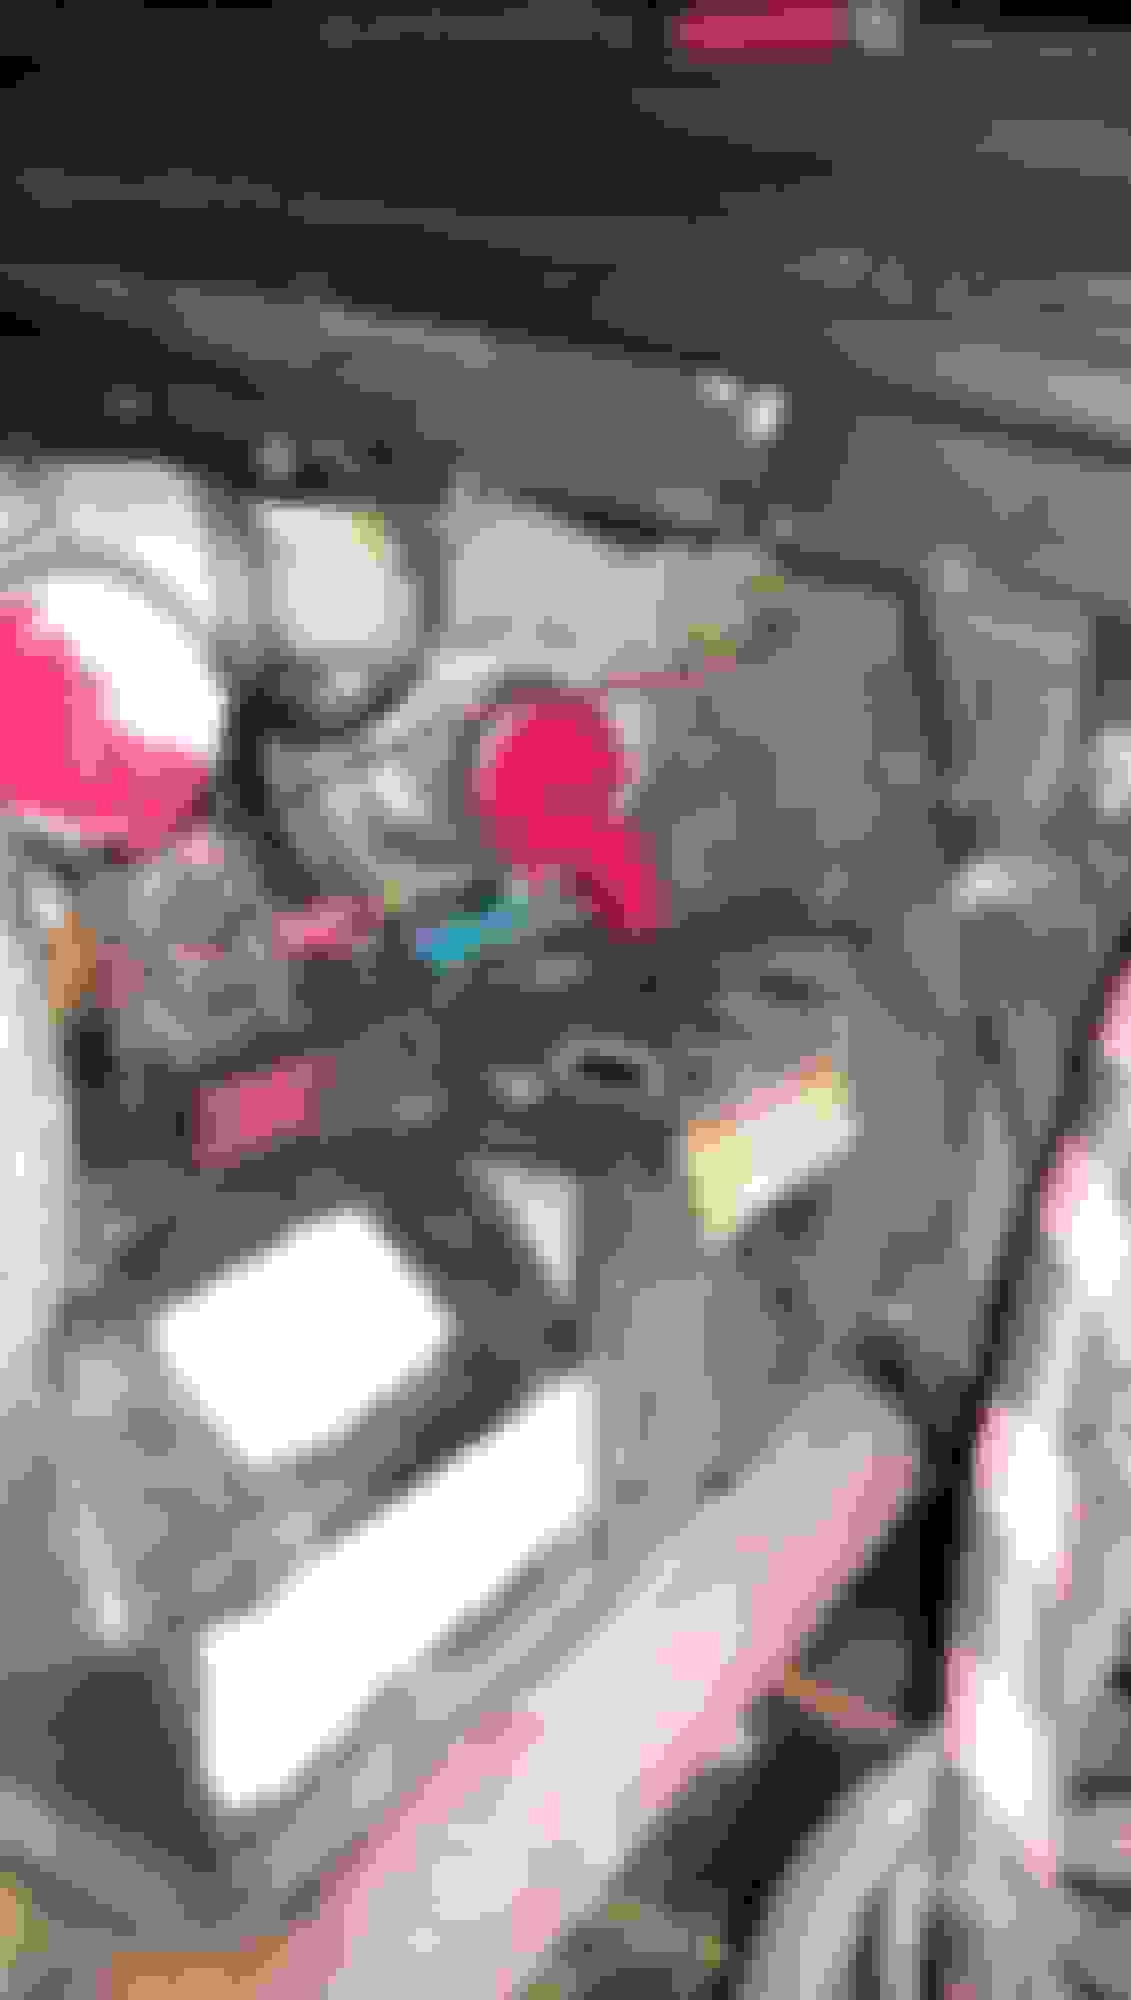
This is the elusive "Passenger Side Valve Cover" seldom seen in the wild. It usually hides itself well, using the natural cover of pipes, hoses, and wires. But here we have removed these obstacles, while not disturbing it's slumber.
Feast your eyes on this truly rare photo.
Here we see one leg of the "Peruvian Spotted Spider" better known in Ford circles as simply "The Spider" Notice the varied appendages. Some are mountings, some are sensors.
Note the Robotic Pointer with the 10mm finger pointing out the Air Intake Heater (I think )
The Red and Green electrical connector in the bottom right has been carefully dissected and set aside to get a better view before extricating the spider from its den.
Be careful here. Although you can't see it in this pic, there is normally a HOT wire next to these tubes. Make sure your battery is disconnected!
Notice the leg with the rag stuffed in it has a fine oil coating. The Spider does this out of instinct to allow air to escape and relieve pressure, thereby robbing boost from the nearby powerplant
The Black and Green electrical connectors on the left are the Glow Plug controller of the California model.
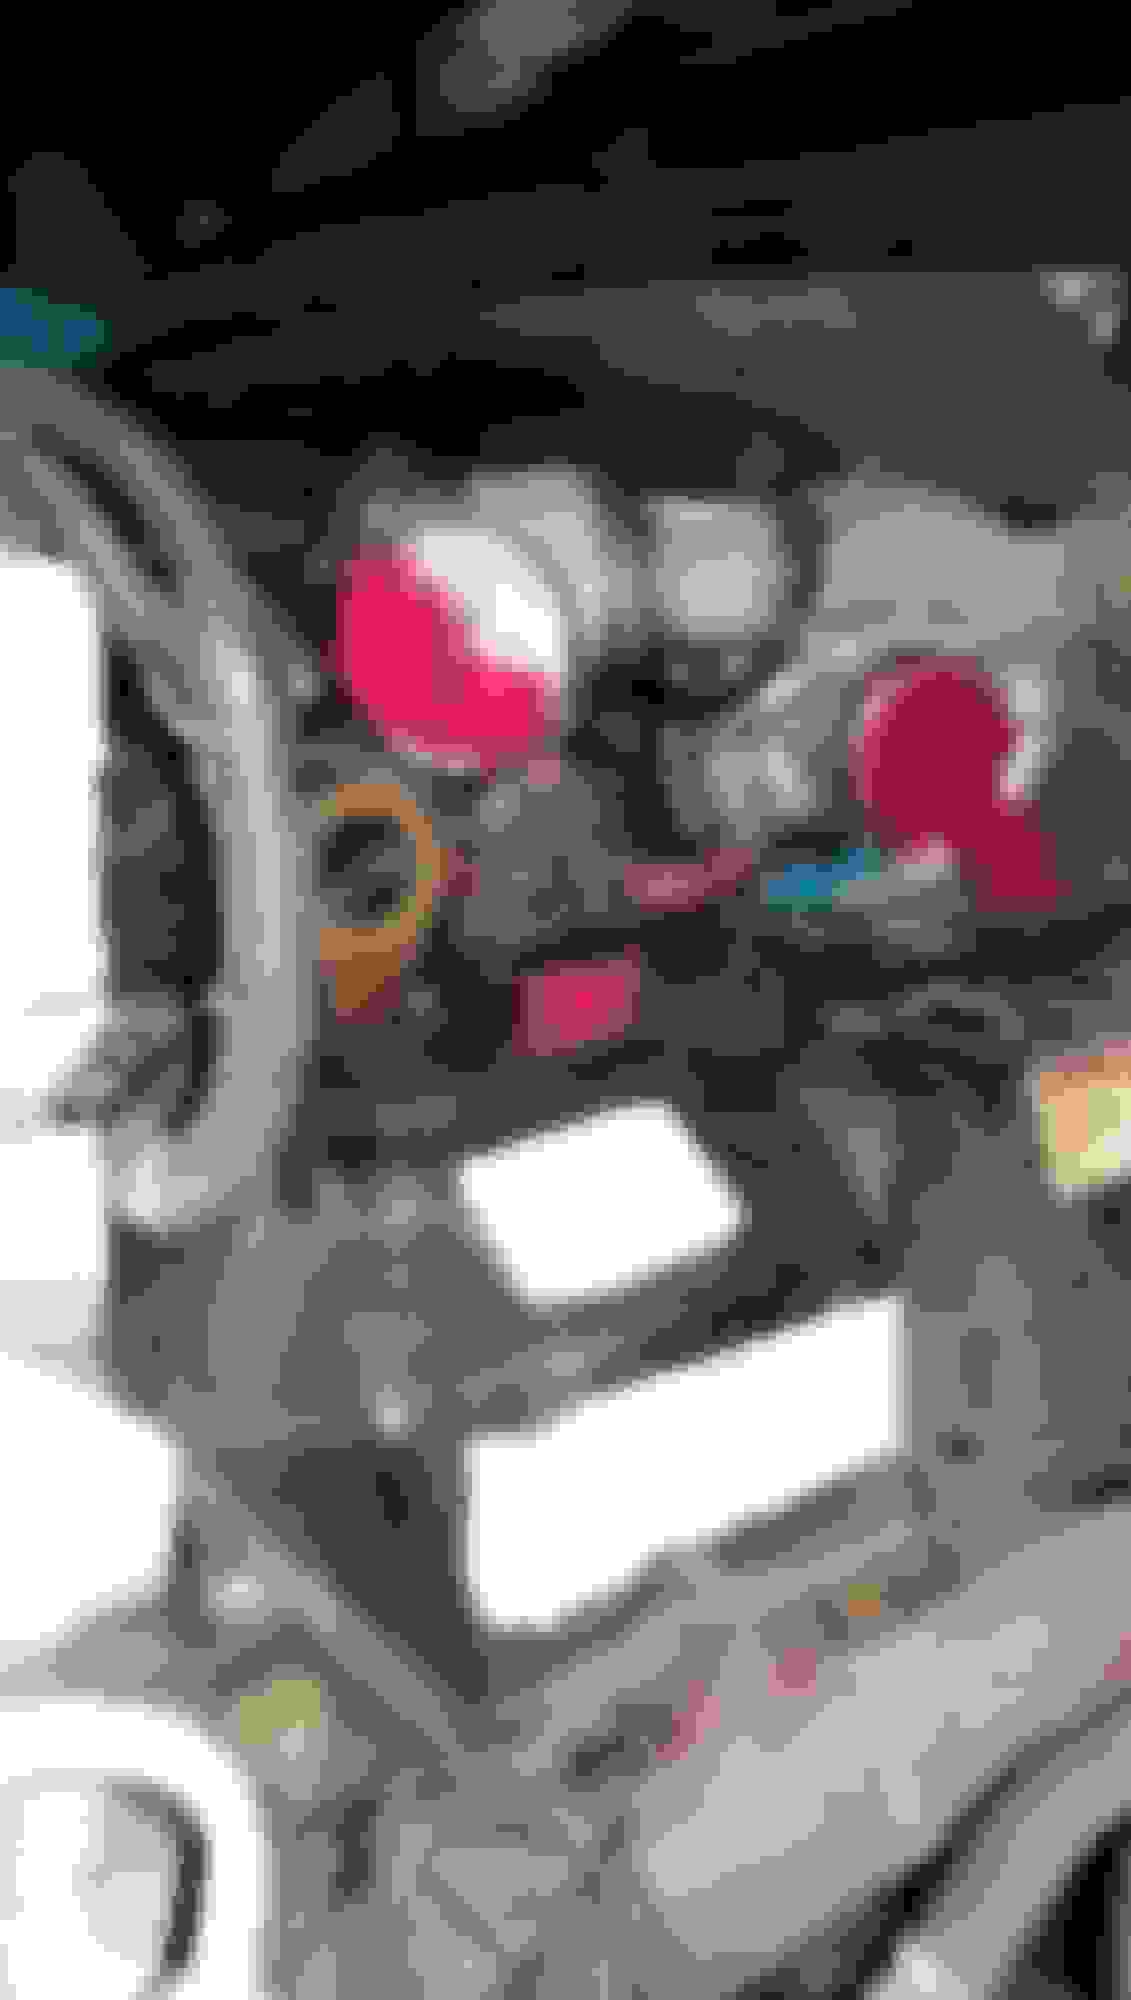
The Spider isn't the only elusive creature in this environment. The Exhaust portion of the Turbo ("E.T.") Maybe you've seen the 80's documentary about it and the kid on the bike? They took some poetic license and it doesn't really follow the book, but it has the same name. Haha! :missingt
Notice how it uses Mimicry to hide itself from predators. A casual observer would simply believe they are looking at an old, wornout, rusty part instead of the power hungry drive turbine end of a power generating monster!
There is also some king of valve thing in the foreground. Maybe heater valve
Elusive passenger valve cover on the left and a Pedestal Foot mounting point just below the Turbo. Silver color with bolt hole.
Viewer discretion advised for the next section. Not for the faint of heart.
Once the life of a T444e has been taken, the next step is to properly prepare it for surgery. Aka "Butchering"
In this picture you can see the Ford AIS intake has been removed, the Crank Case Vent (CCV aka "Dogbox") has been removed where the two holes are in the Driver's Side valve cover.
The vehicle wiring harness end of the UVCH can be seen (blue end), unplugged from the UVCH harness (still the valve cover). There is a locking clip on this plug, be sure to remove it before trying to unplug it.
You can also see the big square electrical connector is unplugged. This is a main artery of the beast. It is appropriately blood colored Be careful with it. No debris, damage, etc, or she will not run again
I recommend using DeOxit to clean both these connectors, as well as the mating connector before reassembly. It really preserves the electrical life's blood of your truck and is well worth the effort!
Notice the clean red rag stuffed in the filtered-air-cleaner-intake-side of the turbo. Keep this stuff clean and free of any debris or dirt. Just inside is the turbo wheel many people replace and upgrade. Almost nobody cares about the exhaust side, it's so misunderstood
The top left red and white rag is in the Cold Air Cooler (CAC) tube. I'm not sure which is "IN" and which is "OUT"
The red tubing is the one people sometimes plug. I'm not well versed in the connections and workings of the turbo, maybe someone can add some explanations?
Another pic of the same area, wider view.
This pic shows a red and white rag stuffed in the drivers side plenum. The passenger side still has a boot on it with the orange stripe. It's not really dirty with oil buildup from leaking valve covers , those are "racing stripes" and add at least 33 HP
The ratchet is on one of the bolts holding the turbo to the pedestal. Underneath is a set of two o-rings. Make sure you order a replacement set before tearing down. This is apparently a source of leaks for many. I ordered a set from RiffRaff Diesel, but the turbo rebuild kit had a set with it, which we used instead. (I don't know if there is any difference?)
The clamp has been removed from the exhaust side of the turbo and you have a nice view of the end of my 4" MBRP Turbo back exhaust, also courtesy of RiffRaff and installed a few weeks ago.
Also a good pic of the pedestal.
You might notice the special orange handled pry bar on the right. We added tan colored "grip enhancing features" special, just to make things easier Haha!
Ignore the dipstick on the left and behind the camera LOL!
Another angle. A much better picture of the special pry bar. If you want to duplicate it, make sure you get the tan stuff in the right places on the handle, LOL.
Nothing of interest in the next two pics, except the pry bar.
Glowplug Relay with a red toolbox in the bottom. Not really related to the build, but the view might be helpful to someone.
A good view of the UVCH connector and clip I mentioned. The clip slides off completely, then the connector can be removed. Yes, the clip can be installed upside down! If you do that, I'll chuckle, then make you remove it and put it on rightside up
A few mins before I scub down the old valve body with dawn and let it dry to ship back to John Wood before we pull out.
First off, it took a really long time to get all the oil primed, air out of the oil system, etc. There's a whole hand-cranking hydrolock discussion there that will probably wait until I'm sitting under the canopy on the campsite this week
Now, after all is back up to snuff, it takes BARELY TWO SECONDS (!) of cranking to start- even while 'cold' (about 57F this am)
Throttle response is really, really good and doesn't really top out (at least up to about 80mph, all I could do in the area I was in)
The combination of the valve body, turbo, and injector cleanup and orings, on fresh oil change, and such has really opened this truck up!
It 'feels' like I'm running it on a tuner. I am not -yet- but can't wait to see how it does once tuned
Keep in mind, this is all on 35" tires
She now has just a shade under 158k (noted today she will turn 158k this afternoon)
Currently, on a pull out onto a highway situation, once straight and floored, she will put you back in your seat in a noticeable way. Not insane, but definitely noticeable.
Noise? What noise?
On the highway at highway speed my Ex used to sound like "chuga-chuga-chuga" but now I hardly hear any 'diesel' sound. Maybe it's the fan, maybe I'm going deaf-er, LOL.
But it really does sound more like a gasser on the highway. I can hardly believe the difference!
The 95 wheel does have that slight fingernail-on-the-chalkboard sound ever so slightly, but not enough that it can't be ignored.
I am listening to everything very closely right now, so that's part of it. The exhaust has the almost constant whistle common with the 95's, but I have to open the back window or stand outside to hear it. Exactly how I like it!
Recommendations
Would I recommend the things I've done? Without-a-doubt!!!
Would I recommend one tries injector orings and turbo rebuild without experienced and knowledgeable help? No Way! Absolutely No Way!
Experience is what determined what was okay, what wasn't, how to remove certain parts, etc.
Help is what made the 18.375 foot reaches from the front bumper to the back of the turbo possible
Friends are what made the experience enjoyable
Key points to remember
1. Be prepared for an oil change before starting any time you pull the injectors. You are removing the separation between fuel, oil, and coolant. It all pours into the cylinders and can end up in the exhaust and oil. Don't be cheap. Change the filter and the oil.
2. Pulling the heads and all the associated "stuff" on top? Replace tired glowplugs- all of them. Not just the ones showing errors, don't bother Ohm-testing, etc. That is for testing to determine IF you have to pull the valve cover. Once pulled, they are less than $10 each. Save the headaches and risks.
3. UVCH problems or suspected problems? Replace with the Dorman harness with integrated gasket. Once and done! (Thanks to SkiSkyJason for his post about this)
4. Covers off and anywhere near the injectors? If you can get experienced help and it hasn't been done recently, REPLACE THE ORINGS! Again, less than $10 per set and very important. Notice the oil burn marks on mine in the pics. They were starting to get blowby from the copper washer and who knows what other problems. BTW, great time to re-torque as you reinstall, too
5. Only use a thermostat with INTEGRATED gasket! The Stant two piece WILL leak, period. There are posts all over that I wish I had read before hand.
6. Use the Dual Alternator top coolant hose to replace the old one. It routes around, instead of through, the serpentine belt. Yeah, replace the belt if it's old, too.
7. If your clutch fan isn't working (running warm), replace it with new- sooner rather than later. Your coolant, engine temp, oil temp, transmission fluid and temp, and A/C all depend on airflow up front. Although it may not blow up right away, excessive heat can lead to early fluid and component breakdown and resulting damage to important components. About $165 at AutoZone
8. Check your idler pulleys. I bought new ones because they were a bit stiff. Once removed, I was shocked at the condition of the bearing shields. They both had a lot of spider cracks in them- probably letting too much dust and whatnot into the bearings. About $50 for both at AdvanceAuto (had a $20 off next $40 purchase SpeedPerks coupon)
9. Before reinstalling the injectors, cover both heads with paper or something and CRANK THE ENGINE OVER BY HAND using a ratchet on the crank.
CAUTION: IT WILL THROW AND SQUIRT OIL EVERYWHERE IF NOT COVERED!!!
Ask me how I know
Once you reinstall the injectors, BEFORE installing the glowplugs, crank the engine by hand again to get all the fluids out of the cylinders. (We missed this part the first time, see below)
Also- once you are all buttoned up and ready to crank, barely crank it, and if you notice any grunt-cranking, STOP IMMEDIATELY!!!! Hydrolock is bad. Very bad.
Fluids may continue to leak into the cylinders after clearing them, so be aware.
This will make it SMOKE LIKE CRAZY when you first start up. Be ready for it. It'll stop.
When idling the first time, look all under and around for leaks. Use a flashlight. Climbing on or around a running engine is dangerous. If it catches a sleeve or shirt or whatnot, IT WILL EAT YOU ALIVE!!!
Seriously- read that last sentence again, it could save your life
ok...out of time again. Hope you're enjoying the read and attempts at humor
Once again great work! Good pictures really help give different views and perspectives of the motor. Thanks for answering my questions too.
Hilarious stuff man, you and I have the same sense of humor. Enjoy your trip!
I had my choice of several pick-n-pulls, but didn't have a reliable way of knowing how good they were or testing before my trip, so I bought a new one for about $165
It was money WELL SPENT!!!
I noticed the difference immediately on my way home from my buddy's place and after the last 2 weeks of towing and travel, I couldn't imagine running without it
In short, if you don't hear your fan kick on between EOT of 215F-220F, you may want to look into your clutch fan. It only came with the clutch so treat your fan and blades well when removing the old one

 06-10-2015, 08:36 AM


 )
)


 , those are "racing stripes" and add at least 33 HP