
my son's 77 F250 4x4, body and paint
#46
 03-21-2015, 10:24 PM


#48
03-22-2015, 09:41 AM

Im prolly a thousand miles from any sea water in any direction as well but it must be the humidity here because we cant leave it open like that. You can hit a panel with a mud hog and watch the metal change color in a matter of minutes. Back to the whole wearing gloves thing a past employee left a finger print on a piece of metal he was working and a couple years later the vehicle came back with some paint bubbling and underneath it all was a rusty fingerprint! funny story I guess sense the guy no longer works there but sucked for the shop to fix it. Body work is like cooking everybody does it different. Def if you resand before coating anything you will be fine.
#49
03-22-2015, 10:06 AM
A lot of it is my shop too, we have an 8" slab poured in a foam liner. Its an insulated liner made up of a combination of 1" sheet foam with another inch of spray foam over the top. Basically my concrete was poured in a water tight jello mold. I have heating tubes in the concrete, that's how I heat the shop.
I don't get any if that concrete sweat that you get with a lot of slabs. Mid summer when a lot of slabs will turn black and sometimes even apear wet at the surface, I don't get any of that. The shop is super dry.
That's not to say we aren't forced to do things differently in the dog days of summer when the outside humidity climbs.
Anyways, as long as everybody has that awareness about the conditions around them is really all that matters.
I believe we will try to spray some primer today in the areas that will be covered up after bedside installation, I want to have good line if sight and take advantage of the partially assembled truck bed to seal things up nice. Its likely we will spray some epoxy on the truck frame and underside of the cab as well today after a little note cleaning/scuffing.
The balance of our truck parts order will be placed in the morning, its going to be fun to see things start to come together rather than coming apart, lol.
#50
03-22-2015, 10:28 AM
#51
03-22-2015, 10:37 AM
Original color for the truck is black, and we like it black so we are going black again.
I will be using a nason base and nason clear over some "house brand" primers and sealers. I start with a 2k epoxy, I will follow with a couple coats of urethane 2k surfacer, we will block level by hand, no wicked battle scars on this one so I don't expect to use anything other than 2k glazing polyester for filler. Once I'm happy with the leveling we may wet block this one to 500 grit and start shooting sealer, color, clear.
I just hope the base lays down slick and the clear flows nice, I don't feel like blocking and buffing the clear, lol.
#52
03-22-2015, 10:47 AM
Cool. Never used nason personaly but have seen some stuff shot with it looks good. The clear lays out pretty slick from what I remember IDK if it high solids or not. Some say its the same quality as DuPont higher line just cheaper. Black looks sweet blocked out slick lol. We use ppg global kind of pricey stuff. Id like to shoot some others to see how it compares.
#53
03-22-2015, 11:19 AM
I've jumped around a little and I'm looking to settle into a top coat system that I can use on all of my projects, I've sprayed this clear in small projects before and I really liked it. An overall is a different animal entirely but this will be a good test for it as I will do it in chunks, box. Cab/fenders, doors/hood is kind of my plan. 3 seperate booth loads.
#54
03-22-2015, 07:34 PM
Some decent work today.
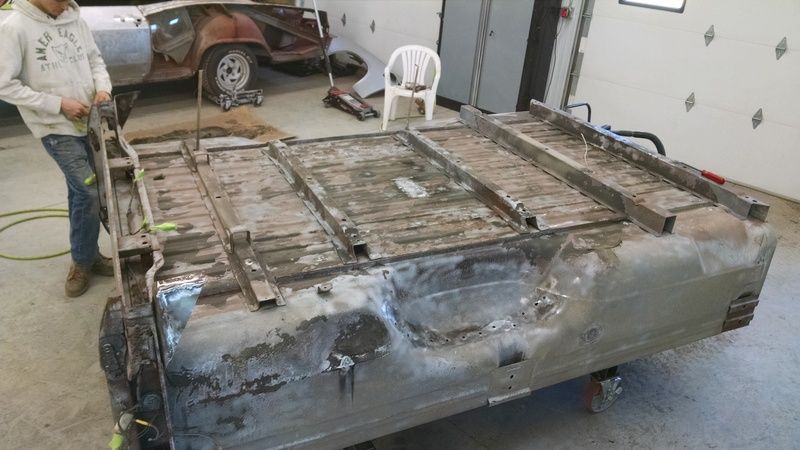
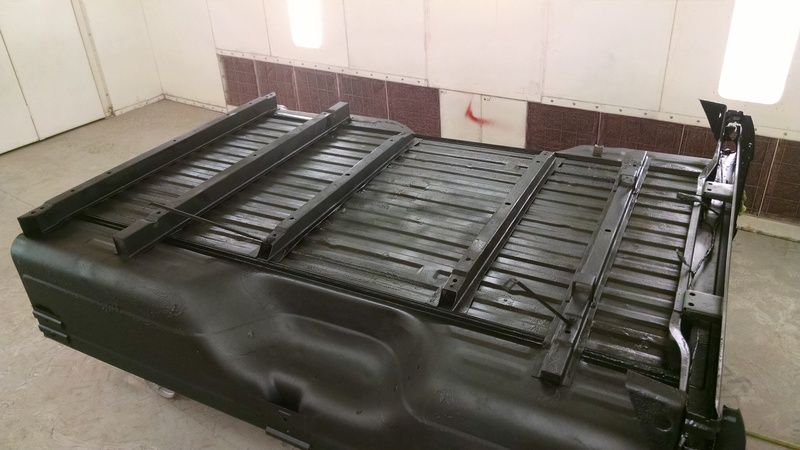
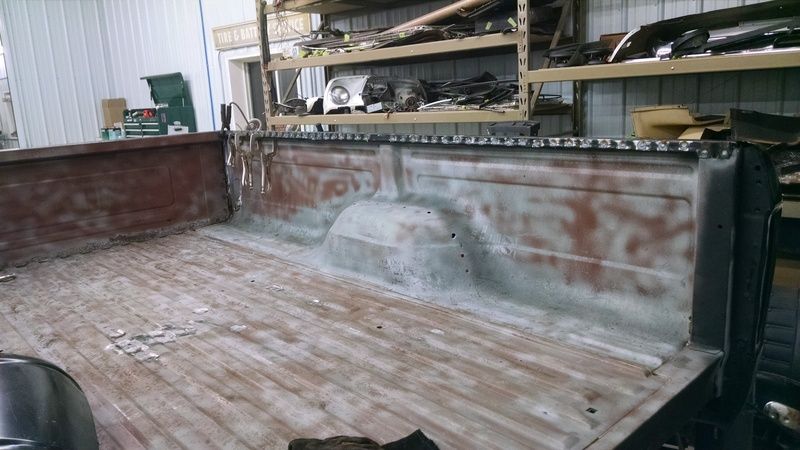
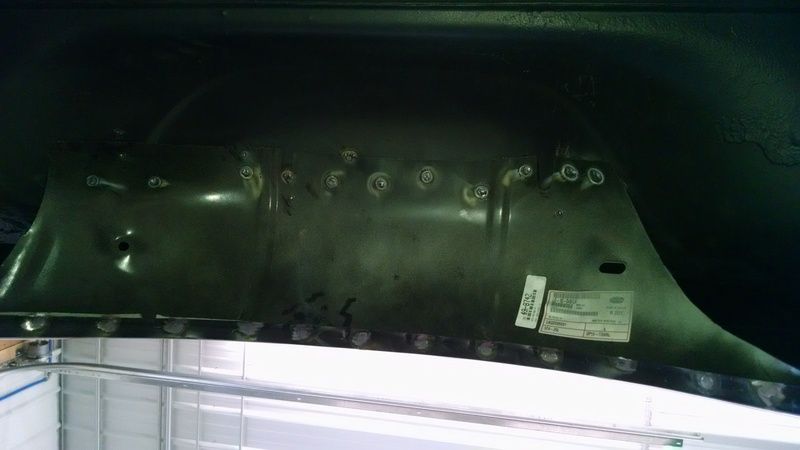
Prepping bottom of bed for epoxy. No we didn't get all of the original undercoating off, all the loose stuff is off tho.
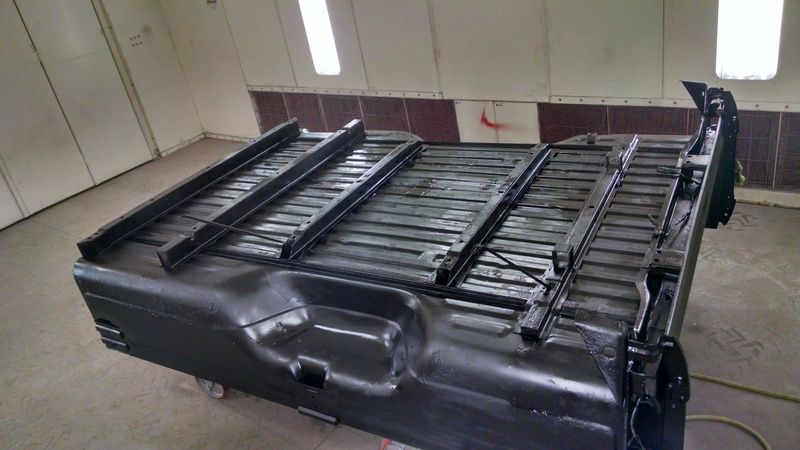
Heavy coat of black epoxy.
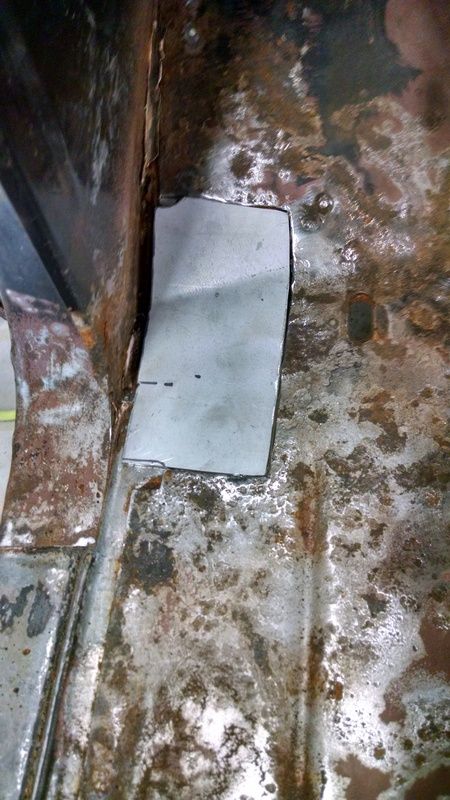
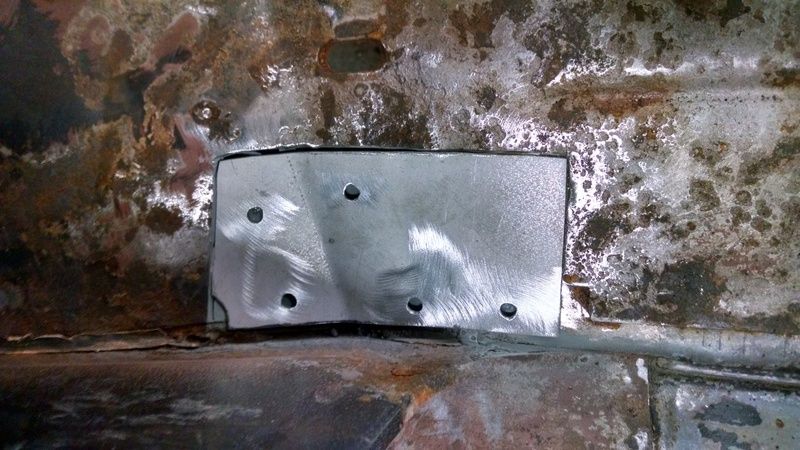
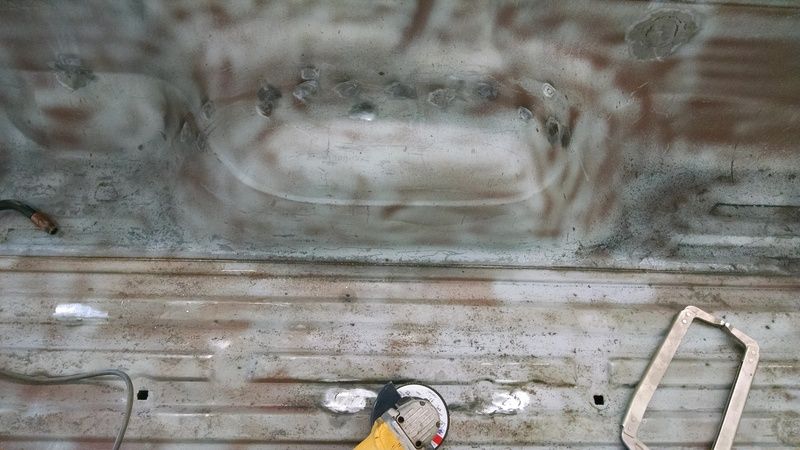
I cut this little bad spot out of the drivers floor.

Made a patch.
Weld through primer
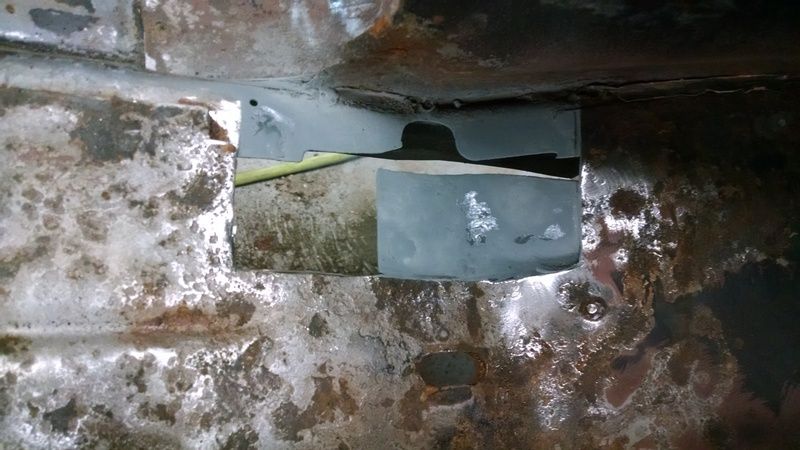
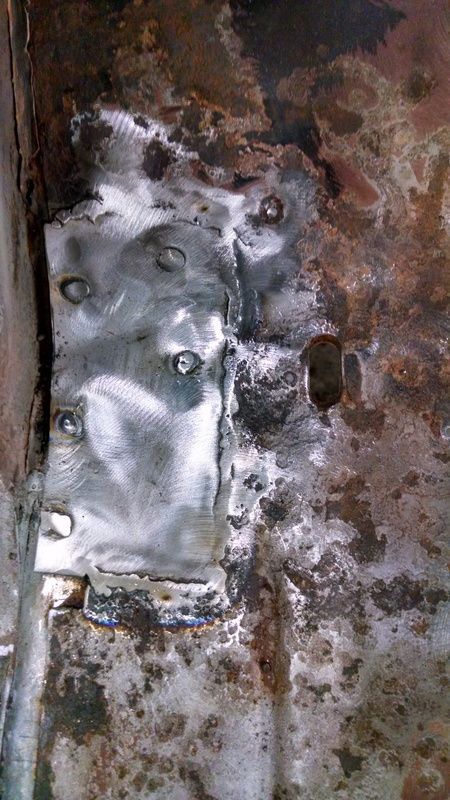
Por 15
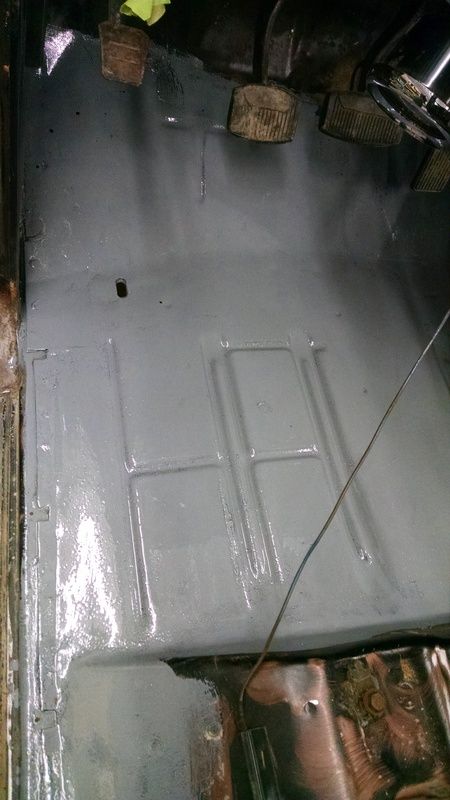
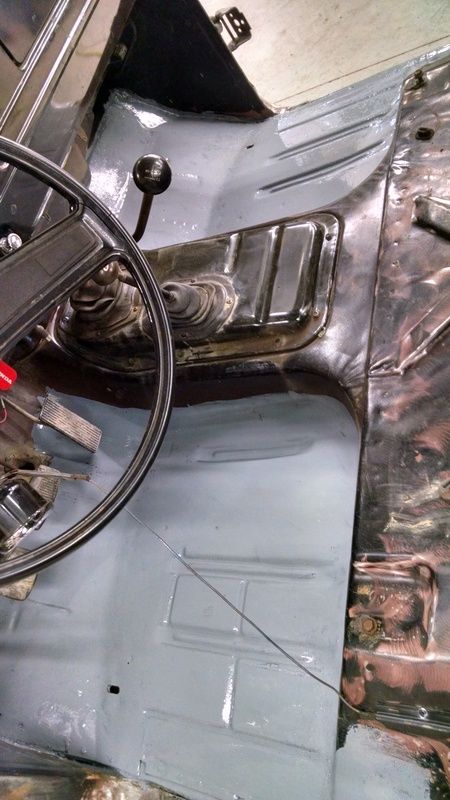
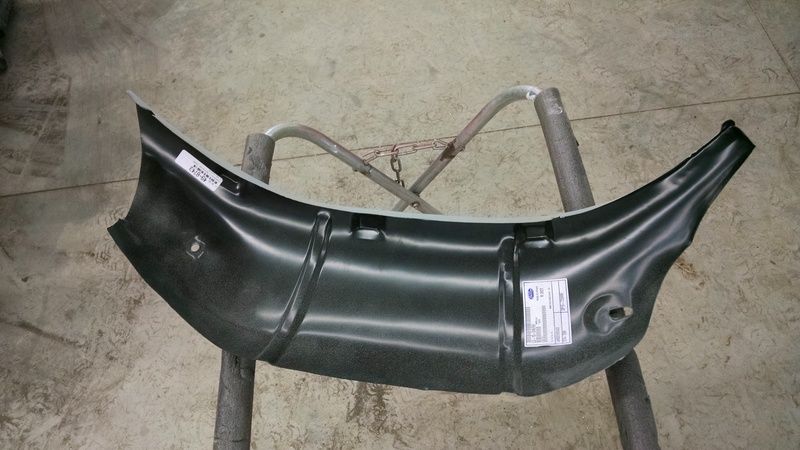
Undercoating on the belly of the bed after the epoxy dried.
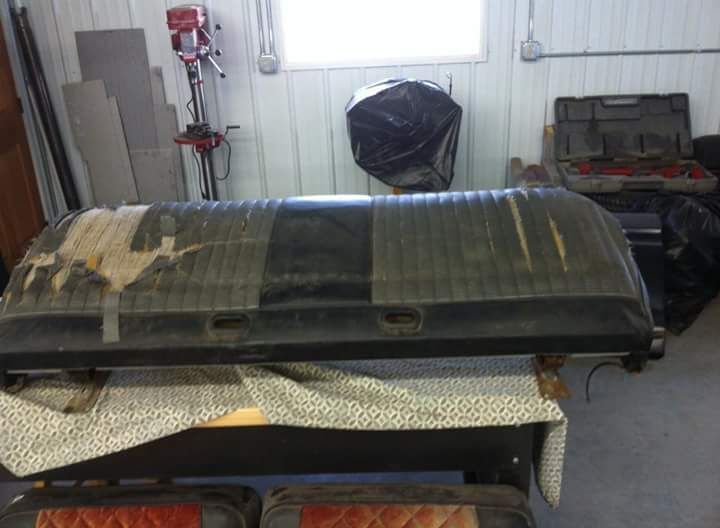
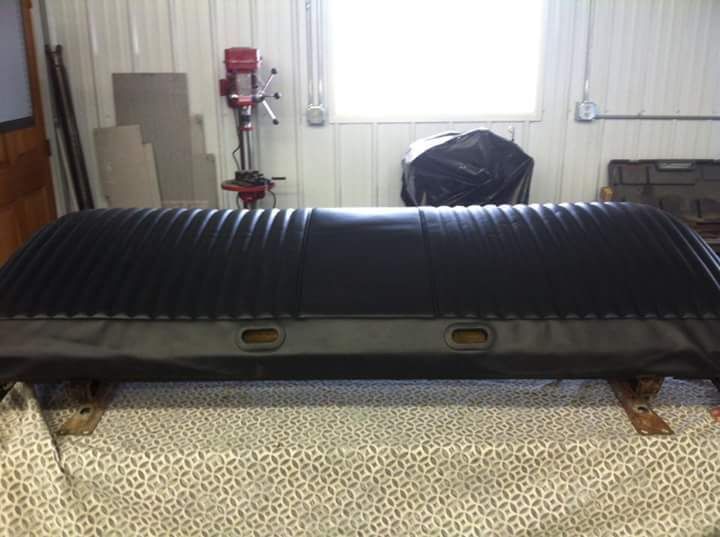
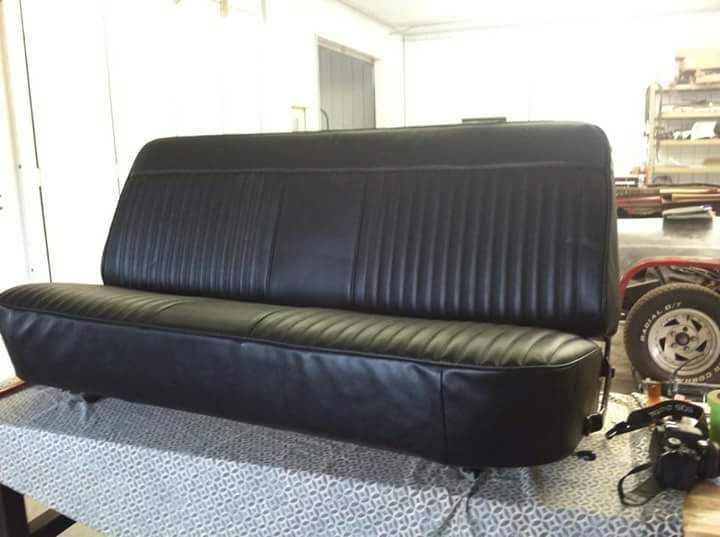
Freshened up the seat.
A few other things were done that we didn't get photos of, decent bit of work for a Sunday.
Prepping bottom of bed for epoxy. No we didn't get all of the original undercoating off, all the loose stuff is off tho.
Heavy coat of black epoxy.
I cut this little bad spot out of the drivers floor.
Made a patch.
Weld through primer
Por 15
Undercoating on the belly of the bed after the epoxy dried.
Freshened up the seat.
A few other things were done that we didn't get photos of, decent bit of work for a Sunday.
#55
03-23-2015, 12:25 AM

#56
03-23-2015, 11:17 AM
Senior User
Join Date: Sep 2014
Location: Minnesota
Posts: 416
Likes: 0
Received 0 Likes
on
0 Posts
#57
03-23-2015, 12:14 PM

#58
03-23-2015, 08:22 PM
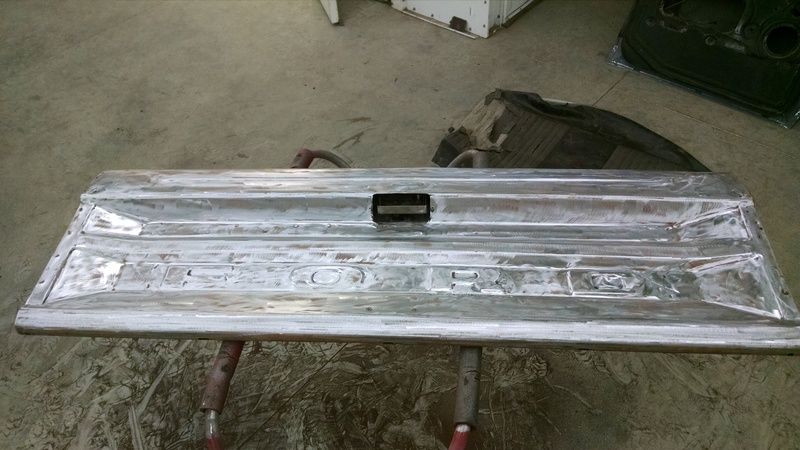
Broke out the lenco for some dent pulling and shrinking. This is a spot welder that has various attachments. Mainly for spot welding but I have a puller shrinker attachment, pictures here.
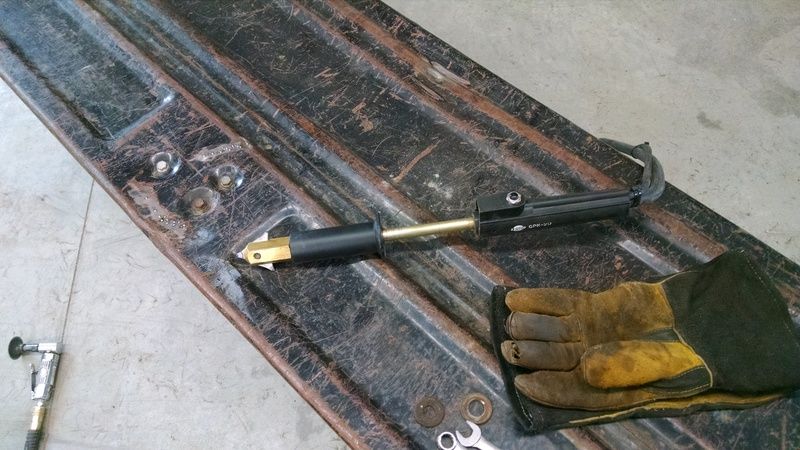
Here's a crease I was working on.
This one was too harsh for the little spot weld puller.
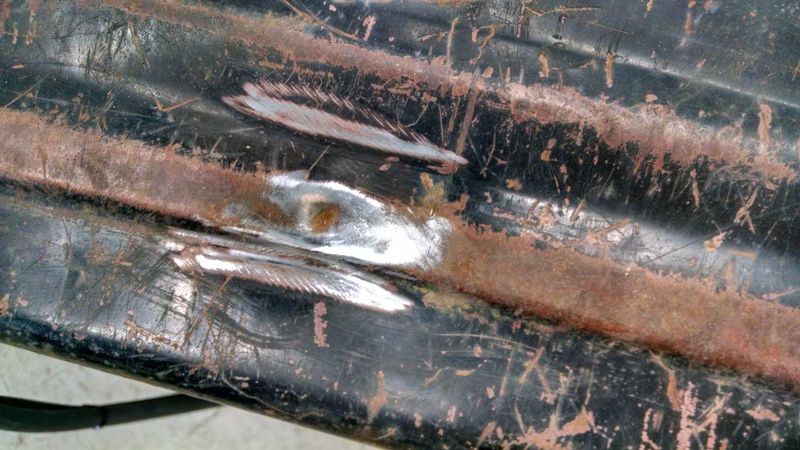
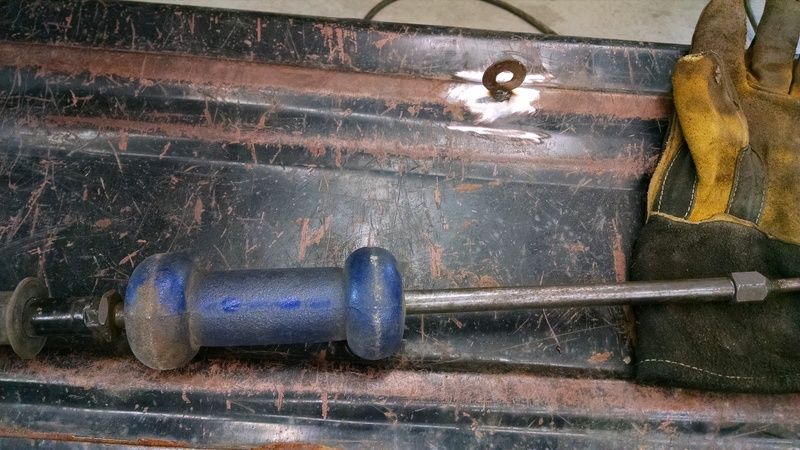
I welded a washer to that dent and pulled it with my heavier slide hammer.
Its a tailgate I'm working on here by the way.
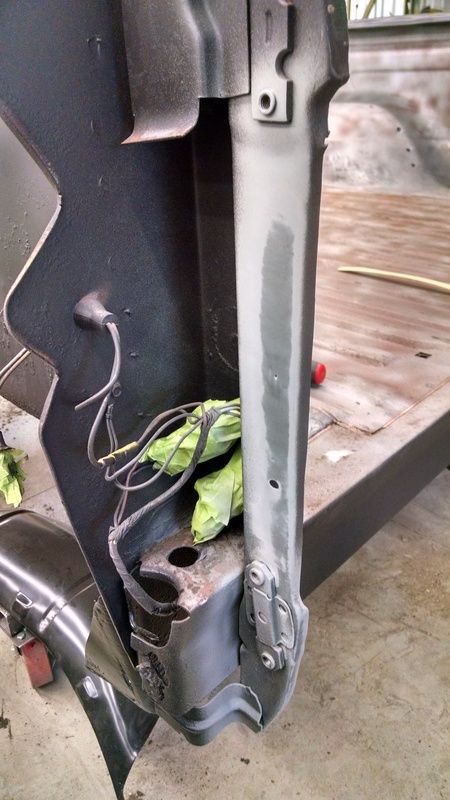
Also hit the frame with black epoxy.
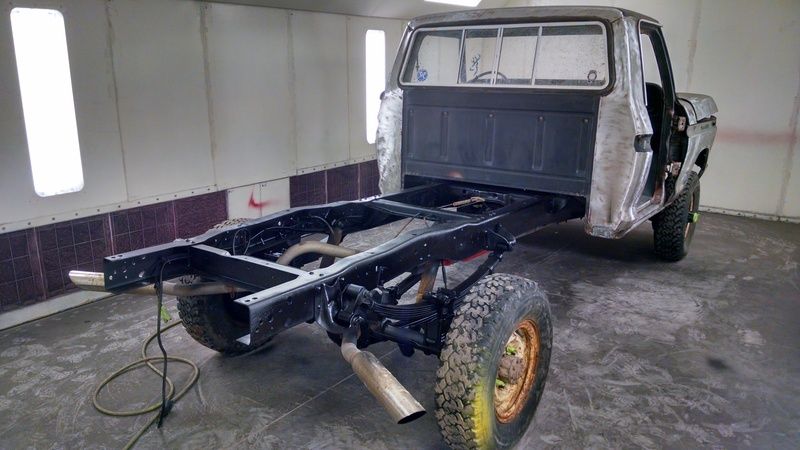
And test fit the bed sides, marking for plug welds tomorrow.
I patched a small hole in the back side of a cab corner and shrunk a high dent.... Didn't get pics of that.
Here's a crease I was working on.
This one was too harsh for the little spot weld puller.
I welded a washer to that dent and pulled it with my heavier slide hammer.
Its a tailgate I'm working on here by the way.
Also hit the frame with black epoxy.
And test fit the bed sides, marking for plug welds tomorrow.
I patched a small hole in the back side of a cab corner and shrunk a high dent.... Didn't get pics of that.
#59
03-26-2015, 10:08 PM
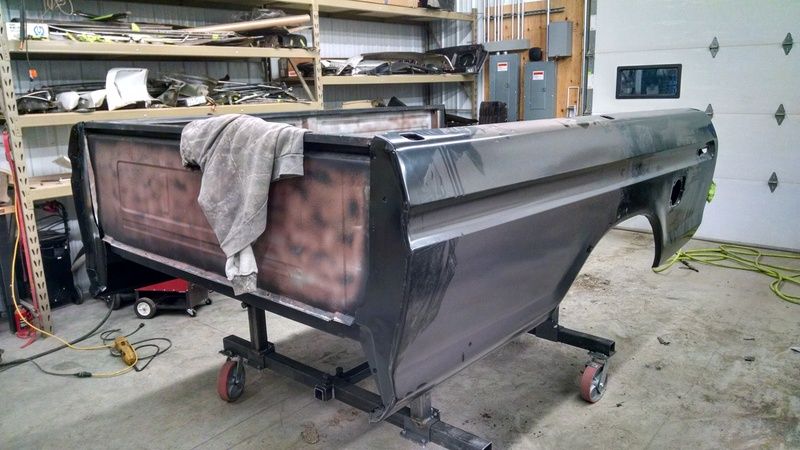
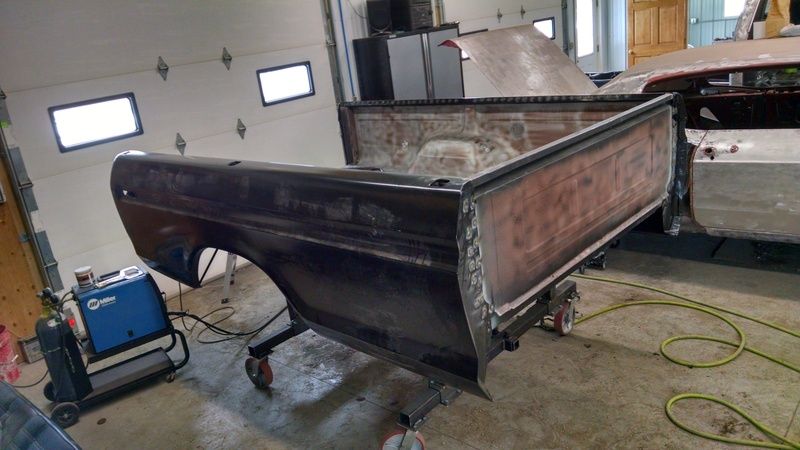
We hung the bed sides tonight
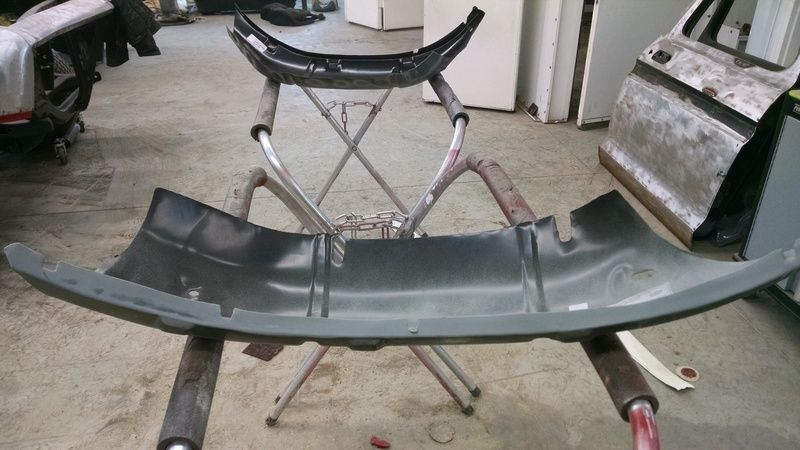
Prepping a bed side shell, drilling holes for plug welds etc.
the other bedside was being marked for plug weld holes.
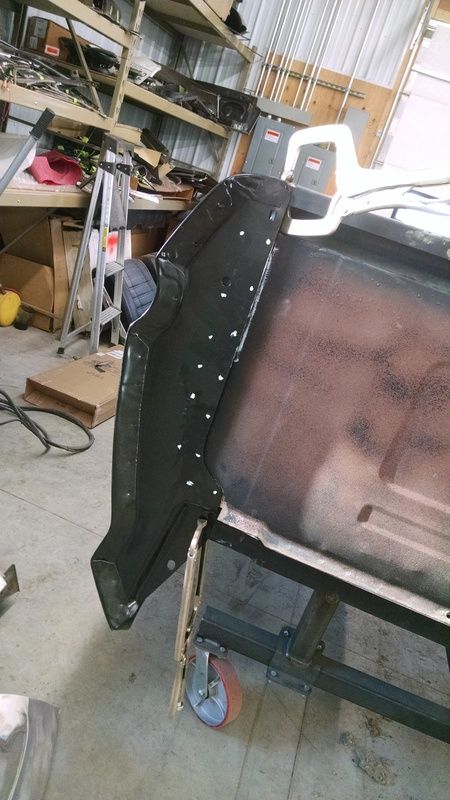
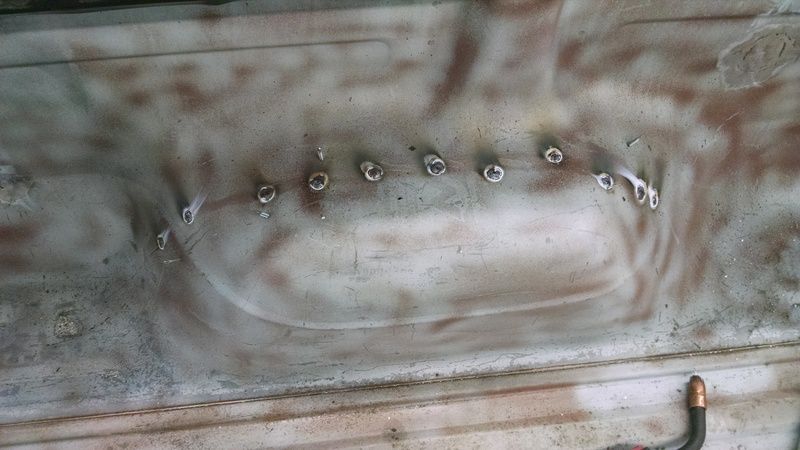
The weld interface areas were sanded clean and hit with a weld through primer just prior to installation of the new panel.
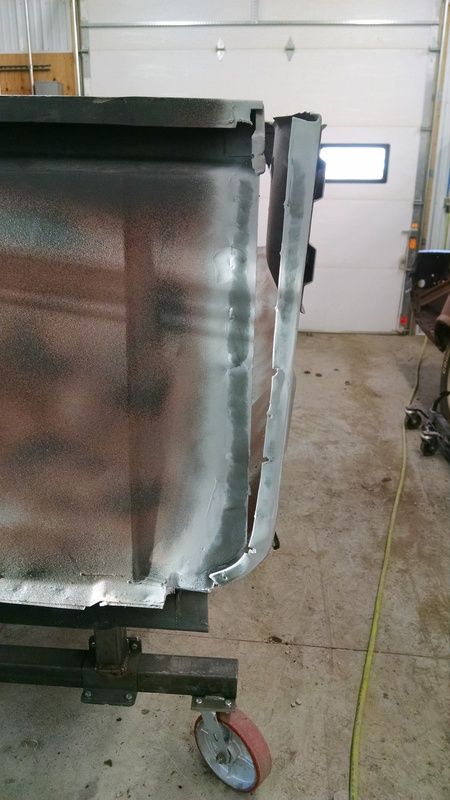
panel was fit and the welding began.
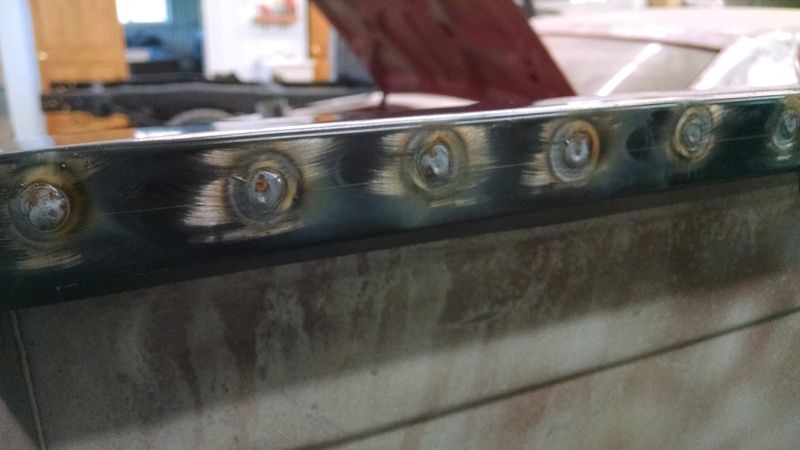
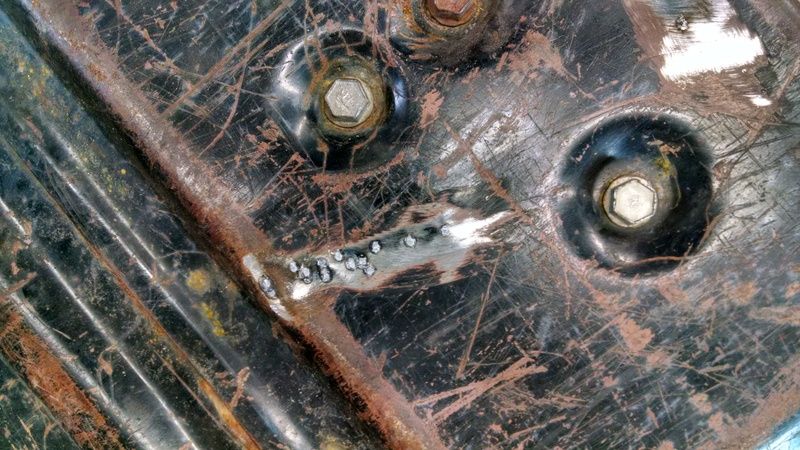
a nice mig plug weld looks like a belly button, lol.
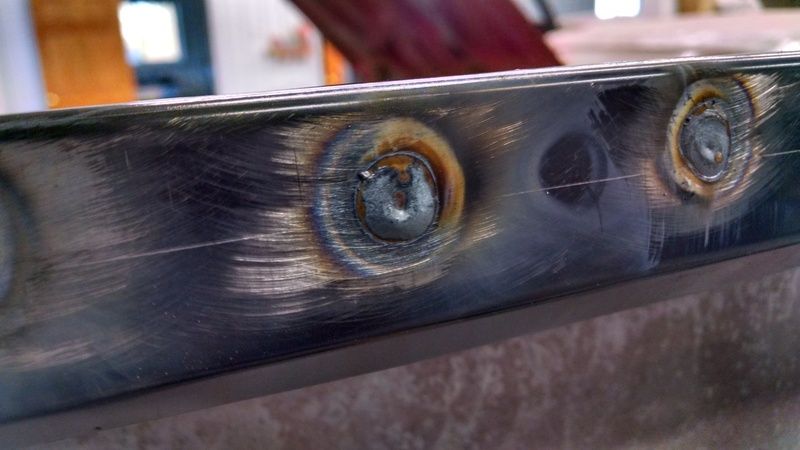


both sides finished tonight.
Tomorrow we will fit and weld the outer wheel houses.
Prepping a bed side shell, drilling holes for plug welds etc.
the other bedside was being marked for plug weld holes.
The weld interface areas were sanded clean and hit with a weld through primer just prior to installation of the new panel.
panel was fit and the welding began.
a nice mig plug weld looks like a belly button, lol.
both sides finished tonight.
Tomorrow we will fit and weld the outer wheel houses.
#60
03-27-2015, 12:31 PM
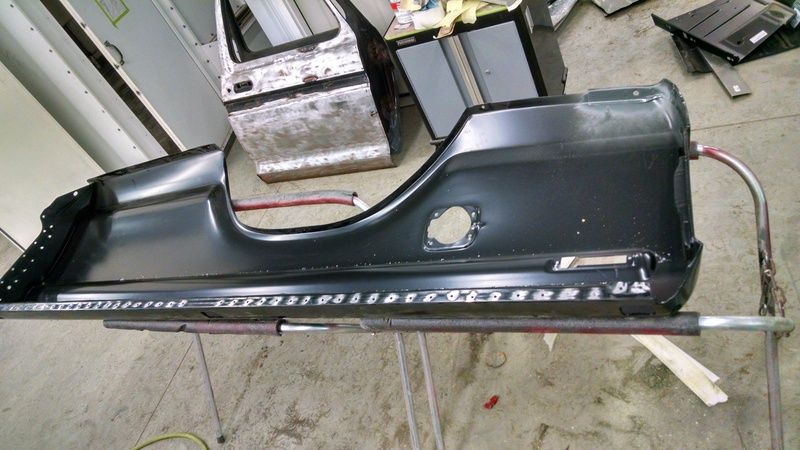
wheel house time.
I test fit the outer wheel houses, got them where I was happy with the fit and marked the plug weld spots from the inner wheel house with a paint pen. Then I sanded the spots where I would be plug welding to and hit the spots with weld through primer. I sanded the entire wheel arch lip and hit it with weld through primer as well.
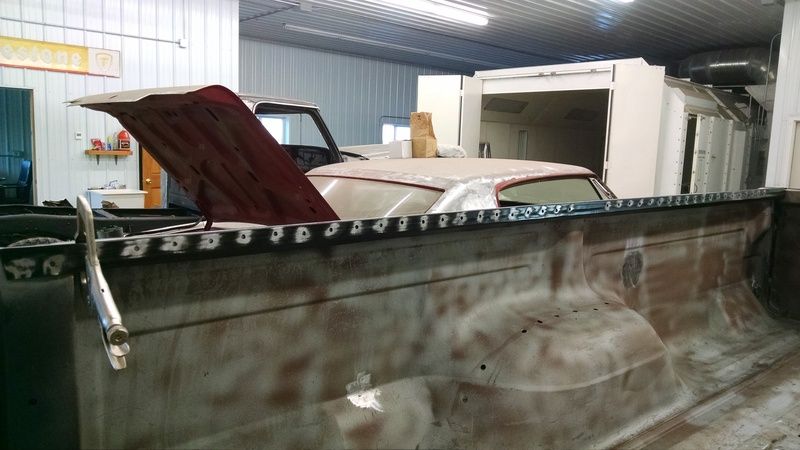
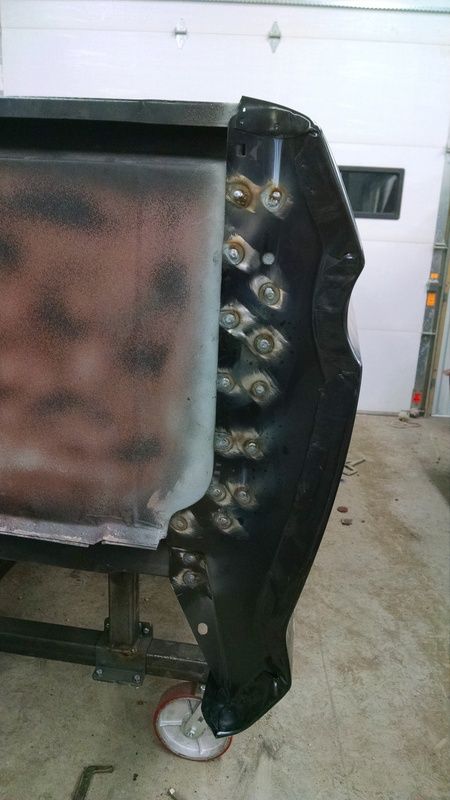
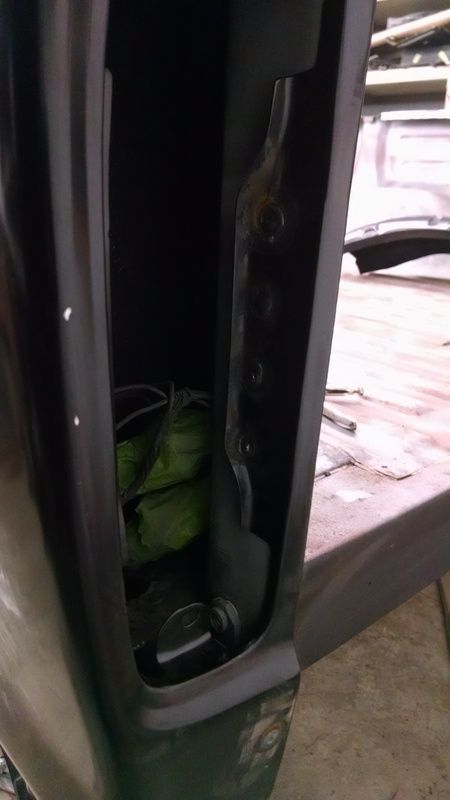
From under the bed, I clamped the wheel arch and drove a few sheetmetal screws in on the inner WH side to draw everything tight for plug welding from the top side.
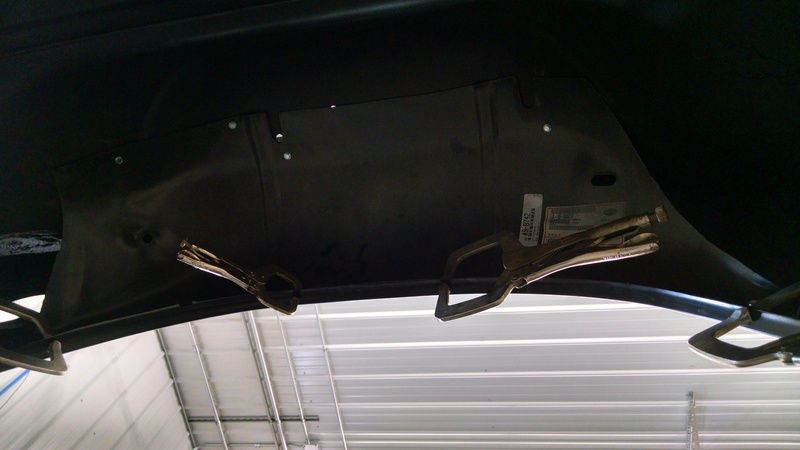
Here is the top side after plug welding, you can see the sheet metal screws still poking through from the bottom side. I remove those in a bit.
here it is all welded from the bottom side. I drilled the wheel arch holes about every 2.5", clamped and plug welded from under the box.
Top side after some light weld grinds.
she's really getting solid now.
One more outer WH to go and the box is done.
I test fit the outer wheel houses, got them where I was happy with the fit and marked the plug weld spots from the inner wheel house with a paint pen. Then I sanded the spots where I would be plug welding to and hit the spots with weld through primer. I sanded the entire wheel arch lip and hit it with weld through primer as well.
From under the bed, I clamped the wheel arch and drove a few sheetmetal screws in on the inner WH side to draw everything tight for plug welding from the top side.
Here is the top side after plug welding, you can see the sheet metal screws still poking through from the bottom side. I remove those in a bit.
here it is all welded from the bottom side. I drilled the wheel arch holes about every 2.5", clamped and plug welded from under the box.
Top side after some light weld grinds.
she's really getting solid now.
One more outer WH to go and the box is done.