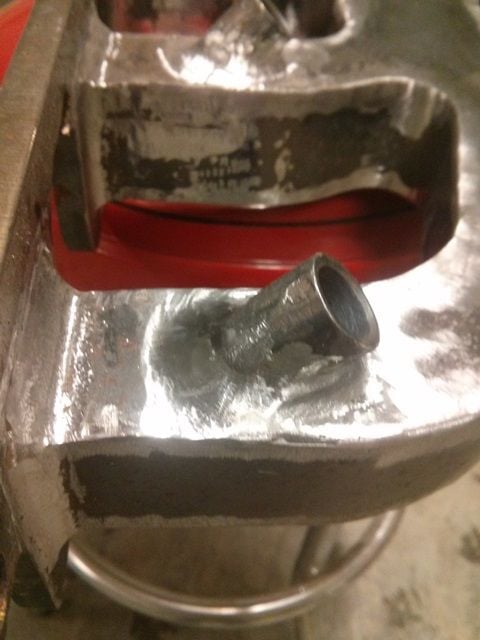
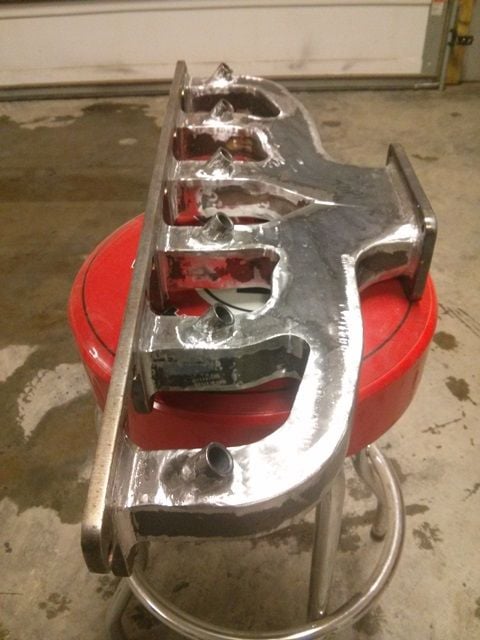
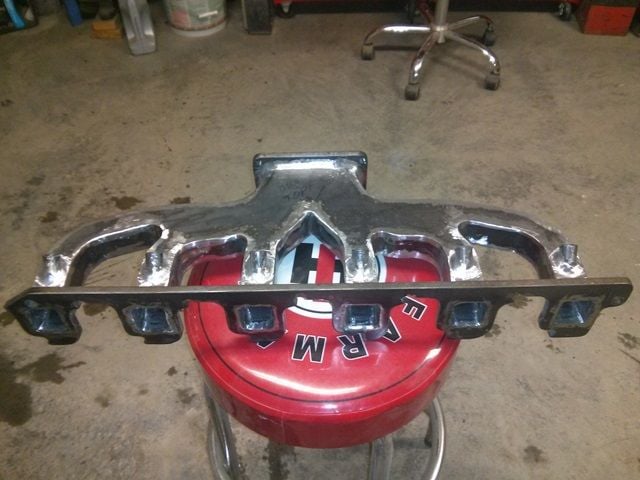
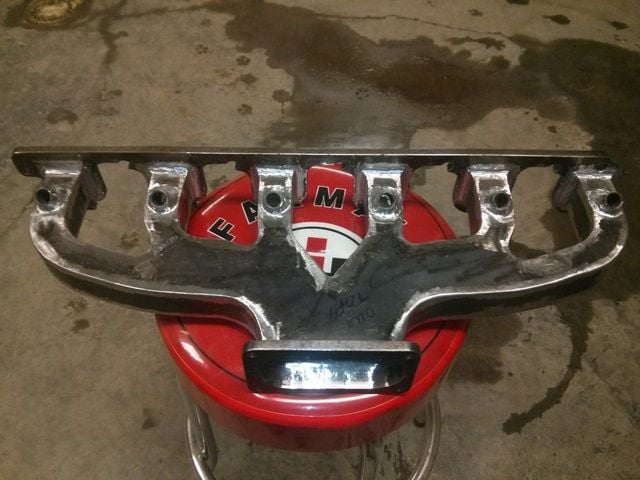
Should I grind and finish these welds or leave them be???
#46
Well, bad news, your 1987 system is EFI-SD, which means Speed Density, which of course means it will not adapt for the modifications you are planning. You need to more to a Mass-Air based system.
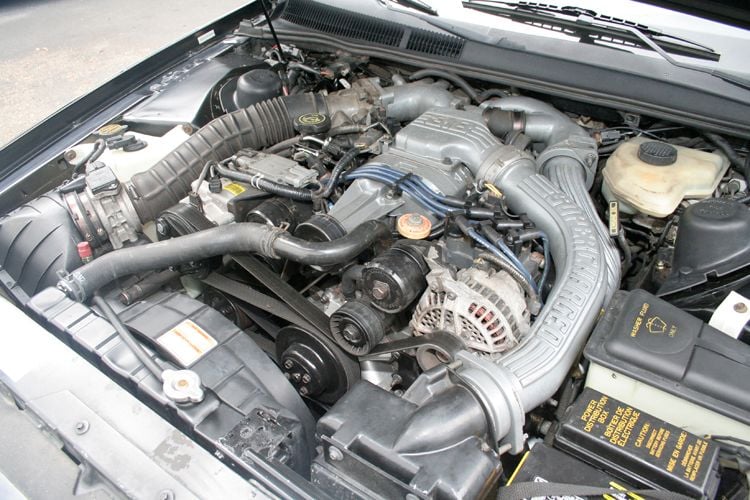
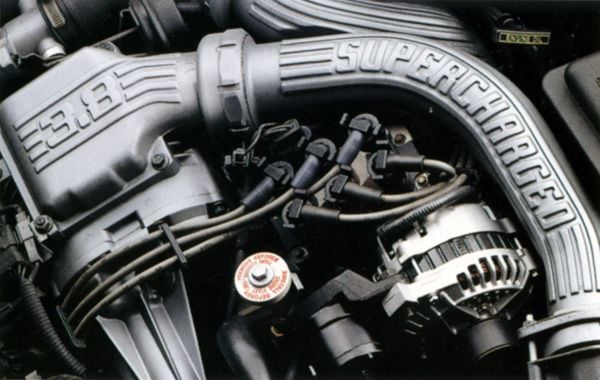
The 3.8L Super Coupe used a Mass-air system, and you could use that with some critical modifications. One, the control strategy needs to be changed for "even-fire" timing between cylinder firings. Your I6 is even-fire, but the 3.8L V6 is not, the spacing between cylinder firings is not all the same.
Second, you need to create a 36-1 tooth wheel for the front damper on your engine and mount the VRS crank sensor ford used on their EEC V systems.
The good news is that the EEC V module can be tuned and the program stored into the internal EEProm. (EEC IV used MROM and thus the internal memnor chip can not be reprogrammed, so turners us an add-on memory board usually connected to the J3 edge connector at the back of the EEC IV module.
Make sense?
#47
So the super coupe was EEC V?
I know that these systems run EDIS, I thought the super coupe just ran a cam position sensor and a distributor cap.
Was it full blown EDIs with both the crank and cam sensors?
This option would be WAY cheaper........... than spending the 1500.00 for the Holley HP........
What would you guys run if you were in my shoes? I don't want to "play" with the system, nor will I be squeezing every drop of HP out of it at a track. I just want to get in and have reliable boosted daily driver that you can still have a little fun with.
#48
#49
#50
The 95-96 model F150 actually had a Cam sensor built into the distributor. So one of those should cover the cam signal. I would just need to remove all of the other crap and create a cap of some sort.
How difficult to change the ECM to "even firing" as you stated below?
How difficult to change the ECM to "even firing" as you stated below?
You will need to use the cam sensor identical to that used on the 3.8L SC, so just get on from any 3.8L and make one using your existing distributor, not too difficult once you see how Ford did it.
The 36-1 tooth wheel and VRS sensor mount will need to be created as well. There are some forums where others have done this for all kinds of engines.
#51
#53
#54
I'd like to pressure test it (about 50 psi) just to check for any small leaks. Don't want the coating lifting off.
Any recommendations on plugging the injector bungs???
The other day I put a 1/2" rubber drum sander in the bung and tightened it up, it held really well, just not sure if it would hold on at 50 psi.... of course I was putting my weight into it pulling it and it stayed. So maybe 6 of those........
Any recommendations on plugging the injector bungs???
The other day I put a 1/2" rubber drum sander in the bung and tightened it up, it held really well, just not sure if it would hold on at 50 psi.... of course I was putting my weight into it pulling it and it stayed. So maybe 6 of those........
#56
#58
Here's a couple suggestions that you might find useful: For smoothing, cut a 4-5" long length of 3/8" steel rod. Use a hacksaw to cut a slit down the center lengthwise about 2" long. Chuck the uncut end in a 3/8" variable speed drill. Cut some strips of emery cloth about 4"x1.5" (If you can't find cloth, you can apply a layer of plastic packing tape reinforcement to the back of silicon carbide wet or dry paper before cutting it into strips) Make several strips of 100, 180 to 240 grit, 320 grit, and 400 grit. Slip 2-3 strips into the slit a little off center. Test the drill with slow speed with the paper held loosely inside your fist, that the grit is on the outside and the face side is longer than the underside when it turns (it will be obvious what I mean the first time you try it.) adjust if needed, then slip a rubber o ring or a tightly wrapped rubber band on the end of the rod above the paper to lock the paper in place. To use, run the drill at a medium to fast speed letting the spinning paper touch the surface you want to smooth, keeping the rod off the surface so only the paper contacts the surface. Keep it moving over the surface. Because the paper is free spinning, it will remove any high spots faster than the rest of the surface, making it smooth and flat. You can get into some tight areas, smooth the corners, and follow contours with it. It will work fairly quickly. Start with the coarsest grit until all your file and/or grinding scratches are completely gone, then switch to each finer grit in turn removing the previous grit scratches. By the time you get to 400 grit you will have a semi polished surface!
To plug the bung holes for pressure testing: Go to the hardware store and pick up enough rubber stopper that fit full depth + into the bungs. Drill down the center of the stopper (hint freezing the stopper and using liquid dish soap as lube will make drilling easier, or sharpen the end of a length of thin walled brass tube from a hobby or craft store and use that with detergent lube at slow speed instead of a drill. Worse case, heat a nail red hot and burn/melt a hole down the center.) Put a washer the size of the small end of the stopper on a bolt that fits the hole, then the stopper, another washer and a nut. Tighten the nut just finger snug and insert the stopper fully into the bung. Tightening the nut will cause the stopper to expand locking it into the bung. If you cant find stoppers that will fit completely thru the bung and can get to the underside of the bung, use a washer larger than the hole in the bung and thread a bolt and washer up from inside thru the bung then slip a stopper and another washer onto the bolt and finally secure with a nut. This time tightening the nut will push the stopper into the bung to form a seal and the inside washer will prevent it from blowing out.
To plug the bung holes for pressure testing: Go to the hardware store and pick up enough rubber stopper that fit full depth + into the bungs. Drill down the center of the stopper (hint freezing the stopper and using liquid dish soap as lube will make drilling easier, or sharpen the end of a length of thin walled brass tube from a hobby or craft store and use that with detergent lube at slow speed instead of a drill. Worse case, heat a nail red hot and burn/melt a hole down the center.) Put a washer the size of the small end of the stopper on a bolt that fits the hole, then the stopper, another washer and a nut. Tighten the nut just finger snug and insert the stopper fully into the bung. Tightening the nut will cause the stopper to expand locking it into the bung. If you cant find stoppers that will fit completely thru the bung and can get to the underside of the bung, use a washer larger than the hole in the bung and thread a bolt and washer up from inside thru the bung then slip a stopper and another washer onto the bolt and finally secure with a nut. This time tightening the nut will push the stopper into the bung to form a seal and the inside washer will prevent it from blowing out.
#59
#60


