When you click on links to various merchants on this site and make a purchase, this can result in this site earning a commission. Affiliate programs and affiliations include, but are not limited to, the eBay Partner Network.
I spent much of late February and March just putting my shop together. However, I was dying to get started on the power train so I figured the transmission was a good "cold weather" project.
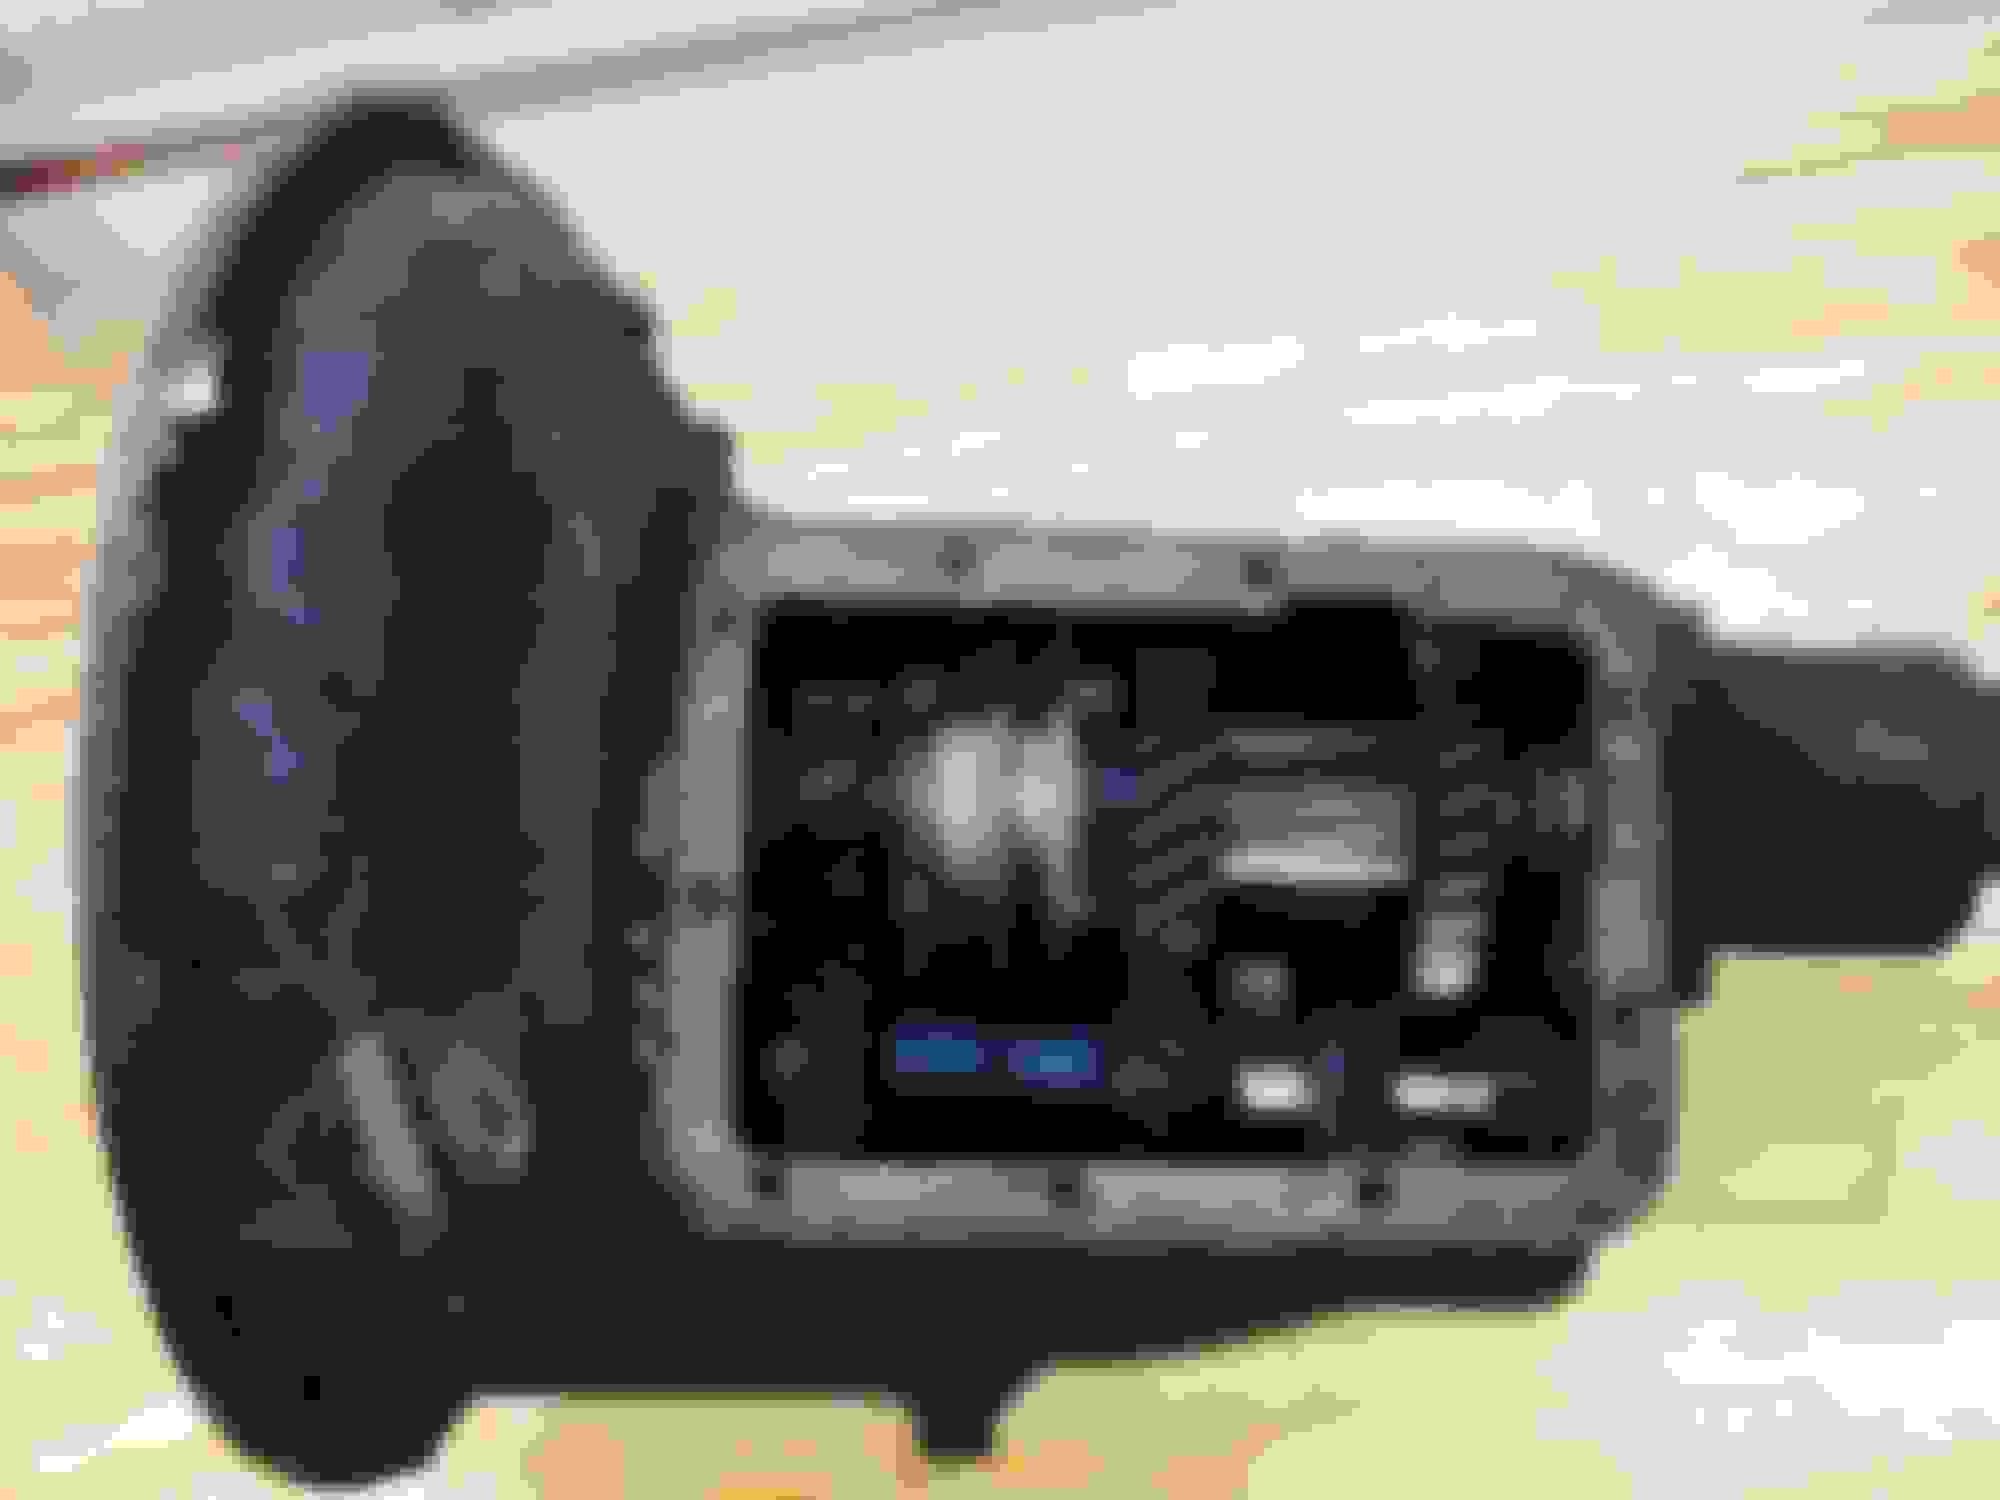
It was filthy on the outside, but not too terrible.
I quickly realized the cluster gear was done for. Fortunately, at some point in my past, I had traded someone something for another transmission. So I took apart two. Between the two, I was able to fine enough good parts to build one complete gearbox!
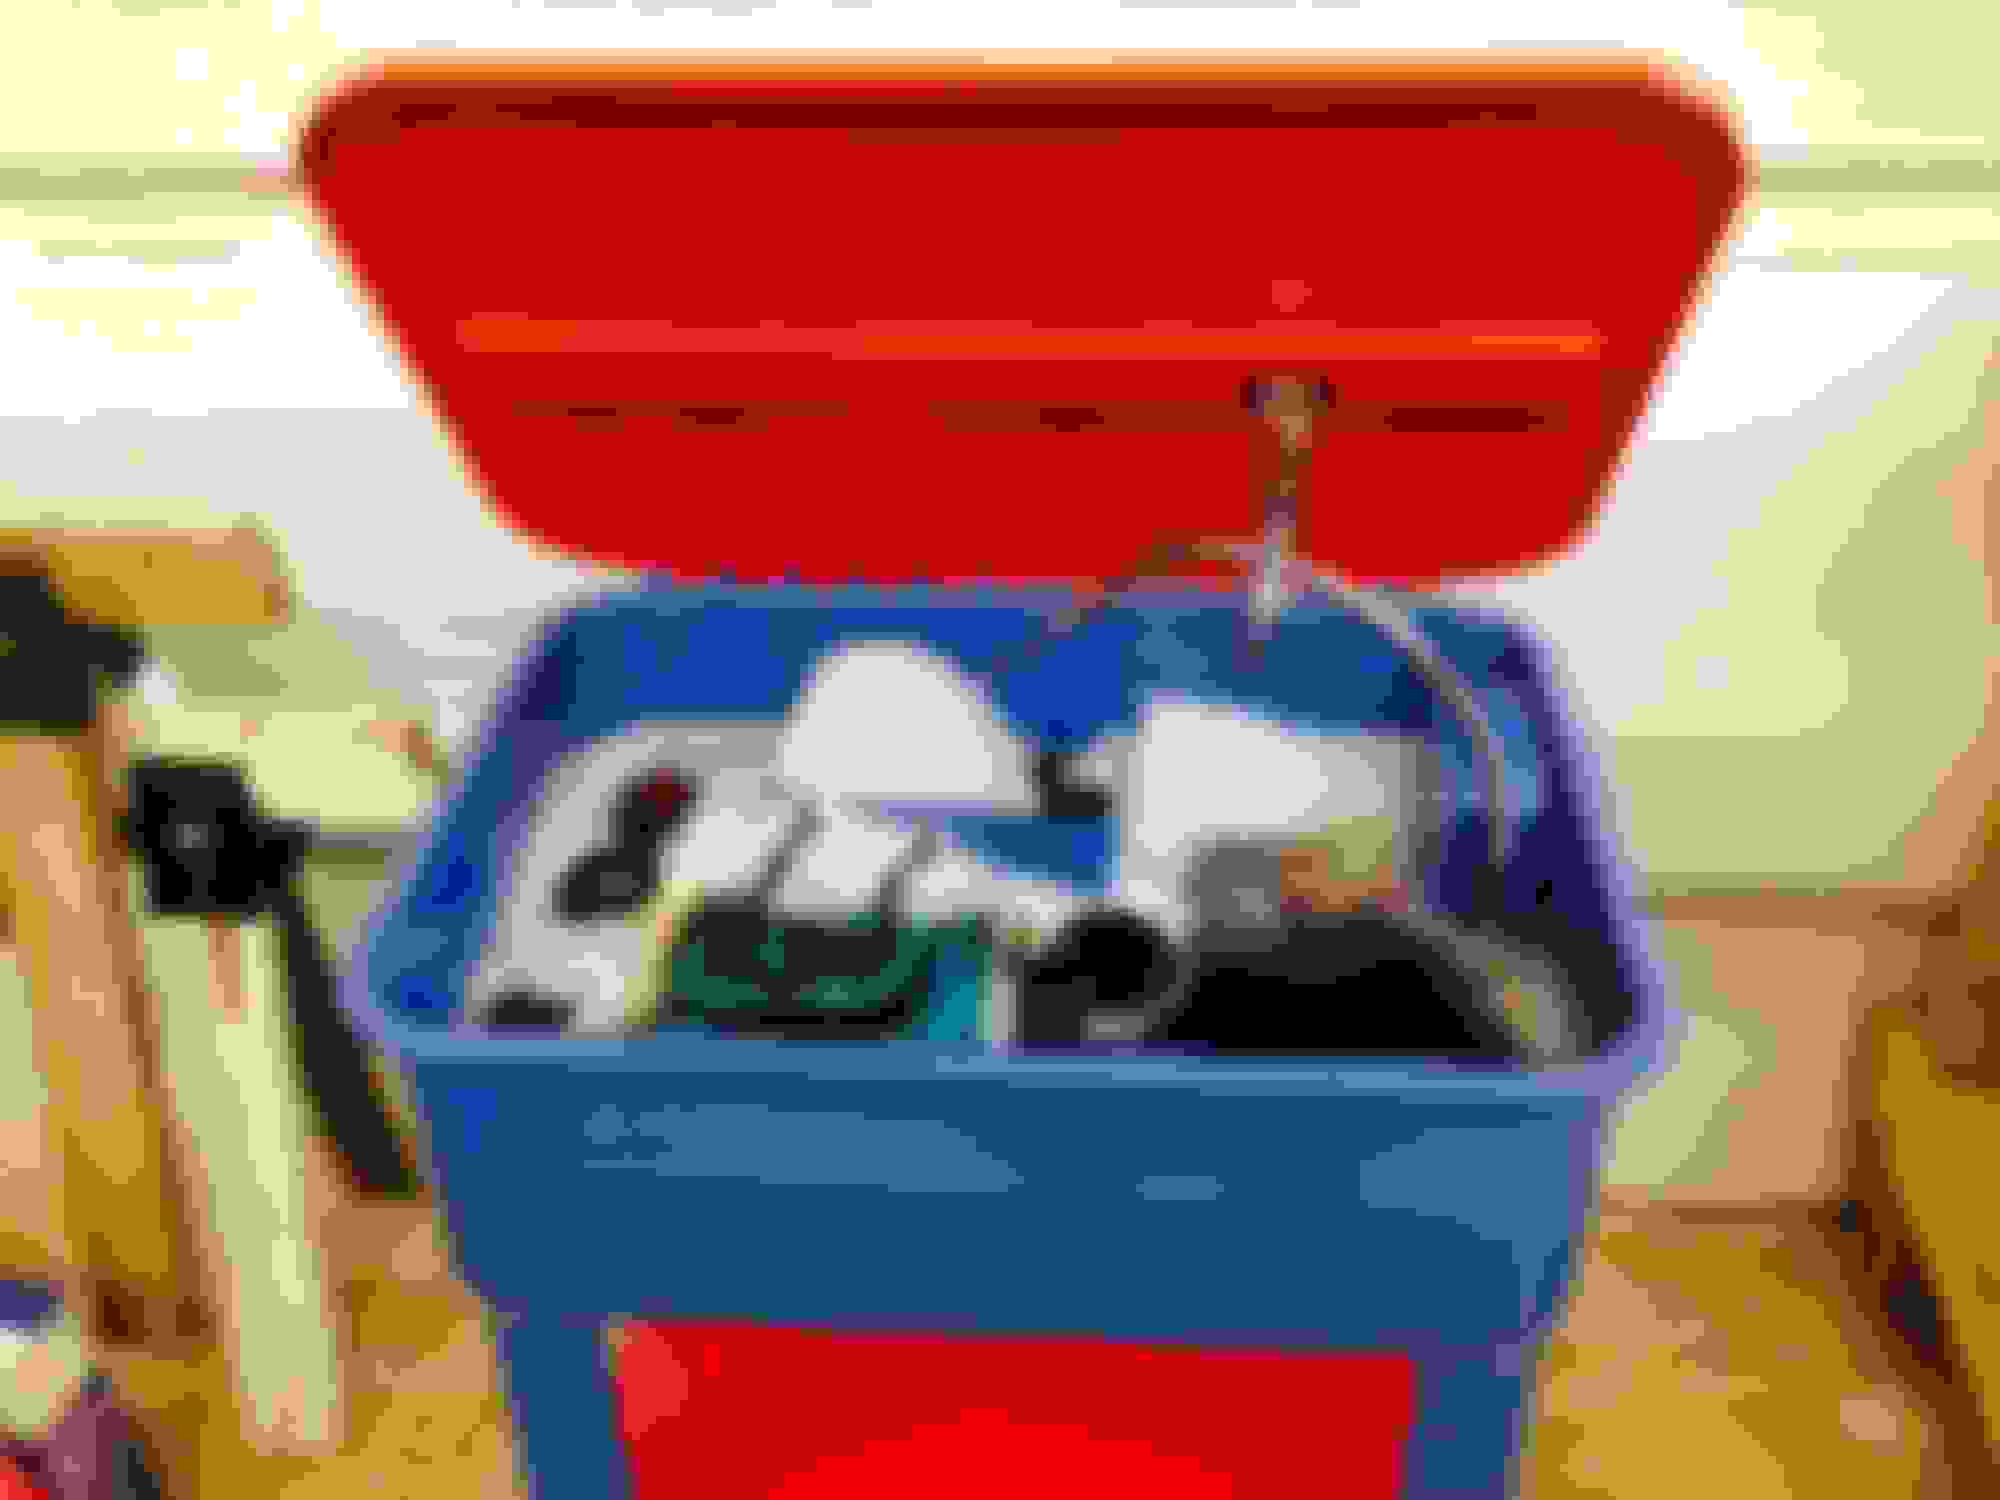
I took it all apart. All of the bearings and seals were replaced.
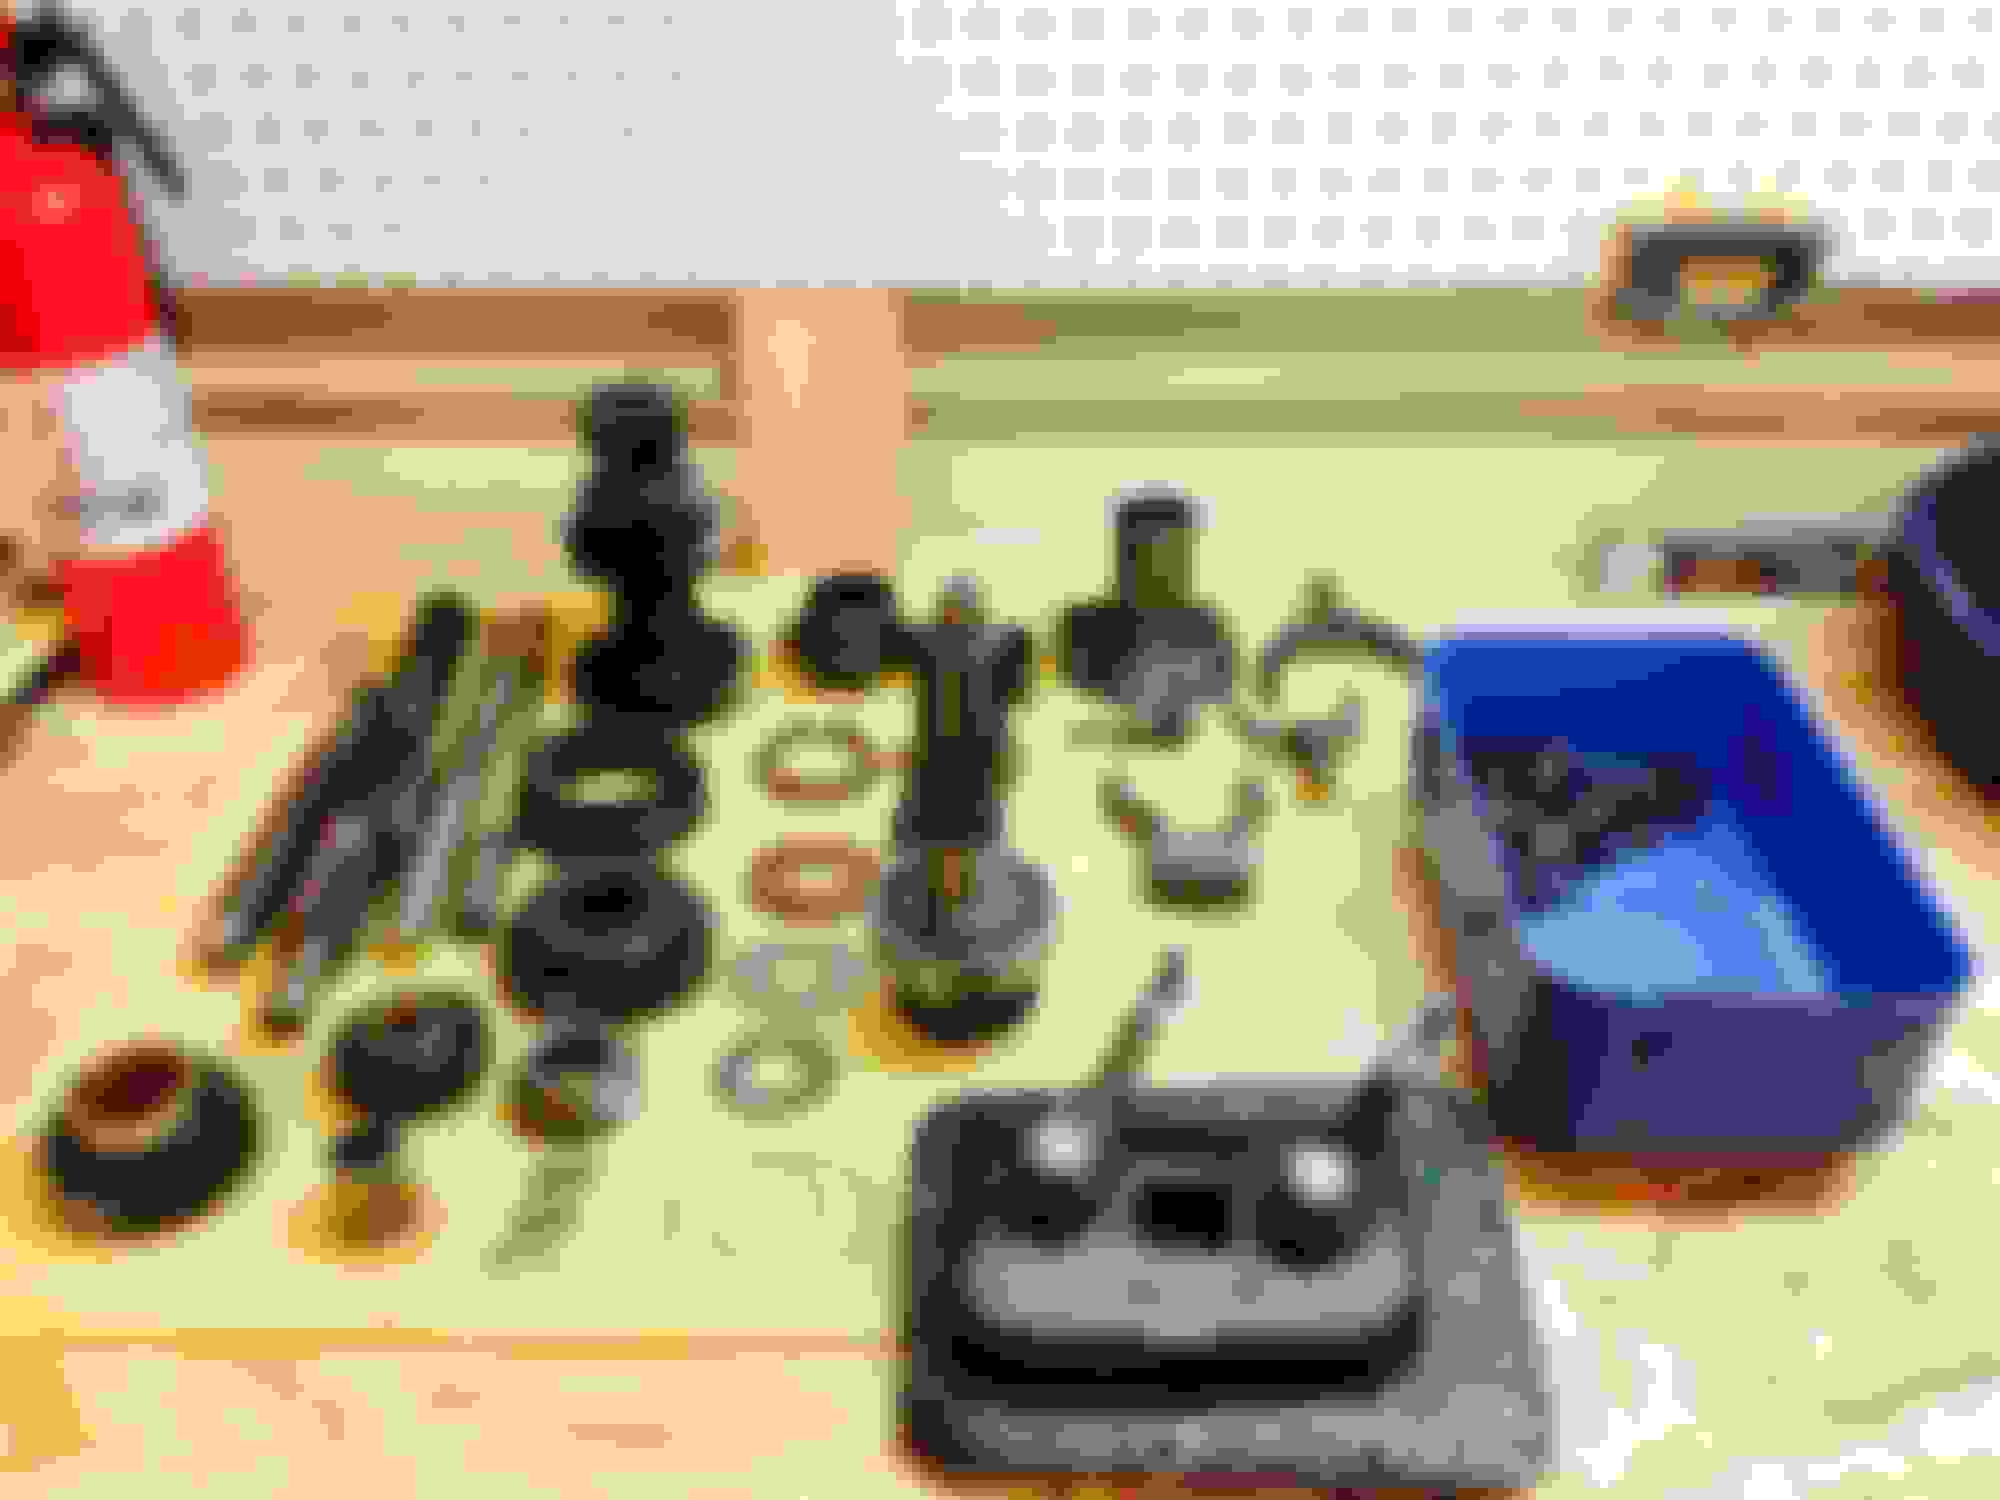
Laid out and ready for reassembly.
I used at 3/4" wooden dowel rod for a dummy shaft to install the new cluster gear needle bearings. I had to sand it a little to get it to work, but it worked fine and I didn't cut one up that I had.
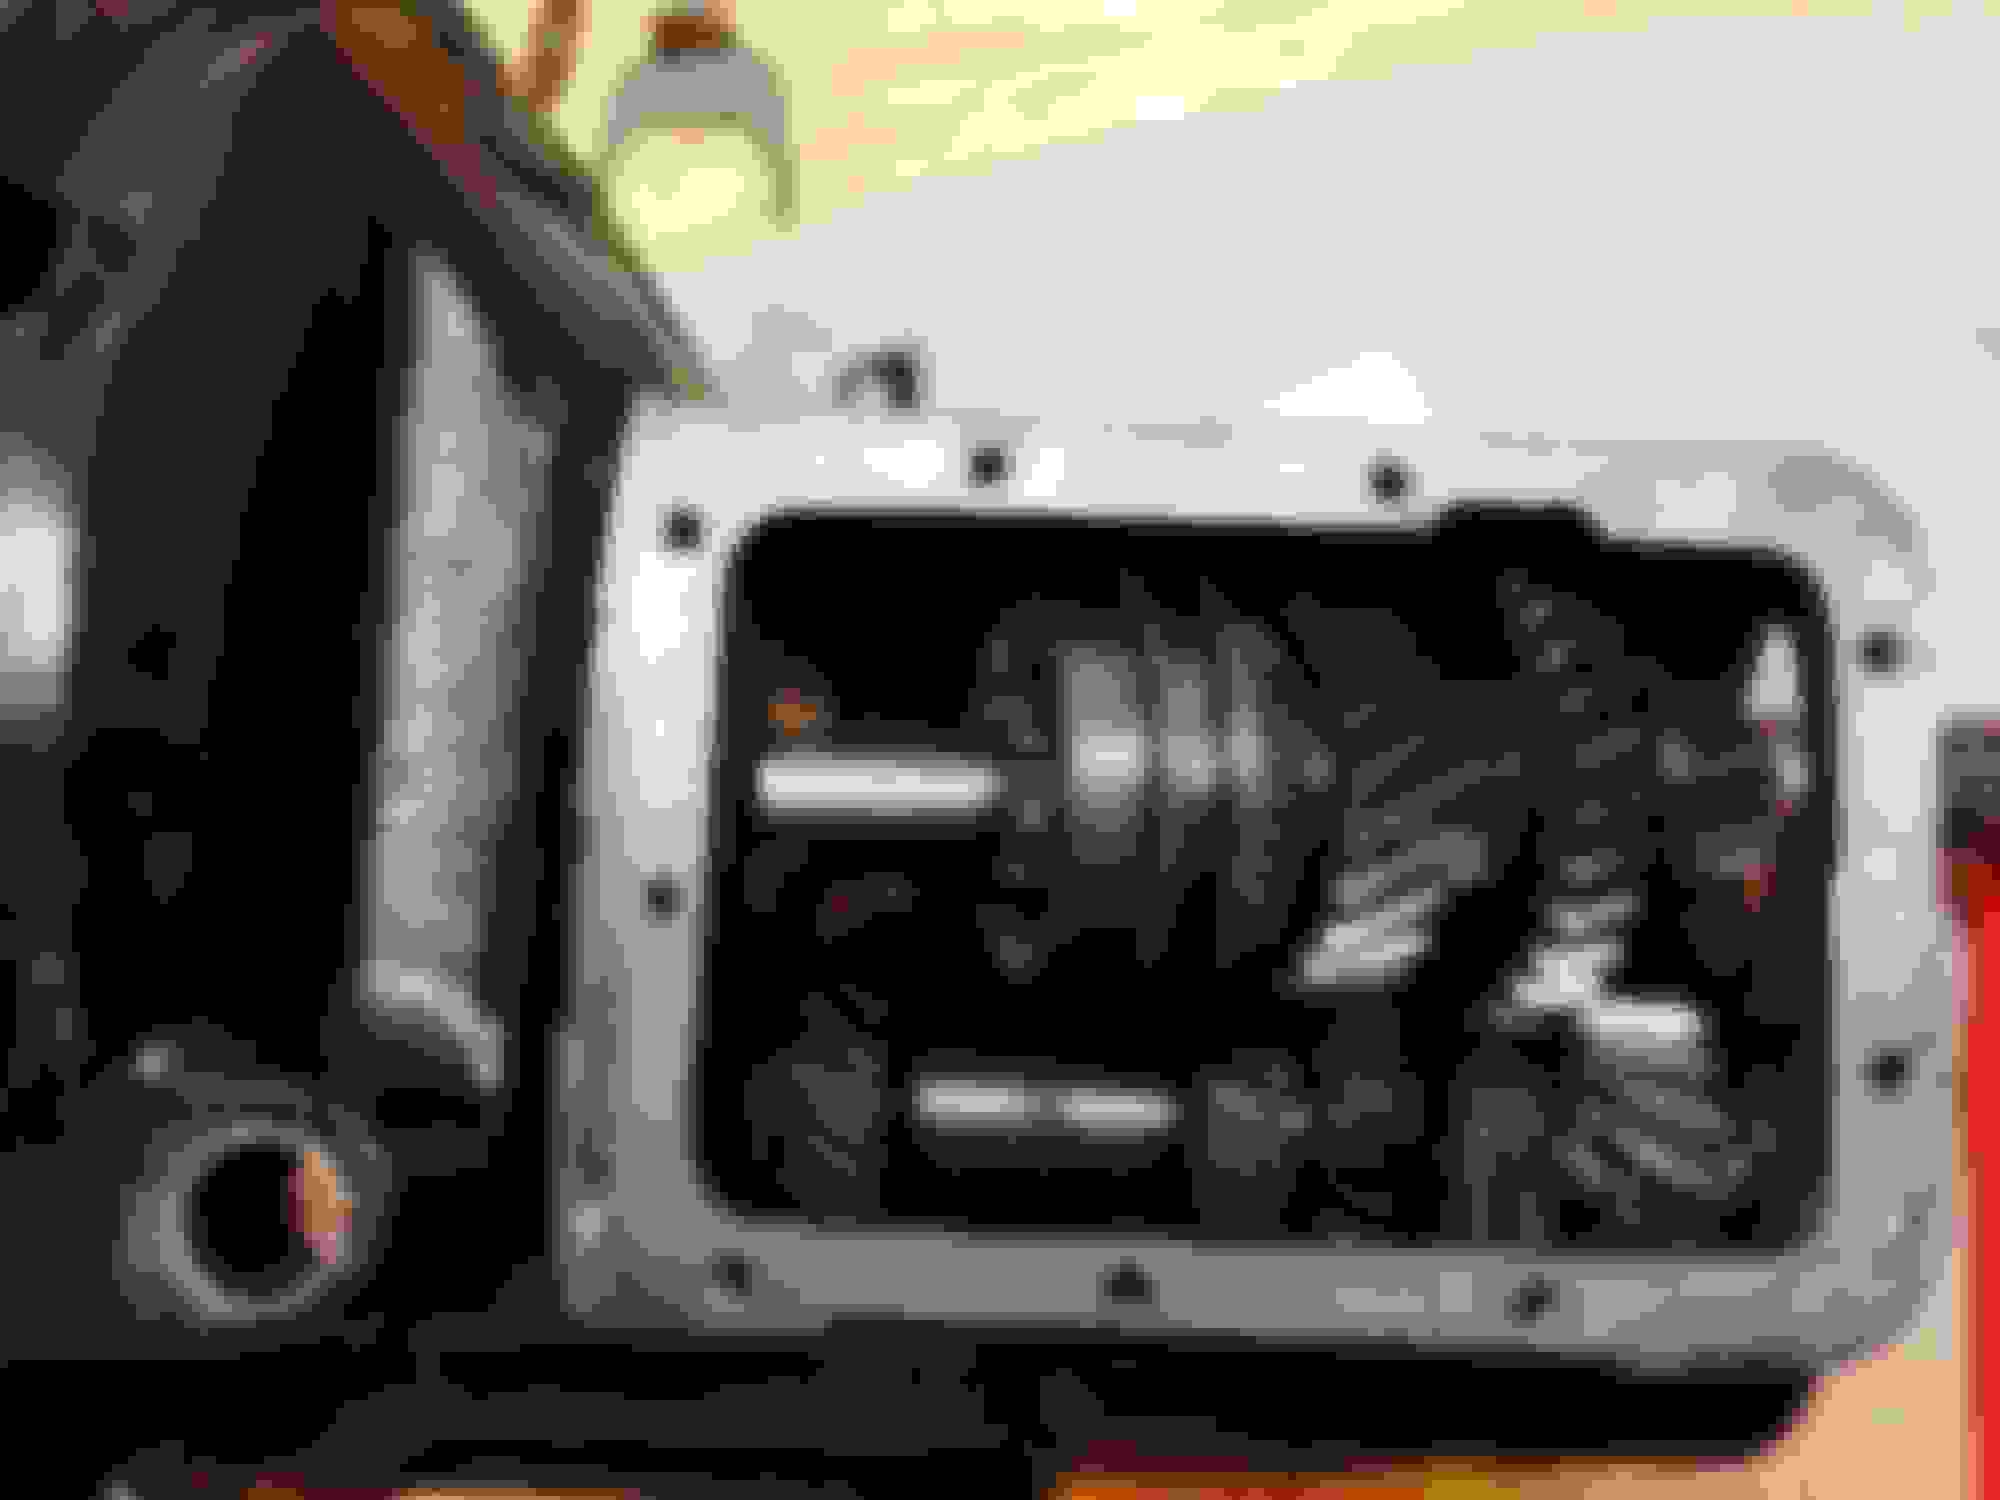
The main shaft going in.
All gears back in.
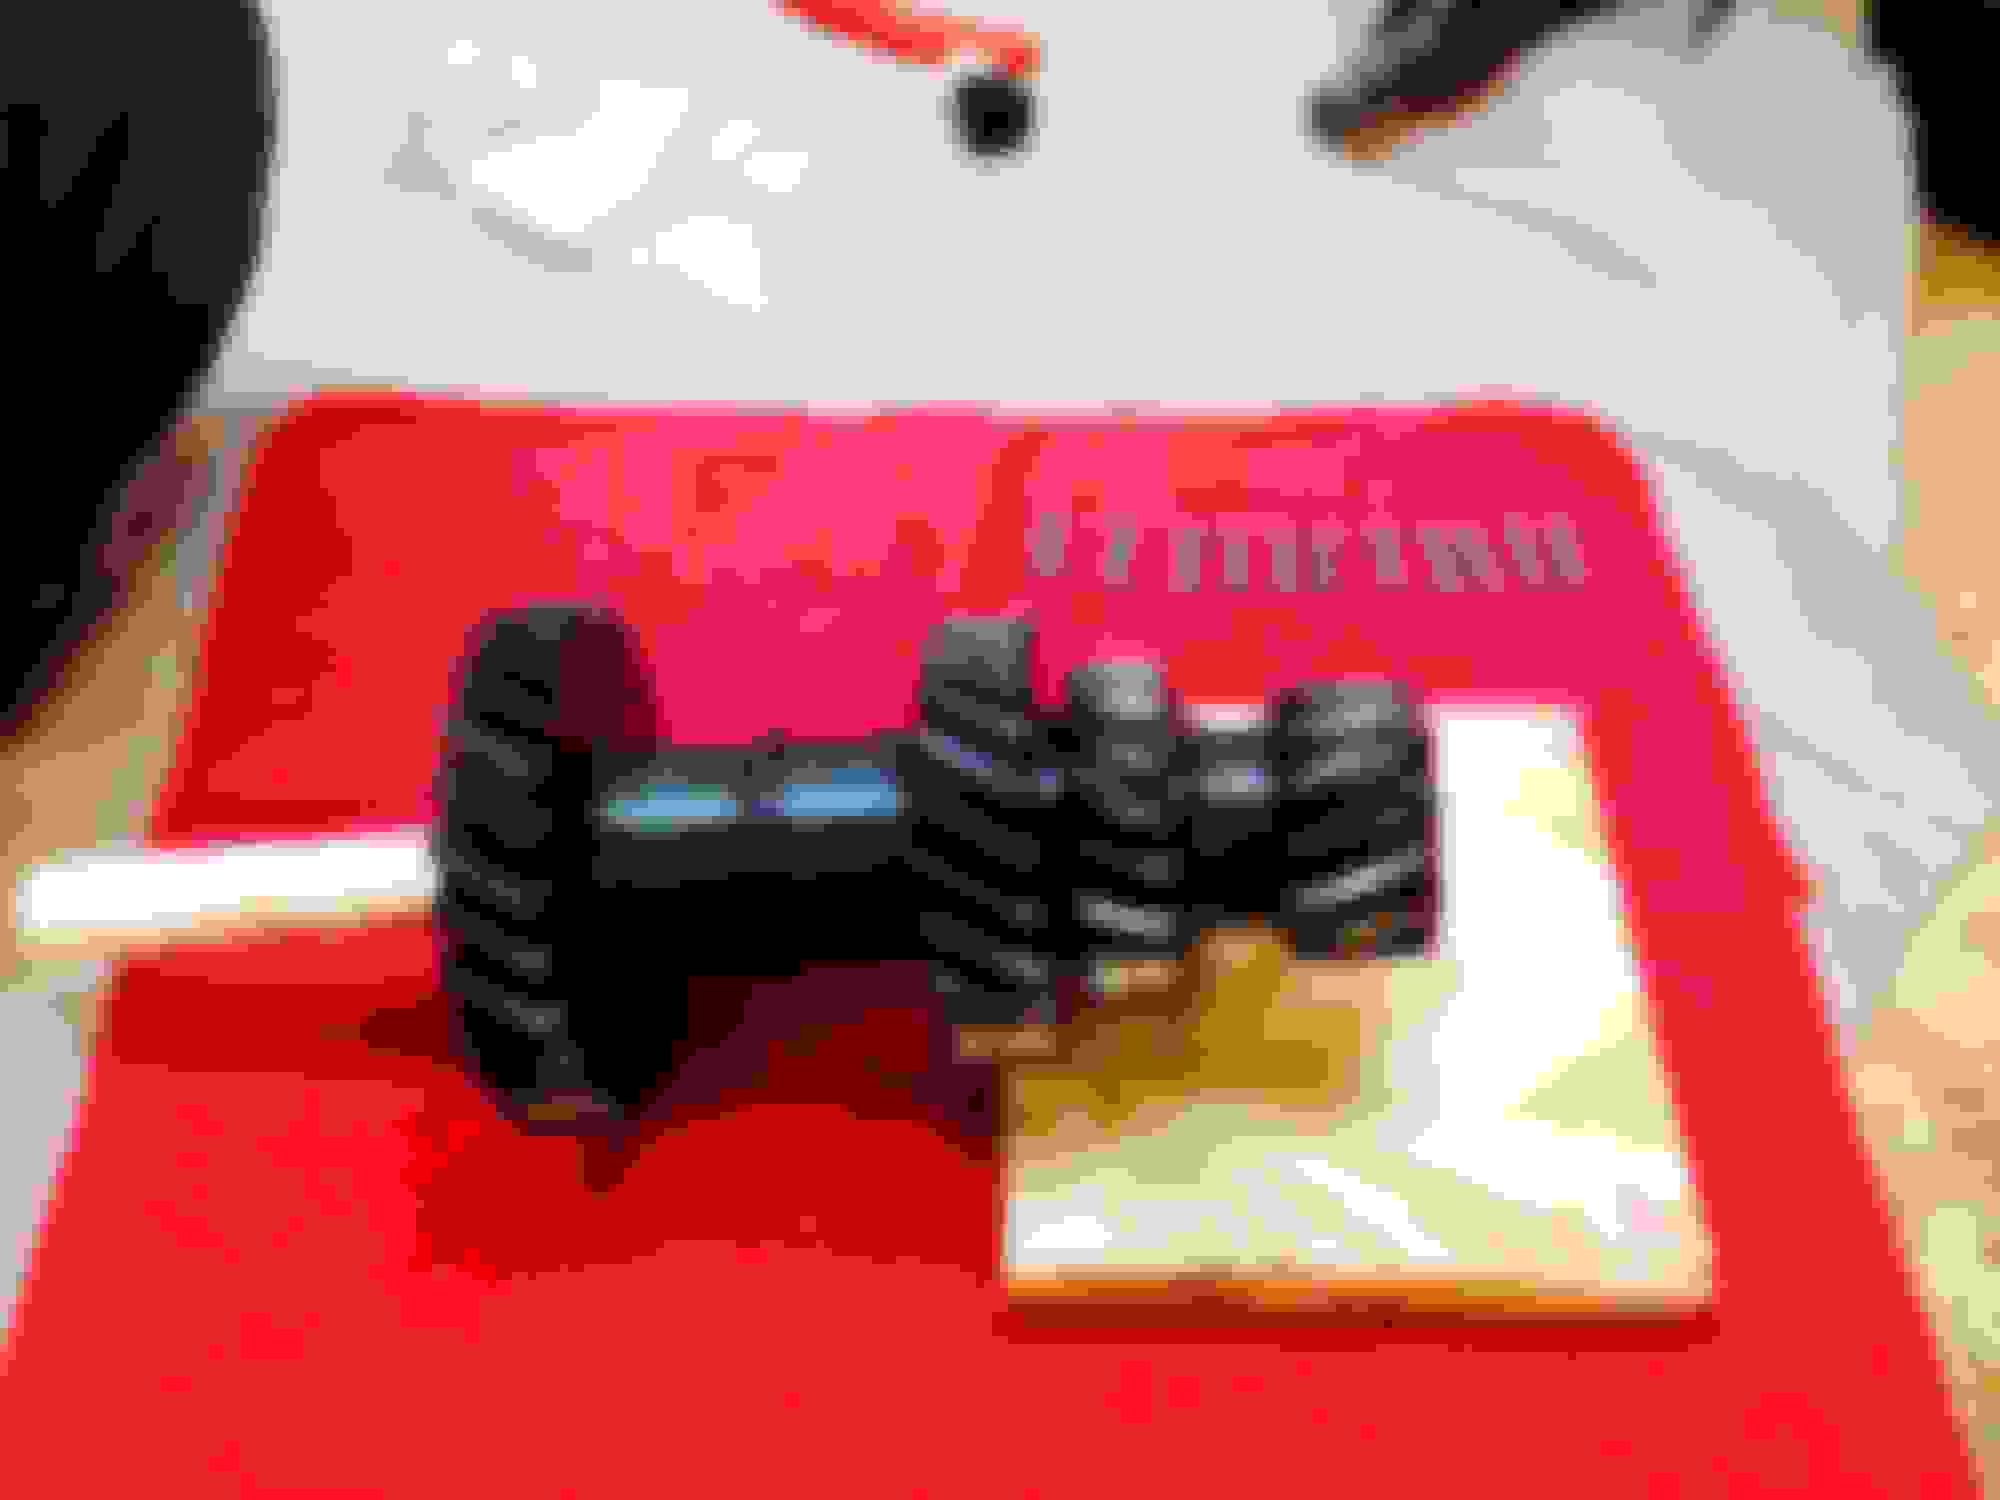
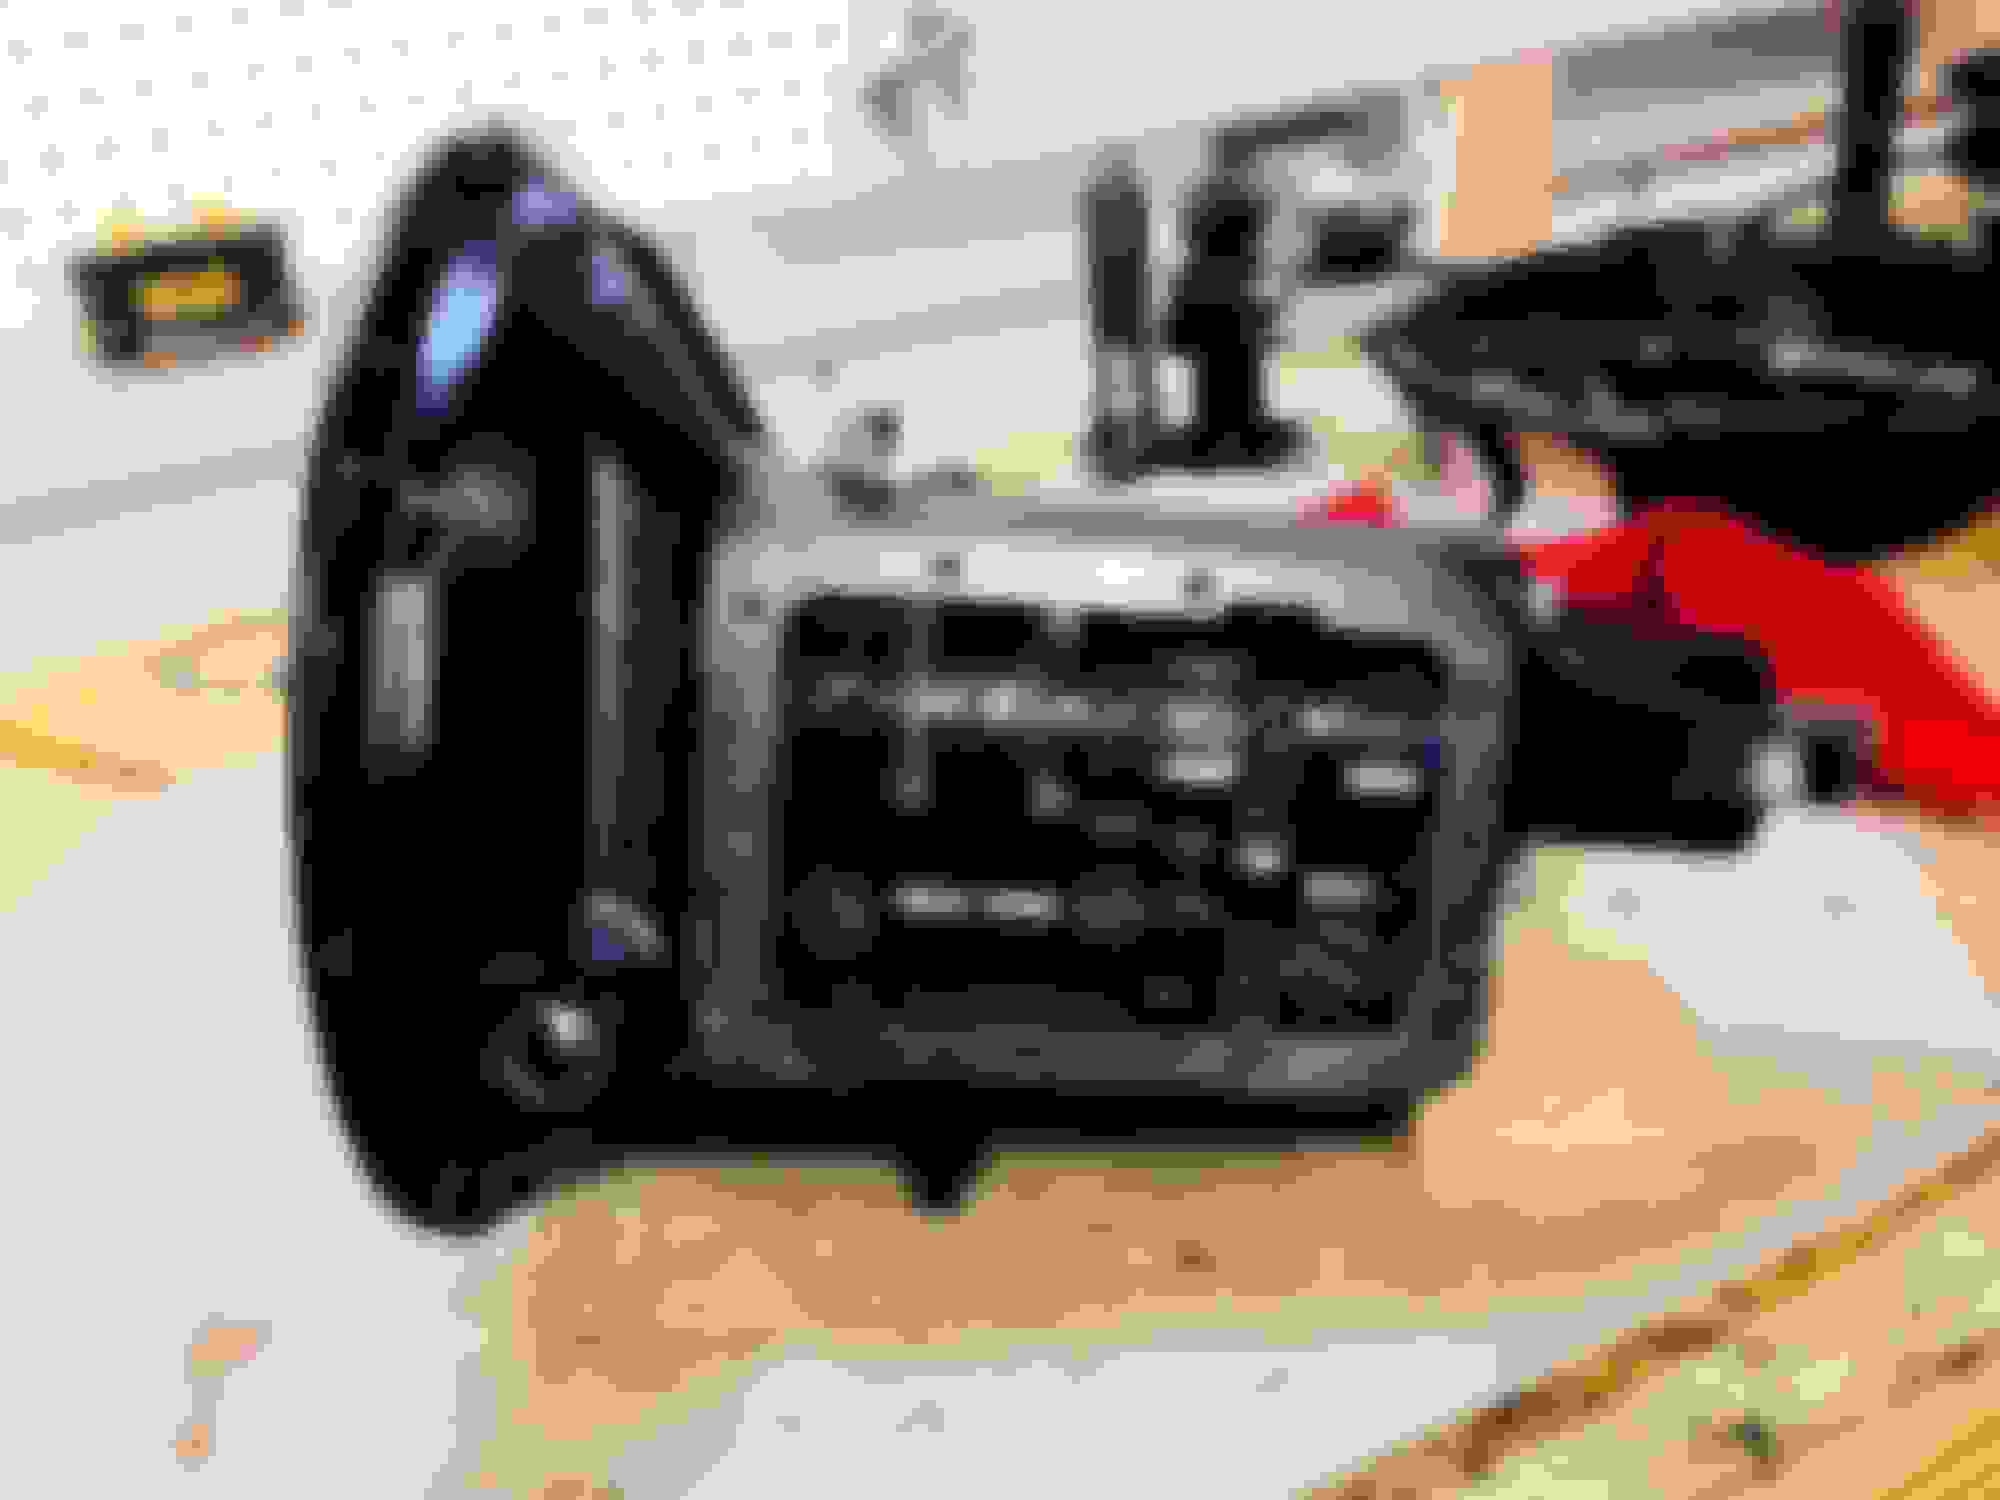
Back together and ready to install.
My engine build is front and center stage now. I took it and had it hot tanked just so I could see what I had. This is what 4 of my 8 cylinders look like! Yuck!
I have a spare block, but I'd rather not use it. Plus, I don't really know what shape it is in. I know that this one can be metal stitch pinned and sleeved. So I've got some contemplating to do.
So it has been over a year since I posted anything on my build thread. But, I have been doing other things. I got the engine built, installed, and running. I still have some tuning and tweaking, but that whole engine build thread is here:
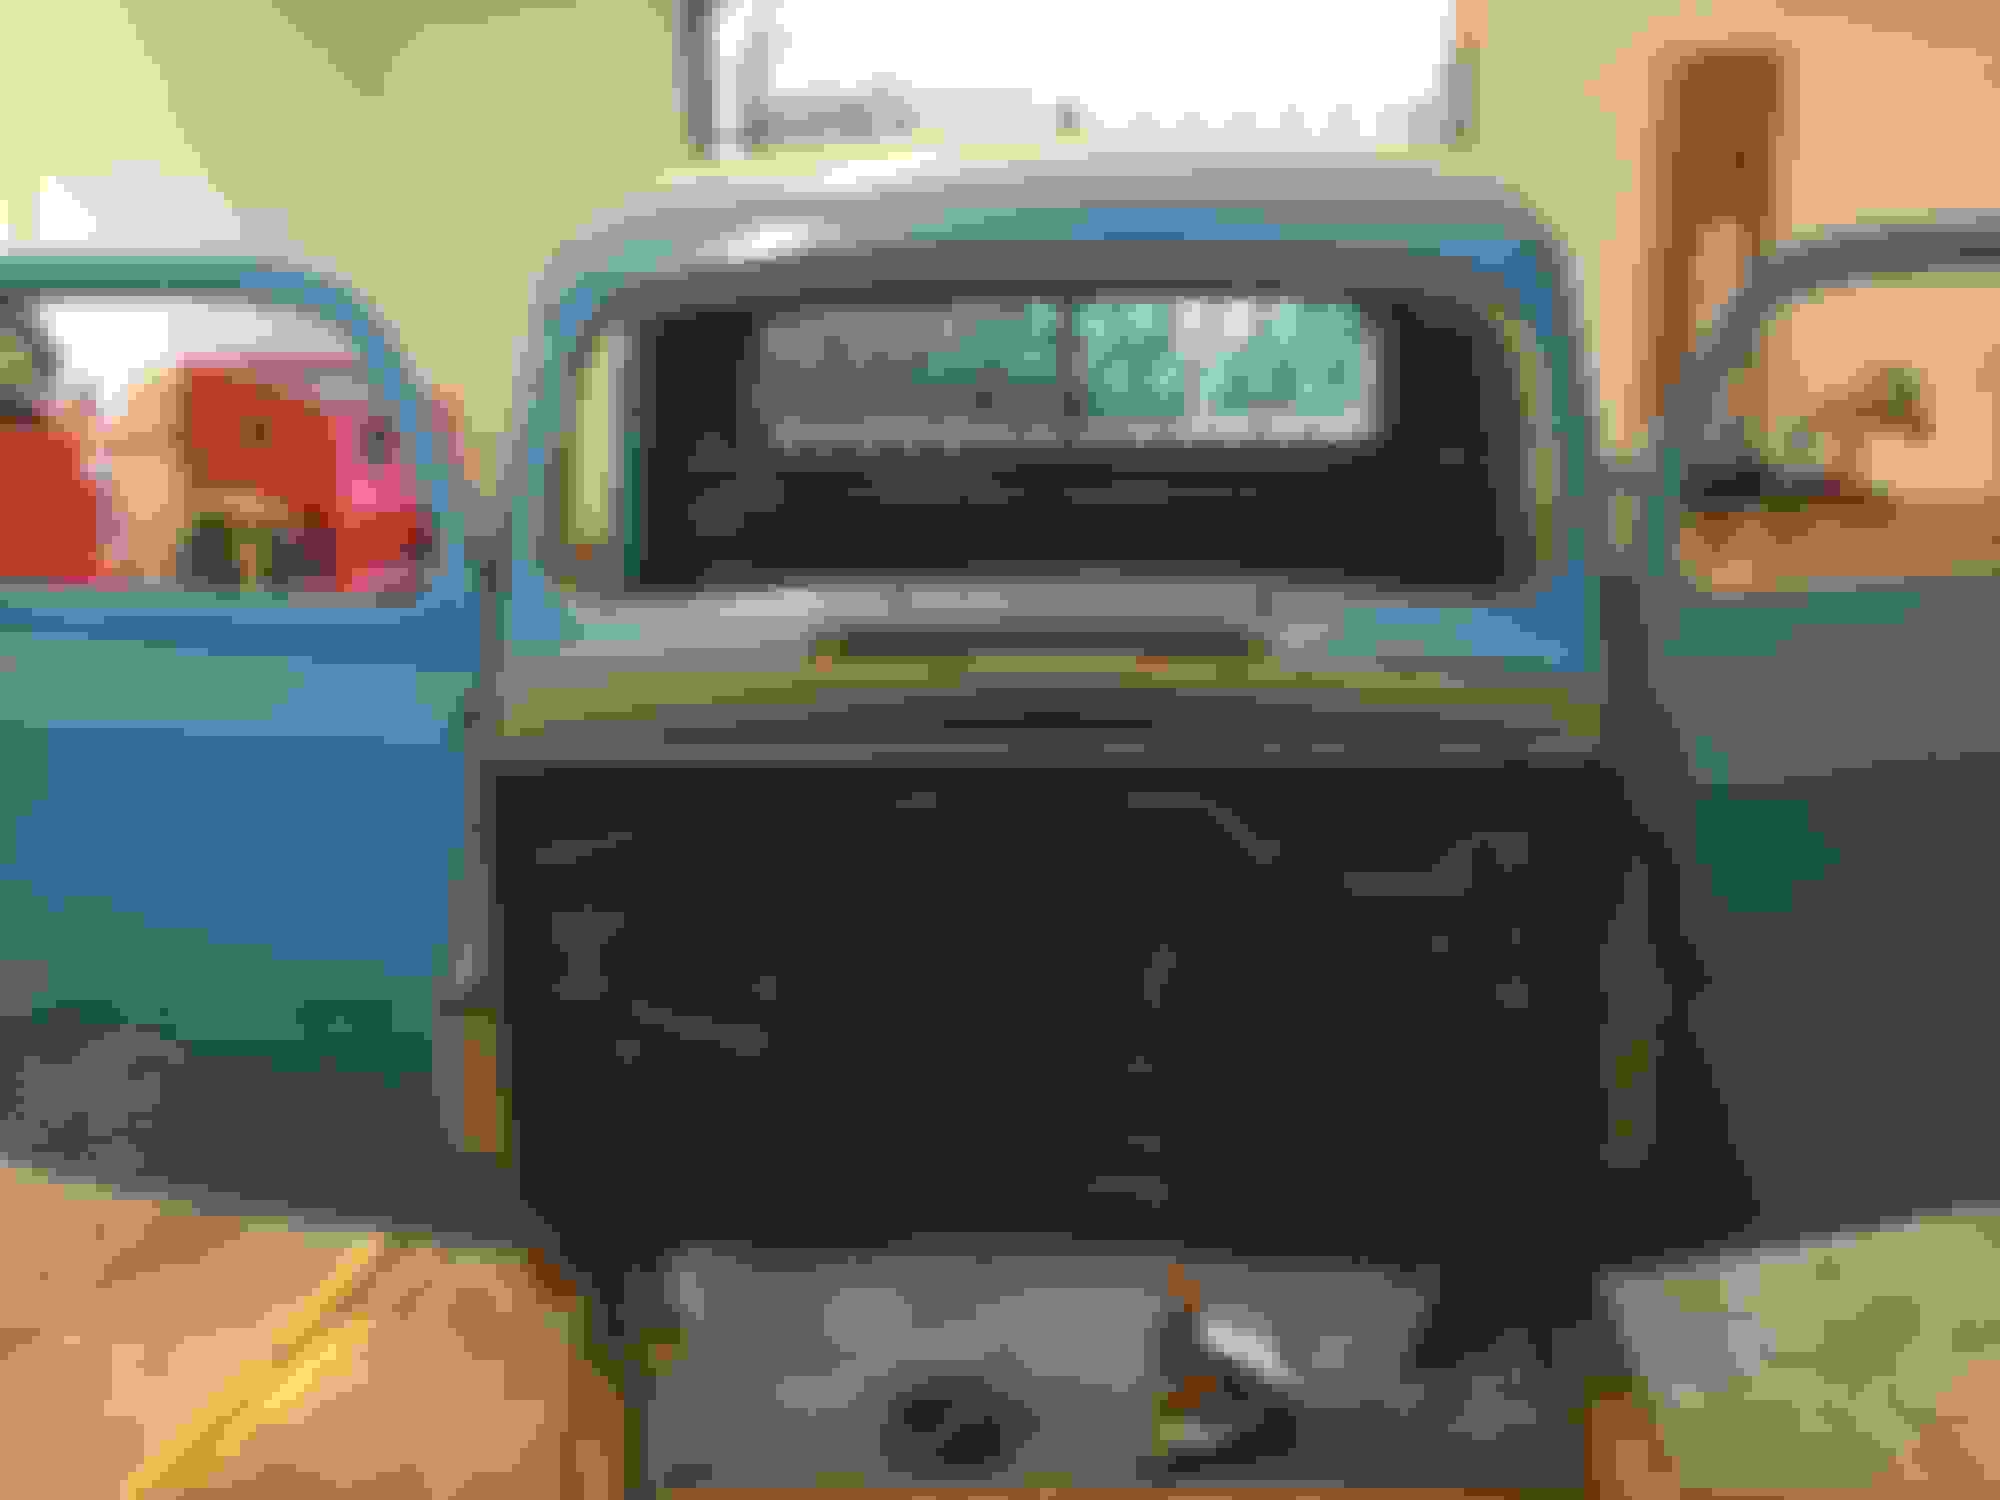
Early this week I rolled the cab from the back wall of the shop out into center stage.
I know the floor pans have to be replaced. 30 years ago when I was high school, I had "repaired" the floor by pop riveting pieces I sawed out from an old AC unit from my parents house after it got struck by lightning and had to be replaced. We kept the sheet metal from the cabinet.
My front windshield was pot marked. The rear wasn't cut right and leaked. Needless to say, neither was a keeper so I wasn't too worried about breaking the glass when I took them out. The biggest worry was not damaging the chrome deluxe trim. The trim came out fine and, yes, I did crack both windshields pushing them out.
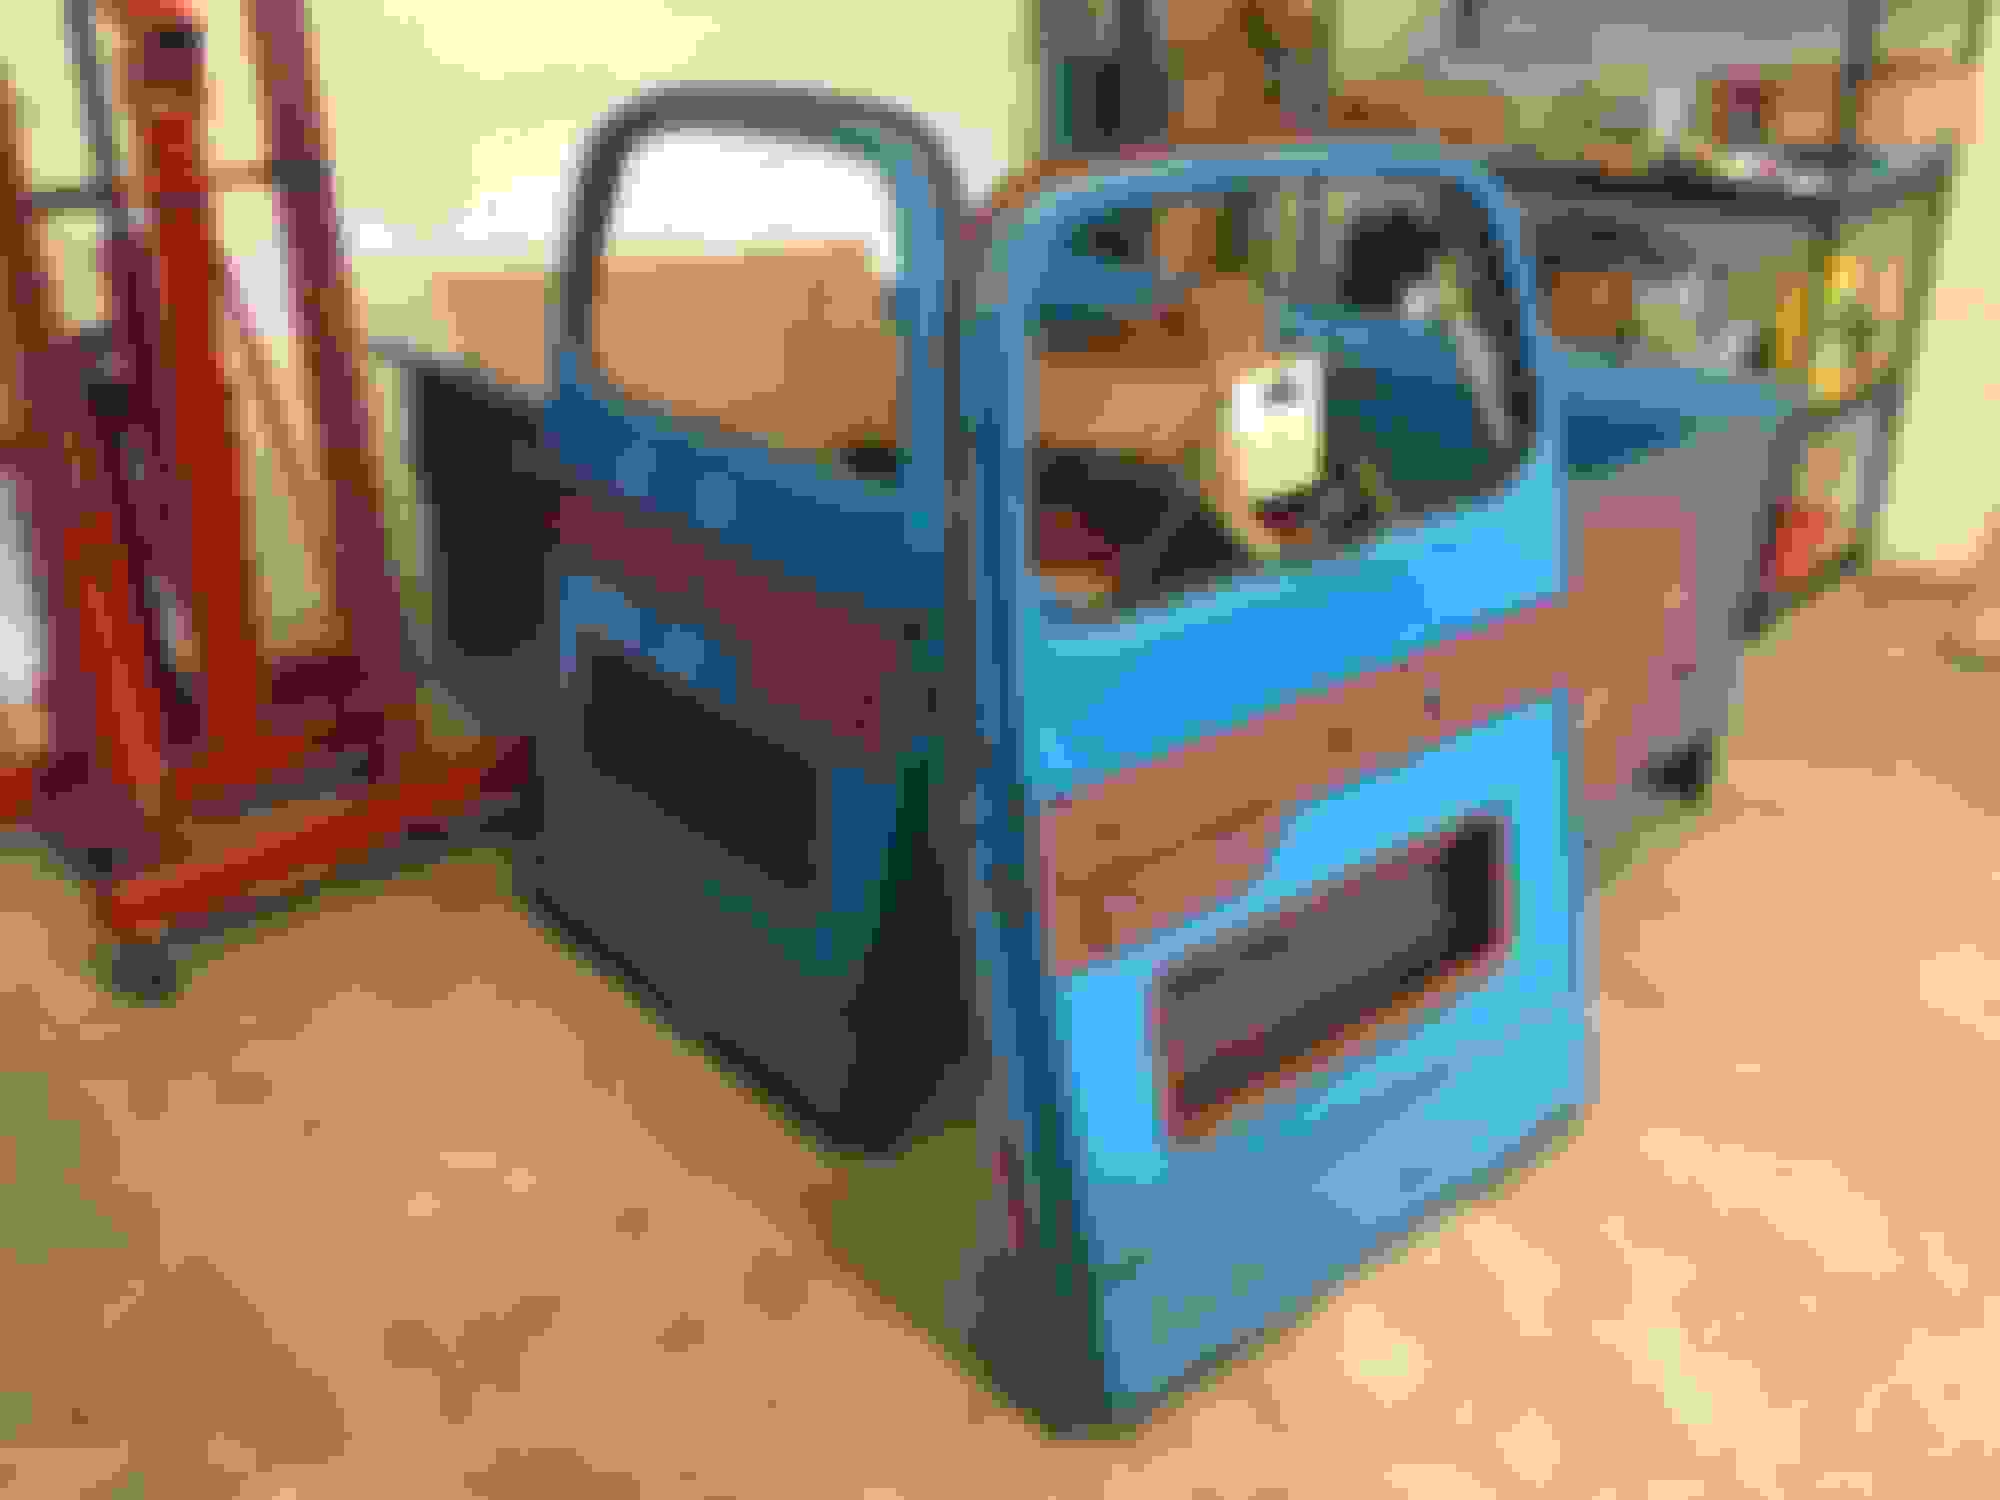
The doors are stripped and empty. I'm dreading the hinge pin removal from other treads I've read on here, but they have to come out. They are soaking in penetrating oil as I type, and I'm rounding up drill bits, punches, and chisels! Wish me luck!
This was kinda emotional for me. I continued stripping the cab and I removed this. Sometime around 1986 or '87, I wanted a new firewall cover for my truck. Mother asked me what I wanted and she said she would "try". We made a pattern from brown paper grocery bags taped together. She then bought the material at Hancock fabrics and cut it out. She made this for me on her Singer sewing machine. Look at the detail work on the binder! Better than anything the factory or any repro company ever thought about! Mom passed away this past August. At her funeral eulogy I talked about her making this for me. It will get cleaned and reused even if it doesn't match anything else. It's mandatory.
So the body begins in earnest. Wish me luck on those door pins. I'll make sure to keep a piece of paper and write down all the new curse words I invent taking them out! LOL!!!
I started on the drivers side. I tried to push them with a C clamp and socket. They just laughed. Then I center punched the head, drilled it. Broke 4 drill bits, but I was able to knock off the head with a chisel and drive it down. That was the upper. I couldn't do that on the lower.
I finally just gave up and slid the cab off the dolly and rolled it over. I couldn't get the lower to move, so I just carefully drilled it all the way from the bottom to the top. Broke two more bits. But, on the last drill, it relieved enough and spun in the hole and came out.
Keith, I used an air hammer with a punch chisel to remove the door pins on my '51 panel truck. Lots of soaking with penetrating oil first. I also used a torch to heat up the hinge.
I never did get the pins out on my '51 1/2 ton I did a couple of years ago. I had to remove the whole hinge from the frame and leave them attached to the doors. It was a bitch to paint the doors with the hinges on them.
$75 worth of drill bits, punches, chisels, double cut burrs and torch gas! 11 hours of time spread out over 3 days. 4 hinge pins and 2 doors off! And at least 58.6 newly invented cuss words. Oh well. As far as I know, it is the first time they've been out since 1952!
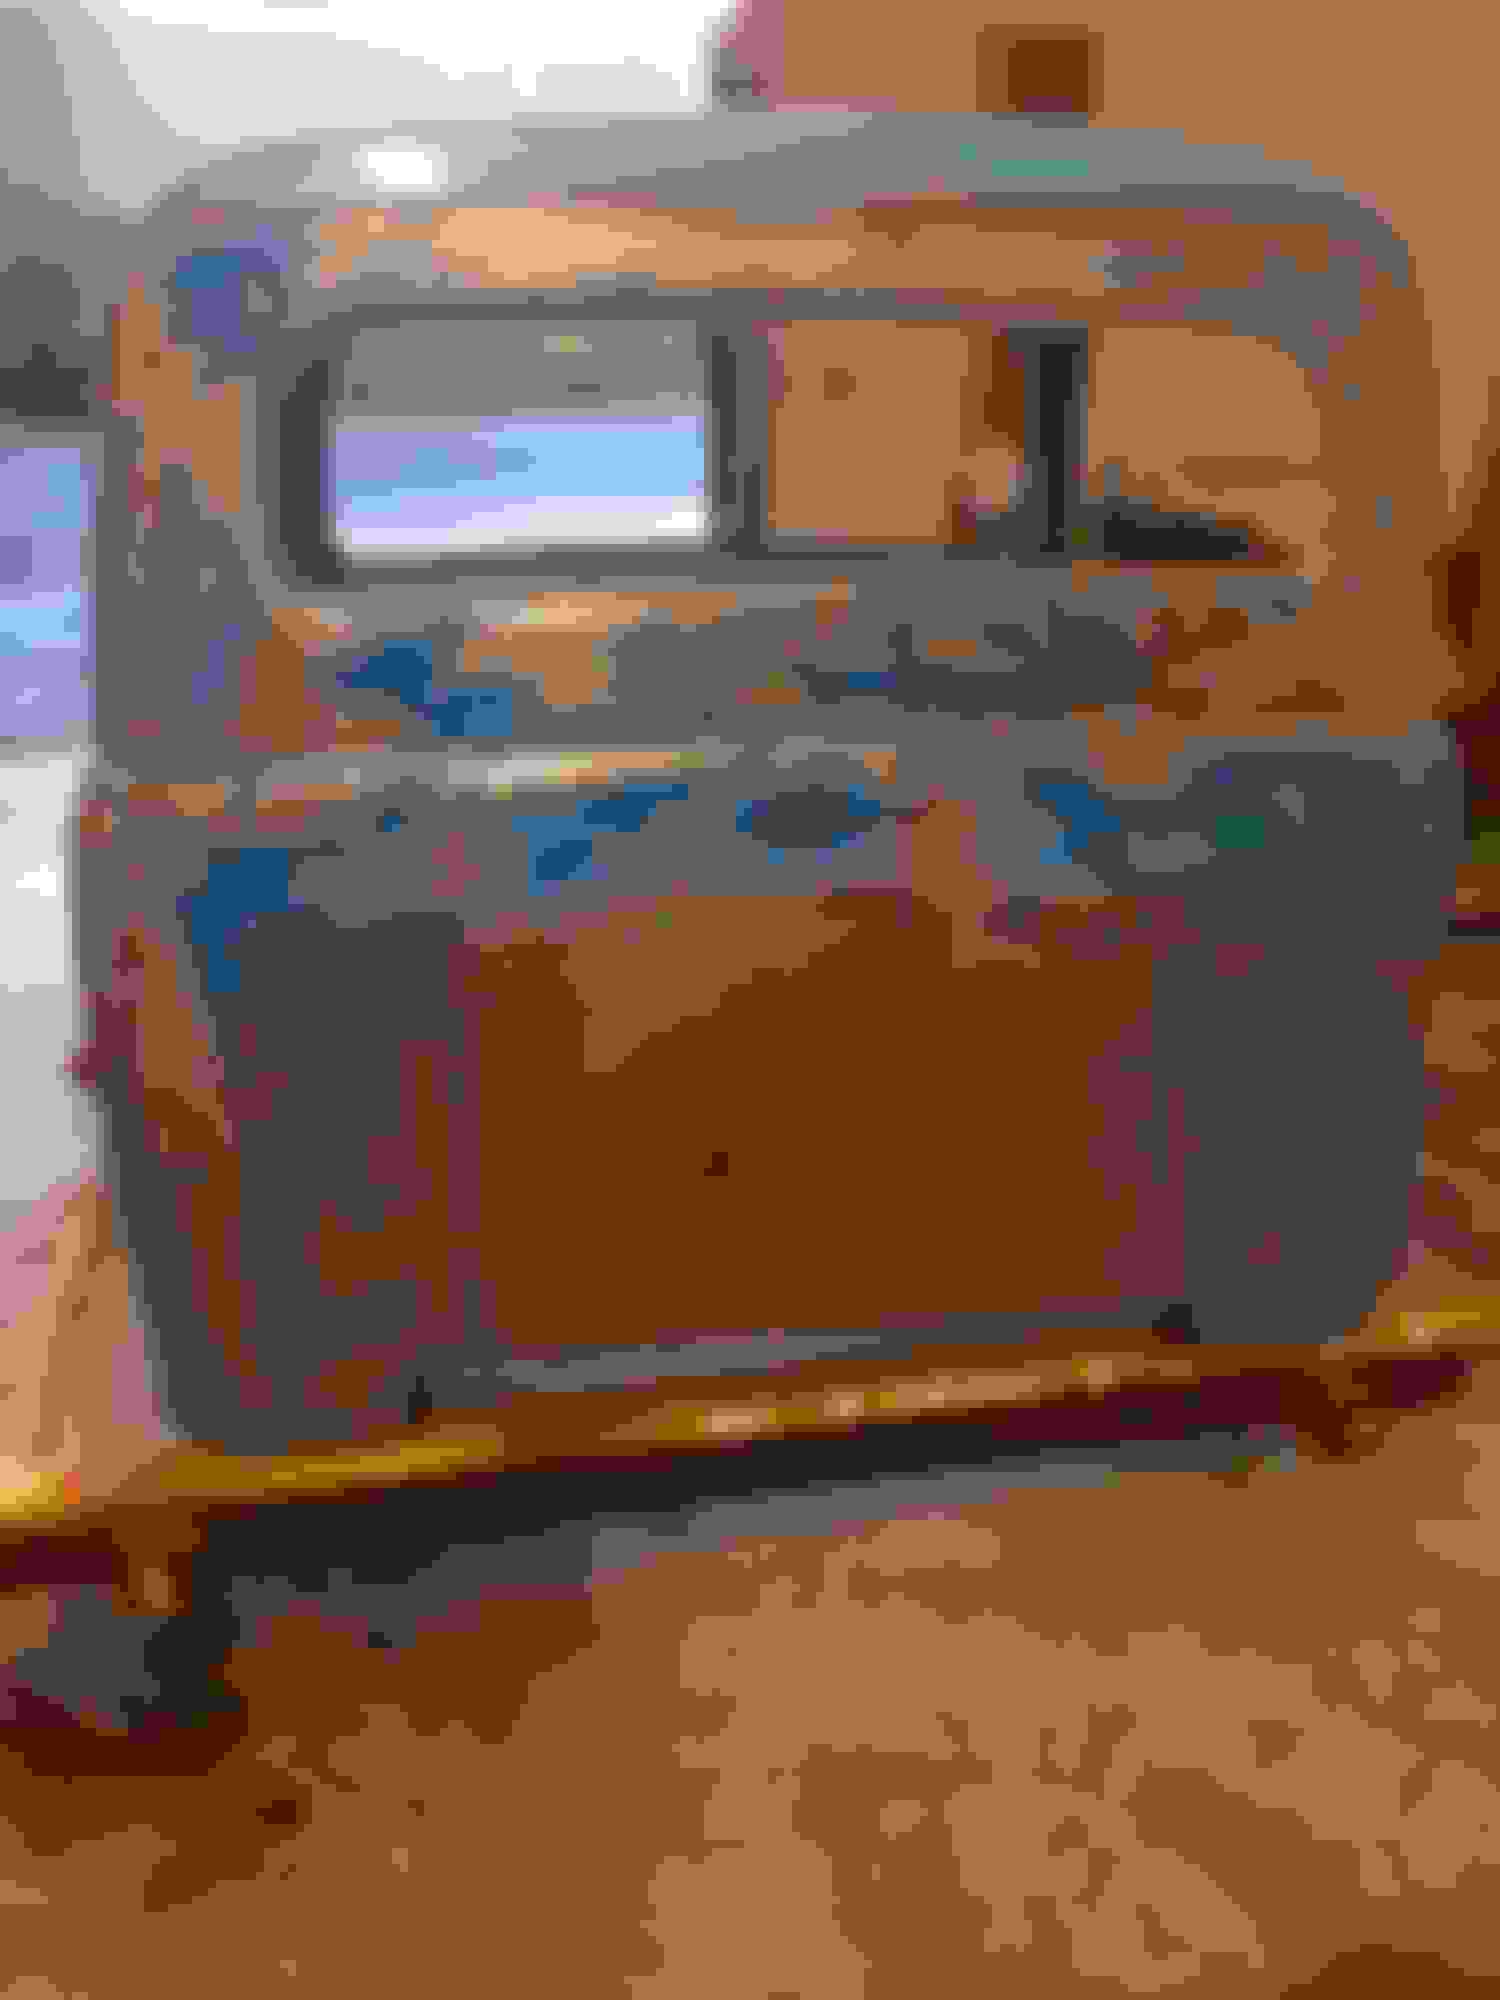
I've spent the past two weeks in the shop stripping the cab. I'm still not done. I am using aircraft paint stripper to chemically strip it.
If you want to know what Hell feels like, come work stripping paint using chemical stripper wearing jeans, long sleeves, rubber gauntlets, and face protection in 96 degree, 80% RH Southern heat. All I can say is that our ancestors were tough! I took off this week but 3 to 3 1/2 hours a day was about all I could last. I roll the dolly with the cab out into the back parking lot so that I could apply the stripper, scrape, wire brush, and rinse with a garden hose. Then back the shop to dry, and start again the next day. I'm still working but here are a few pics.
There are areas of the original gray factory baked enamel mostly on the door jambs and the firewall. All I can say that is a boetch to turn loose. In some areas I'm on the 3rd or 4th application of stripper. It is coming, but not easily.
I bought this floor board patch for the drivers side about 20 years ago. I think it was about half of what I paid for the passengers side 2 weeks ago.
Started taking inventory of the doors as well. I'll start stripping them after I finish getting the cab clean
I have a multiple dates with this coming up in the near future.
That's all for now! Have fun and stay cool and hydrated if you're outside working on your trucks.
The original paint was some tough stuff! I also did mine in the summer, with the cab on, and the paint just laughed at the stripper. In the end I just gave up, had the painters do it.
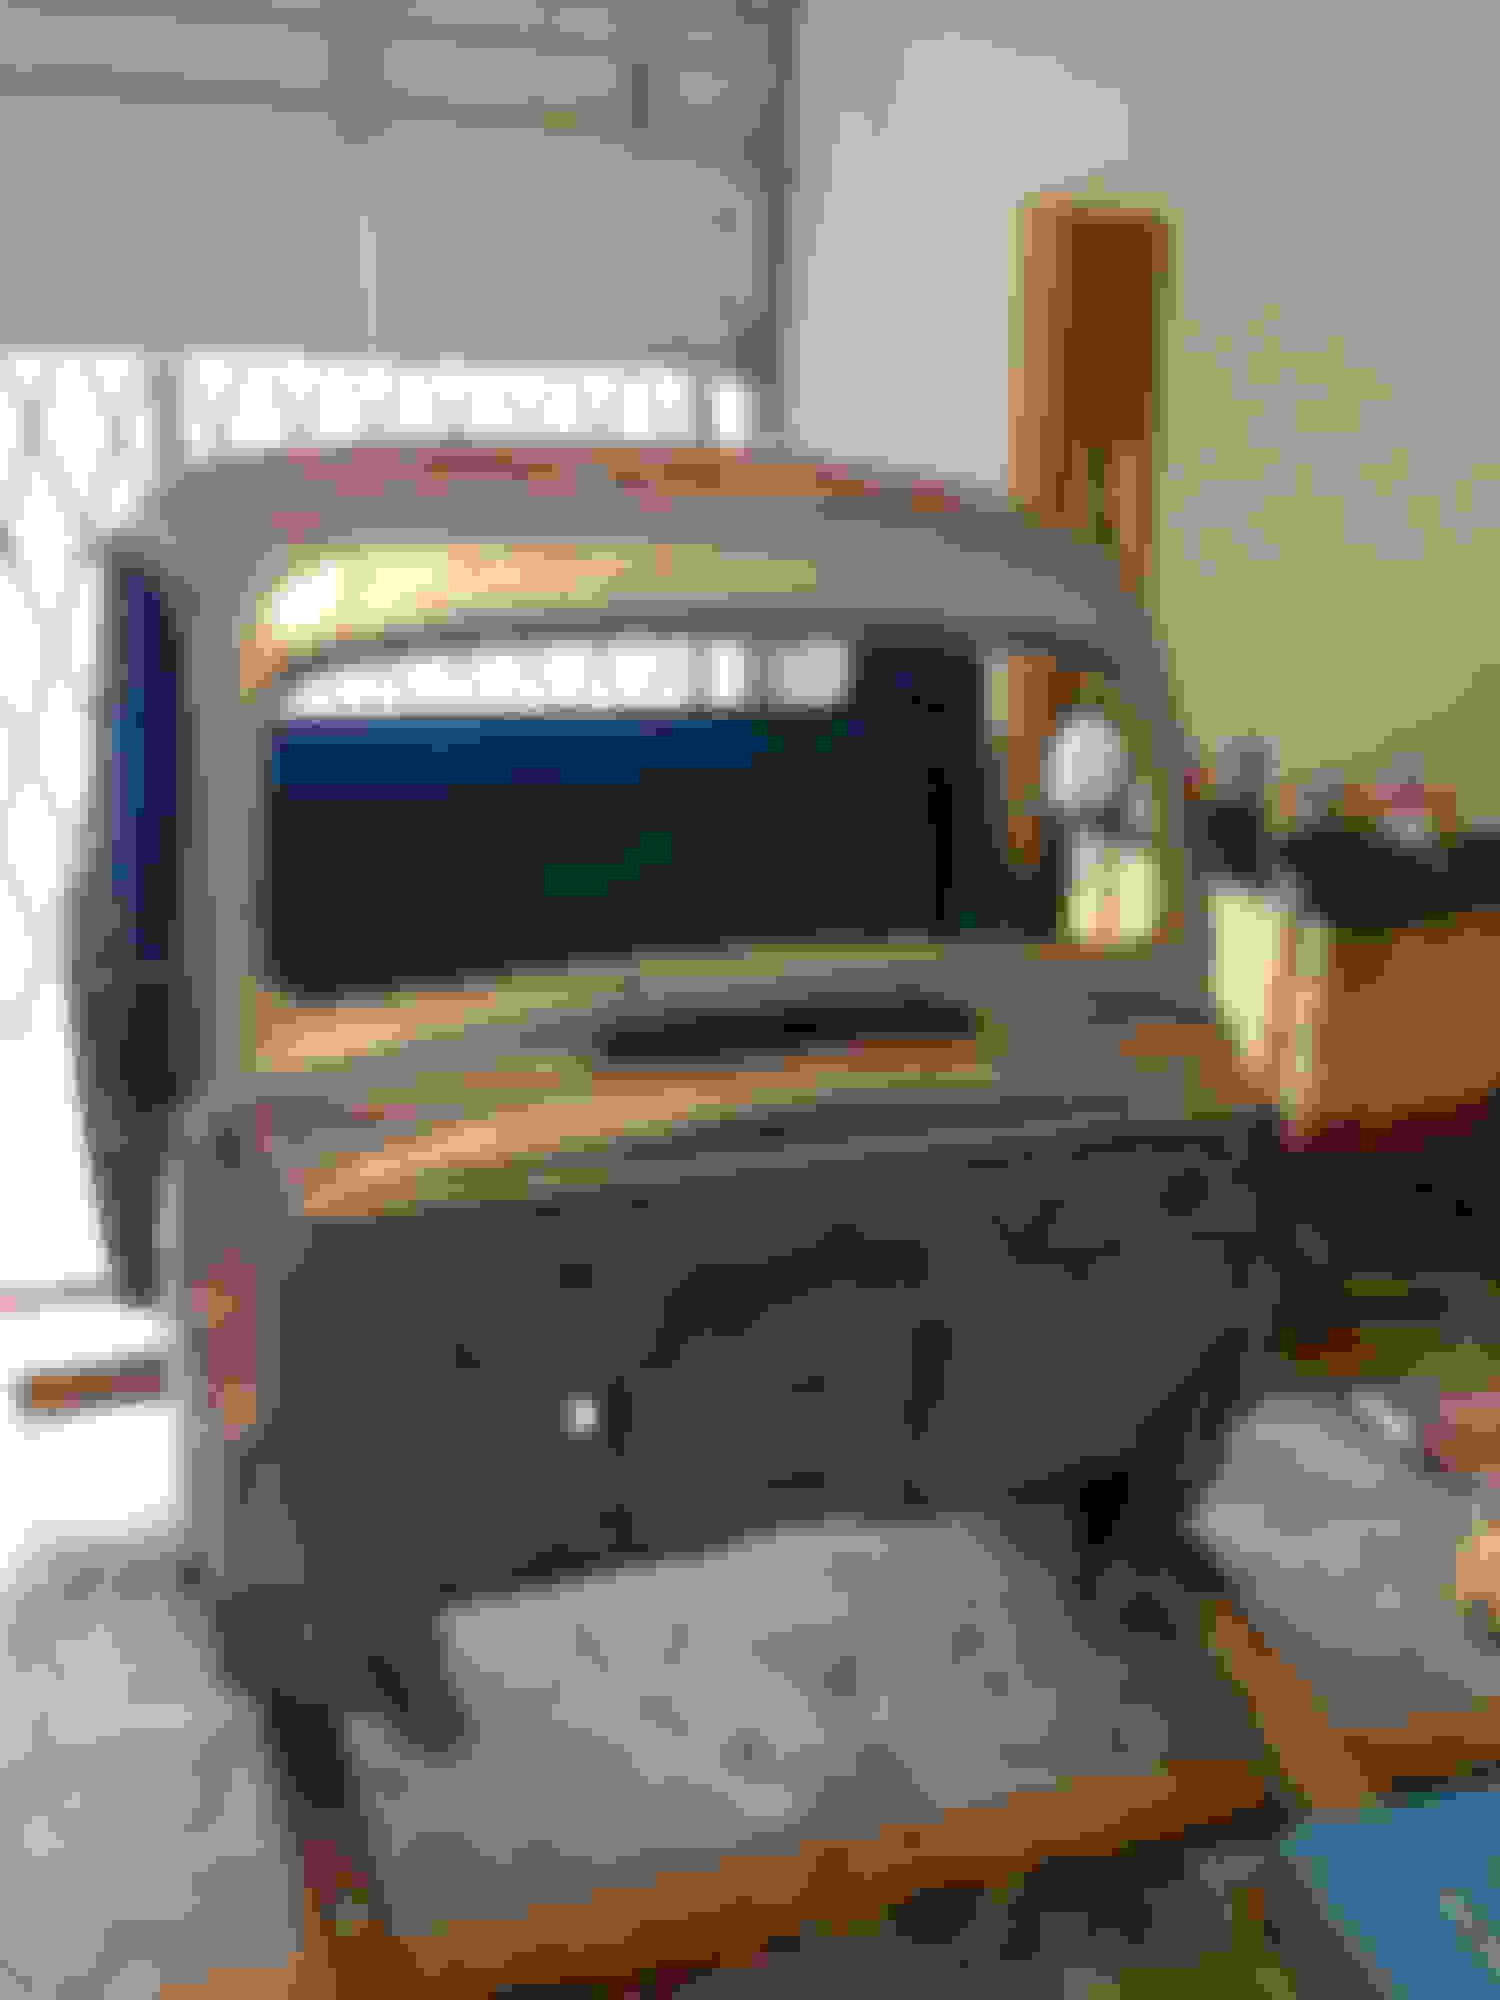
Looks like someone couldn't decide where they wanted the heater hose holes?!
Ross, my high school self has to take credit for that debacle and future repair.
The first winter I had the truck, the heater core leaked. A guy in our truck club had one he gave me but it was different. There was no eBay back then, just swap meets so I took what I could get. I was only 16 so the thought of knocking out more holes didn't seem to matter much.
I'll let you know how 48 year old Keith feels about that in the coming days!
 04-10-2015, 10:26 AM