
Another Cummins Swap...

#287
 10-21-2015, 09:16 PM
#288
10-21-2015, 09:26 PM
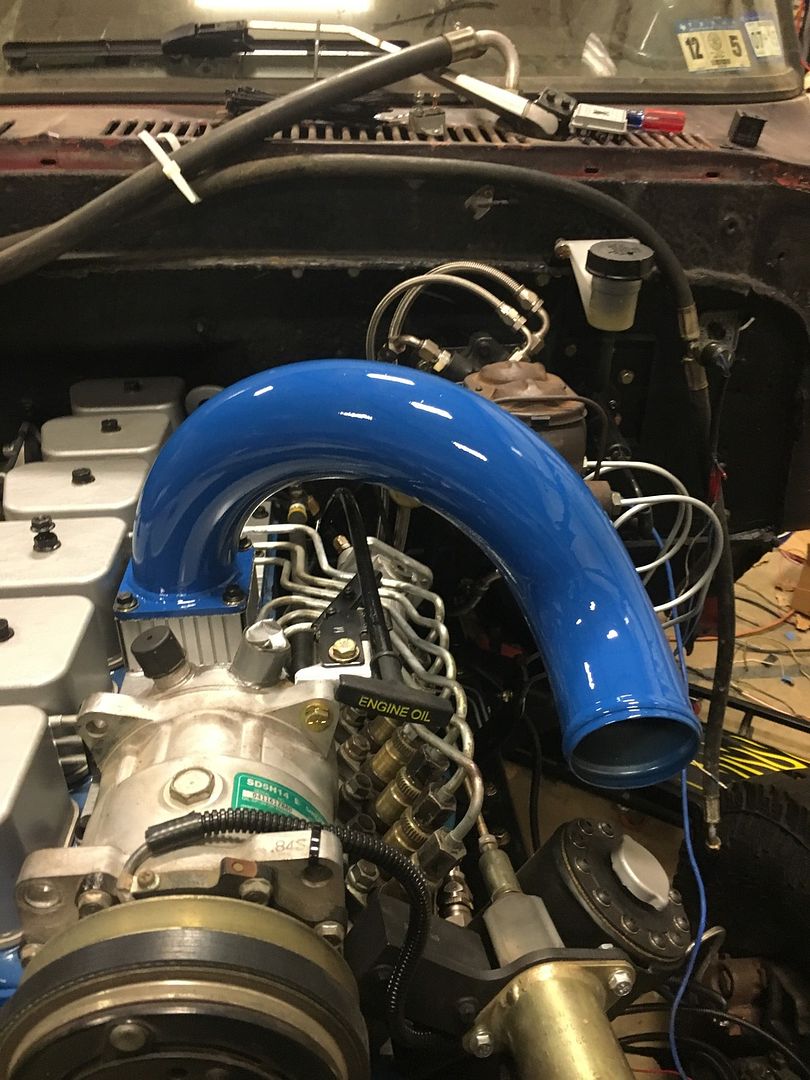
A last pic of the intake on the engine
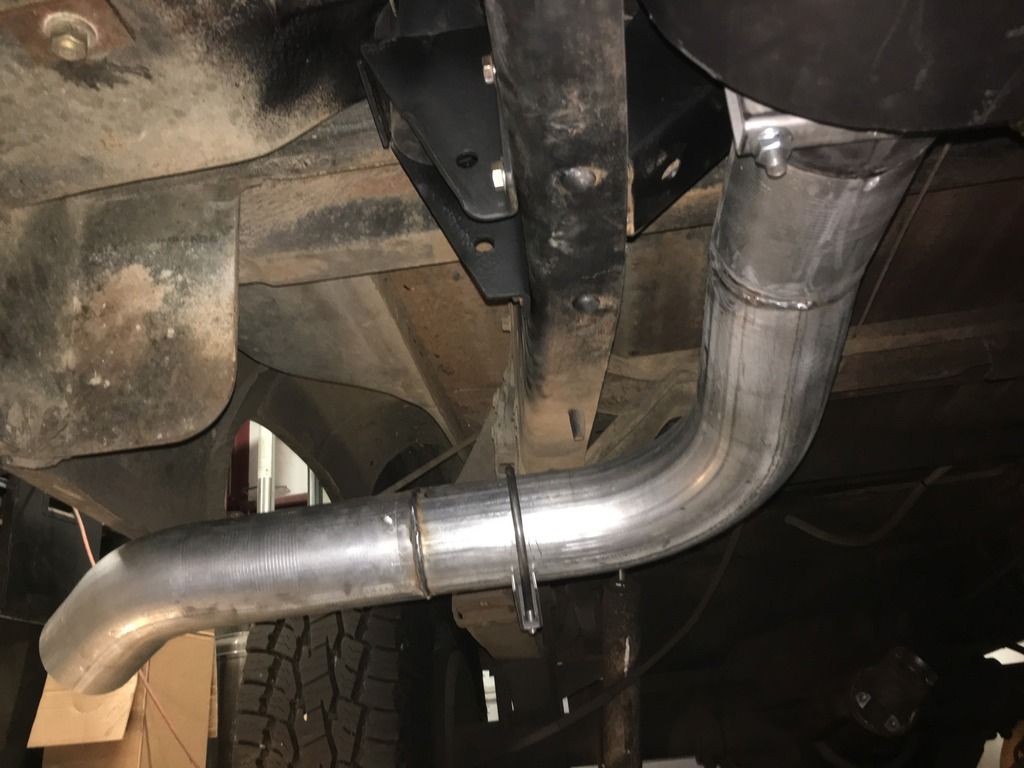
Started looking at the exhaust, not gonna run outside frame. Couldn't get muffler high enough to suit me, easy to do with a smaller muffler or straight pipe.
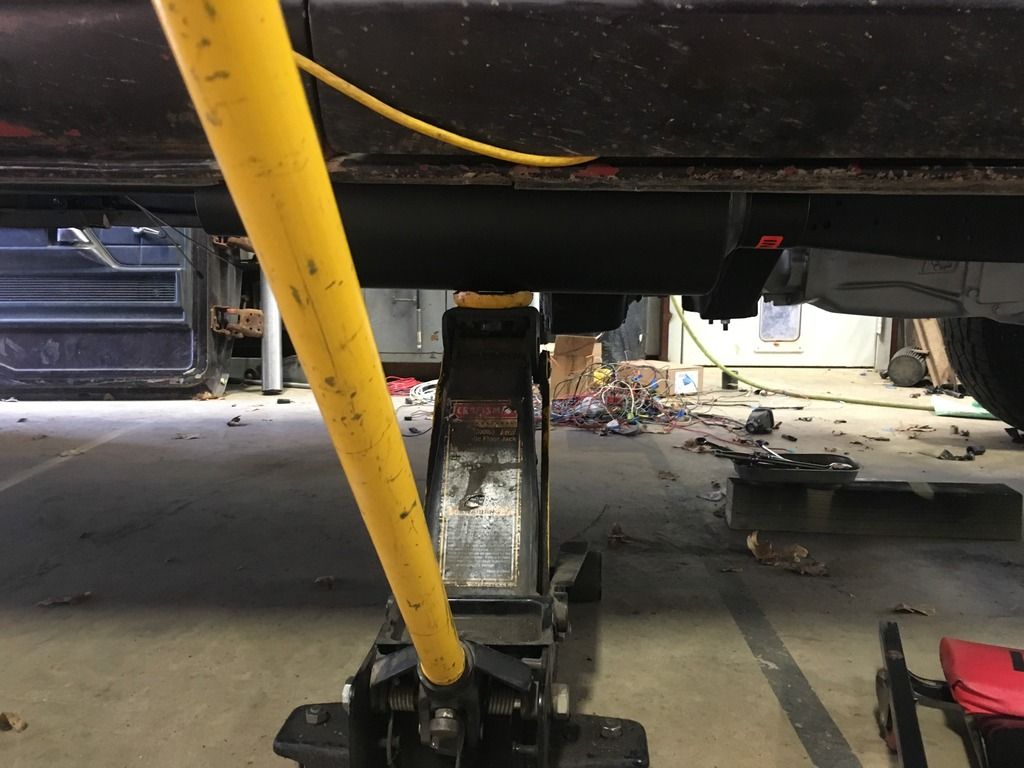
I dont like 6 cyl when they are loud, diesel or gas, inline or v6. I dont like green eggs and ham
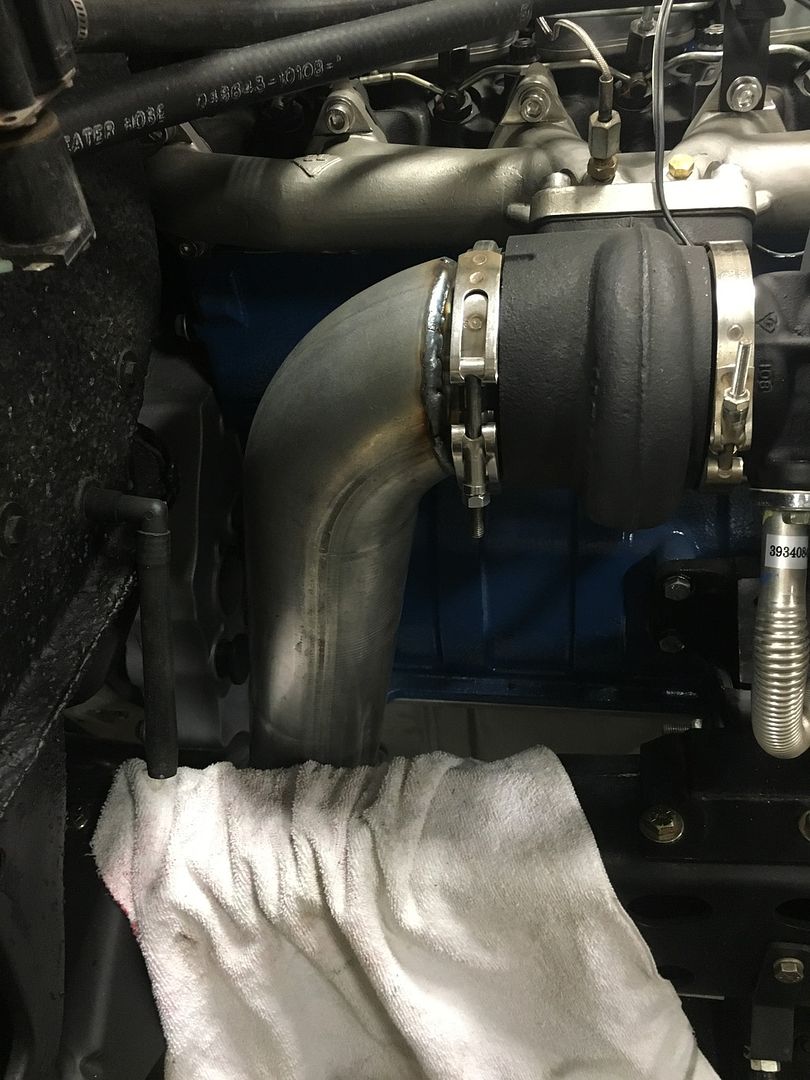
Down pipe and exhaust completed tonite, all pics didn't load so Ill give what I have
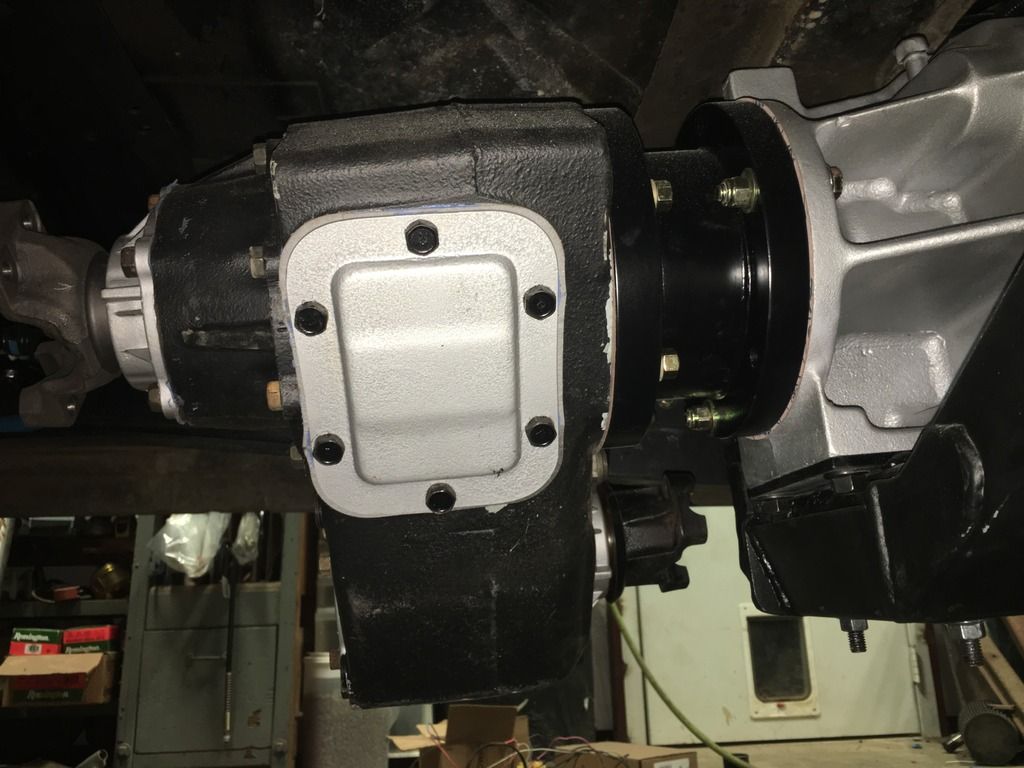
Tcase in with new adapter. Ill get pics with shifters and linkages later

Started looking at the exhaust, not gonna run outside frame. Couldn't get muffler high enough to suit me, easy to do with a smaller muffler or straight pipe.

I dont like 6 cyl when they are loud, diesel or gas, inline or v6. I dont like green eggs and ham
Down pipe and exhaust completed tonite, all pics didn't load so Ill give what I have


Tcase in with new adapter. Ill get pics with shifters and linkages later

#289
10-21-2015, 09:37 PM
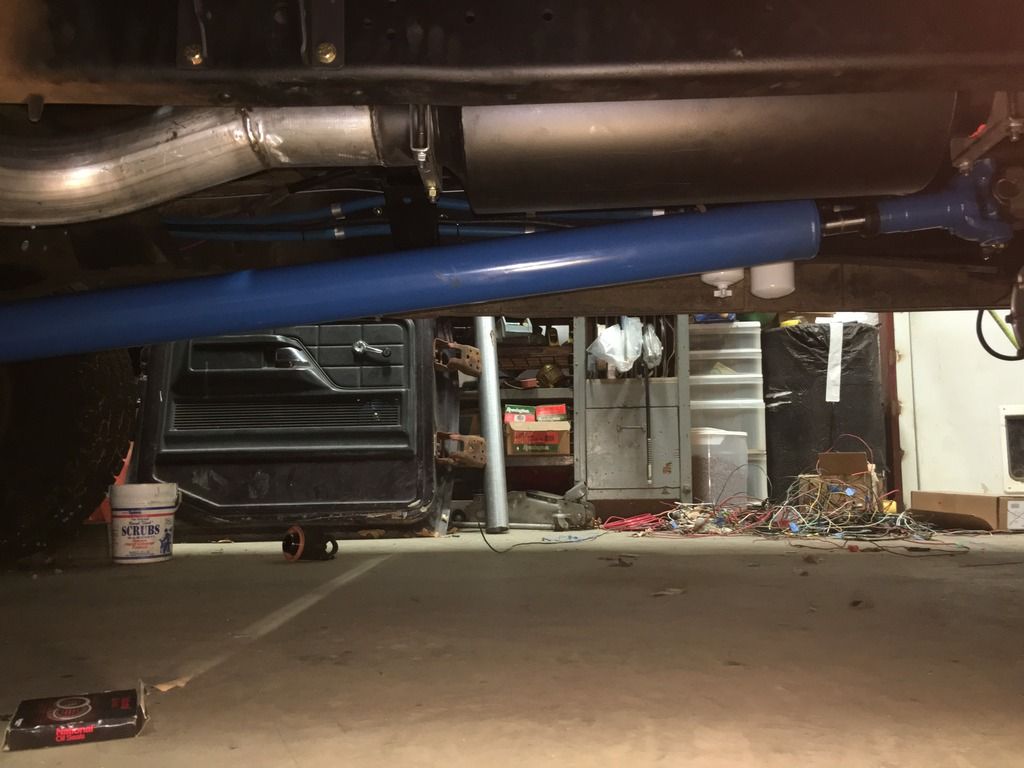
Finally got hughesnet and photo bucket to load my photos. More exhaust pics
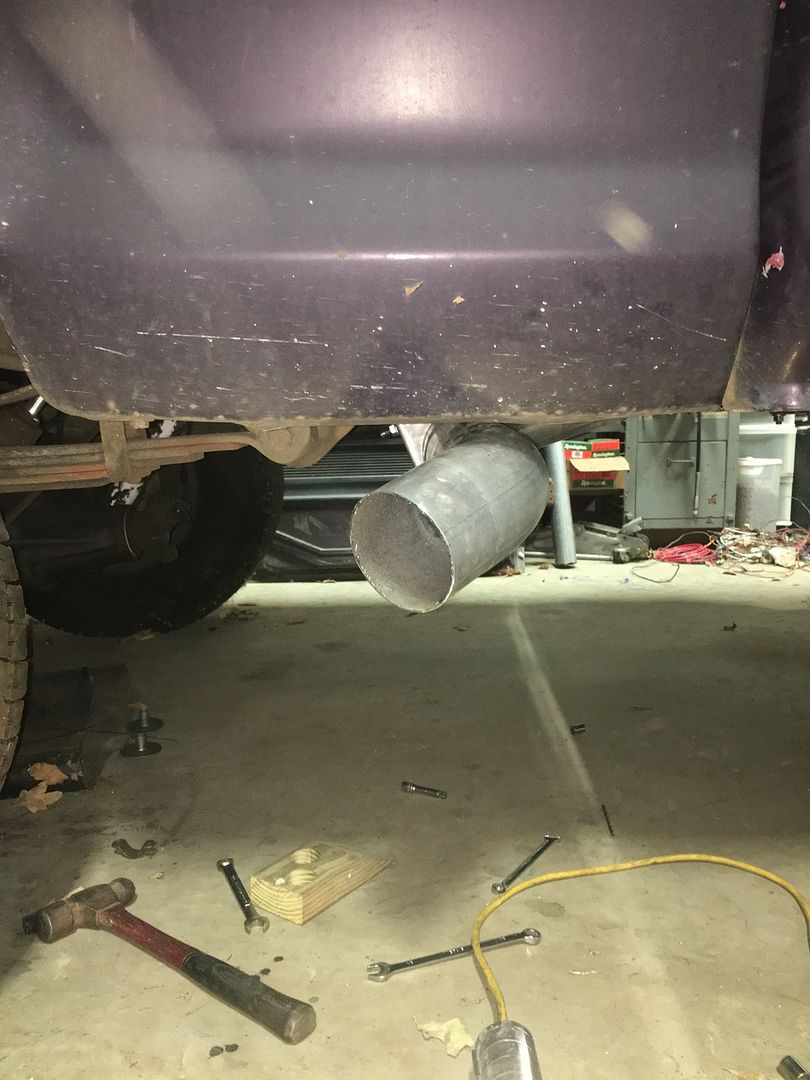
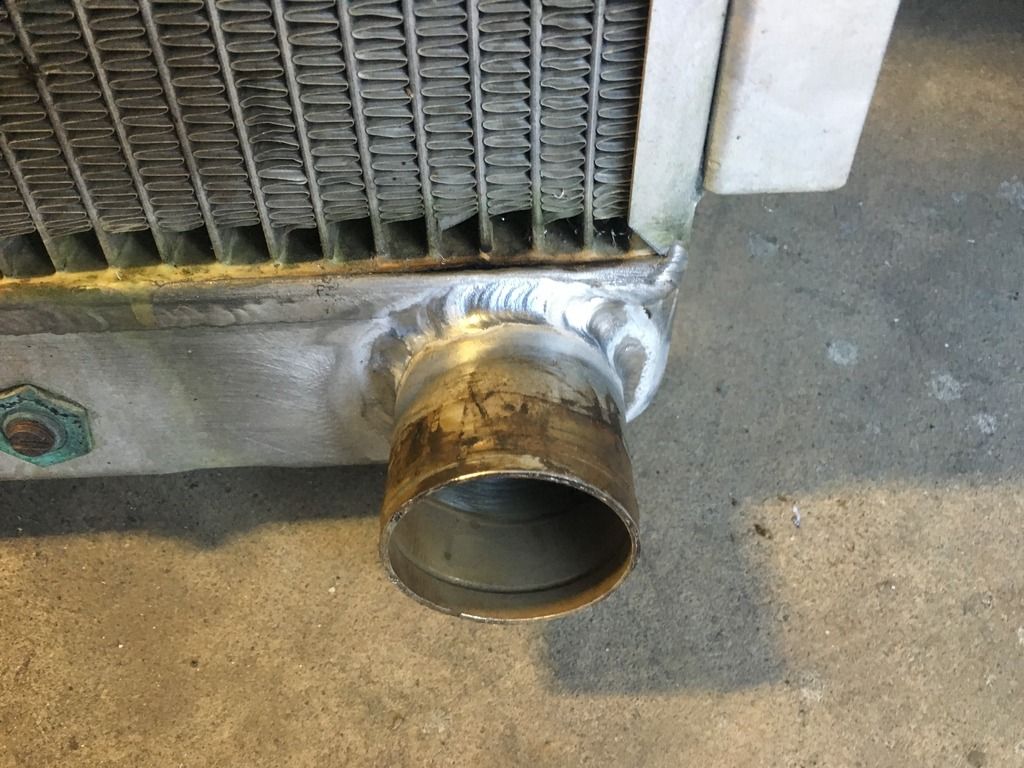
And yes, I forgot to buff the end of this pipe
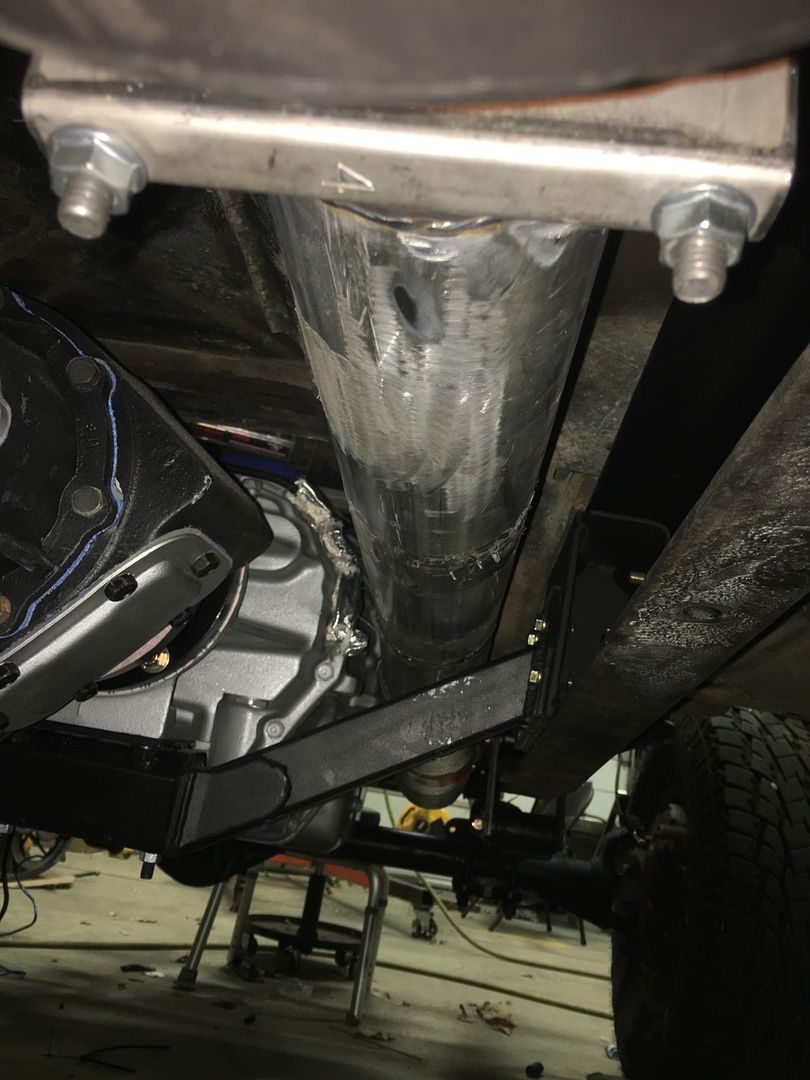
Muffler is several inches higher now than would have been outside the frame
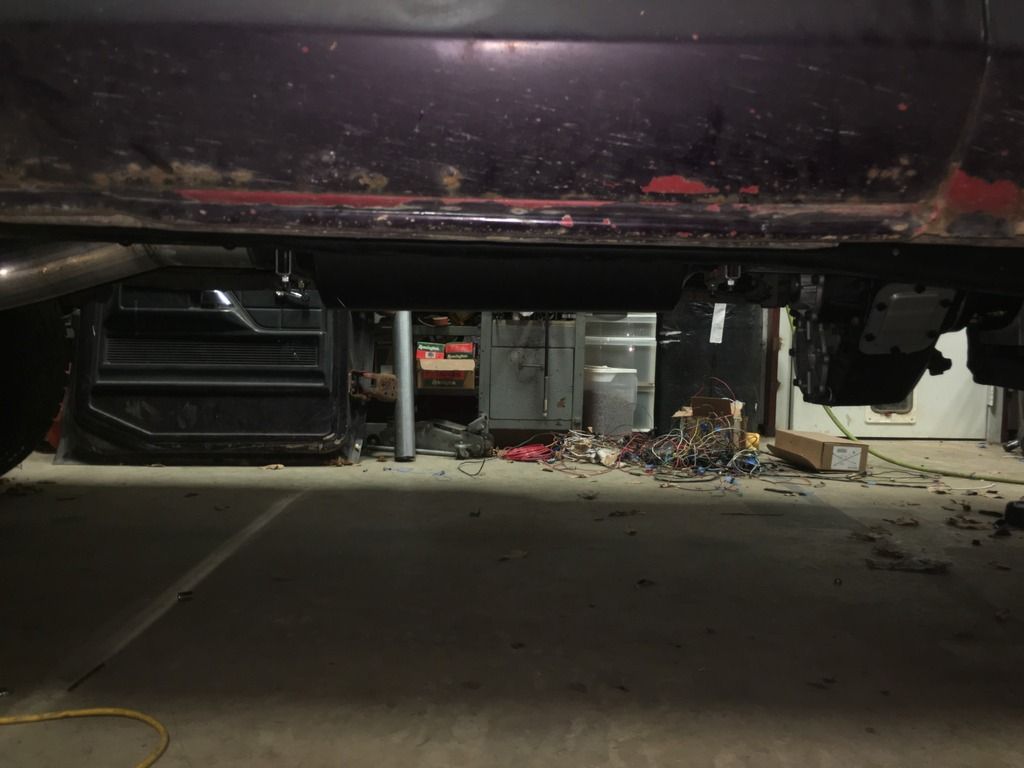
Excuse the mess of wires in the background, thats what I will be discarding
New 1410 pinion yoke and seal installed along with new driveline
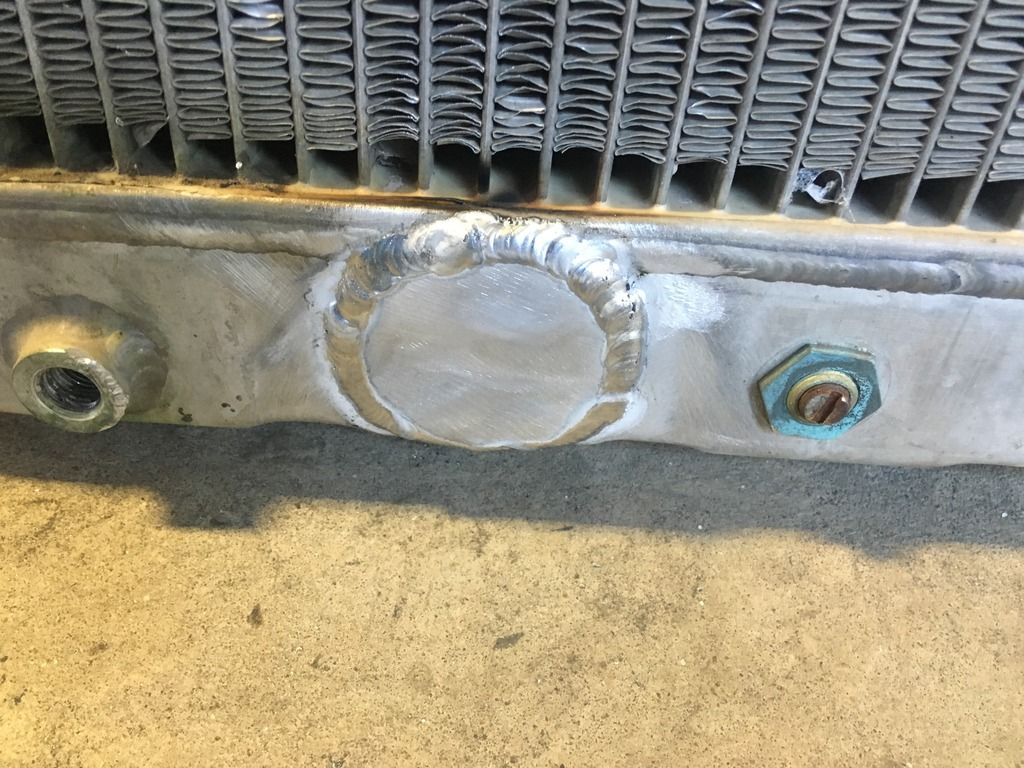
I found a place 40 minutes from here to weld my radiator up, I thought $20 was very reasonable


And yes, I forgot to buff the end of this pipe
Muffler is several inches higher now than would have been outside the frame

Excuse the mess of wires in the background, thats what I will be discarding
New 1410 pinion yoke and seal installed along with new driveline

I found a place 40 minutes from here to weld my radiator up, I thought $20 was very reasonable


#291
10-22-2015, 09:27 AM

Cargo Master
#295
10-22-2015, 03:42 PM
#296
10-22-2015, 03:46 PM
#297
10-22-2015, 06:05 PM
#298
10-26-2015, 10:01 PM
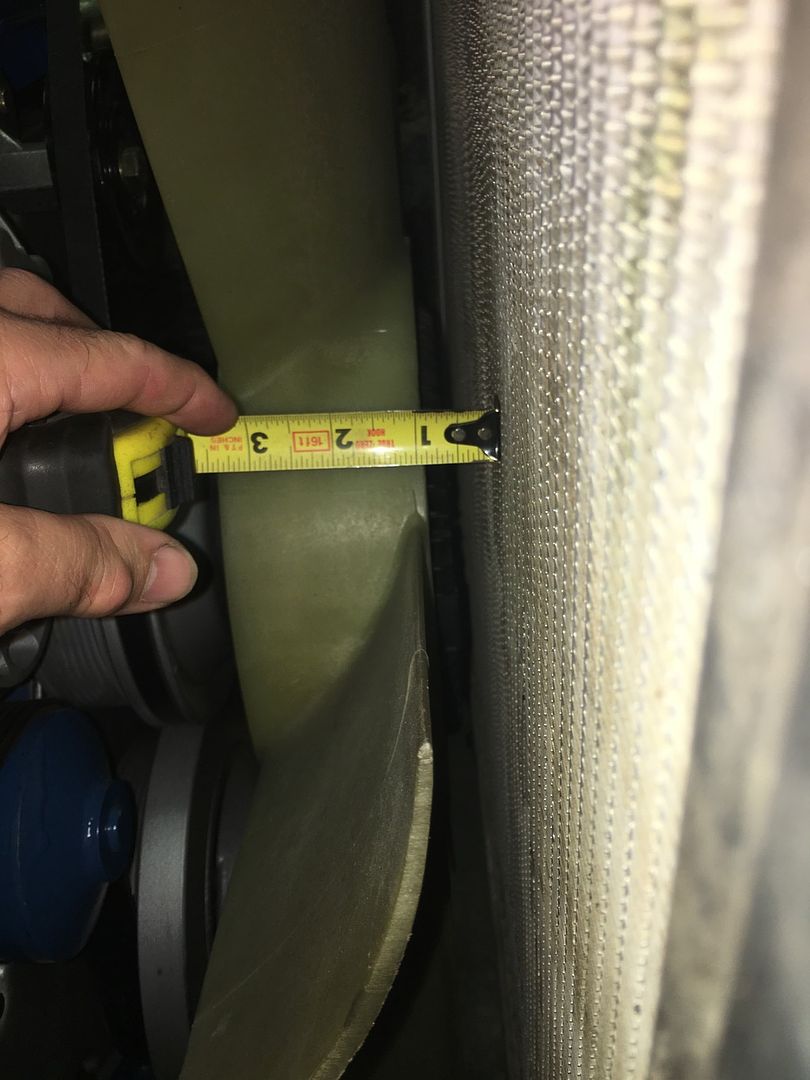
Radiator back in so I can fit the aftercooler, final clearance around 1/2" on the clutch, about 7/8" for the fan blades
Aftercooler set in place, gonna be surprisingly easy to mount considering it was originally on the other side of the core support
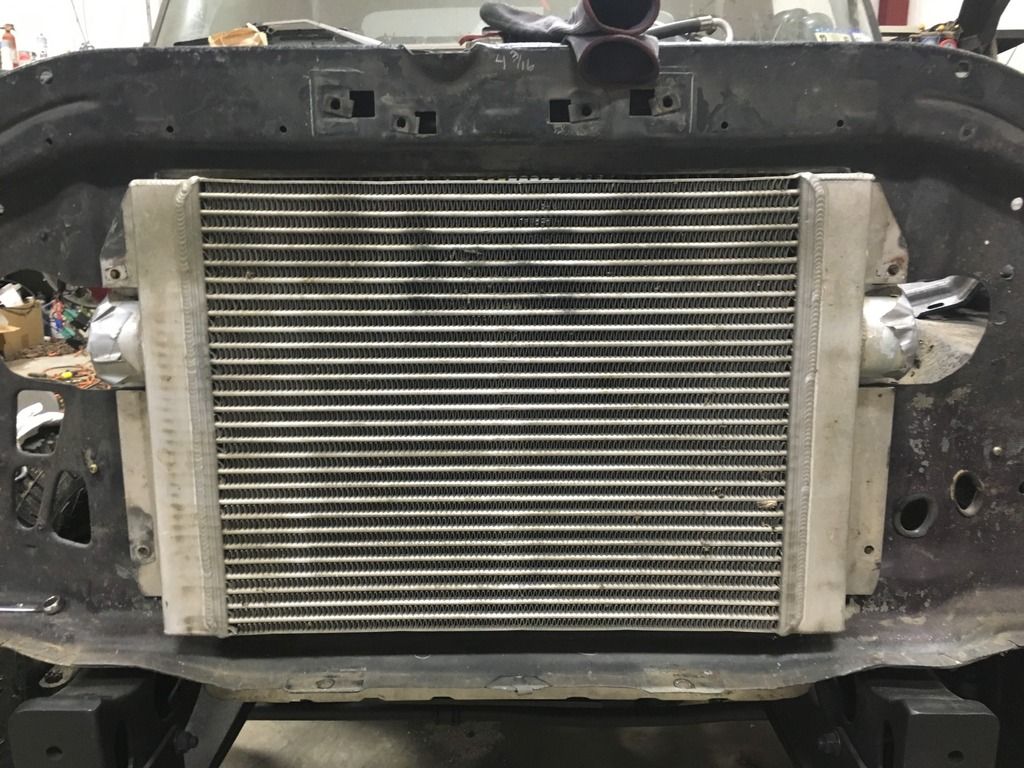
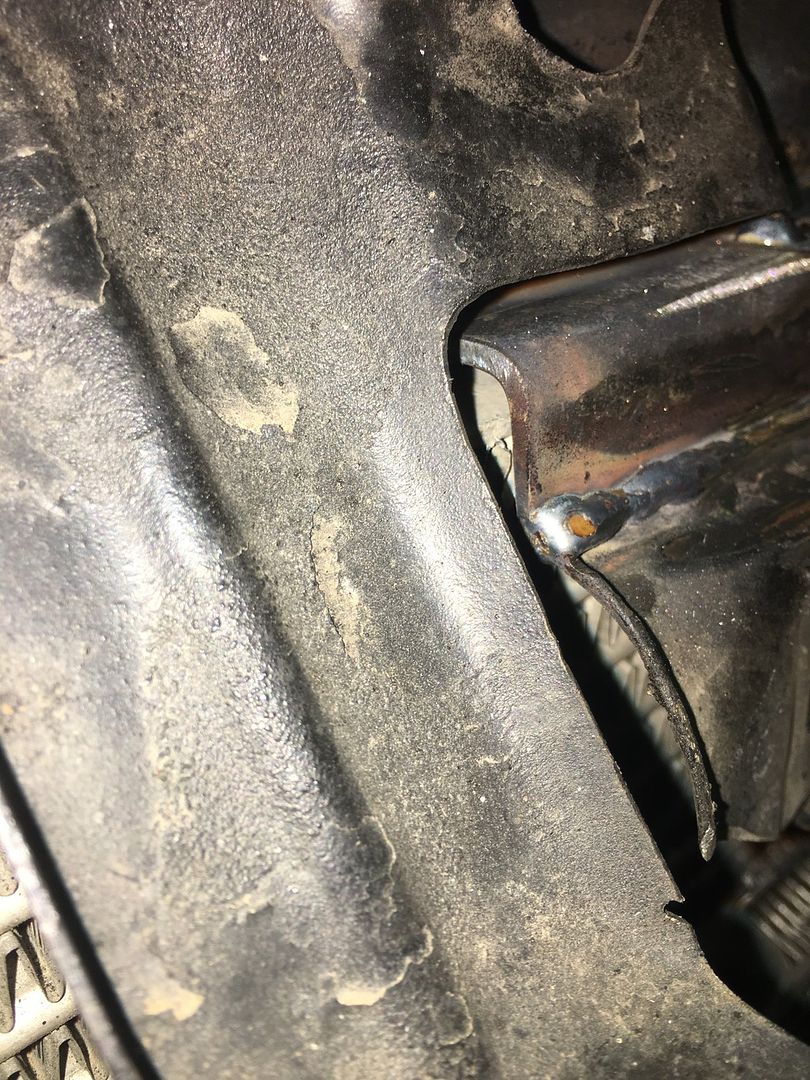
Trim the bottom corners of the mount flange and clearance the core support at the bottom corners of the aftercooler
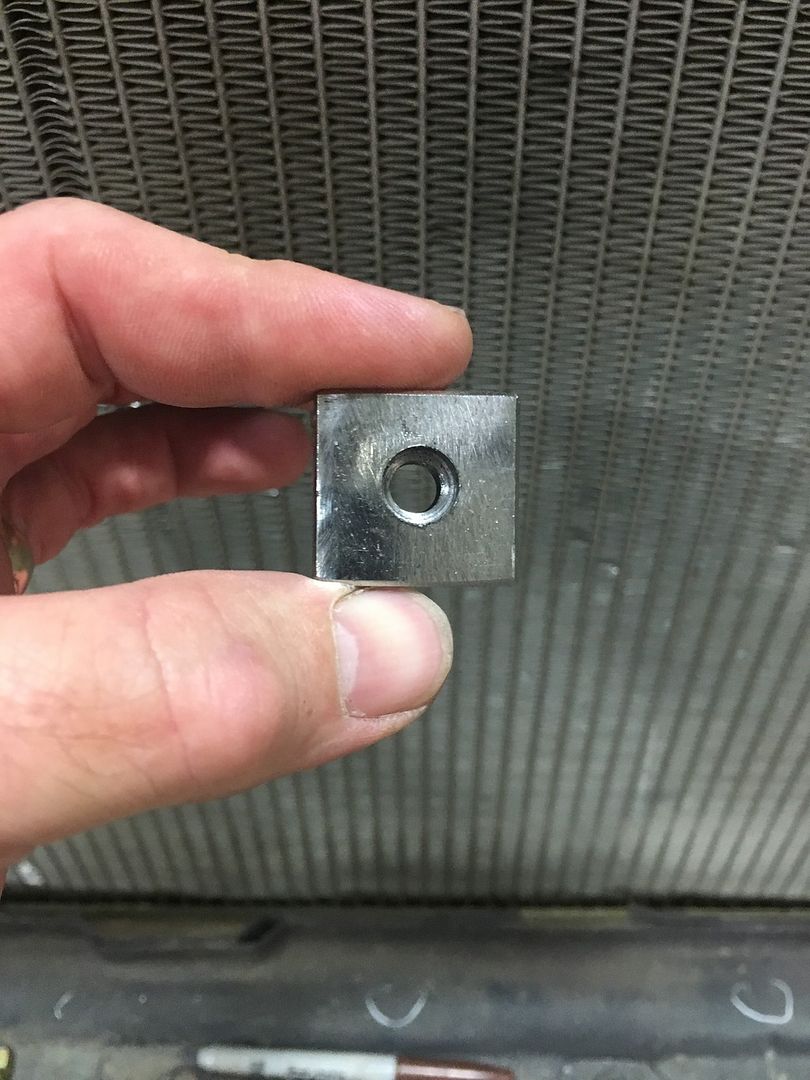
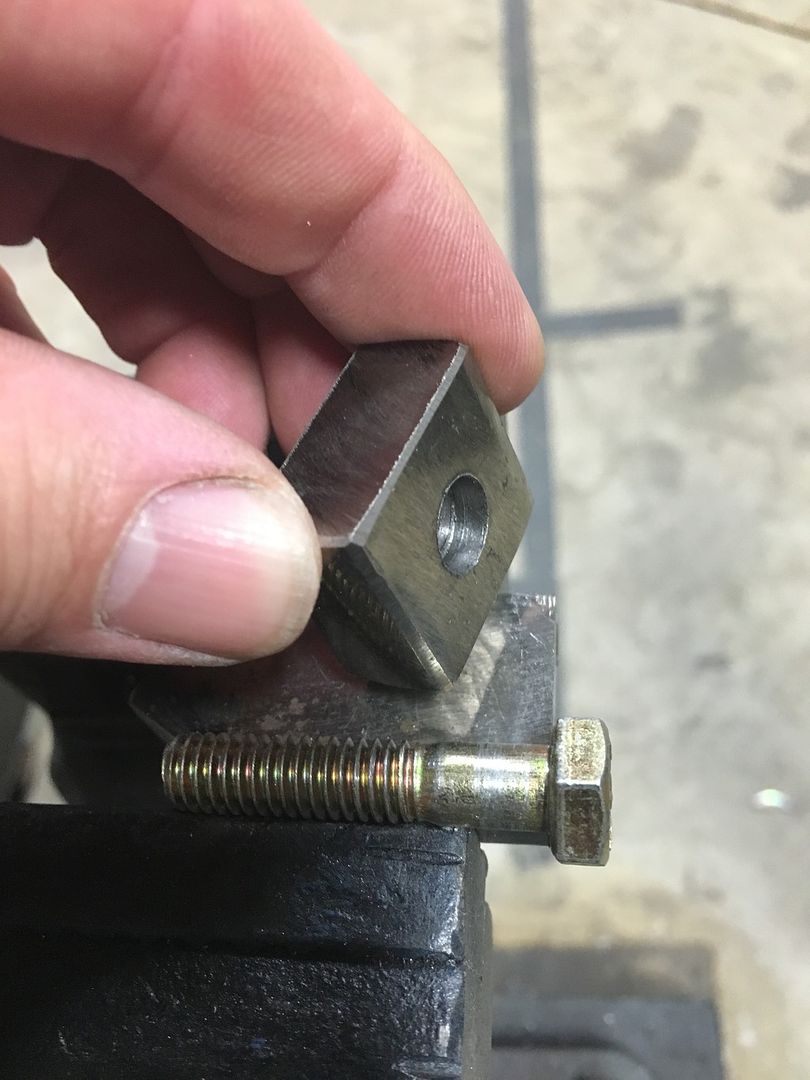
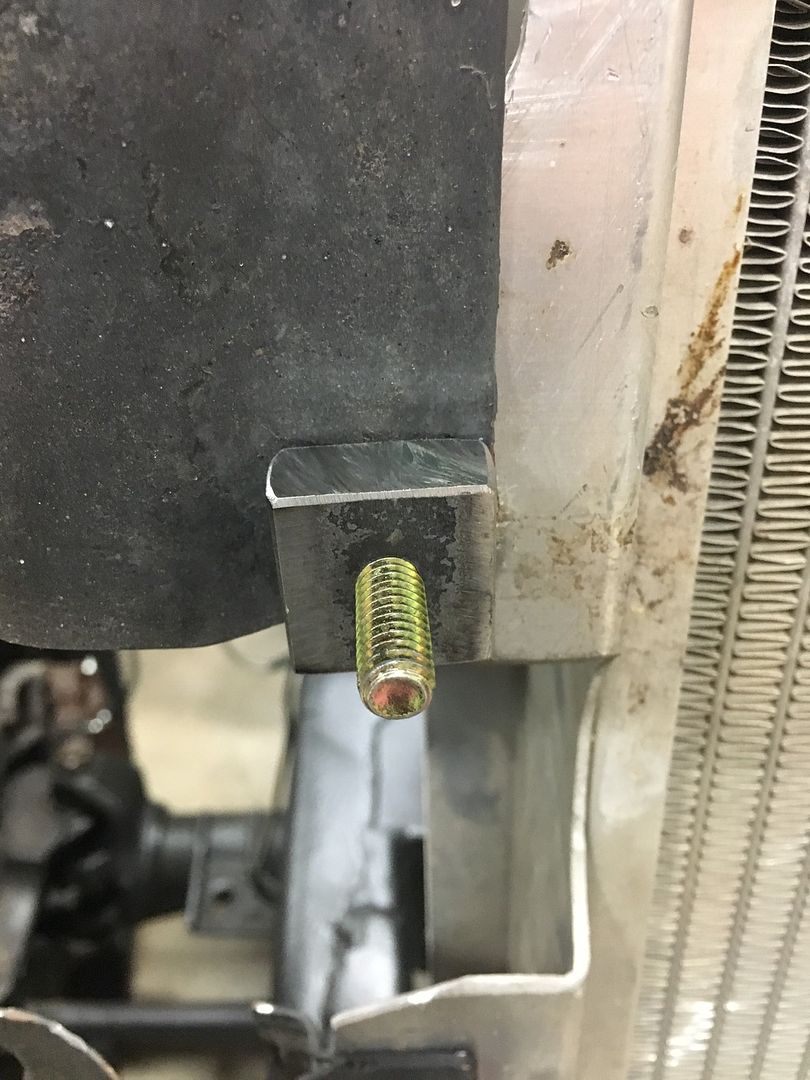
Made four of these, 1" square by 1/2" thick to properly space the aftercooler from the radiator. I counter bored the radiator side to allow for the shoulder of the bolts. These will be tacked to the core support
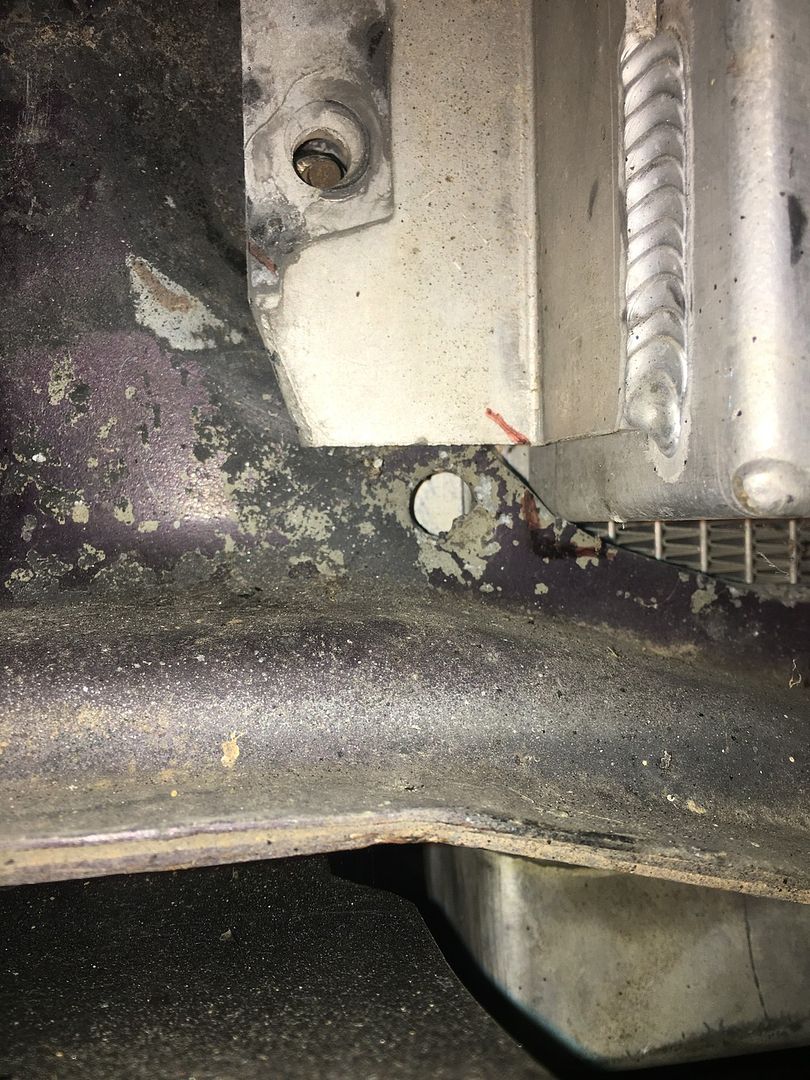
Had to break a piece of metal to replace the factory angled piece for aftercooler clearance.
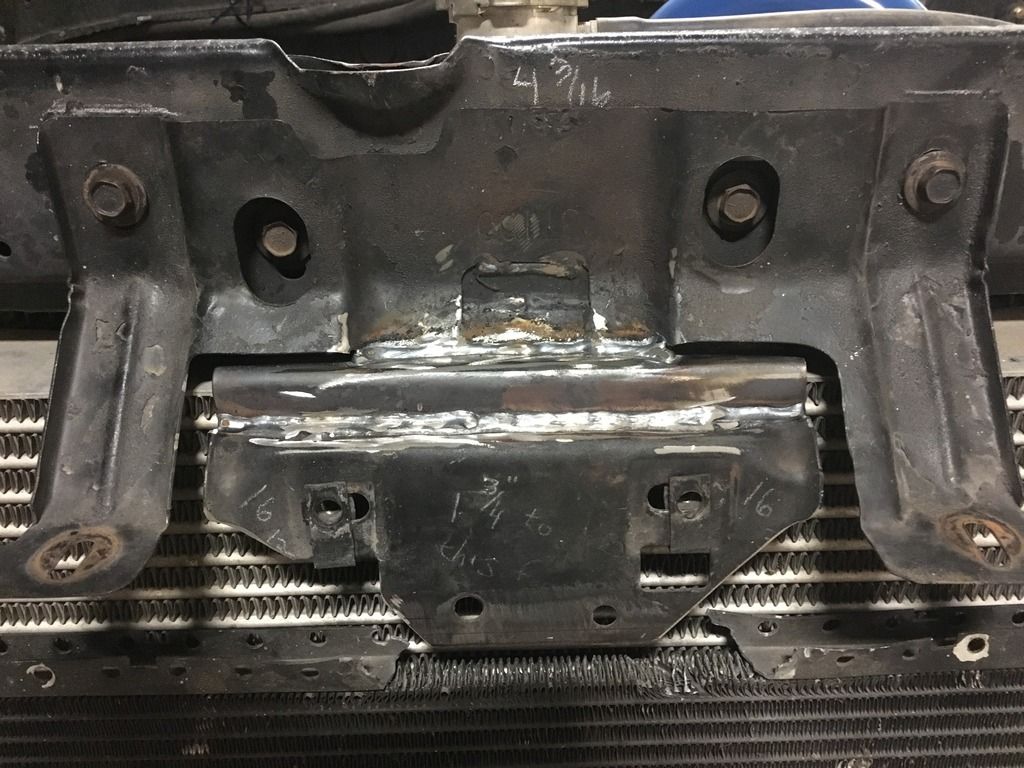
About 5/16" above and 3/16" in front
While core support and inner fenders have paint drying on them I went to work on the trans cover. Edges on the factory holes cleaned for welding
The obligatory cut down the middle of the hump and a little hammer and dolly work

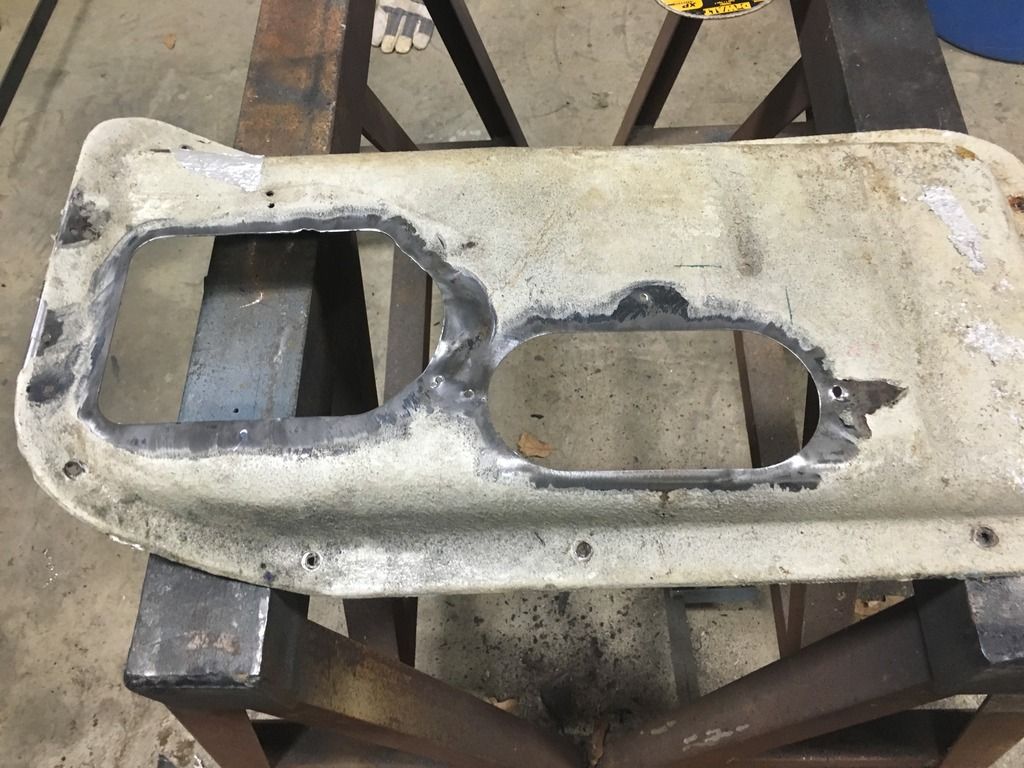
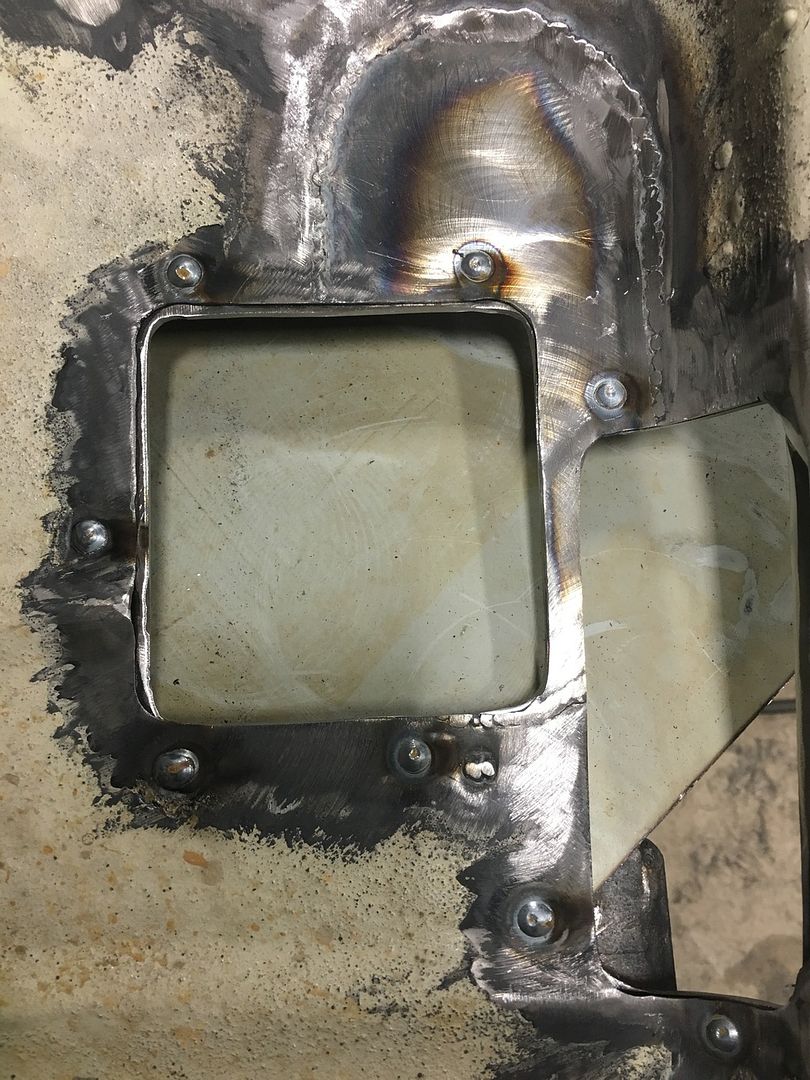
Kinda skipped ahead here, old holes filled, new holes cut. Framed the holes with 10ga and spot welded it to the cover. This will be used to attach the shift boots to the cover
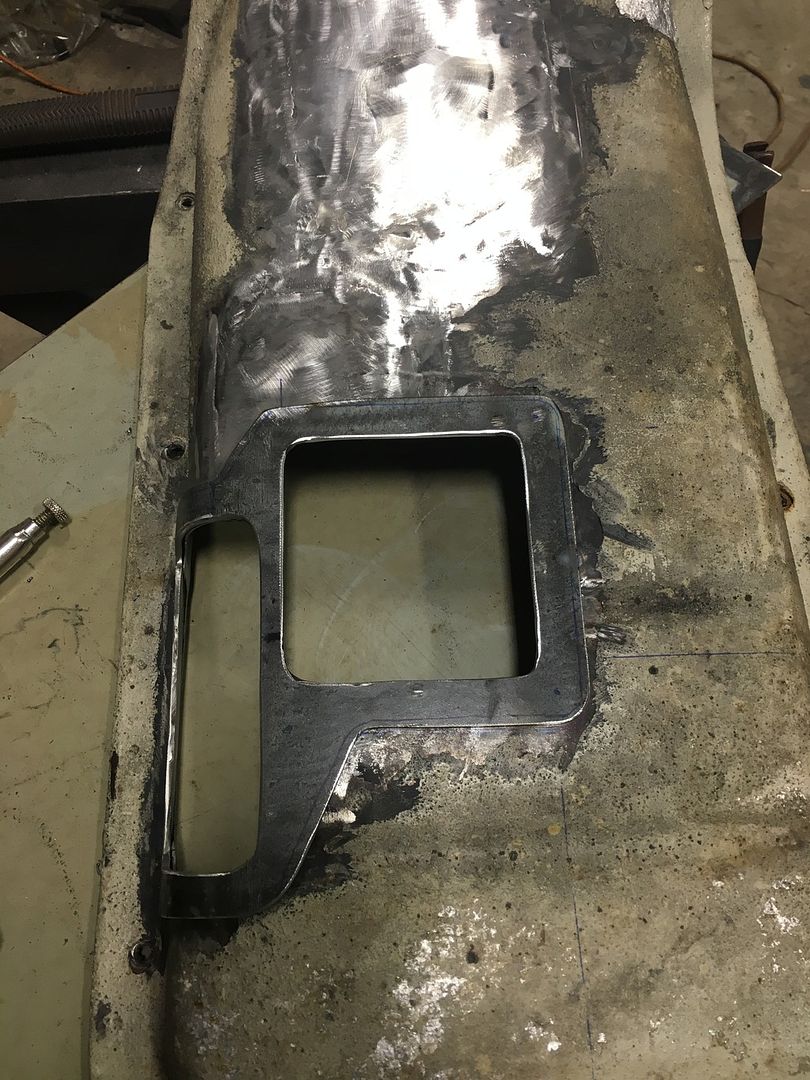
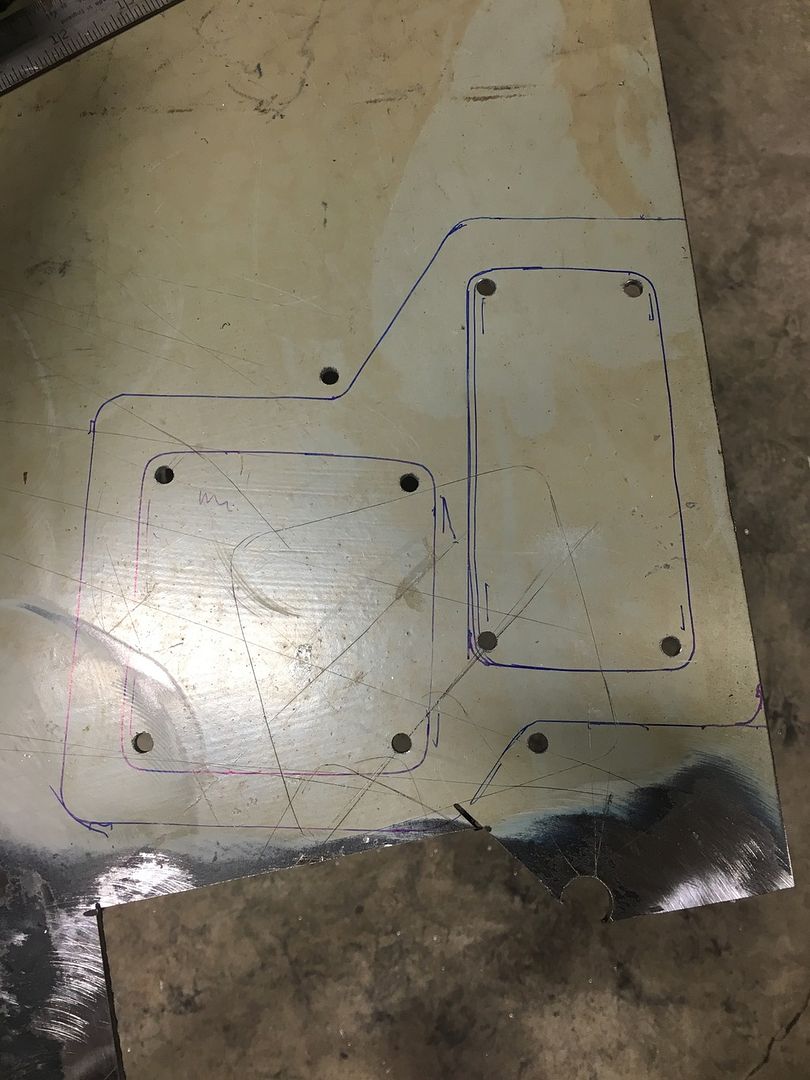
This is a pic of the shift boot frame as it was laid out, the piece I tacked to the cover was made the same way. Pilot holes for the corners already drilled. The rectangular holes get a 1/2" drill, the square hole gets a 9/16". After its cleaned up I do a little hammer and anvil action on the rectangular side to form the radius to match the side of the trans cover
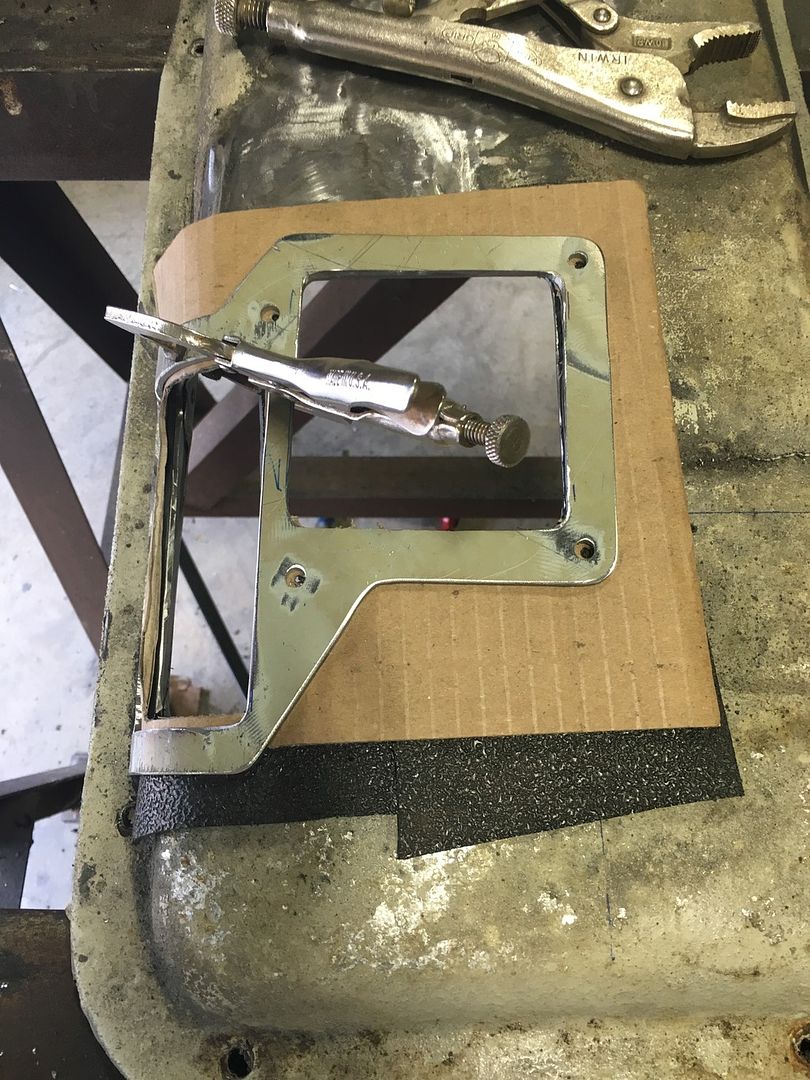
This one was a pain because having to deal with three dimensions. I actually had to make it twice cause I wasn't happy with the fit of the first one. Drilling the mount holes with a scrap piece of floor mat and a piece of thin card board to simulate boot material
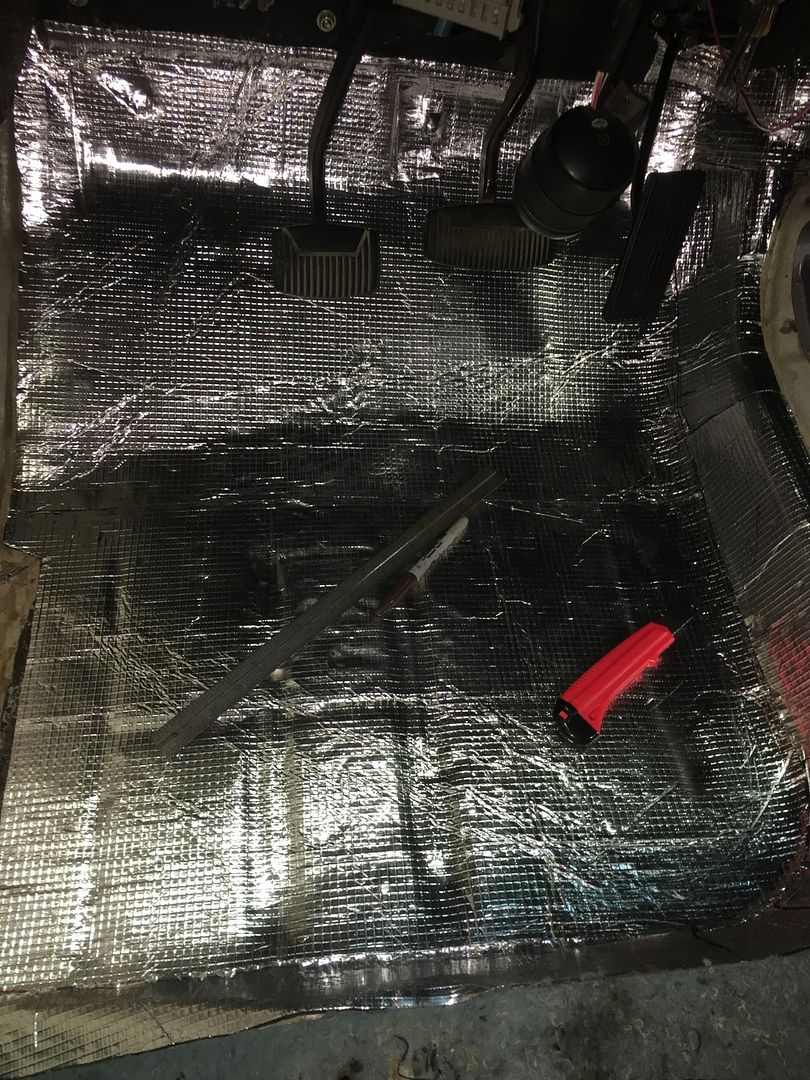
I got the sound deadener installed this evening, hopefully insulation tomorrow eve then floor mat. Floor mat came in friday, Cant let it lay around too long or it looses its shape

Aftercooler set in place, gonna be surprisingly easy to mount considering it was originally on the other side of the core support

Trim the bottom corners of the mount flange and clearance the core support at the bottom corners of the aftercooler

Made four of these, 1" square by 1/2" thick to properly space the aftercooler from the radiator. I counter bored the radiator side to allow for the shoulder of the bolts. These will be tacked to the core support


Had to break a piece of metal to replace the factory angled piece for aftercooler clearance.

About 5/16" above and 3/16" in front

While core support and inner fenders have paint drying on them I went to work on the trans cover. Edges on the factory holes cleaned for welding

The obligatory cut down the middle of the hump and a little hammer and dolly work

Kinda skipped ahead here, old holes filled, new holes cut. Framed the holes with 10ga and spot welded it to the cover. This will be used to attach the shift boots to the cover


This is a pic of the shift boot frame as it was laid out, the piece I tacked to the cover was made the same way. Pilot holes for the corners already drilled. The rectangular holes get a 1/2" drill, the square hole gets a 9/16". After its cleaned up I do a little hammer and anvil action on the rectangular side to form the radius to match the side of the trans cover

This one was a pain because having to deal with three dimensions. I actually had to make it twice cause I wasn't happy with the fit of the first one. Drilling the mount holes with a scrap piece of floor mat and a piece of thin card board to simulate boot material

I got the sound deadener installed this evening, hopefully insulation tomorrow eve then floor mat. Floor mat came in friday, Cant let it lay around too long or it looses its shape

#299
10-26-2015, 10:01 PM
Radiator back in so I can fit the aftercooler, final clearance around 1/2" on the clutch, about 7/8" for the fan blades
Aftercooler set in place, gonna be surprisingly easy to mount considering it was originally on the other side of the core support
Trim the bottom corners of the mount flange and clearance the core support at the bottom corners of the aftercooler
Made four of these, 1" square by 1/2" thick to properly space the aftercooler from the radiator. I counter bored the radiator side to allow for the shoulder of the bolts. These will be tacked to the core support
Had to break a piece of metal to replace the factory angled piece for aftercooler clearance.
About 5/16" above and 3/16" in front
While core support and inner fenders have paint drying on them I went to work on the trans cover. Edges on the factory holes cleaned for welding
The obligatory cut down the middle of the hump and a little hammer and dolly work
Kinda skipped ahead here, old holes filled, new holes cut. Framed the holes with 10ga and spot welded it to the cover. This will be used to attach the shift boots to the cover
This is a pic of the shift boot frame as it was laid out, the piece I tacked to the cover was made the same way. Pilot holes for the corners already drilled. The rectangular holes get a 1/2" drill, the square hole gets a 9/16". After its cleaned up I do a little hammer and anvil action on the rectangular side to form the radius to match the side of the trans cover
This one was a pain because having to deal with three dimensions. I actually had to make it twice cause I wasn't happy with the fit of the first one. Drilling the mount holes with a scrap piece of floor mat and a piece of thin card board to simulate boot material
I got the sound deadener installed this evening, hopefully insulation tomorrow eve then floor mat. Floor mat came in friday, Cant let it lay around too long or it looses its shape
#300
10-26-2015, 10:41 PM
Im getting ready to start a 4BT swap into my 78 F150 4x4. Going to use a ZF5 and NP 205. When you were running your 4BT, did you run any sort of rear support on the T case? I assume you ran a NP 205. Ive seen guys over in the 4BTswaps.com forum say that the ZF isn't strong enough to support the NP 205. Whats your thoughts???