When you click on links to various merchants on this site and make a purchase, this can result in this site earning a commission. Affiliate programs and affiliations include, but are not limited to, the eBay Partner Network.
GaRedneck91 from one inexperienced painter to another. I was in the same situation. But for me I bought the truck to learn, so painting it was a nice experience. From what the other experienced guys also say is the the prep and sanding is the most important part of any spray job. making sure the surface is flat and clean regardless of what paint method you are using.
I got myself a spray gun and a compressor and and started from there. Painting my truck was my 1st real spray job as well. I come across a product called primer filler. Its a grey primer that fill all the tiny holes and scratches and gives you a nice surface to work on. After I applied the primer I sanded it with a 1000 grid water paper, made sure its clean and dust free and applied my 1st layer of paint. I used normal 2K paint (no special or expensive paint) off the shelf of any paint store. And painted layer by layer.
Trick there is to get your paint, harder and thinners mixture correct, then get the spray gun set to give a nice even spray and then last the distance you hold the gun from the truck, those 3 things will determine how the paint stick to your truck.
Nice thing was, I will do one layer, then sand it with a 1000 or 2000 grid again where ever you see any uneven surfaces, then give it another layer. You can do this until you are happy with final coat.
Unfortunately I cant give you any figures because I live in South Africa and have no idea what the paint cost in the US compares to here in SA. I can indeed tell you that it cost me 1/4 less than what it would have cost me for someone else to do it and what I have learned was worth a lot more!
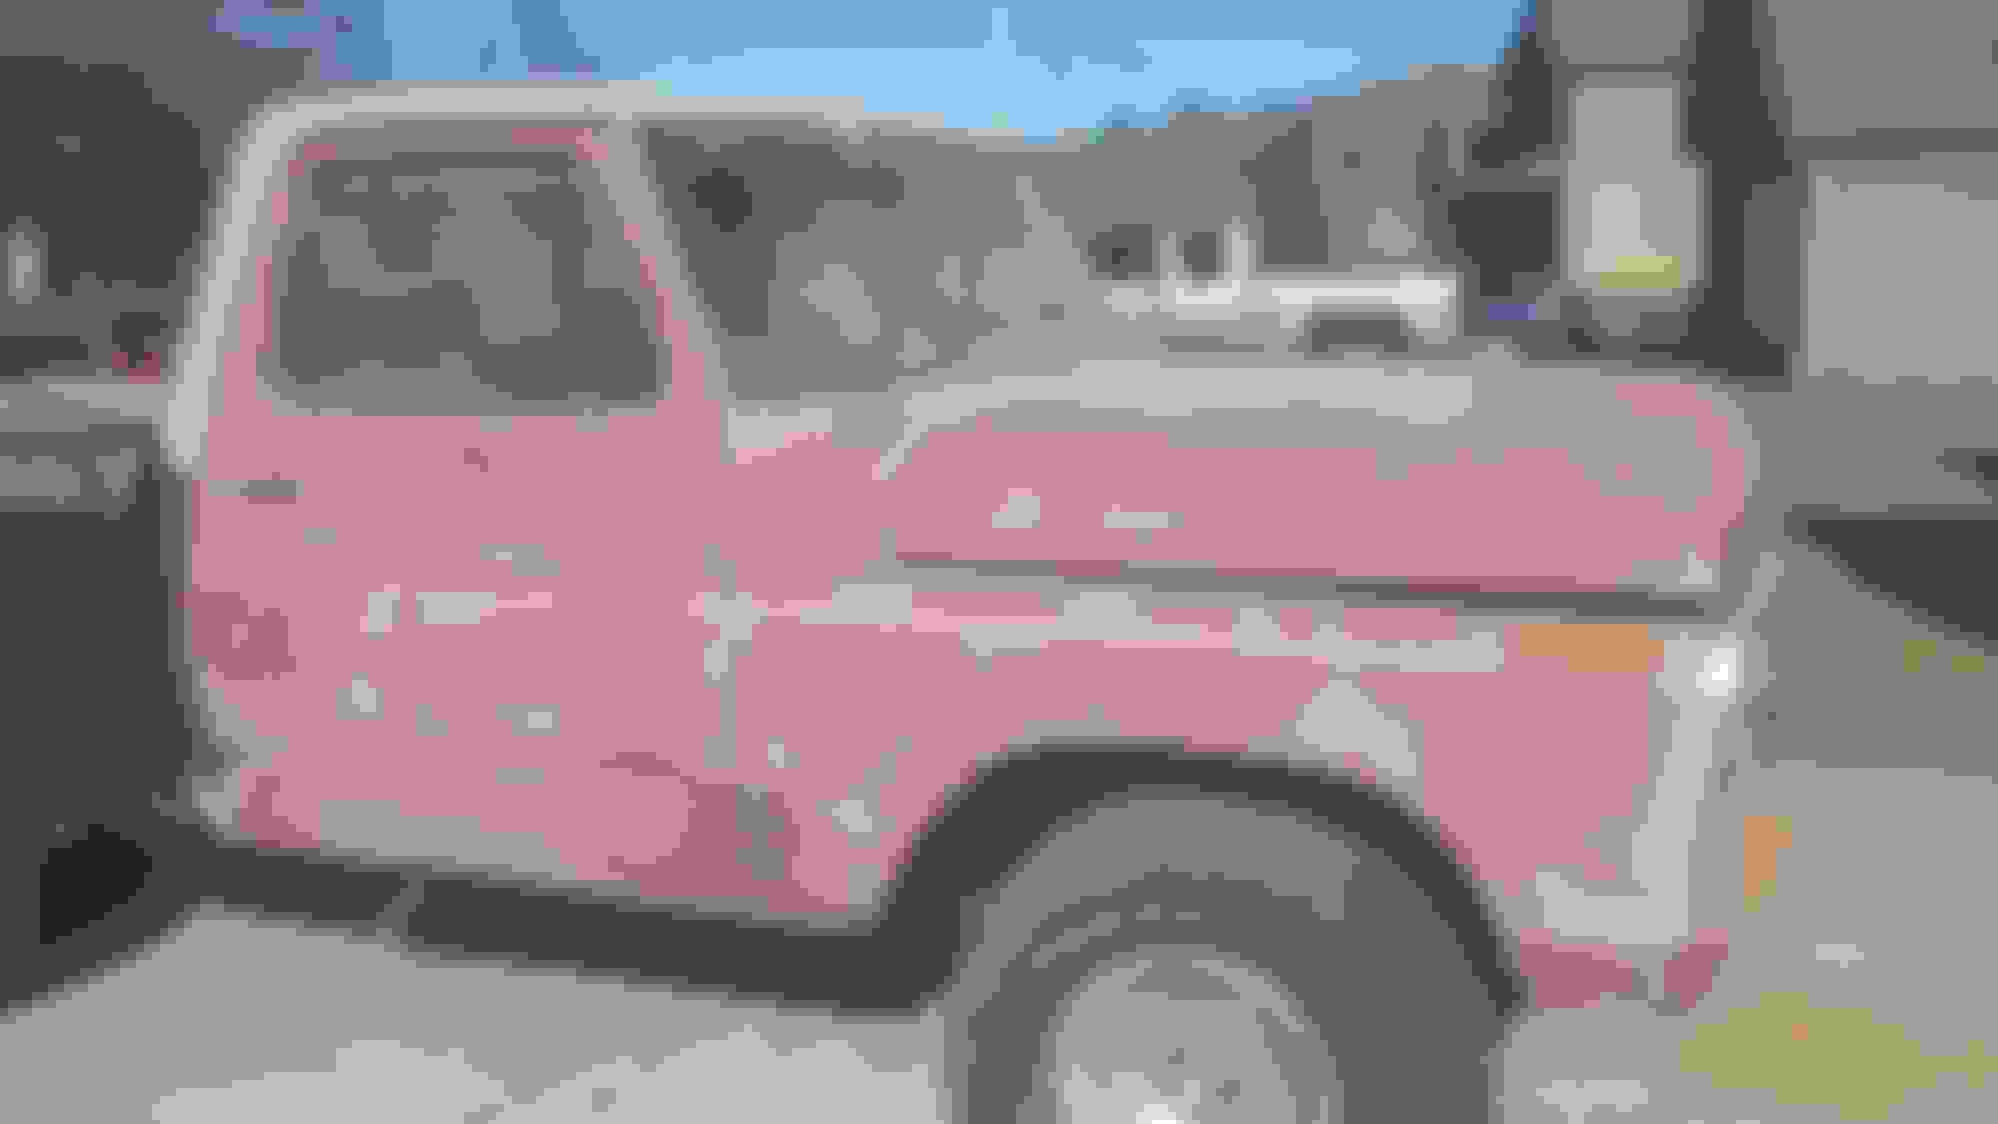
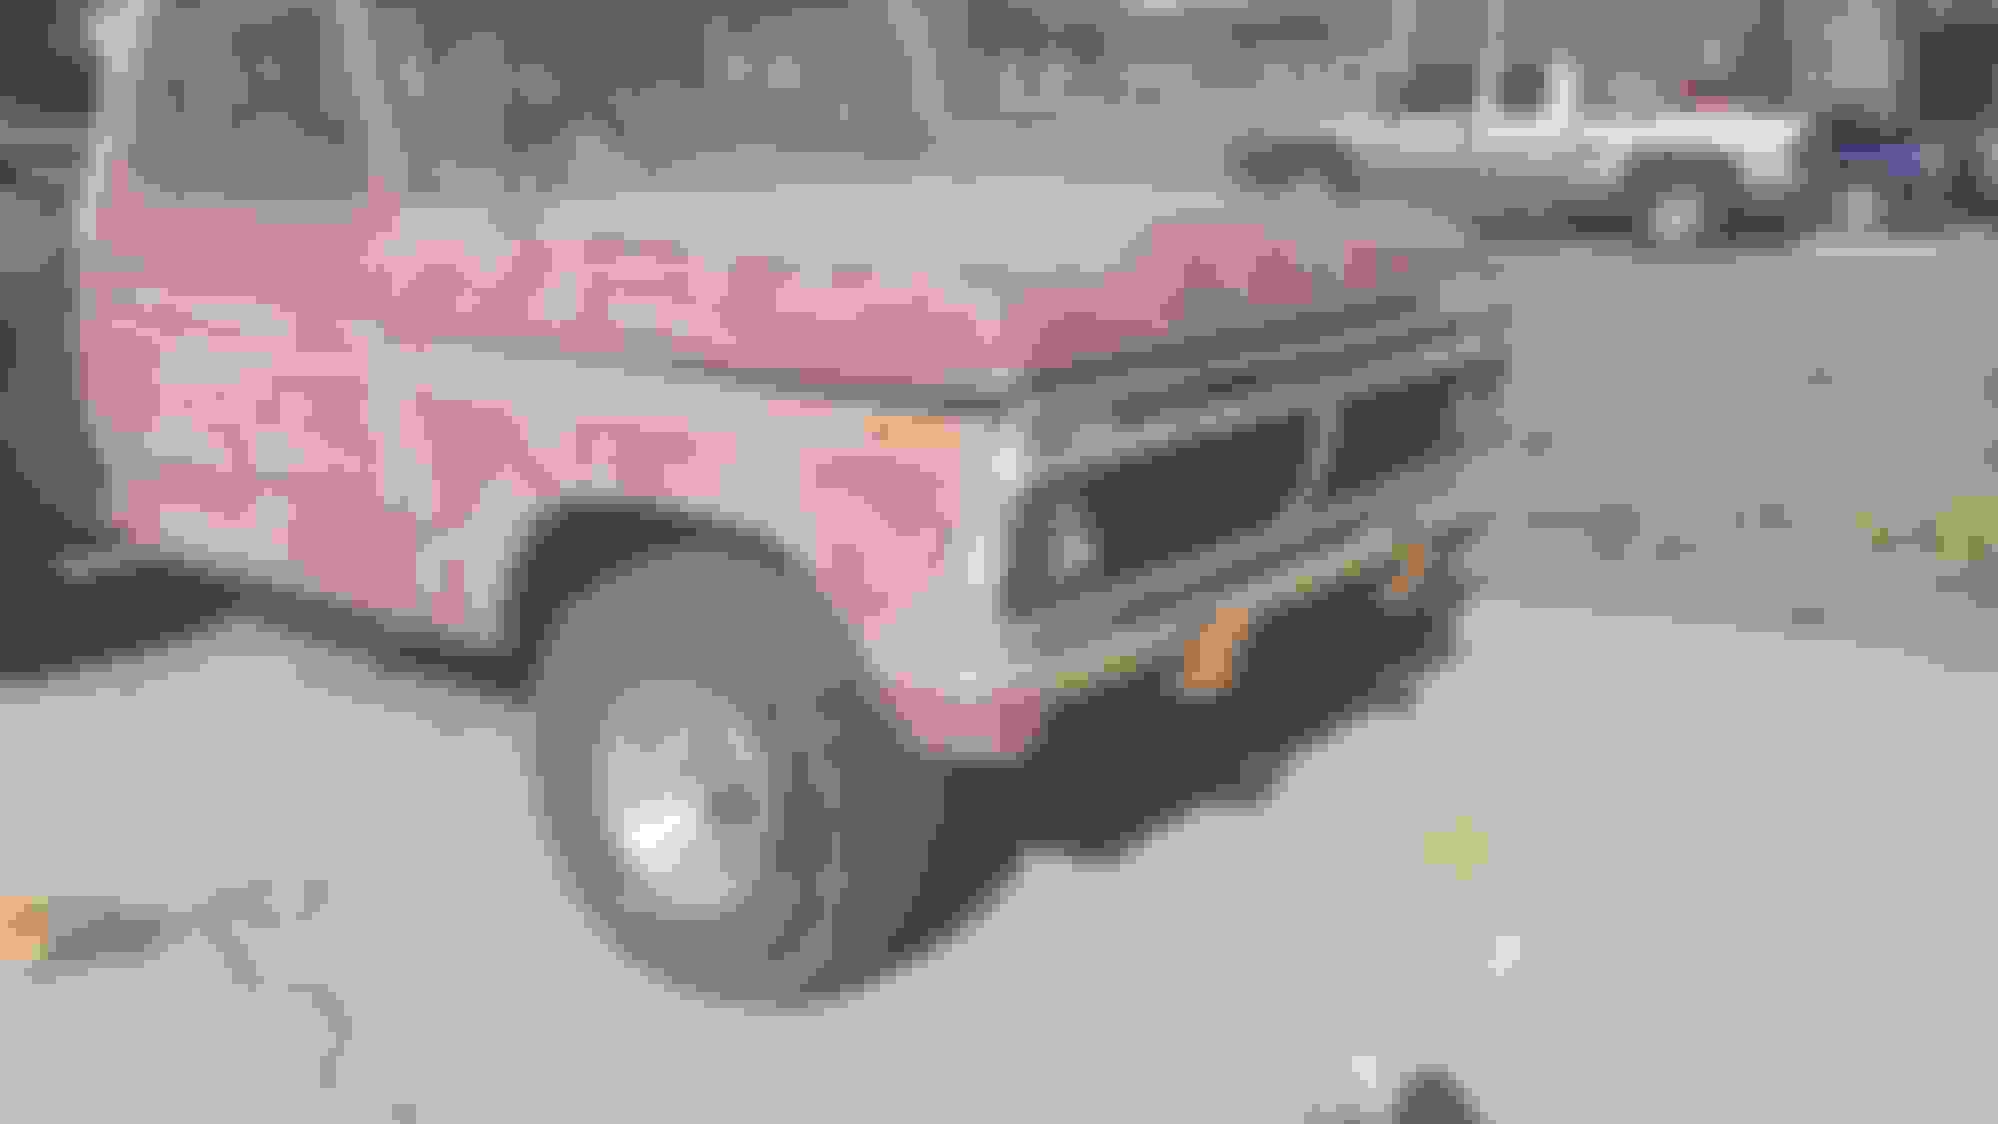
Ok I some more sanding done today. I believe want my plan is as of now is to finish sanding with the 80 grit then I'ma gonna go over that with 180 grit then apply about two coats of primer then sand that with about 400 grit then throw some single stage on it. How does that sound? Any objections? Here is some pictures of today's progress.
Snapped a bolt off while takin the bumper off. Gotta find a replacement
After the 180 (or 220) shoot primer sealer (Rustoleum from Walmart), then wet-sand with 320. Then shoot primer surfacer (again with Rustoleum from Walmart) and block sand with 320 dry in a criss-cross pattern - not horizontal or any fashion that is linear because you'll sand a trench. Wet-sand with 400, wash, wipe with Dx330 degreaser, then shoot the color.
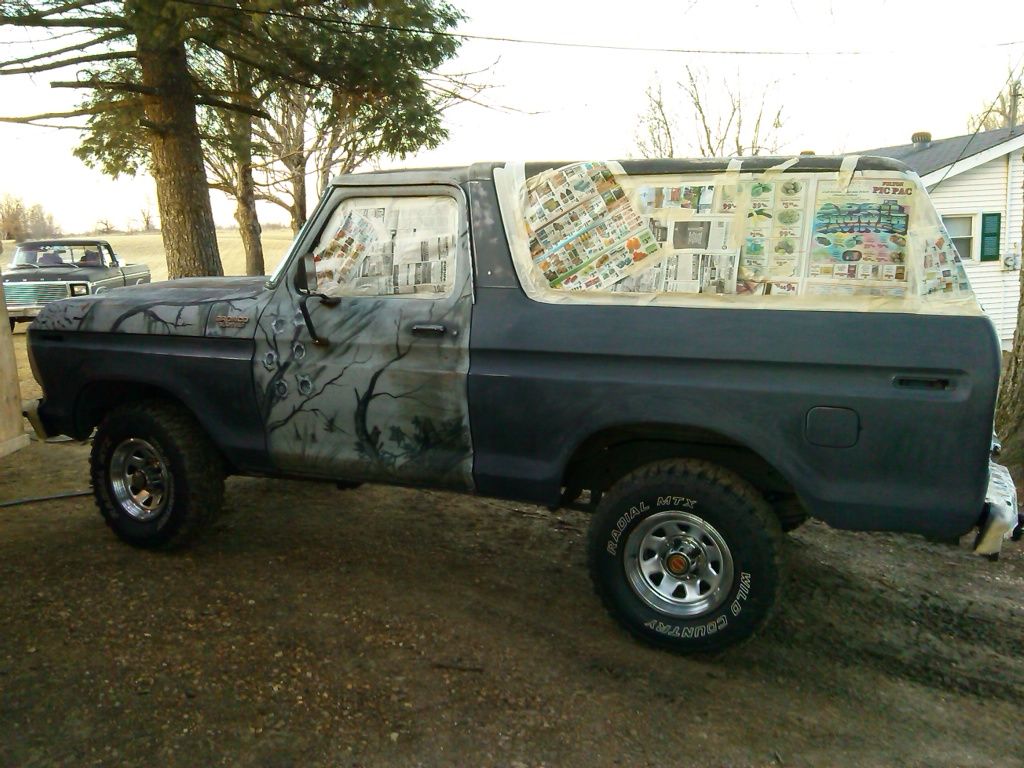
Oh, head to Home Depot and get some 18-inch masking paper and blue 2-inch painters' tape.. Don't use newspaper because get it wet enough and the ink will bleed.
You've made about the same progress I've made and I've been at it a week close to 8 hours a day. I've been fixing every ding I come across and the camoflauge has been a complete pain in the a#s to smooth out. I still have the hood and top of cab to sand. Doors are getting sprayed as is because they are getting replaced.
You will be ok with 180grit after the 80grit. A couple of coats of primer will do wonders for leveling and prepping.Generally, after the 1st coat or 2 of primer,THAT is blocked with 180grit again,thus leveling-smoothing-filling.If everything looks acceptible at this point a second or 3rd coat (and final) of primer is applied and blocked with 320grit.This will give a very good finish to paint or as good as the body work underneath is. Now ,with a suitable sealer over the 320g blocked primer, you can apply paint without worrying a lot about sanding marks (sand scratches),body work etc, showing up after the top color coats have been applied.A lot of painters will sand w/400grit as a final step to eliminate anything showing up after the top coat cures & shrinks. I have no problems with a sequence of 80g,180g,320g but and this is a HUGE but; I use all top quality PPG primers,sealers and paints.All sealers& primers are 2 stage meaning they have a catalyst or hardner with each application.If you are trying for a servicable paint job on a budget, you will be fine with primer then a single stage (just paint no catalyst/hardner) topcoat. By the way, the winter months are the absolute BEST times to paint as far as paint curing because of the low humidity. The temperatures always need to be proper year round but those muggy summer days make painting a long process with all drying times virtually doubled! You'll get it ! Good luck! Gary
You will be ok with 180grit after the 80grit. A couple of coats of primer will do wonders for leveling and prepping.Generally, after the 1st coat or 2 of primer,THAT is blocked with 180grit again,thus leveling-smoothing-filling.If everything looks acceptible at this point a second or 3rd coat (and final) of primer is applied and blocked with 320grit.This will give a very good finish to paint or as good as the body work underneath is. Now ,with a suitable sealer over the 320g blocked primer, you can apply paint without worrying a lot about sanding marks (sand scratches),body work etc, showing up after the top color coats have been applied.A lot of painters will sand w/400grit as a final step to eliminate anything showing up after the top coat cures & shrinks. I have no problems with a sequence of 80g,180g,320g but and this is a HUGE but; I use all top quality PPG primers,sealers and paints.All sealers& primers are 2 stage meaning they have a catalyst or hardner with each application.If you are trying for a servicable paint job on a budget, you will be fine with primer then a single stage (just paint no catalyst/hardner) topcoat. By the way, the winter months are the absolute BEST times to paint as far as paint curing because of the low humidity. The temperatures always need to be proper year round but those muggy summer days make painting a long process with all drying times virtually doubled! You'll get it ! Good luck! Gary
Thanks for the great information! Its really encouraging, I feel better know I have a plan set to go by now. What primer would you suggest on my truck? It's not bare metal, I do not know all the primers and the difference. Also any cheap single stage suggestions? How much paint and primer do I need?
I would stay away from the autozone duplicolor. I have used it and don't get me wrong, the color looks great. However I have found that it is extremely soft. I am assuming this is due to the fact that it is not a catalyst paint.
I did a scuff and shoot on a friends Miata to get it ready to sell. We bought a $100 kit of single stage paint from Summit Racing. Its just house brand stuff, but it works great! It laid down really smooth and covered very well. A gallon should spray the entire truck for at least 3 coats and it includes all the hardener and reducer you will need.
As you are not going for a 100% pro job you will be o.k. with primer then paint. Taking more time after the 1st coat before the next coat of paint will give the 1st coat etc, a chance to be a bit of a "sealer" or barrier for the next coats.The idea is to give the solvents (the reducers in the color paint) a chance to evaporate OUT not absorb IN and start to work on the sanding & bodywork that the primer covered & took care of.That is where us body shops HAVE to use top notch products and certain steps, to eliminate a chance of seeing stuff after painting/drying.Of course when a customer is paying you good money the final product has to be proper and long lived. So....The primer and products are based on your pocketbook and the end results are all based on your products.Discussions on recommending the best paint or primers etc, will get 100 different answers from a 100 different painters.Everyone has a horror story to tell about 1 brand or the other but generally speaking ,the stuff wouldn't be on the shelves over time if it didn't work. I would suggest going to any reputable store that sells auto paint,get their BASIC primer w/ catalyst-hardner (remember the barrier solvent thing, hence using the hardner in primer).Tractor Supply,places like that,all sell a basic primer & hardner I presume. Now top coat. You will be best served to stay away from Candy colors,metallics,and 2 stage base coat clear coats (color coat then clear coats = 2 stage). All the above are applied the same as any ol' paint but require an amount of experience,different products and different techniques to get results that you aren't totally embarrased over. Where you got your primer you should probably try to get a compatible topcoat of a basic,solid color. A hardner with the top coat will give you a bit of more shine and durability. Notice how every time we try for a bit better outcome it cost us money? That's what sucks in bodywork. To get a truly great,durable, long lasting job, it is $$$ in products, plus time which is also $$$. You are getting a game plan, keep at it. gary
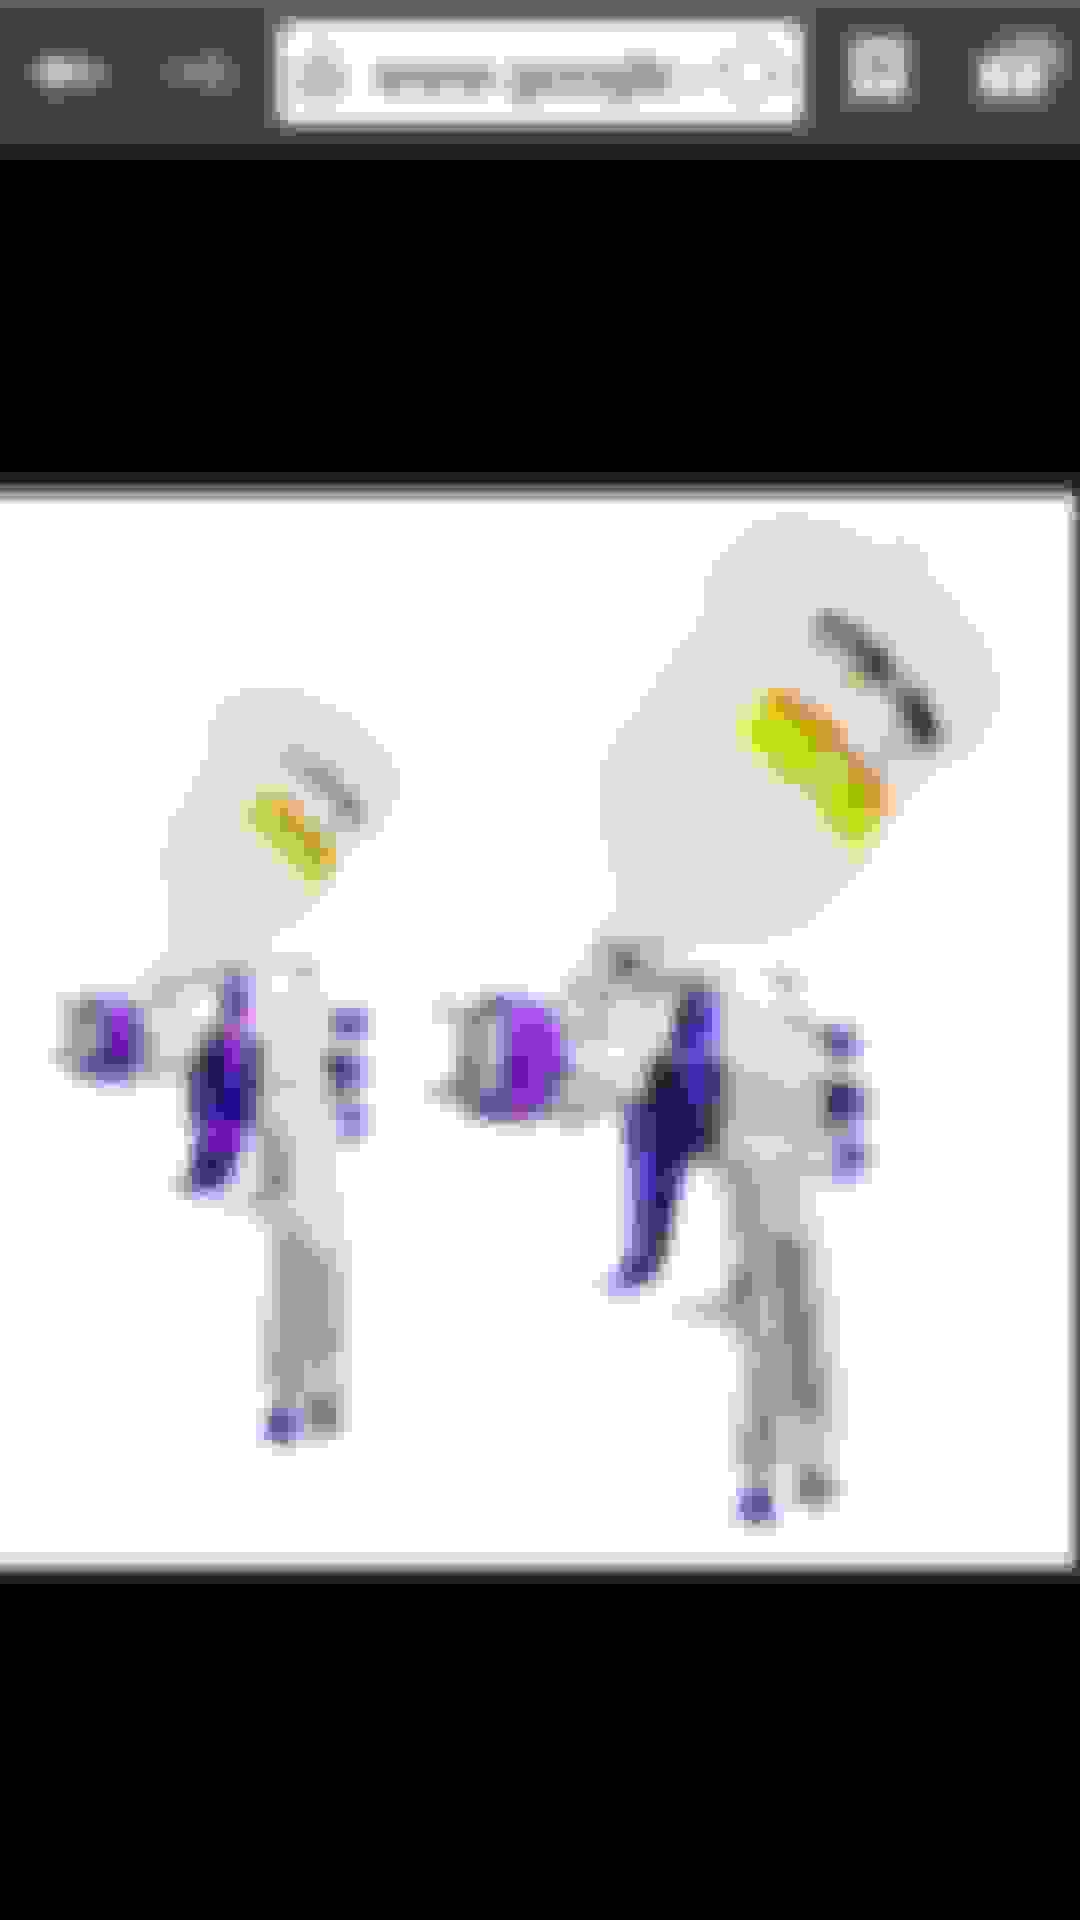
Thanks for the info guys. I'm noticing my cheap paint job turning into a little more expensive then I have previously thought it was it gonna be. I'm gonna keep track on all the cost in case others are interested in do a "cheap" paint job. I've started from scratch so it's the total is gonna include, compressor, sander, paint gun the whole nine. Here the guns I've been eyeballin from harbor freight. It's a kit that comes with two guns and supplies to clean em with.
I've used that gun before at work. For no more than they cost they work very well. What kind of sander did you have in mind? A harbor freight one would work ok but they vibrate alot and are hard on your hands. I sand alot at home and work so I went with a SnapOn DA sander after going through a couple cheap ones.
I bought a cheap sander from the Flea market $25. What size air compressor do I need. I've looked at some and they ain't cheap, I'm sure the little ones at Walmart ain't gonna work. I'm glad to hear that those guns are worth the money cause I'm pretty set on those when payday comes.
Re paint suggestion... I did a semi-cheap repaint of my removed bed. Stripped to steel, welded up rust, smoothed, primed, sanded and painted. I used single stage acrylic enamel in Autocolorlibrary.com/TCP Global "Restoration Shop" house brand paint. This is a mail order body supply house. The paint went on well and has held up well (~3 years). I do not baby it. Yours looks like it is in better shape so stripping to steel not necessary. Rustolem is good... far better than no paint. An Automotive paint like referenced will generally have and hold a smoother finish and higher gloss.
It can be quite expensive to equip yourself to paint one vehicle. A good compressor and paint guns will likely top $500. At some point it may make more sense to only do the surface prep and bodywork then have a quickie paint job done by Maaco or other production shop.
My beautiful wife bought me a compressor today. I think it's super nice. What do yall think. Will it work? I'm gonna go ahead and add $300 to the cheap paint job bill.

 01-19-2015, 12:11 PM