When you click on links to various merchants on this site and make a purchase, this can result in this site earning a commission. Affiliate programs and affiliations include, but are not limited to, the eBay Partner Network.
We got a few things done this week on Old George. I ordered a used short throw Mustang shifter for the T5 and it came in. Since it's from a Mustang it needed quite a bit of tweaking to get it in there, but boy is it nice. All the details are on my T5 thread, but here are a few shots of what it looks like:
I sized up a few things to see what I needed to do to get it to fit.
I noticed that it seemed to have a lot of play once I put on the longer shifter so I took it apart to inspect. I needed to fill some space in here:
I used brake line as a type of bushing
Seems to work well
Put it back together and did some fitting to see what the shifter will look like
It came with a 45 deg offset thing,and so I wanted to mock it up with and without it so I could determine how to best put on my original shifter.
In 3rd with 45 deg offset
Still in 3rd
4th
No offset in 3rd
4th
Mocking up the original shifter:
Other than a shorter throw I also wanted a shifter with stops so I (or the boys) don't over shift and destroy the forks. They weren't designed to have the extra leverage from a longer shifter. Here is a shot of setting the stops:
We got a few inches of snow this weekend so I couldn't give it a test run, but it seems to be shifting just right. We'll see.....
Additionally, my oldest helped me put in the tank and seat, and the driver's door access panel:
My youngest was really itching to shoot his bow, so after a bit of off-roading (and getting stuck)
I think you're right Doug, the shifter seems to be just what I wanted. Although I don't have the original shifter rod in (should be done tonight) I have been fiddling with it to get it ready, and we've managed to get a few other things done. Here's where we're at:
I've been trying to decide how to best attach my shifter rod to the short throw shifter. First I thought that I could mimic the s10 and just drill/tap the inside so I could screw it on the stud that came with the shifter.
I opted against that because I didn't feel comfortable drilling that much out of the shaft. Didn't seem safe, so I thought I'd grind 2 flat edges. 1 to match the flat side of the stud on the shifter itself, and the other to match a bolt that I will use to attach them together:
Made some reference marks
Mocked it up
Ground it down until it sat in there correctly
Mark/punch/drill new holes
worked out great
Tonight I'll bring it to my buddies house and heat it up with his torch so I can bend it to the proper angle.
The next thing that got done this week was finishing the CPP master cylinder remote reservoir kit. I roughed in the hoses a while back, but was able to plum them in and mount the filler.
Doubled up on this rough edge
The plastic reservoir is pretty cheap, but it should work for now. I used some L brackets to secure it.
I read a few threads and looked and looked for the best place to mount the filler, and after much deliberation I decided on the firewall.
A month of so ago I discovered that my metering valve on the proportioning valve is leaking for no apparent reason. It's been just sitting in a heated garage all winter. I tightened it up a bit, but it didn't help. Once I filled the remote reservoir up it really started to leak badly for some reason. I emailed the company I bought the kit from and he said he'd send a new one out. anyone else have this problem, or anyone have any ideas of a fix other than replacing?
I've read quite a few similar stories about the CPP prop valve doing this, but hopefully I can just unscrew the old and put in the new (metering valve) without having to bleed the brakes again, we'll see. I also ordered some thread tape that is designed for oil/fuel that I've considered using, anyone have opinions on the matter?
Well, next on the list was to add a pad between my running boards and fenders. I know this is a problem area and figured I should just do it now. I used some gasket material I had laying around:
Tight squeeze, but it should work well.
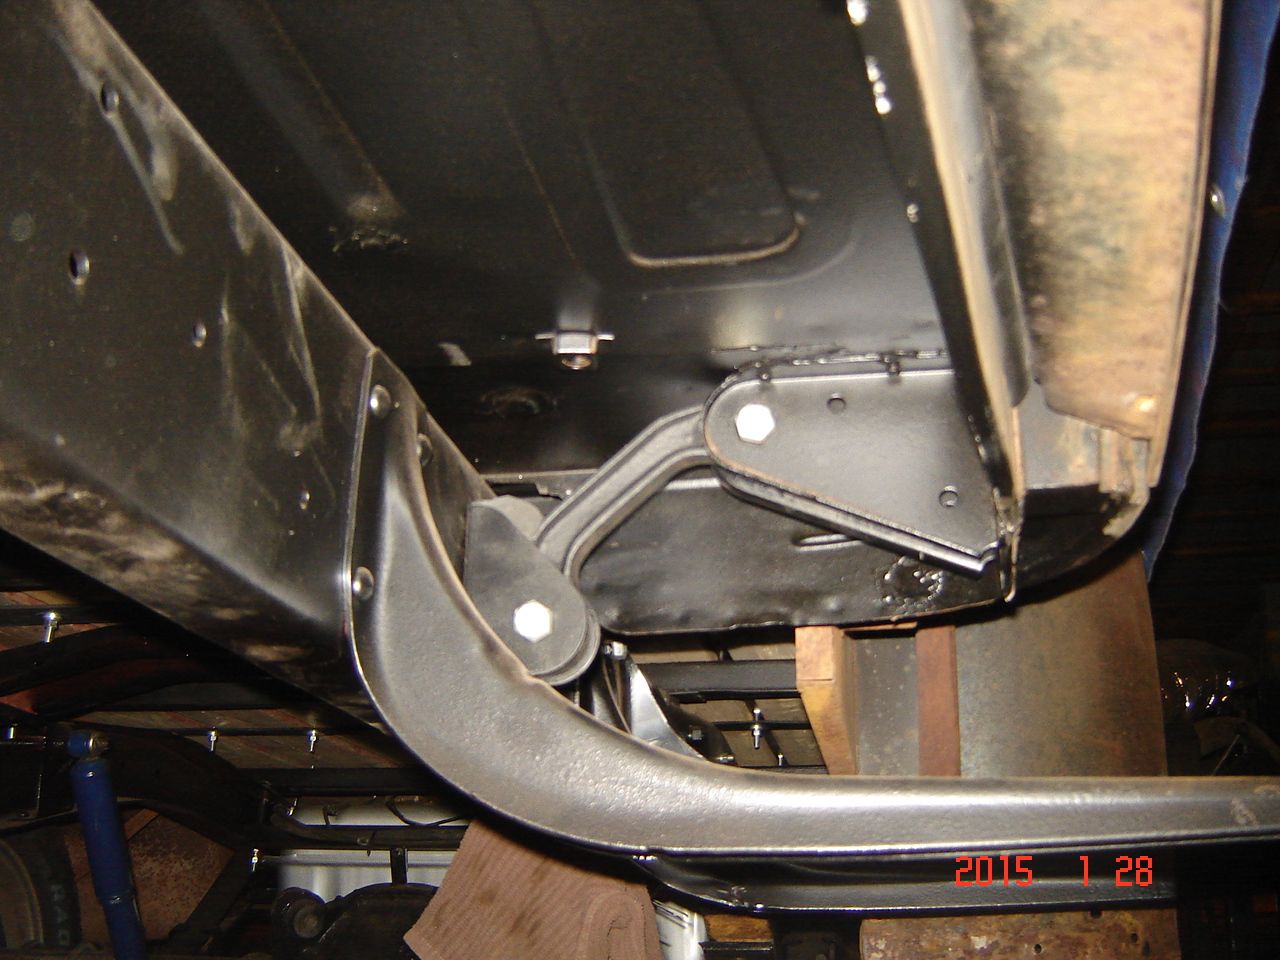
With the running boards off it's the perfect time to replace cab mounts. You may remember that I did the rear ones a while back, but yesterday was time for the front:
After looking at the manual, this is what I came up with for how to install these:
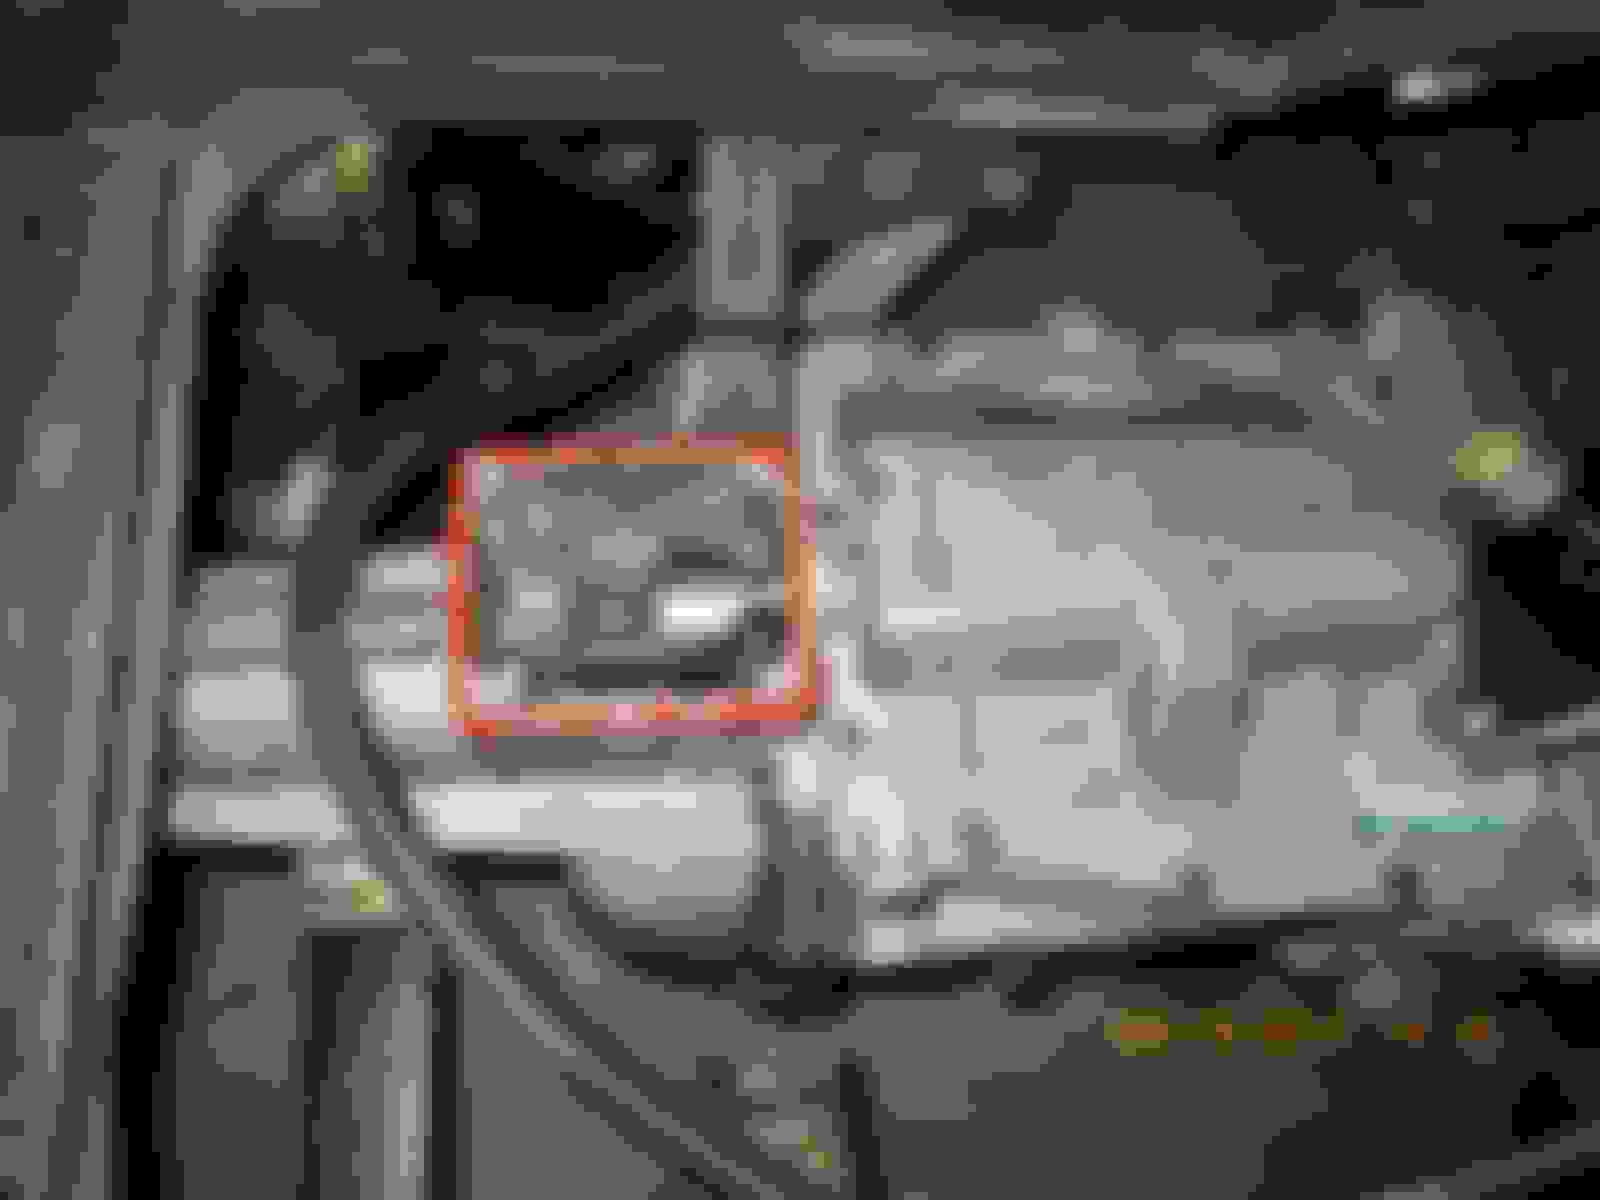
Original washer used on the bottom.
This picture is missing the original washer on the bottom.
Sorry I lost track of my camera for a while and didn't take many pictures....
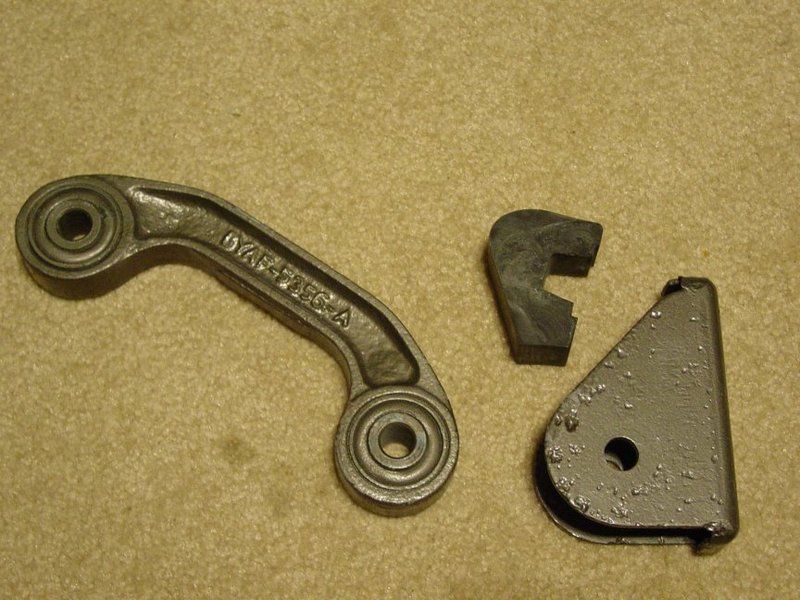
These are the parts I have left from my kit, anyone know where they go?
Last but not least we installed my pinion shims to bring the rear end into compliance. If you remember I was sitting at 2deg down at my trans, and about 10deg up at the rear. After reading a bunch of articles and seeing a tutorial from a guy with a Bronco that had the same approx angles I decided to go with a 6deg shim, even though I need about 8deg. The reason is that the 3rd member on my 9" rear is several inches forward of the shim and so that means if I put a 6deg shim in that the 3rd member should move more than 6. Here's some photos:
Steel, not aluminum. 2x4"
I hit these with PB Blaster a week ago.
The shim is a bit thicker than 2 leafs
So I took out 2 leafs
The first time we put them in backwards.......
So we did it again
Fat part of shim faces front!
It didn't move it as much as I'd hoped, or I was off by more than I thought, but we're sitting right about 4.5deg, which from what I can tell is still barely within limits. I may at some point put in the 8 deg, or move the perches. I'll post more details about this and my shifter install on my T5 thread at some point, but for now I'm tapped out on computer stuff.....
Thanks! I must have missed where those bumpers went on the rear, but I think I got it now. I still don't know where those sleeves will fit. I didn't notice room around any of the bolts for them.
I don't have a picture but I think the 4 sleeves go to the rear mounts. there is a metal bushing the bolts go through and the rubber sleeves go between those and the mount body.
Those large bushings are a pain to install, I just did them on my truck. Had to assemble them at the frame side and then use a floor jack to raise the arms up to meet the cab. I used a 2nd floor jack to support and adjust the cab height to get everything to line up. The bushings fit into the frame bracket. The smaller sleeves as stated are for the arms, I bought new steel ones so I didnt need those smaller sleeve bushings.
Are you checking your pinion angle wtih the truck on the ground at ride height? What is the transmission output shaft angle? With leaf springs the rear axle angle changes depending on spring position so you want the truck on the ground at ride height, or on a 4 post lift, or raised up but supported by the suspension to get a good angle measurement.
Thanks for the visual and tips Dave! I am checking the pinion angle with the truck on the ground. No weight in the bed. I figured it won't move much with most all the springs in still and I don't plan on hauling much. The trans is at 2 deg down.
Just looked through your pictures, looks like you still have the original bumpers installed for your rear cab mount arms, sorry I didnt see those before.
As far as pinion angle, what was it before adding the shims? So it is 5 degrees up with the shims?
Yeah, I didn't even realize they were there until I started asking about where those bumpers went, then I saw the originals still in place. They seem to be in good shape (but looks can be deceiving). I did not notcie them in the manual when I was installing them, but I'll likely put in the new ones now that I know.
If I remember right the pinion was 10-12 up, now it's 4-5 up. My trans is 2 down. The rear end has been 10-12 for several decades I'm sure, so hopefully 4-5 isn't a game changer. I might get some 8's and put them in next year. Right now I'm cramped for time and will be out of commission for the next couple of weeks. Then I have my move in June to get ready for. Lots to do! Thanks for all you interest and help!
I wouldnt lose sleep over it. Run it down the road, if you start to get some noise from the rear joint then I would cut the perches off and adjust the rear angle with no shims, then reweld.
Well we've been out of commission for a few weeks tending to a family emergency, but we got a few things done before we left. The pass. side felt/window went in without too much trouble and I thought I'd post a couple more tricks that I hadn't mentioned before. One is that you can use a screwdriver or like device to keep the felt clips from falling out or being loose:
Drive it in so it spreads out inside creating a tighter fit.
Also, something that will help you squeeze the clamp together is a large screwdriver and a piece of metal to protect the paint/door metal:
Hard to see, but there is a thin piece of metal protecting the other side.
Another trick I learned from a fellow FTE user is to use the felt made for battery connections if you don't have the originals:
Works out well!
I also had my buddy weld up the old shifter hole in the trans cover with the new piece that I removed from the new location:
Thanks Jabba!
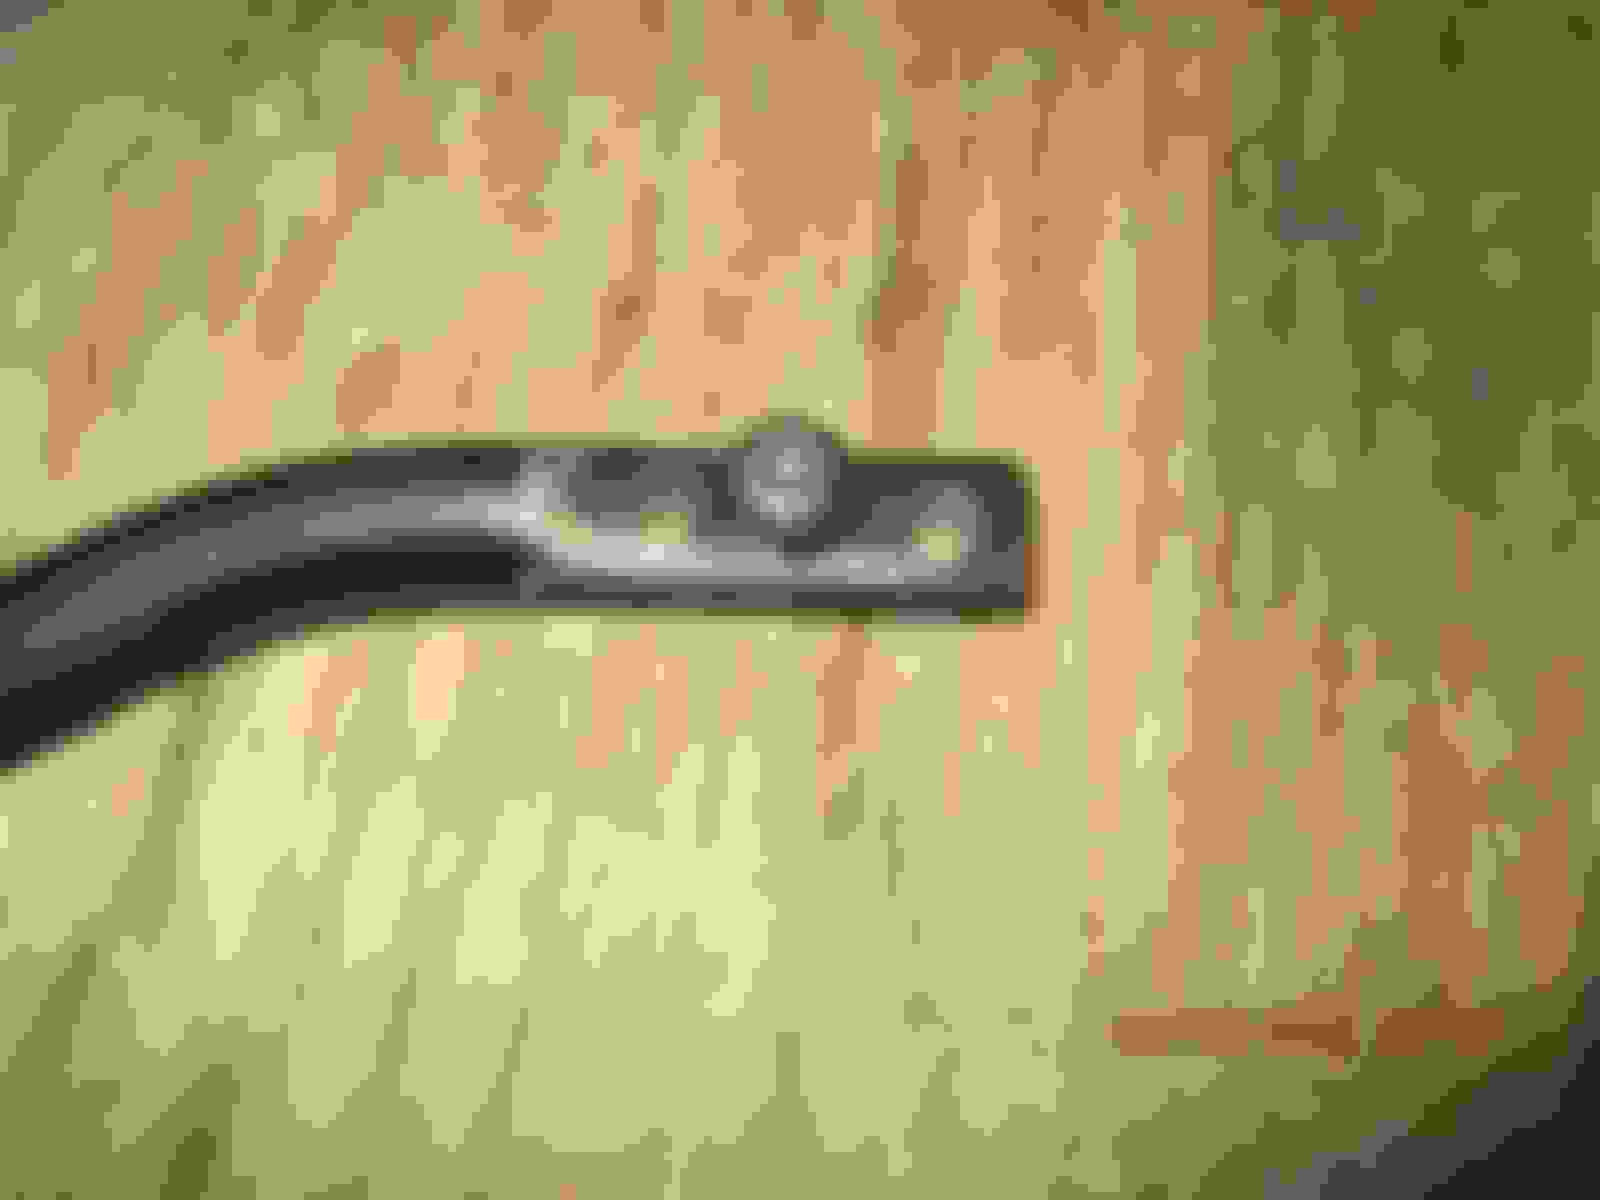
While we were there we used his torch to heat up the original shifter rod so I could bend it about 6". Now it fits between the seat and dash!
Made a little jig to help determine how much bend I had put on it.
6" was just about right
Then I needed to button up the shifter block with some sealant so I could put everything together:
I cut the foam insulation piece to fit the new shifter:
I hadn't realized that my trans cover gasket was the 3 piece unit, so I RTV'd it in place to hold in together. It made it a breeze to assemble.
Then it was on to assembly.
I thought I'd take some shots of how long the throw is with the short throw shifter in case anyone is interested:
3rd
Neutral
4th
Distance from seat in 4th
The original style boot should work, but will need a 5" ring to hold it down.
I'll let you know how it all works out once I can put a few miles on it. I need to install the new metering valve in the proportioning valve first and get that leak fixed !
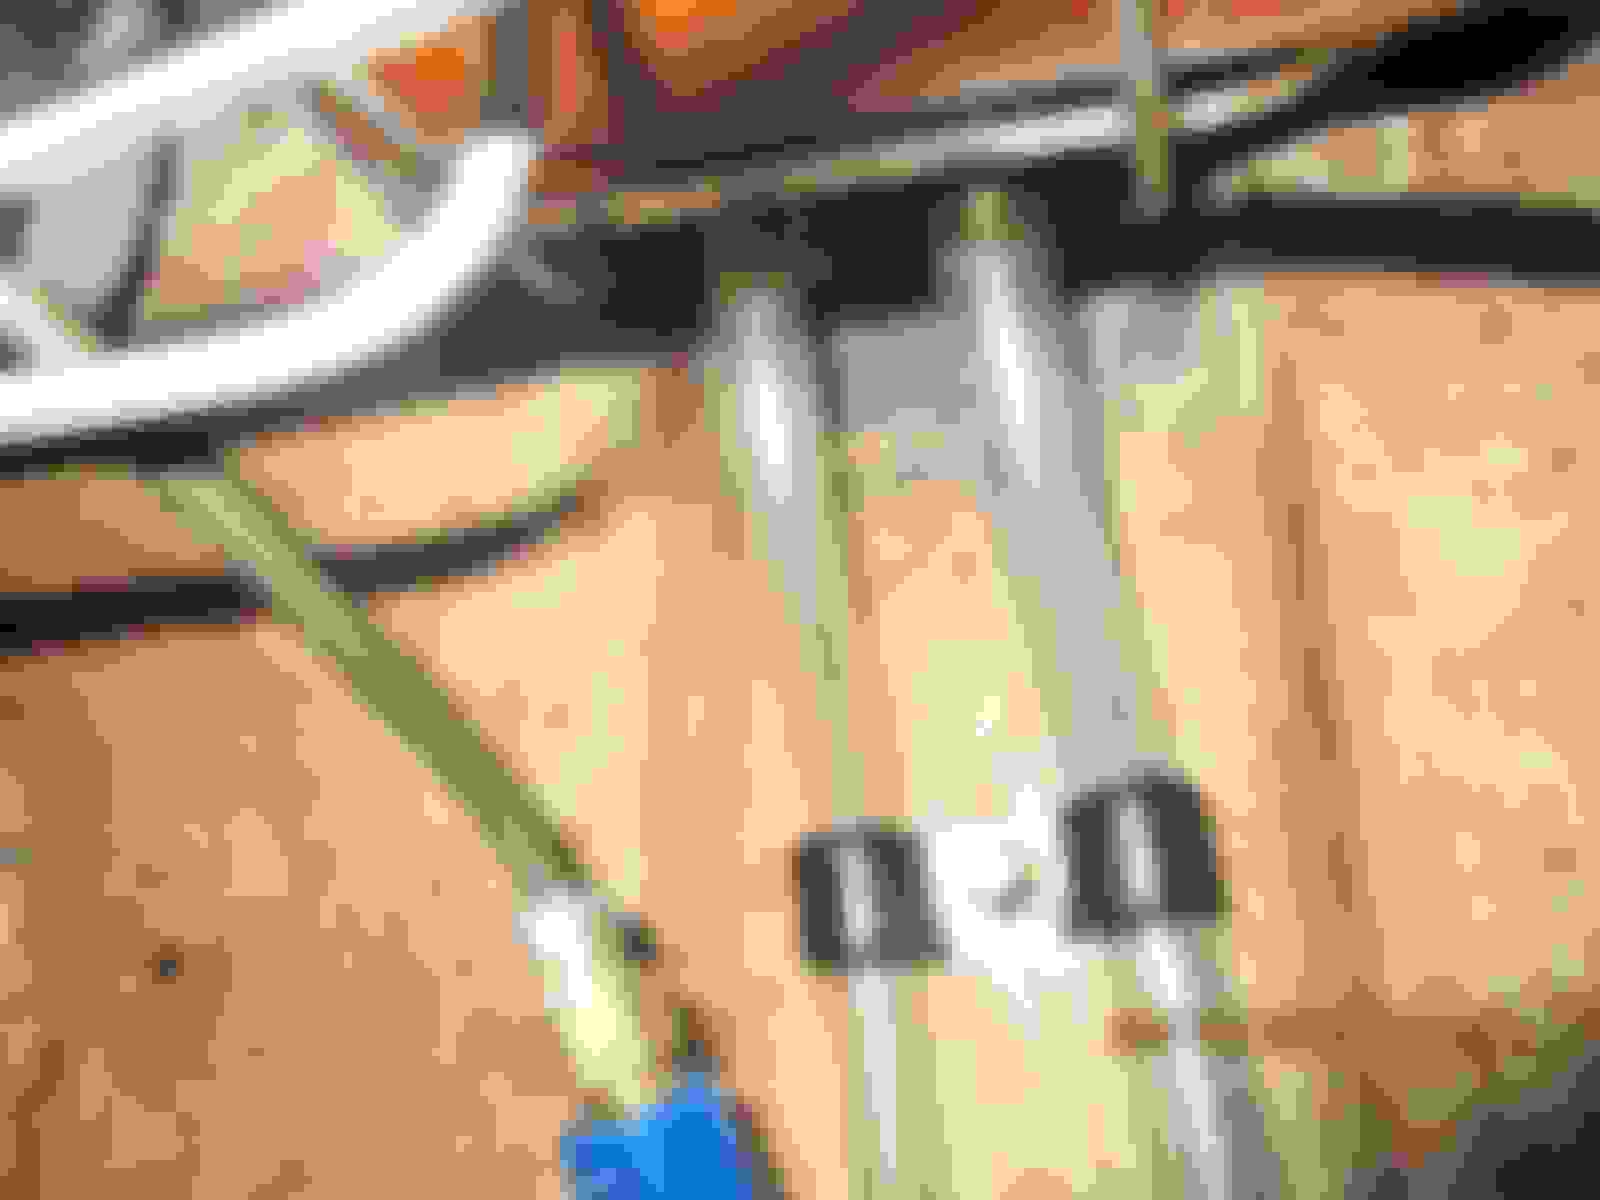
I also started to protect the soft fuel lines that are near the engine bay. I'm trying to figure out why my carb leaks after shut off and want to eliminate the possibility of hot gas in the line traveling up and into the carb. I don't think that's the problem, but a little extra protection won't hurt a thing. I used some electrical conduit around the rubber fuel line.
Can't wait to get that break leak fixed and get him on the road!
 04-05-2015, 12:12 PM


 !
!