When you click on links to various merchants on this site and make a purchase, this can result in this site earning a commission. Affiliate programs and affiliations include, but are not limited to, the eBay Partner Network.
The cut out flares were from the previous owner. I have a set of uncut fenders I will be putting on and also removing the flares in the rear.
I won't be going on trails in my Bronco any more. It is strictly going to be a sunny day road warrior. I may get a jeep at some point to get back on the trails.
The flares on the rear are worth a little money as they've been discontinued for a long time and people search for them, so don't just throw them away.
Ya, I'm going to support your Bronco being a Pavement Pounder, would hate to see it with body damage.
I know the flares are the rear are a wanted item. I also have the ones that go on the front to make a complete set. The only issue with this is that there is some straight line cracks in the plastic at some of the locations where the rivets go to hold them to the truck. I imagine that would be pretty common however on a used set. I am going to hold on the them for now just incase I have tire coverage issues but I think I should be OK enough to find someone locally to inspect it. I would imagine some time in the future I would put those flares up for grabs to someone here.
I put 7 years off and on in that Bronco and did not take any short cuts. There is a lot of money tied up in it. There wasn't a straight panel on that Bronco but I repaired everything and block sanded it all down and everything. All the body panels have nice smooth lines now.
I got a few things done last night and today between house projects of putting up some insulation and starting to paint some bedrooms in the house.
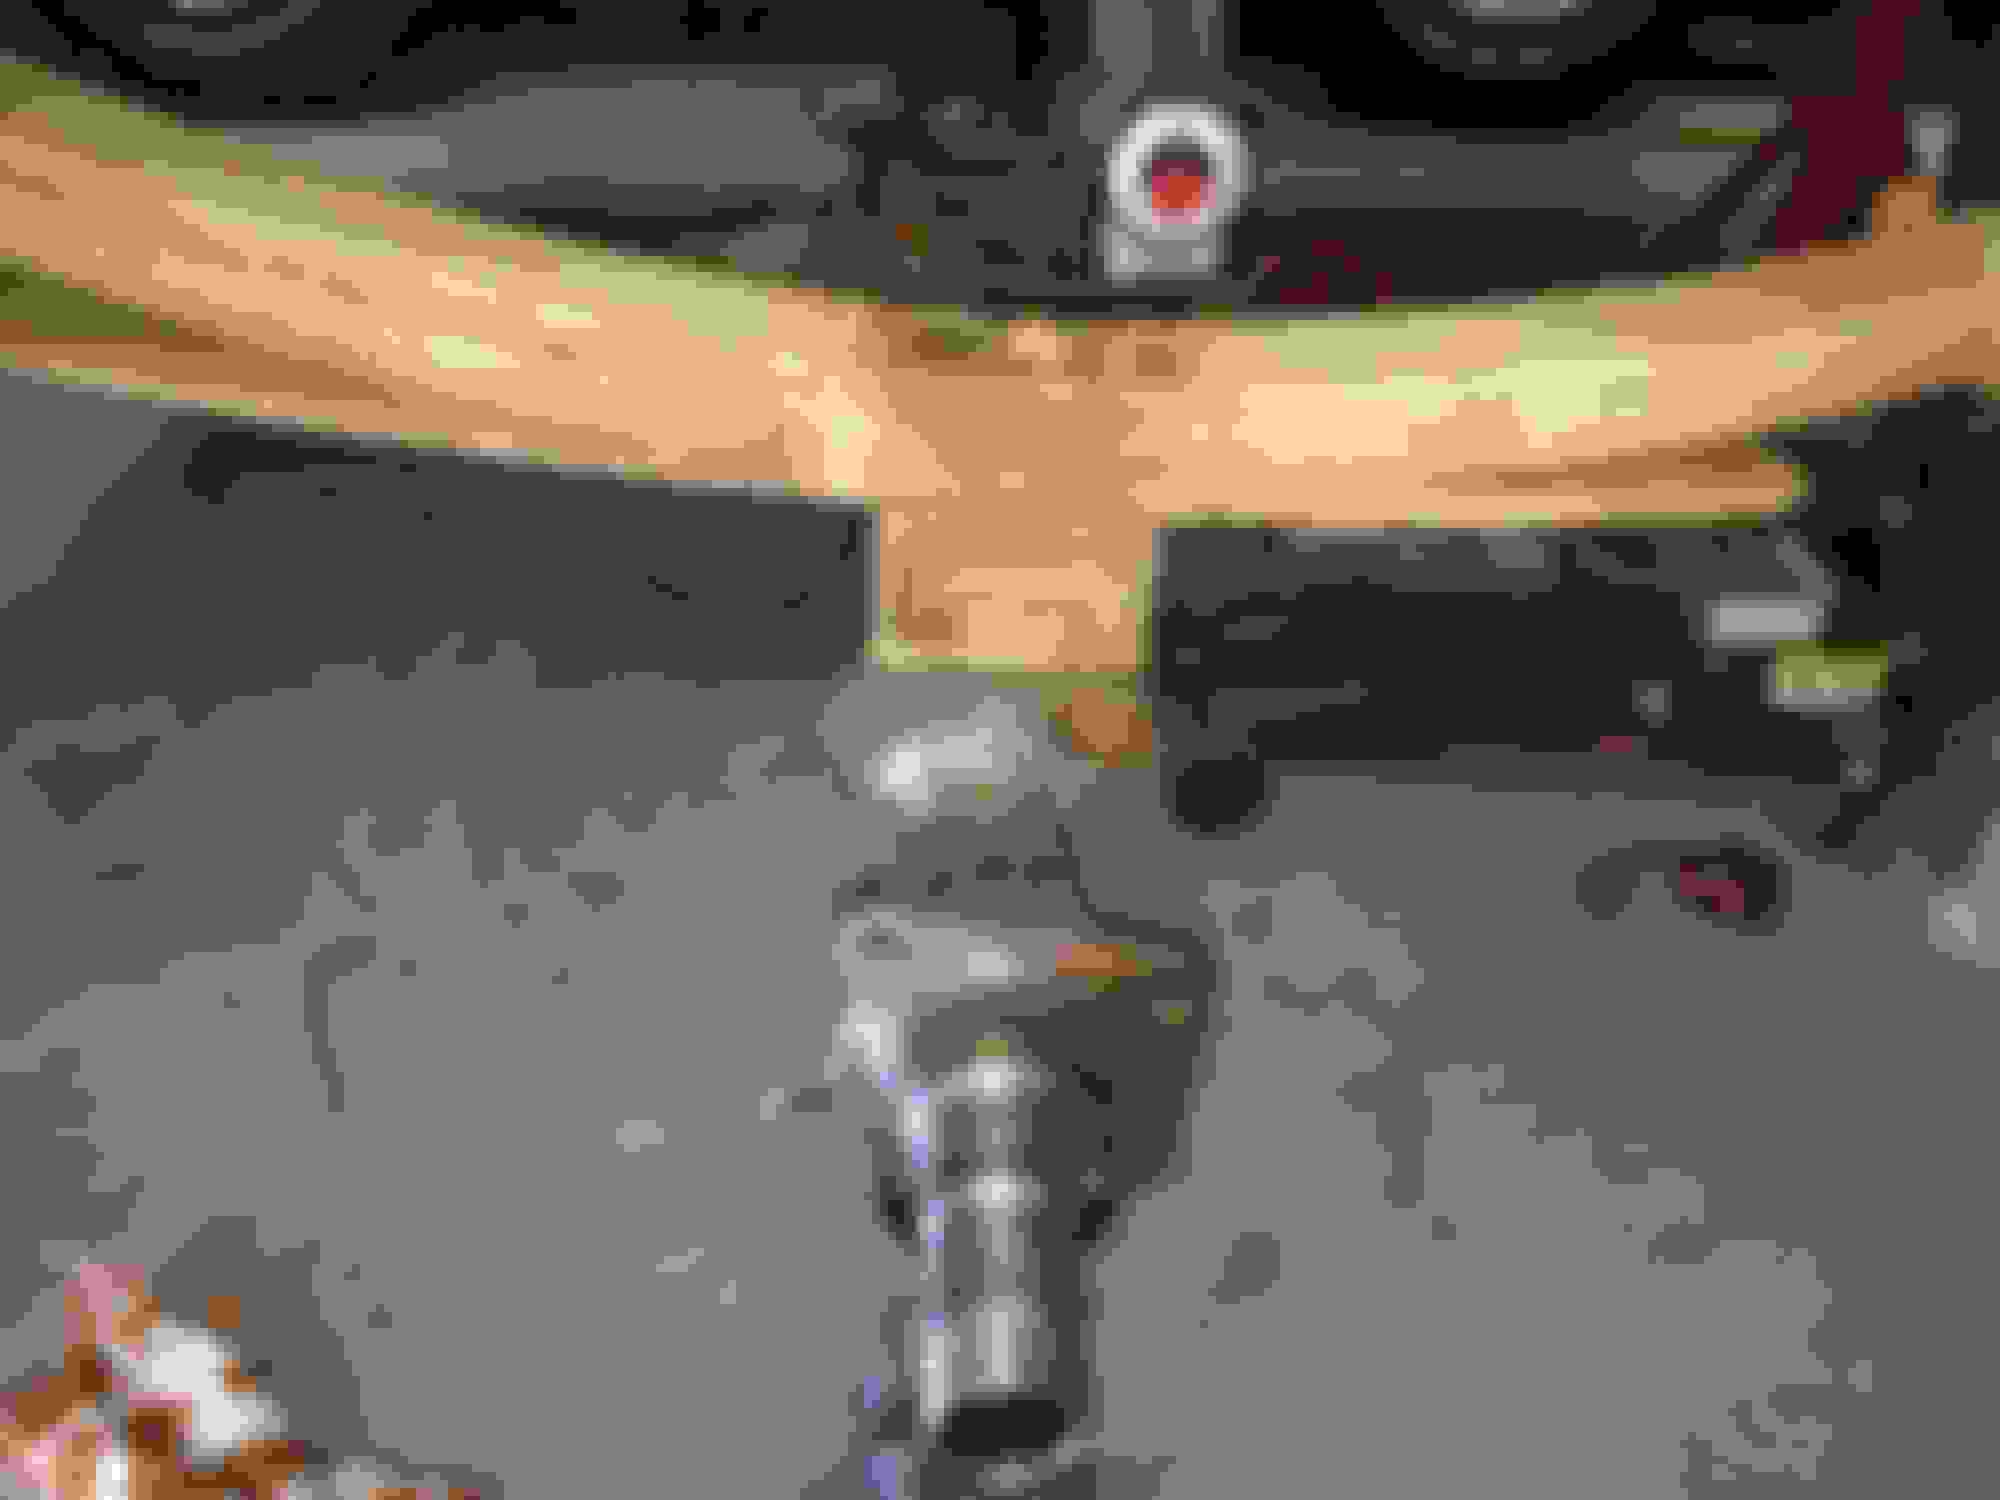
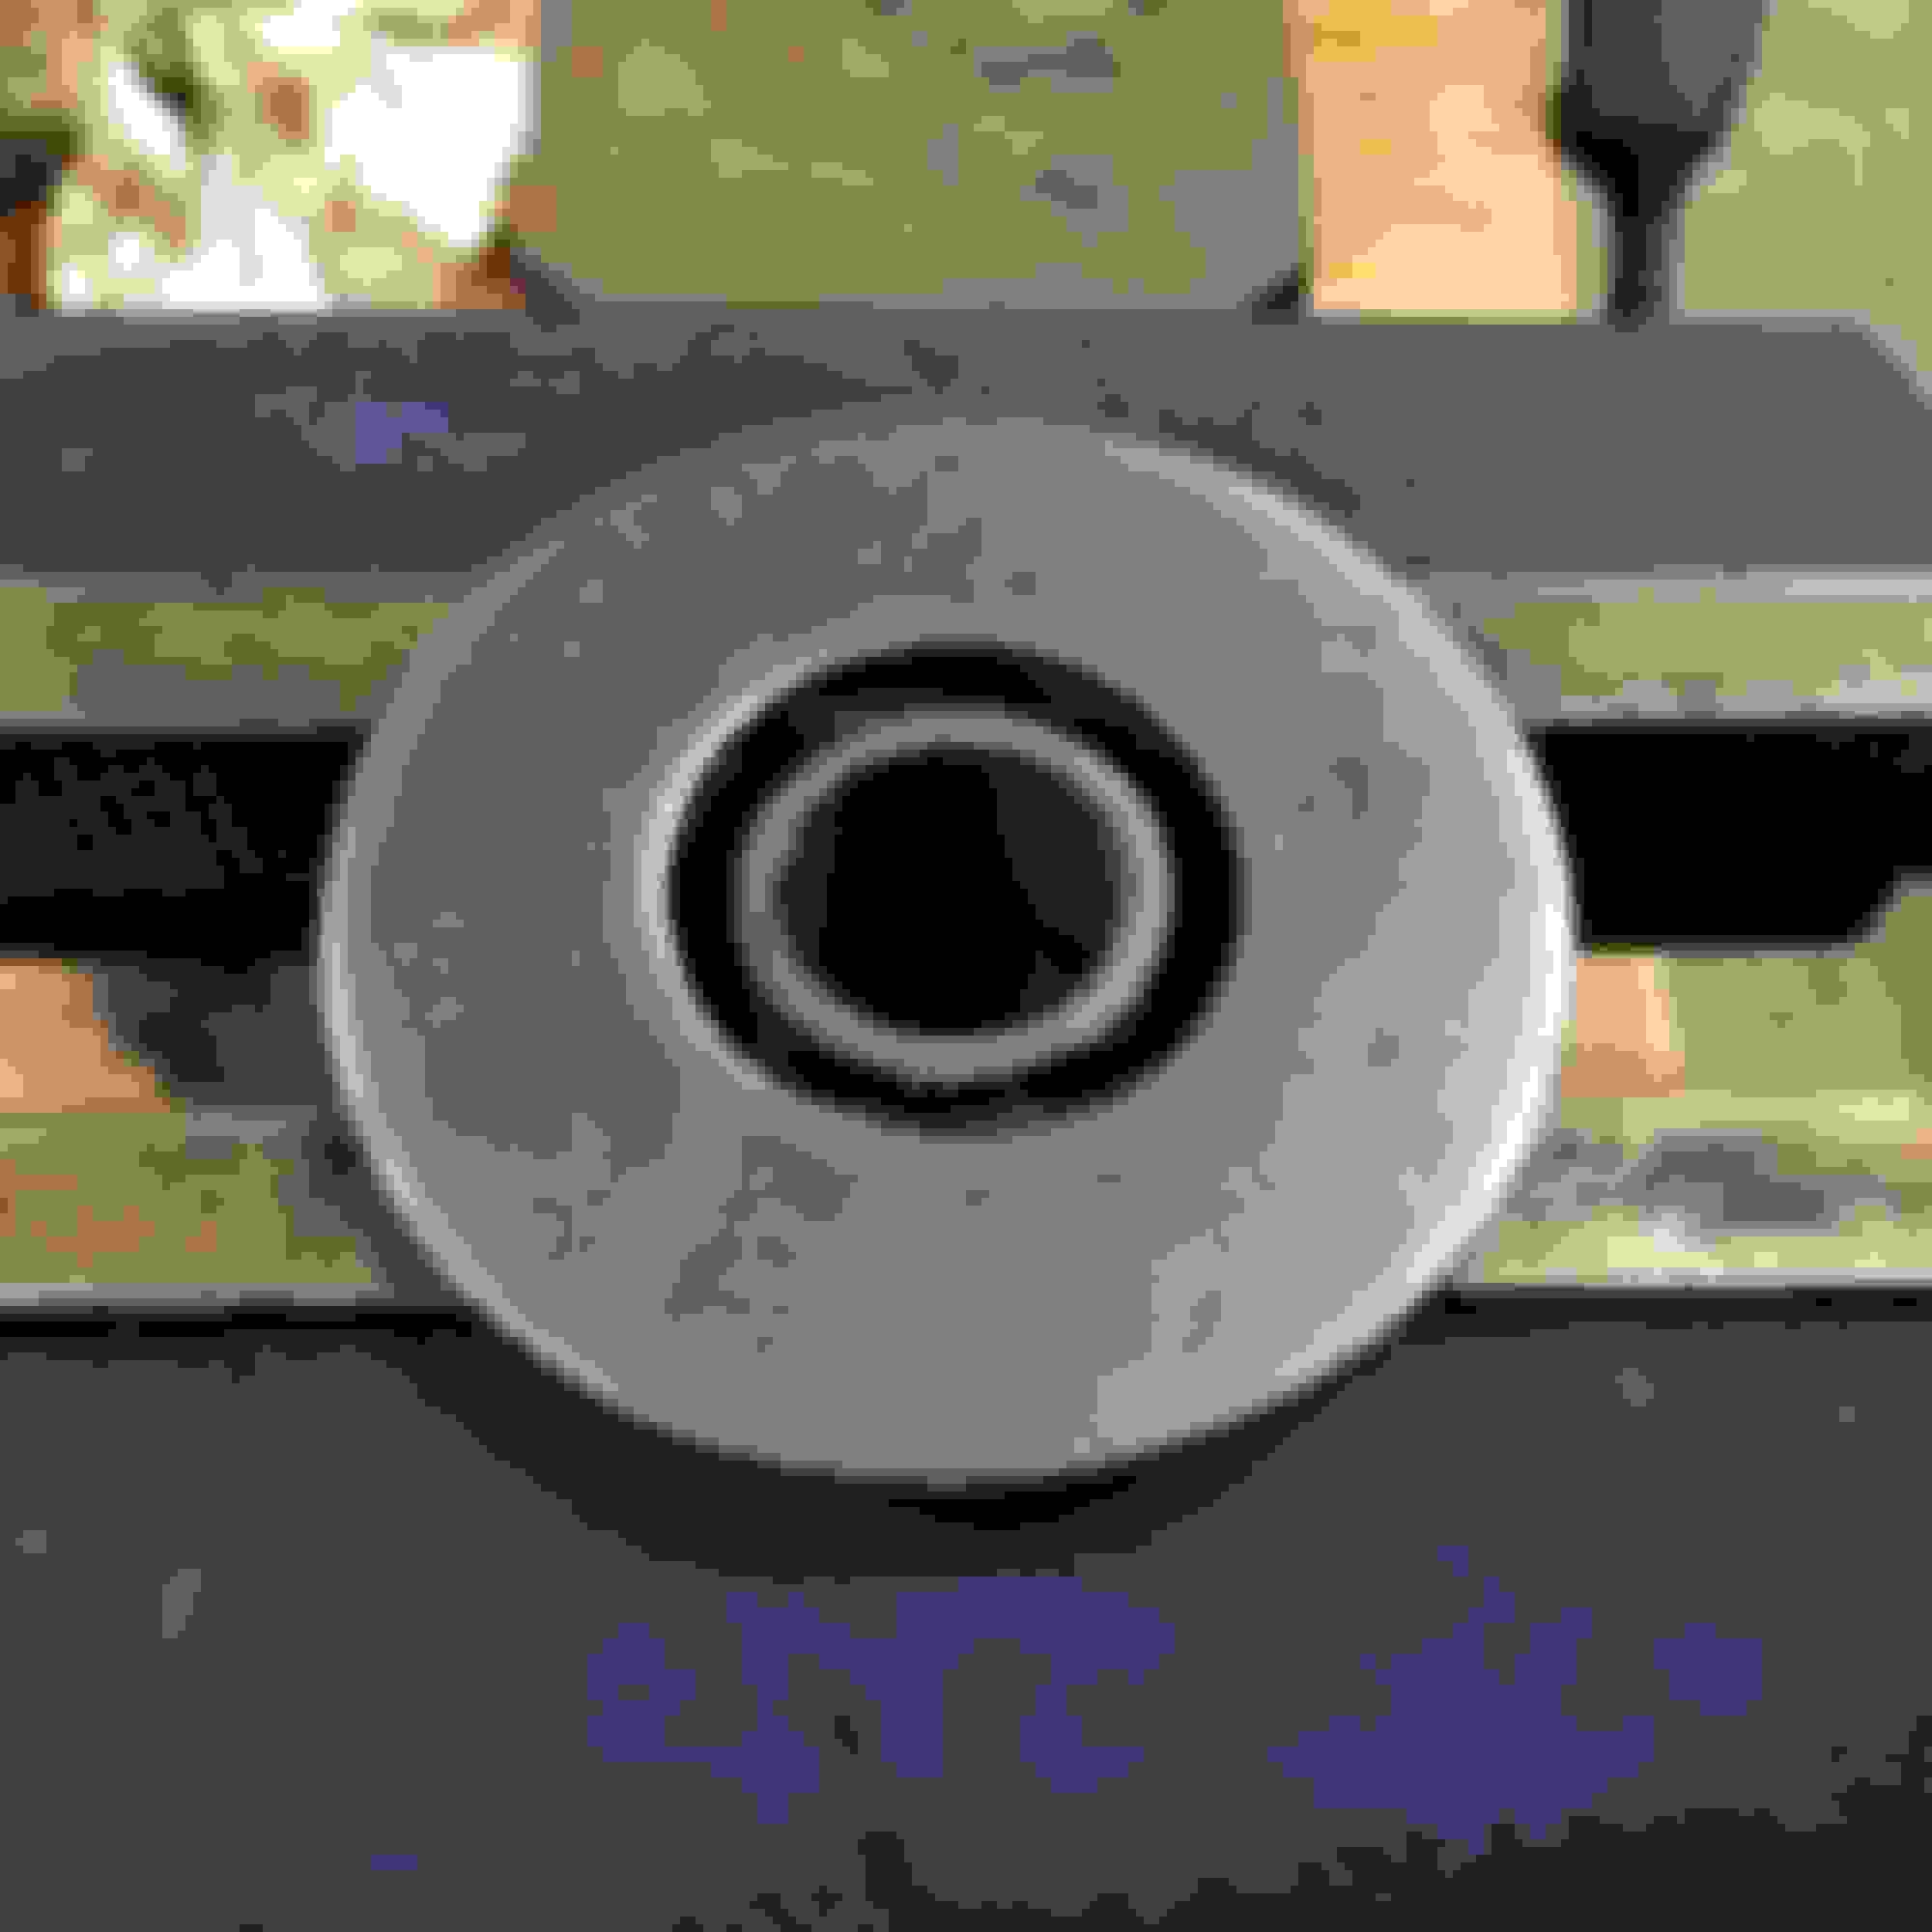
Aligning the pinion angle and getting the spring perches centered for welding. Pinion is at 4 degrees to match the engine/transmission/transfer case angle. Outside of spring perch was 1 5/16" from the side of the hub flange. Notice how large the flange is compared to a drum brake 14 bolt.
Example of weld. They are not as clean as I would like because I was really moving the gun around to get a nice large bead. I only have 110V MIG. 220 would be nice to lay a clean weld but I can't justify it. I did get the metal nice and warm with a propane torch before hand. These should hold.
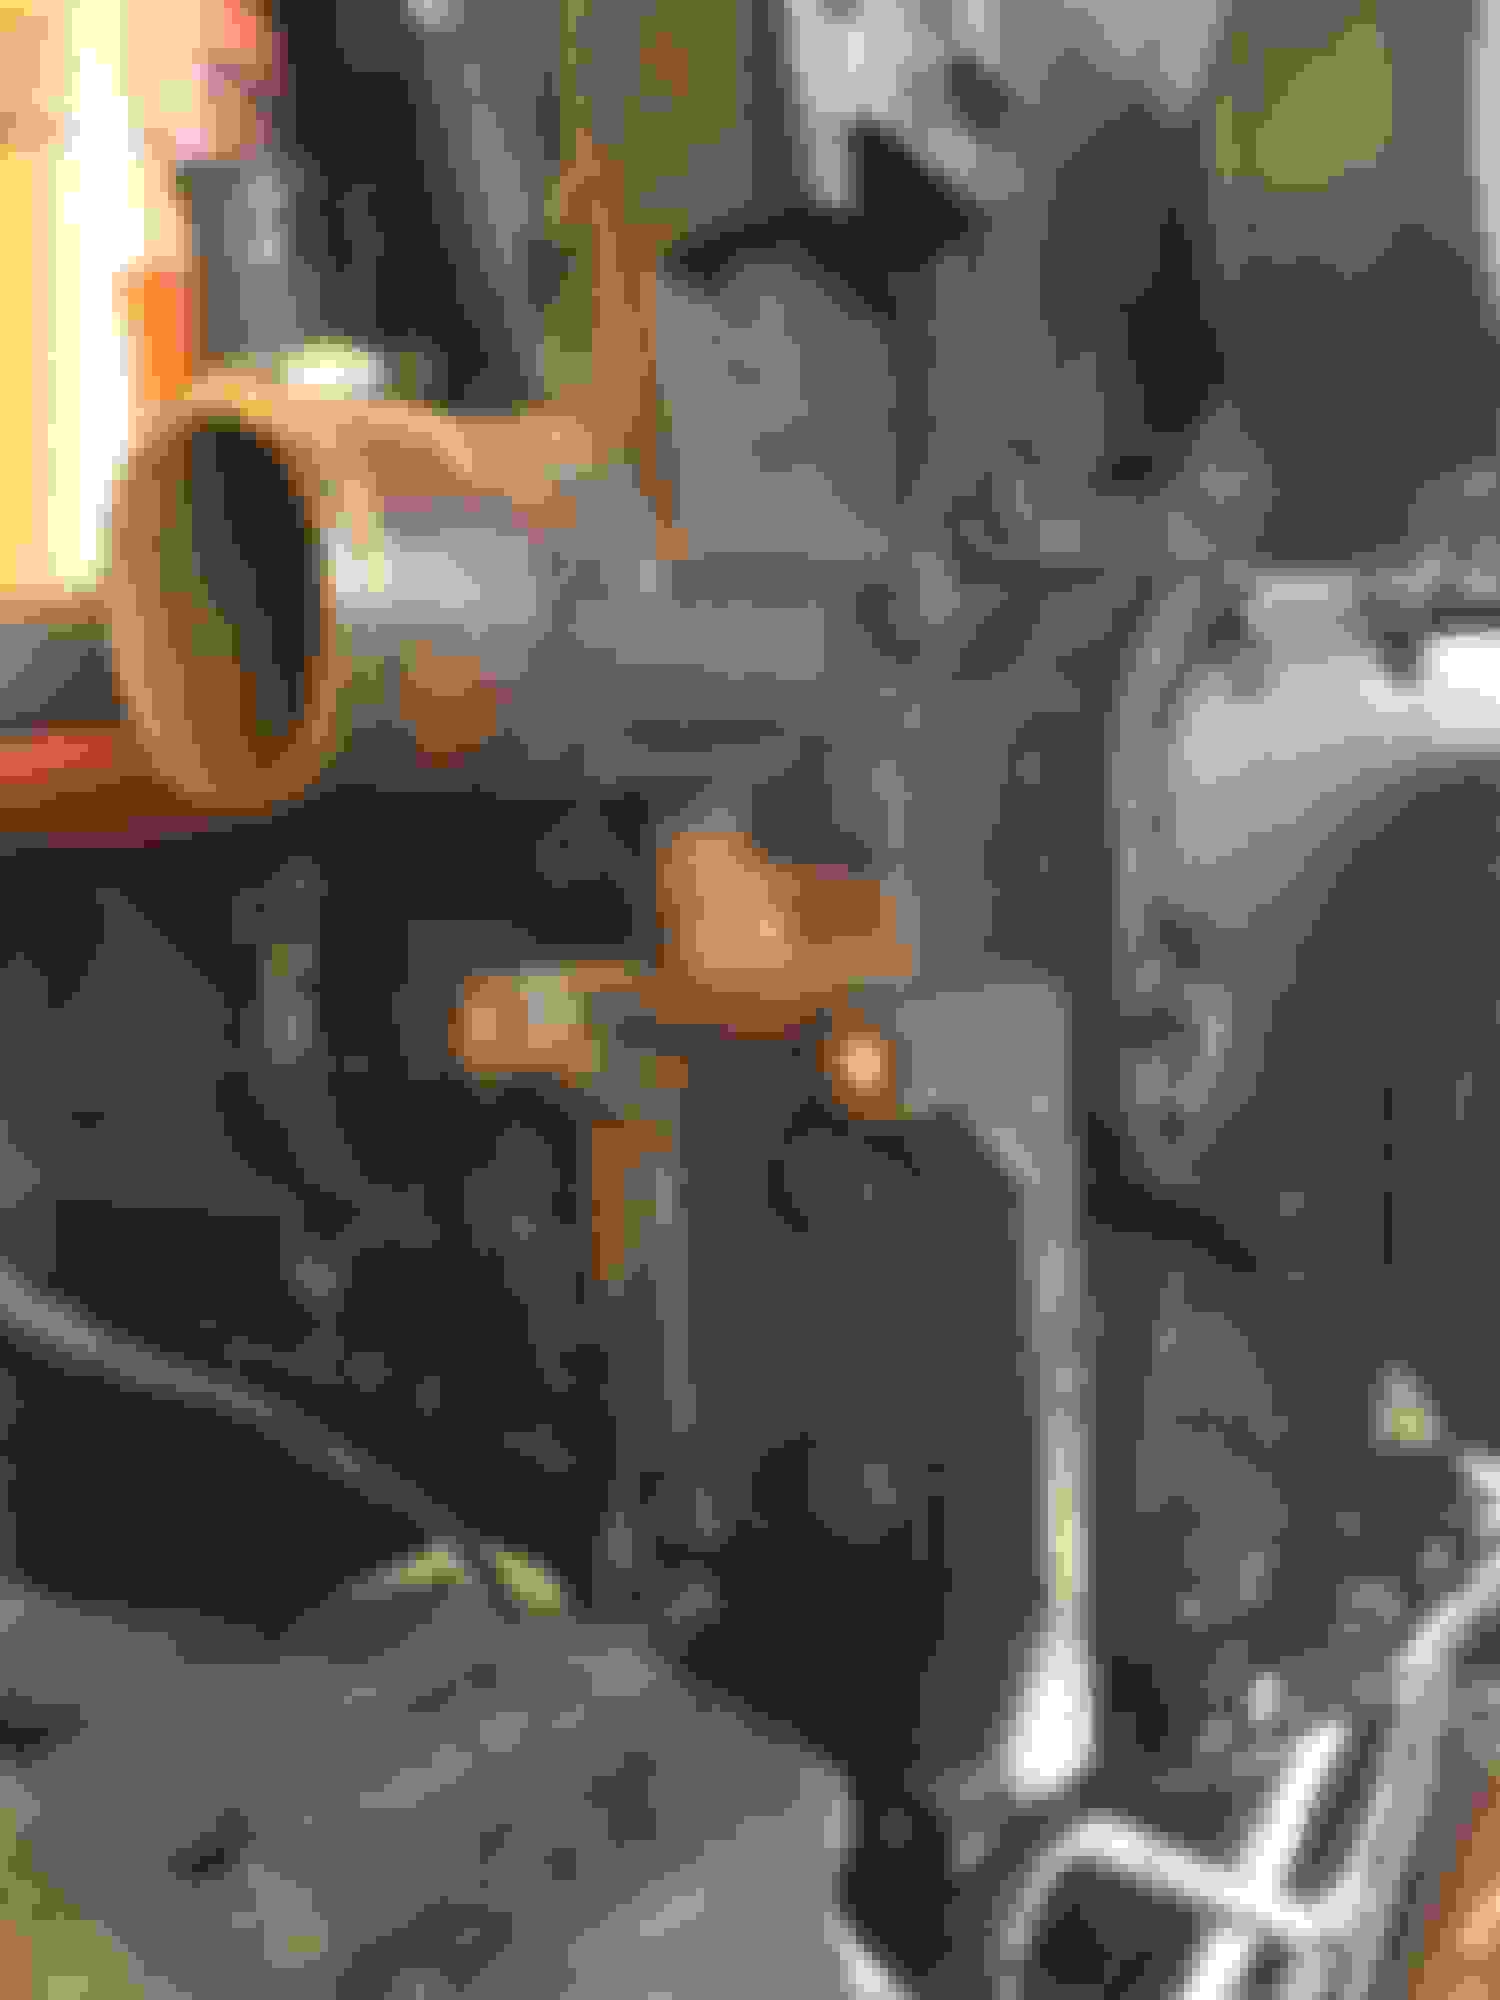
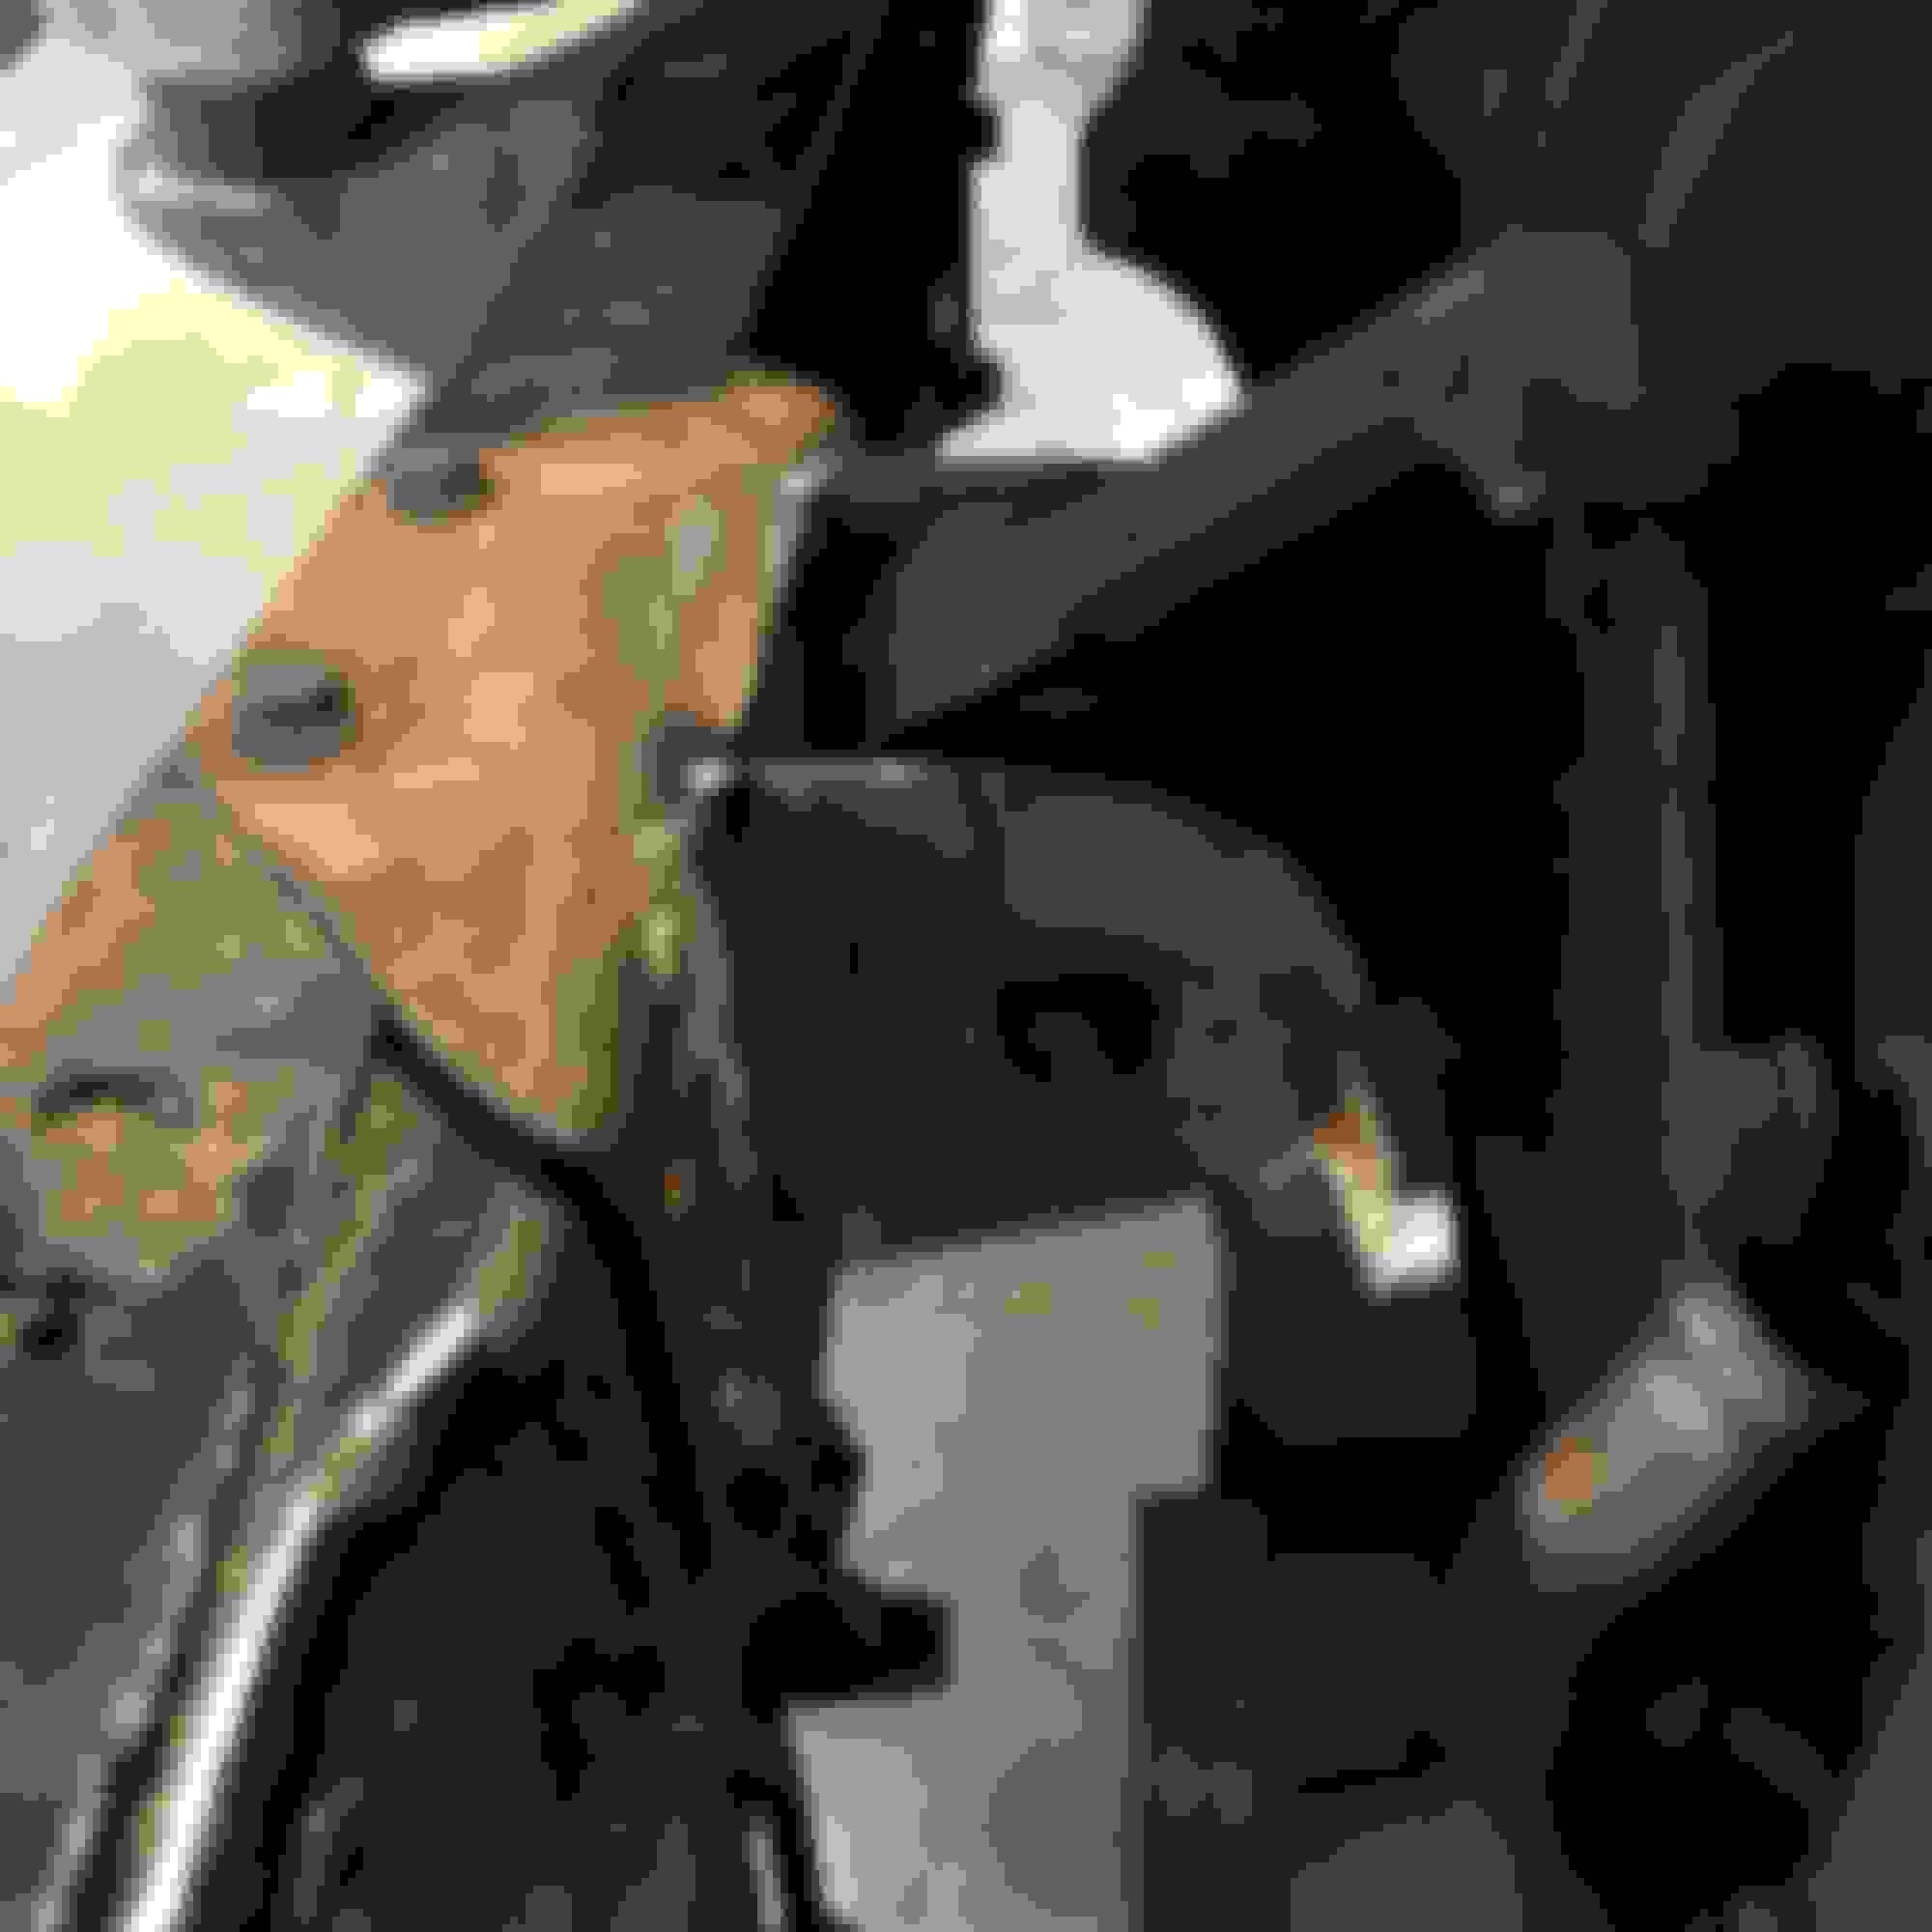
The air conditioning/water outlet housing really gets in the way of the front cross member. I am going to lower the motor in 2" further. I am going to cut the air conditioner bracket off the bottom of the water outlet pipe.
The air conditioning and water outlet bracket from the front side.
It has been a while since I got a chance to do any meaningful work on the truck.
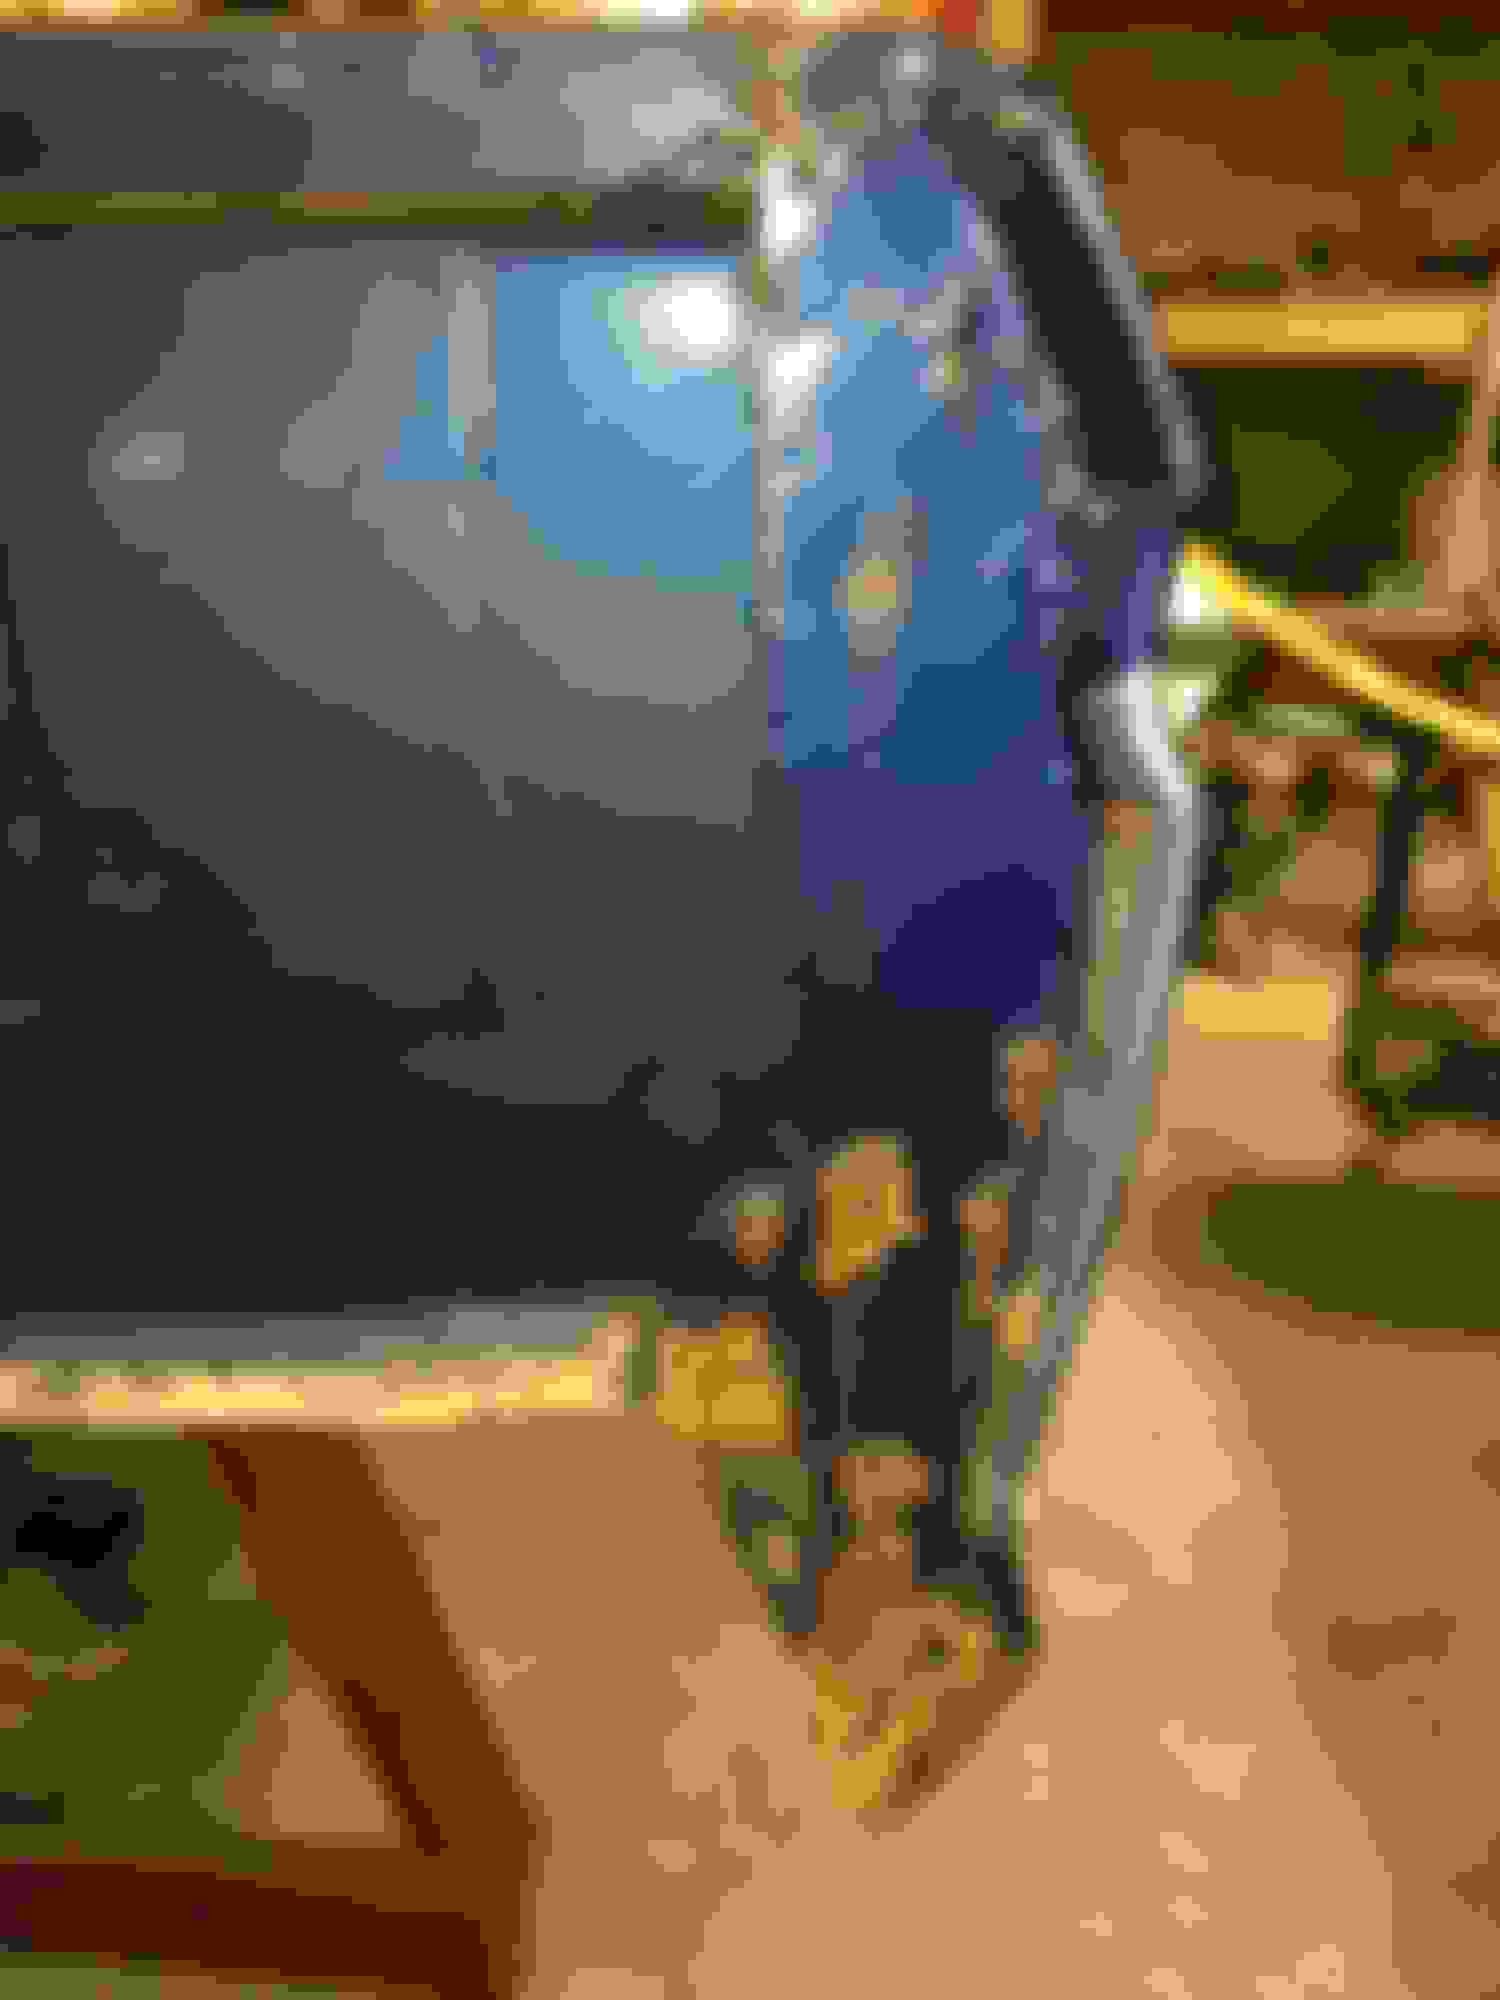
Got the transmission and transfer case out. The NV4500 is a beast. I had to take the top cover off to get it out from under the truck. I will be putting in a bigger input shaft and freshening everything up. I will get a new chain for the transfer case and new synchros and bearings for the transmission.
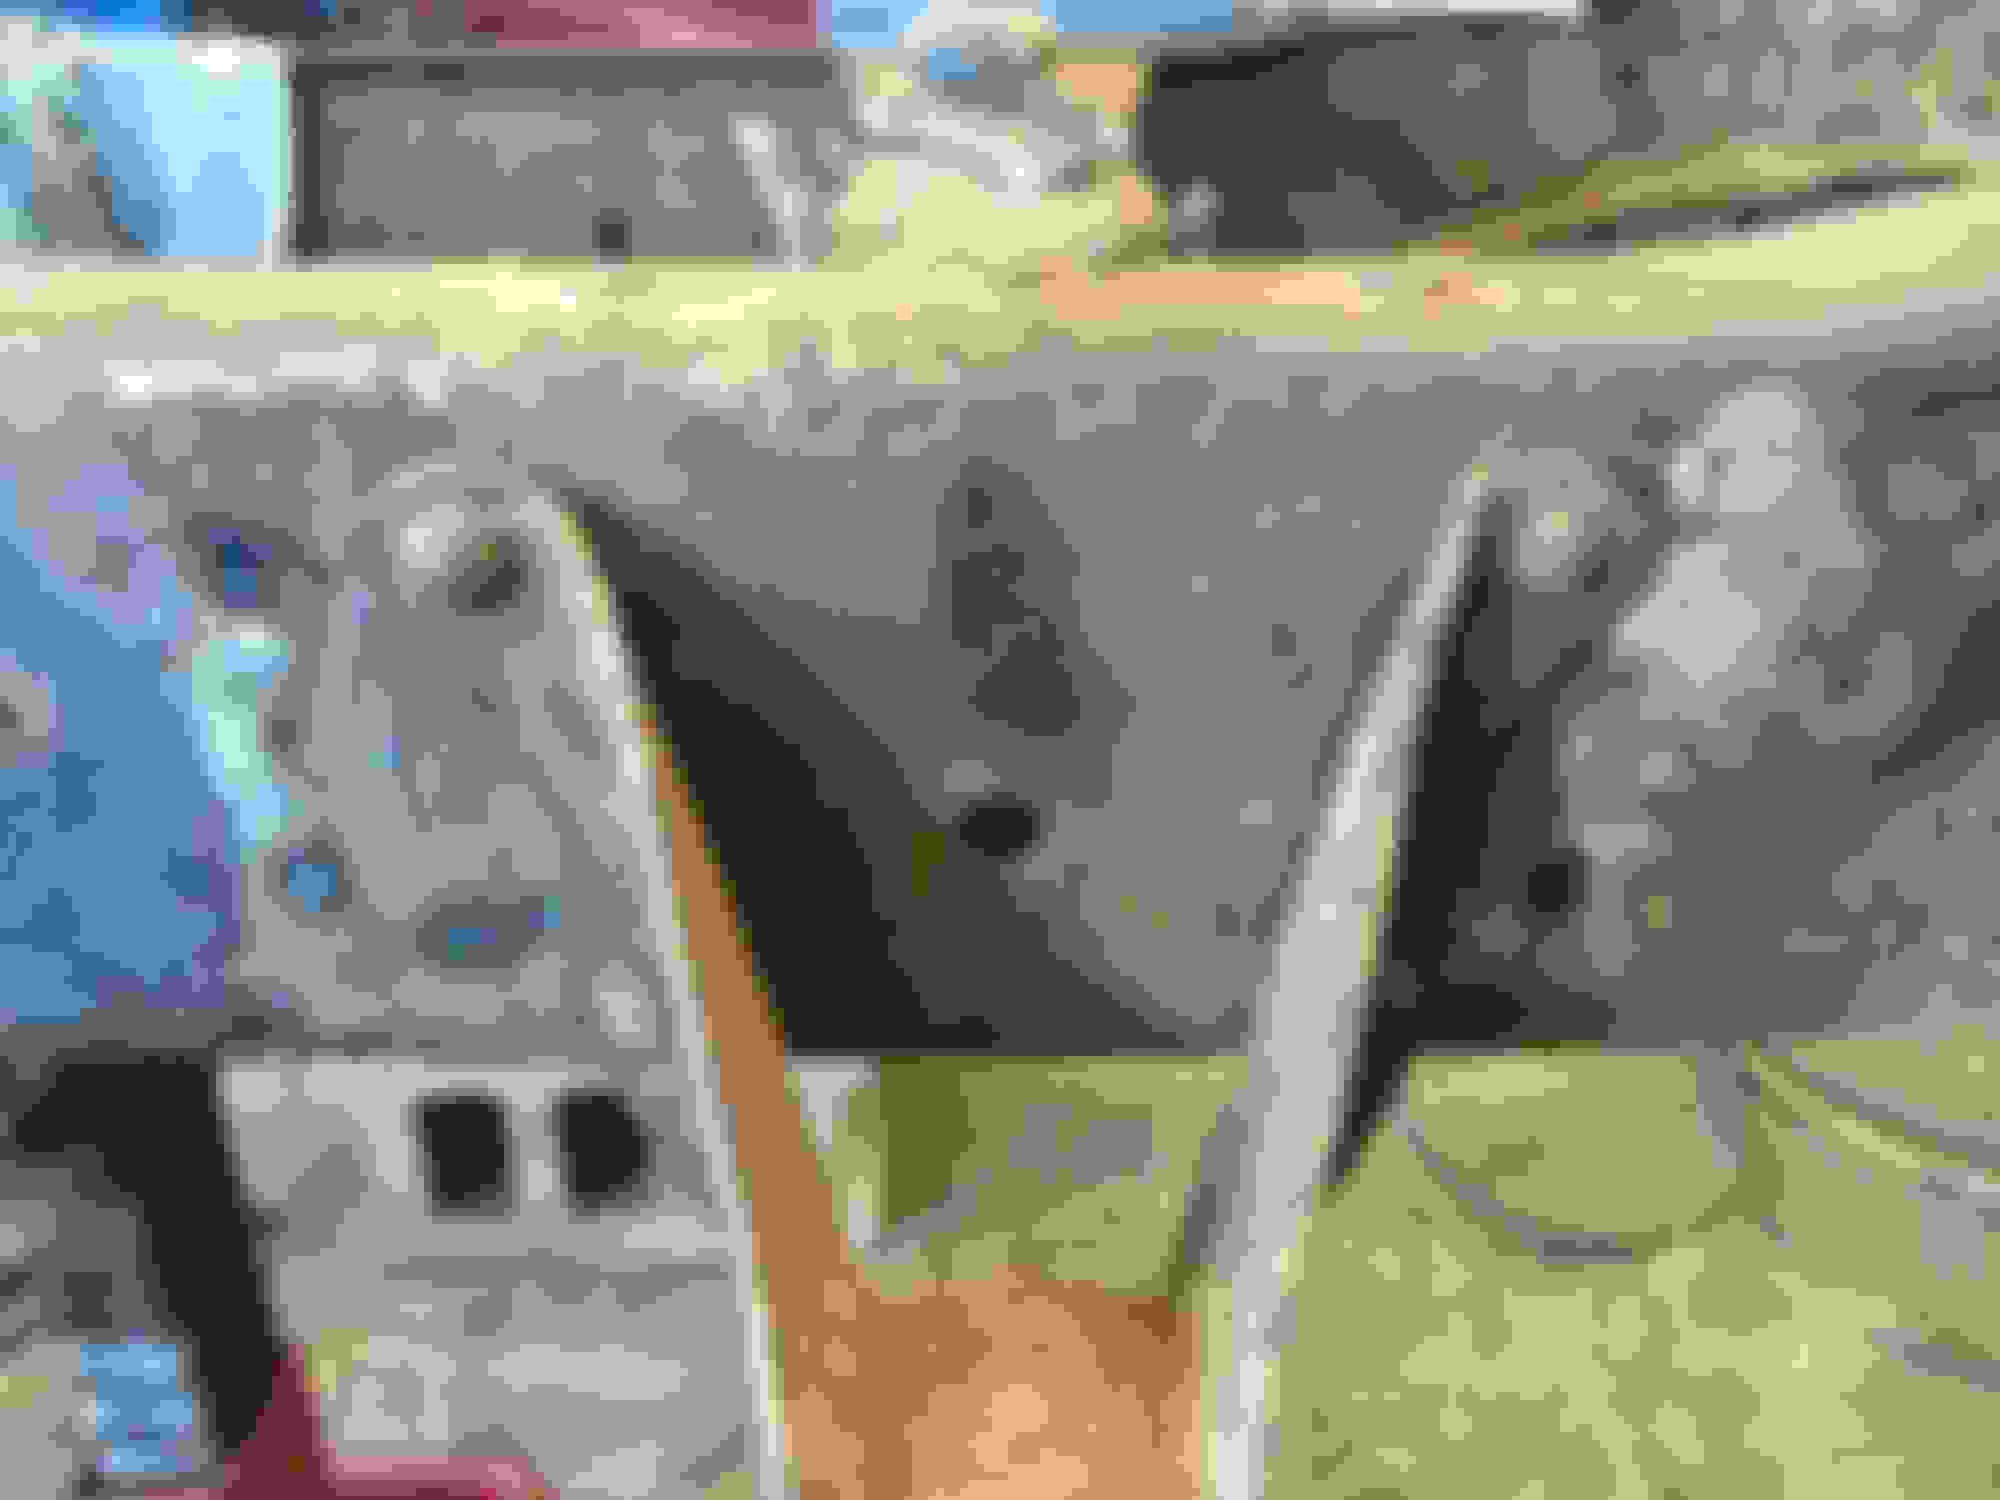
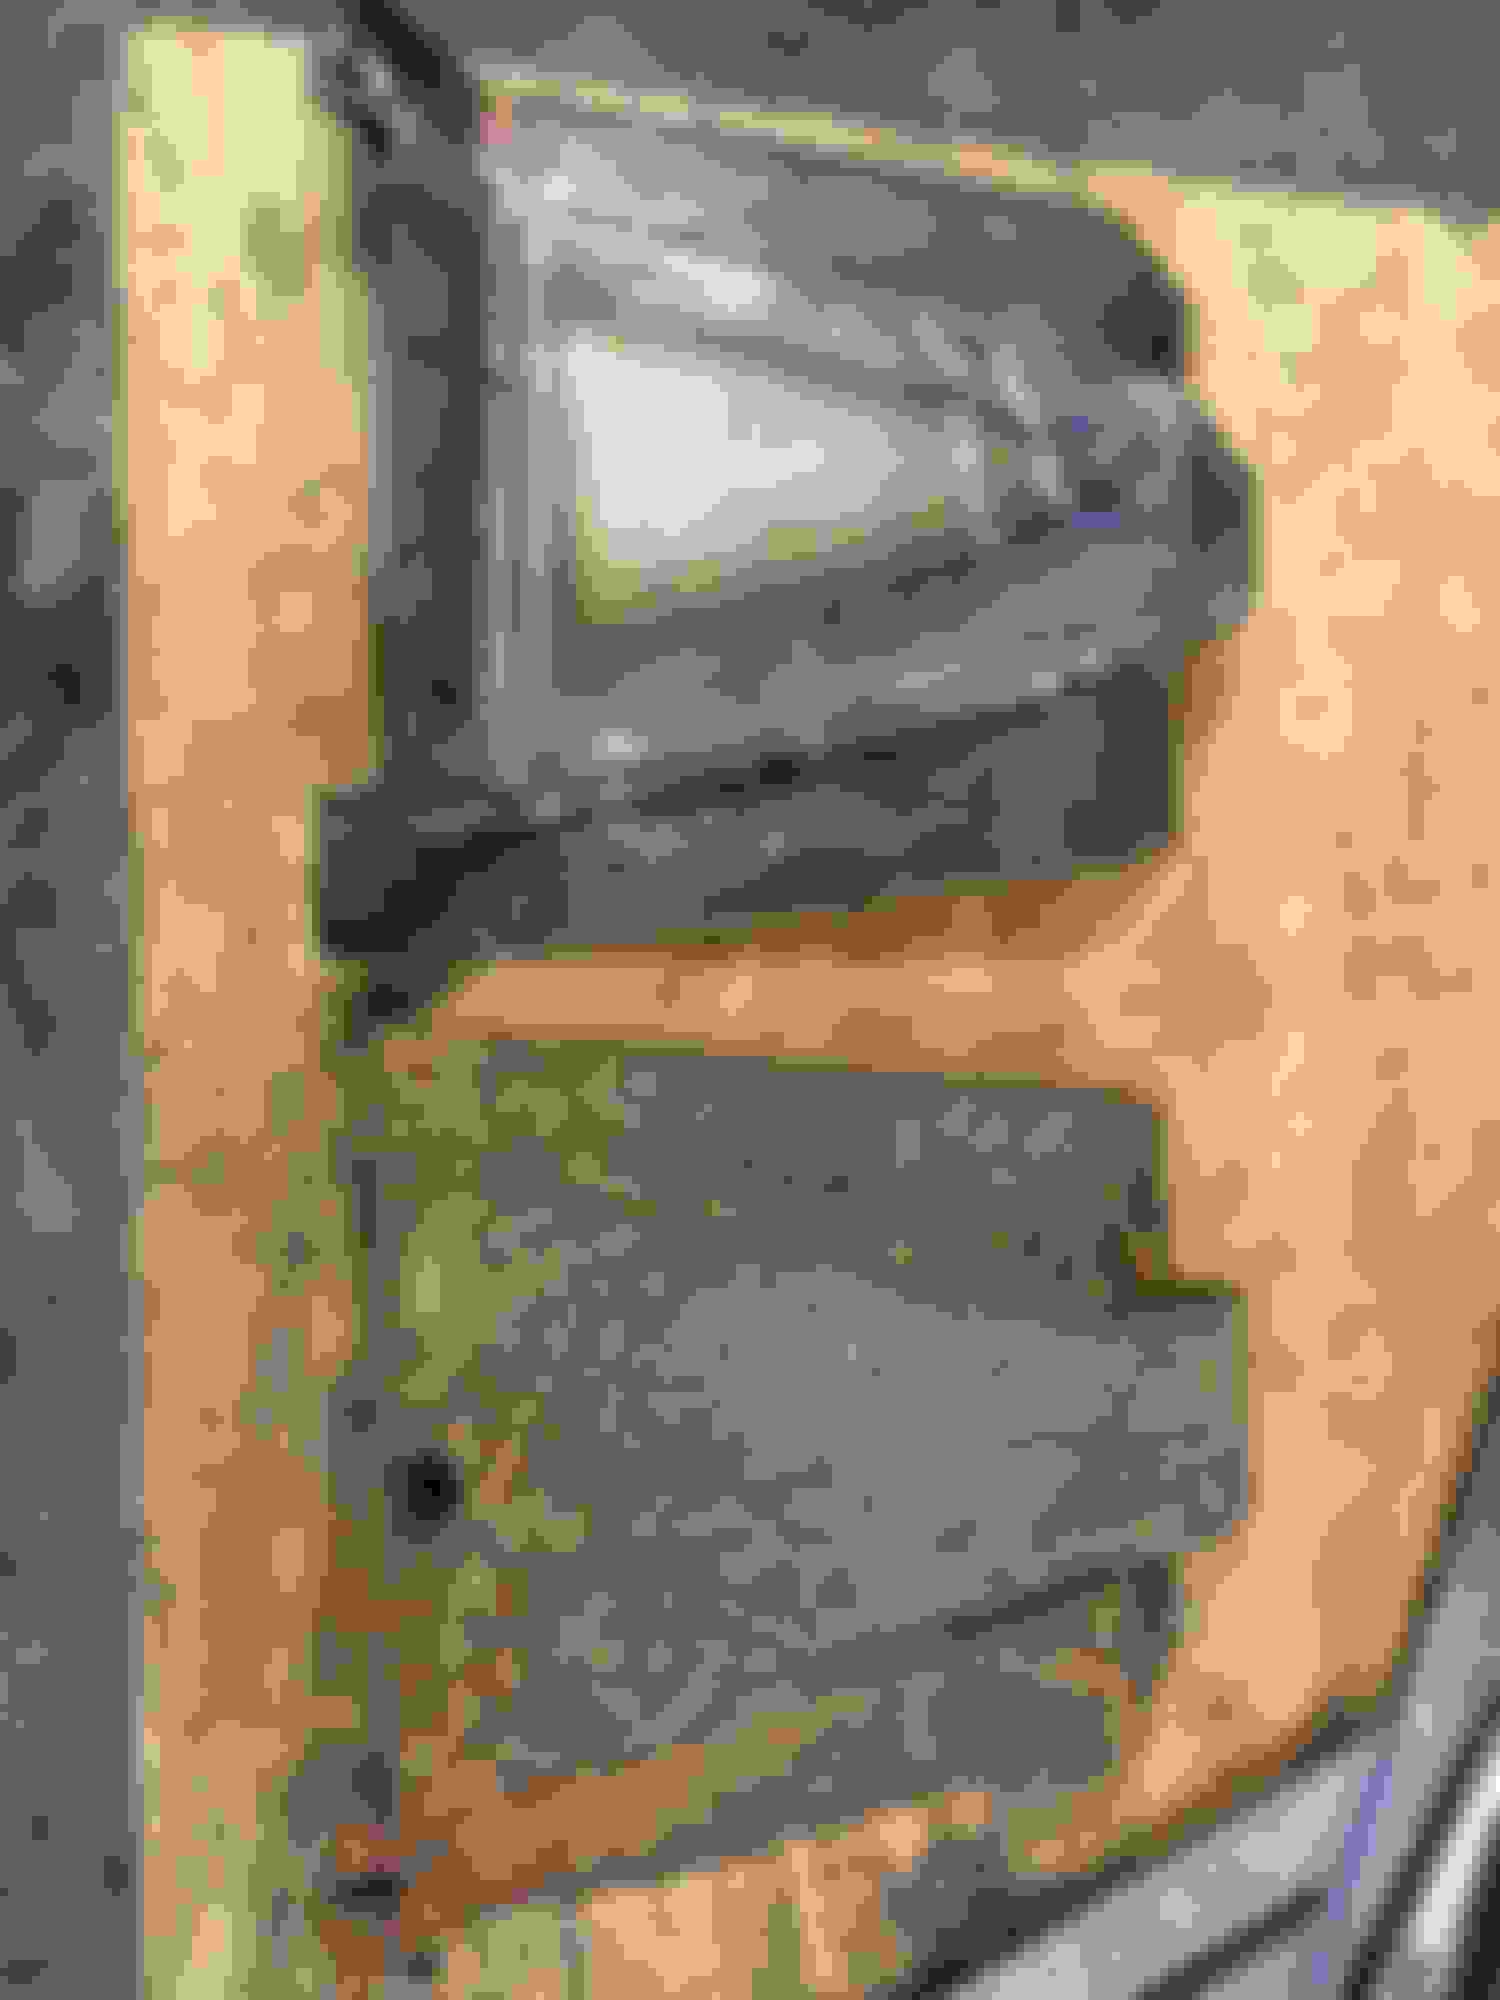
I got the bed off and it unfortunately has a lot more cancer than I had hoped. I know I am going to get a new bed pan and the panel next to the cab. Looks like I will have to fab up some metal for behind the cab because i didn't see replacement panels that go on either side of the main panel. The fender wells are typical so I knew i had to fix them. However I was not expecting so much rust behind the tail lights. The tabs holding the lights in place are barely hanging on. Also a lot of rot behind them. I don't know what I am going to do about that just yet.
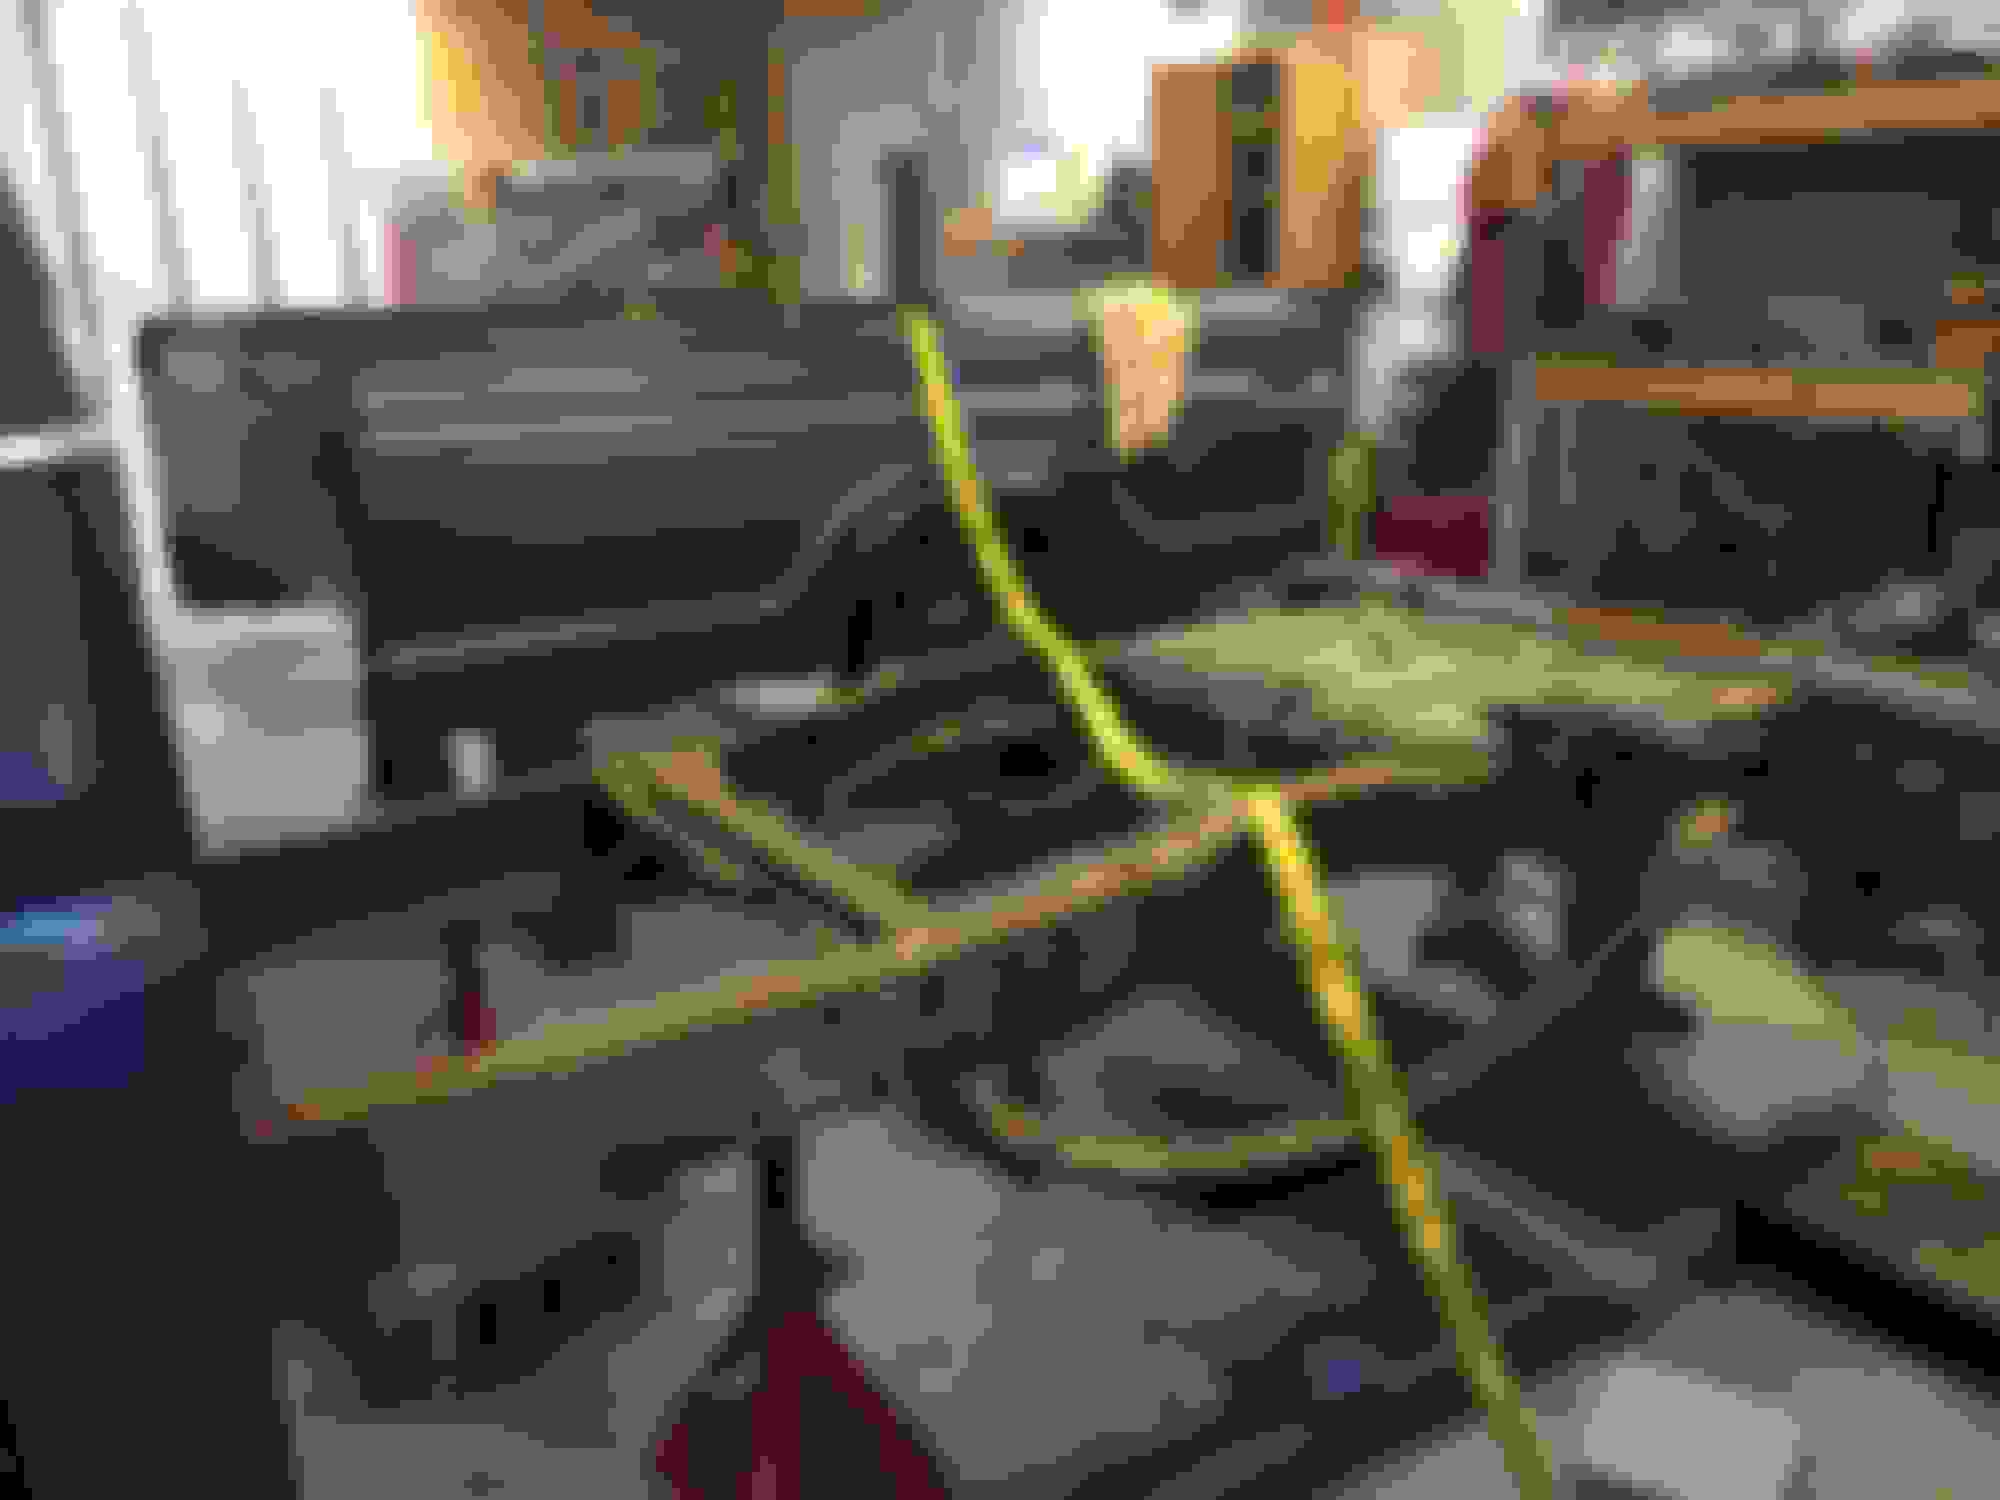
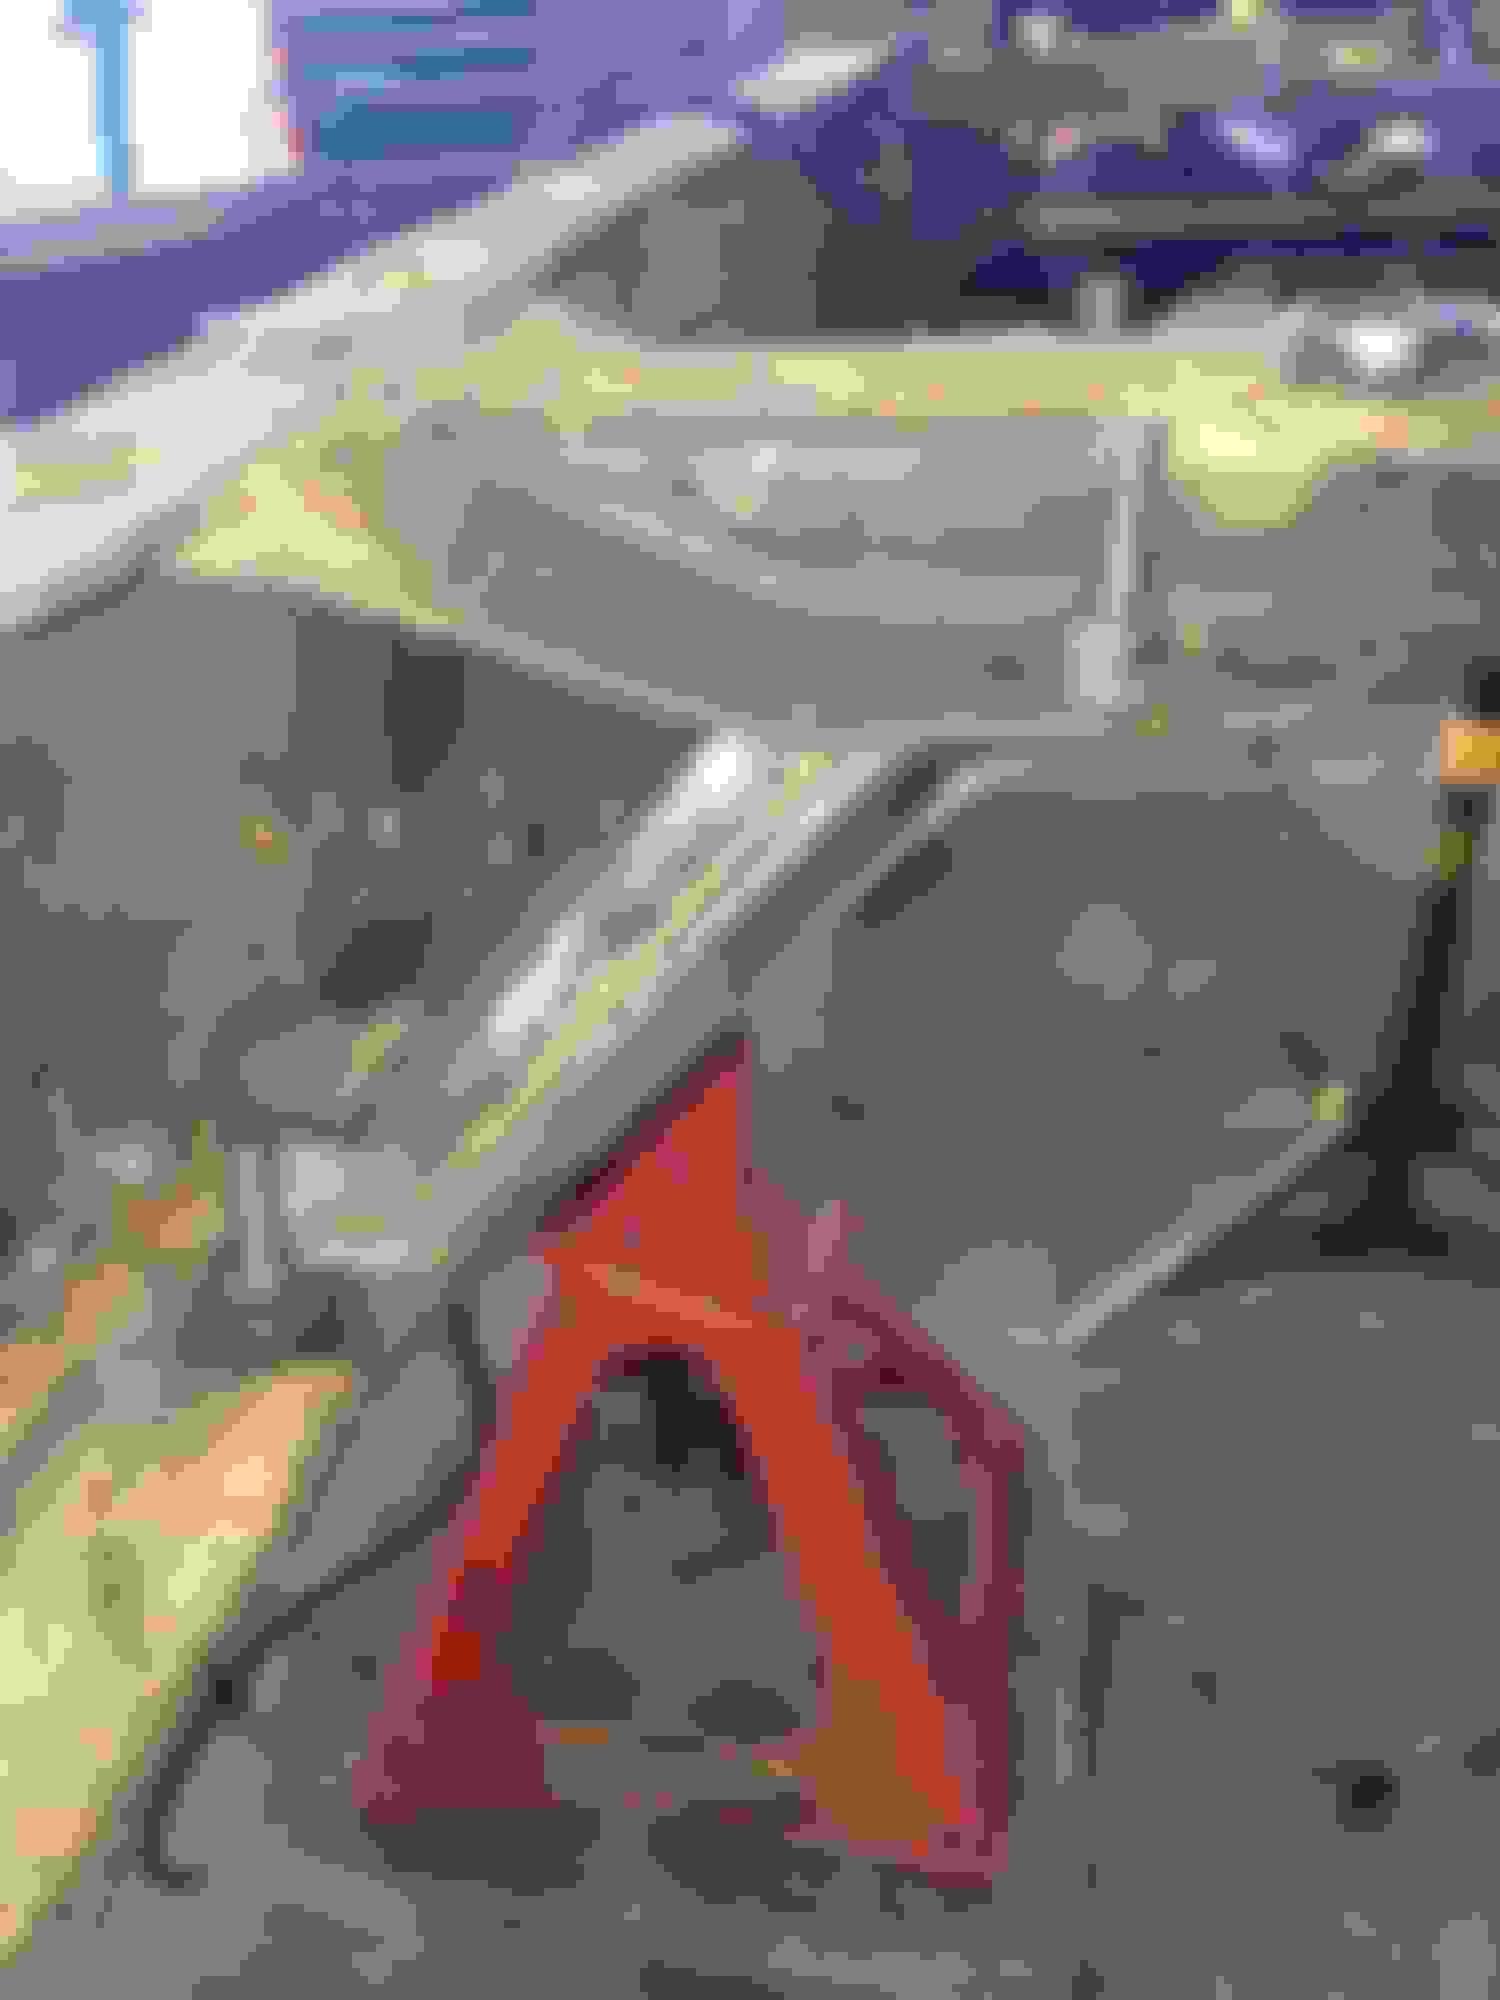
Used the engine hoist and a strap to lift the bed off and placed it on some saw horses.
Cancer on the bed right behind the drivers side of the cab.
Cancer in the passenger side tail light housing.
Typical cancer on fender well.
Overall the frame is in pretty darn good condition and solid. I moved the cab back a few inches to inspect the front cab mounts on the frame. I knew they were bad but not THAT bad! I know someone out there makes cut outs to repair these mounts.
I am also going to need to replace one of the rear shock mounts on the frame. A previous owner replaced one but not the other and it is in bad shape.
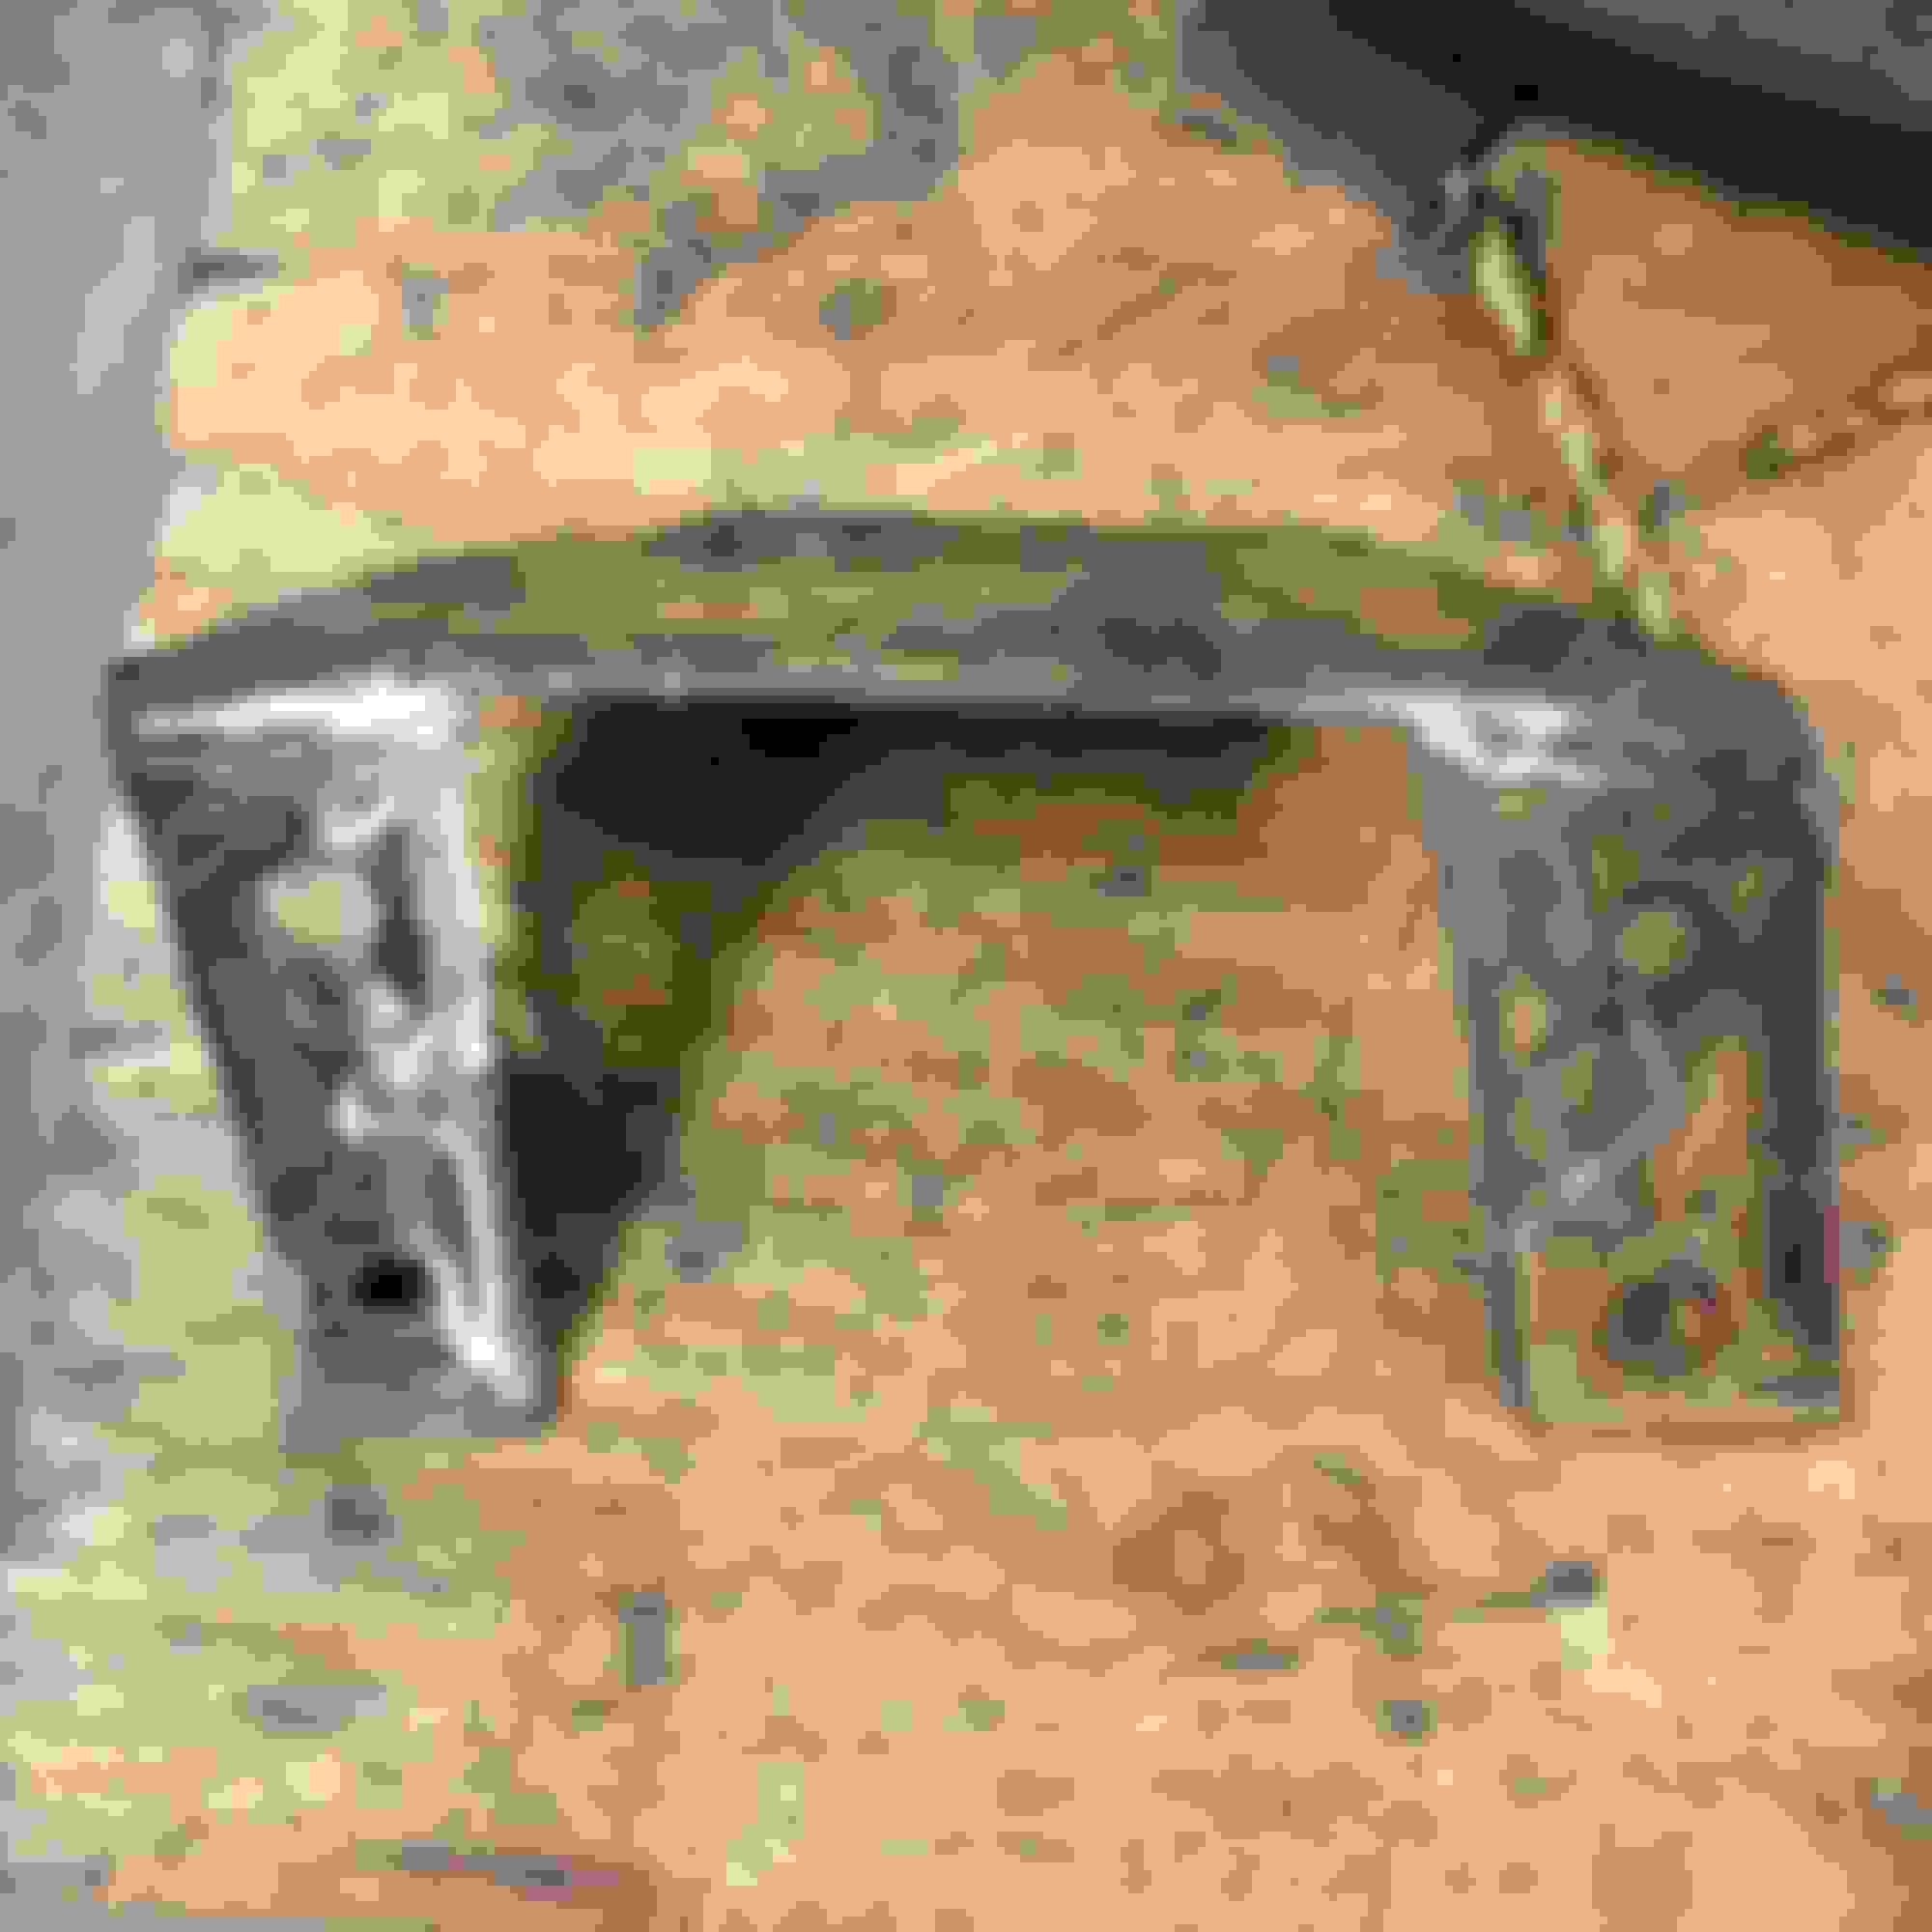
The one issue I am not sure what to do with right now is the cross member in the frame that is under the front of the bed. It is rusted through and cracked where the bottom rivets go. I don't even know if I can get cutting tools into those parts to cut out the corners to maybe weld in a new piece and put bolts through it.
All 4 corners of this cross member look like this.
Grind off the rivets(or plasma) and pull those short pieces out and fix or replace. I use a snap on air chisel to punch the rivets out.Works very well considering how much of a pain they are to remove.
Pretty tough to find those x members in good shape at our latitude.
What grinner says on those x member. I used a grinder to cut an x in the head of the rivet, then chiseled the head off and punch it out. Some of my rivets were rusted in there so bad it bent the crap out of it trying to punch them out.
Did you match your pinion angle exactly with your tranny angle? I've read different thing on allowing a couple degrees for pinion rotation at cruise speed. Wondering what is the correct way to do it.
Removing both braces to fix the sounds like a good idea. I will do that.
I have the axle pinion 0-1 degree less than the drive train. I thought some about that and my thought was this: when you are cruising you are hardly using any power. They drive train is not under much load and will not deflect much. On heavy loads it will turn a few degrees but that is why there is a thick leaf spring on the bottom. It serves like an anti wrap bar.
I have not been able to get much work done until the past 2 weekends. Had a trip out to Utah for work among other things.
Patching some thin spots in the frame. Around the front perches for the rear springs are notorious for this.
Made some new cross braces. It took some time but they turned out not too bad for only having a vice, grinder, hammers, and a welder.
Cross brace test fitted. I bought bolts with an unthreaded shoulder and only cut threads down as far as I needed so unthreaded bolt goes through the frame and cross brace.
Got body mounts and engine mounts fabbed up. I found out the driver side mount on the engine is all ripped apart inside and sags when I let the engine rest on the mounts. I need to order new mounts before I fab up the transmission cross member.
I will hopefully be ordering parts for the twin turbo setup this week and get working on that in the next few weeks. I am also going to get the intercooler plumbing fabbed up now. I rather do it all now before I paint things only to find out I have to tear into things and damage newly painted parts.
Working on new cab mounts for the polyurethane bushings. Washers and black pipe.
The other side. 1/2 inch welded inside the 3/4 inch.
Cutting down a stock engine mount to fab up mounts.
Lookin great! Man I just was fitting my motor yesterday running into clearance issue with radiator how hard is it to move trans back I really didn't want to make drive line adjustments but its awful tight. Those bolts on the top of the trans cross member are a b to get to. Did u get the frame savers at bronco graveyard?

 01-14-2015, 10:52 PM