When you click on links to various merchants on this site and make a purchase, this can result in this site earning a commission. Affiliate programs and affiliations include, but are not limited to, the eBay Partner Network.
The best way I found for getting that seal off was a pneumatic
rivet gun or a chisel with a blunt face at low pressure to work it
off. be sure to move around the seal as you hammer at it. It will
take a bit to get it off.
See how this one has a flush face? 1/2" would do better.
http://www.ebay.com/itm/Rivet-Set-AN455-456-3-16-Brazier-Modified-Brazier-Straight-3-1-2-L-401-shank-/271844237487?hash=item3f4b2de0af
But this one will do the job. They also make then in brass faced,
Sorry about that I should of said something about removal of the seal.
I would avoid billy bobs in the future, they are way overpriced. Next time check out John at auburn auto repair and 4x4. Good work and reasonable on price
Picked up some better stuff to clean the knuckle today. Going to test it out tonight. Oreilly's had it for like $12. Amazon shows $6. I tried some ultra fine scotch pads but it just doesn't take it down well. Between this wheel and the red pads I should not have an issue. Then the knuckle can go on.
I also removed the ESOF fitting since it got broke when the Firestone guys swapped the Ball Joints. Need a small bolt for these. Either way works for me the system doesn't work and I plan to eventually swap some Warn or MM hubs in.
Thank You. They found that is was not a full break just a crack. So she got 3 nice new screws
to hold things together.
I did not use the pad style but the bristle wheel and it comes with a shaft for the drill. Did a good job
cleaning the inside of the knuckle, Did really well and was about $9 at Mclendons. Then I finished off
with a red Scotch Brite flapper wheel.
BTW If you find the seal not bottoming lift the u-joint and center it so the seal inside ring can
go through the back hole in the knuckle. It's a close fit so it does not take much to not go in.
I would avoid billy bobs in the future, they are way overpriced. Next time check out John at auburn auto repair and 4x4. Good work and reasonable on price
I had heard they were overpriced before getting the work done and after getting the full quote, I can understand. But I feel like you pay for what you get. They were also fully booked into November while mine was in the shop so they seem pretty popular.
In the end I shouldn't have to get work done for a looong time. I have to figure out this vibration but I may also be getting a new truck soon so I haven't had a chance to get under and try some stuff.
I'll post the diagnostics PDF later for you once I find it. It's for the drive shafts
and you don't need any special tools.
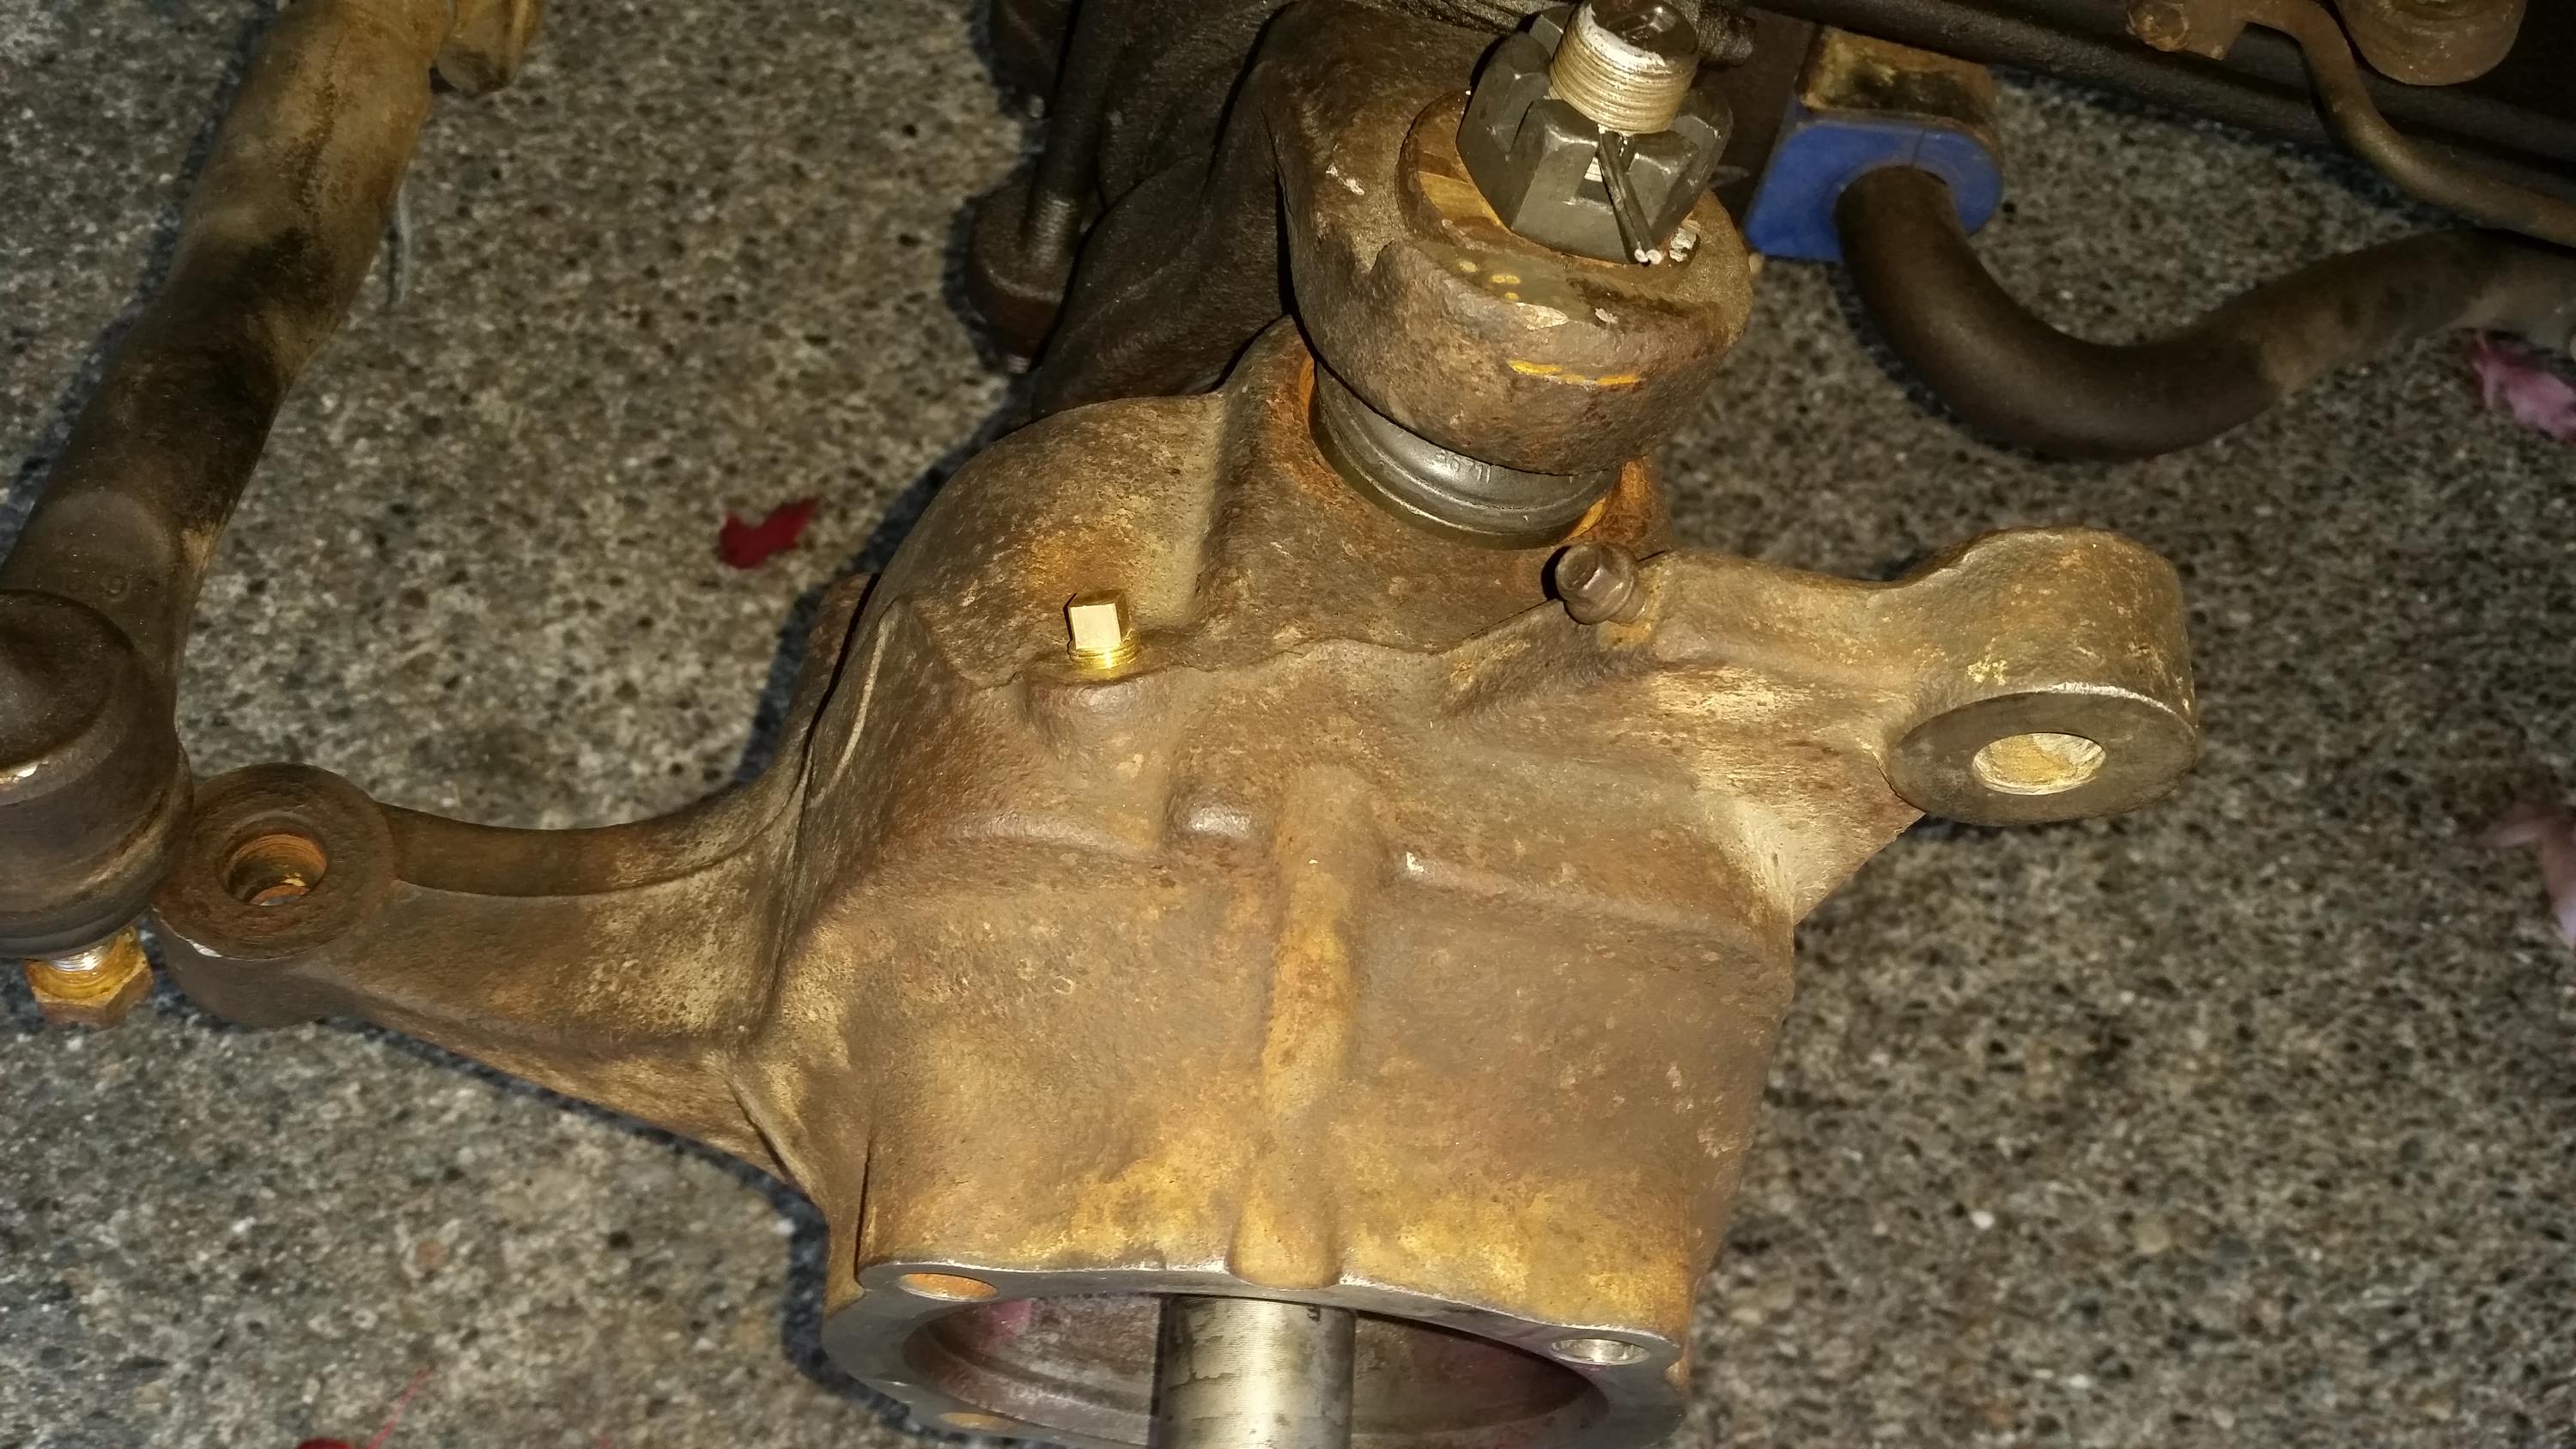
The 3M rust stripper worked pretty good last night. It also just fits inside the knuckle with maybe an inch to spare.
I got the ESOF nipple removed as it was broken during the ball joint install. Not a big deal as I want manual hubs eventually, however in Fords wisdom they used a m10x1.0 thread pitch and the shortest I have found is a m10x1.0x20 which I need a 10. Will probably cut it with a nut on to save some threads. Also have to remove the associated hoses and find where the pump gets capped.
A couple updates and pictures for all. Knuckle, 1/8" NPT fitting for ESOF, axle shaft and seals were installed today. Also put the yellow o-ring and studs in the Timken unit bearing and loctited them in. Should wrap up tommorow.
Yahiko- did you have and shavings of the blue axle seal come out when installing with the OTC tool? That seal is a very tight fit. Seam to go together fine though.
Wish I had a large freezer for when the passenger side is completed. What do you have for the lower ball joint torque spec? One write up I have shows 35 ft lb and another shows 150 ft lb.
If you skipped a step and went to 150 it might bind up.
If you didn't have the axles in I would say just back them both
off and then redo the torque process. Turn the knuckle as you
tighten the nuts to full torque. I read somewhere that helps
keep you from getting memory steer. Like you can put 100%
belief into every thing you read on the net.
I torqued the top to 69 ft lb and bottom to 35 ft lb, will remove the axle and torque the bottom to 150 ft lb tomorrow. Will attempt the memory steer thing. May have to use a child in the process.
 10-07-2015, 03:07 AM