When you click on links to various merchants on this site and make a purchase, this can result in this site earning a commission. Affiliate programs and affiliations include, but are not limited to, the eBay Partner Network.
I LOVE THE AIR BOX! Great detailing there. I use a factory airbox with rubber snorkel. The factory box (from 2010 Escalade) is also mounted in the right wheel well. I cut the top off the box cover (which retains the filter element) and just retained the frame to clamp the filter element.
In 4k miles, my filter element is very dirty. 20k miles in my other cars look cleaner. Couple comments:
1. I think your great box will minimize some of the dirt which is exposed in the wheel well. (and protect from any rocks kicked up, etc)
2. keep an eye on the element though. You might be surprised at how dirty it gets.
Eager for your first drive impressions. I dyno'd my 6.2L engine / (6 speed auto) trans combo the other day. 340rwhp and 348 rwtq. It really scoots. Suspect you might have similar #s.
I'm sure you'll have many smiles / mile. I get lots of thumbs up wherever I go.
mike did you box the computer or is it open on the top
No it just has a steel plate on the bottom and 2 sides, the back and top are open. The bottom of the computer is plastic and I didn't want a rock from the tire going through the bottom of the computer. Heat sink for the computer is on the top and is exposed to any airflow there is under the fender.
I LOVE THE AIR BOX! Great detailing there. I use a factory airbox with rubber snorkel. The factory box (from 2010 Escalade) is also mounted in the right wheel well. I cut the top off the box cover (which retains the filter element) and just retained the frame to clamp the filter element.
In 4k miles, my filter element is very dirty. 20k miles in my other cars look cleaner. Couple comments:
1. I think your great box will minimize some of the dirt which is exposed in the wheel well. (and protect from any rocks kicked up, etc)
2. keep an eye on the element though. You might be surprised at how dirty it gets.
Eager for your first drive impressions. I dyno'd my 6.2L engine / (6 speed auto) trans combo the other day. 340rwhp and 348 rwtq. It really scoots. Suspect you might have similar #s.
I'm sure you'll have many smiles / mile. I get lots of thumbs up wherever I go.
Doug
Thanks for the heads up about the dirt in the filter, I was concerned about that. My hope is that by sealing the box to the underside of the fender at the rear (you can see the flex seals in the installed photos) and installing the inlet in the grill I will have enough airflow from the front to keep most of the dirt out. Time will tell how it works.
We have a car party at a friends house in 2 weeks and the plan is to drive Belle. She won't be done but it should be a good shake down cruise. We will video it and share.
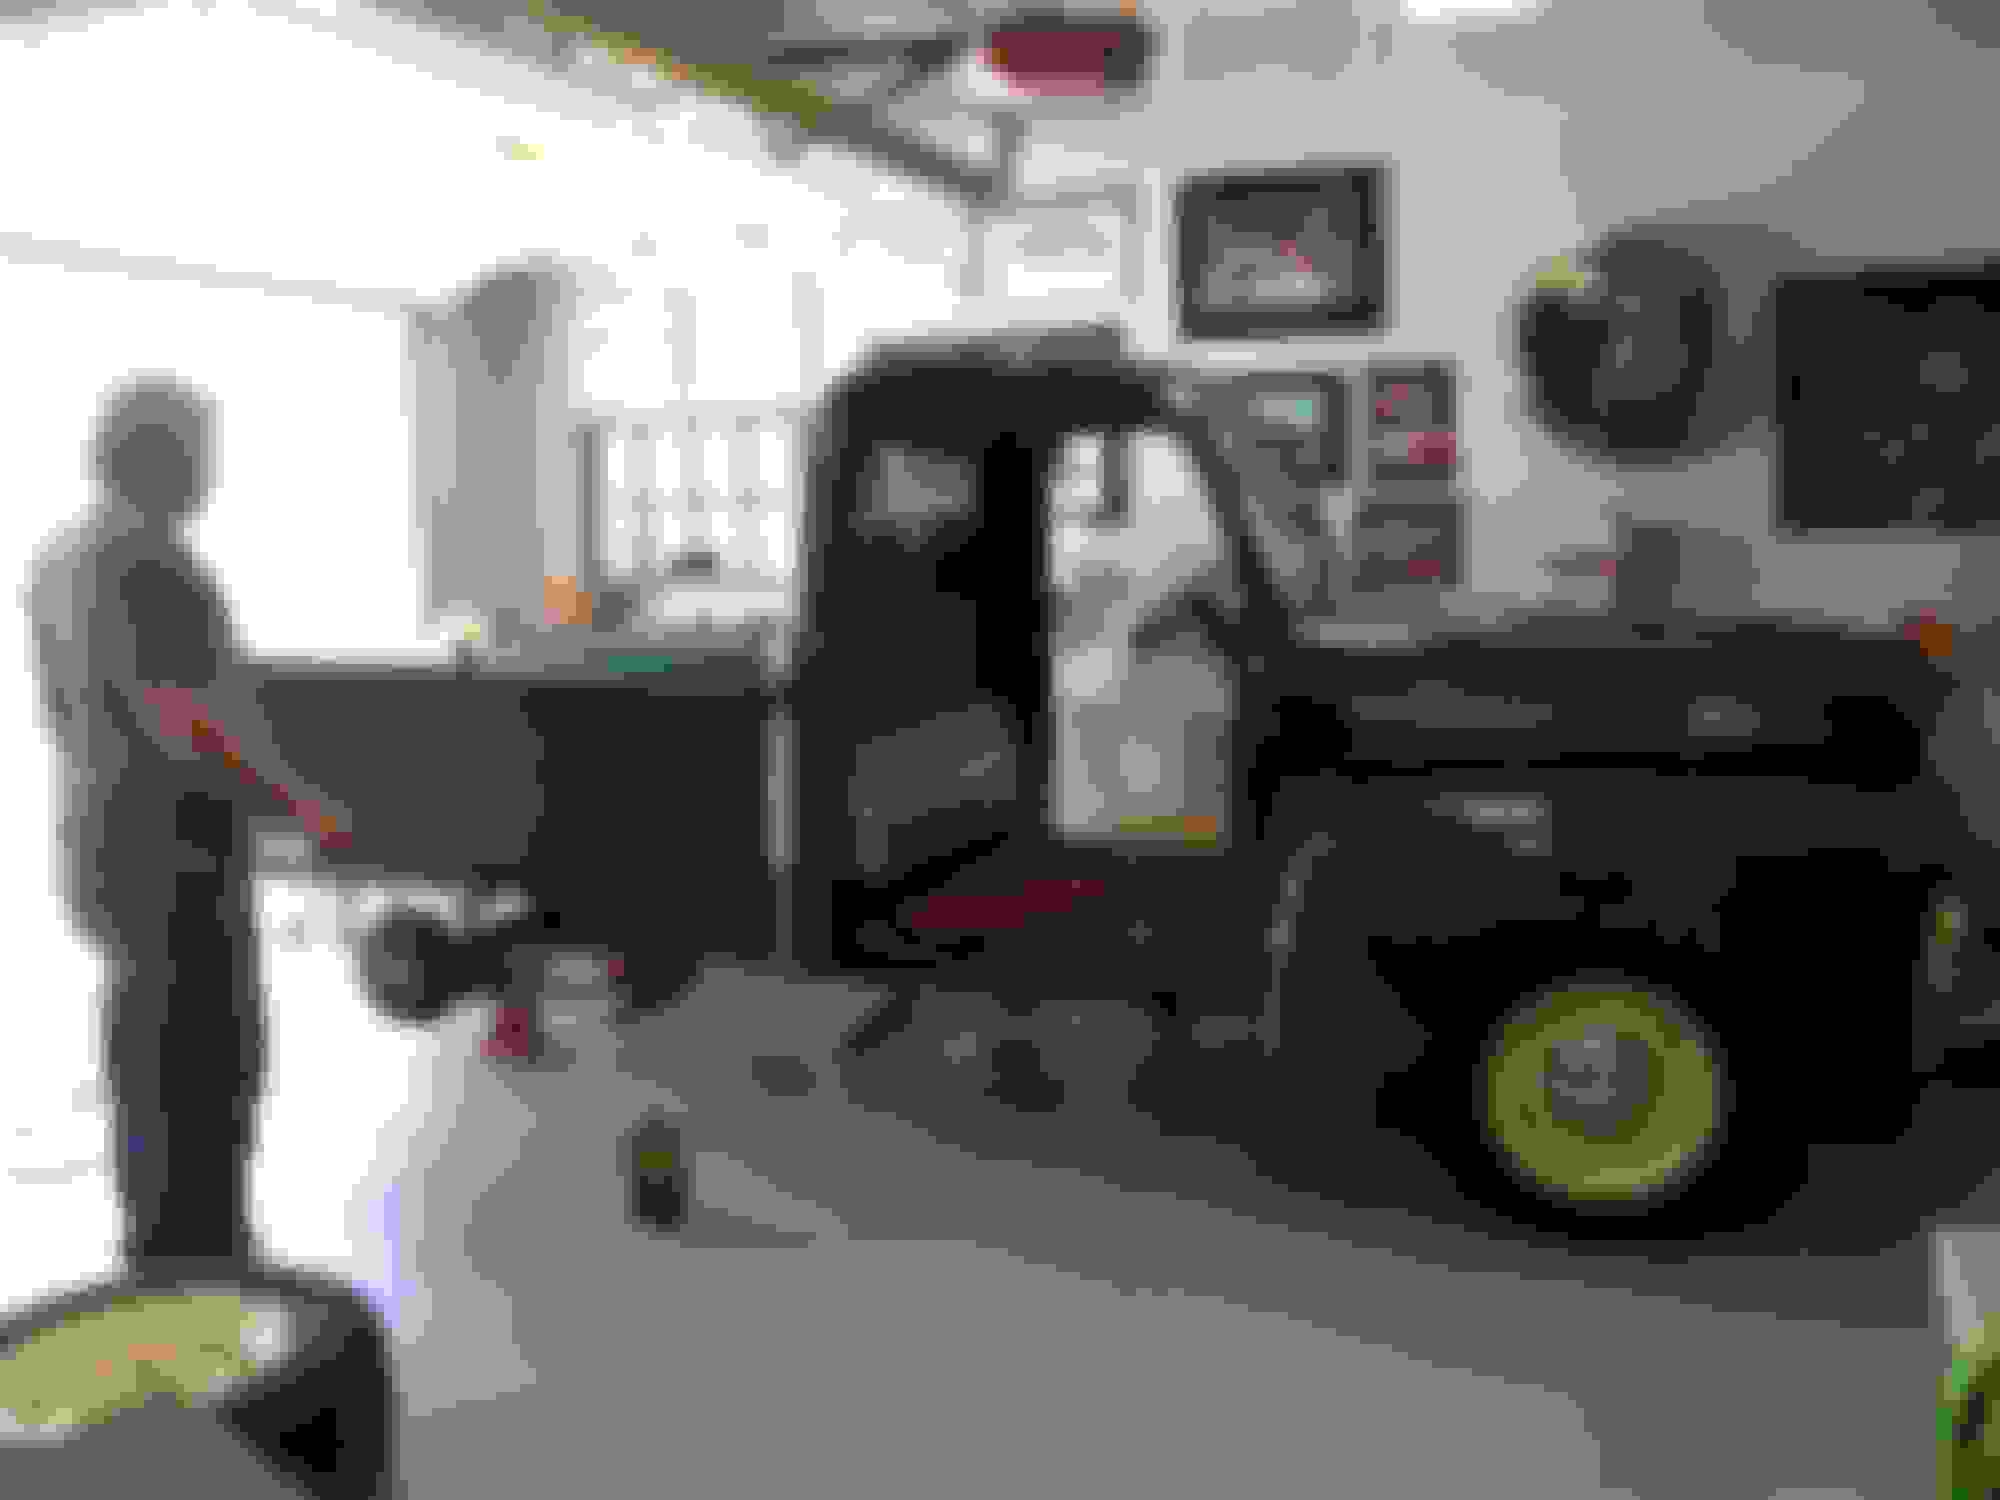
I haven't posted an update for awhile so I thought I should, progress through 4/30. Had a problem with the seat cover, back was made wrong so the test drive is still a week away.
Lois and I installed the bed a couple weeks ago.
Rear fenders came next. 255/60/16 tires clear with no clearance issues.
Lois stained the new bed boards. Behr semi transparent. Color is Spruce, a bluish green.
Previous owner had put a clear varnish on the boards and much of the stainless strips. Three hours of removal and polishing to get them right.
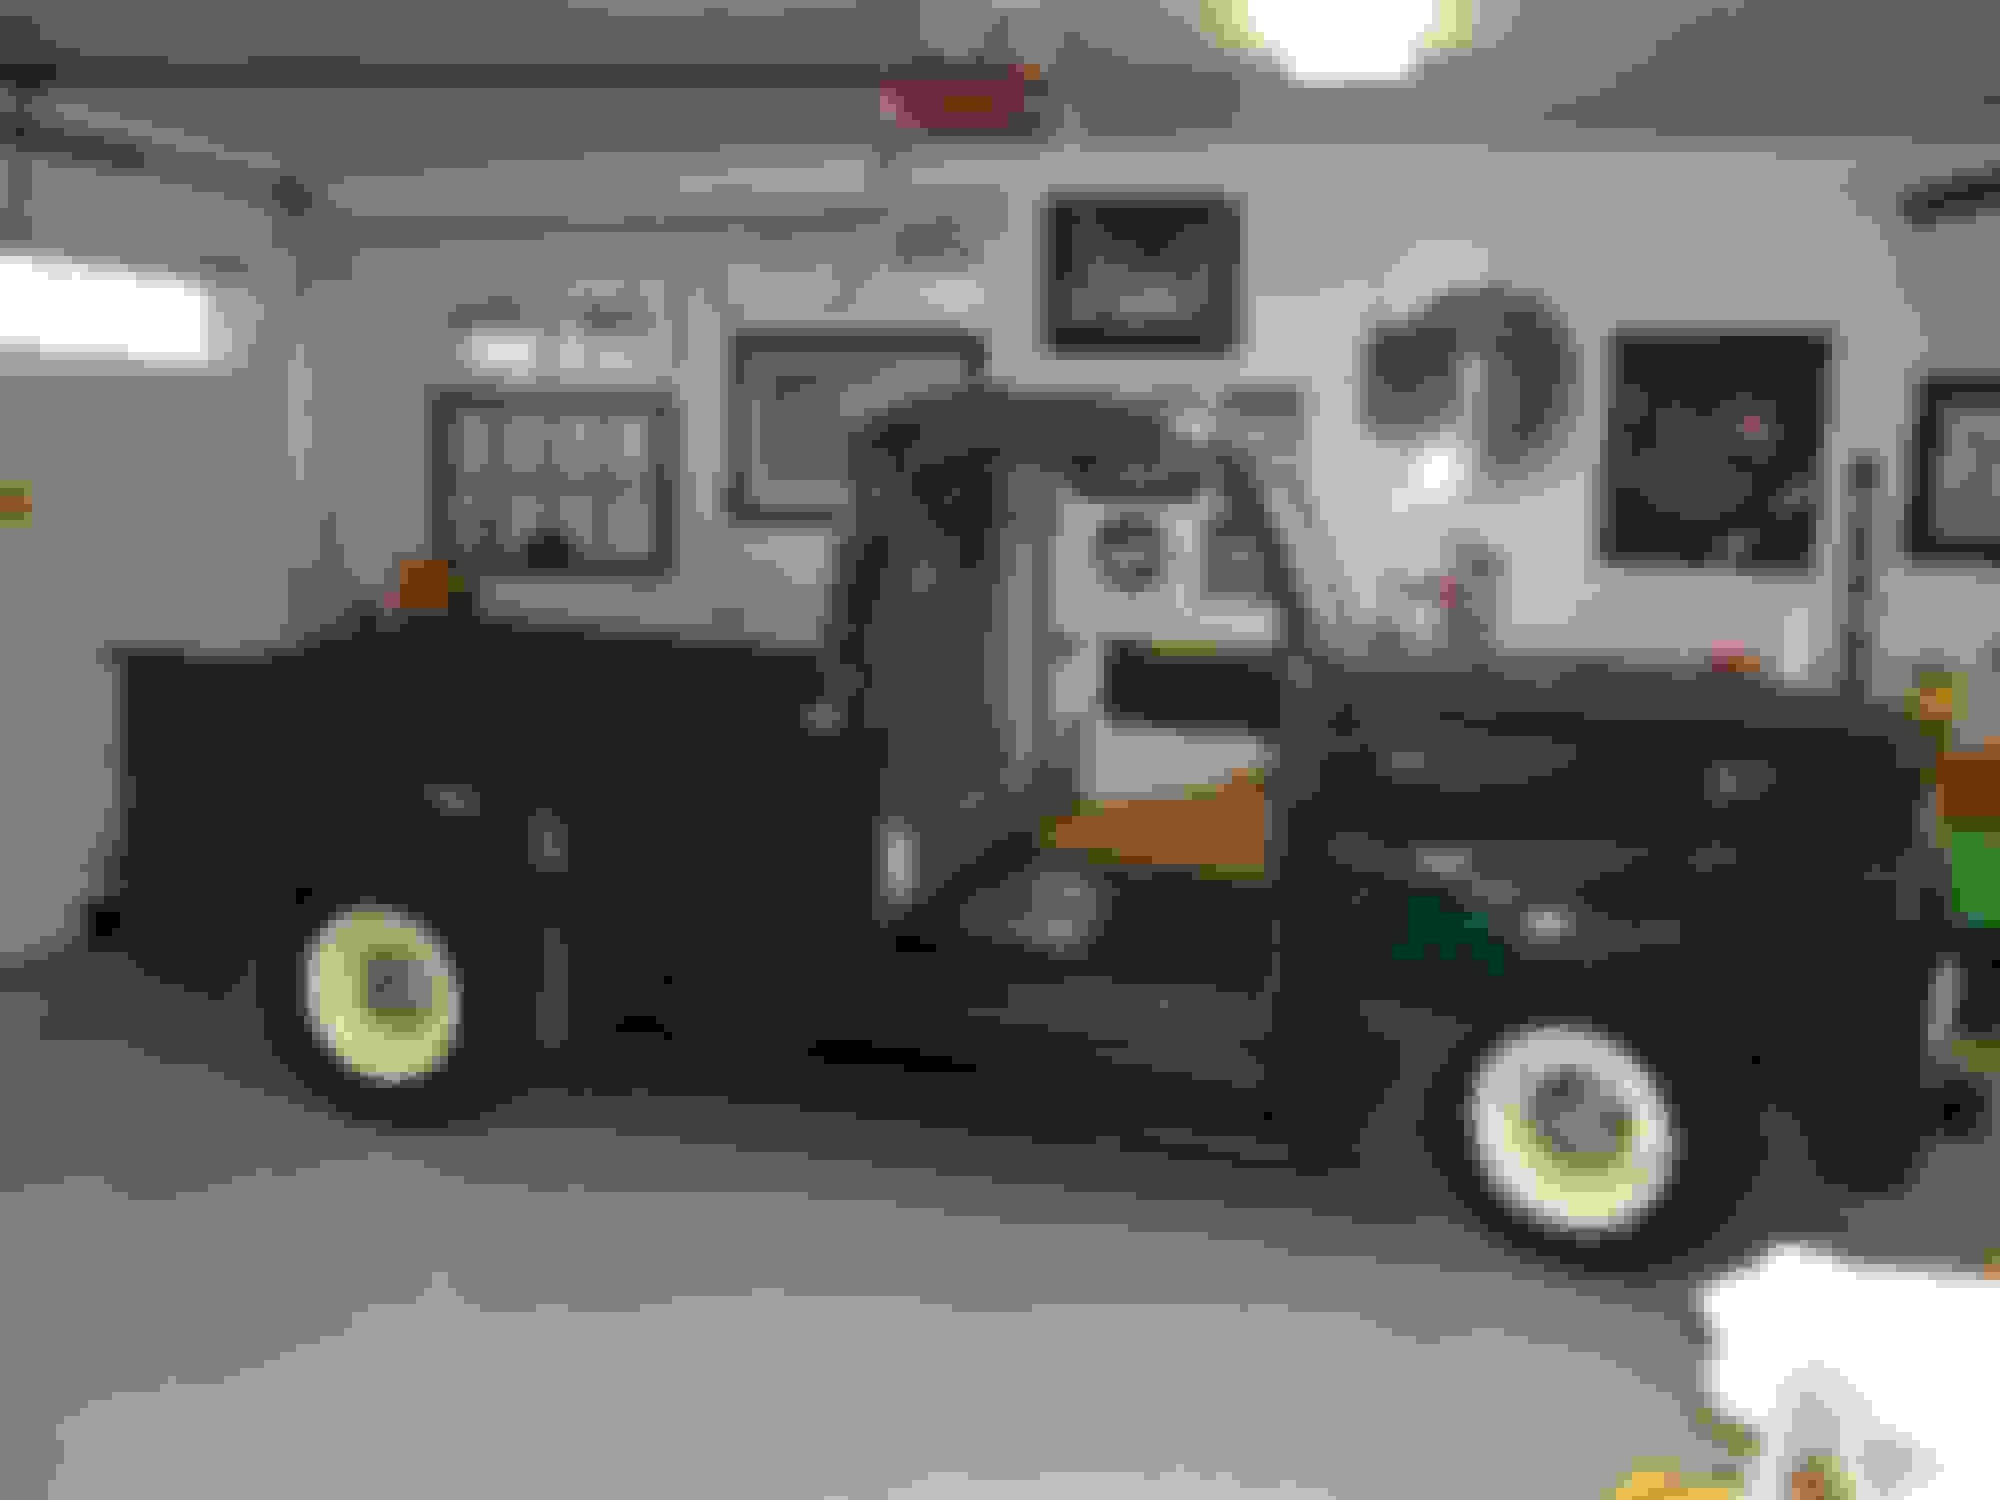
Bed looks pretty good now.
Really looking like a truck again.
All the lights work now. Tail lights and bed lights are LED.
Front markers are clear with amber bulbs and turn signals.
Gauges light up very well.
Lois installed the sound deaden-er in the cab
Whoever installed the interior the last time butchered the pieces around the window, there was also some other damage. It was not my intent to replace but the upper rear pieces cannot be purchased separately so... I was tasked with installing the complete new panel set.
Actually a pretty easy job. Shoulder belts also went in.
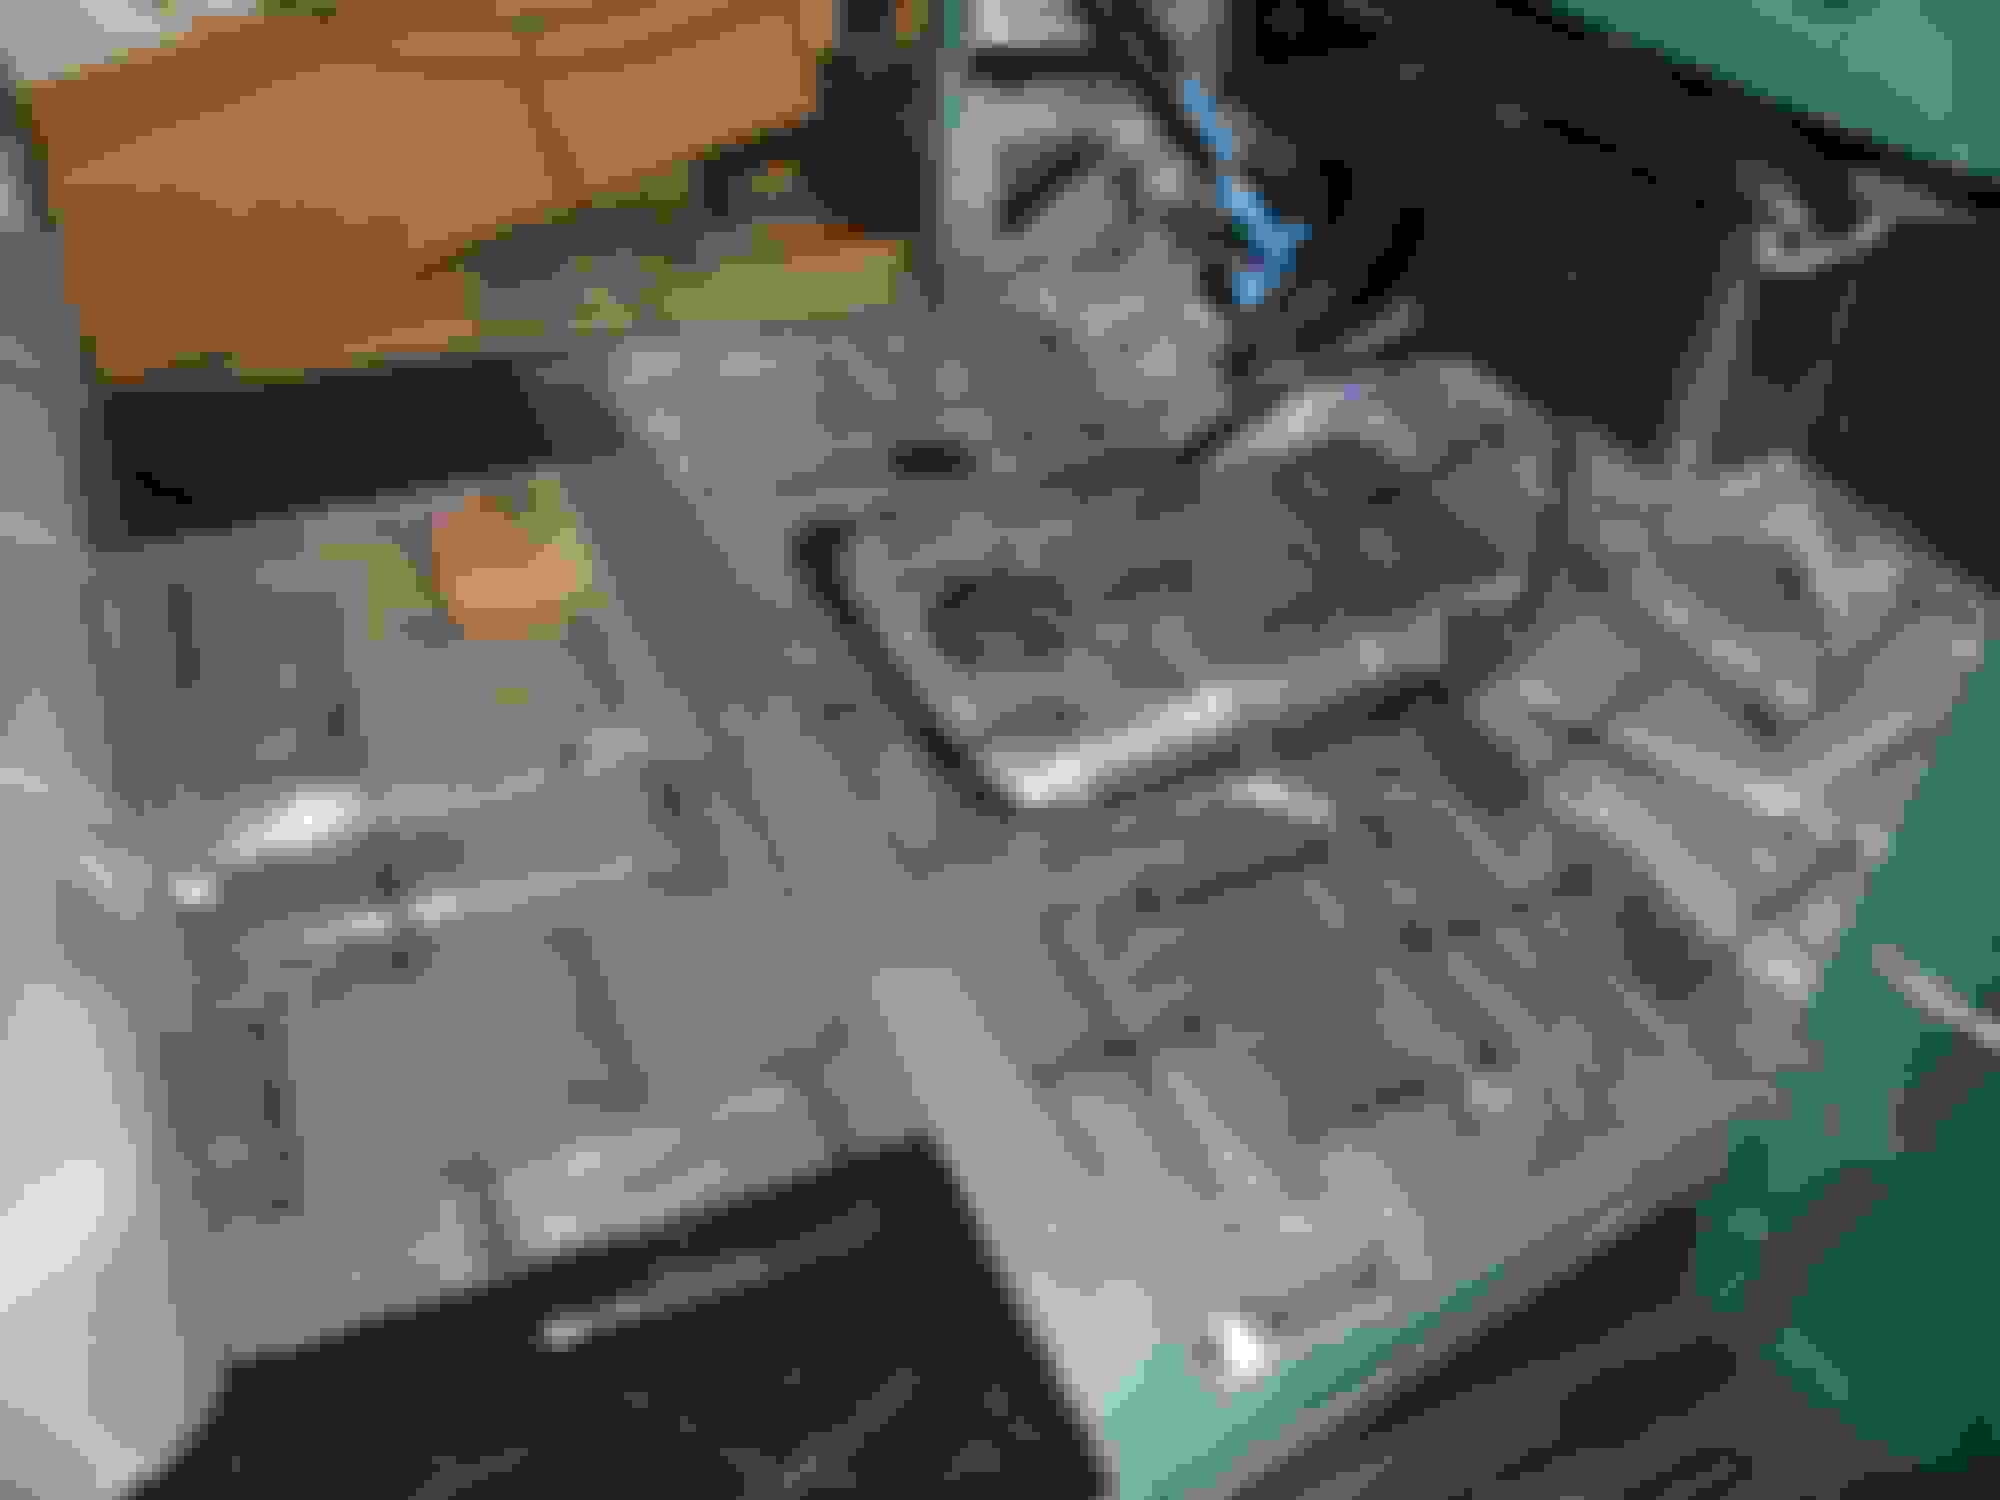
Fuel filler finally went in.
Rubber mat is in. Tomorrow we will install the bottom of the seat and the doors afetr that it's just a few small jobs to Finnish up.
I just read through the complete build thread. Great job! An inspiration as I am looking at a 5.0 Coyote for the build in my '51 Panel, and wondered if it would fit.
This is the project I'm working on and have been off and on for the last 7 or 8 years. I made a new bed and the floor is going to open from front to rear to get to the fuel tank, which is set between the frame rails. The open picture of the frame doesn't have the split floor in so you have to pretend that they are there. You would see them and not the sides of the box. We got a lot done this past week, actually more than in the last several years.
Jim, nice job on the bed and I love your Flathead! I'm thinking of doing something similar with the one out of Belle. Your cross member should be there in a couple days.
Belle is pretty much finished now. I have a few details to complete, AC grills, dash grills, trim pieces, etc. The first test drive was a challenge. First I noticed the brakes were EXTREMELY sensitive. I warned my wife before we left to be prepared, she was attempting to film and the belts were not finished yet. First stop off the seat she went! After that stopping was a little better but the 2 mile trip to the gas station was tense. At the station the brakes locked for awhile, when they finally released we got Belle home. After some checking and a call to CPP it was decided the brake failure shuttle valve was activating and sending all pressure to the front brakes making them touchy and locking them. I re-bled the rears (could find no air) and bled the fronts to force the shuttle valve back into place. Next few drives to set-up the speedo were much better but the brakes were still too touchy. I have since changed the pedal ratio to see if this will help. Wife said she would get used to the way they were but was worried about a panic stop. The following day was a 20 mile trip to Cottonwood for breakfast, uneventful except for a couple stalls and trying to get used to how everything works. Lois was driving Belle with our Grandson and I was following. Later a trip to a friends house for a car party, also uneventful. On the way home we were about 4 miles out when Belle quit and would not restart. Fuel pump failed, Holley has been working with me on this and have been very helpful. Lois said when truck died brakes were very ineffective even taking into consideration no power. I hope the ratio change mentioned above will help, that won't come till the new pump arrives.
The seat back was made incorrectly so is installed temporarily. They made us a new one that is also wrong so lois will have to modify it.
I love the stance. I originally wanted larger diameter front tires for a more original look but there were fitment issues. As it turned out it probably looks better this way.
 04-18-2015, 11:07 AM