When you click on links to various merchants on this site and make a purchase, this can result in this site earning a commission. Affiliate programs and affiliations include, but are not limited to, the eBay Partner Network.
Thaflannoice in motor/transmision, Gary.
Does that transmission flange take the same flanged yoke as the Explorer rear axle?
Did you get the electronics and harness, too?
hi, I got the engine and tranny complete with all wiring, accessories, pcm, oem headers, motor mounts, and elec gas pedal. Yup, it is the same flange. I was taking to ax today about it...I'll have to do some research to see how i will marry them.
It has been a while since I have posted. Trying to balance work, kids, house, and the restoration is a bit challenging at times. I have been working with Chuck, aka AXRacer, almost every weekend. We have made a tremendous amount of progress. He has posted some of the items we worked on and mentioned he was only a helper. Well, I wanted clarify that he is really “the man behind the curtain” making it all happen.
I wanted to give you all an update and update my build thread what we have done since the last time I posted. We have created header mock ups and had custom headers made by Sanderson, located the 4.6 3v engine in frame, built custom engine mounts, built a custom cross member, and are currently building a custom shifter mount for the T3650 transmission. I have continued on rust repair and am currently working on patching the cab corners. Stay tuned for updates on floor pan install and custom transmission cover.
I only wish we lived a little closer together, I'd come over more often. Gary is really easy and fun to work with, we get along well, he takes what I teach him to heart and does a good job applying it. His wife and kids are great too and we usually end each work session collaborating on a delicious meal. The driver's side header dilemma was a bottleneck that stalled progress for some time until we decided to offset the engine and Gary built the prototype out of PVC pipe and worked with Sanderson to get it turned into a workable header.
Gary is lucky to live as close as he does to Ax, nothing like professional help from a guy who teaches welding, raced cars, and knows how to work on race cars and old trucks. Seems like having some great help always gets the project going much much faster and better. I also have a great friend, one I have known for over 50 years, who is a master mechanic. He is always busy, but has made some time to come and help me - and when he does things get done! Cheers to good people who like to help us less talented!
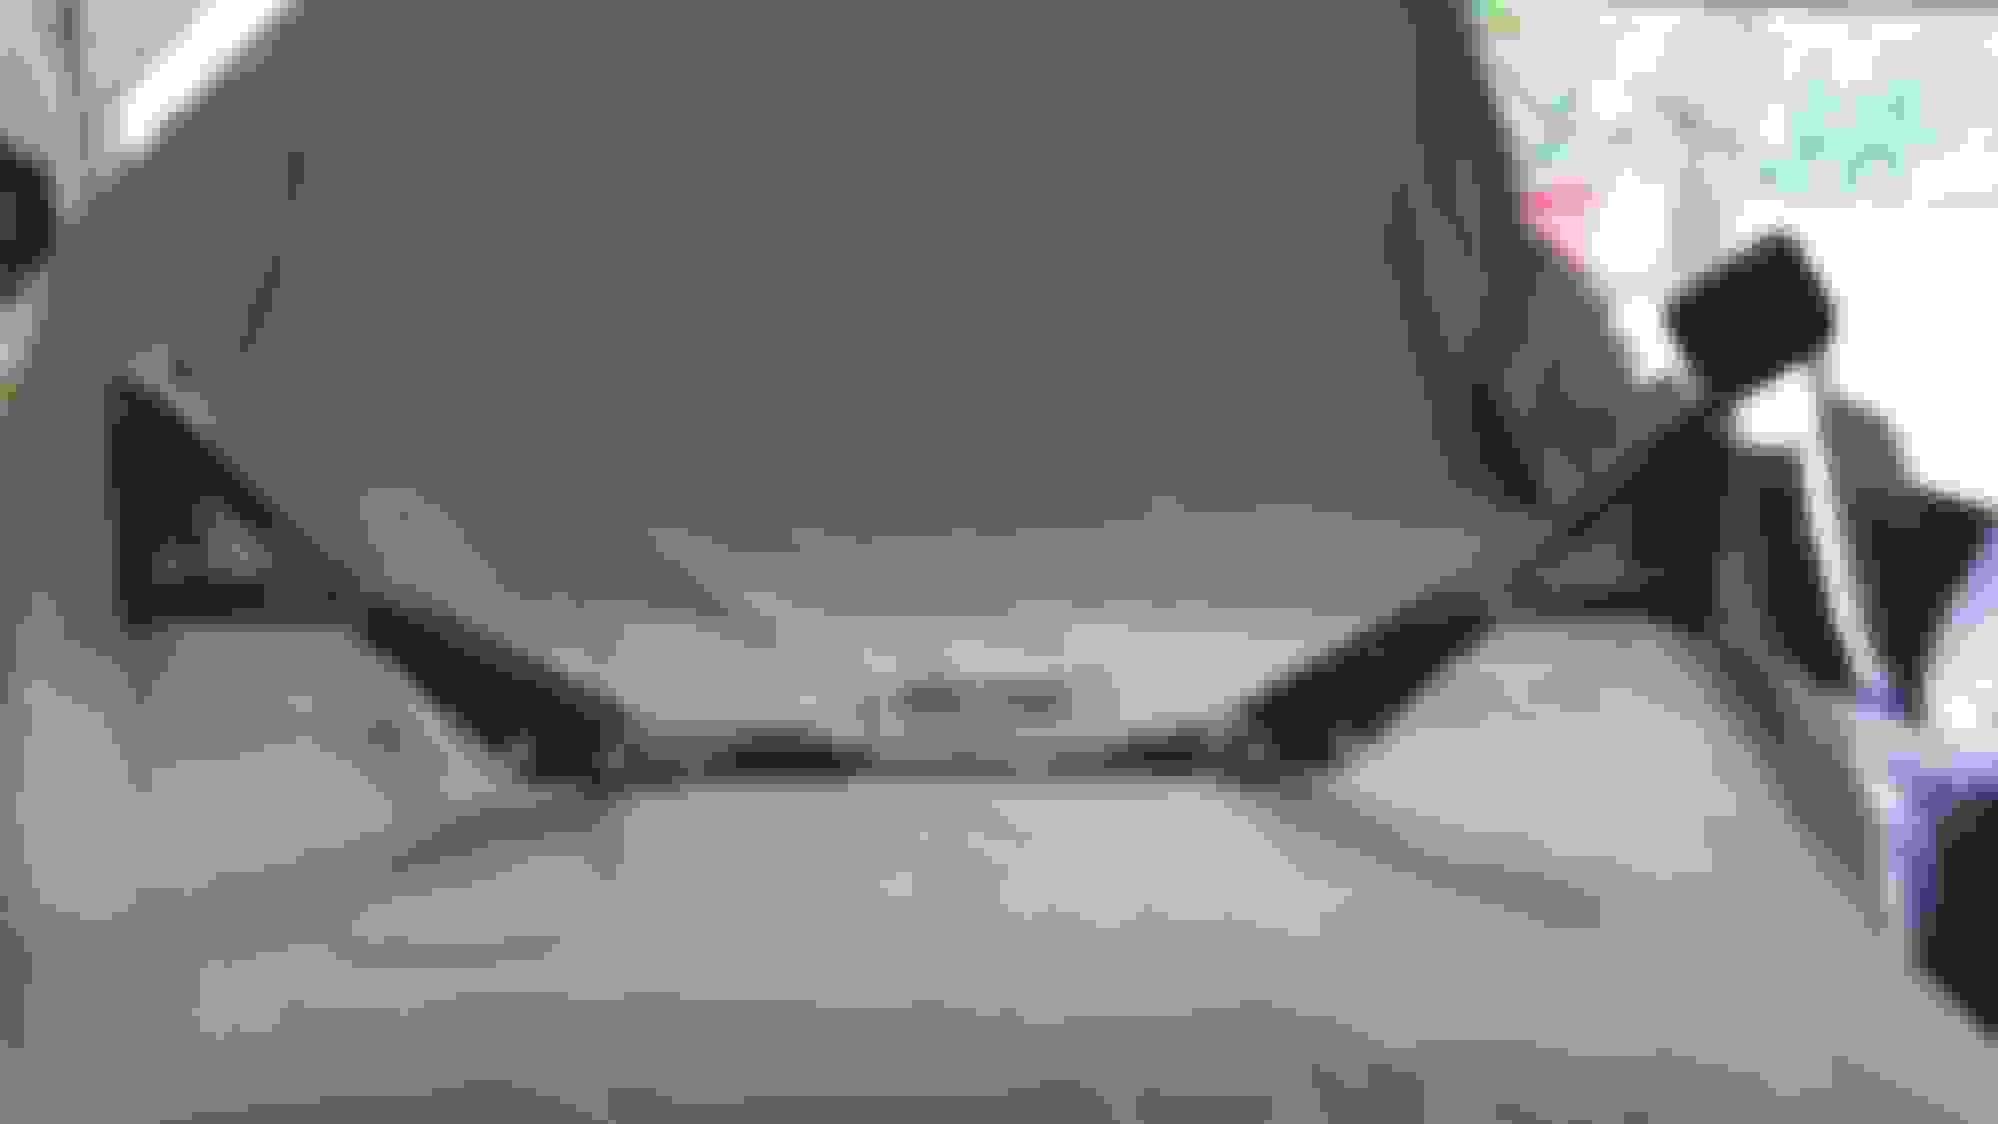
I removed the cab from the frame this weekend using a cherrypicker mount that I made for about $20 bucks.The mount was made from scrap metal that I had lying around and a couple of pieces I bought at a scrap yard. I searched the net looking for ideas on how to do this and found a bunch of ways. Some made of only wood, some used only straps, some people usedtractors, the list went on� In my search I stumbled on somebody who posted his plans on a metal version (see link below). The only part that I didn�t like about his design was the slip fit tubes that attached to the cherry picker. I thought that was a weak point in his design and didn�t want to take any changes. I ended up attaching to the cherry picker a little differently. I added a piece of square tubing that slipped into the cherry picker arm. I then bolted in and welded another small piece of square tubing on top. Note: I didn�t make mine with adjustable arms since I didn�thave the right meatal on hand. Maybe someday I�ll revise into v2.0�http://67-72chevytrucks.com/vboard/showthread.php?t=113397 (Yes that is a Chevy forum link but if you can overlook that you can see the mount I found for my inspiration).
Here are some pics of the cab bracing, the mount, and an action pic! Hope this helps somebody down the road.
Gary, if you were to weld a piece of flat plate on either side of the second piece of tubing from the top and drill a hole through them and that short 6" piece and a bolt through it so it pivots your cab would stay level at all times.
Not the best picture but the same principal as what you did, I made this quick out of 4x4 timbers I had and a couple pieces of angle iron and drilled a hole in the top corner of the lifting beam. This allows you to lift the cab and keep it level.
Hi Guys, I am making good progress and well on my way. My goal is to be able to start the engine by the end of this year. I have a ton of work to do so I am spendinga lot of time in the garage!
I was able to find an original F1 frame for my build since the one I had was in pretty bad shape. It was more cost effective and safer to go this option than try to fix the one I had. I stripped the frame and painted with Zero Rust.It came out great! I also used a product called Picklex 20 to prep the metal and neutralize any rust. The product is amazing…when you spray on a rusty piece of metal you can immediately wipe the surface rust off and watch the underlying metal start to slowly convert..I bought that and the ZeroRustfrom the AutoBodyStore.com.
I also mounted my rear Explorer axle temporarily until I get wheels and tires to properly set pinion angle. I took the idea of another forum member here and relocated the Explorer sway bar perches and reused them as the axle perches.This saved me from buying a new set and were the perfect width of the F1 axle (2 inches).I am also using the Explorer u bolts and tie plates from the donor.I am going to cut off the shock mount from the tie place and weld onto the axle to reuse the F1 stock frame shockmount.It appears this setup will work out nicely.
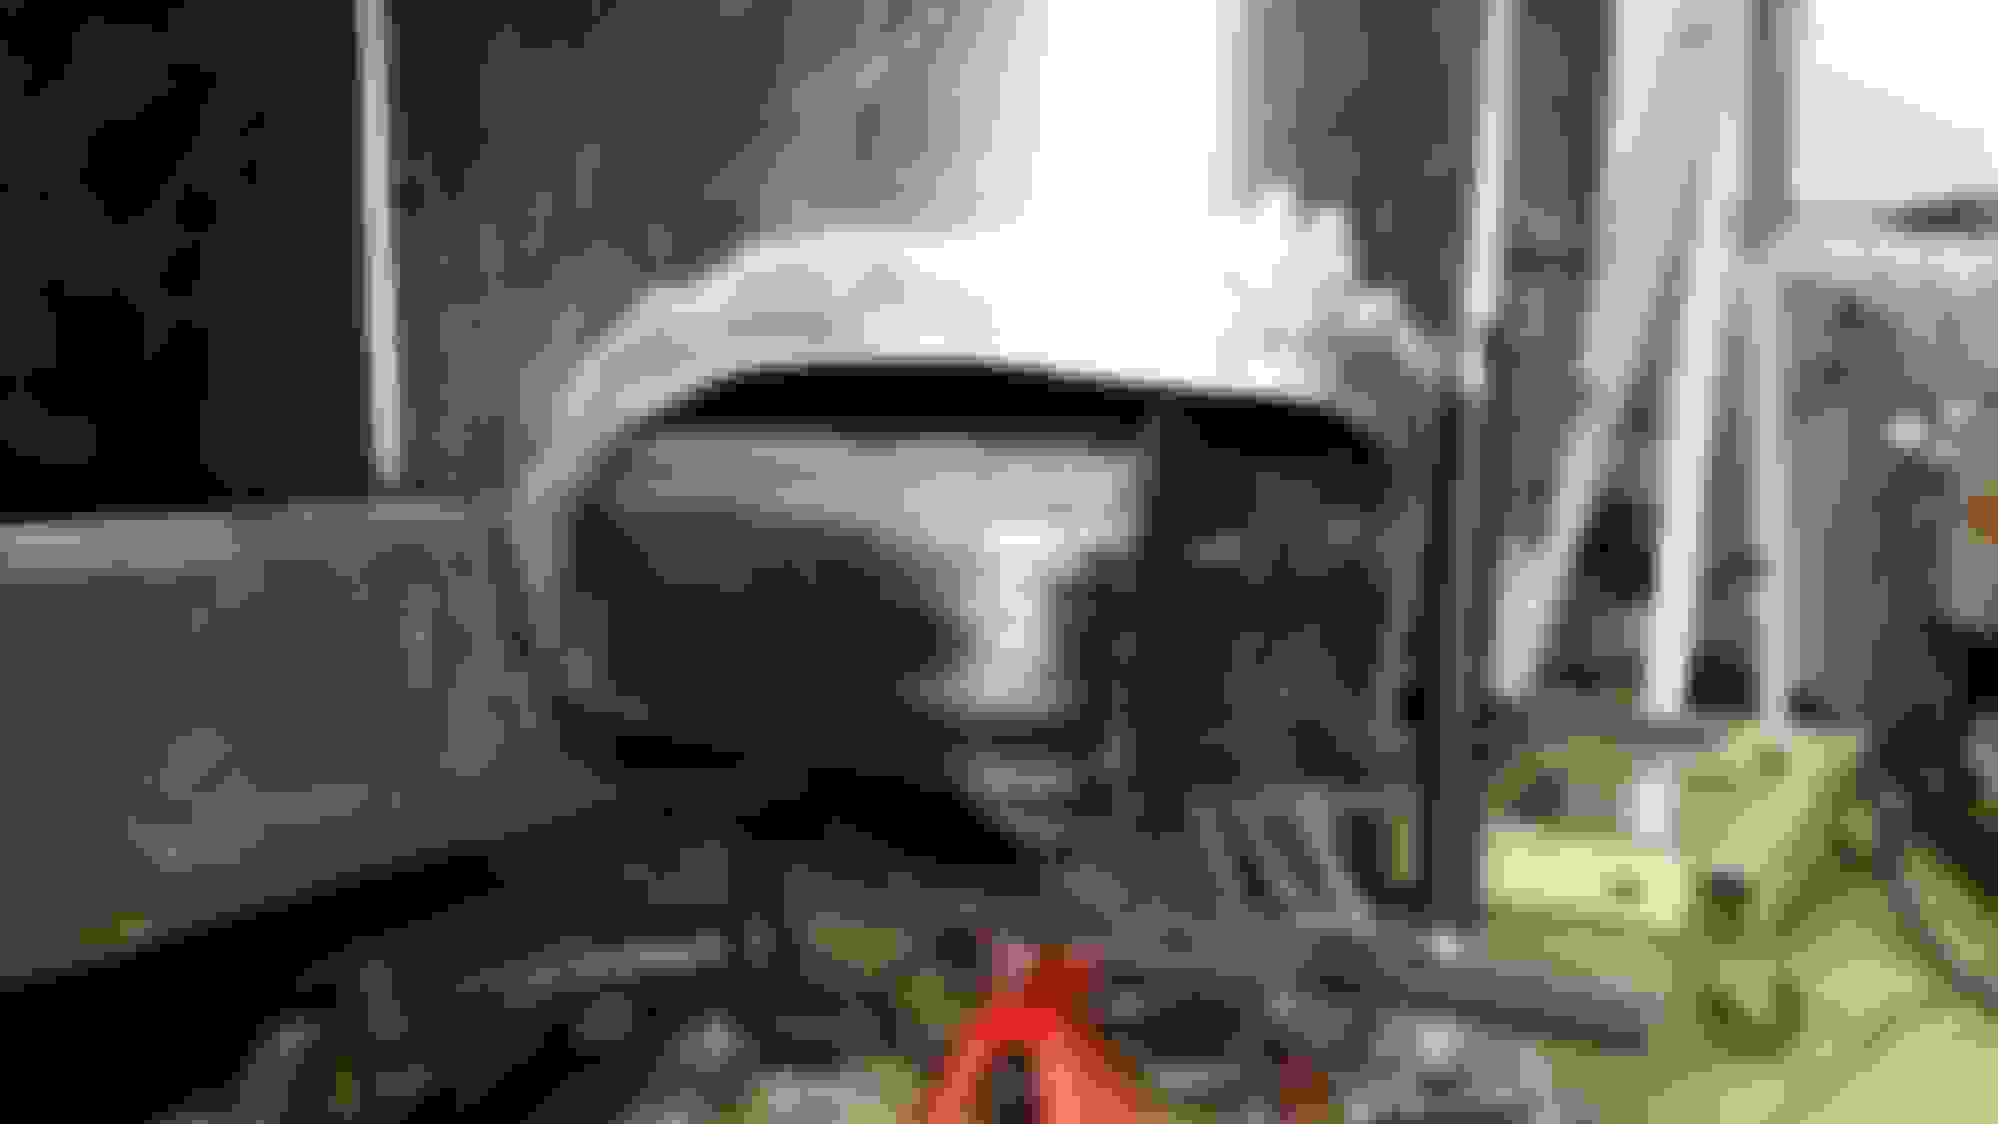
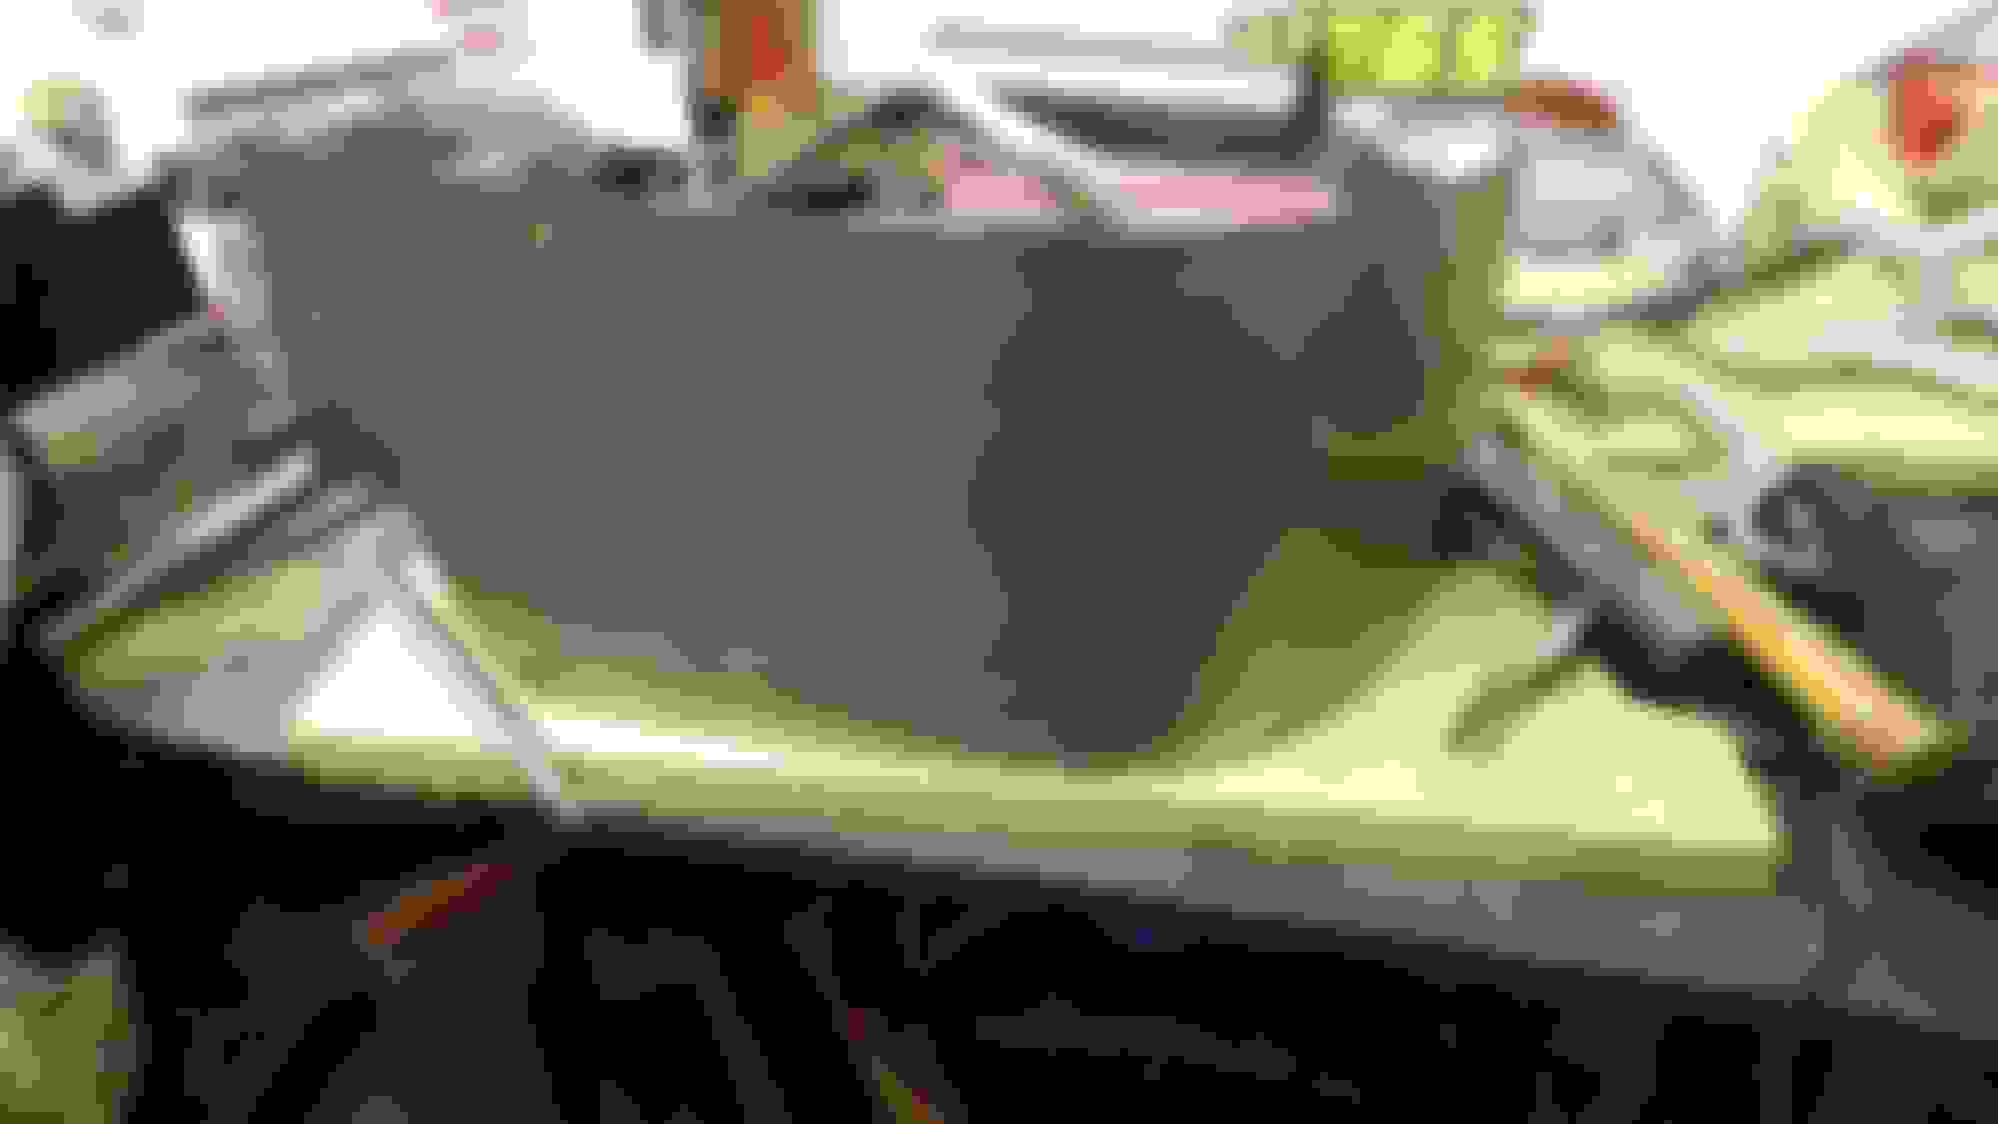
I also decided to make a new transmission cross member. I realize Ax spent a lot of time designing the removable center section for his design (pics of this on in this thread), but I had concerns of its strength from the beginning as well as some of you all. The one he made is probably stronger than the original F1 but I am putting in about 300HP vs. the ~100HP that was stock…I think I will sleep better using a stronger cross member to provide more support. Anyways, I really liked the cross member that c91x made so I created something very similar (thanks to c91x for sharing your work!). I am still in the process of painting the cross member, but I thought to post an in-progress shot.
Looks good. I'm going to steal a version of C91's crossmember design too. My frame is boxed so I'm going to make it a little bit different, but similar enough to call it theft . Good idea to add some chassis strength as well as a trans mount. Two birds, one stone. Truck is coming nicely.
Nice progress, Gary, and a good goal for the year.
I like the looks of the new crossmember, too. Appropriately stout for a Hot Rod truck.
It's good that you were able to find a better frame at this stage of the build, before you pass the point of no return.
 02-28-2015, 05:31 PM


 . Good idea to add some chassis strength as well as a trans mount. Two birds, one stone. Truck is coming nicely.


