When you click on links to various merchants on this site and make a purchase, this can result in this site earning a commission. Affiliate programs and affiliations include, but are not limited to, the eBay Partner Network.
Stu, you are correct about the red oxide primer. In my picture you can just see a few black spots that are showing from under the red.
That said, I'm still going to do them in the cast aluminum, along with the tranny, and hogs head. I just like the look of them that way better.
Well more progress.
Rolled the Chassis out and powerwashed it. Got a good bit of crud off the frame and engine. Will have to go over it another time before I get it ready for paint.
But after cleaning and looking everything over, I noticed the rear hangar on the front passenger spring looked a bit off.
That doesn't look right...
Both sides had been removed and bolted before, but this one was hanging on just the swo side bolts, and had taken a torch near the pivot. Not cool. Also, figured at the same time, they removed the stock clips holding the leafs toghether, and welded 2 makeshift ones back on.
So over to the Merc, and swapped components around.
figure the engine will get painted next week, and the frame shortly there after.
Just waiting on my radiator, EZ Wire harness, and 12V conversion kit to show up, and finally hear this thing run.
Bodywork will have to wait until after the move.
Well the mailman came with my first set of goodies. A new U.S. Radiator High efficiency core and new top tubes.
So got the welder out and fixed a few cracks in the saddle. And stripping it down getting ready for paint (along with the frame).
On the spring saga, the one I pulled off the donor truck was missing it's bushing. The local spring shop didn't really have anything that would work, and looking at everything so far, I figure I'll be calling Chuck or JobLot to get pins and bushings for front and rear before I start driving it around.
12V conversion kit from Vintage Auto Garage is on its way, and a 21 circuit EZ Wire harness is finally on its way after a screw up with PayPal (but their customer service REALLY has not impressed me when I got a hold of them).
2 weeks before it gets shipped ahead of our move... If that doesn't light a fire under my ***...
Well push came to shove and I've gotten some progress done before the move.
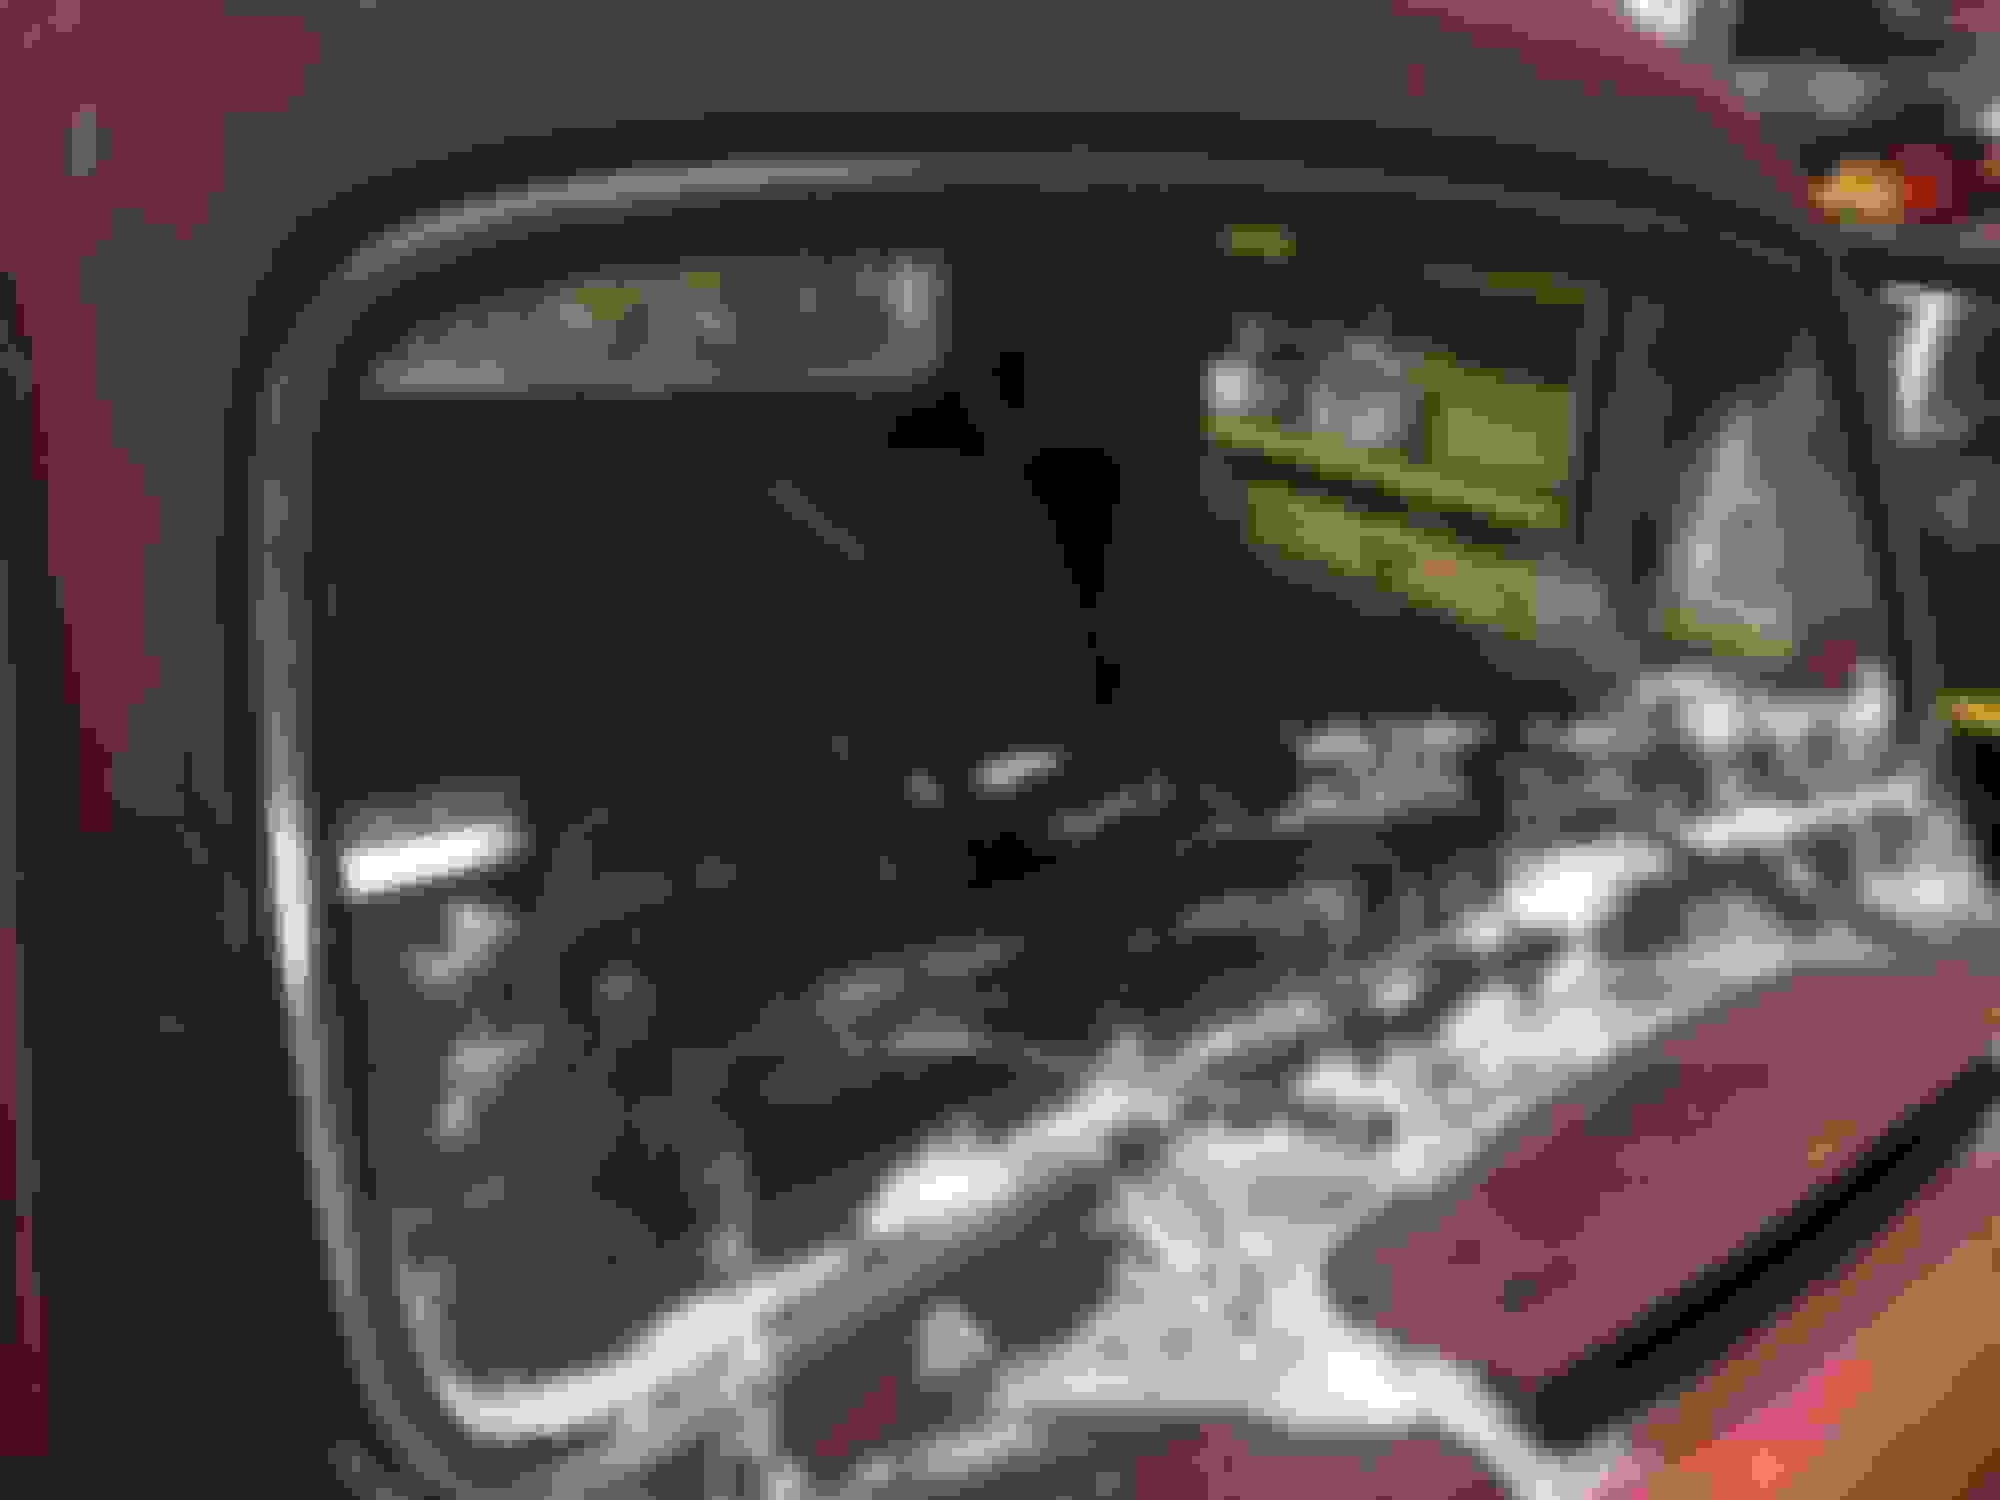
Engine cleaned up and painted nicely. Only down side is while cleaning everything up, found the carb was a Holley 94 model 59... With no vac advance... So looks like I'll be getting a rebuilt 8RT 94 in the near future (plus shouldn't have to worry as much about ethanol problems then).
The frame was my first attempt at using an HVLP gun and actually spraying, not spray bombing. Came out decently for a first attempt with only one run under the passenger cab mount.
Also Santa (aka the mail lady) came bearing gifts and my 12V conversion kit from Vintage Auto Garage showed up. Bolted the alternator on to wait patiently until after the move.
Now to get the other bits bolted on so she is ready to move to the ranch. Then I can get some work done this winter.
Ok, well it's been what seems like forever, but finally getting settled into the new life at the ranch we moved to and mostly caught up on everything before the freeze really sets in and the snow starts to say around for more than a few hours.
Got most of the bits I had in the cab for the move out and started looking things over again. There are 2 real things that I see that worry me.
First is the floor/ toeboard joint. neither piece on it's own is too bad, but I can tell now that they aren't joined by much (and am now regretting not bracing the cab before removing it from the frame). I knew I was going to need to replace the front cab mounts anyway, but wondering if its worth getting new front floors or just patching what I need to and seam weld the joint after tacking?
Drivers side
Passengers side, in worse shape
the Second that is more concerning to me is I found quite a large area of rust at the top of the windscreen on the drivers side. as you can see, it's about a foot long area that is really bad and rotted through. IF someone had a cab they could cut a patch panel from, I wouldn't be too worried, otherwise I think that repair would be beyond my metal forming skills.
So either I need to find someone who can cut me a new patch panel for the top of the windscreen, or find a cab that is in better shape than my own somewhere in the Pacific Northwest.
In better news the PTO that had been long promised finally showed up from the P.O. Looks in decent shape, and does shift. Albeit with quite a bit of force needed. All I know is that it's a Spicer AA and is Canadian (Hayes Steel Products Ltd was Spicers distributor up here). Unfortunately the model number and serial were likely pained on, and were obliterated under the decades of grease and road grime that was caked on. I've been told it works with my T9 transmission, and without mating anything up, looks like the bolt pattern is about right at the blanking plate. Hopefully someone out there knows a bit more about it. But it does solve my missing M-H PTO issues if it works.
Hope to get the chassis in the shop soon and get working on the rear of the chassis soon. Guess Chuck will be my one stop shop now to get a bunch of parts that I need with JobLot gone now.
Well made another step forward in progress with my truck.
The chassis is still sitting outside the shop all tarped up until I can get another small project out of the way first.
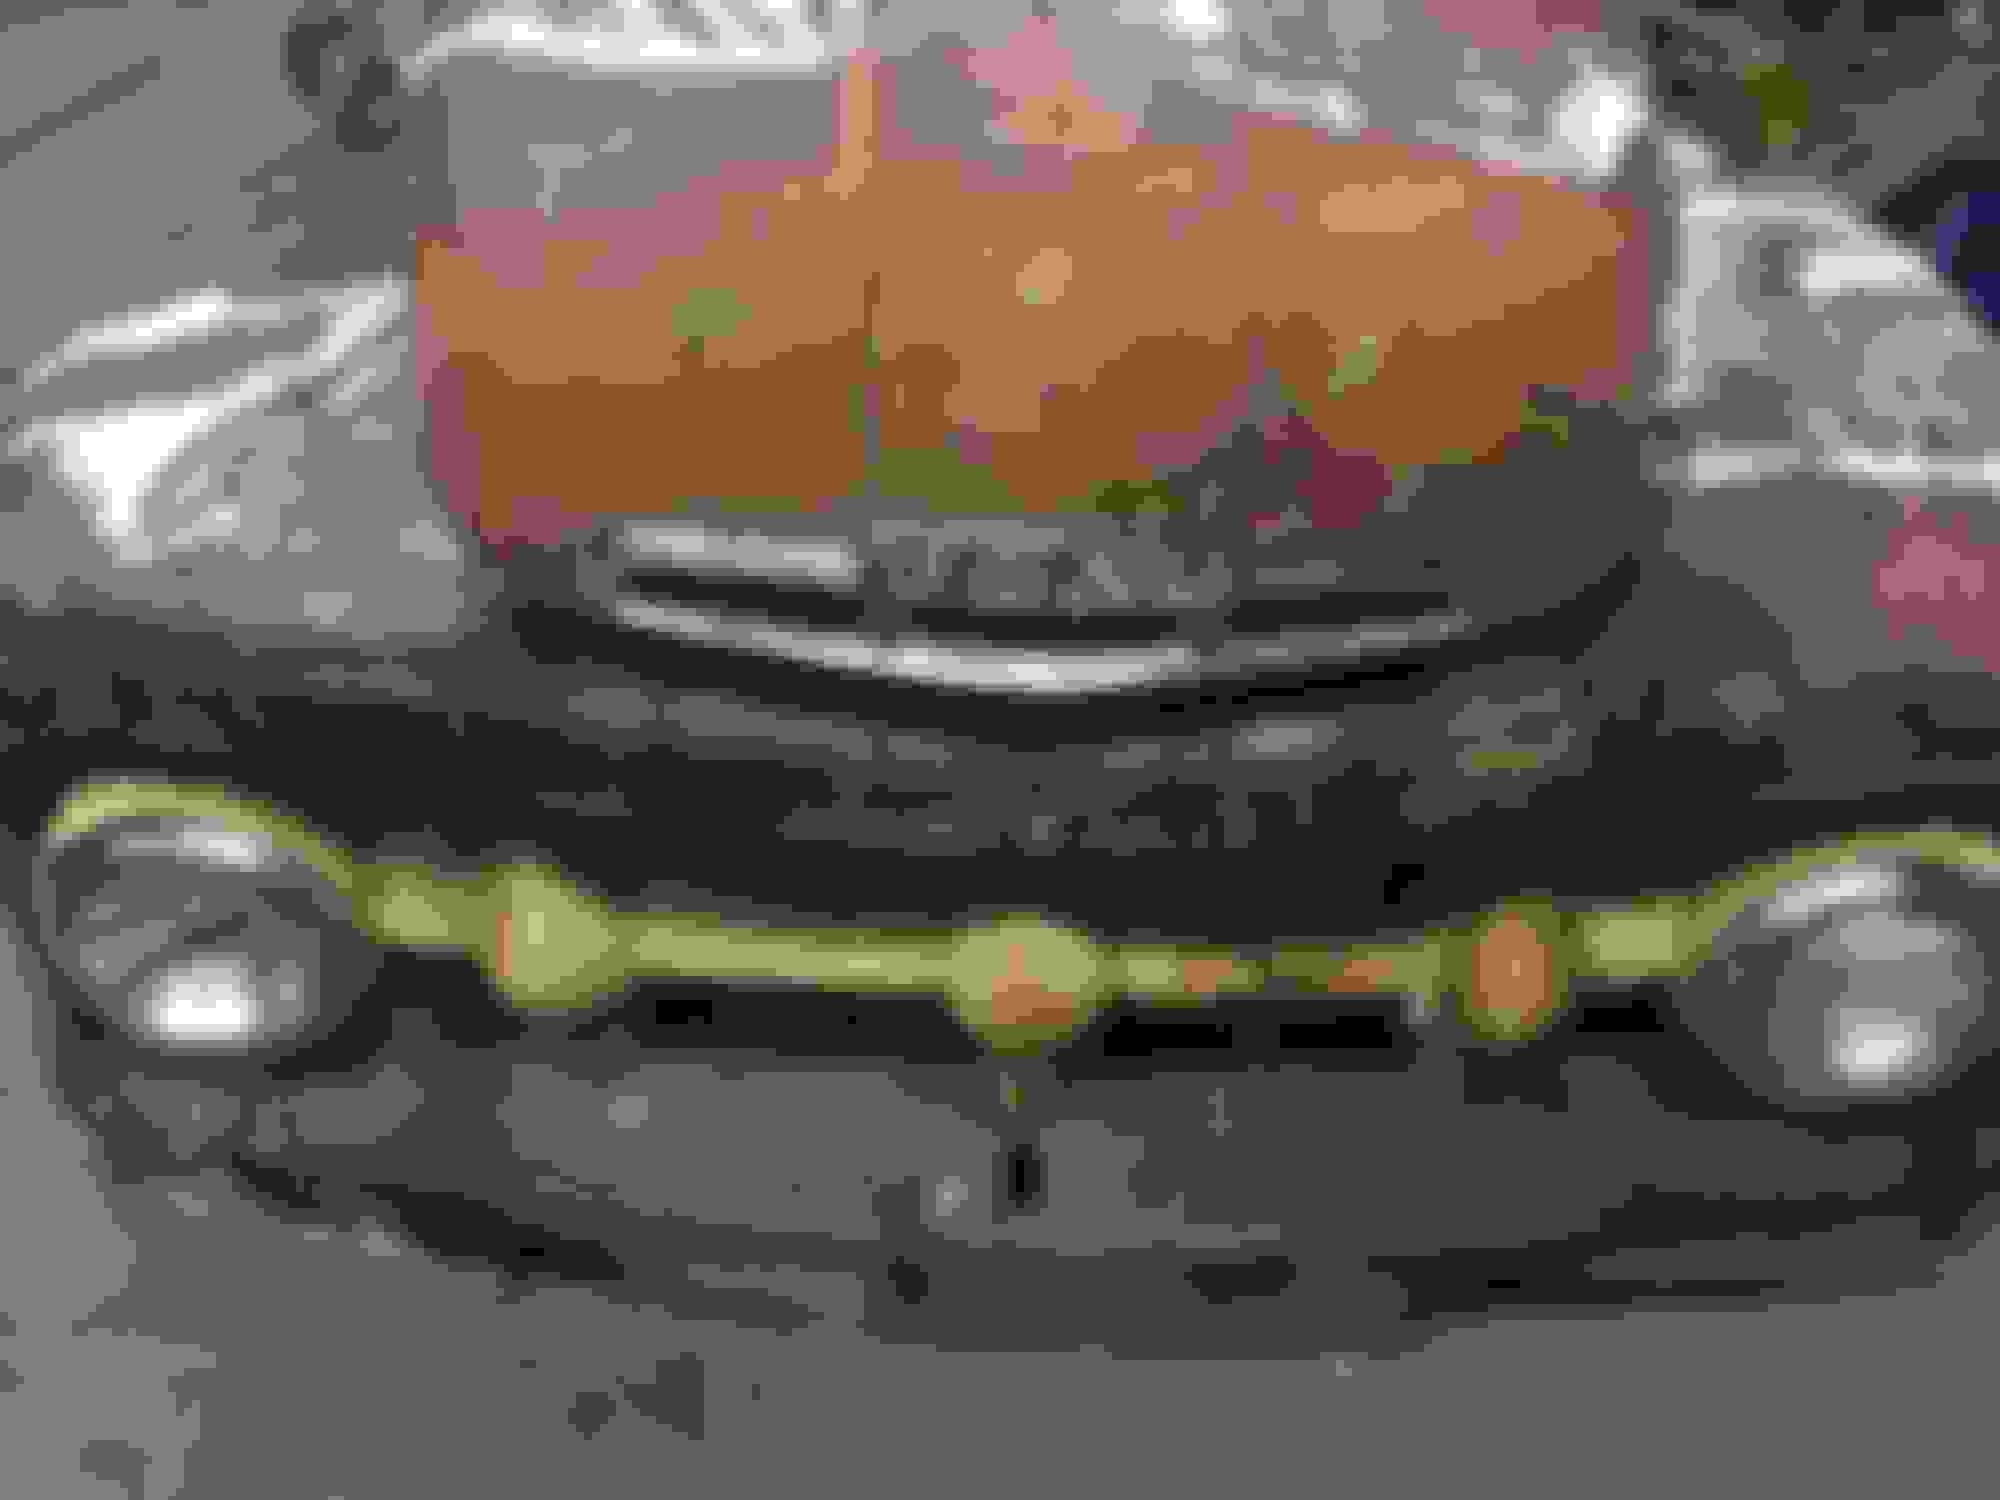
But, I did solve almost all of my body issues in one go (I think). Thankfully for Facebook and a classic car group on there, found a 51 F3 (could be an M3 as it has a Ford of Canada rating plate in the glove box) 5 star extra cab and front end that was in amazing condition. He had it for 18 years, but never had a chassis to really make it work. All of the stainless is in excellent condition for sitting outside, and the floors are solid minus some spots that will need a little love, but nothing near what the 2 original cabs needed.
Cab and front clip with hood
Could have been an M3 since it is Ford of Canada?
Natal BC is now part of Sparwood, close to where the F5 originally came from
5star extra trim in excellent shape
Stainless windshield trim is excellent, and I will have to try and keep it that way
Really starting to love the paint too. Might just keep the cab and hood as is, and try to get my fenders to look relatively the same.
So by the end of this I should have a correct trim for my VIN '51 F5 5 star extra cab Marmon Herrington.
N.B. If anyone is looking for some descent F3 fenders (with a bit of rust at the rear lower edge, but not bad at all either) let me know.
Great score, and complete with all the hard to replace/expensive trim bits. Even has the Magic Air badge! Stu
Stu, I completely missed the magic air badge. Don't even see it looking at the pictures (might not be awake yet though). Have what looks to be a good donor for Denny, and can't wait to start putting things together.
Have any tips for removing the stainless trim from the windshield without damaging it?
I've not pulled the one on my donor cab yet, but think you'd want to cut the inner and outer seal to coax it out. Definitely want to go slow to not bend or ding it. Stu
Well went out and looked at the new cab again. It is a 5 star extra cab, but doesn't have a magic air heater (it's the earlier recirculating one) and has vacuum wipers.
Well I did get the heater out of the Merc donor, and Denny did his magic on it.
But it would have been nice to have the electric wipers. Been thinking of using a Lucas wiper system from a classic mini as a retrofit.
Any comments on the Newport conversion? Might be in the same price range.
That's not a Magic Air aluminum badge in your picture? All of my M-Hs have had vacuum wipers, so that's what I'm staying with. Years ago I sold off my hoard of Brit parts and had several Bugeye and Mini wiper sets that went to hot rodders. Seems to be a popular modification. Stu
Well dug the truck out from all the snow here and got the chassis into the shop finally.
Engine still turns over by hand nicely after putting some oil down the cylinders first.
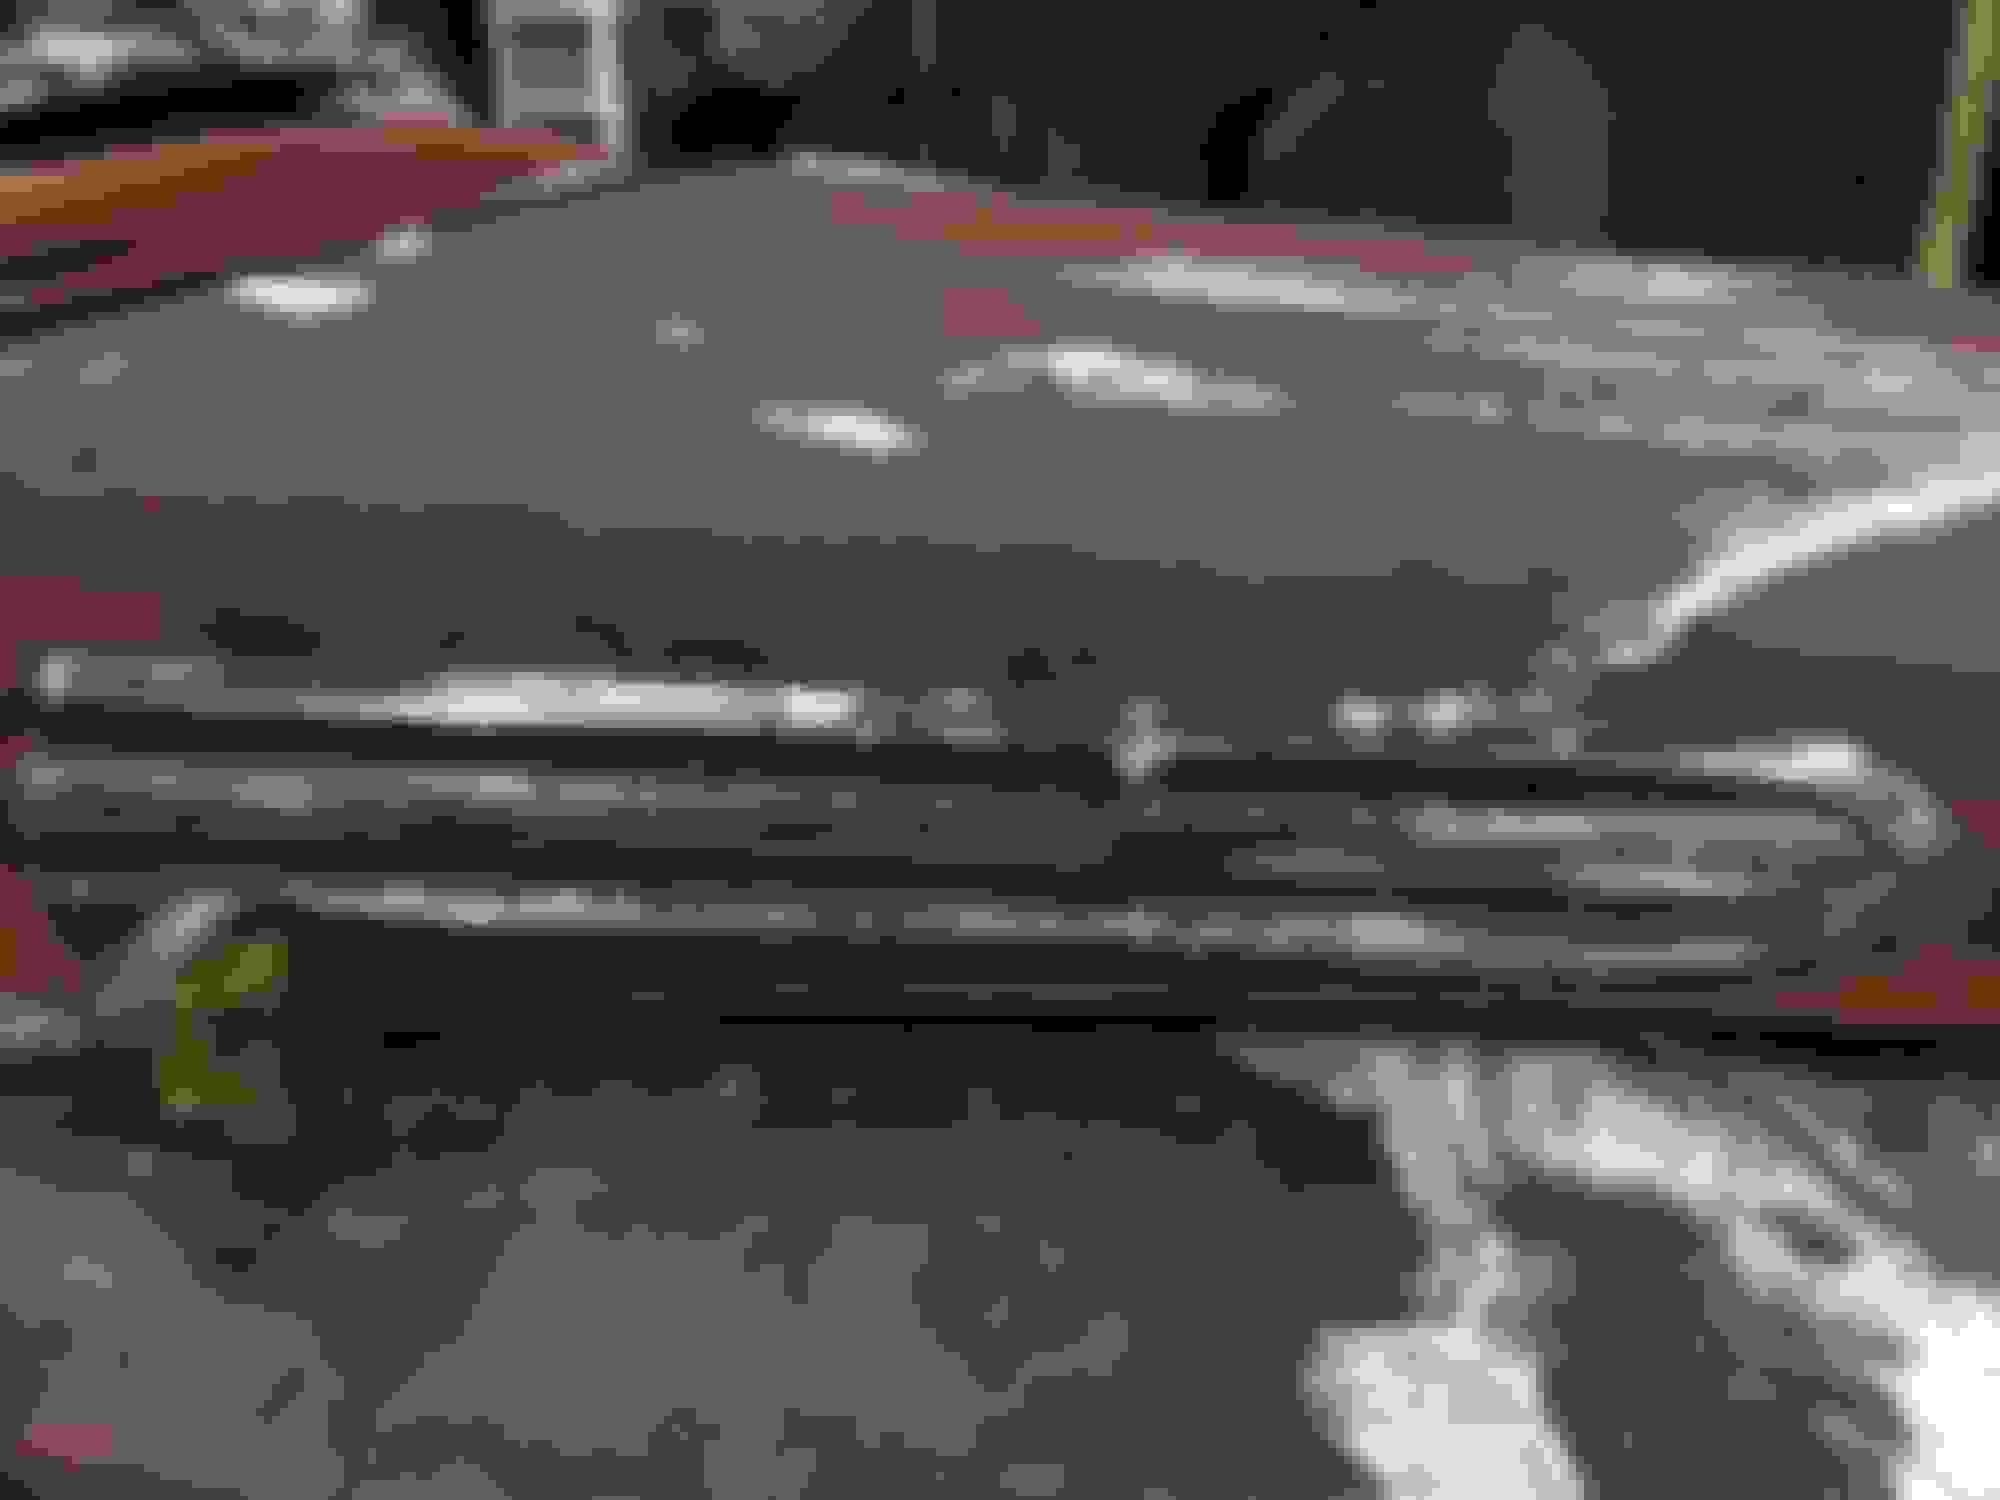
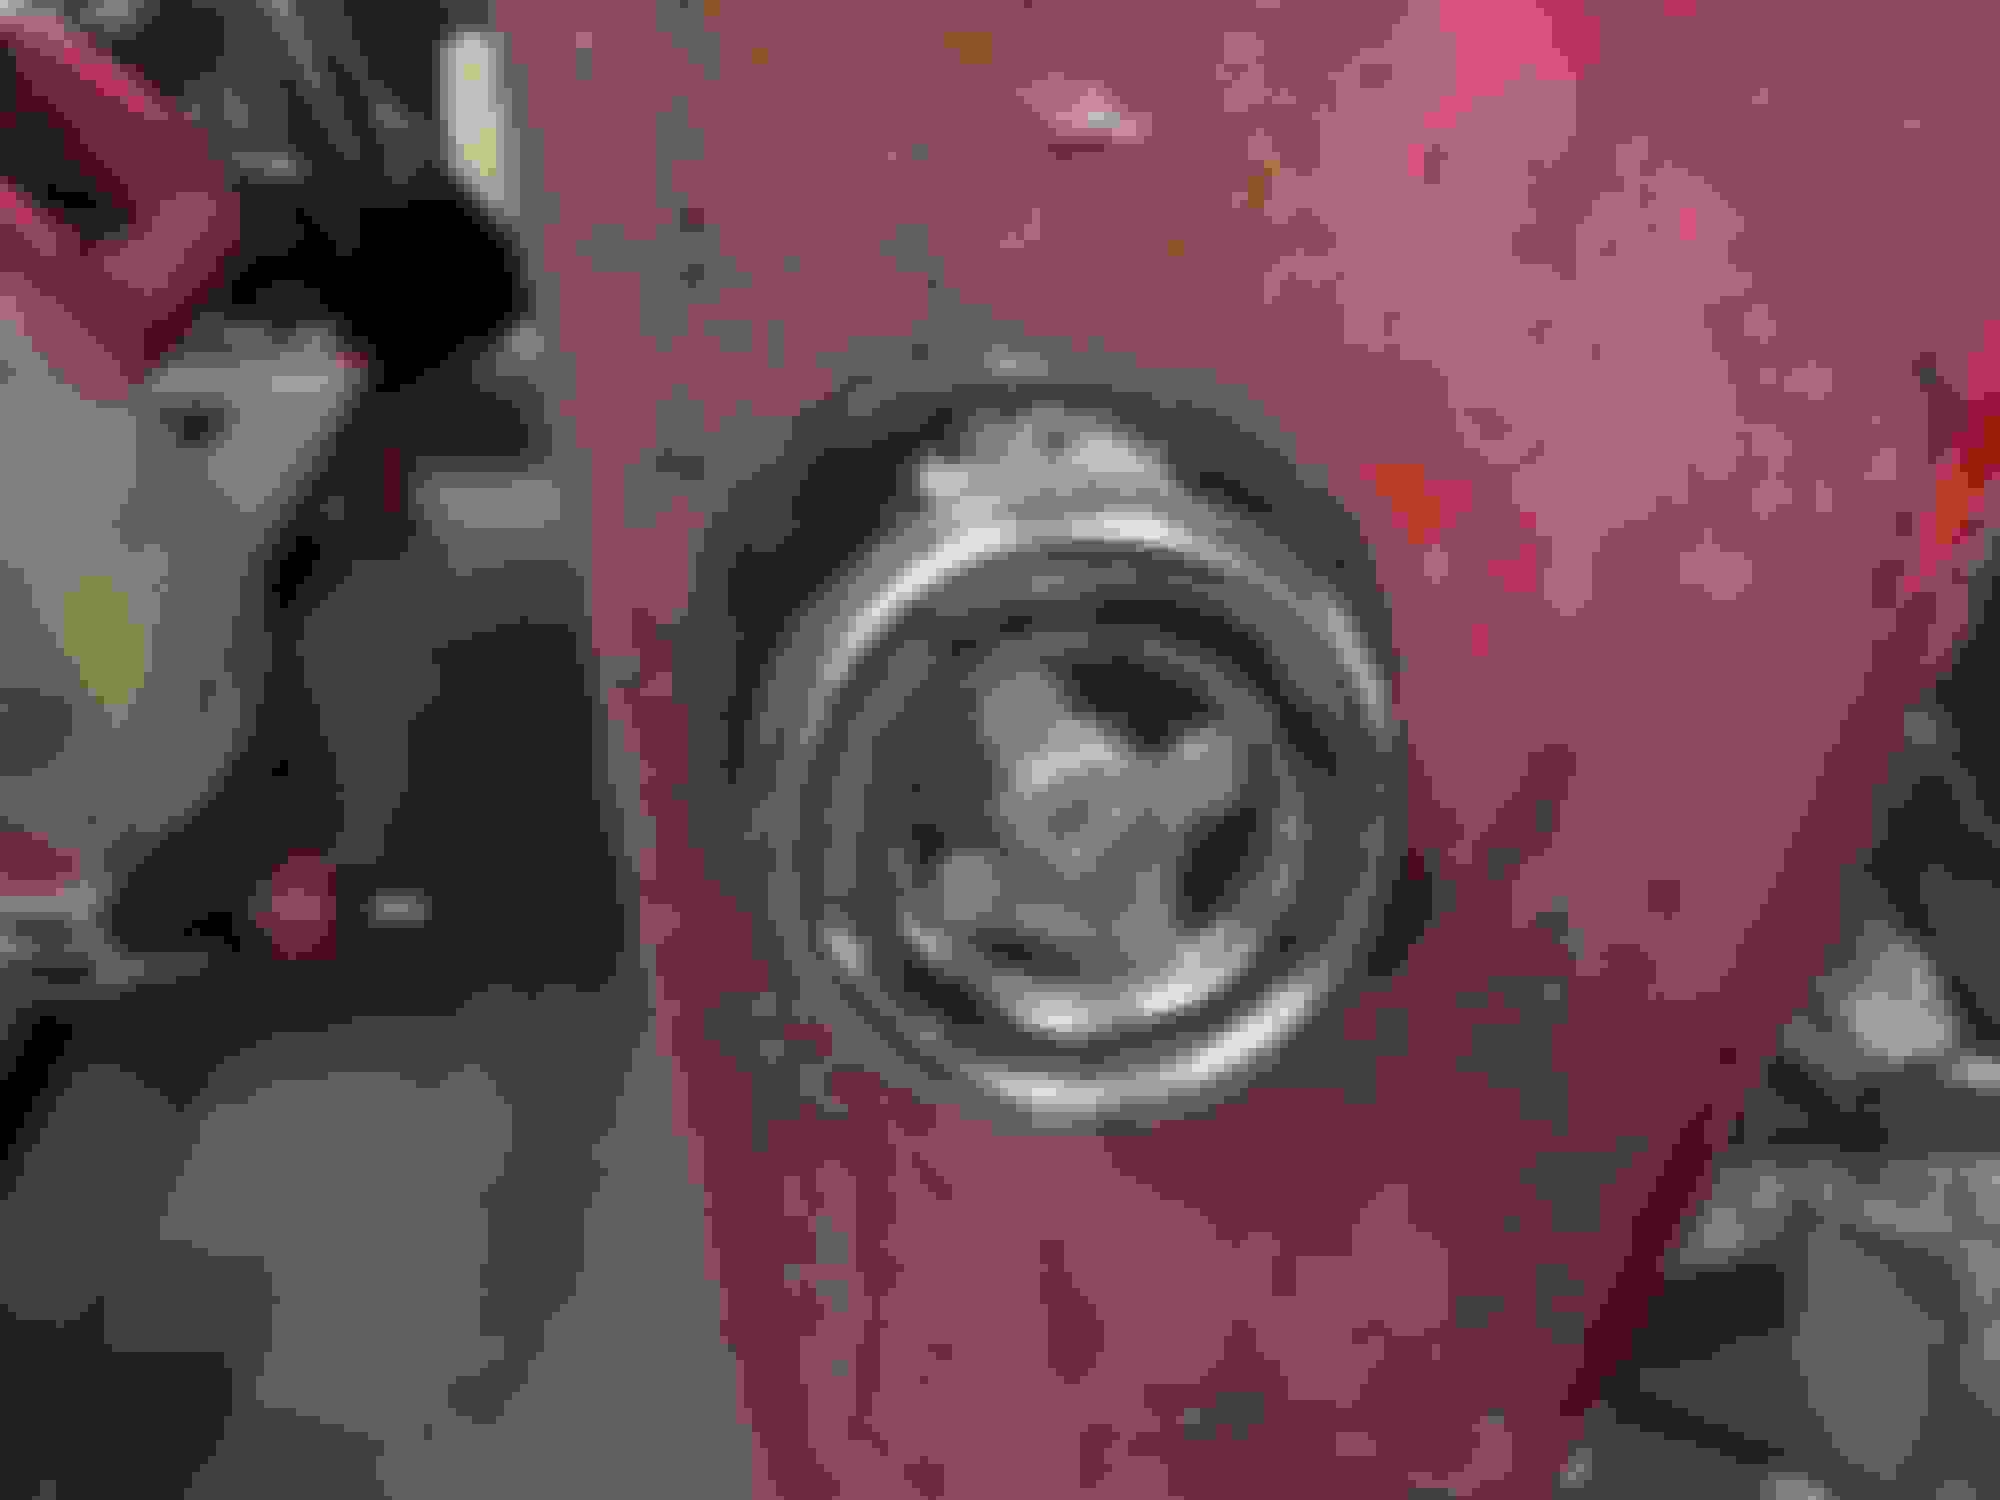
First thing once it thawed out a bit was to get the front brakes off to see what sort of condition they were in.
Drivers side measured 14.142" at the widest. Looks like it was never really centered as the drum surface is .250 on one side and .128 on the other.
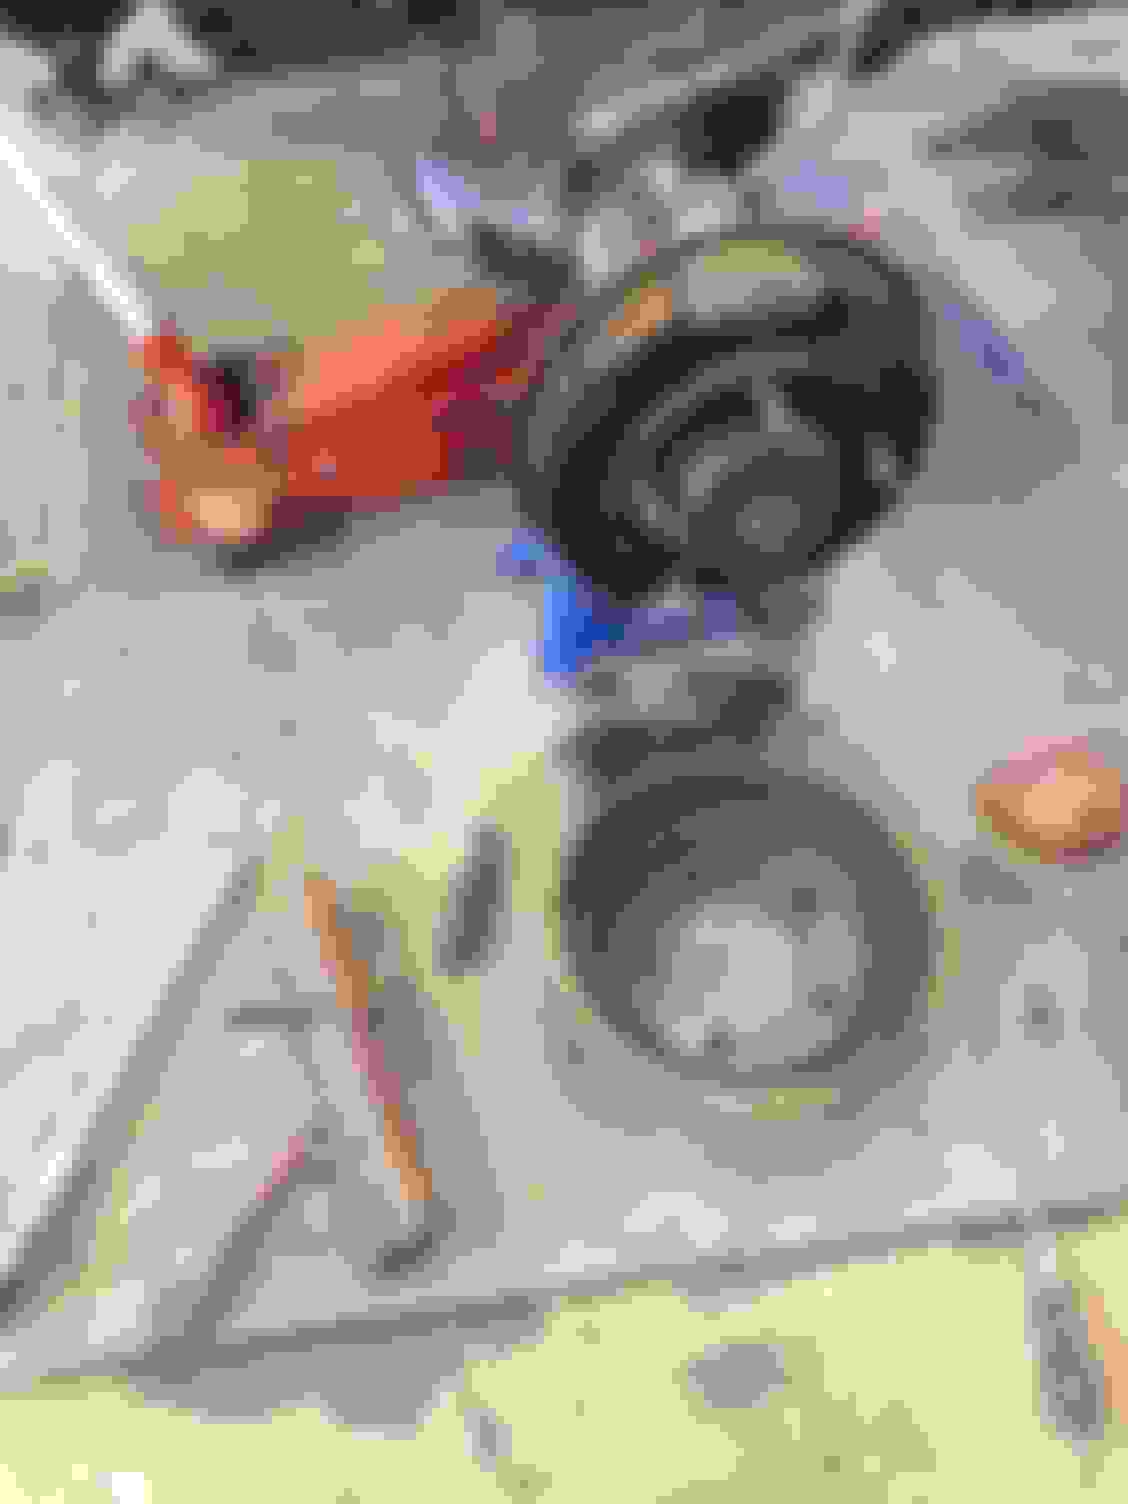
Had to make an extension for my hub puller to get the drum off, but it worked well. Took the hub off too. Looks like the drivers side was serviced in the not distant past as it still had nice grease in it. Still will clean it up and inspect more closely, but no obvious signs of wear.
Passengers side I couldn't get the drum retaining screw out so took the whole hub off to take a look inside.
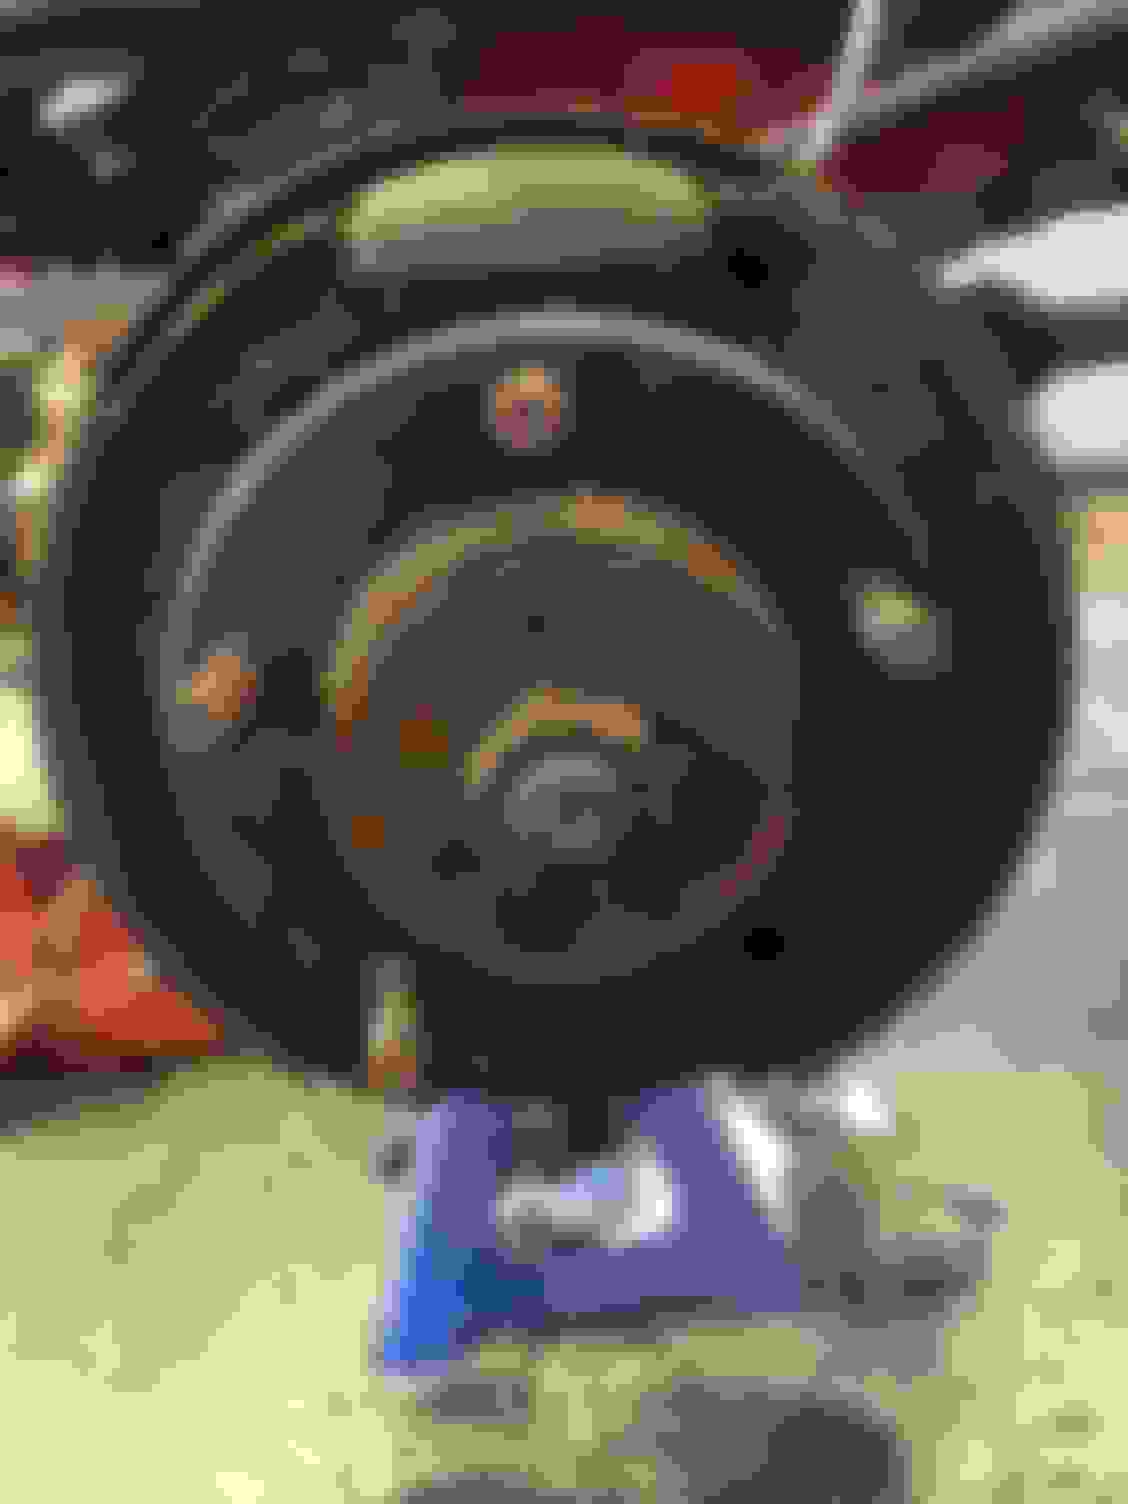
Grease in this side was much older, but no contamination I could see. Drum surface looked more even on this side, couldn't measure it, but think it's less than the drivers side.
So with knowing the front drum condition now, I think I'll try and get some more life out of them before really having to decide what to do. I'll have to take the hubs into the local truck place and get a new stud for each side pressed in, plus nuts to match.
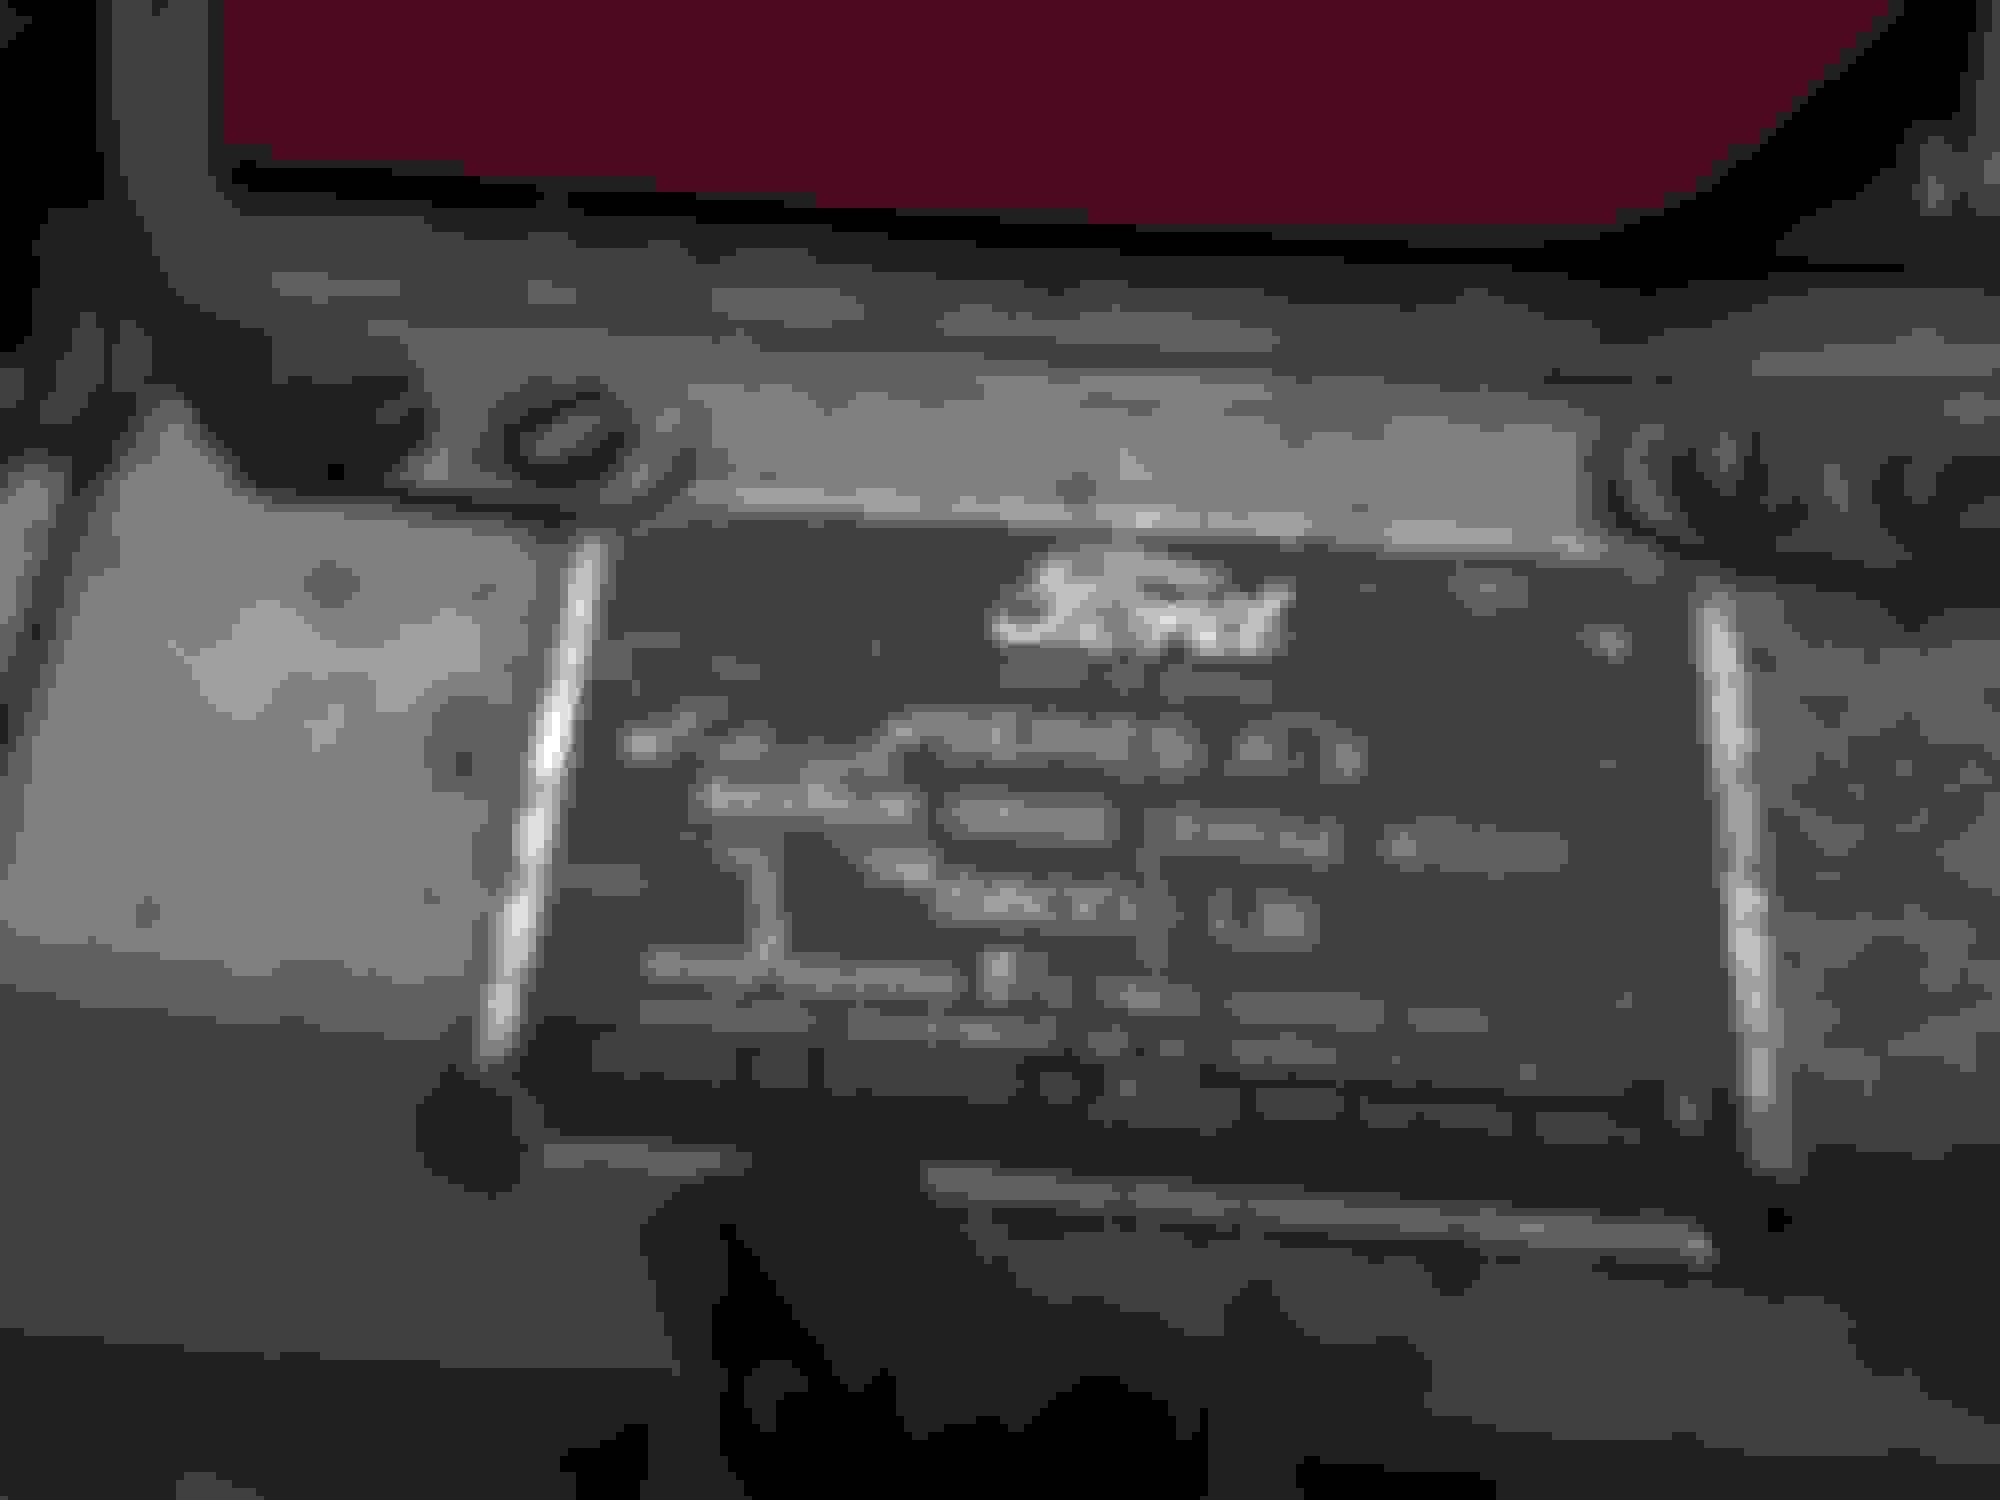
Found the stamp on my front axle too.
J7 51 6667
Now to finish cleaning the frame and get it painted once this cold snap moves on.
 06-28-2015, 08:03 PM