When you click on links to various merchants on this site and make a purchase, this can result in this site earning a commission. Affiliate programs and affiliations include, but are not limited to, the eBay Partner Network.
Oh , the reason i purchased the projectors was because they would take HID bulbs in the low position as i thought , if what your saying is correct i may have a project.
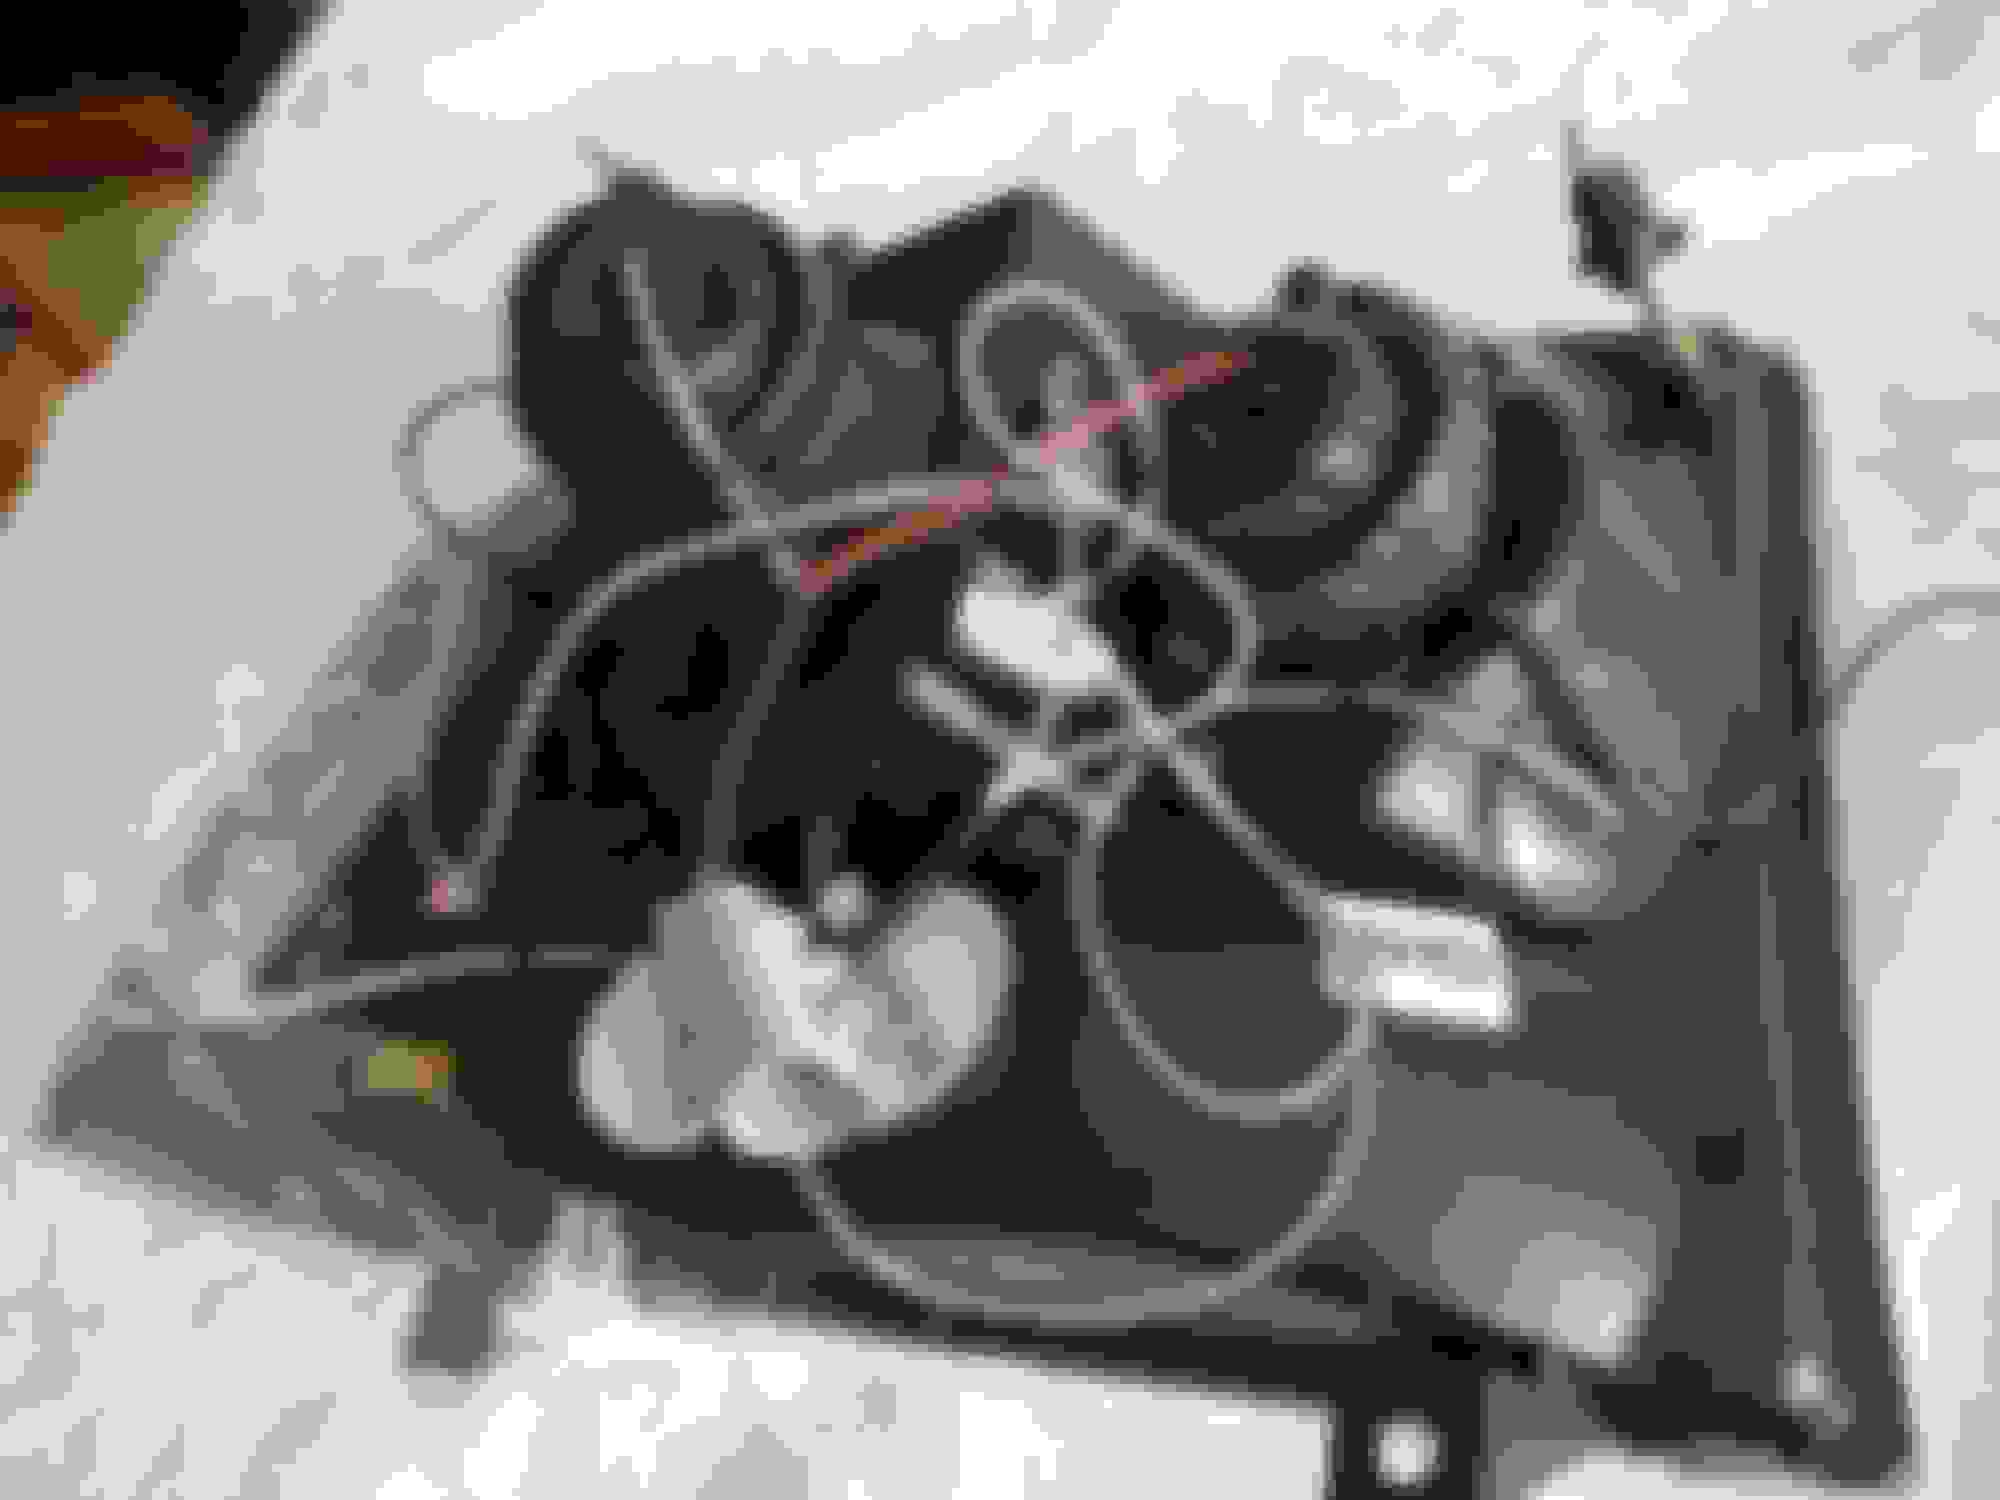
Well it only took two weeks for the projectors to turn up,
here's a look before i start the conversion , the quality looks good , packaging was good , the wiring looks a bit how ya going but i won't be using most of that.
The bulb housing is made of Ally or diecast, the quality looks good.
Turn signal lens, just have to run a orange bulb.
This is the main connector , not sure what it fits.<br/>I'll be fitting HID's so that'll have to go.
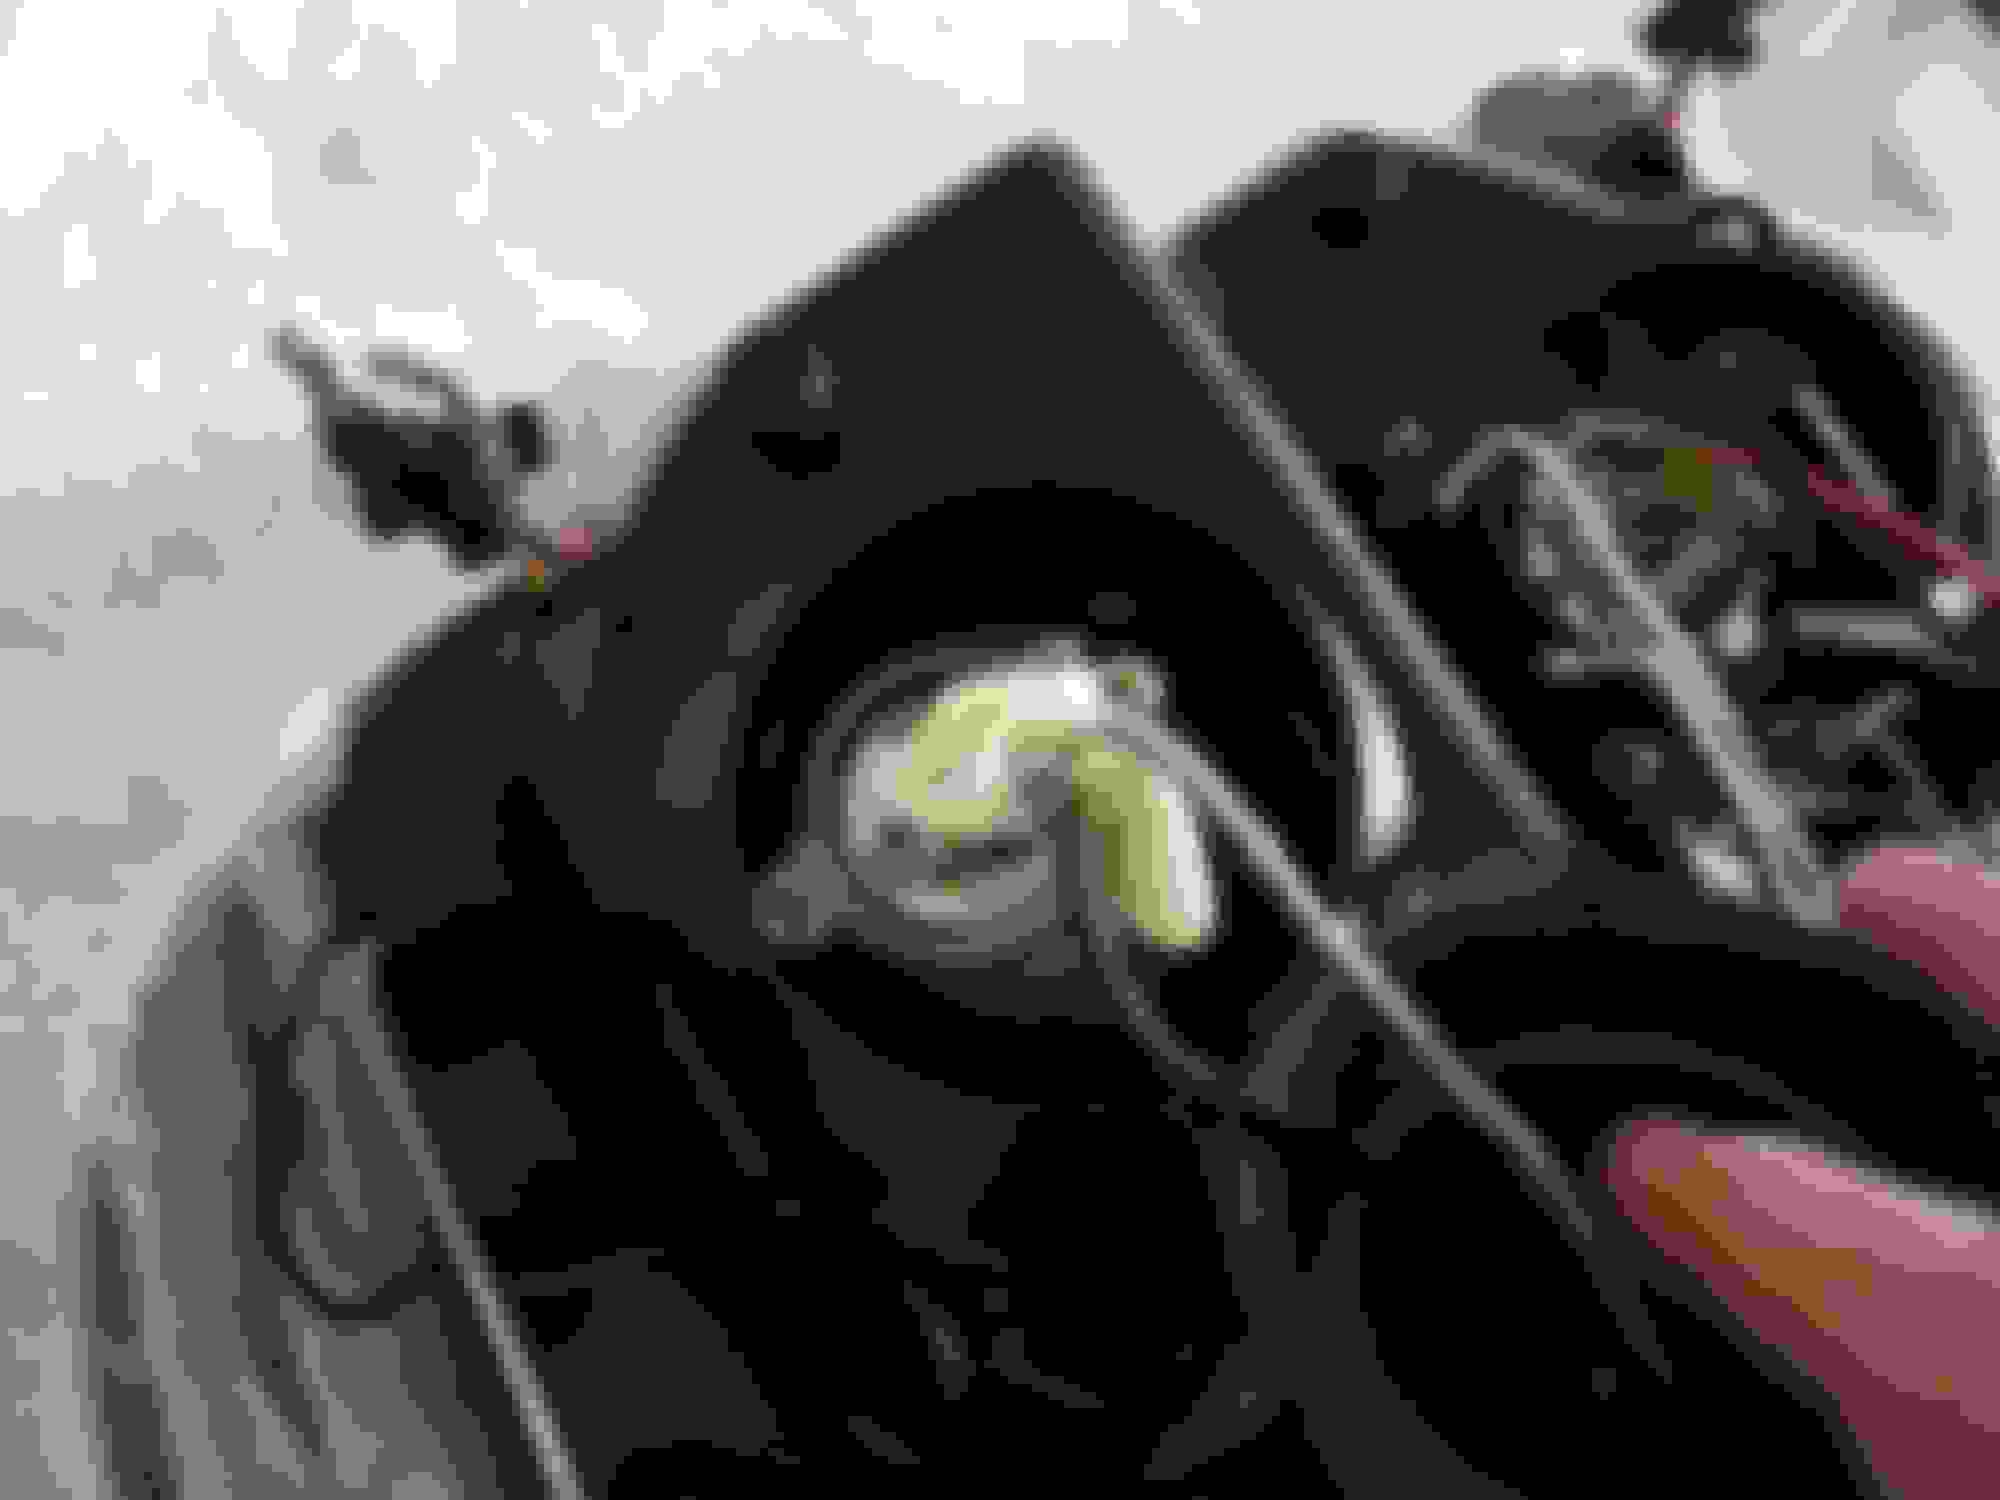
This shows the seal around the housing to glass, looks good .<br/>The only thing i have to do is seal off the rubber boot over the bulbs when finished.
Led's , for park lights
Let the project begin , if anyone has some input on the conversion about the cutting of the header panel or wiring please post.
Blue, looks good. From your photo above it looks like the unit is running a H1 for low and another H1 for high.
Can you post a pic of the removed bulbs?
Also, did you get the standard Angle-eye option , i.e. not the upgraded CCFL?
The only other check I think you need to make is check the bulb clearance depth on the low beam bulb - just to make sure the HID light emitter will fit properly behind the projector lens.
You may also want to test the fit on your truck. As you already have after-market big light units on your truck you may find that the header panel has already been trimmed, with little or no further trimming required to bolt up these lights.
This is looking really good!
BTW, sorry I didn't take any shots of my H1 bulb mounts on my HID conversions - just bought them and installed them with no hassles other than getting the ballasts and wiring looking neat and tidy. There were so many wires I needed to be creative with the split-loom & cables ties to keep it a neat installation.
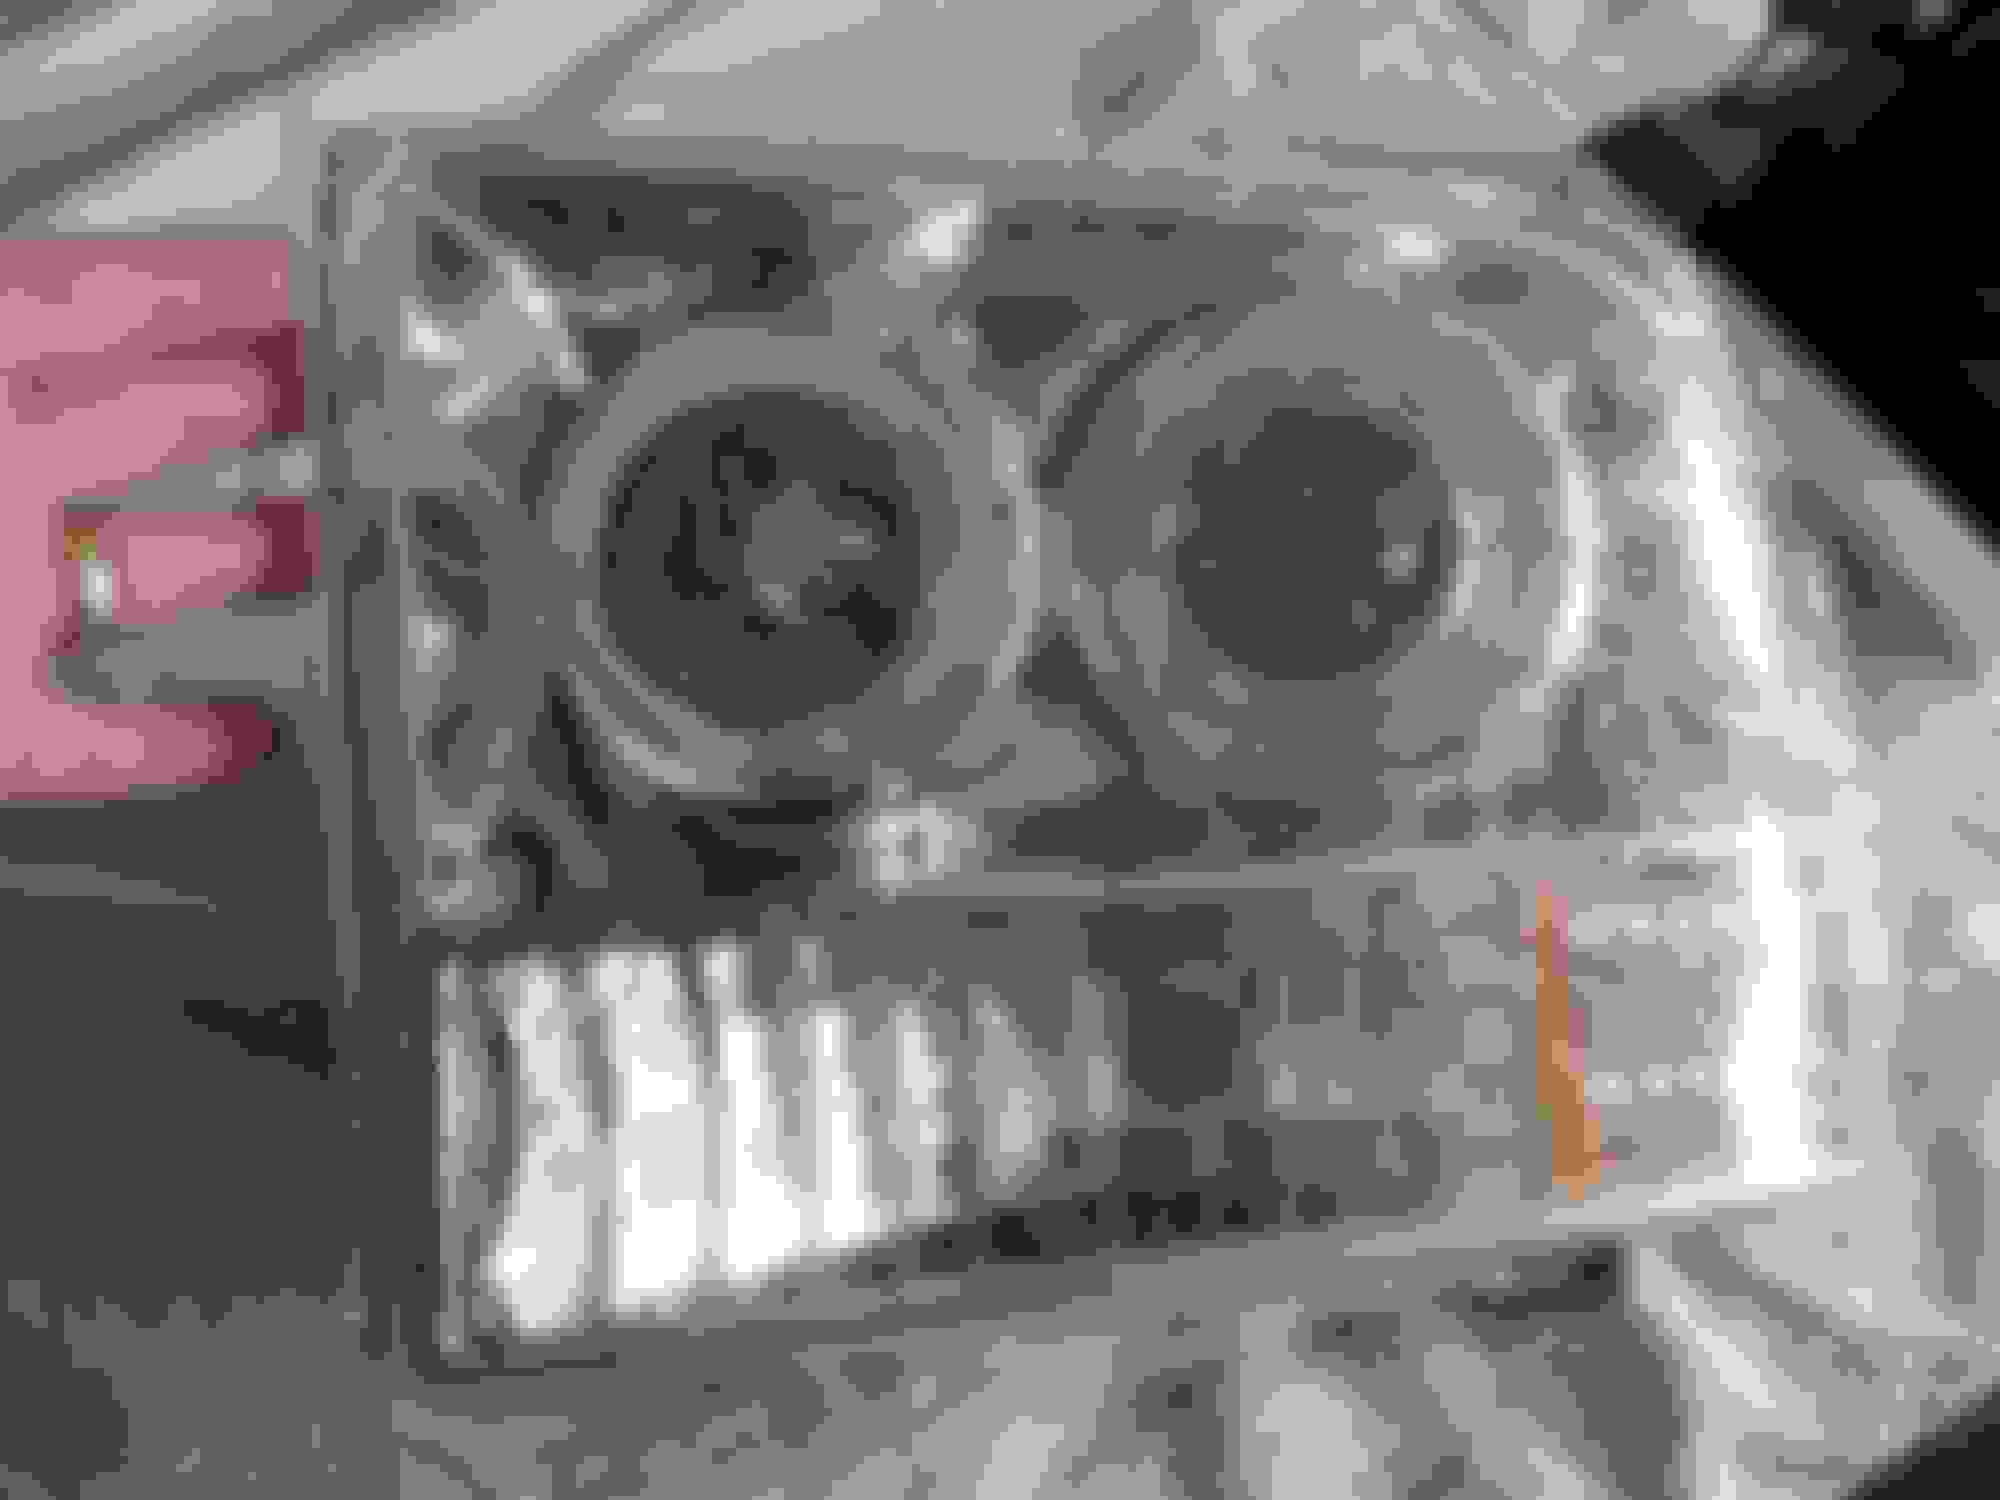
Simon , here some photos of the bulb housings.
I went with the standard Halo's, i wasn't to sure about the quality of these lights so i was keeping the price down, but as I've said the quality is good .
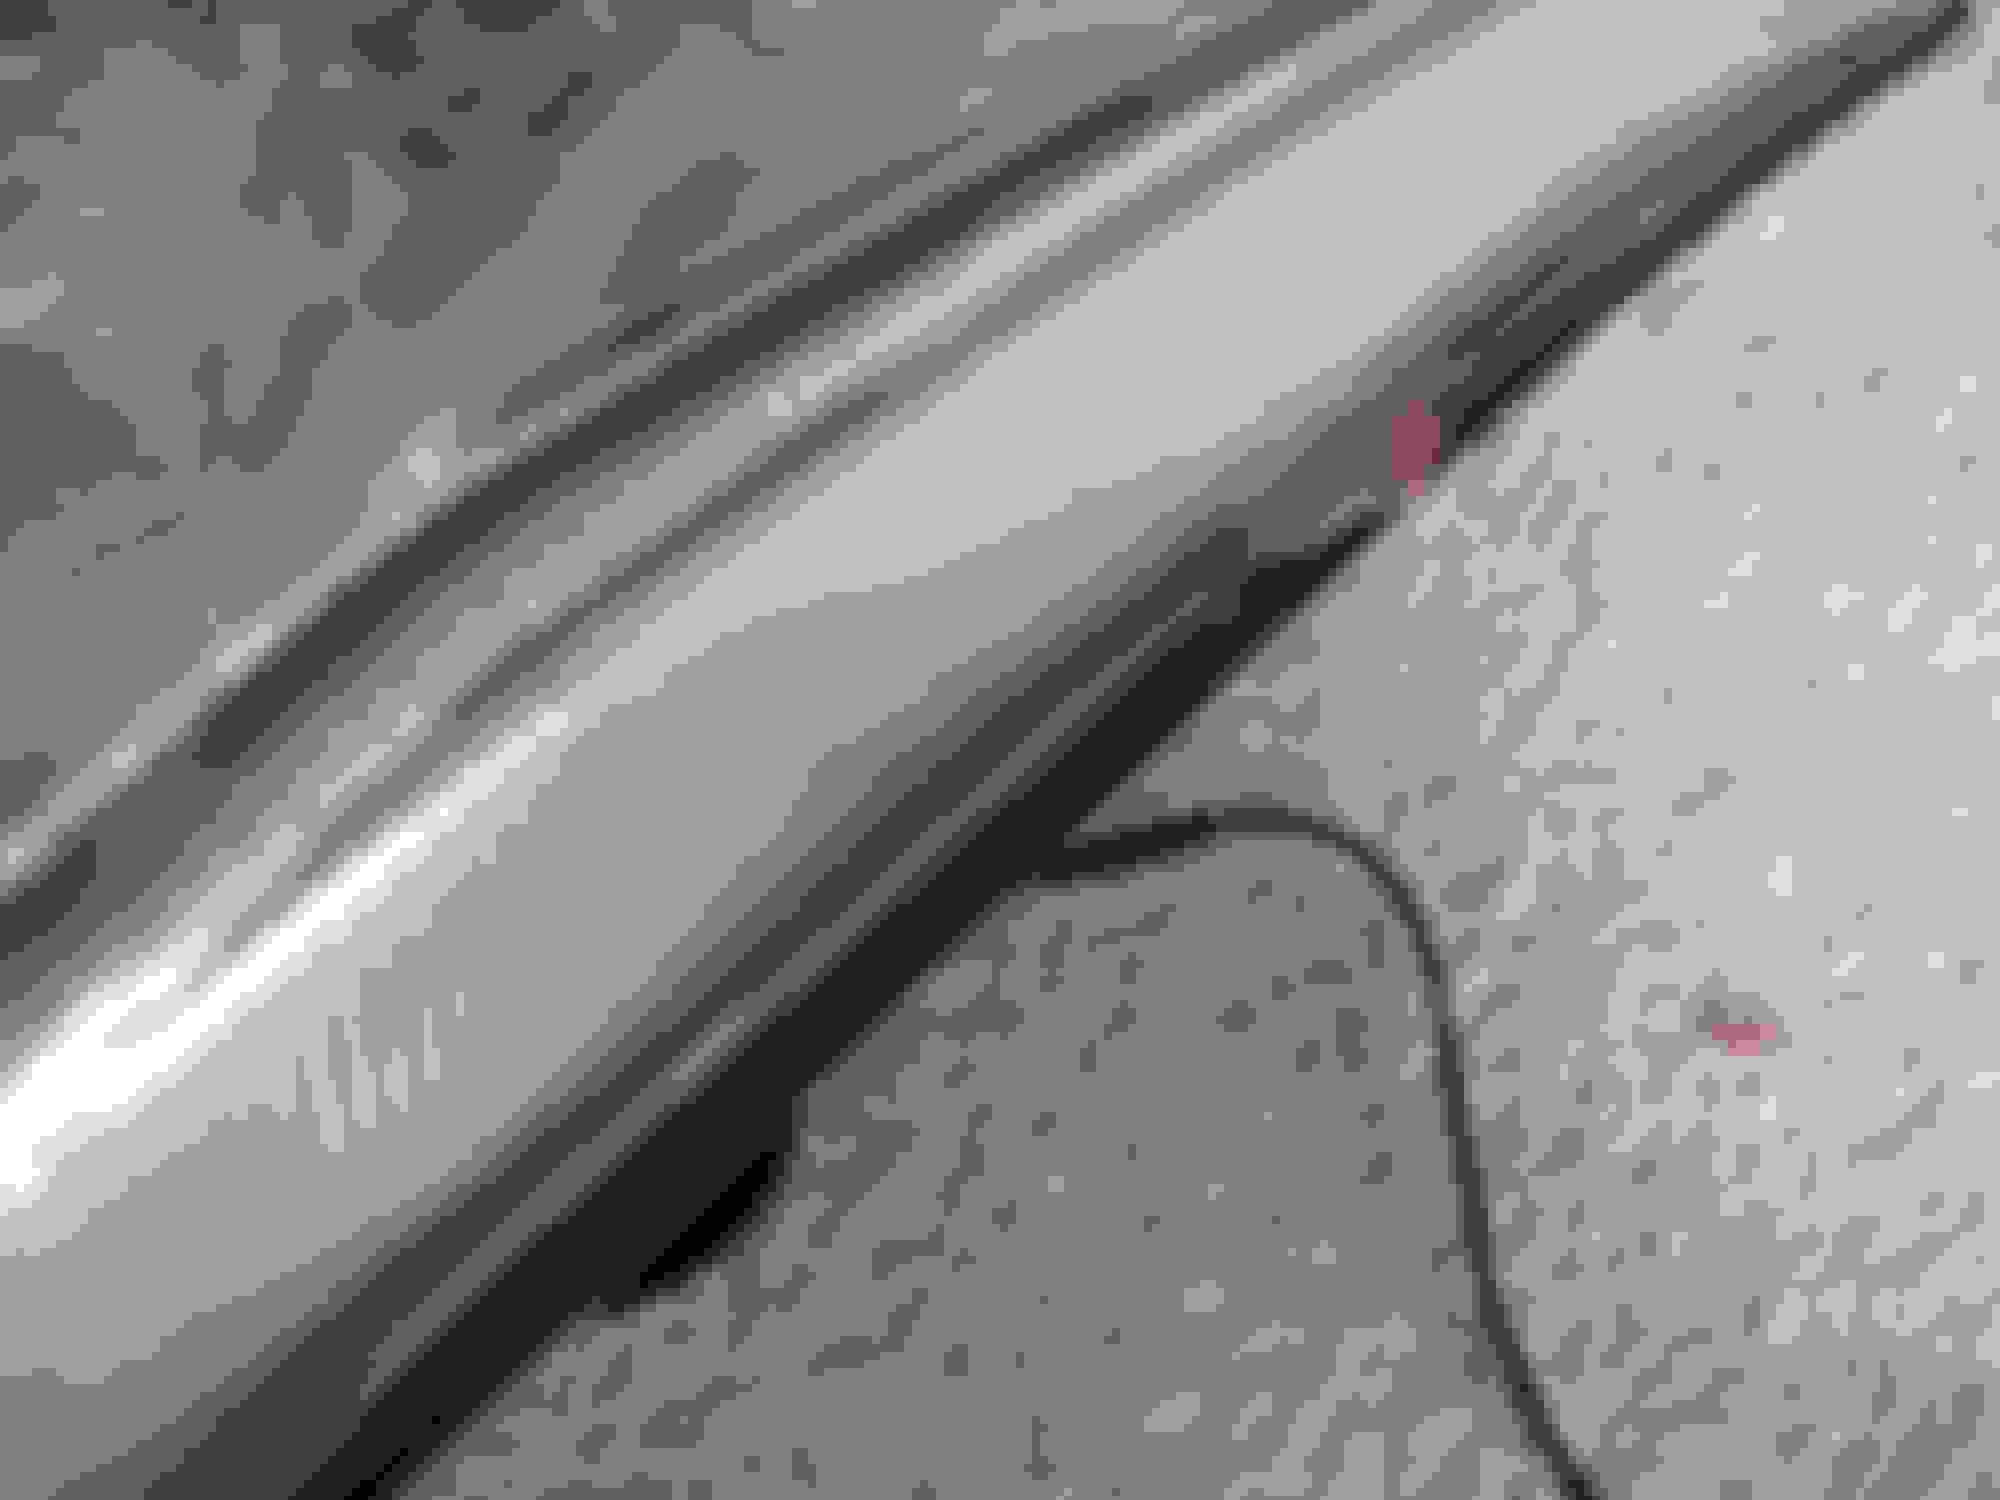
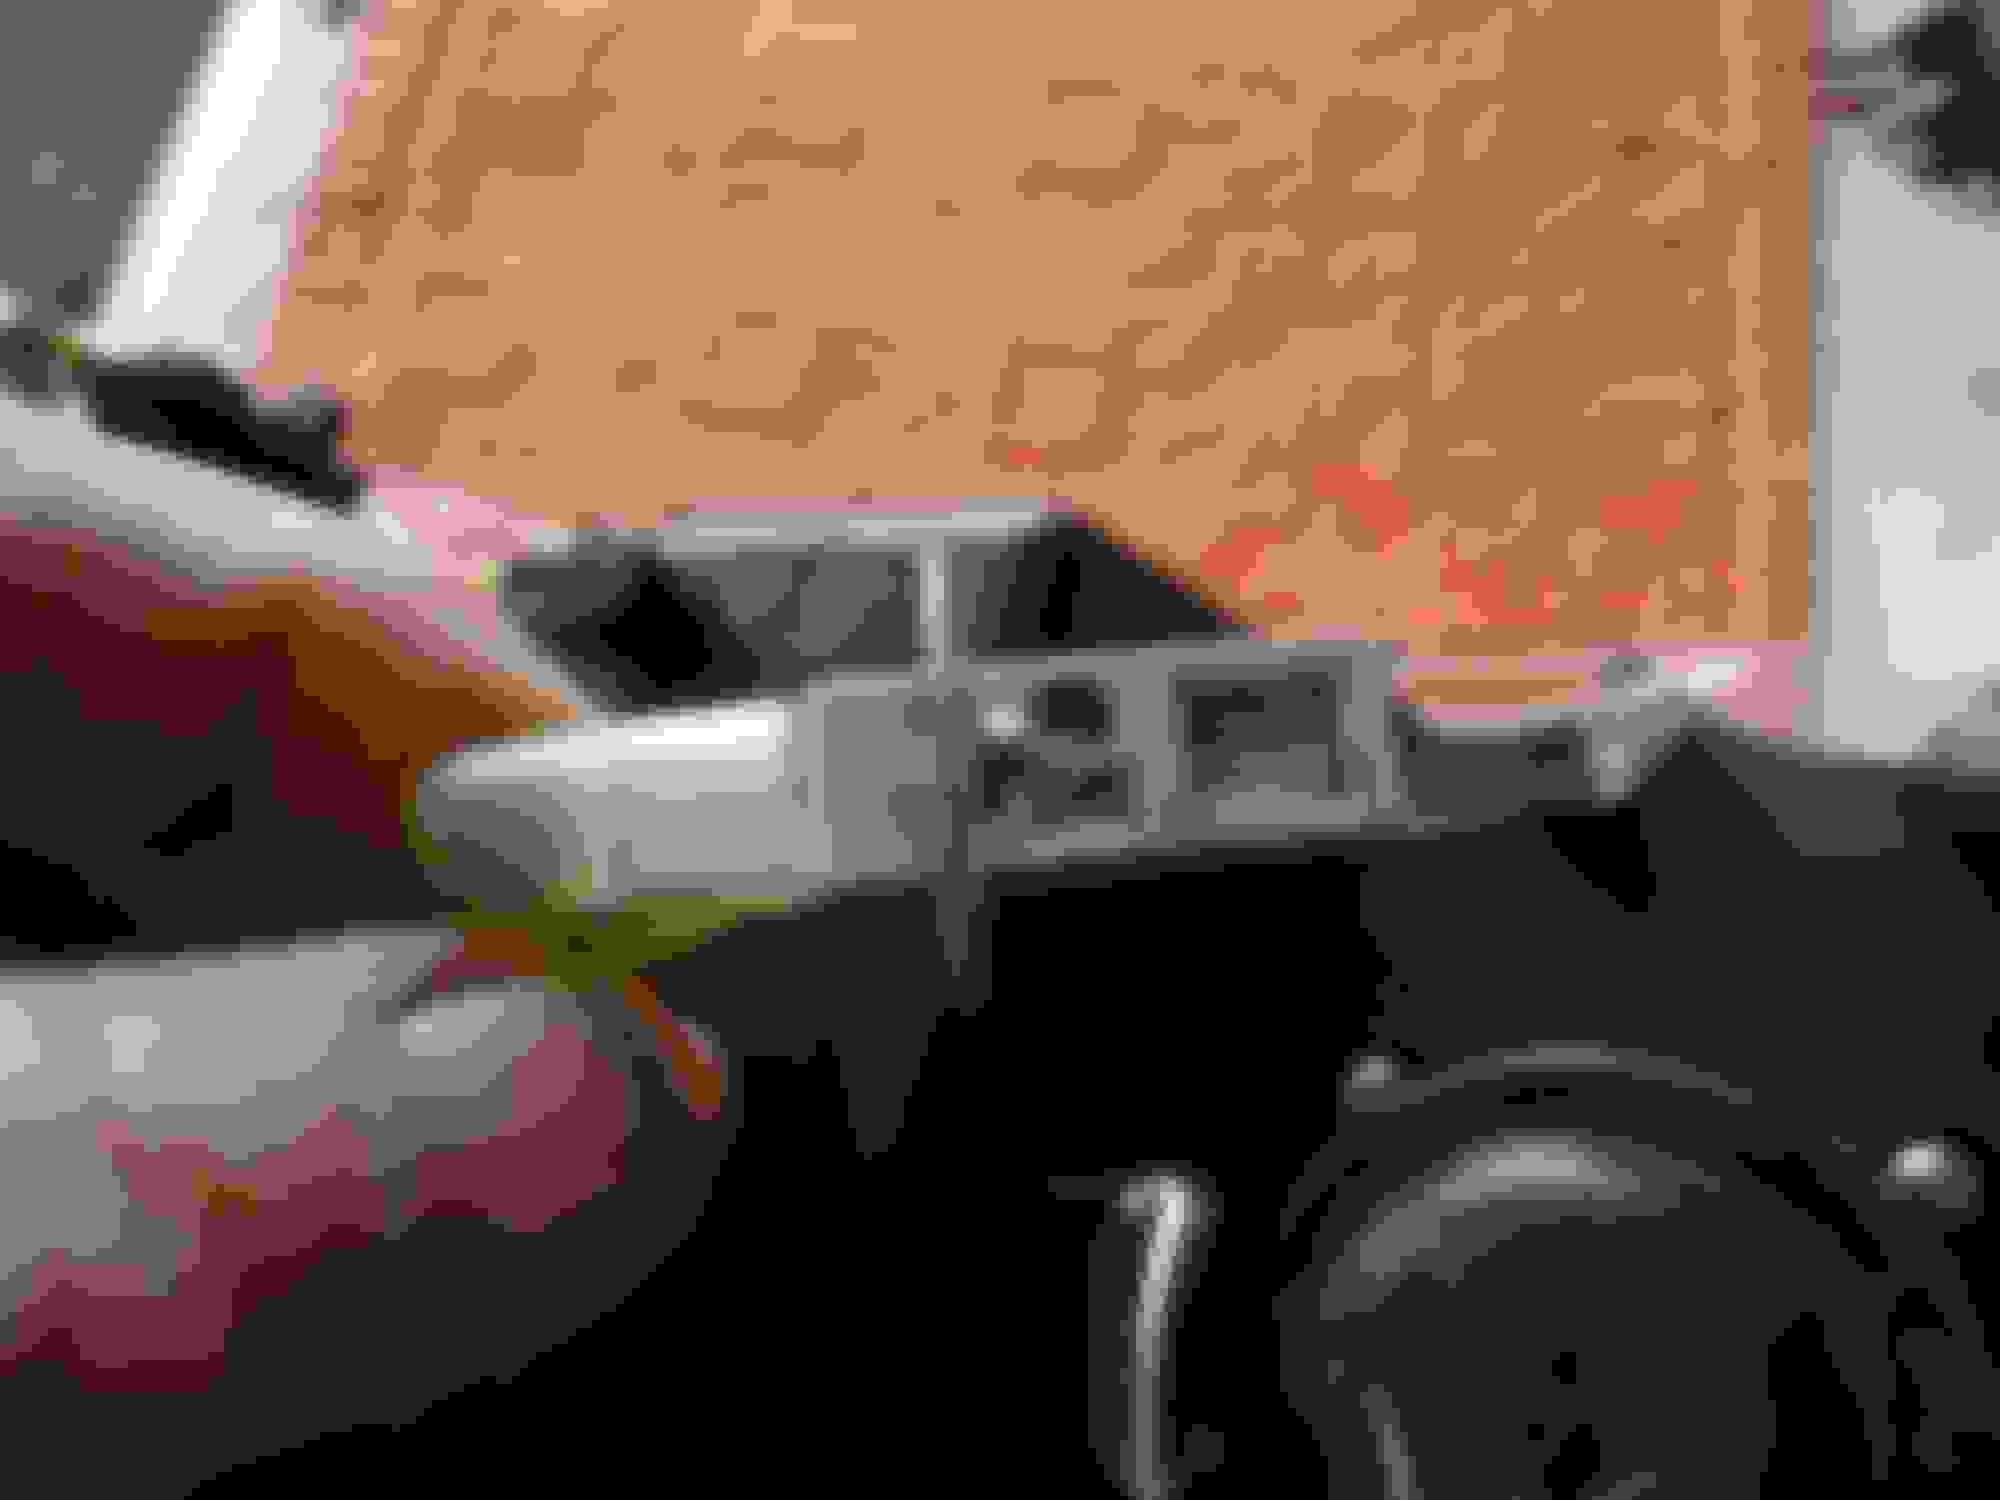
The bulb clearances are, to the projector glass is 4 1/2''
and to the cut off bar is 2 3/4''
In the photos you can see the cut off bar , i think the HID bulbs will fit.
Blue, I cannot see any big issues there at all.
Points to note:
1) HID bulb colours? In order to get a good light frequency spread I'd be inclined to run a combination like 4300K low and 5000k highs - keeping lowish in the frequency range helps keep the light not overtly HID (i.e blue tinge);
2) as mentioned before - HIDs take some seconds to ignite from cold - to that end you'll want a diode bridge from your high to low so that the lows stay on with high (but the highs obviously don't stay on with lows);
3) Wiring - the HIDs come with their own plugs - which can be unplugged to remove the light. To this end you could remove all the existing plugs and hardwire the stock wiring to the ballast triggers, the ballast power coming directly from the nearest battery.
Can't wait to see them installed and hear your thoughts. They look the real deal - I'll be pulling the trigger on the Buckzooka for a set of these once I pay off the hole from my beach-time!
Yes i will keep you informed , i have ordered some bulbs , don't know about the diode bridge because the wires from the HID kits are a bit different to the stock wiring for lights.
The Diode bridge I'm talking about would be on the 12V (pre ballast) side of the HID wiring. Essentially it is buying a diode from Jaycar and connecting it, in the correct orientation, between the stock high beam wire to the stock low beam wire.
As diodes only let the electricty flow one way through, this will result in the high beam wire 'triggering' the low beam HID. But when low beam is on no electricity will run up the diode to 'trigger' high beam.
In my truck I have the stock wiring running relays to switch power to the lights. I would merely solder a diode from the high beam wire to the low beam wire - the relays would run the ballasts. It would sort of relays running relays running lights.
I would NOT change any wiring between the HID ballast and the bulbs - due to high voltage, noting that modern ballasts running high AC output.
What Simon said, and get yourself diodes with at least a 10A rating.
Hi Blue, if those are 55W H1 bulbs, you could just fit the lights and plug them into your stock wiring to see how they aim and spread light before you start working with the HIDS side of the equation. The stock wiring is good for 60W per side.
 11-15-2014, 02:49 PM