When you click on links to various merchants on this site and make a purchase, this can result in this site earning a commission. Affiliate programs and affiliations include, but are not limited to, the eBay Partner Network.
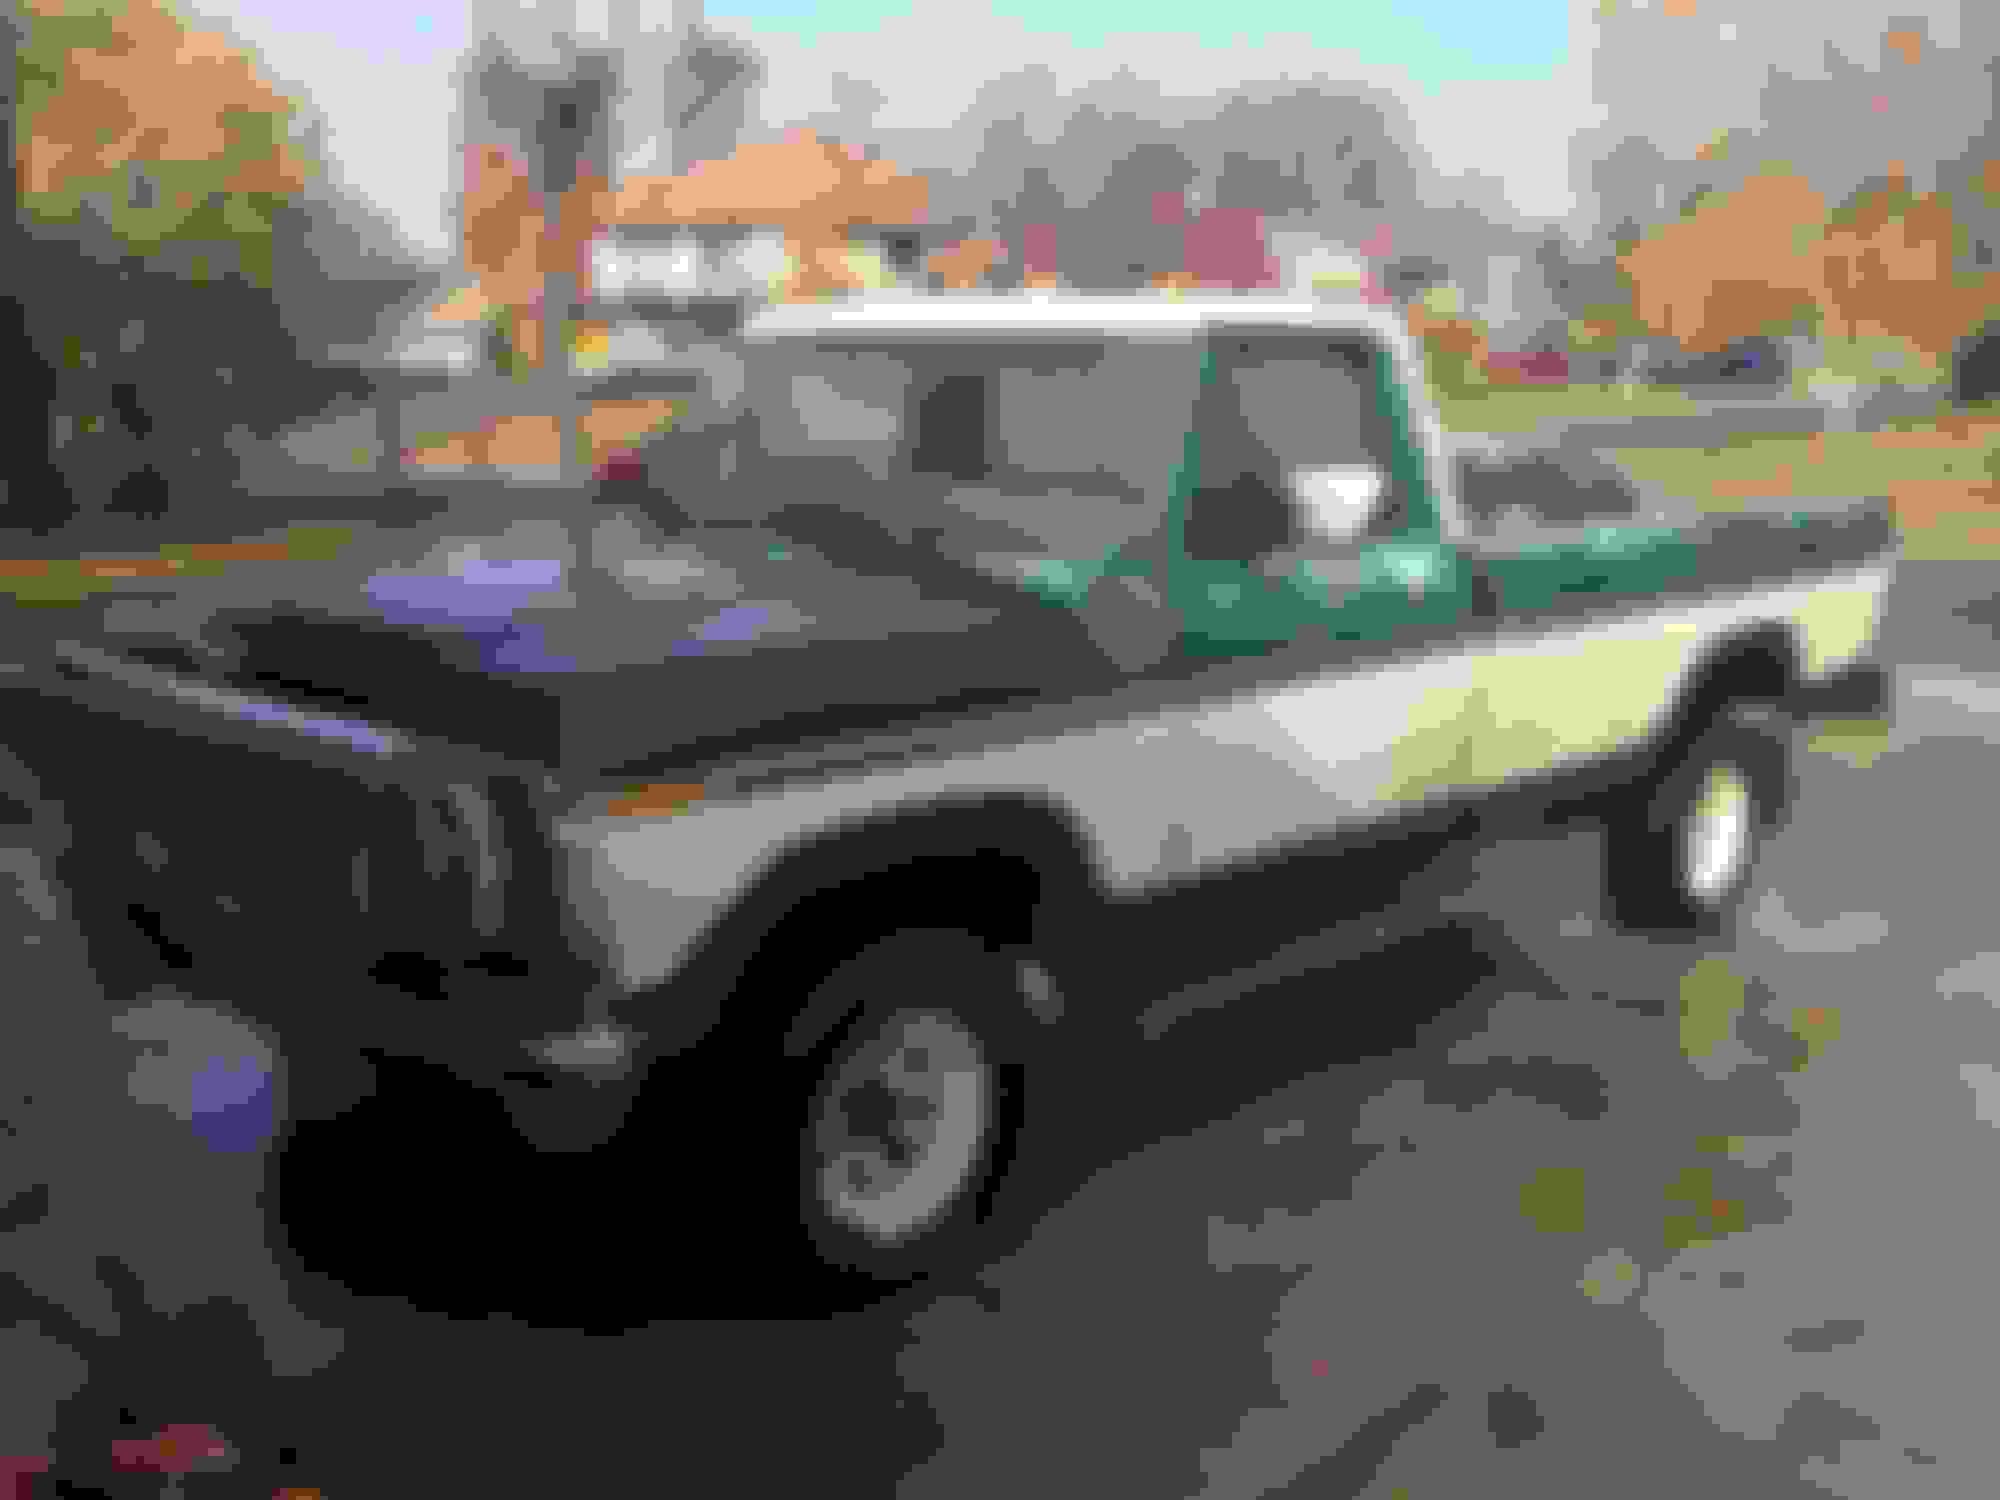
I recently purchased my first truck, a 1979 F150 Ranger 4x4 automatic with a 400. The Truck has 130k miles and I believe has been a farm truck for most of its life. The PO redid the wheel bearings, tie rods, new tires, had a mechanic make all the lights work, and a carb kit. So far I've only driven it around the block and a couple miles to the car wash and she seems to run pretty well other than it idles a bit high.
My plan for the truck is to fix it up so it runs well and looks nice, but since I'm in college, keep the cost down as much as I can. I will be doing 99% of the work on my own with occasional help from my father.
Unfortunately since I'm away at school, and my truck is being kept back home (3 hours away), I will only be able to work on it when I have time off of school. Progress will be slow but I will enjoy every minute of it, despite the snags that I am bound to run into along the way .
I will be learning as I go for a lot of the work I do, so I'm looking forward to the help from everyone on FTE.
Here is what the truck looked like the day I bought it.
Some surface rust on the passenger door and the bed rails are dented up pretty good.
Seats pretty ripped up on the drivers side, the passenger side is in good condition.
Needs new door panels.
The only place that is rusted through on the body is a little bit on the drivers side rear fender
I spent the weekend cleaning the truck inside and out. Everything was covered in what seemed like 30 years of dirt road.
I removed the floor mat and insulation under it. I also took the seat out and cleaned up the entire cab floor as much as I could.
I also did a bit of a tune up on the engine (not much) just to see if it would run a little better. I replaced the distributor cap and rotor, spark plugs, and valve cover seals.
This Picture is what the cab floor looked like after I removed the floor mat, insulation and seat and vacuumed a bit. (forgot to take a picture after I washed the floor)
You can see there's a good sized bulge on the drivers side floor pan. I'm guessing the drive shaft broke at one point and smashed into the cab floor. I beat most of it down with a hammer, there's just a couple of wrinkles there now.
Found out that my truck is no exception to the very common floor pan rust
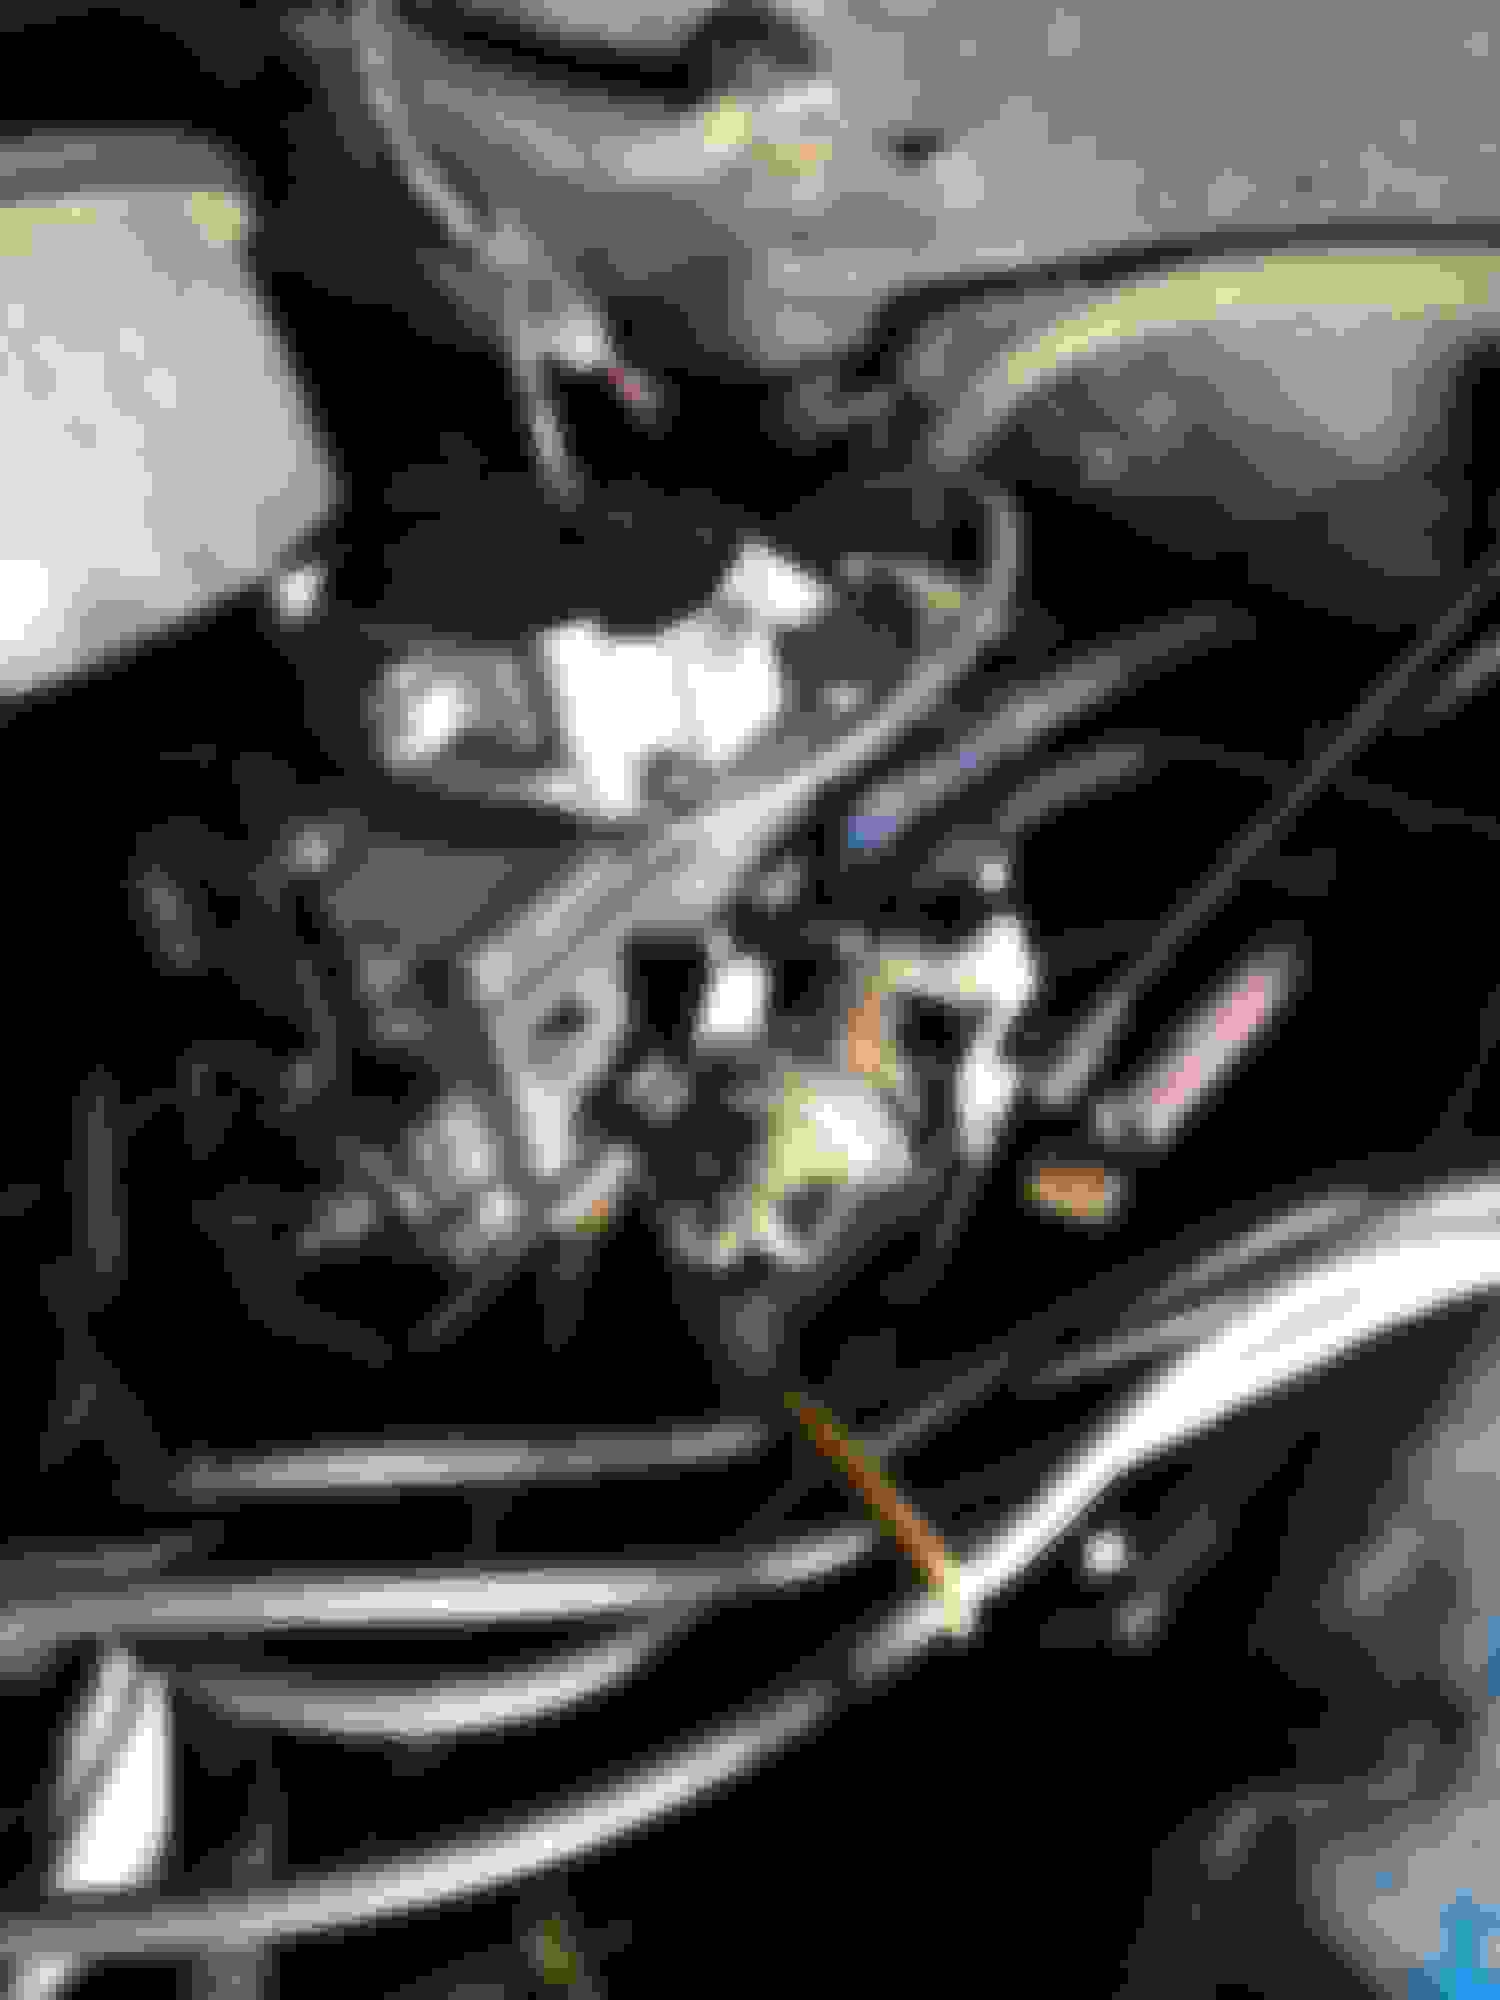
I spent a little bit of time tinkering on the truck tonight. I wanted to see if I could get it to idle a little better (currently idles at high rpm, *estimate 2000*).
I tinkered with the idle screw on the carb while the truck was running and I couldn't get the rpm to go down. Even when the idle screw was all the way backed out.
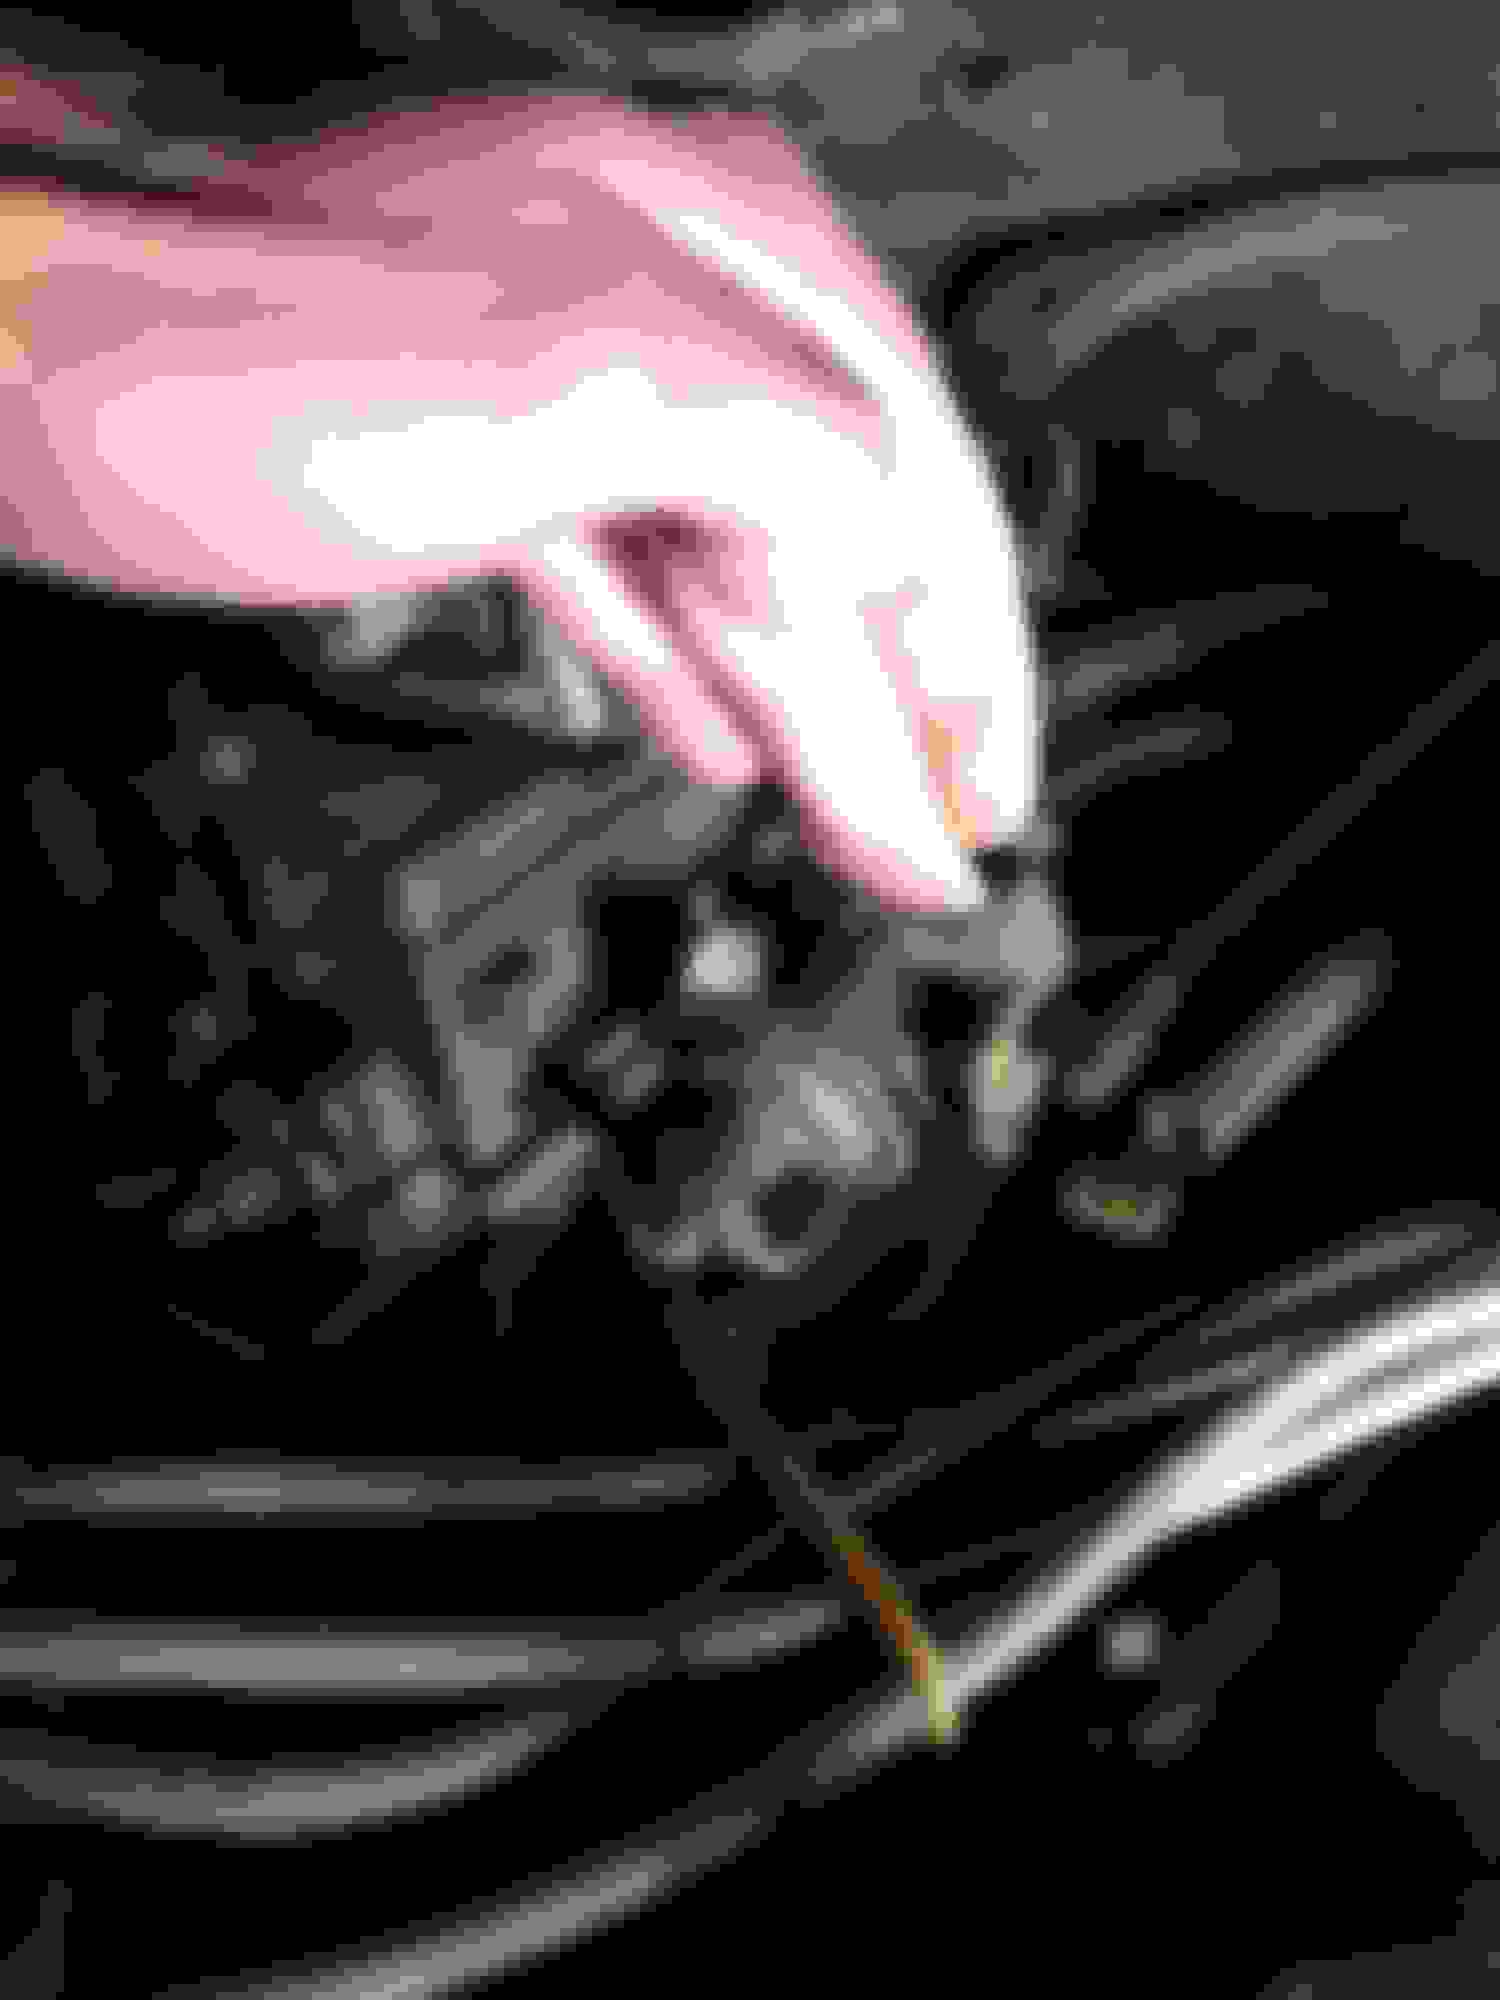
The only way that I could get the rpm's to drop was to pull the throttle linkage shut with my finger (see pic 2)
Does anyone know what the problem is and how I can fix this?
welcome to FTE, nice little ride you have there, looks 100% better after you hit it with the power washer. working on one of these old trucks is just as fun as driving one, glad to see that your keeping another dentside alive and on the road. good luck kid, it will all be worth it in the end.
I've had a little bit of time to work on my truck since I've been off school for the holidays so I figured its time for an update.
First off, as a Christmas present, my parents brought my truck to our mechanic and had him get it running and idling better. What a great gift! So now all of my carb issues are taken care of
Now on to what I've done recently:
I took off the running boards and the grille guard and I think my truck looks a lot better without them.
Thanks to 77&79F250 I was able to get a few parts that I needed. including the rest of the FORD letters on my hood
I dug into the steering column to address the following issues: turn signal not locking in for right turns, wobbly steering wheel, and tilt not working properly.
Fortunately I was able to fix the nonworking tilt column with a bit of lubing oil and a small lever modification. I works great now.
I was also able to fix the wobbly steering wheel problem by re-inserting a pin that had backed out of the side of the column.
Lastly I was able to diagnose the blinker problem but I do not know where I can get a replacement part for it. The top tab is broken off of the blinker piece (I don't know what its called). Anyone know where I can get one of these?
The last notable thing that I've done this week is repaint my F150 RANGER emblems and they turned out great.
Before:
During:
After:
I love how the emblems turned out.
That's pretty much what I've accomplished since I came home for break. Hopefully I can get a lot more done before I go back to school in 2 weeks.
I do have one thing that I could use some input from you guys on. I plan to repaint the truck factory colors and I don't know if I should take all the trim off or just tape it off.
I started taking the trim off yesterday and other than the door trim it's a pretty big pain in the *** to get off without bending it or destroying the clips. not to mention some parts are almost impossible to get at.
As far as the trim on or off it all depends on how well you want the paint job to look in the end. Leaving the trim on and masking it very carefully, so the truck itself get painted is an guicker option.
Yes taking off all the trim is a PITA, a 5/16, 11/32 and 1/4 socket (1/4 drive) will be handy for the removal, then getting it all back on might require you to get new plastic clips.
Cowl badges look good, thanks for the shout out too. You do know I know where a set of door panel just like what you have now (but NOT all busted) are.....
Always love a thread packed with pictures. Looks like you got a great rig for your first truck.
From the sight of all the PO poor wiring hanging under the dash you'll probably want to redo/repair the wiring correctly.
You can get a whole new turn signal switch. Or check the "Help" section in most auto parts stores and they often carry individual little pieces to fix items like that.
The high idle was most likely caused by the Choke's High Idle Cam incorrectly adjusted.
If you want the better paint job then by all means take all the trim off, since you already started to do so I'm unsure why you asked...
As always, I'm excited to watch another one of these great trucks be saved and given loving attention.
Dent trim on the fender is a nut right by the park light and the other end then 3 clips in the middle. Take your time and work it off, try to not spread it out, clips slip on the rivets.
Doors same way...3 plastic clips, nut on each end. Bed trim just lots of patience...
Race trac is alot of nuts and some press in clips. Plastic clips also, like the doors and fenders, but smaller. Take out the taillight to get to the nuts come reinstall time....of course the tail lights should be out for paint anyway right?
Thanks for the tips. I'm having trouble with the dent trim on the fender. I got the nut behind the door and the 3 clips but I can't find out how to access the nut on the end towards the front.
Of the door? Just open the door all the way and use a 1/4 drive ratchet and a swivel and a short extension.
Or on the fender? Do you have the inner fenderwell plastic liner still installed? Remove the park lens assembly to get every possible thing out of the way.
You will be tempted to just pull it, thinking it will slide off, but the end of the trim is crimped.
I am 99% sure there is a nut on that end?? Let me go look at a fender real quick.

 10-27-2014, 06:44 PM

 .
.