55 Panel Build
#1
55 Panel Build
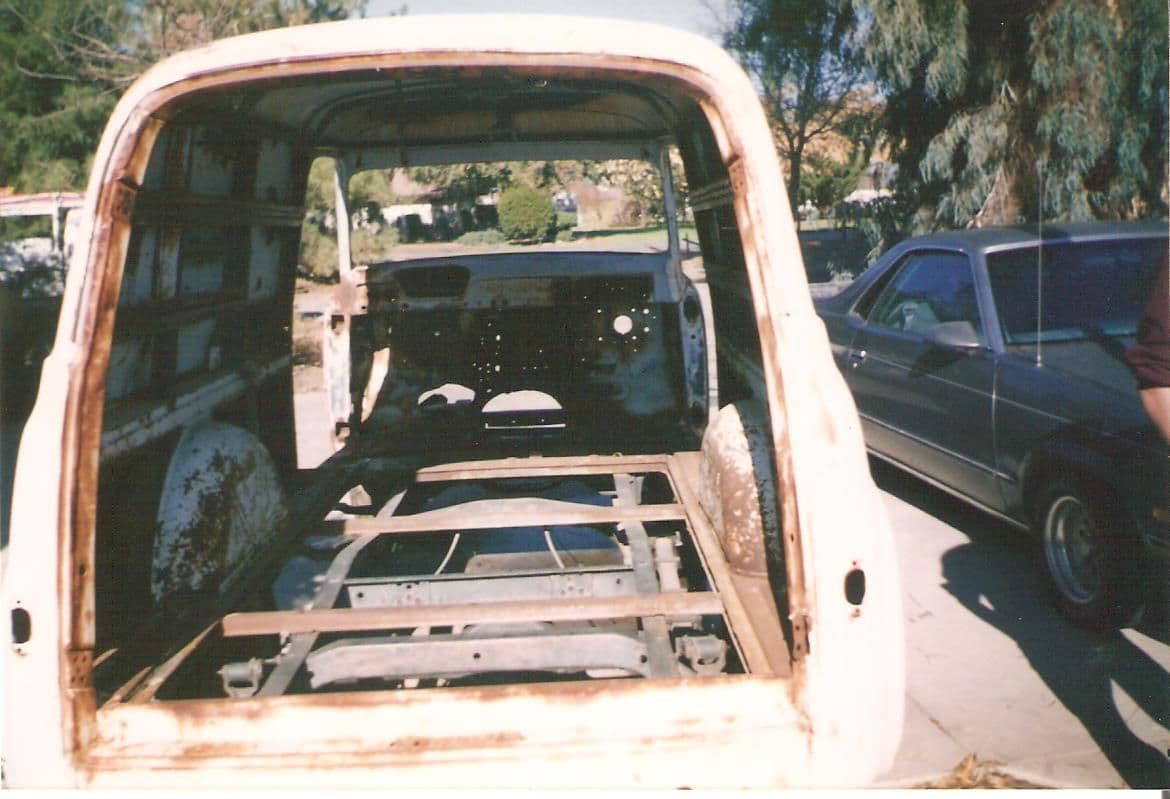
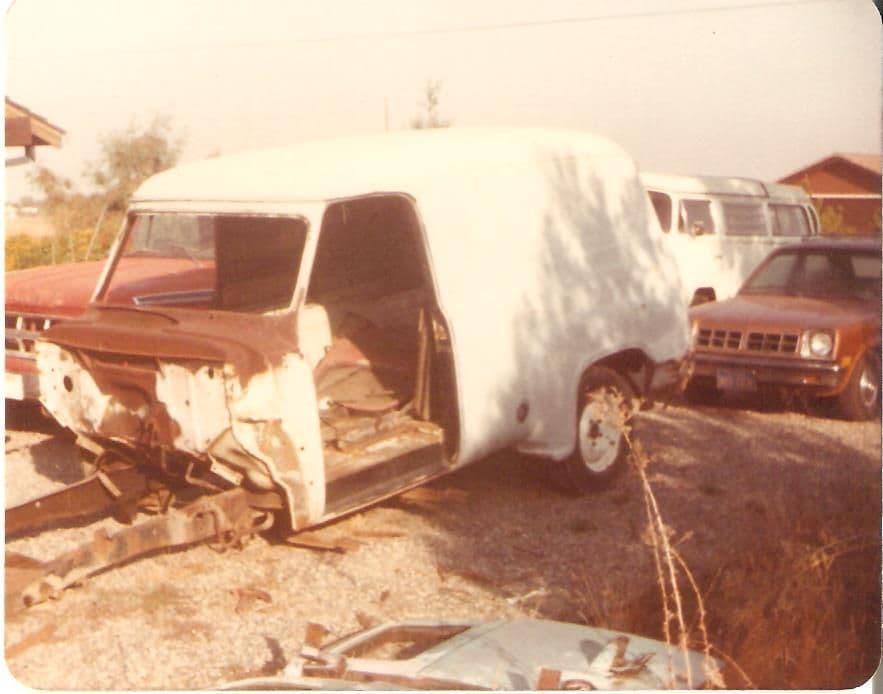
Two pictures of the day I brought it home in 1981. My significant others first words were you paid what, than called me nuts.
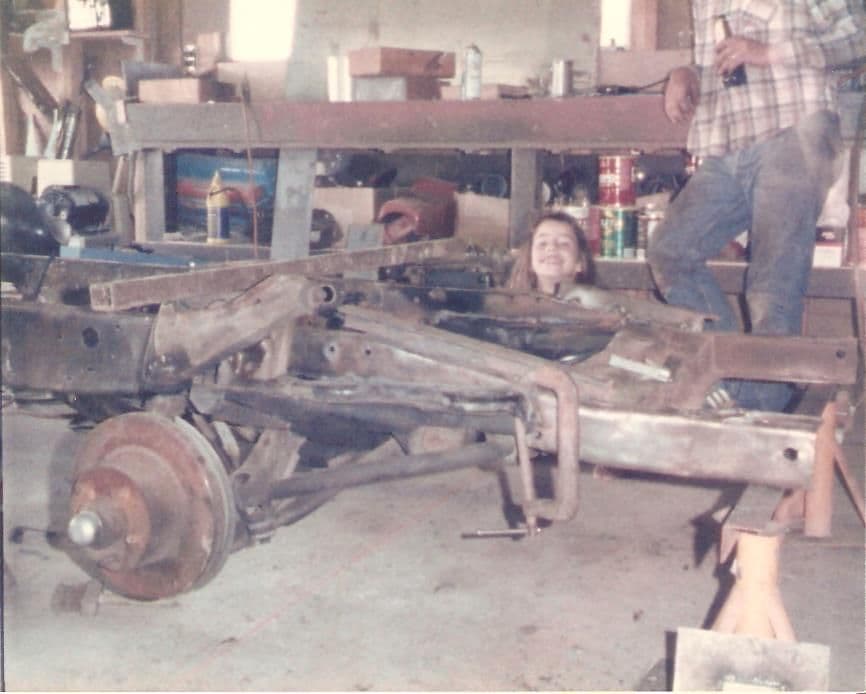
The other is od my daughter and myself installing the Aspen front clip, that was a good day.
This build has taken along time on my part for alot of reasons kids raising, college bills and of course work. Retired now so devoting more time.
Can't figure out how to put pictures in in the order of build so will do this in a series of posts. Not very computer savy, I am lucky to know how to post pictures
#2
#3
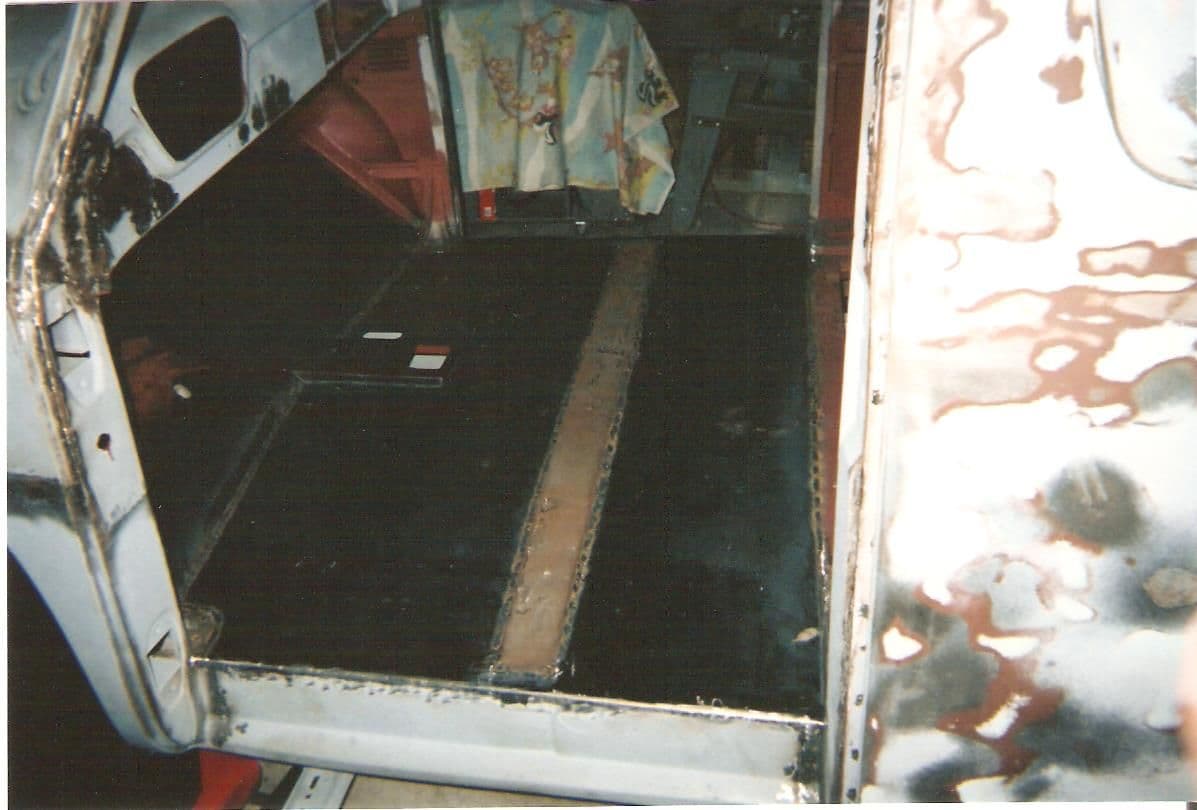
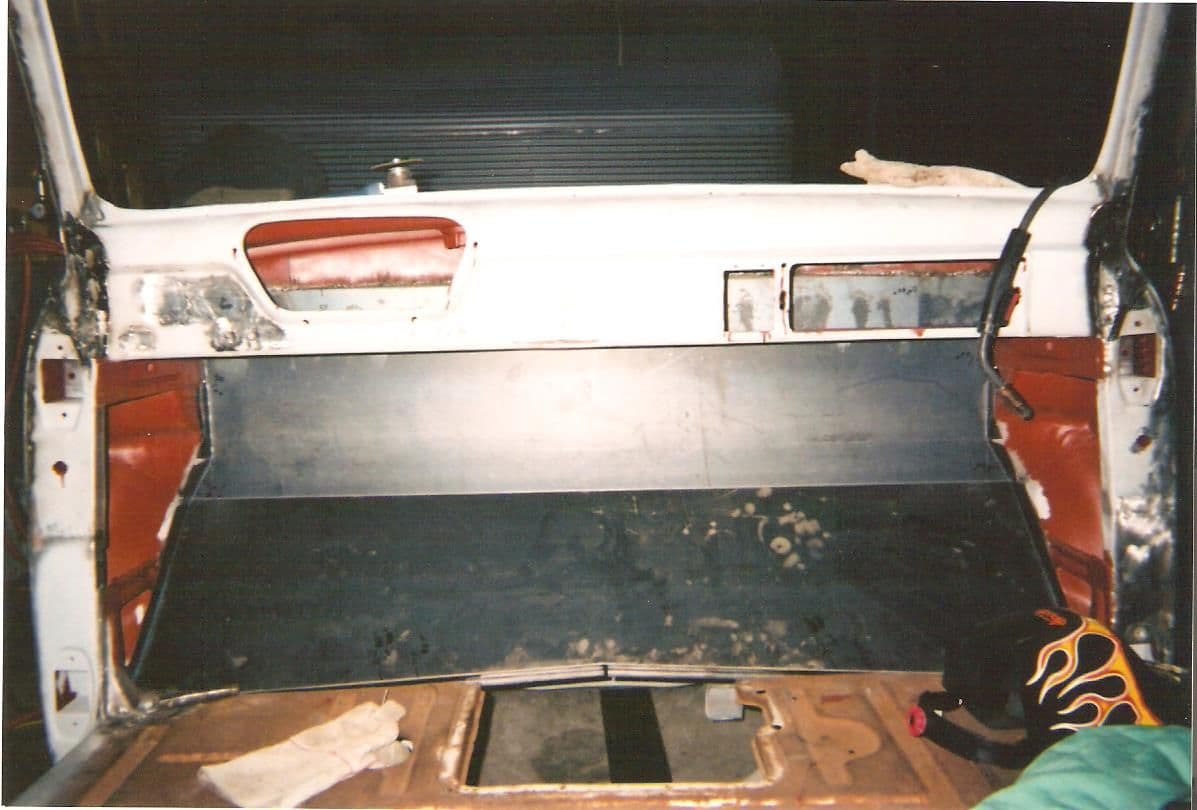
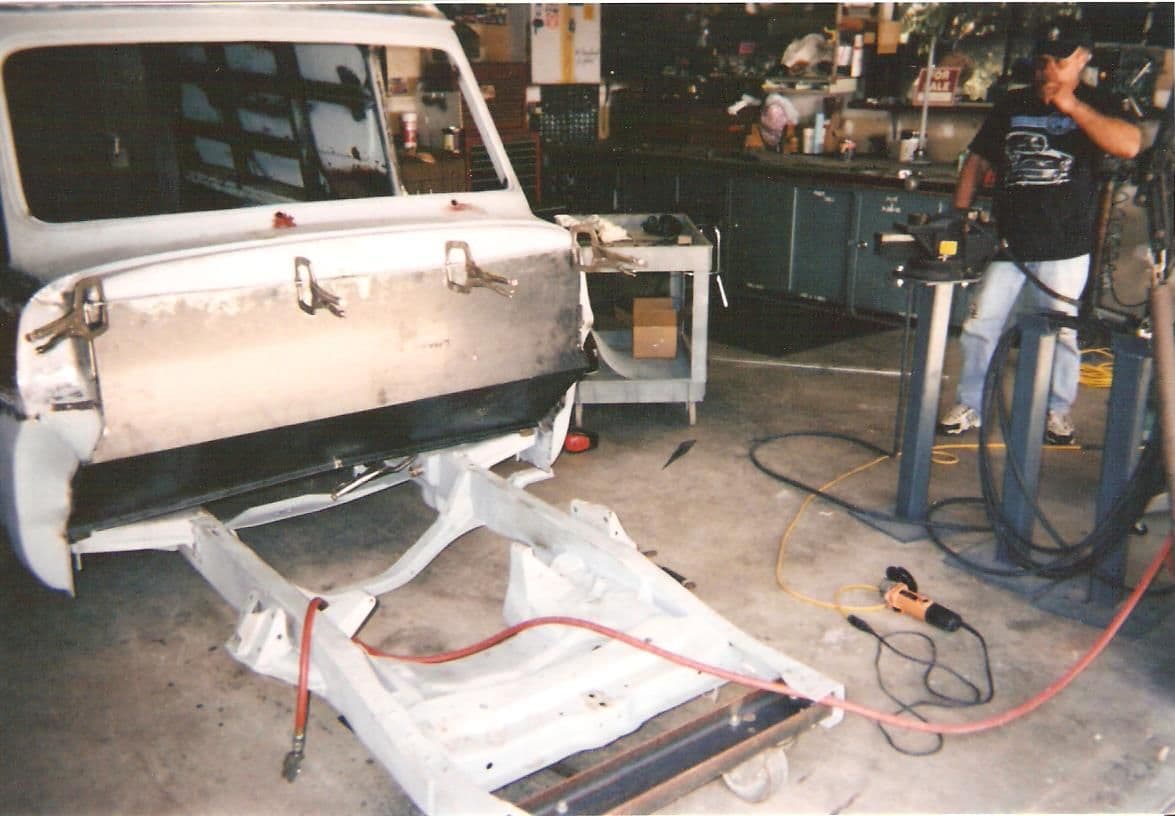
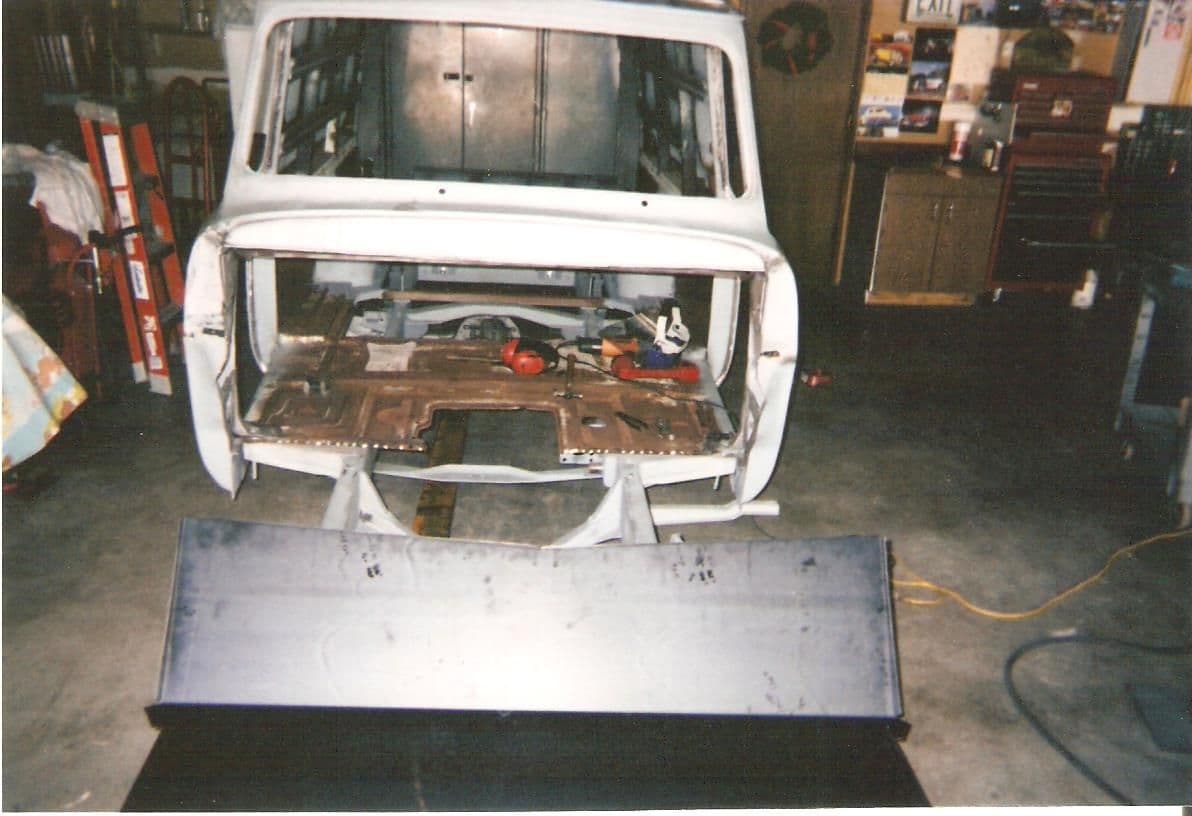
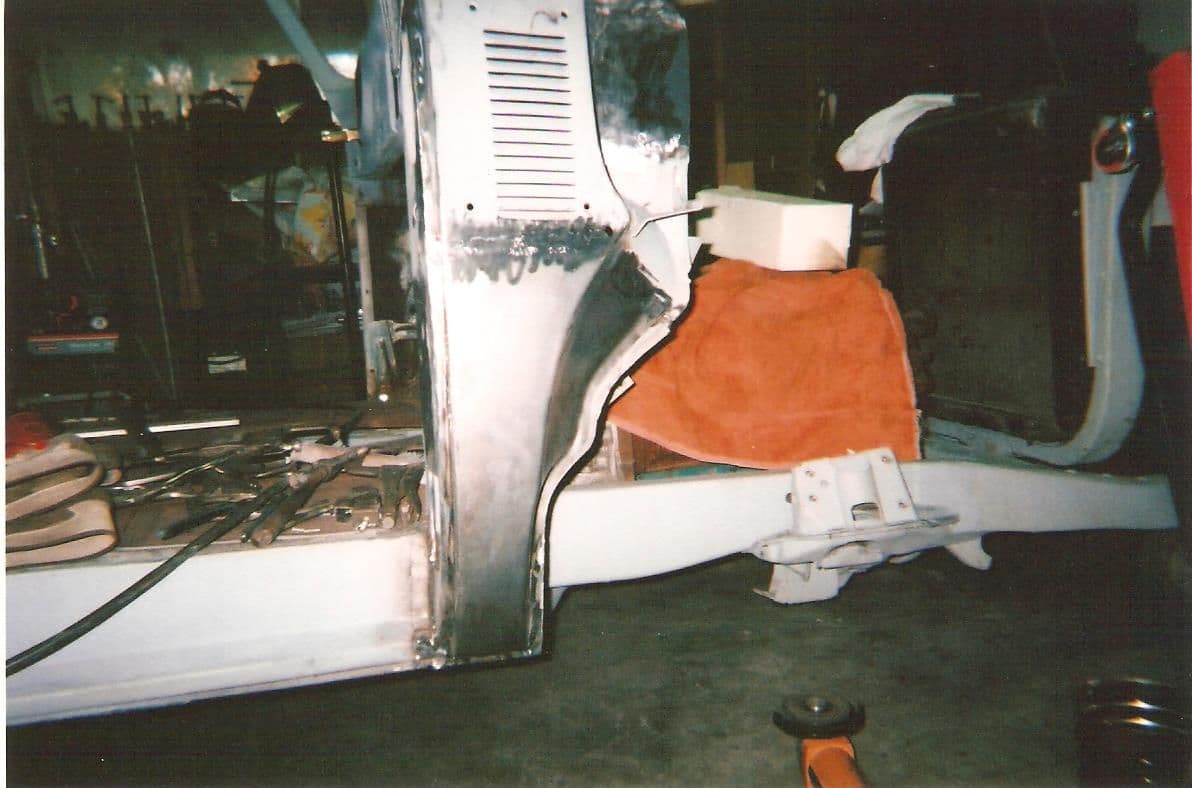
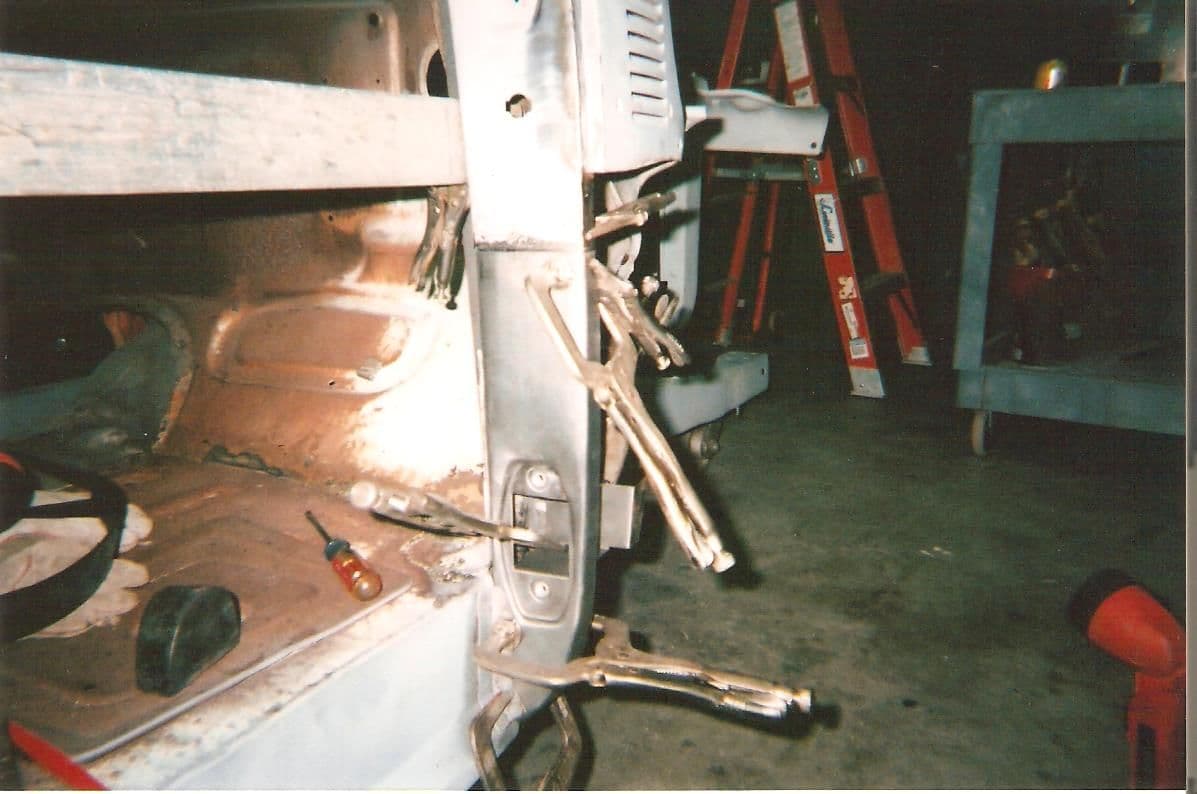
Replacing all the cancer with new metal. all this metal is fabricated by me. I have been a sheet metal worker for 42 years now and my specialty was architectural metal and the welding of light gauge metal. My tig has fallen off because in my final years I was the field superintendent so welding was not my main stay anymore. The actual fitment and final install is the most rewarding to me, to see if my measuring and cuts are right. I am off now will pick this thread up later
#4
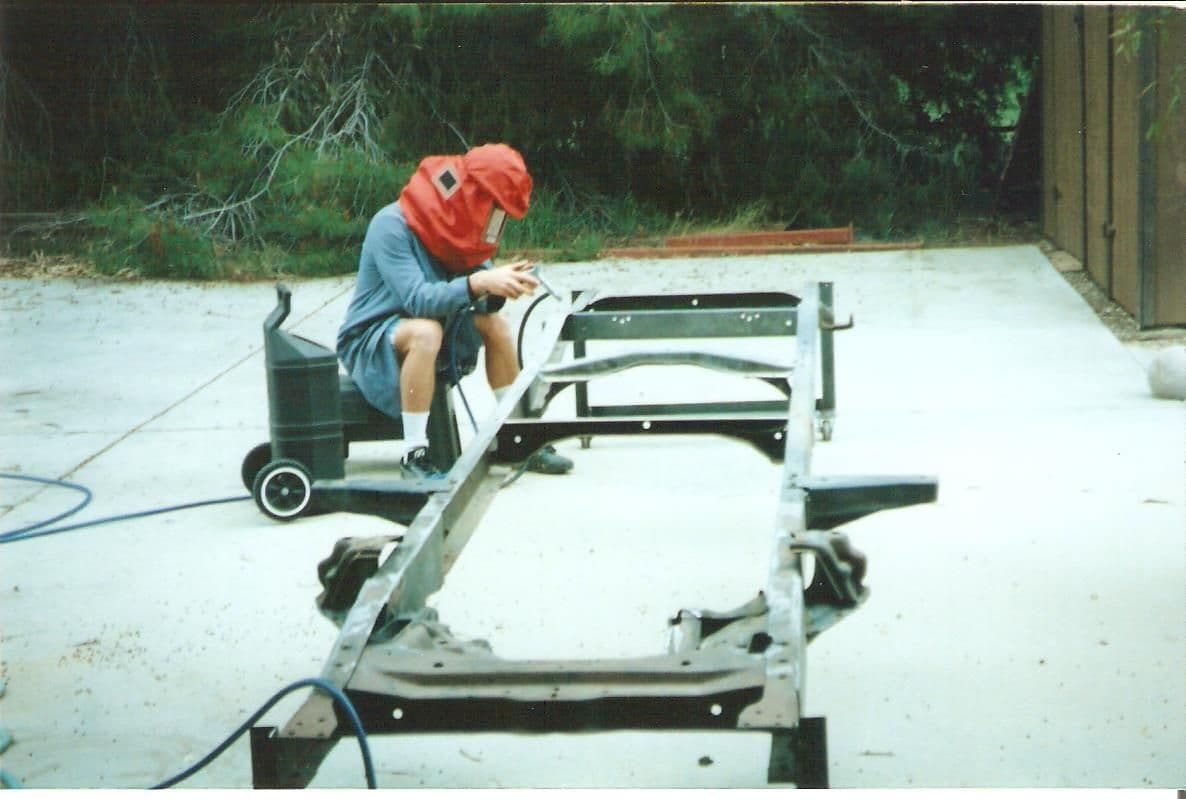
1996
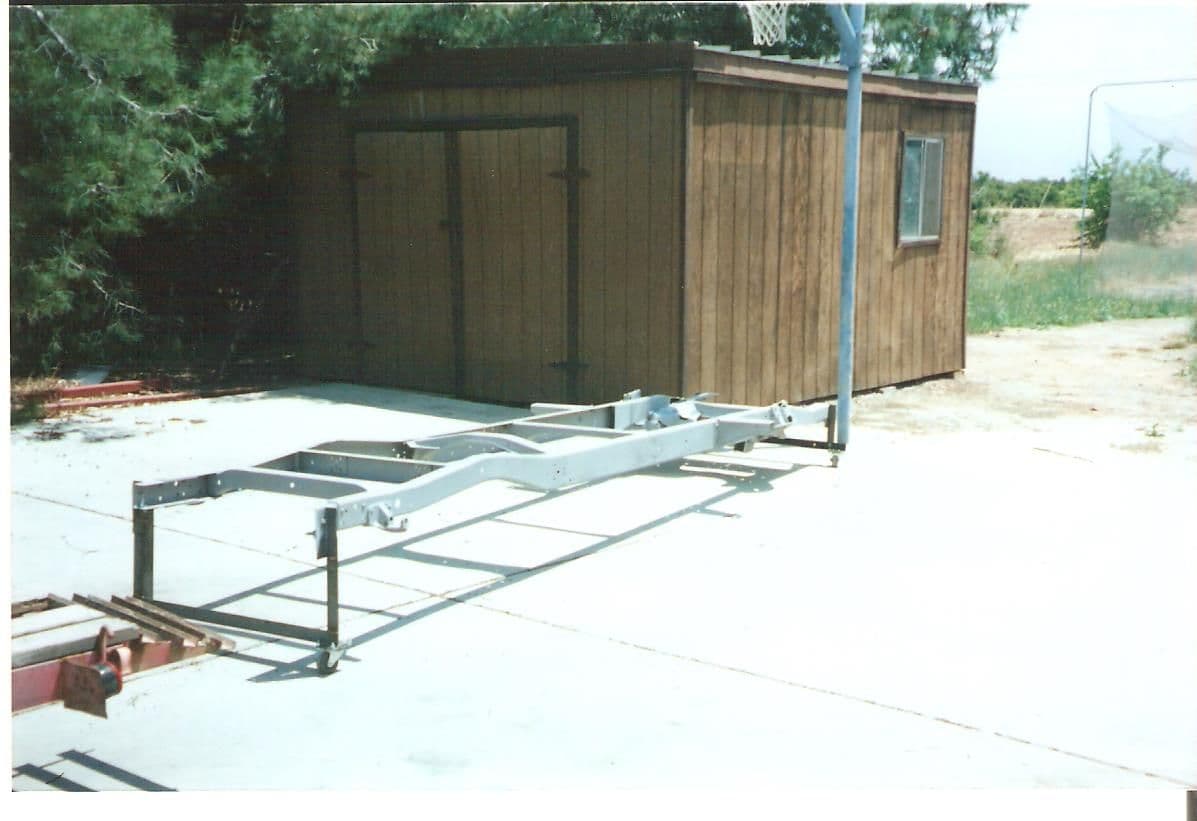
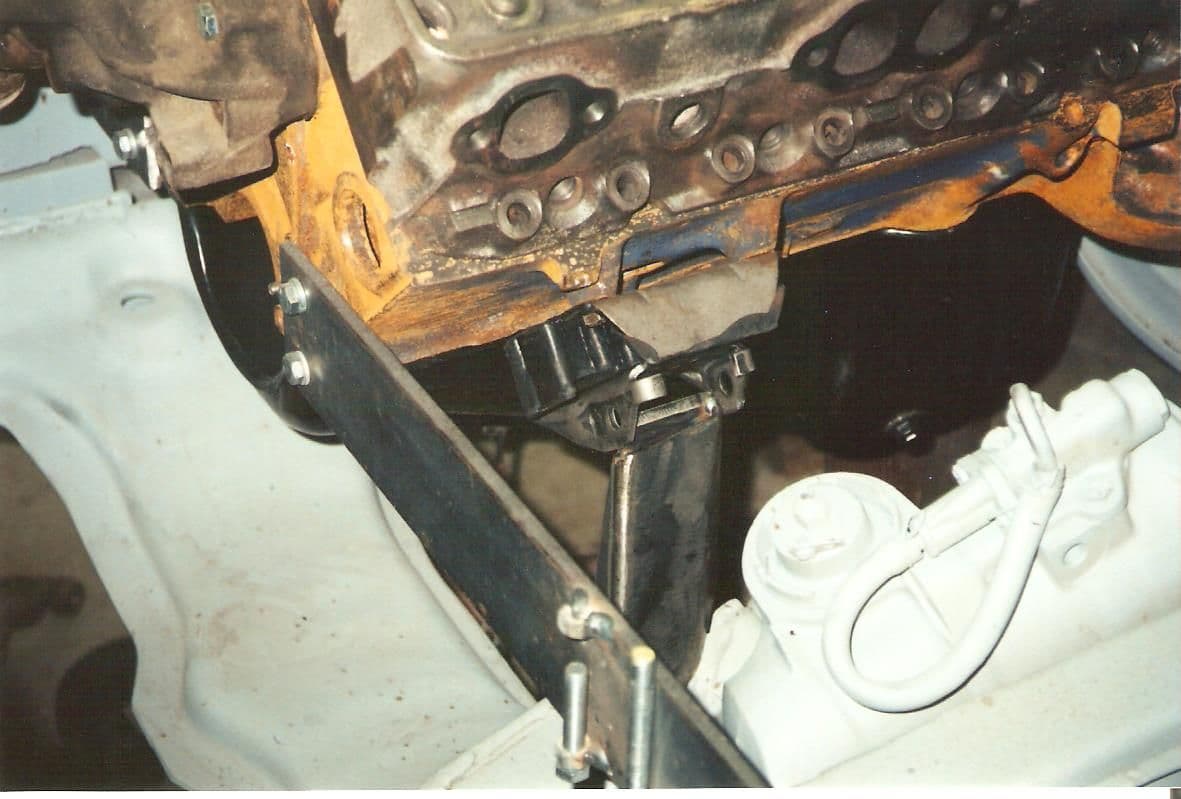
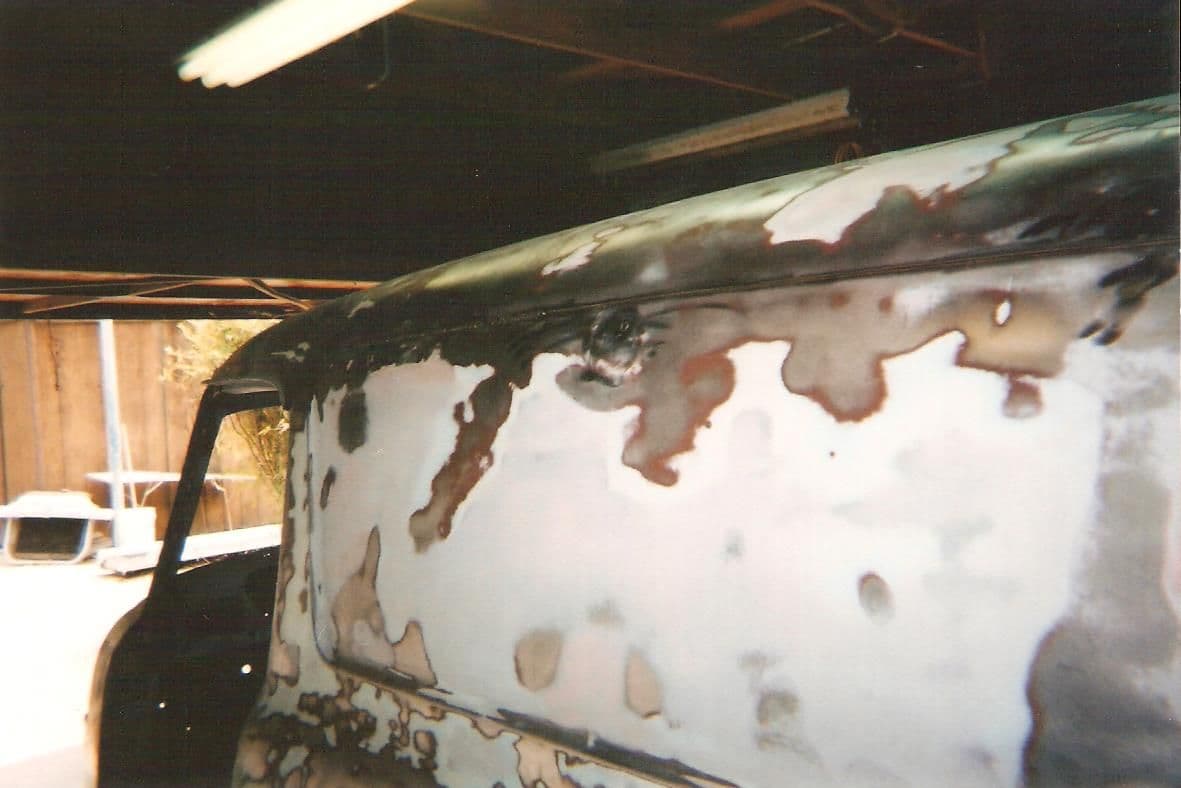
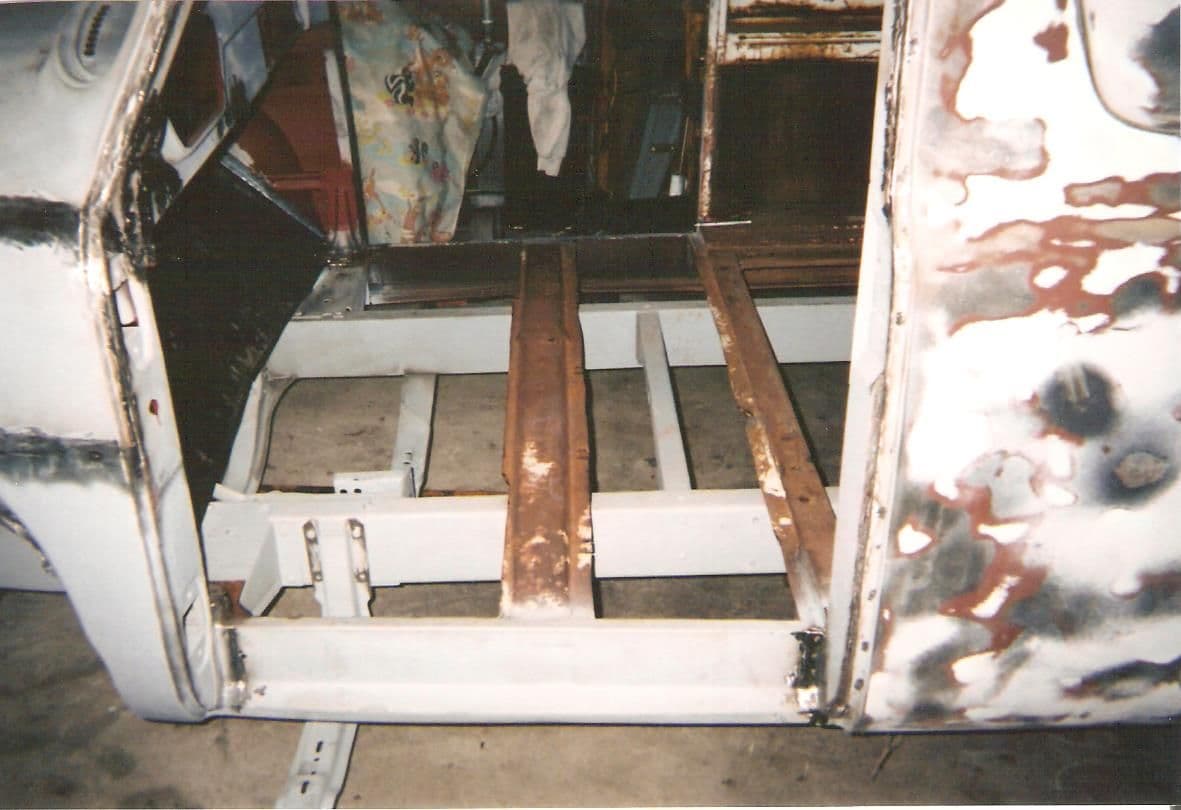
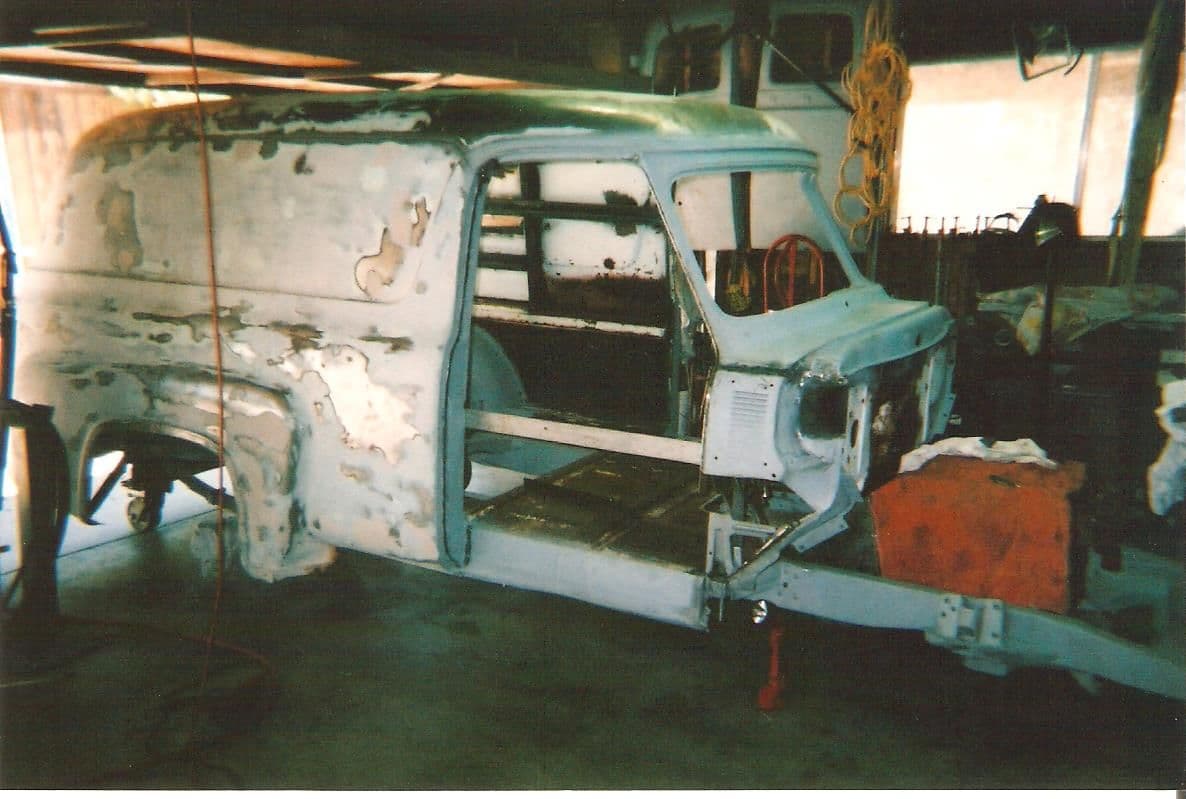
Have to back track here to before I got rid of the cancer. We took the frame out from under and started to sand blast needless to say we did not make it far before we decided to spend some money for a company to blast the frame. I fabbed up motor mount perches and trans cross member. I used weld nuts on all removable parts, running board brackets, rear spring perches, brake components, trans cross member. I then boxed the whole frame. At this time I got a 9" ford rear out of a 64 ford pick up and installed it, this rear has now been changed as will be seen in future post. I than put body back on and started the cancer removal and in the last picture it is hard to see but I started the welding of all seems, my thought was i like the no seam look and it would lessen water penetration in the spot welds.
Trending Topics
#8

One more area of attention was the wheel wells. I knew I was going to run wider rear wheels and tires so decided to add 3 inches to the existing tubs. Cut the wheel well saved the one side and rolled up a pc of 16 ga, I pushed a little here because the existing wheel well has a compound curve and any wider I would have had to find an english wheel. At 3 inches it went rather well and the finish product is hard to pick up the flat. This side is the passenger side
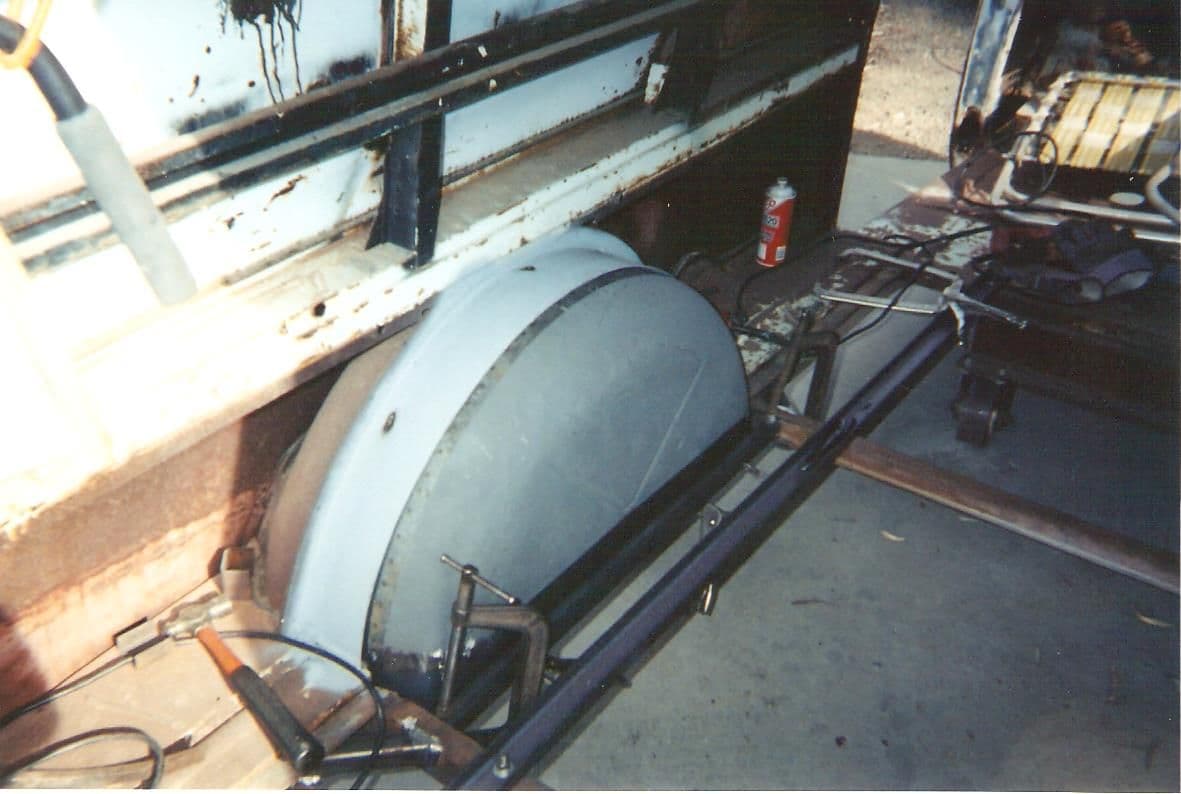
On to the driver side. You will notice the additional pc of metal at the bottom of the tub, I made that pc to accomodate the difference from where the existing tub stopped at the top of the floor frame to the make it to the bottom.
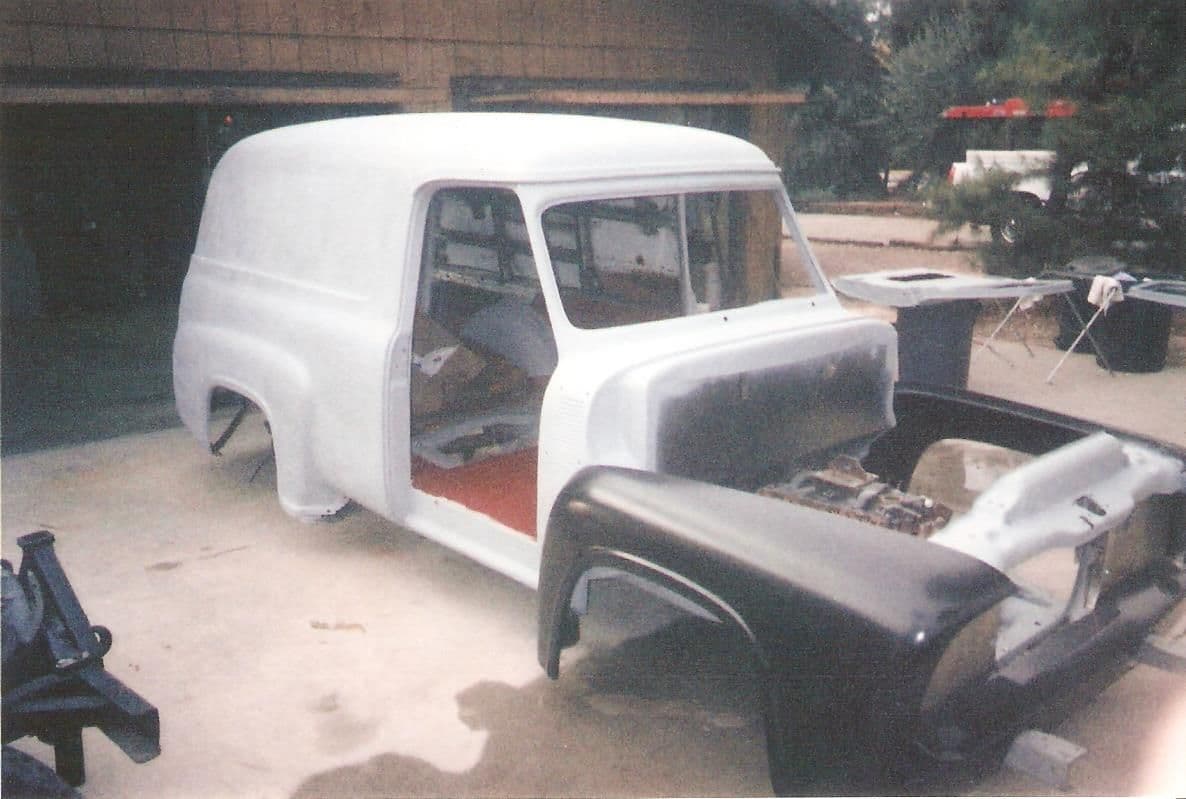
2004 now. In this shot I was starting the fitment process of doors fenders etc. A friend of mine came over and told me about a 33 chevy for cheap, someone elses unfinished project, so off onto another adventure.
#10
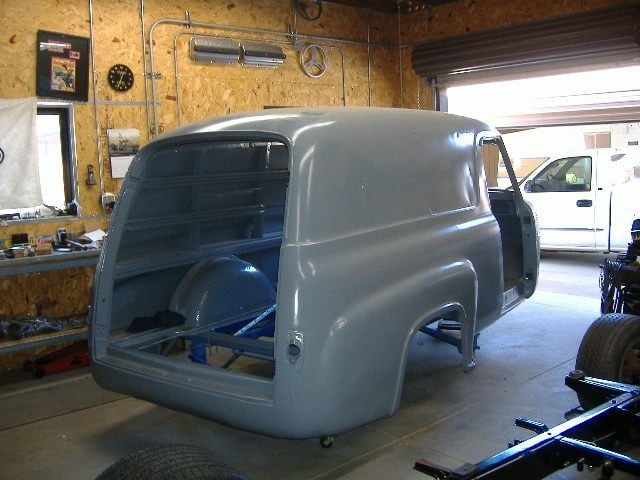
2009-- Finished the 33 that is my signature (at least to a point) and built a new shop. Time just keeps going by. Took the cab and all relevant pcs off frame for the 4th time and sent them to the media blaster. Had them powder coat them while he had it. Did this because the way I work it is hard telling when i will get to the painting of this. this whole process was very reasonable considering what it would have cost me to do it in the driveway. The hammering of dents takes a little longer and have to scuff with 80 before any filler can be applied and any welding you have to get all the powder off around the weld or ya get flashes.
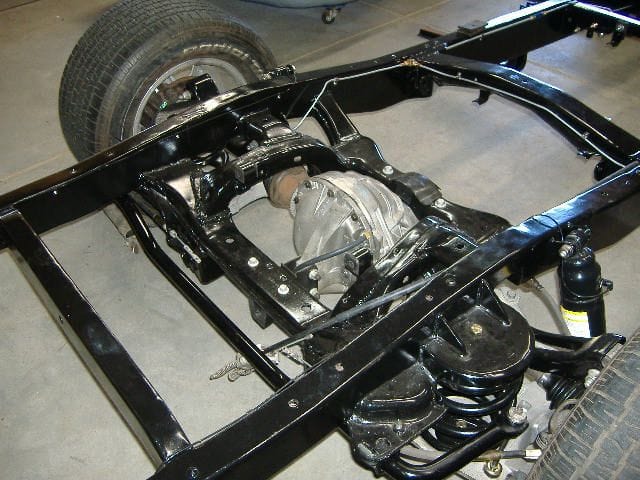
The frame was then jigged up on a jig table I have and the new rear was installed, remember it had a 9" before. A friend was doing one in a chevy pick-up and I kind of picked up on it. The rear is out of a 96 Lincoln Mark VIII. I changed the 3/4 rear sway to a 1 1/4 Addco for strenght and used 2" coils from a chevy. There is alot of measuring going on here and alot of stress because I won't know if it is right until I put the cab back and I was not planning on doing that for awhile. All and all this swap was rather simple and the jig table proved its value. I hope the ride was worth all of this be awhile before I know this.
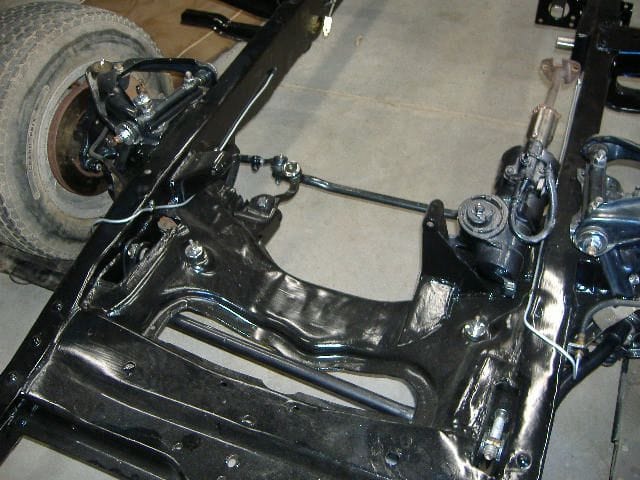
The front end is a 1976 Dodge Aspen I had installed this earlier. I wished I had the jig table when I done this
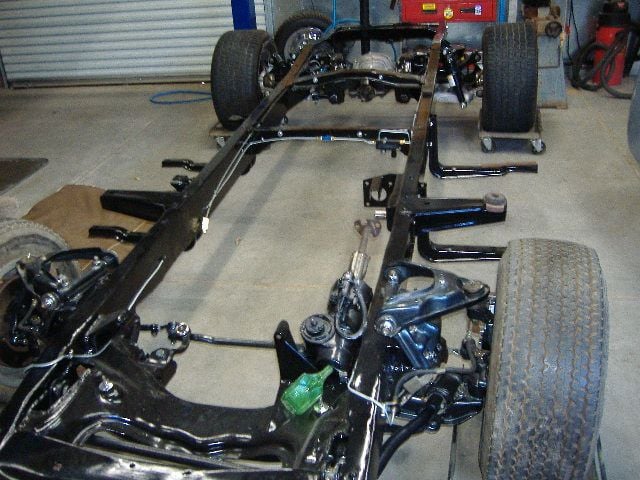
Here it is basicly plumbed. Have a stainless gas tank I fabbed and will put it on the running board brackets, drivers side like the 53-55 pick-ups. I brush painted this frame with KBS coatings and to this day it still looks nice. I used 2" throw away brushes and it is hard to tell it was not powdered and if I would have used better brushes you would not know.
#11

2012-- Took a year off to build my daughter an addition to her home in Pacific Grove CA and witness my grand daughter being born.
Now the big moment, reinstall body and see how she fits, than start the fitment process for the 2nd time. The fit from this shot.
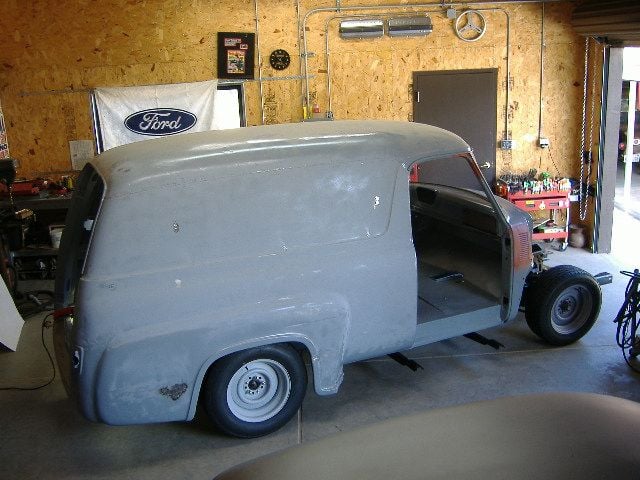
Looks good from this shot. It is within a 1/8 from where the wheel base belongs. I'M HAPPY
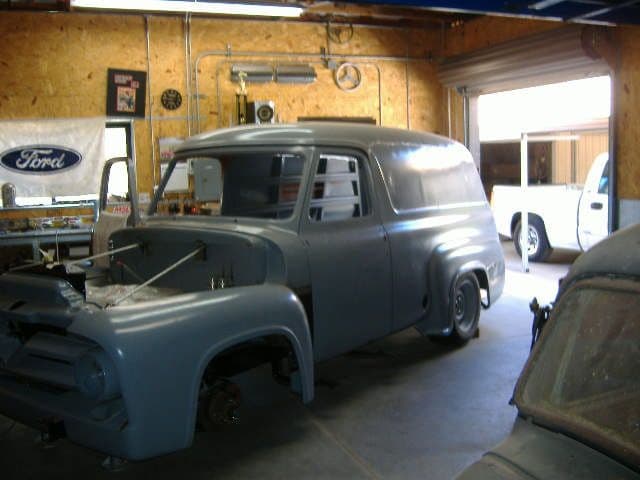
Doors, fenders , grill are looking good but the hood still needs to final. Hood took a fall with a big windstorm that went thru so we'll see what needs to be done
#13
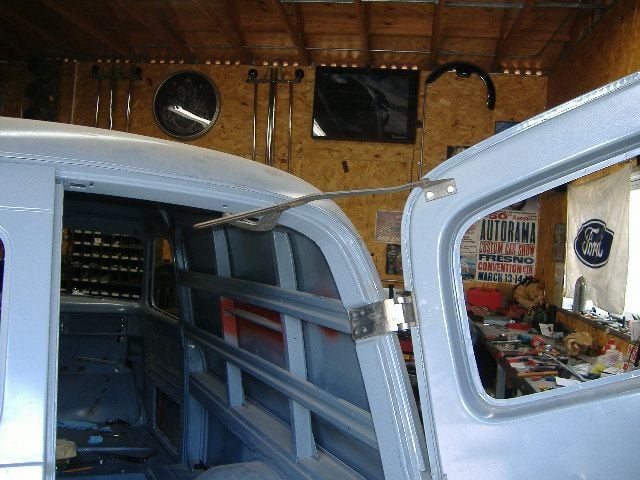
2014-- Fitment continues. The back doors lined perfect and with the help from John Bates here on the FTE supplying a pc of this puzzzle they are near complete.
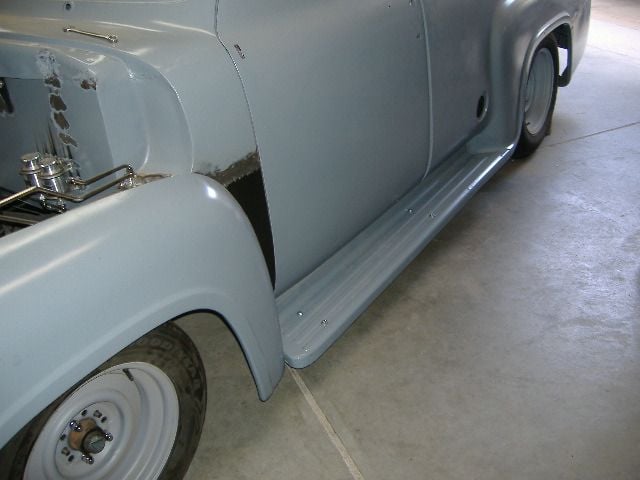
Running boards worked. Here on the drivers side I had a couple issues with the gas tank that I fabbed being slightly to big. Fabbed this tank with cab off so square and level issues arose and me using to small tolerances. But a few adjustments and all is well.
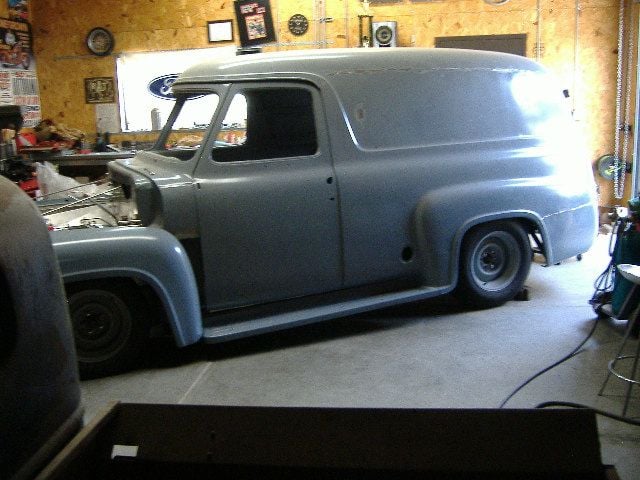
The stance in the rear is a little higher than I wanted but I think when those coils and the rest of the weight is in it should be about right.
#14
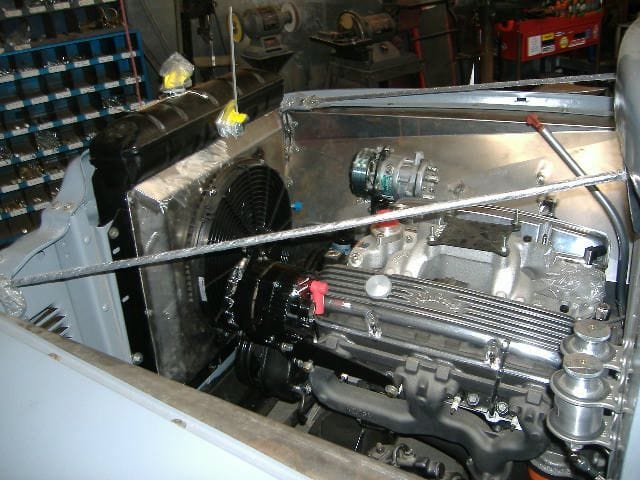
2014-- Fabbed my inner fender panels and radiator shroud. I will powder the shroud and am strongly considering the inner panels, radiator support also.
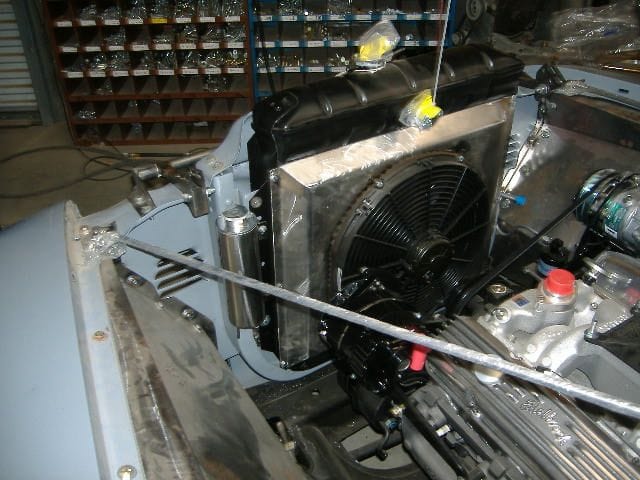
Took awhile for me to decide on an overflow tank, so many choices and almost fabbed my own, decided against and went with this. Also note the hood tilt bracketry has been installed. Hood was badly damaged so still pondering that issue.
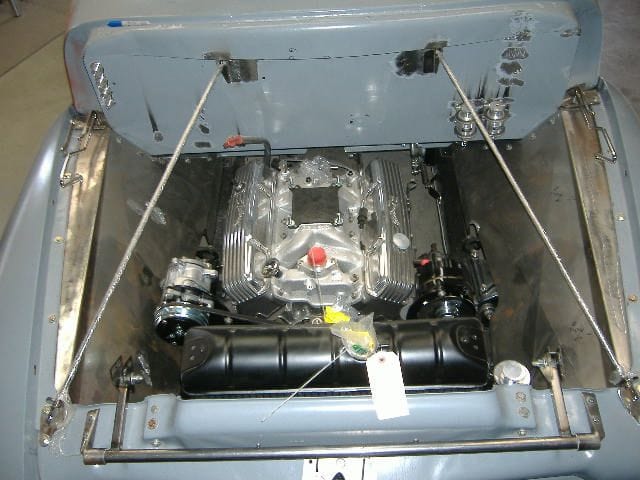
Looking down in the engine compartment, you can notice the offsetting of the motor to acccomodate the engine mount interference with steering box issue. If I was to do it again I would have offsetted 1 3/4" instead of 2", funny what a 1/4" does. The AC evaporator and condensor have been fitted, all hoses have been made using the ez clip system, all holes have been drilled and all weld nuts installed. Electrical penetrations have been accounted for and all necessary welding for the system install have been completed. The hood and final fitment is still ongoing.
This brings the build post up to date and now will be easier to add as I go, just have to get better at taking pictures.
Gerry
#15
Should be if I can stay focused, which I always have a problem with that.
Body work is not my forte, takes me so long. I am hoping for a two tone paint. White diamond pearl top and a black blue pearl lower.
My bodywork will have the final say to that
Body work is not my forte, takes me so long. I am hoping for a two tone paint. White diamond pearl top and a black blue pearl lower.
My bodywork will have the final say to that


 Love those panels