
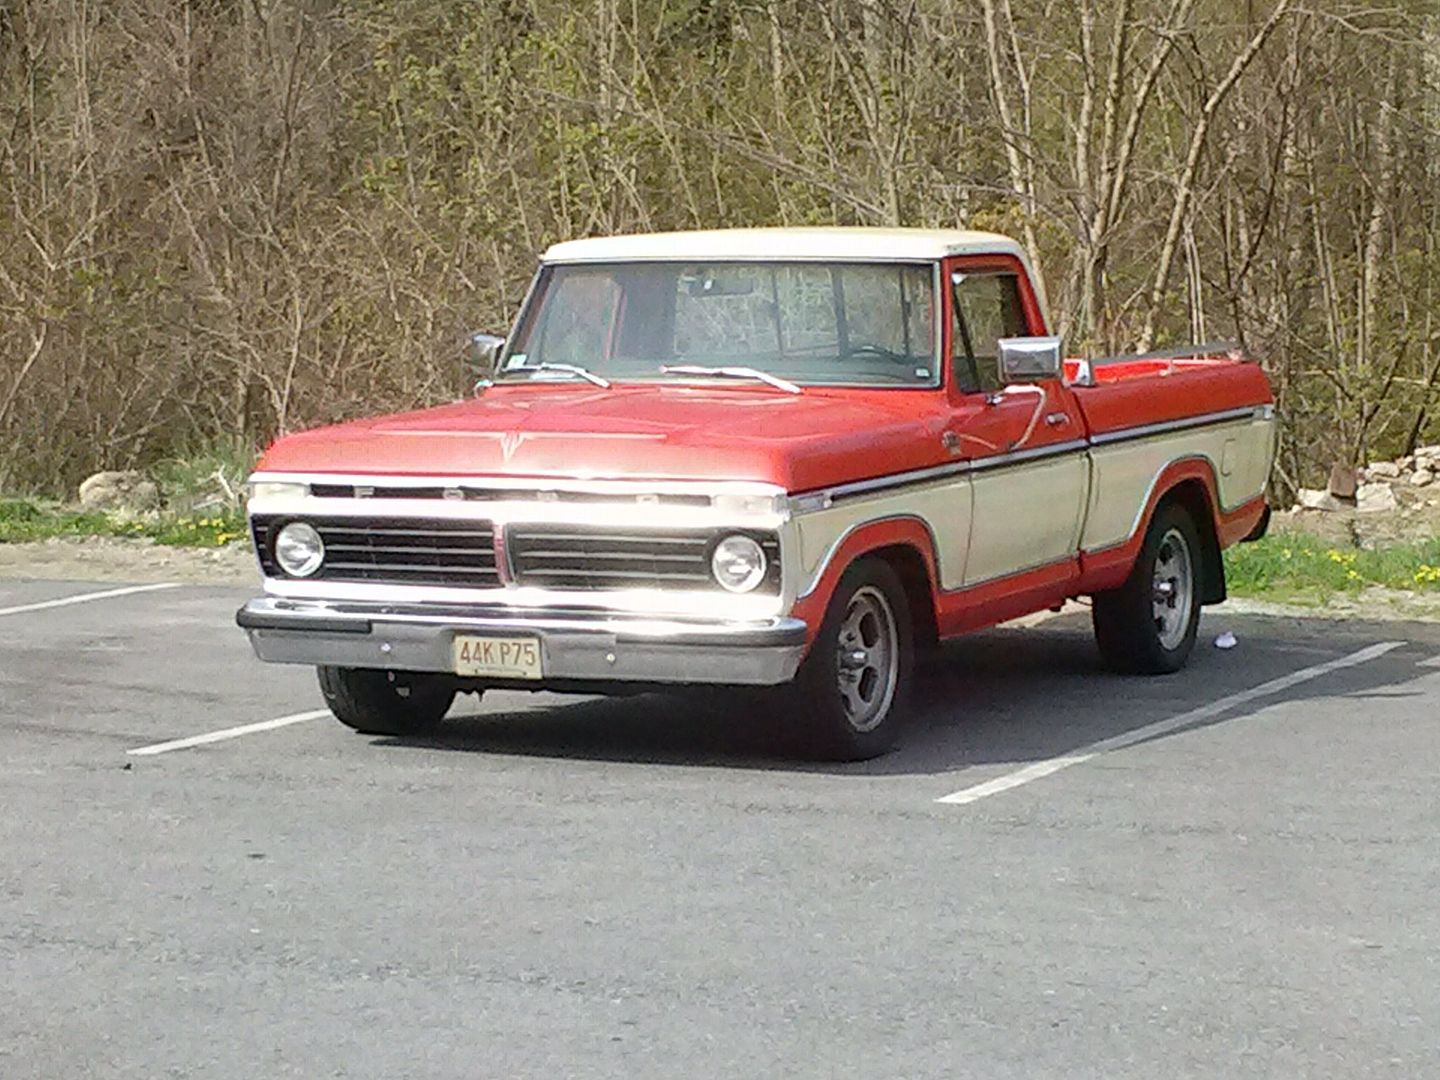
Project: Cab rebuild / Frame off 79 F100
#1
 09-18-2014, 11:17 PM

Join Date: Feb 2006
Location: MA
Posts: 1,389
Likes: 0
Received 0 Likes
on
0 Posts
Project: Cab rebuild / Frame off 79 F100
So yeah.. I've been busy lately. I'm not a professional by any means and this is my first time with something of this magnitude, but here we go.
My truck is going to go under the knife, again.
Plans
523" (currently in my Cougar)
TKO 500
Explorer 8.8 3.73:1 rear
Crown Vic front subframe
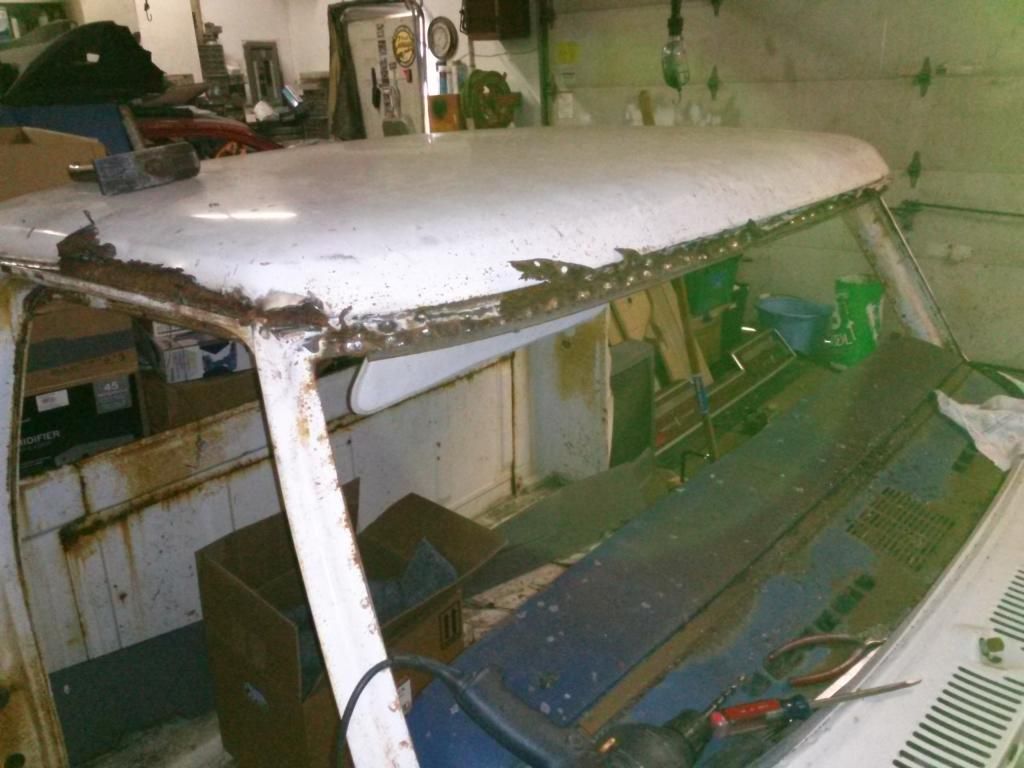
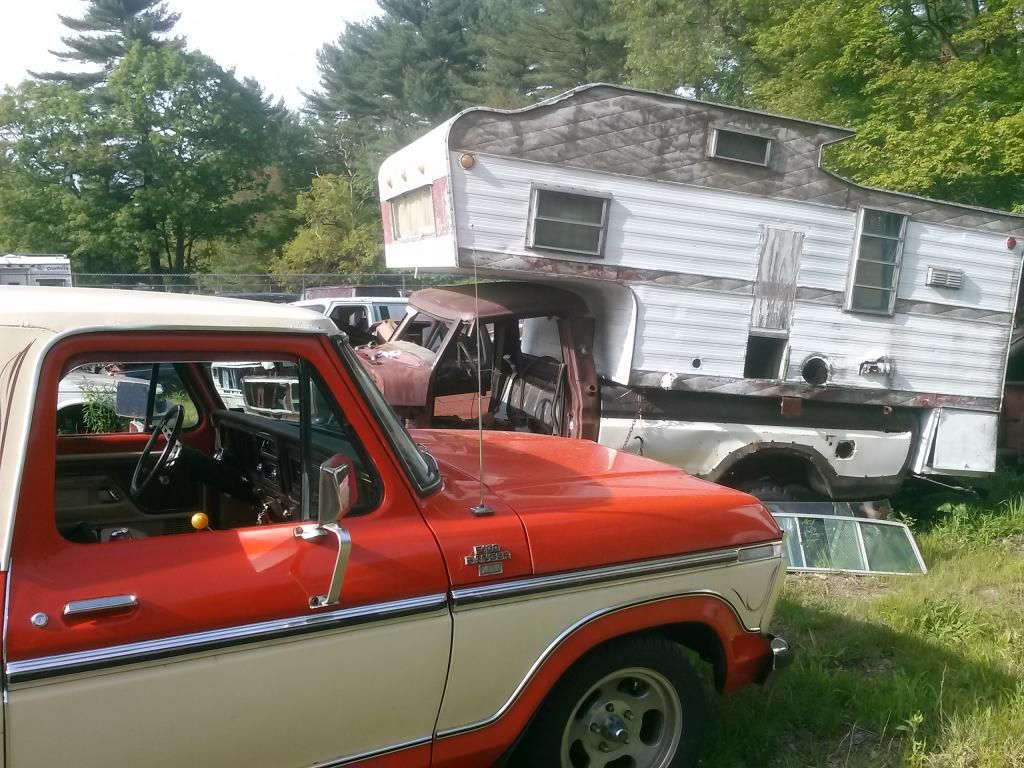
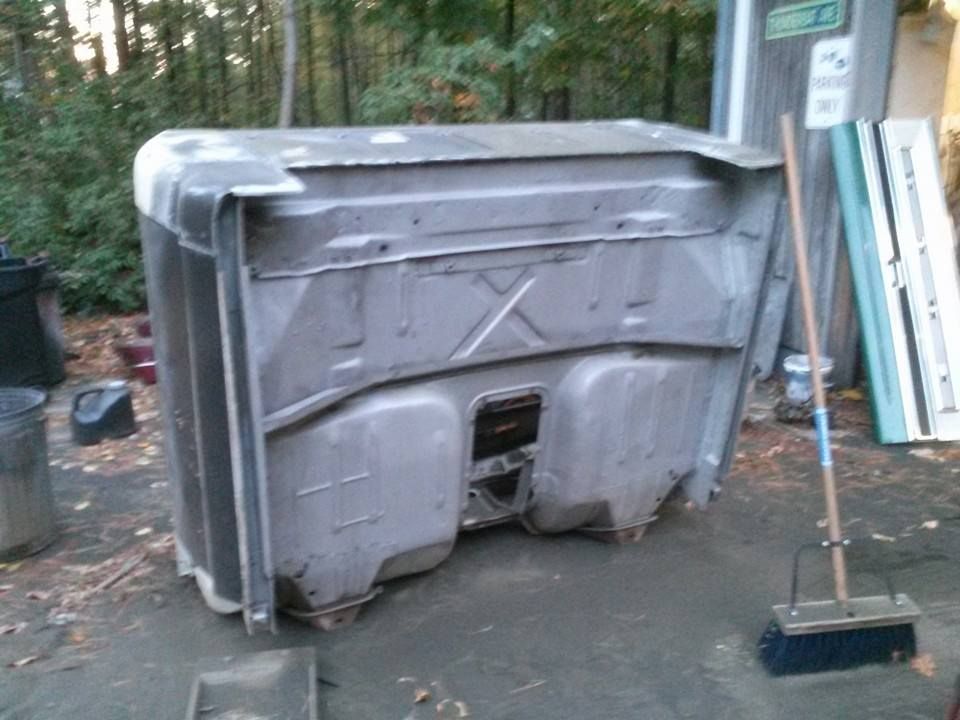
I bought a 'rust free' cab that a friend grabbed for me in Ohio, and I've spent the last 4 months when I've had time working on it... "My" cab needs a roof bad, and I wasn't comfortable doing it.. So I did it on another cab that I'm building on the side, so I can drive my truck in the meantime.
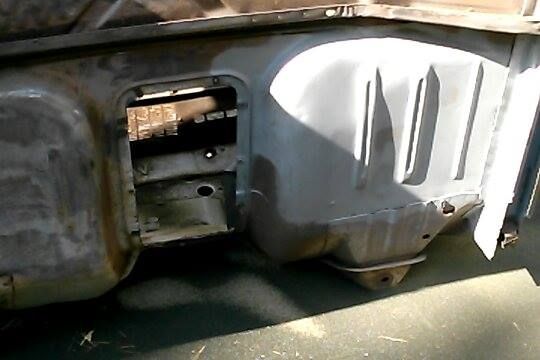
Turns out, this California cab that lived in Ohio had rust free floors.. but that's it. Needed a roof, inner braces front and rear, corners, and a rear panel! Ugh.
Lots of pics.
The roof was rotted at the front and rear seams, so I split it off the cab body.
Floors were nice though.
My truck is going to go under the knife, again.

Plans
523" (currently in my Cougar)
TKO 500
Explorer 8.8 3.73:1 rear
Crown Vic front subframe
I bought a 'rust free' cab that a friend grabbed for me in Ohio, and I've spent the last 4 months when I've had time working on it... "My" cab needs a roof bad, and I wasn't comfortable doing it.. So I did it on another cab that I'm building on the side, so I can drive my truck in the meantime.
Turns out, this California cab that lived in Ohio had rust free floors.. but that's it. Needed a roof, inner braces front and rear, corners, and a rear panel! Ugh.
Lots of pics.
The roof was rotted at the front and rear seams, so I split it off the cab body.

Floors were nice though.

#2
09-18-2014, 11:22 PM
Join Date: Feb 2006
Location: MA
Posts: 1,389
Likes: 0
Received 0 Likes
on
0 Posts
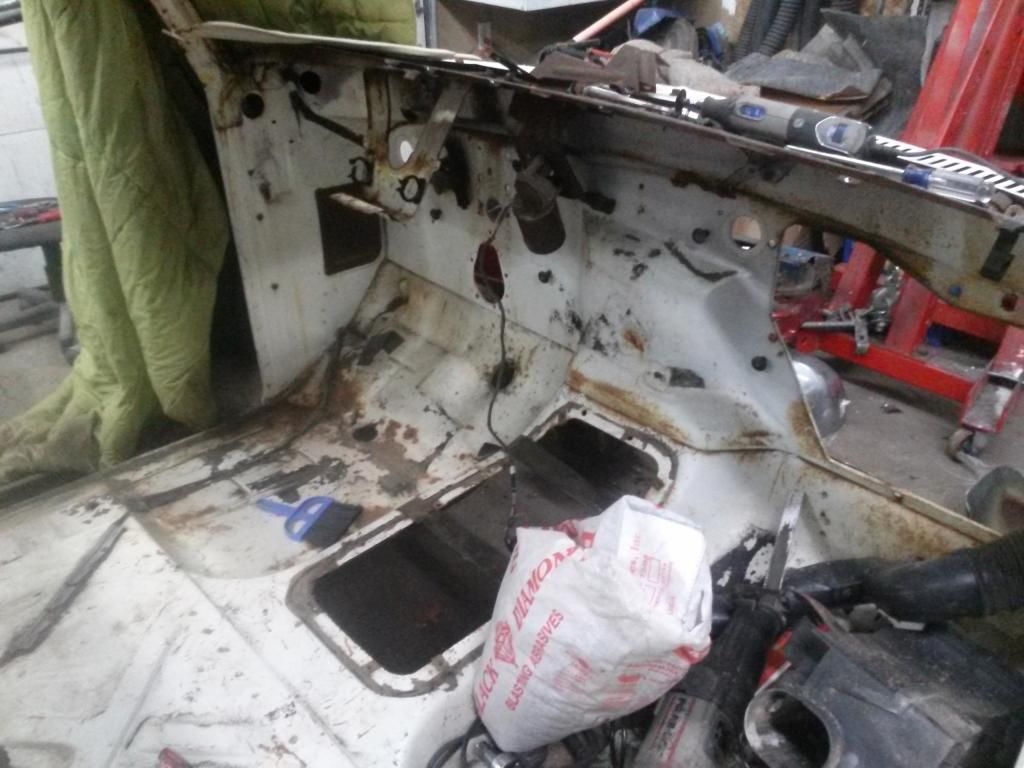
My solution was to cut the roof off and find another. No 'neat' way to do it..
I hit the local junkyard looking for a roof. All the cabs here sucked as well... and the best roof I found was rotted in the middle.. but it'll work with my master plan. Thanks for the roof, rusty camper.
I set to work splitting this roof panel off the frame.
Yay spot welds..

I hit the local junkyard looking for a roof. All the cabs here sucked as well... and the best roof I found was rotted in the middle.. but it'll work with my master plan. Thanks for the roof, rusty camper.

I set to work splitting this roof panel off the frame.
Yay spot welds..


#3
09-18-2014, 11:25 PM
Join Date: Feb 2006
Location: MA
Posts: 1,389
Likes: 0
Received 0 Likes
on
0 Posts


#4
09-18-2014, 11:28 PM
Join Date: Feb 2006
Location: MA
Posts: 1,389
Likes: 0
Received 0 Likes
on
0 Posts


#5
09-18-2014, 11:31 PM
Join Date: Feb 2006
Location: MA
Posts: 1,389
Likes: 0
Received 0 Likes
on
0 Posts


#6
09-18-2014, 11:36 PM
Join Date: Feb 2006
Location: MA
Posts: 1,389
Likes: 0
Received 0 Likes
on
0 Posts


#7
09-18-2014, 11:40 PM
Join Date: Feb 2006
Location: MA
Posts: 1,389
Likes: 0
Received 0 Likes
on
0 Posts
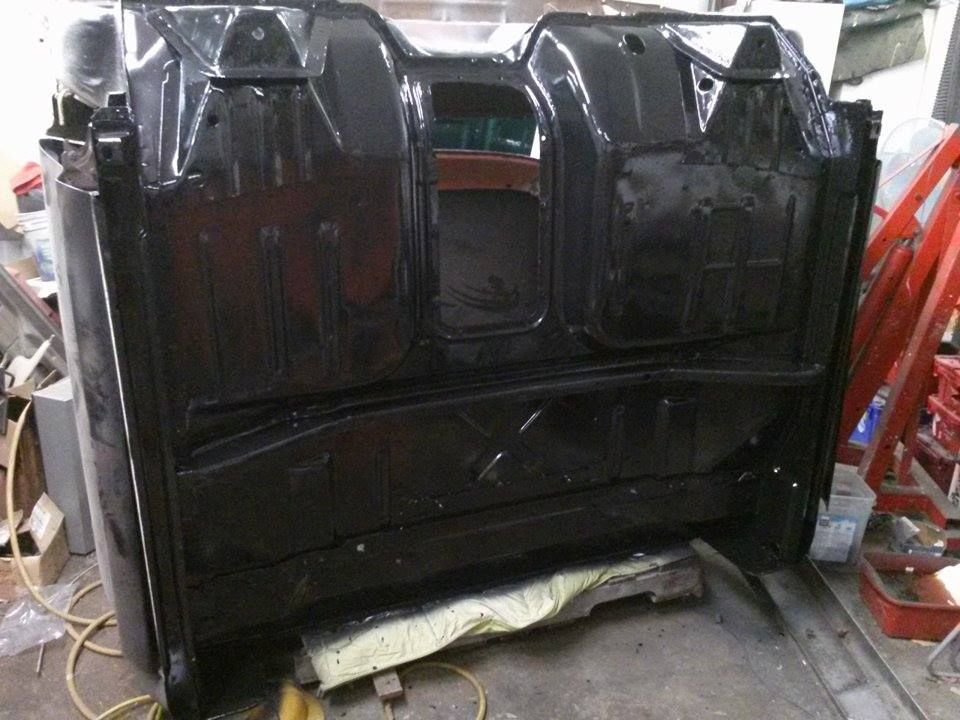
While I don't have many pics, the rear brace across the back was rotted out as well as the back panel. Again, condensation.
I had a junk cab hanging around I tried to use a back panel from, but it too, was rotted. I used a rear brace I purchased from that same truck my roof came from, and I actually found an NOS rear panel on a facebook group. THAT was a pain to remove...
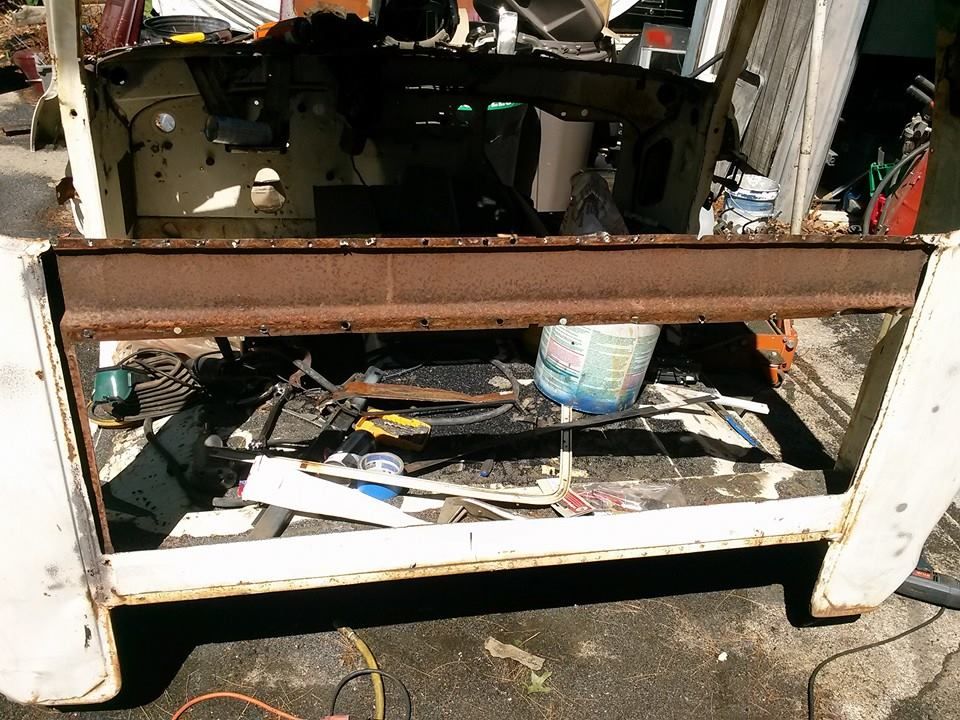
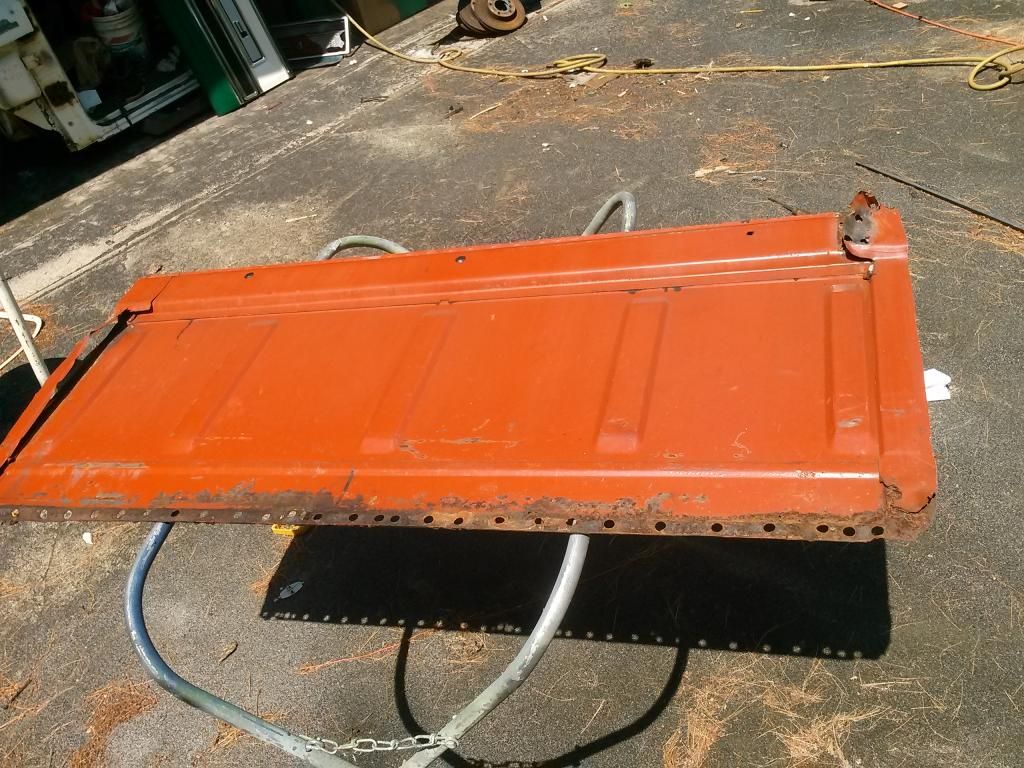
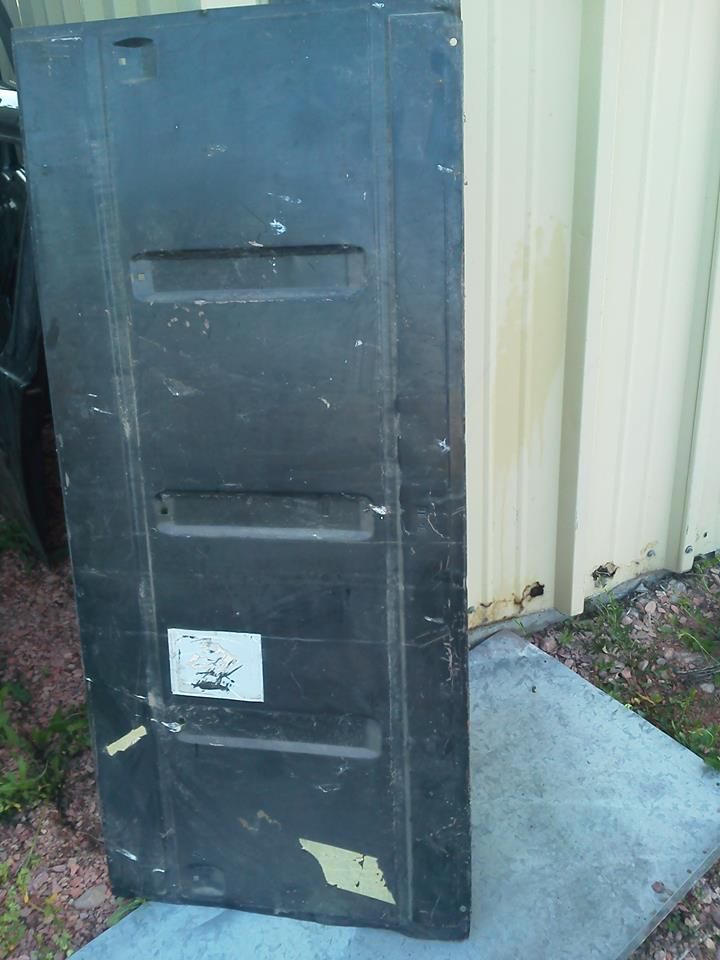
I had a junk cab hanging around I tried to use a back panel from, but it too, was rotted. I used a rear brace I purchased from that same truck my roof came from, and I actually found an NOS rear panel on a facebook group. THAT was a pain to remove...


Trending Topics
#8
09-18-2014, 11:42 PM
Join Date: Feb 2006
Location: MA
Posts: 1,389
Likes: 0
Received 0 Likes
on
0 Posts
#9
09-19-2014, 06:44 AM

#10
09-19-2014, 12:53 PM

Posting Guru
#11
09-19-2014, 03:43 PM

PSquare,
You're my new role model... at least for the next few months. I have tried in vain to find a replacement cab for my 79 F100 restoration so I will be repairing my cab roof as well.
My floors were in good shape too. The roof is trashed - possibly not as bad as yours.
Your work and write up has given me hope (and motivation).
Nice job.
#12
09-19-2014, 11:18 PM
Join Date: Feb 2006
Location: MA
Posts: 1,389
Likes: 0
Received 0 Likes
on
0 Posts
Thanks.
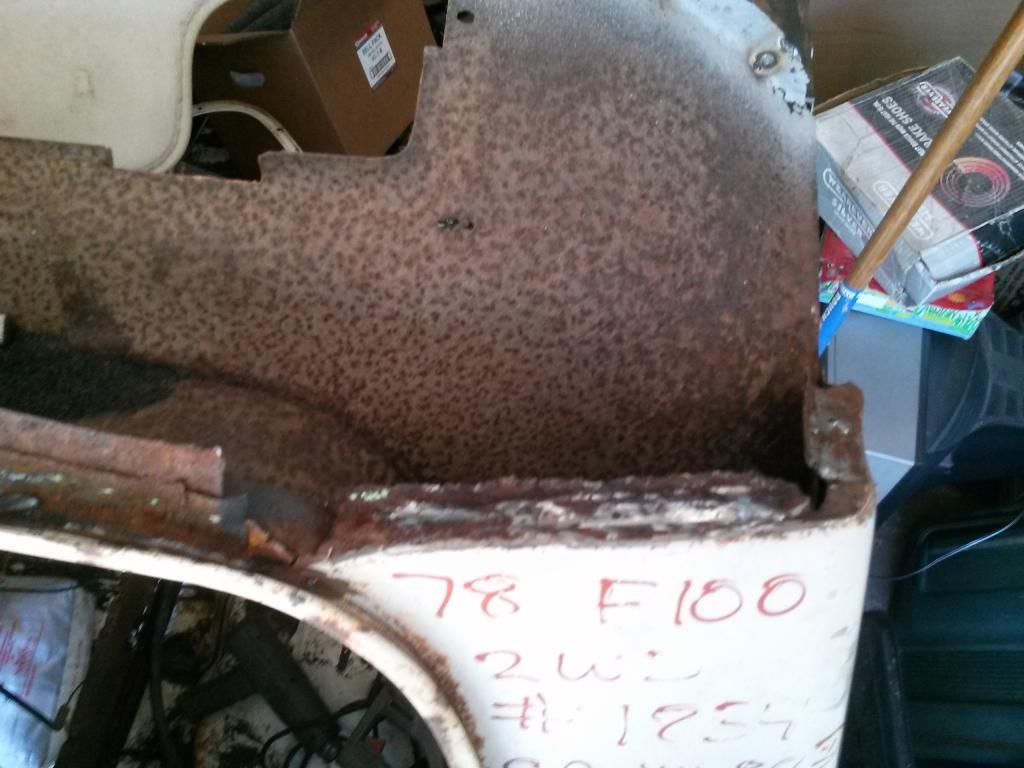
This cab was 'rust free'. Guy even had pics on the craigslist ad of the cab, and speaking to him, he knew what I wanted (I wanted to just sandblast and spray). This particular cab came out from CA to OH and sat for 20 years open.
I sent a friend to go get it (I'm in MA) and this is what arrived. To the guys credit, he did refund some of my money, but between the cab, fuel to get it, and sheet metal (roof, rear brace, rear panel, cab corners) I'm into this gem for $1100.
#13
09-23-2014, 09:43 PM
Join Date: Feb 2006
Location: MA
Posts: 1,389
Likes: 0
Received 0 Likes
on
0 Posts


#14
10-16-2014, 10:41 PM
Join Date: Feb 2006
Location: MA
Posts: 1,389
Likes: 0
Received 0 Likes
on
0 Posts
Been busy.
Bottom of the cab is welded up (few small pinholes, nothing crazy), and sandblasted.
I laid out 3 coats of SPI epoxy primer. Stuff goes on great, even with a crappy Harbor Freight "purple" gun.
I also taped up and seam sealed the cab.
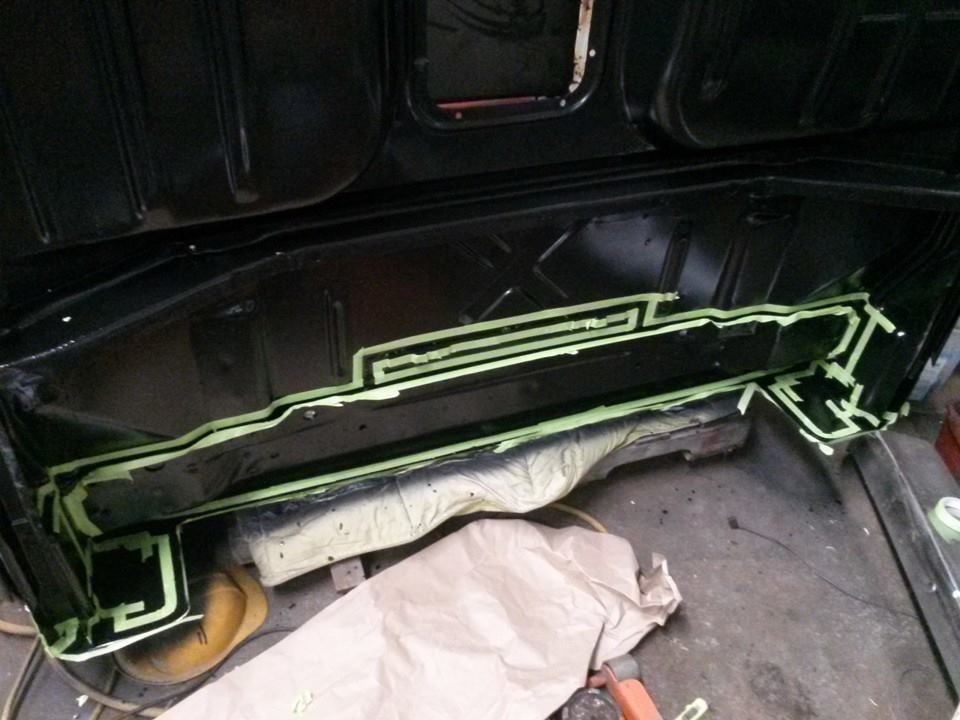
I used Evercoat #822, it's a 'two part' epoxy that can be applied with a regular caulking gun. Works great!
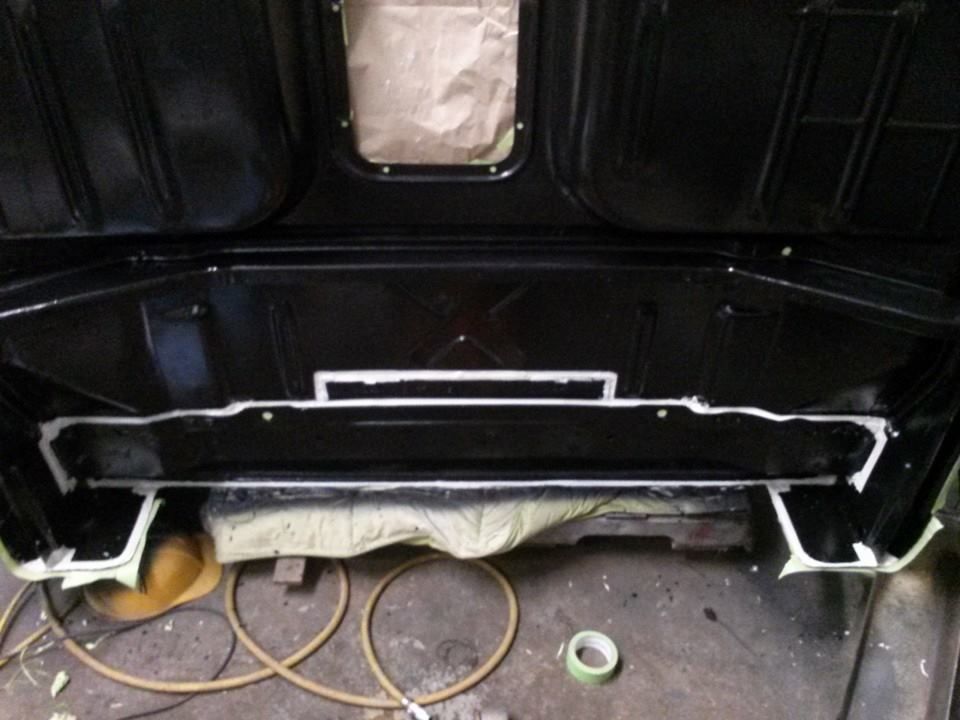
Bottom of the cab is welded up (few small pinholes, nothing crazy), and sandblasted.


I laid out 3 coats of SPI epoxy primer. Stuff goes on great, even with a crappy Harbor Freight "purple" gun.

I also taped up and seam sealed the cab.

I used Evercoat #822, it's a 'two part' epoxy that can be applied with a regular caulking gun. Works great!

#15
10-16-2014, 10:45 PM
Join Date: Feb 2006
Location: MA
Posts: 1,389
Likes: 0
Received 0 Likes
on
0 Posts