When you click on links to various merchants on this site and make a purchase, this can result in this site earning a commission. Affiliate programs and affiliations include, but are not limited to, the eBay Partner Network.
I've received the body parts back from paint. As you can see, I went gloss black with a light pewter metallic accent color. The accent will be in the engine compartment (firewall, and fender aprons), the horizontal grill bar, the radio grill/ashtray and glove box door and finally, the FORD script on the tail gate.
For the cab's rear mount, I chose this adjustable one. It allows for both left/right and up/down adjustment of the cab.
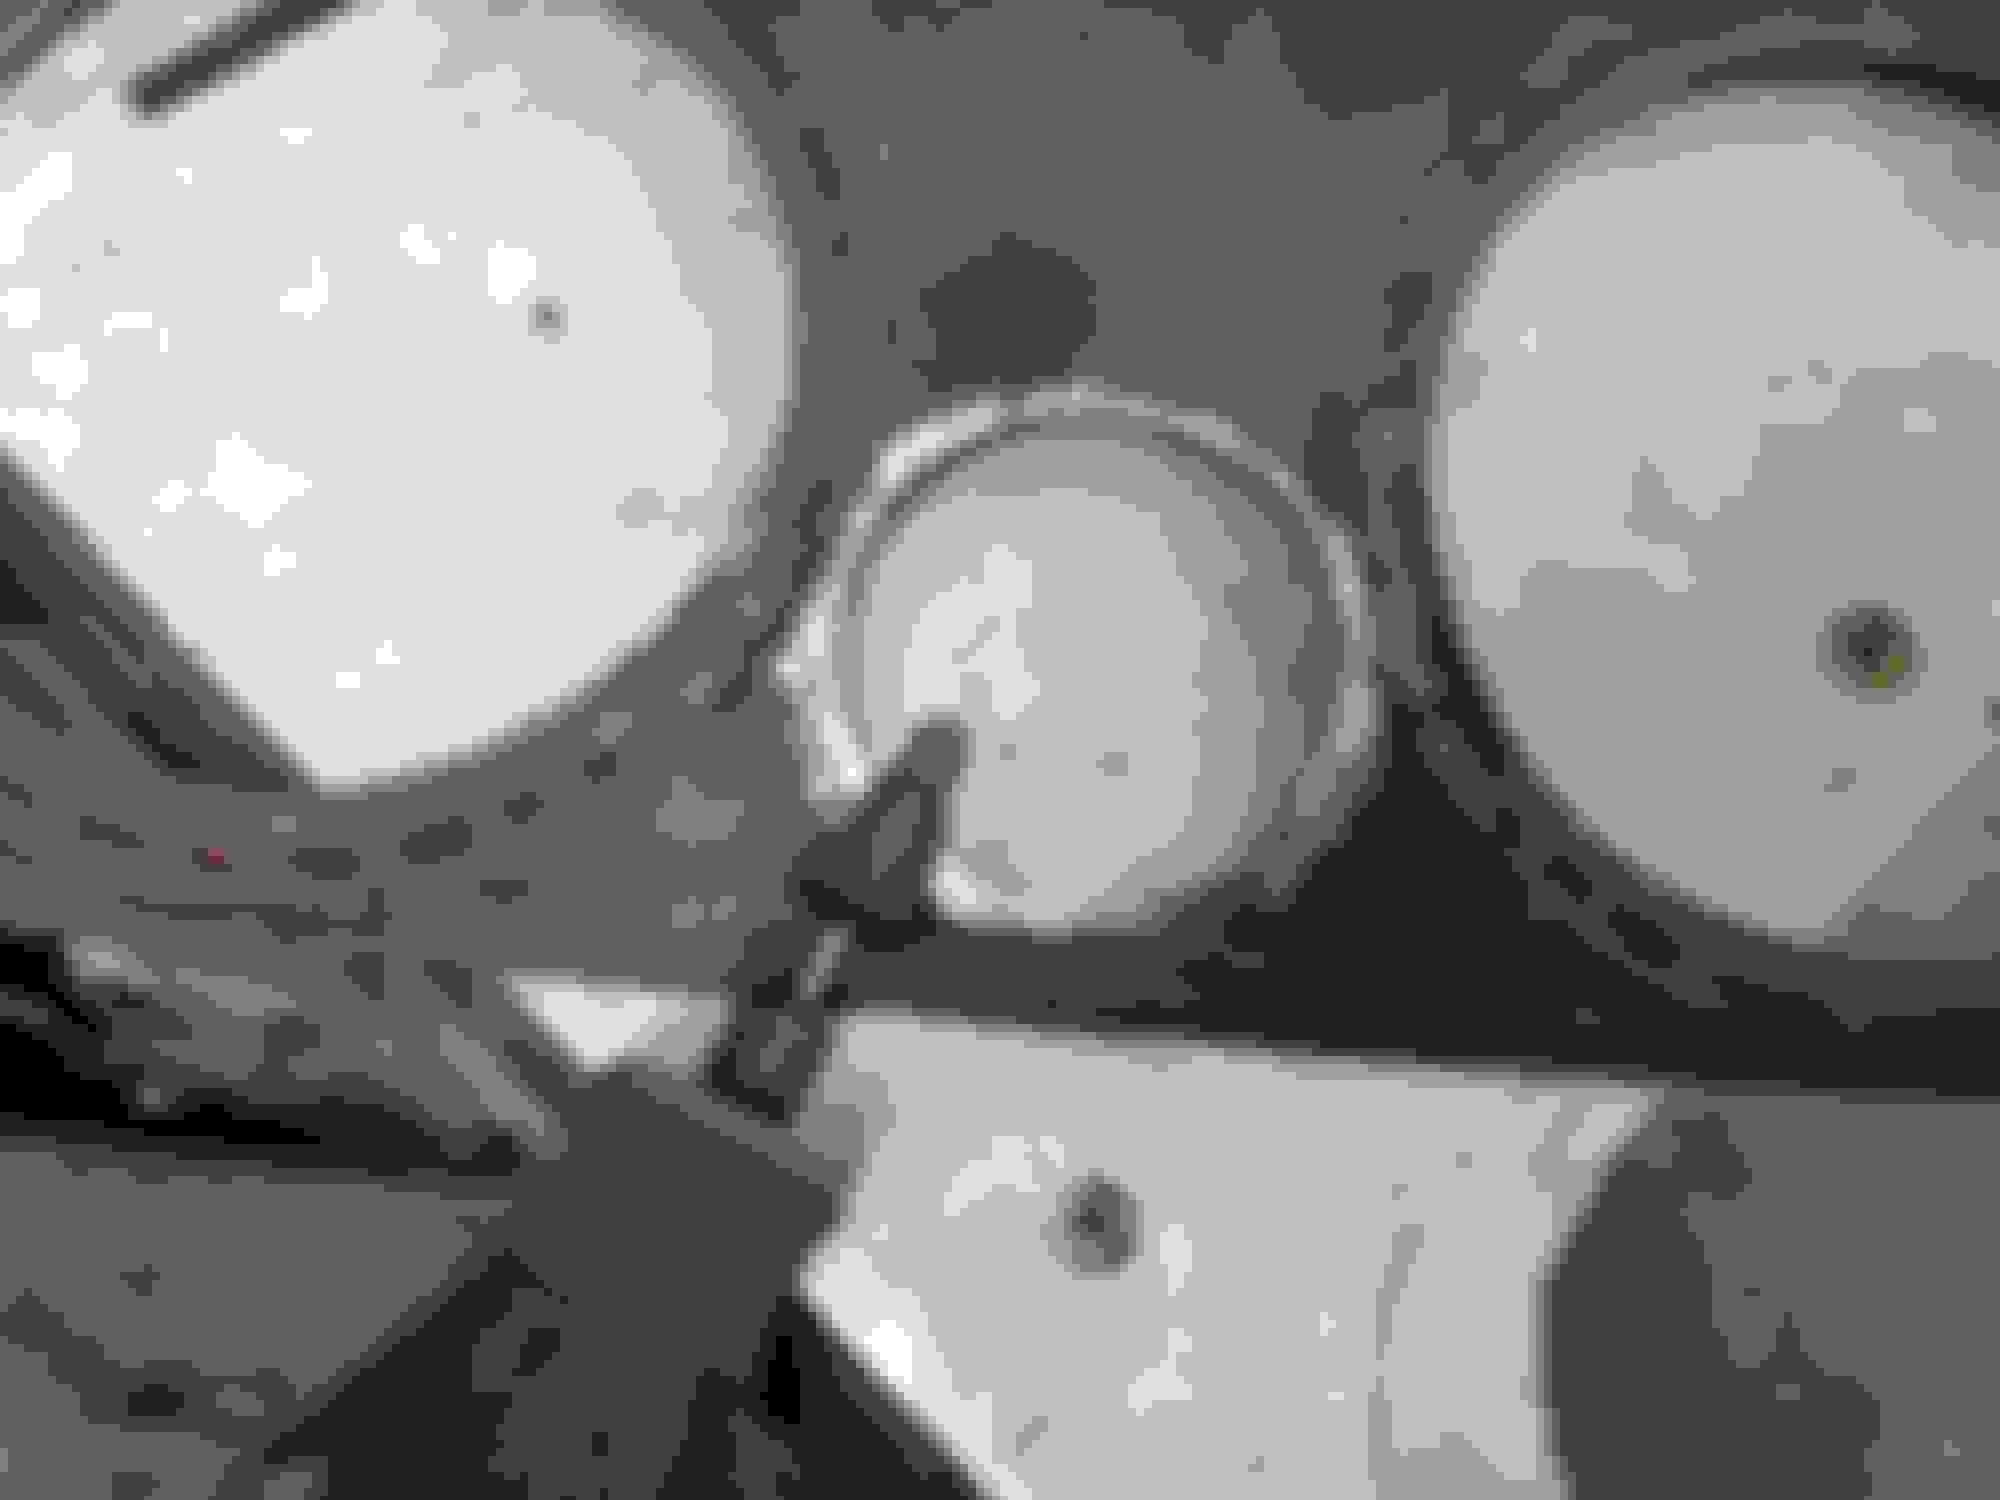
Note the glass windshield washer canister, the EZ-EFI Fast control box and the radiator overflow all located in the back left corner looking from the front.
The back right corner of the engine bay supports the power steering fluid reservoir and EZ-FAST fuel pressure regulator. On the left apron, I mounted the radiator fan controller (it will control the two electric fans and a temp I set. With the temp is hit, the fans start at 80% and when/if the temp raised 10+ degrees, it will power the fans at 100%. I also mounted the cruise control box on the left apron alone with the remote oil filter.
If you look real close, you'll see the cruise control box towards the front and the electric fans controller towards the rear.
A shot showing bed, fenders and running boards installed. I had to put the wheels on to see final ride height. The back still needs tail gate, wood bed and side rails and gas in the rear tank, so I'm expecting a little more drop.
I've started the interior. I have alot more to do, including windshield, door's glass, electric windows and locks, center console, seats, etc. etc.
I've also completed the front lights, park/turn and horns. I'm also really liking the light pewter with the black and chrome!! I'll have front bumper Monday.
Now on to door glass and window channel fit and install.
Great build! I had many of the same goals in mind for my build.
Where did you buy those adjustable cab mounts?
Do they still isolate vibration in some way?
Great build! I had many of the same goals in mind for my build.
Where did you buy those adjustable cab mounts?
Do they still isolate vibration in some way?
Doug
Doug.... I bought them at Classic-Haulers. They focus on items geared for the 48 to 52 F1 trucks. They have lots of unique items. Candi is great to work with. Here's the link for the rear cab mount; 1948-56 Ford F-100 Cab Mount Arm, Adjustable These use a nylon/urethane bushing vs rubber like the originals. Like suspension parts that use urethane vs rubber it should be a bit "firmer" but in the cab mount I wouldn't think a thin rubber bushing on the rear cab mount would make much of a difference. Having said that, I've never driven my truck yet. And if I did.... I'd have nothing to compare to as the originals had completely been worn out and dry rotted.
Awesome build, do you do this all yourself? The body and paint got done faster than I have seen for any project I can think of, and I am a sucker for black paint, love it.
What wheels and tires, they look great!
Mark, Great build and awesome work. Do you have more pictures of how you tilted the gauges back and centered. The finished product looks great.
Kelly, I have thousands of photos and yes, here more shots of the dash/gauge area and what I did. I couldn't get the pictures to load in a "quote/reply" and will add a new thread titled, "Gauge Cluster Process" below. If you have any more questions about gauges, or anything for that matter, don't hesitate to ask.
I first started with an idea of adding more gauges and where and what options to put them. The black circles represent just two options. I'll only use the top center and reduced the factory hole size of the original speedo and gauge cluster. My gauges, custom made by SpeedHut, are 4.5" vs 5" factory
I then cut out the dash. You need to take into consideration the trim around the radio grill area and what you'll end up below and above this area, eg, type of wiper switch, ignition sw, light sw, etc. The wiper sw I used is very large, about 2x2x1.5" high since it has built in delay sweep and washer pump with 4 sweeps.
This shot shows the cutout, upside down. You can clearly see the original holes reduced in size. Note, so I didn't get cracks in body work, I completed the welding later. What you see in lots of my pictures are just spot welds.
Next, I had to determine the tilt angle. I had two options here, i.e., 1) tilt top back, or 2) tilt bottom out. While sitting as close to the final seat placement, and considering glare from the sun, I ended up with top tilted back about 1".
I first cut a strip of sheet metal 1" wide and the length of the top. I tack welded the strip to the cutout first and then tacked the cutout in place, again, tacked top and bottom. This leaves both ends open. From the back side, I held a piece of trace template paper to each end and traced. Transfer that shape to metal. Again, from the back side, I held the cut metal at the top, tacked it, then I started to bend down the curve, tacking about every inch or so to hold curve shape. Note the holes filled in lower dash that I didn�t need/use.
This shot shows the section all welded and body work done and ready for paint.
Final product. As you can see, a GPS speedo & tach in right gauge, fuel center and volt, oil temp, oil pres and water temp in left gauge. In other pictures in this build thread you'll see a matching clock in the center head rail (above windshield and between sun visors). I have four other gauges I'll locate in the center console I'll be building (i.e., trans temp, diff temp, vac and fuel psi.). What can I say, I like gauges. You can see the lower dash extension I made with one of the A/C ducts and fan/heat/temp ***** installed.
Awesome build, do you do this all yourself? The body and paint got done faster than I have seen for any project I can think of, and I am a sucker for black paint, love it.
What wheels and tires, they look great!
Dave, thanks for the comments. First off, the wheels are Foose Nitrous II's, 18" back / 17" front. Tires Michelin Pilot Sport A/S 3, 235/35ZR-17 front and 285/40ZR-18 rear.
I do all the work myself and a "best" buddy of mine, Steve Ortiz, comes to help when I just need two of use to get it done. Here's what I don't do, engine build, Body and Paint. I have no problem in metal fabrication, sheet metal cutout/replace, etc... but not body filler. Regarding body and paint speed to completion, it took about 3 months as I gave parts/panels to him as I completed them and didn't need any longer. And since my color as gloss black and non-metallic they didn't need painted all at the same time.... so I got the piece's back as he completed them.
 12-26-2014, 04:30 PM