Trozei's '69 F100 Build Thread
#1006
 02-08-2016, 06:08 AM

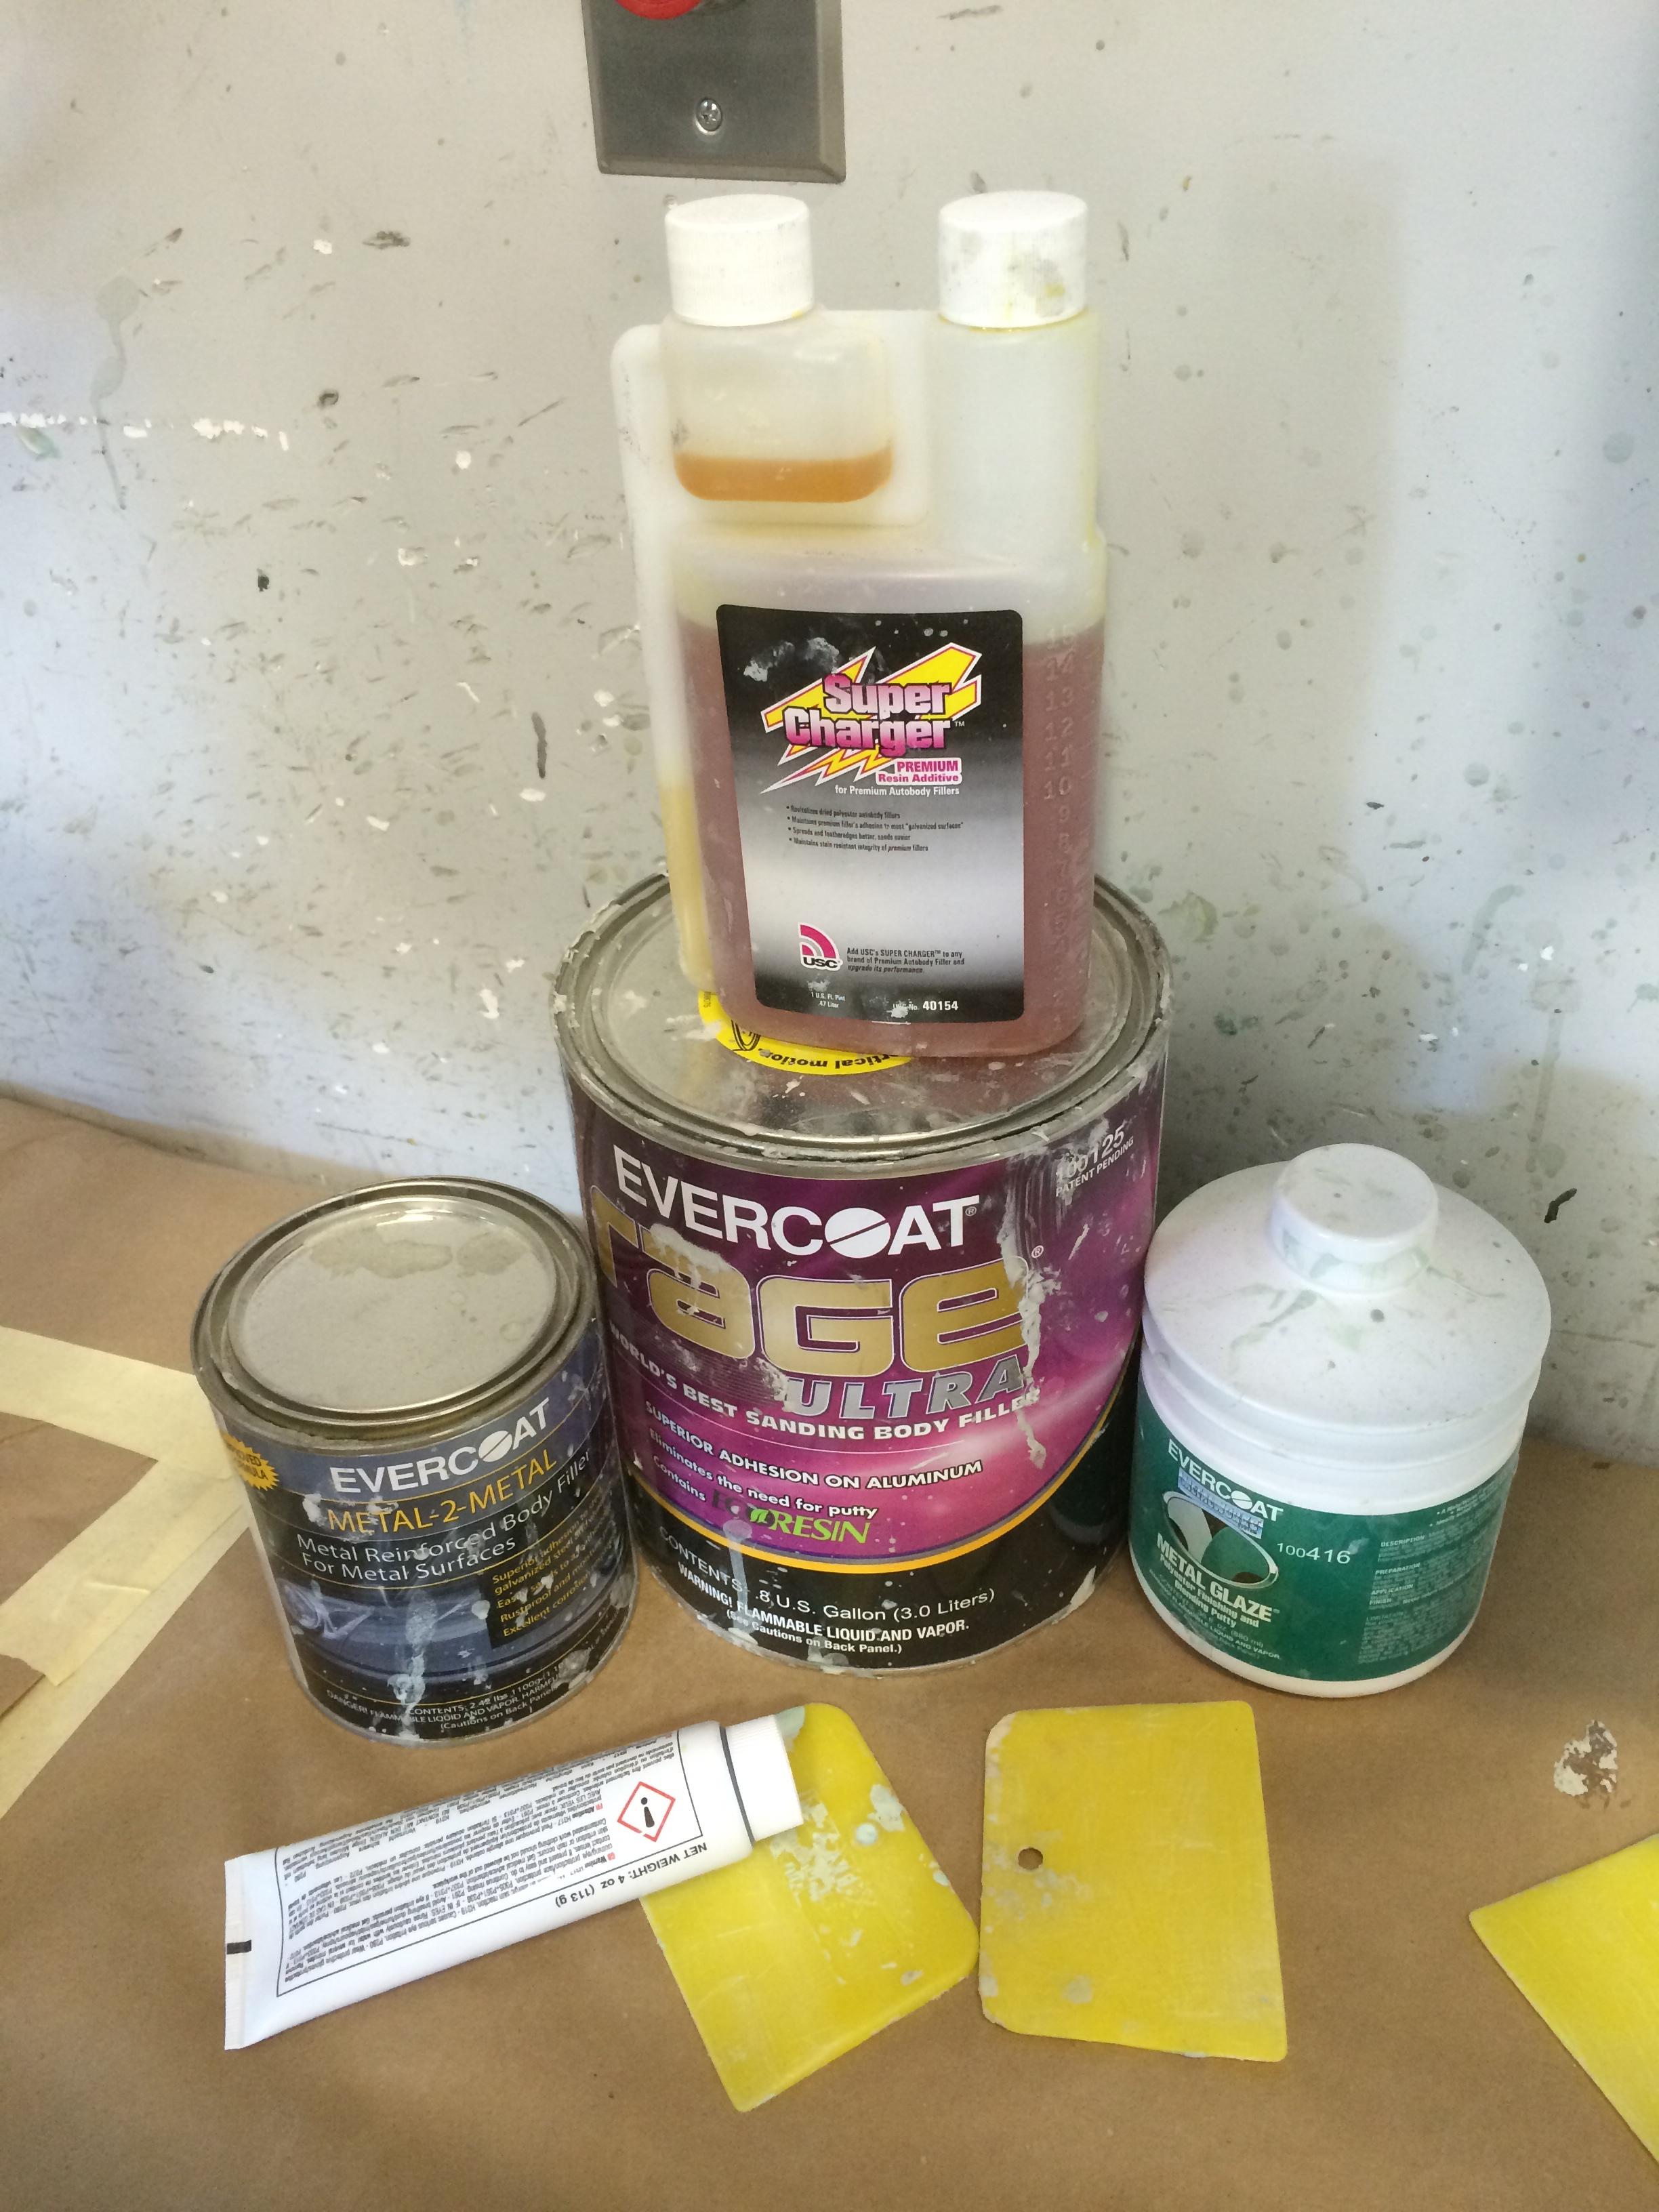
Evercoat makes really good stuff. The Metal 2 Metal is great for direct to metal and sealing out water. I use their Rage Gold as a lightweight filler. I don't remember what I use for finishing putty.
If the filler you buy is actually brand name Bondo, I will kick you.
If the filler you buy is actually brand name Bondo, I will kick you.
#1007
02-08-2016, 07:53 AM


Hmmm... May have to give that Metal 2 Metal a try. I have some of their Rage Gold I'm going to use.
I kept the 06 as clean as I could during the winter, and, it had been undercoated. I just think that's a tough spot up there to keep clean, and , who knows how well they can get the undercoating up into those fenderwells.
How tough is that Metal 2 Metal to finish?
I kept the 06 as clean as I could during the winter, and, it had been undercoated. I just think that's a tough spot up there to keep clean, and , who knows how well they can get the undercoating up into those fenderwells.
How tough is that Metal 2 Metal to finish?
#1008
02-08-2016, 10:57 AM
Metal 2 Metal spreads and sands surprisingly easily. I liked it. I'm used to Duraglas which spreads like toffee and leaves a really thick parafin wax layer on top that is difficult to sand through. I don't use it as a finishing putty though anyway. I use a dedicated finisher for the final layer.
#1009
02-08-2016, 06:40 PM
Mr Jackson,
Young man you've hit on a few good point with fillers metal 2 metal plus everything you have learned from some pro's as you have been going through your Body shop classes.
We the people don't get into anything close like you've been don't.
These fillers you've been using for bottom and surface type prep work is all good for us young & "old" damn, I'm starting to hate that old word now days.
But this is some thing everyone of us is faced with when we have a classic vehicle.
I know this is asking to much but a good write up what you & Randle have done is by far over about may be 97% of us who don't have or know what's the best fillers and so on that everyone could take note of as a sticky.
I know theirs lots of YouTube videos but they don't seem to give much of any info about the filler products to really use other then buying bondo that we all can buy at WalMart .
Orich
#1011
02-08-2016, 11:06 PM
Hotshot

#1012
02-08-2016, 11:08 PM
Any thing would be good, May be the latest two part epoxy. Metal fillers and so on. From easy patch panels to rust repair an to painting.
May be if it's a good complete write up which would take more time then may be it worth as getting a sticky. May be ask and see if before going to all the trouble of putting something together an then it just get lost or berried with in the thread pages.. if you know what I mean.
Just throwing this out there as something to think about as don't want to see you waste your time.
Orich
.
#1013
02-09-2016, 02:36 AM
#1017
02-09-2016, 04:52 PM
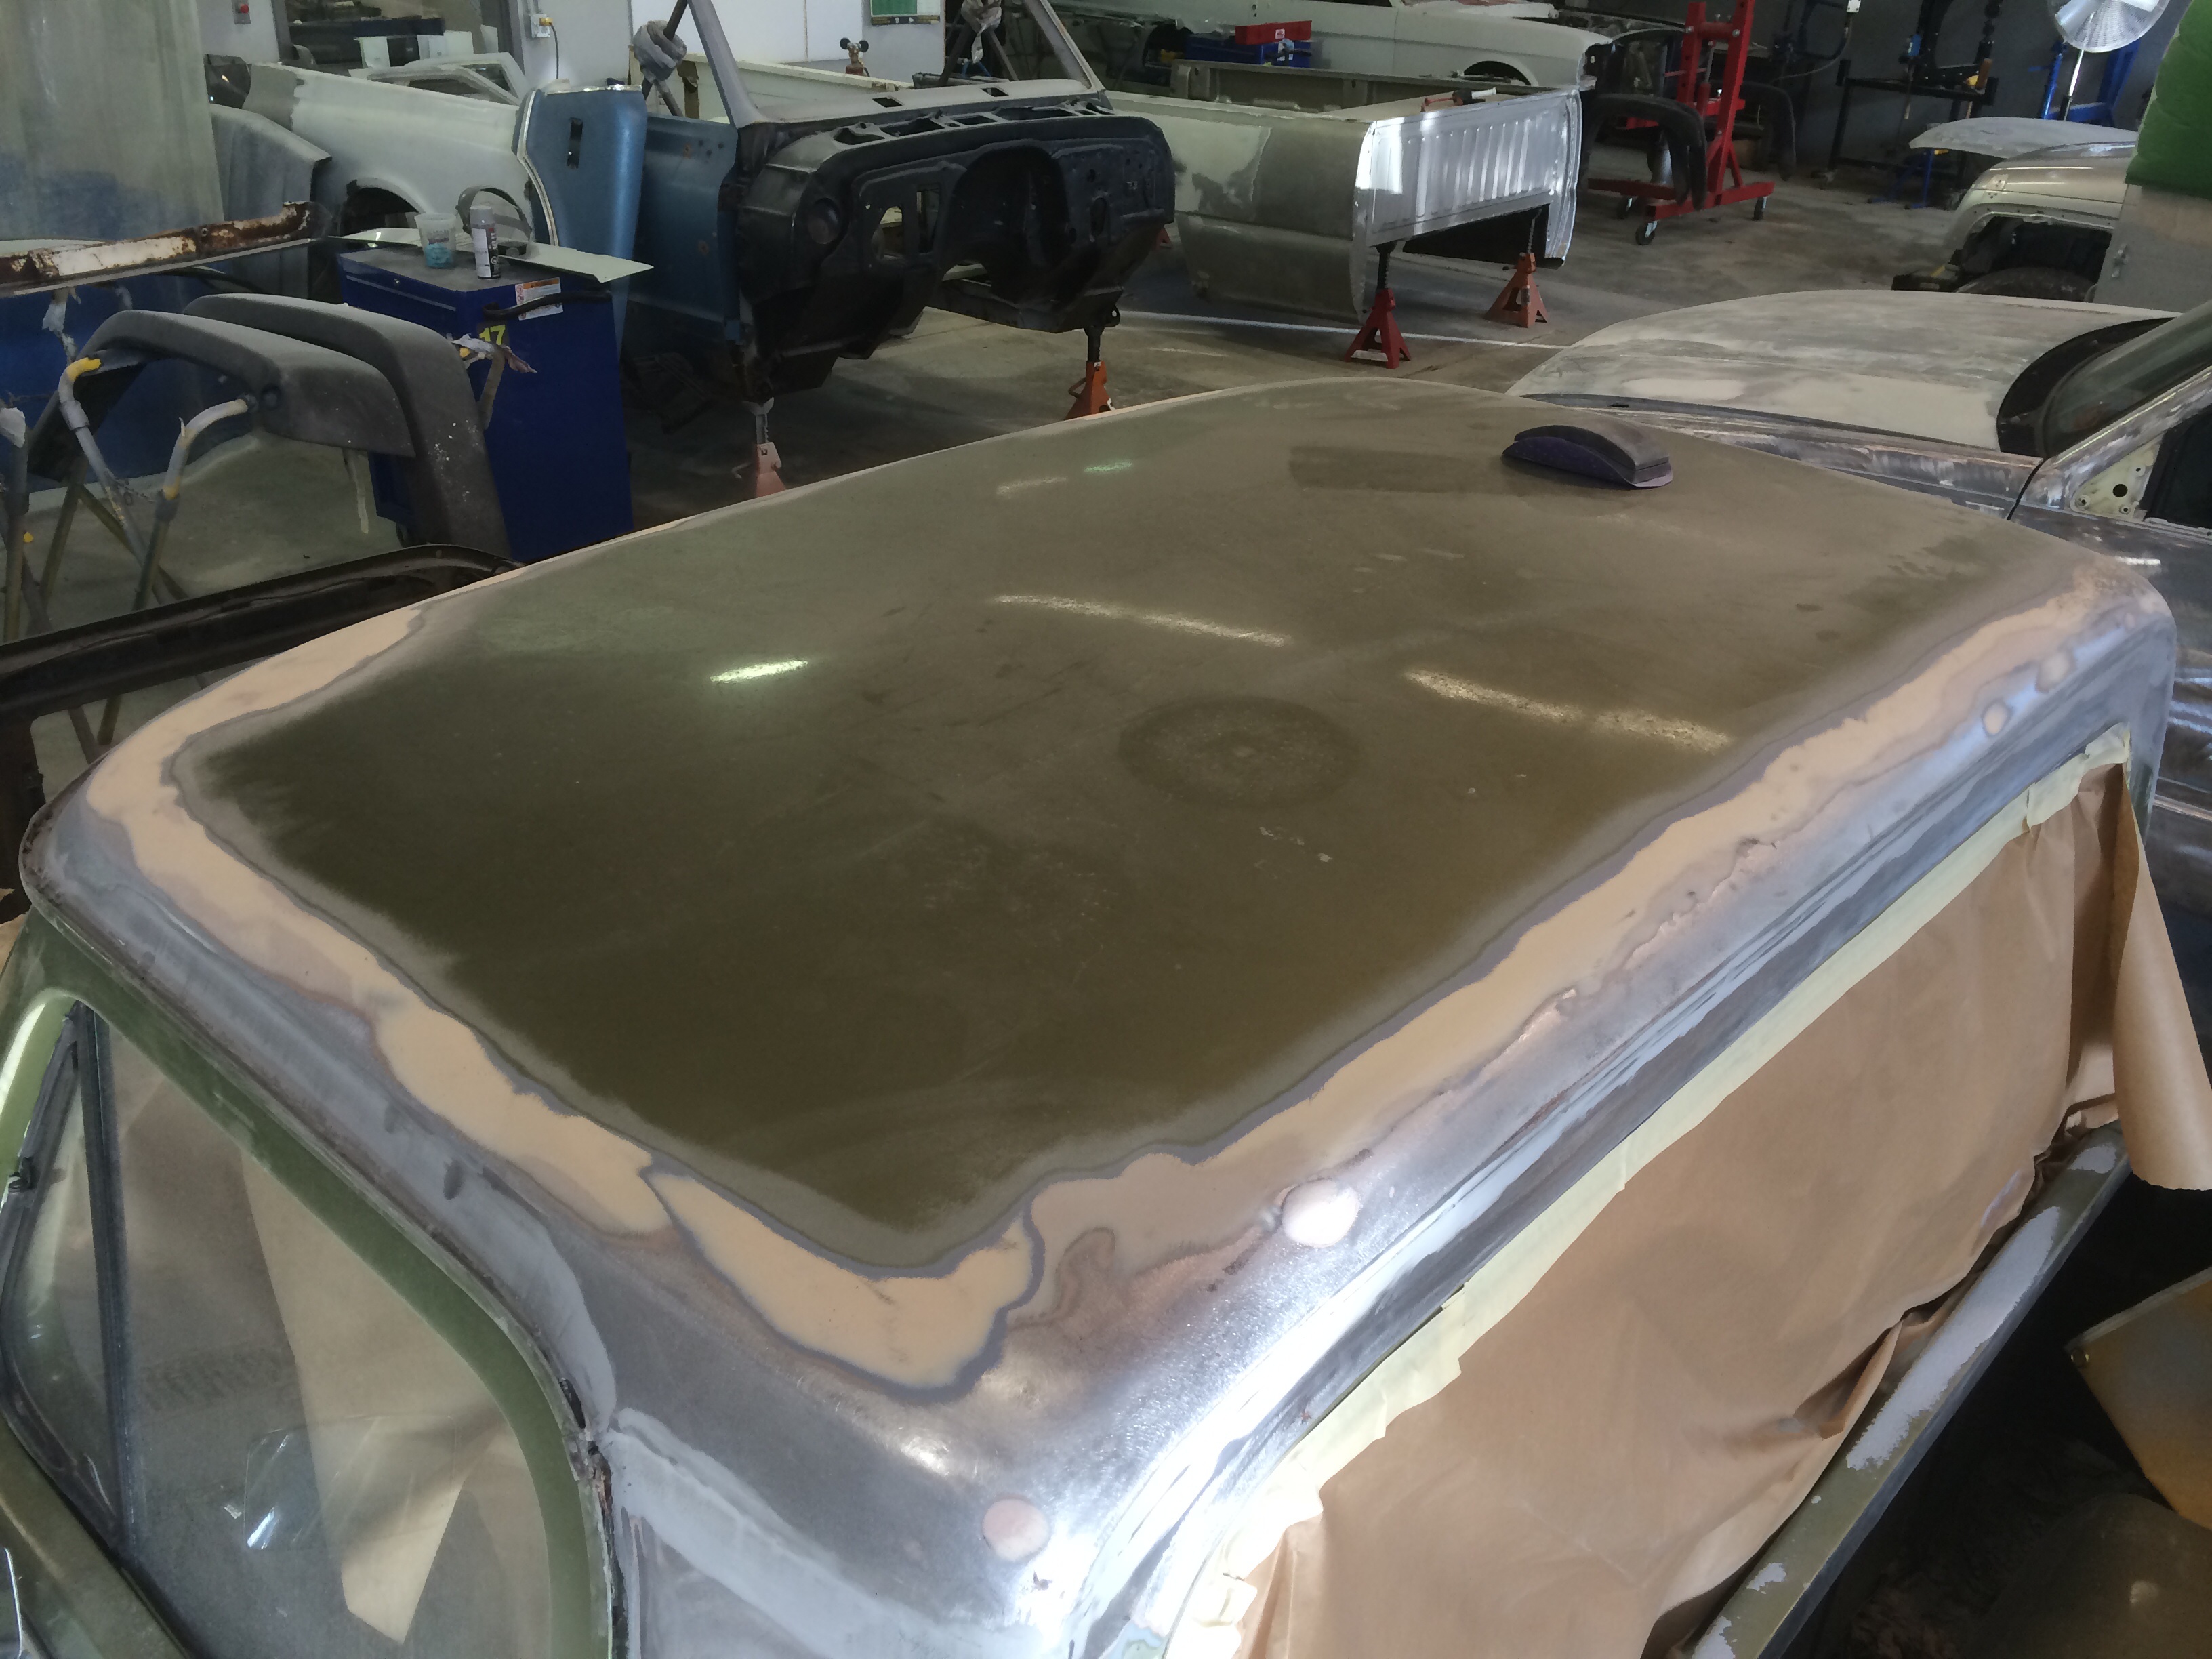
So I pretty much spent the whole day sanding. I started feather edging the paint to allow for my next layer of lightweight putty to go over the Metal 2 Metal to shape it better, but as I was sanding away I kept finding more and more mud that had already been placed on the roof. It seems like whoever did the paint last had skim coated the whole thing for whatever reason, so that changed my plan of attack and I'll explain why.
I started by sanding the Metal 2 Metal on the back of the cab which I hadn't done already.
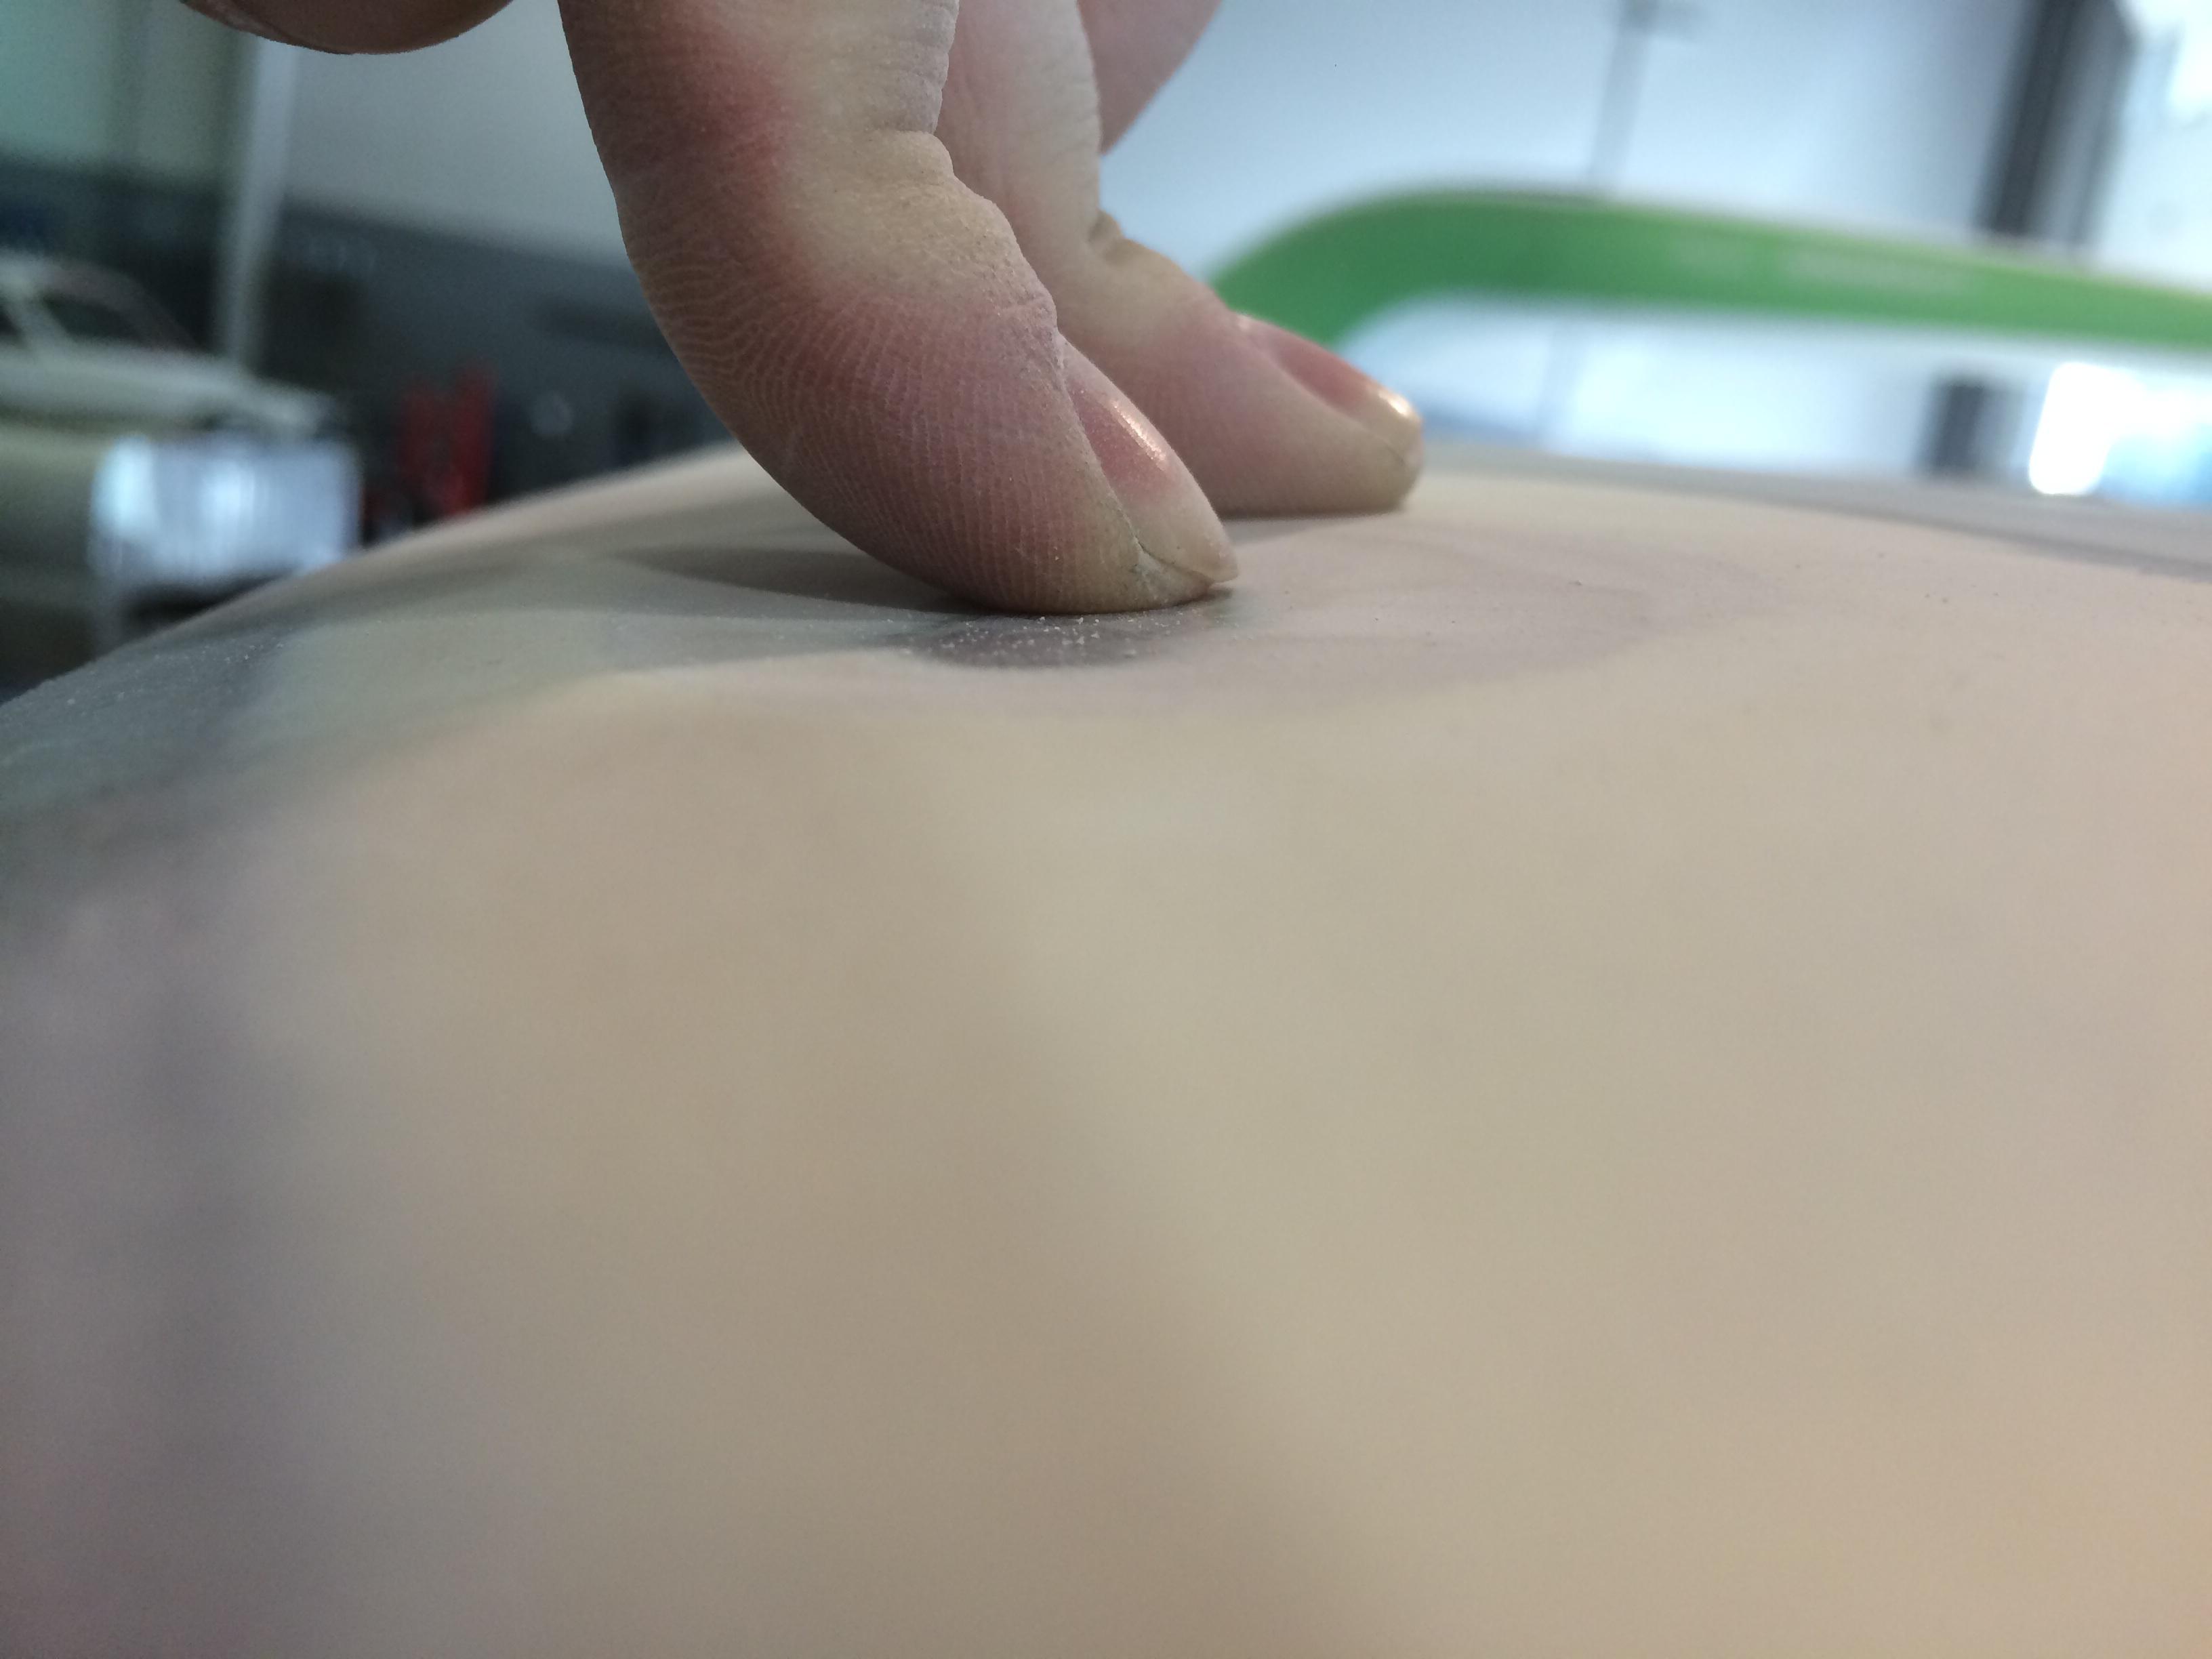
The nice thing about a quality filler is that it's usually pretty obvious where the sandpaper isn't hitting, indicating a low spot.
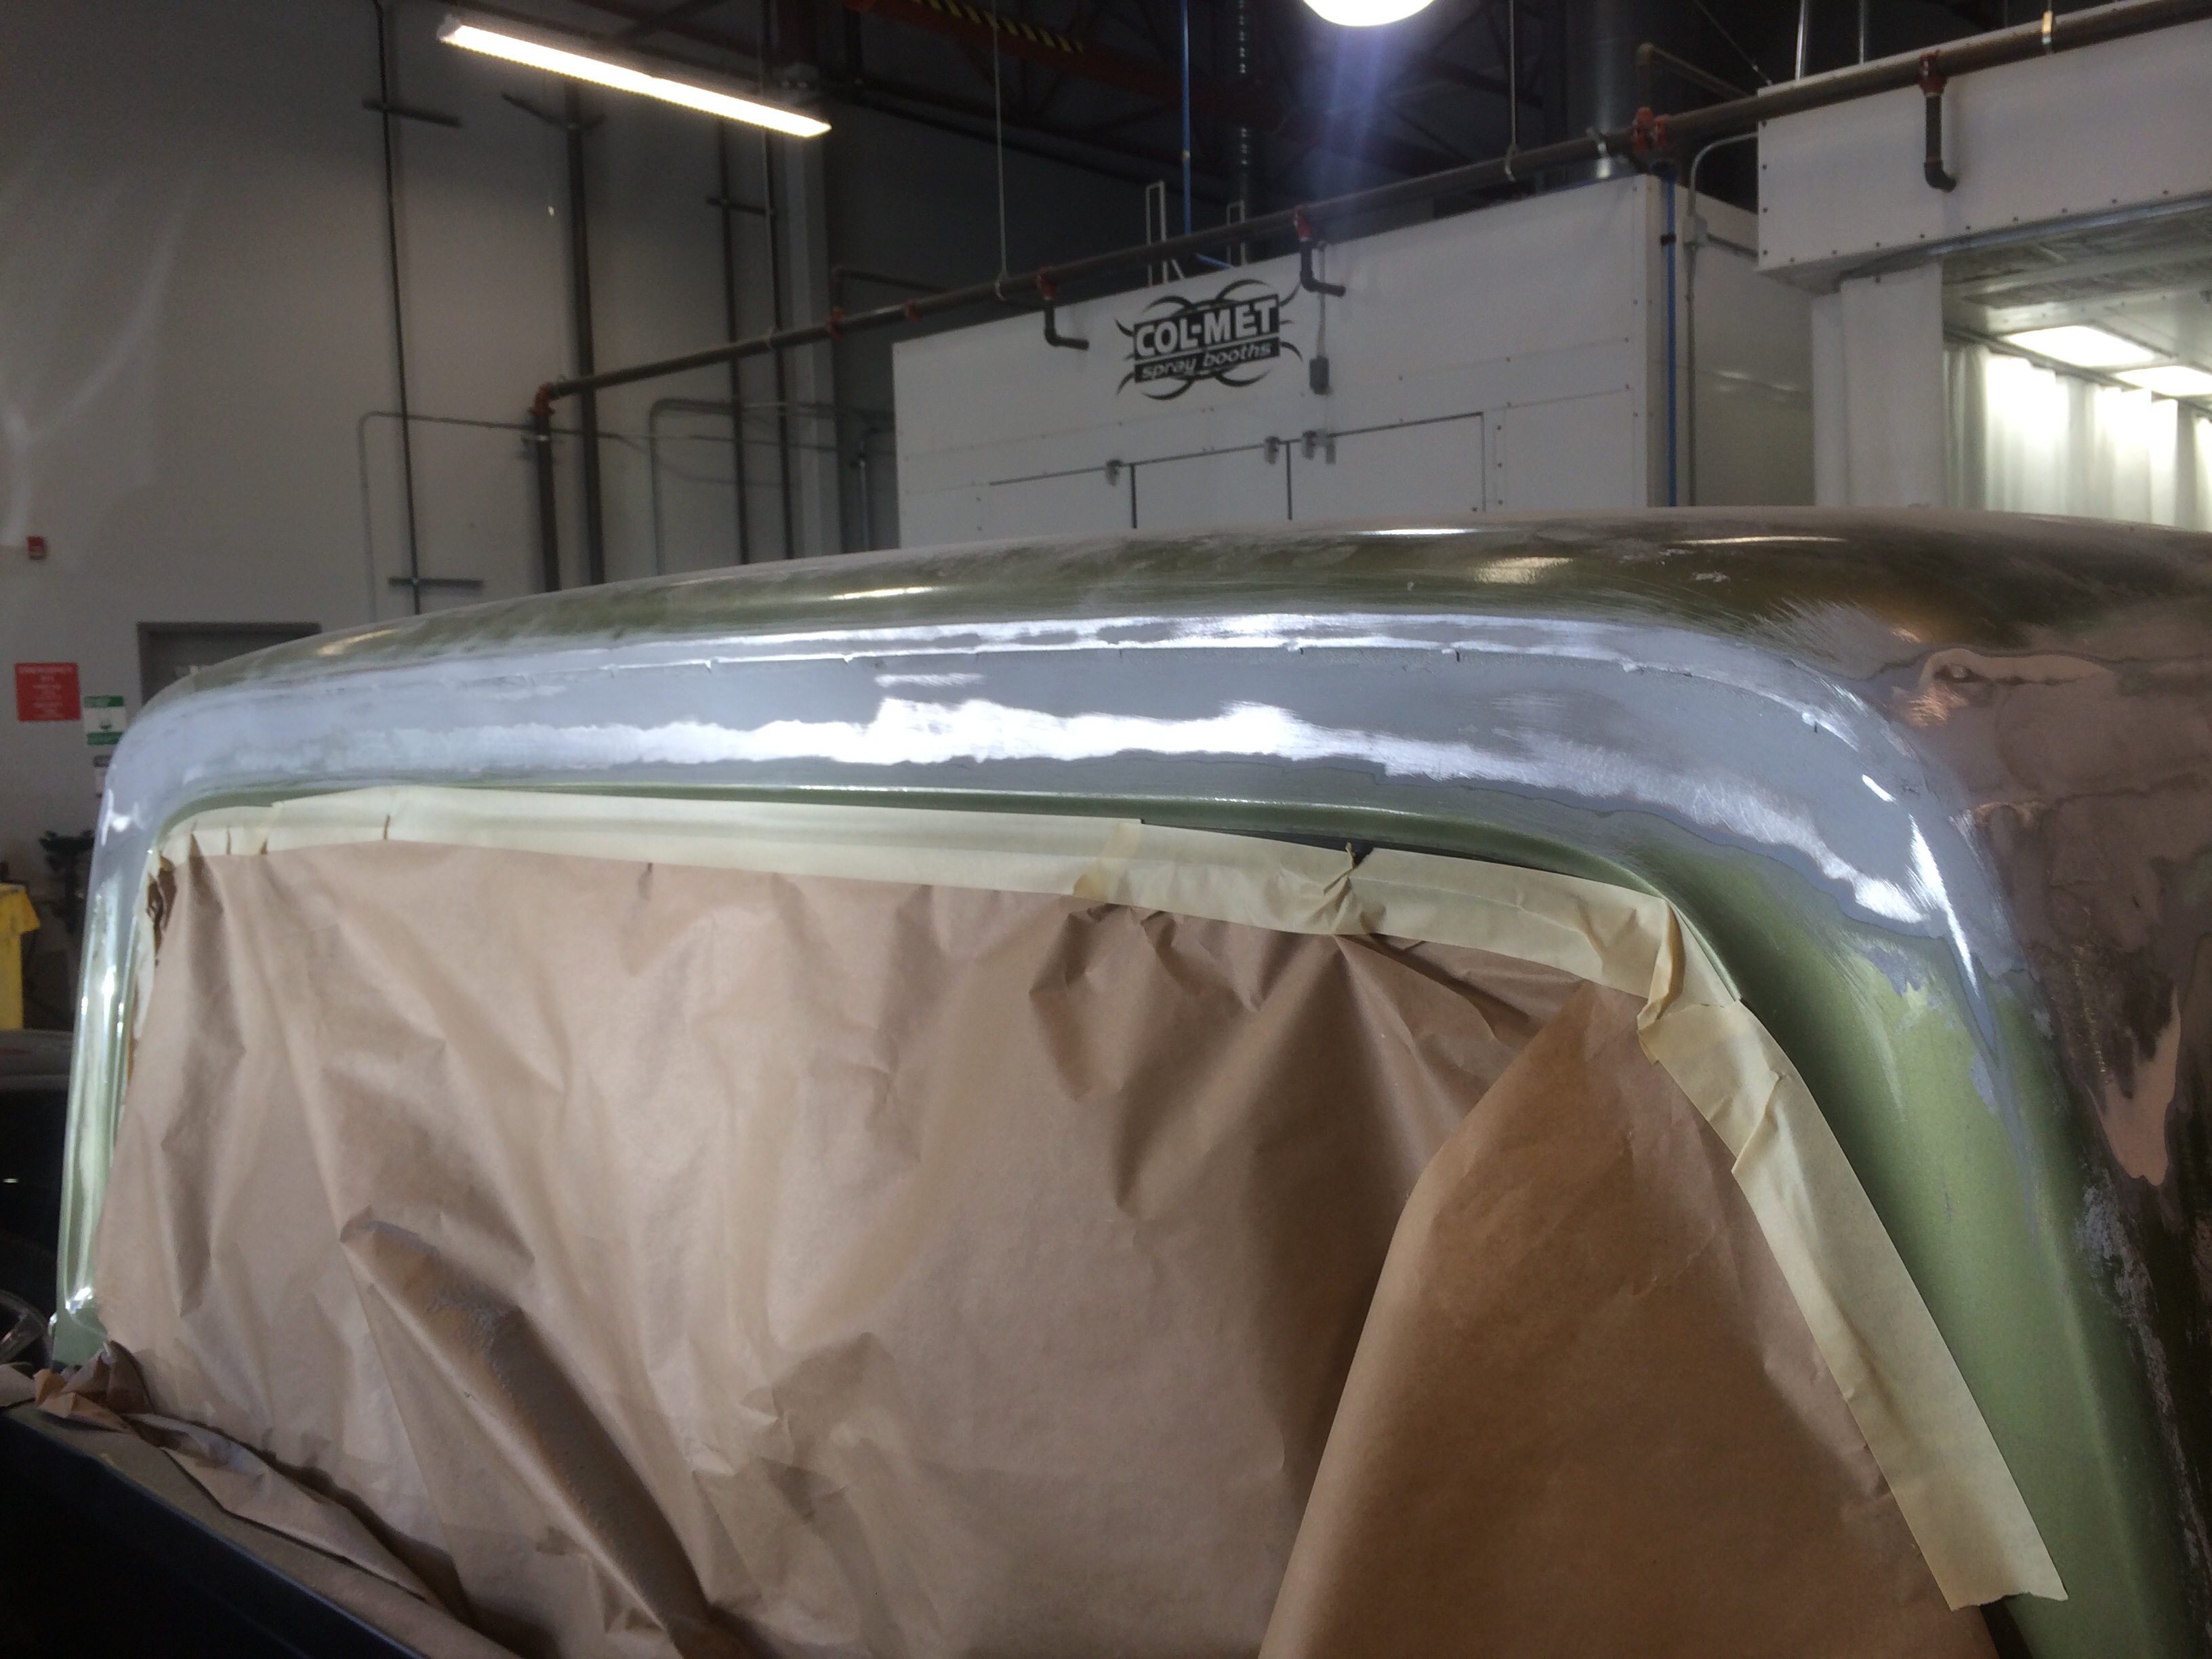
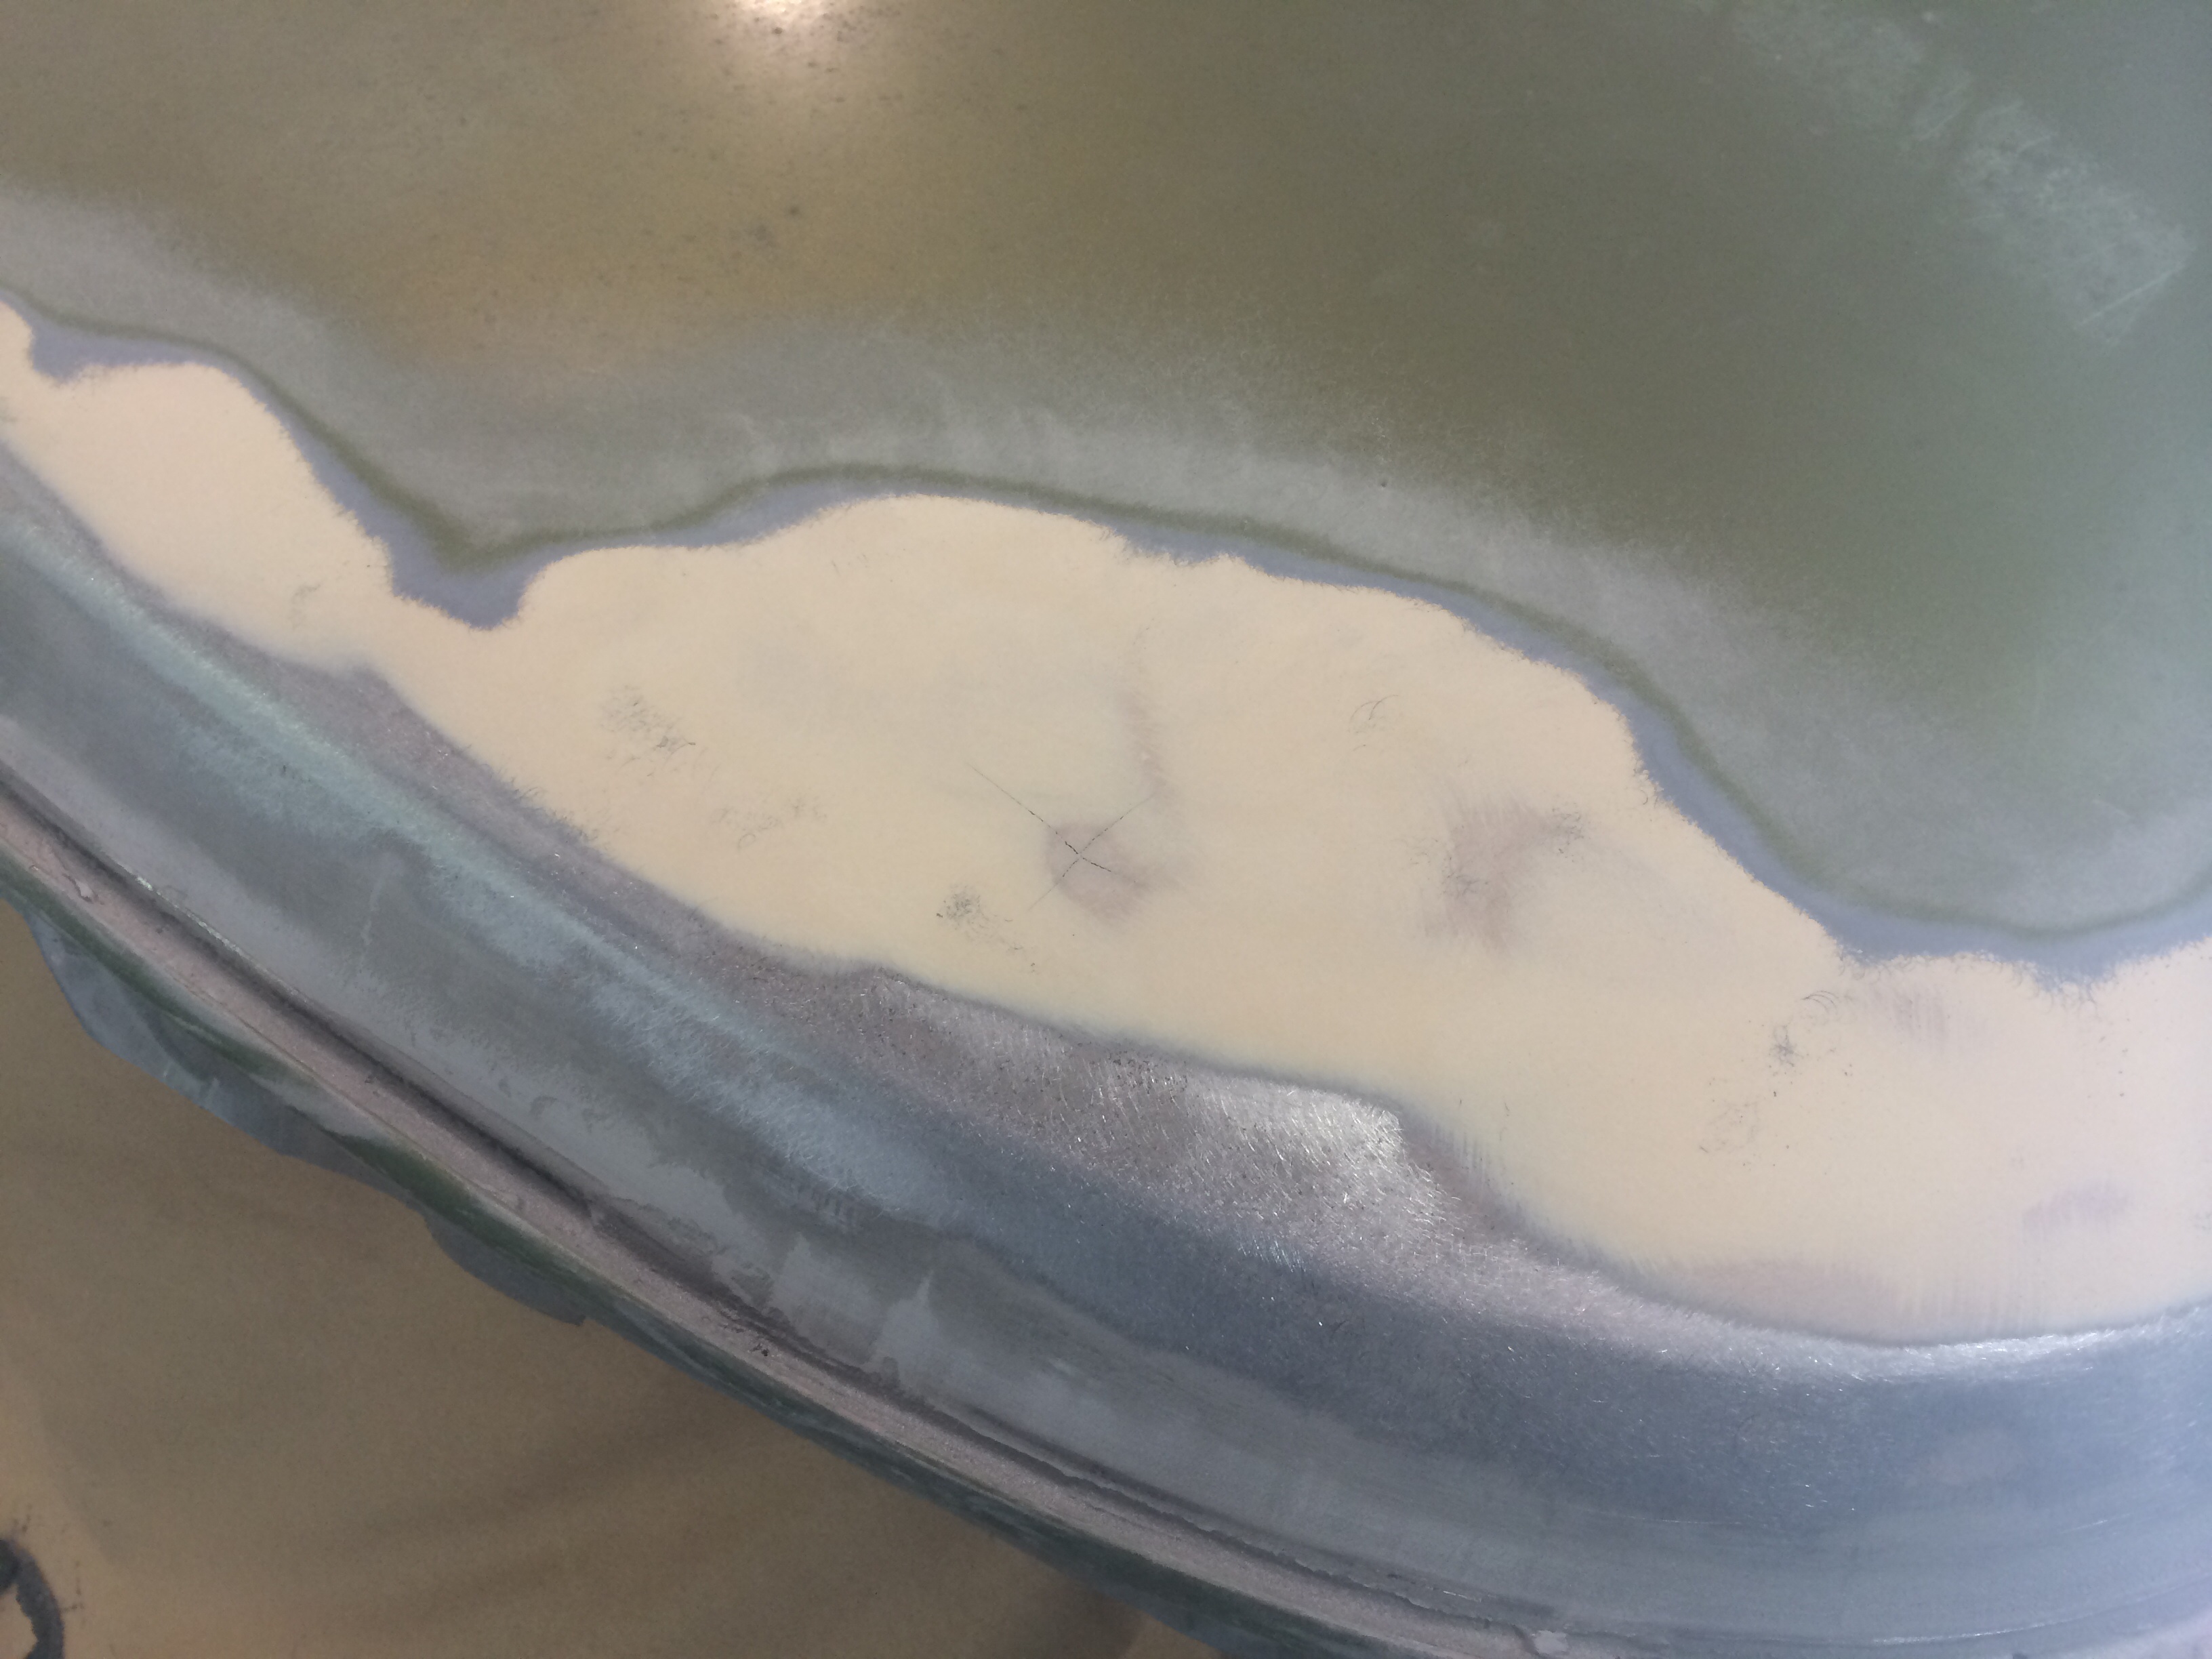
So here's the cab after hours of tapering the edge with 80 grit. I did this to leave room for the filler I'm about to apply, but as you can see there's already filler present.
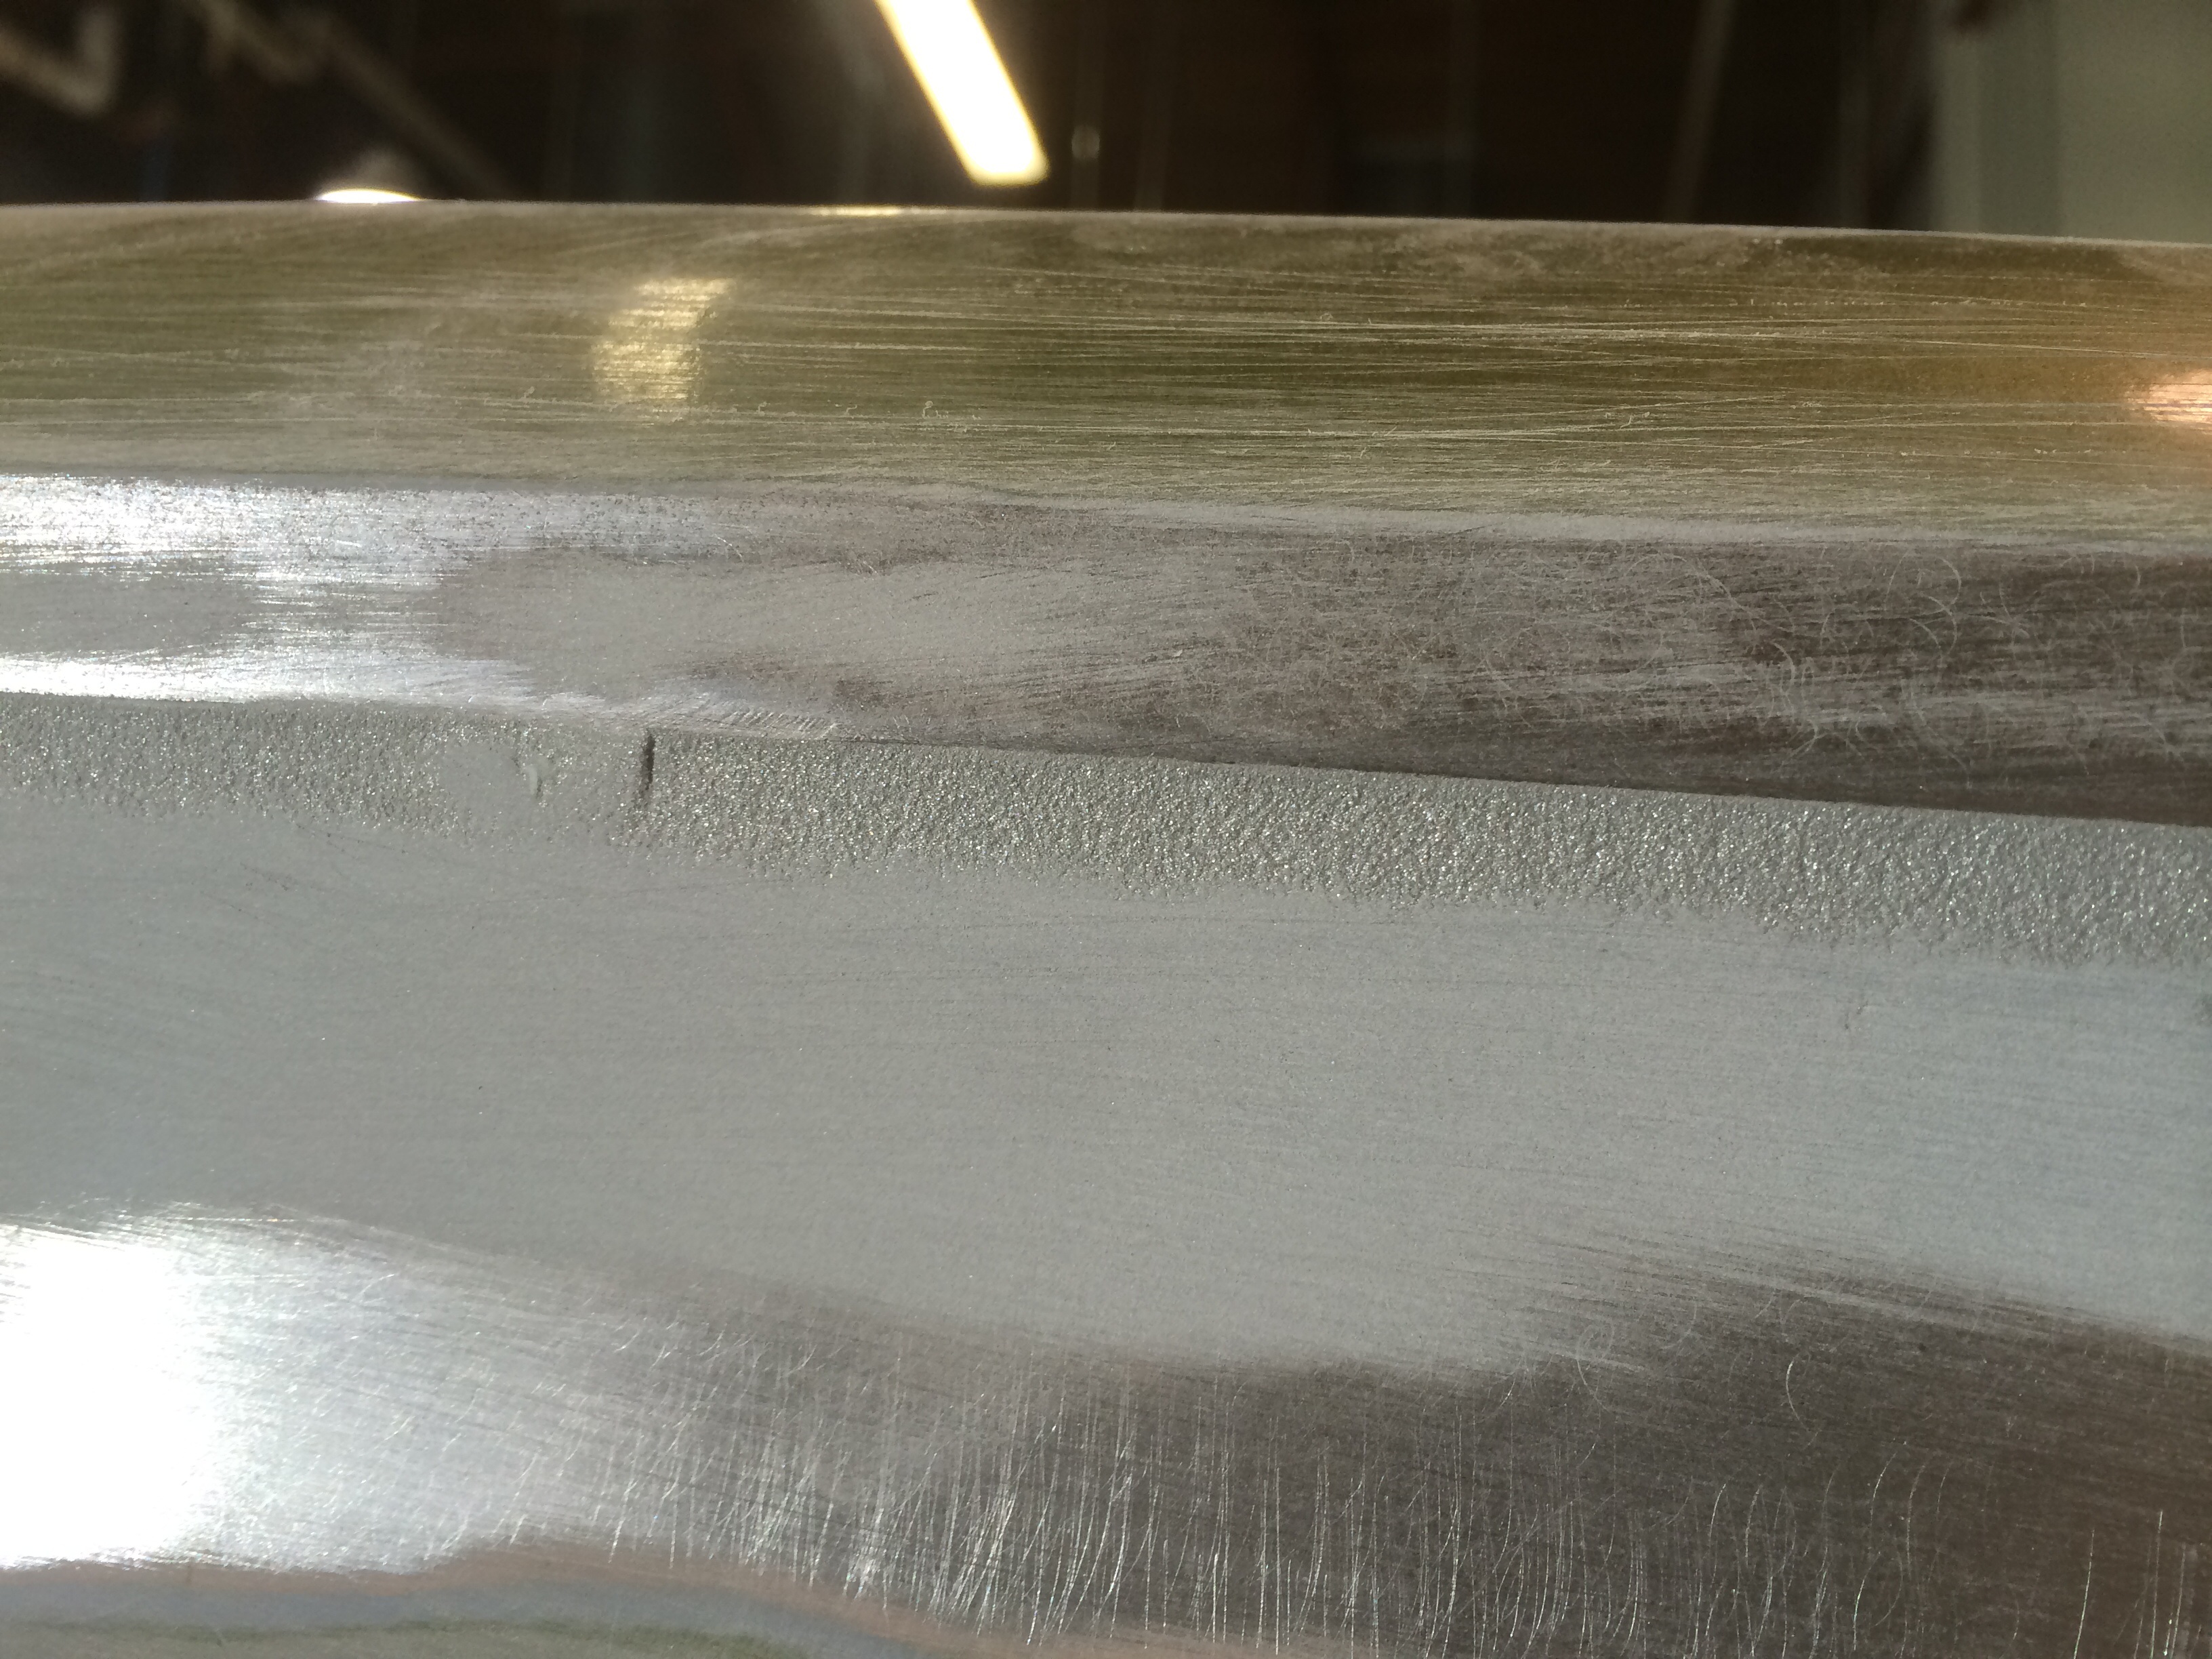
When there's filler present, you have to strip back the paint but not the filler. This is done so that when you apply new filler you can transition it onto the already present filler. The reason the paint is stripped back is because filler doesn't stick on top of paint, sanded or not. If there was no filler present I would have left the paint more or less intact, about at the line where the old filler starts... if that makes sense. Here you can see the old filler and the Metal 2 Metal. I will have to transition the two together to make it look smooth.
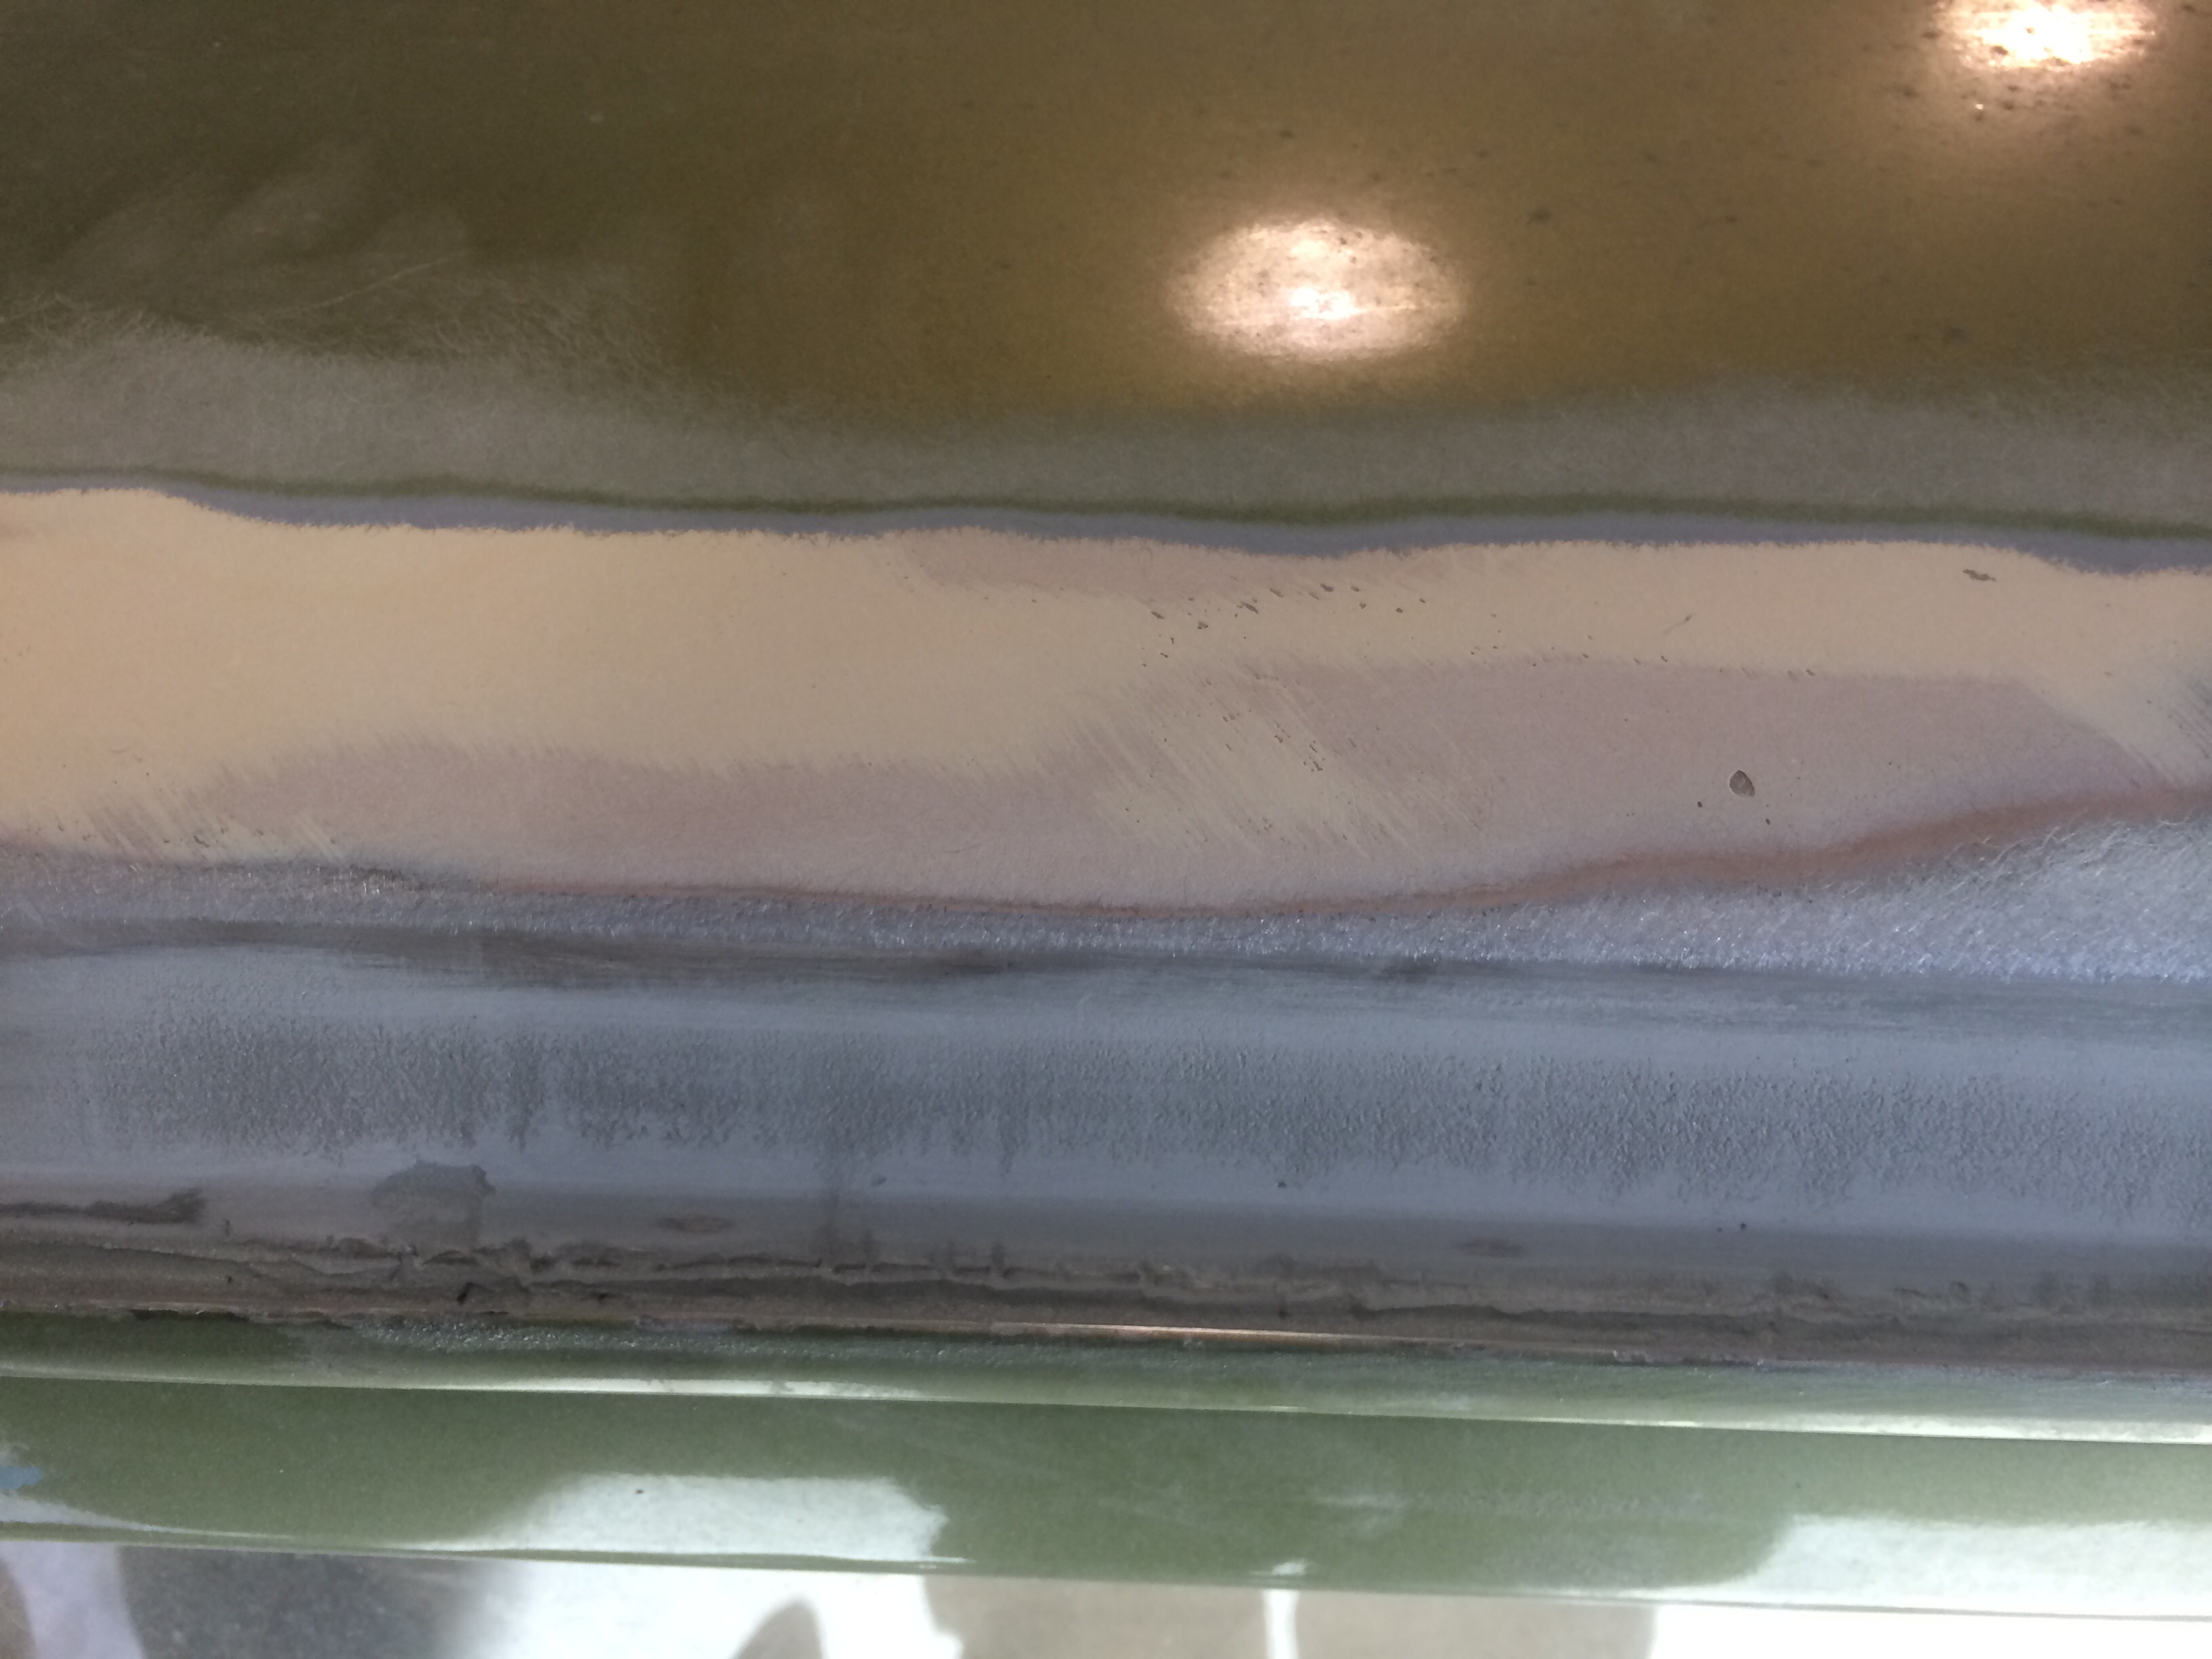
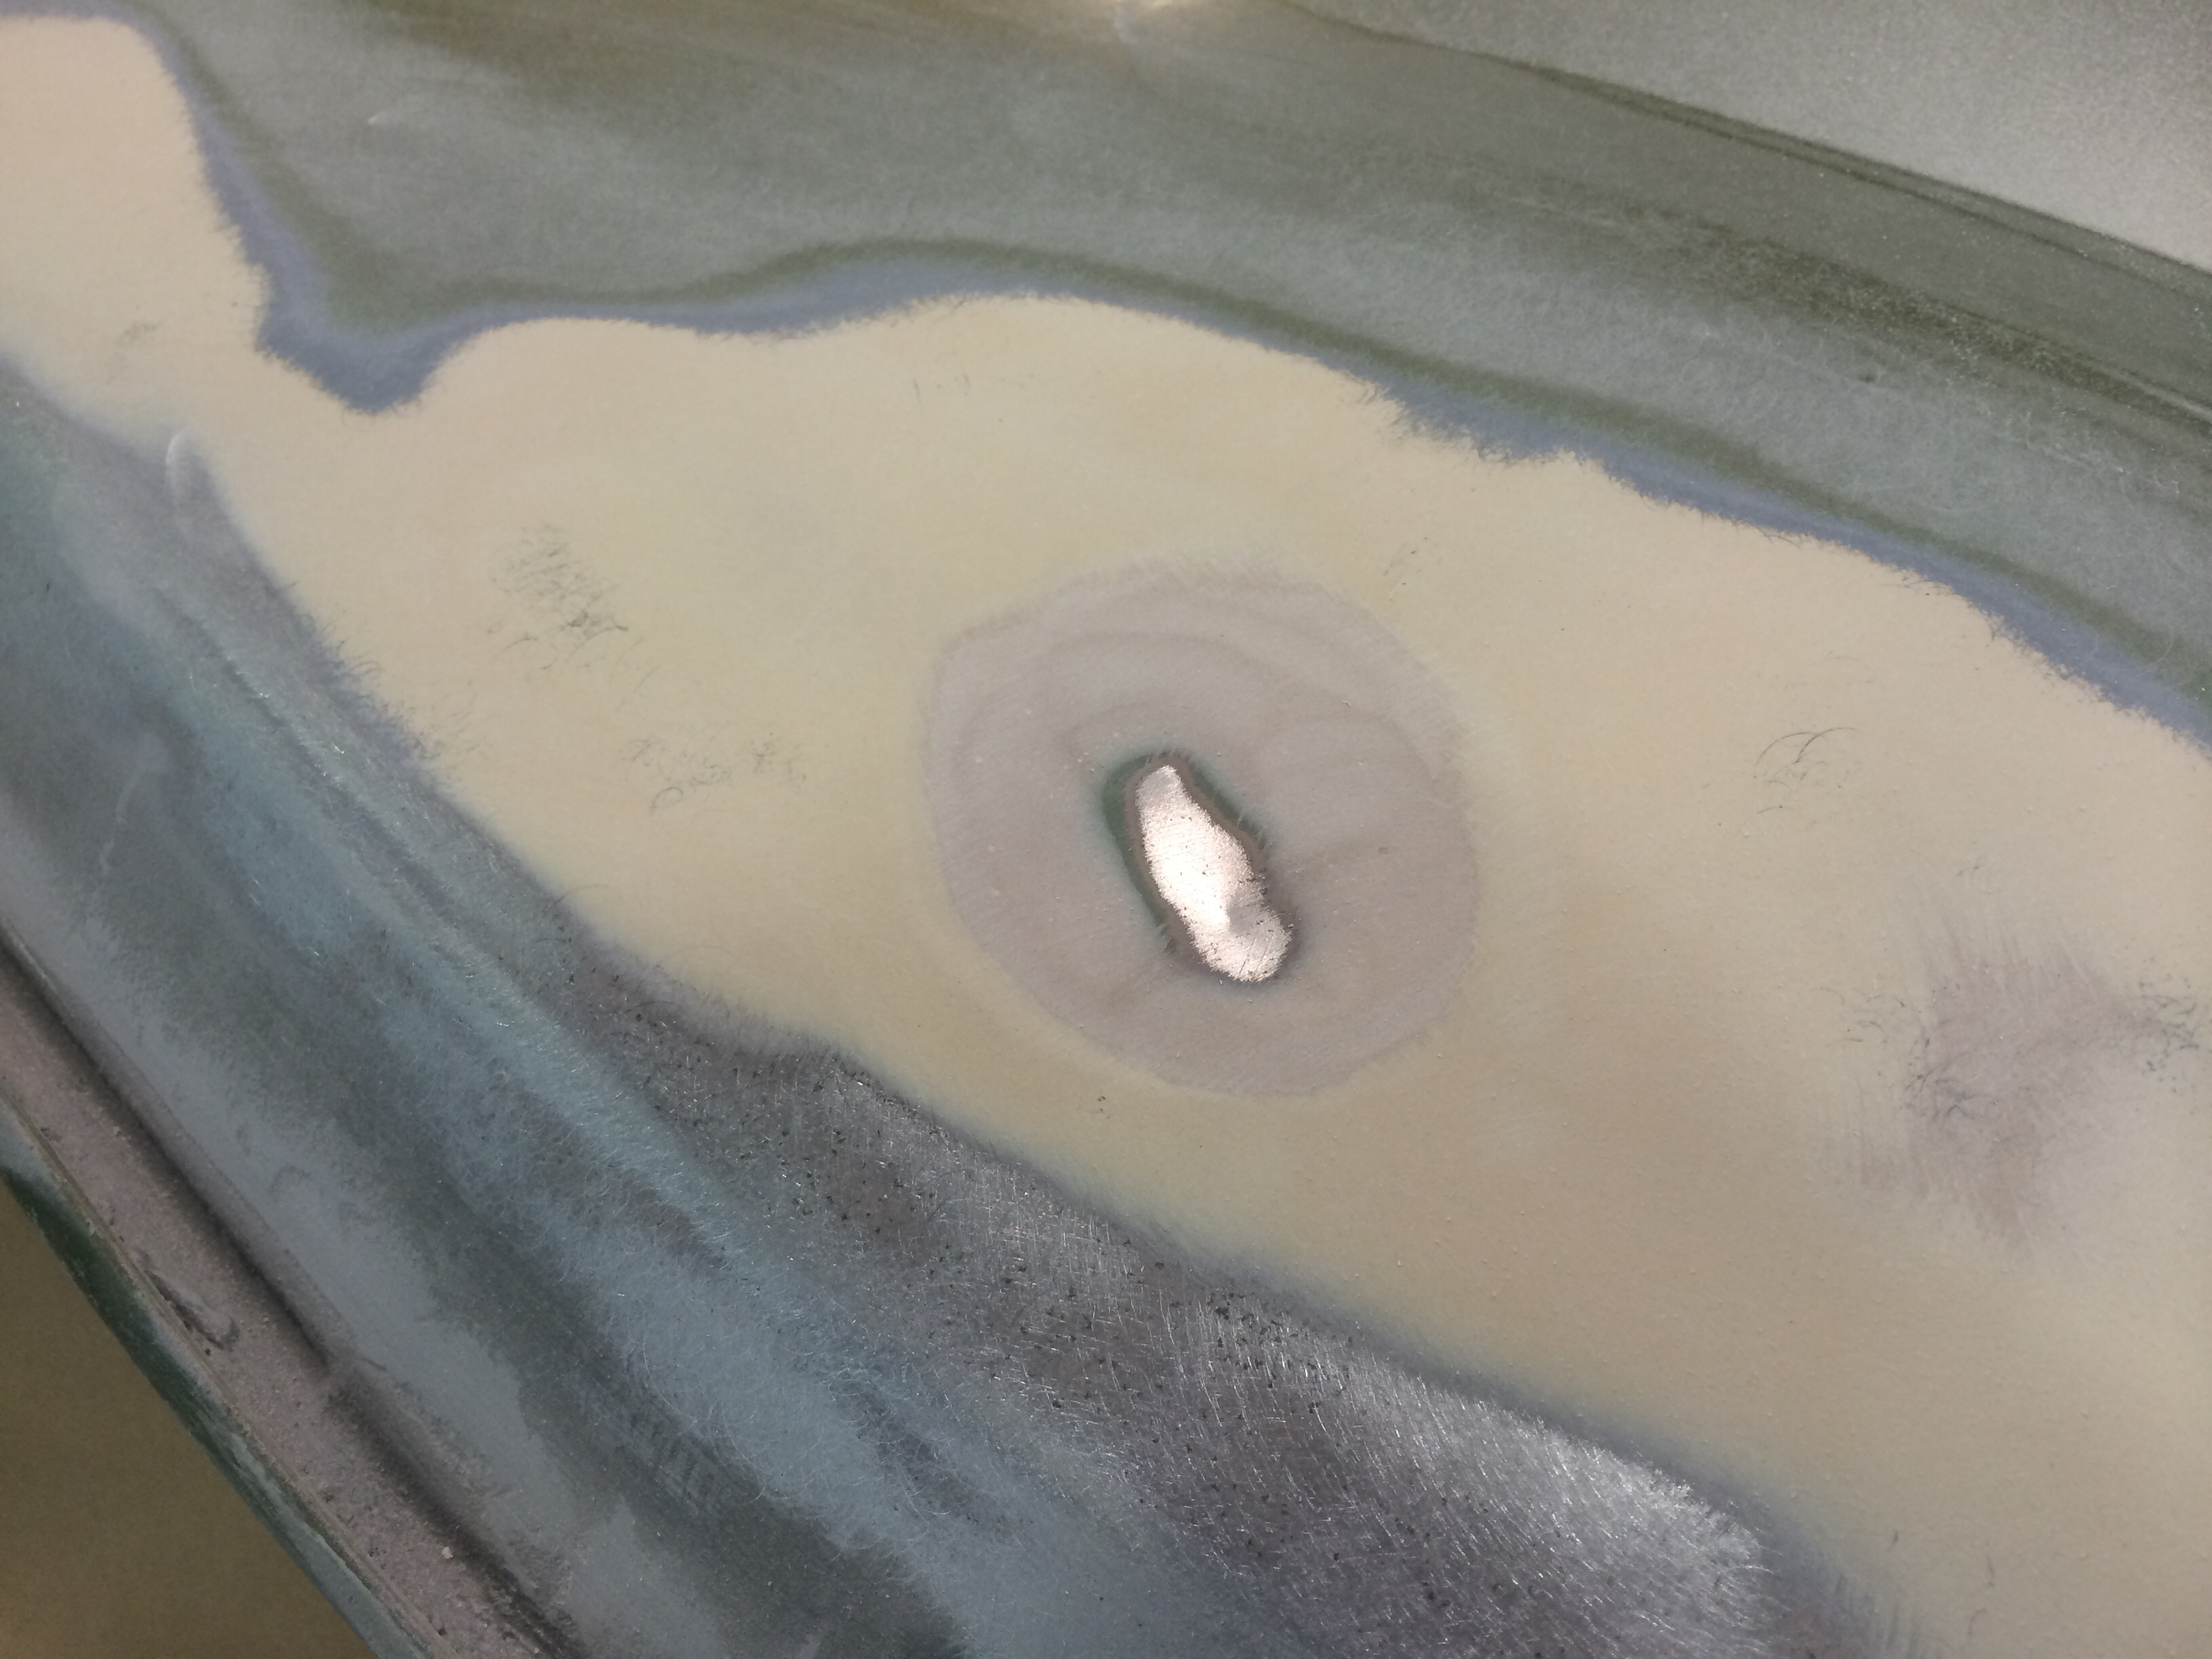
On both corners of the cab were cracks in the filler, likely from when my hood flew up on me, that were showing through the paint. I forgot to take a picture before sanding away the paint, but you get the idea.
To remedy this I sanded out the cracked area and I will re-fill that.
Unfortunately, it's on the thicker end of the spectrum, which is puzzling me because I don't see why it was ever necessary, but if there was an incorrect application six years ago when the truck was painted, it would have shown up by now. It's safe to assume that it's okay to leave it as is. If the truck was painted six months ago, I'd probably strip it all down for reassurance.
Here are the fillers I use. I'll explain what they're all for when I get back from work if you guys want.
I started by sanding the Metal 2 Metal on the back of the cab which I hadn't done already.
The nice thing about a quality filler is that it's usually pretty obvious where the sandpaper isn't hitting, indicating a low spot.
So here's the cab after hours of tapering the edge with 80 grit. I did this to leave room for the filler I'm about to apply, but as you can see there's already filler present.
When there's filler present, you have to strip back the paint but not the filler. This is done so that when you apply new filler you can transition it onto the already present filler. The reason the paint is stripped back is because filler doesn't stick on top of paint, sanded or not. If there was no filler present I would have left the paint more or less intact, about at the line where the old filler starts... if that makes sense. Here you can see the old filler and the Metal 2 Metal. I will have to transition the two together to make it look smooth.
On both corners of the cab were cracks in the filler, likely from when my hood flew up on me, that were showing through the paint. I forgot to take a picture before sanding away the paint, but you get the idea.
To remedy this I sanded out the cracked area and I will re-fill that.
Unfortunately, it's on the thicker end of the spectrum, which is puzzling me because I don't see why it was ever necessary, but if there was an incorrect application six years ago when the truck was painted, it would have shown up by now. It's safe to assume that it's okay to leave it as is. If the truck was painted six months ago, I'd probably strip it all down for reassurance.
Here are the fillers I use. I'll explain what they're all for when I get back from work if you guys want.
#1020
02-10-2016, 08:22 AM

It's not uncommon for older vehicles to have skim coat of filler on them especially show type ones, it how they get them straight. That's why it costs so much to do a full complete paint job on them. When I did my 64 I sandblasted it to bare metal then primed it with 5 star primer and then used the napa gold filler.
Good work it's coming right along.
D
Good work it's coming right along.
D