When you click on links to various merchants on this site and make a purchase, this can result in this site earning a commission. Affiliate programs and affiliations include, but are not limited to, the eBay Partner Network.
I did this close to 2 months ago and there are a ton of write-ups on IC installs so I won't go into tons of detail but I'll outline a few things I did different. Sorry it took so long to put it up. I didn't take a lot of pictures for an actual step by step. Some of the pics for mounting the IC don't show the final product but I did paint everything before buttoning up all of it.
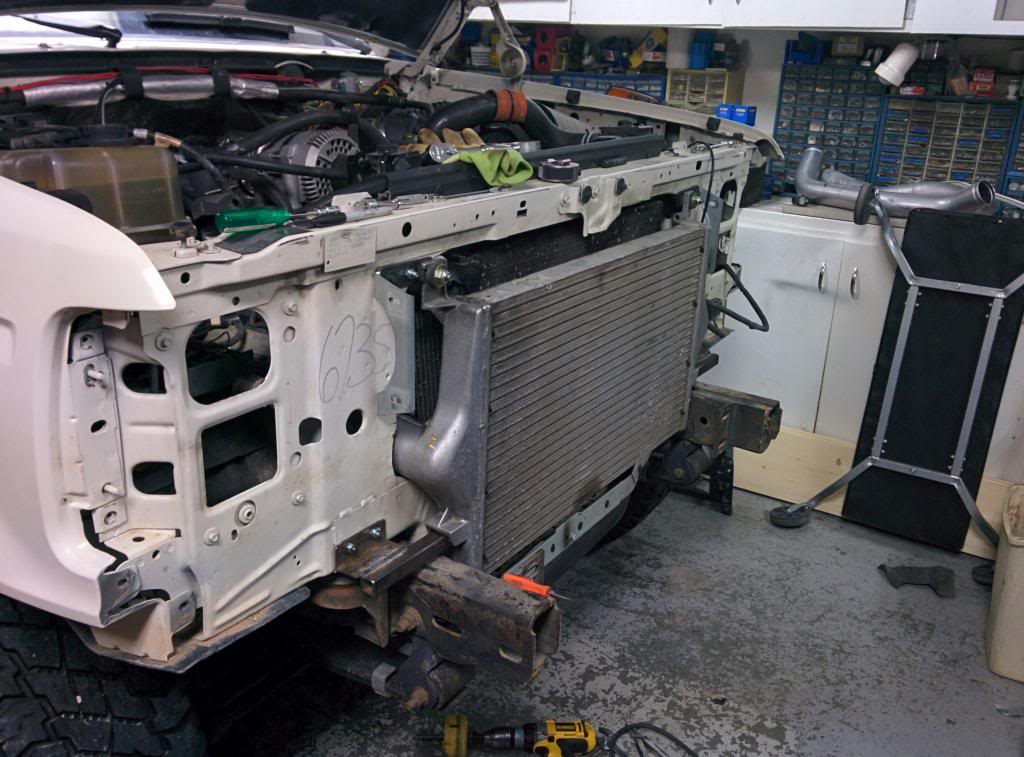
I used an all aluminum IC from an early 7.3L SD. I kept the IC inlet and outlet in the lower portion of the core support where it had a bigger opening. I also cut the hood latch mount support strap off and welded a 1/4 inch thick by 1 1/2 wide strap to the latch mount and bolted it to the factory location on the bottom of the core support. I didn't like the idea or look of flattening out the original.
Passenger side
I wanted the IC in towards the radiator more and modifying the hood latch support mount gave me much more room. As well as flattening the lower brackets for the AC condenser. This makes it possible to R&R boots without taking the IC out.
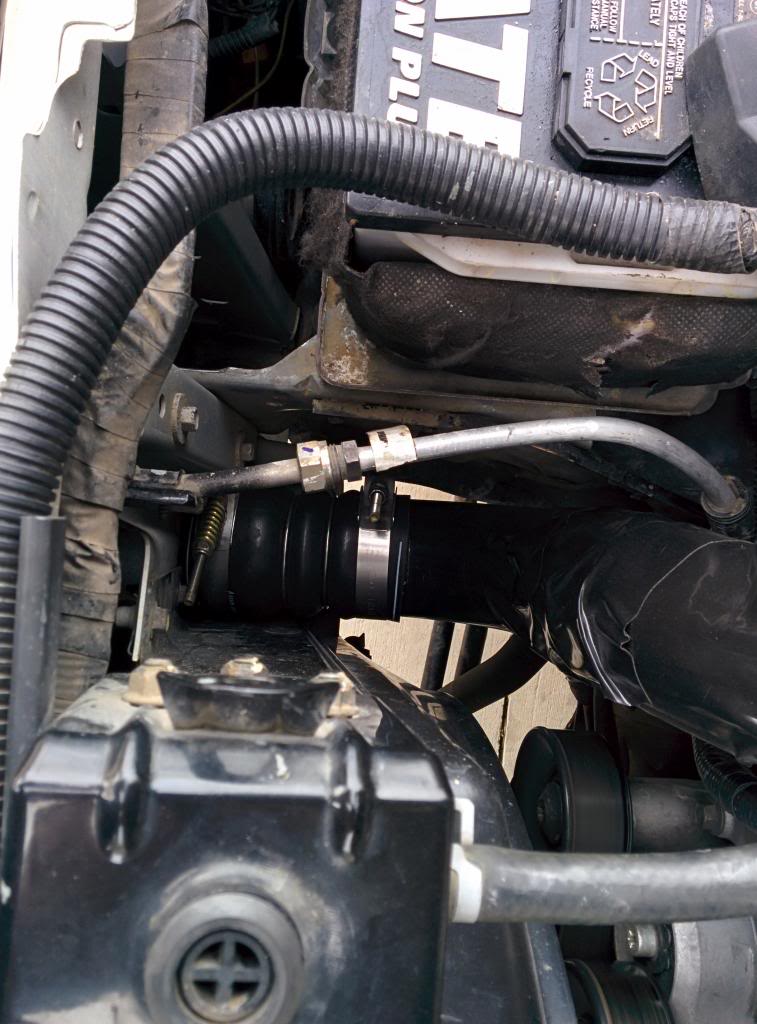
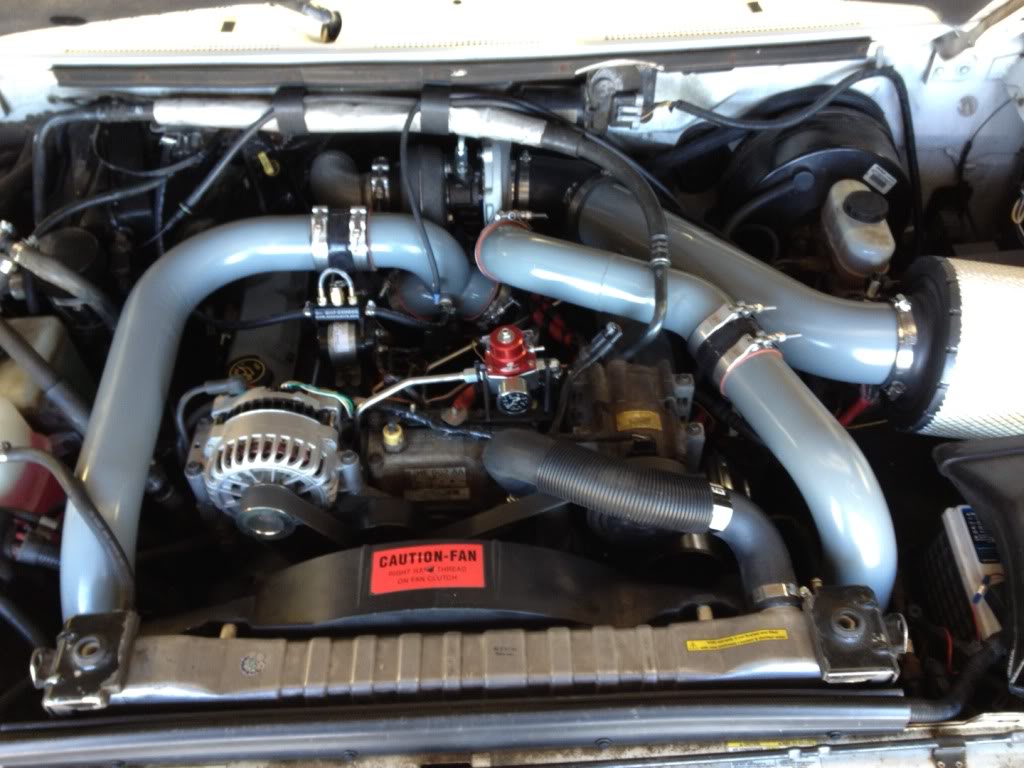
Drivers side
I made brackets for the top and bottom of the IC using the factory mounting locations on the IC.
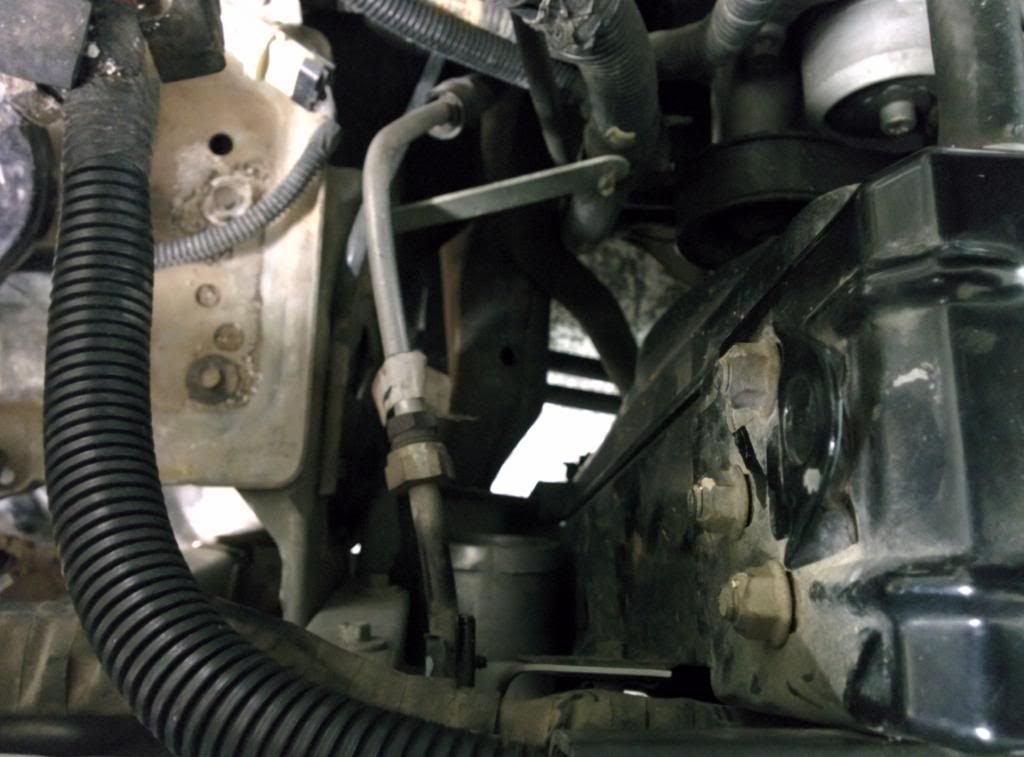
Driver side. As you can see, clamps can be put on without removing IC, it is tight though.
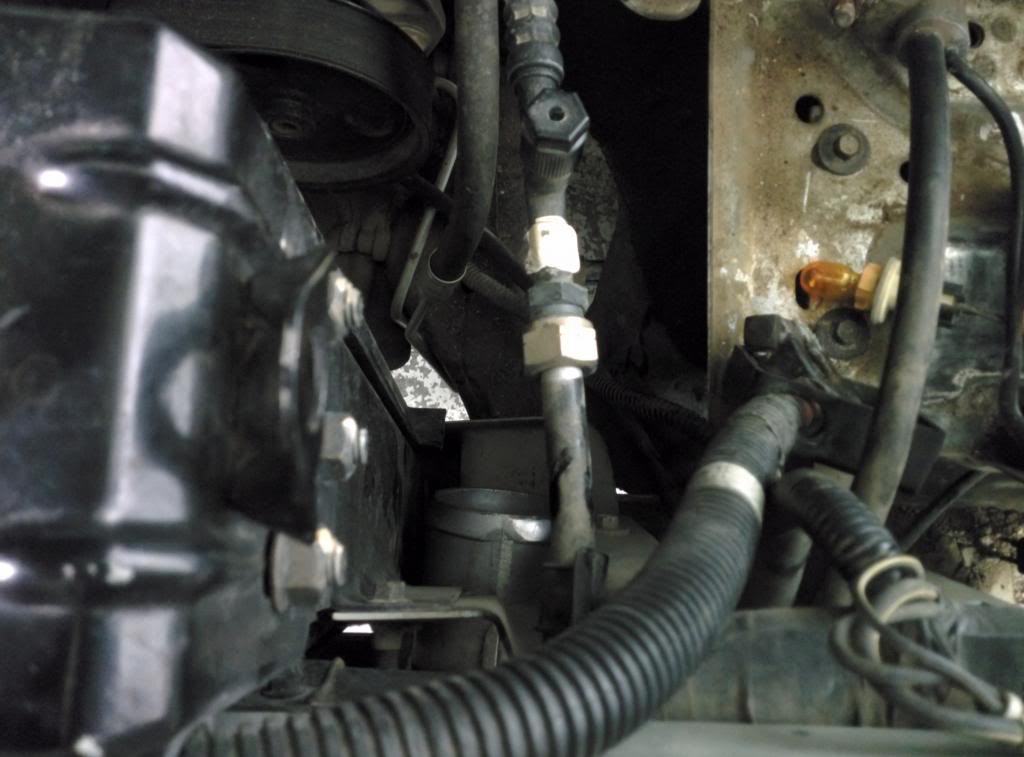
Passenger Side.
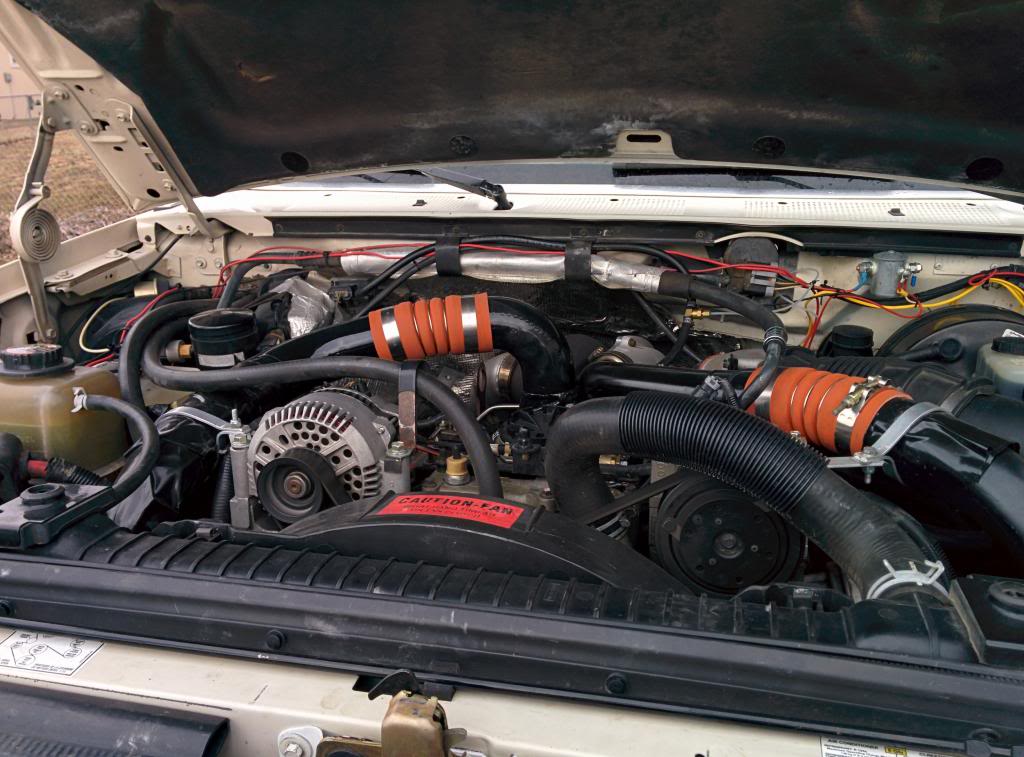
I used 3" exhaust to fab the IC pipes. The stock SD IC pipes were not even close to fitting for the way I had my IC installed. I kept the passenger side IC pipe up high to leave more room for the dipstick and oil cap. I will prob fix the drivers side pipe to get rid of the angle where the boot connection is under the AC line and air intake bracket.
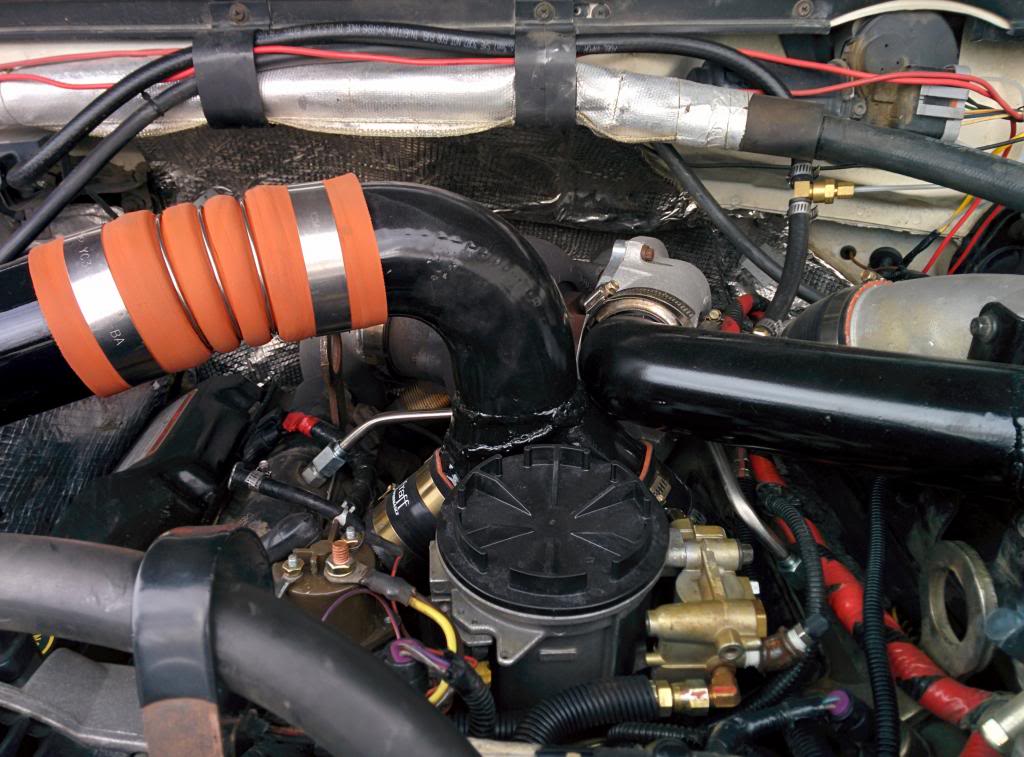
I used the factory intake spyder and cut it up. I used 3" exhaust pipe pieces to build up the top section so the air goes as straight into the Y as possible. This allows the air to evenly distribute to both heads. The welds suck since my MIG welder was giving me fits and I didn't feel like grinding them off at the time. Prob be a clean-up project for later.
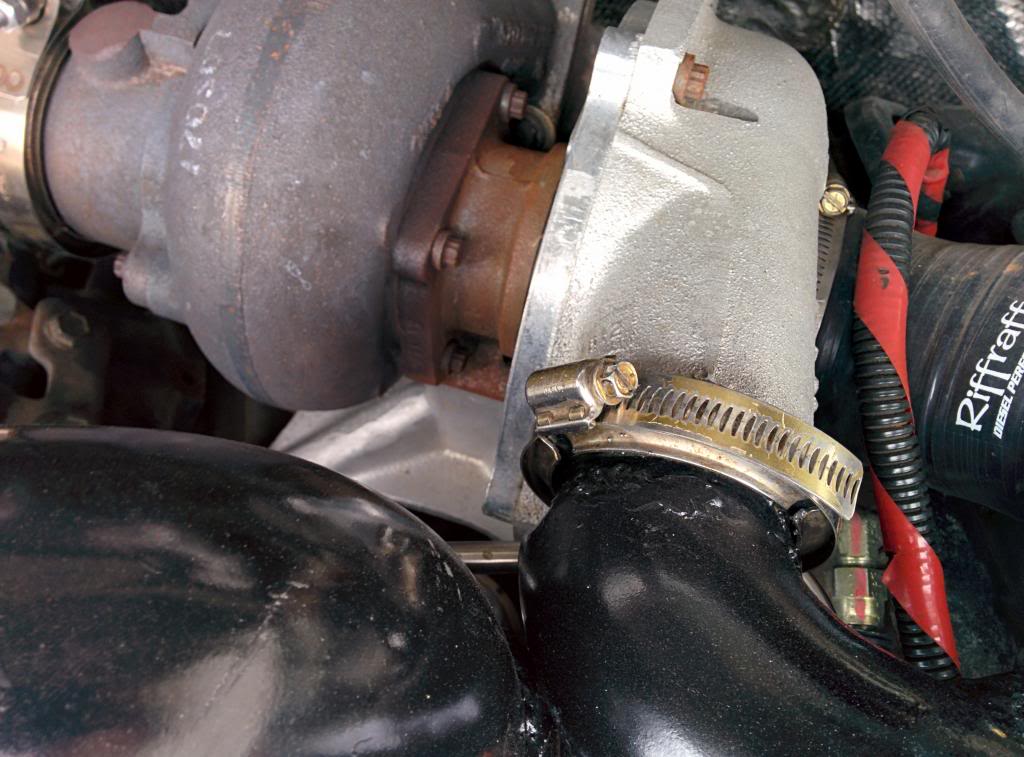
Turbo outlet.
Overall I am happy with it. There are a few things I am going to fix and clean up but it works great, no leaks and I noticed a huge drop in EGTs. I de-greased the IC before putting it in and before the IC I could get 1400 degrees easy while towing. Now, I have only seen 1000-1050 degrees while towing. The black "wrap" on the IC pipes is a large electrical tape I used to wrap in areas that might come close or rub on other hoses and lines.
I'm sure I left a few things out. If you guys have questions ask away.
I like your support to the alternator, mine is flopping around at that joint. Did you paint the ends of the IC pipes? I did the first go around and kept blowing off the boots. I removed all the pipes and sanded off the paint and haven't had any problems with boots coming off. I wish that it would stay this clean looking, but after 16K that I've put on it, its not, LOL
Yours does look nice and clean Glenn! You have the Irate IC pipes right? Ya I didn't like the pipes flopping around so I made a bracket for both sides. It's just aluminum strap that I bent around the pipe. I did paint the ends of the pipe but I welded a bead on the ends of the pipe connections. Haven't blown one off yet but I only get about 25 psi boost.
Yeah, they are Irate pipes. They do have a bumped up area around the ends but when I couldn't figure out why I was blowing them off, Clay suggested I get rid of the paint on the ends. I never thought of that! Plus, the picture doesn't show them, I added spring loaded clamps. I doubled clamped the drivers side where the break is, that spot blew off the most. Been good ever since.
That's interesting Glenn, I guess the paint makes the pipe slippery. Do you have your crankcase vented elsewhere, other than into the intake? I think I read in of your posts, you get over 30psi of boost right?
Those Irate pipes are some good looking pipes. Way nicer than mine, lol!
Crankcase is vented up over the brake booster and down along the frame. I have hit 40lbs of boost but after putting on the 'Cummings turbo whistle muffler' I'm about 38-39lb WOT boost. Well worth it, I don't have that annoying whistle anymore. There is nothing wrong with your pipes but I don't know off hand if they can be used with the Irate T4 setup or not.
I don't think I'd want to strap the pipes to the motor like that.
You've eliminated the one flex coupler that is needed when the engine moves relative to the body.
But I don't have a cooler on my OBS so you guys might know better.
I don't think I'd want to strap the pipes to the motor like that.
You've eliminated the one flex coupler that is needed when the engine moves relative to the body.
But I don't have a cooler on my OBS so you guys might know better.
Agreed. You don't want the pipe to be too rigid. They need to flex a little bit considering that the IC is solid mounted to the core support and the engine is allowed to flex back and forth. I've seen a truck with a solid mounted hot side pipe actually lift the turbo up off the pedestal enough for oil to spray out of the oil feed o-rings onto the uppipes and start a fire when the engine torqued hard under full power. Definitely need at least some flex on one side. On my truck I have a v-band on the top side solid mounted to the turbo and a boot on the bottom side. That has provided enough flex on my truck so far, but I'm about to add one boot on the top side as well just to allow a little more flex. .
Thanks Bill! Jim and Travis, thanks for the info, I thought about that when I put the brackets on and figured it would give enough on the joints at the IC. But the more I thought about it...lol, I agreed and I removed the brackets the other day.
What has everyone done to minimize the pipes rubbing on hoses/lines/wires etc? That is my only concern, it has already rubbed through the wrap I had on the hot side pipe that touches the inner fender skirt.
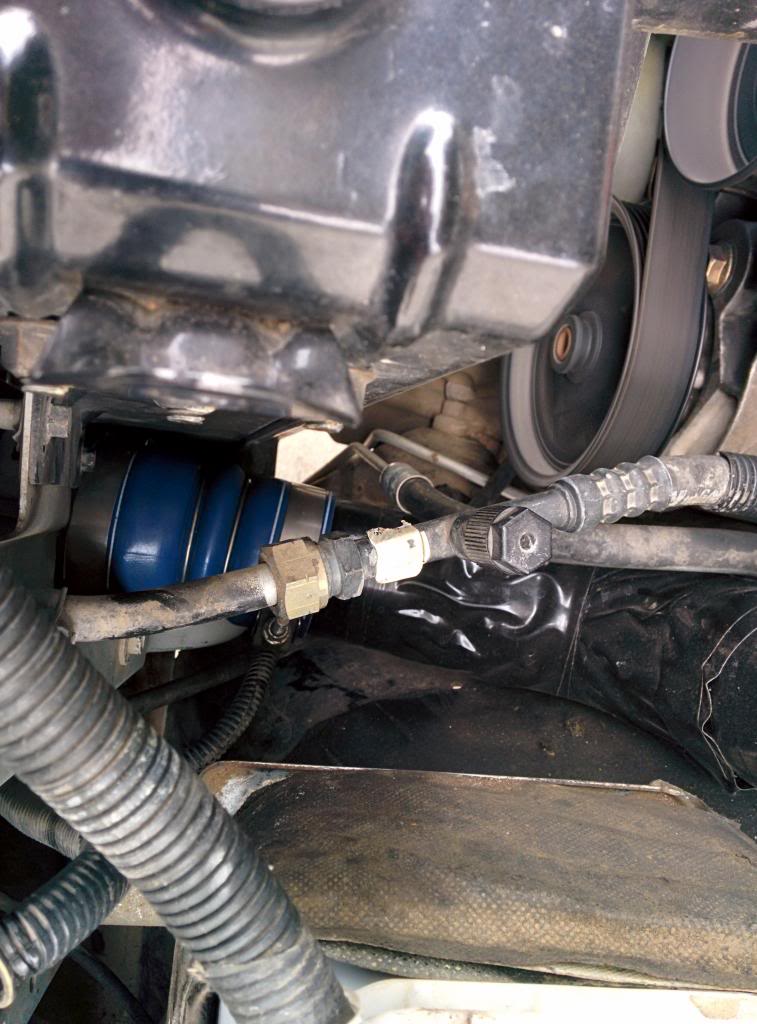
I also changed the hot side pipe and made it so the boot isn't under the AC line. Much easier to get to the clamp.
I put some rubber hose cut in half under the ac line where it rubs on the IC pipe. Also where it goes down to the IC connection on the drivers side I put a rubber cushion where its close to the radiator bracket.
Chris, thanks for all the pictures! Do you have any pics of your modified hood latch?
And another question (I know, I'm getting greedy) about the bottom support brackets you made… Your solution seems to be similar to most others that I've seen, but it requires welding. The angle piece you used basically is welded to the inside edge of the square tube. How long would that bottom leg of the angle have to be to come flush to the far edge, closest to the bumper? Here's my idea, use a piece of angle that is thicker and bigger, your dimension will tell me how big it has to be. I cut a piece of paper because it was easier that describing my thought…I think 1/4" thick angle would be sufficient. Your thoughts?
I actually did something similar i welded tab from the hot side pipe to the top of the A/C mount bolt. It ripped off after a year or so due to the rigid mounting. I patched it and left it alone without remounting it to the A/C, no problems since
 05-04-2014, 12:13 PM