Lets do it again! 1951 Ford F1 LT1 supercharged, 4L80E, EFI, jag IFS, etc..
#166
 03-04-2015, 02:21 PM

#167
03-08-2015, 10:40 PM
Got some time today so back to it!
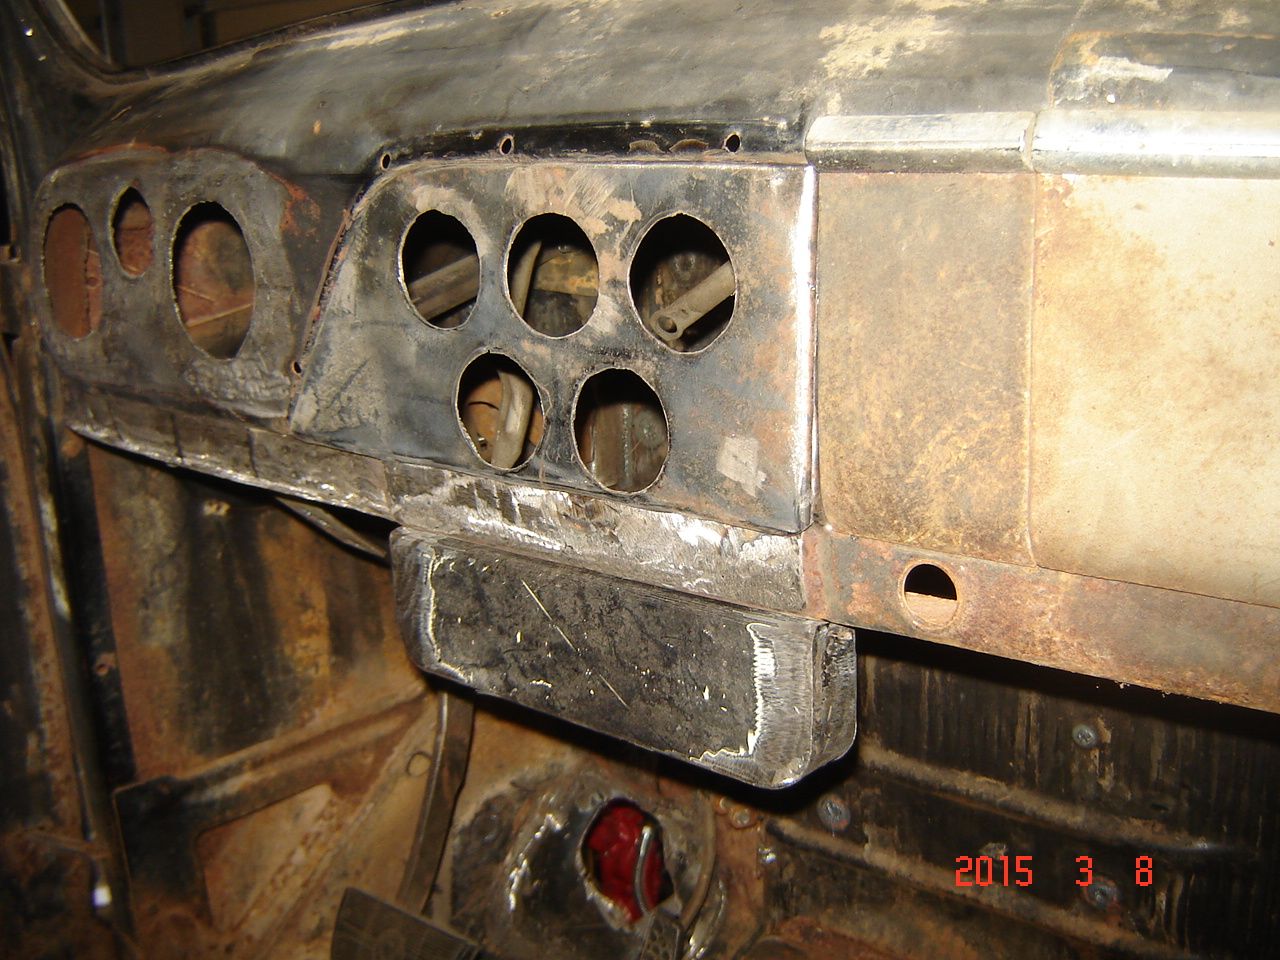
I am not sure in the "end" if I will be installing A/C..if so I will make a dash extension, but I didnt do it now because I want to keep the factory cowl vent and ebrake and I dont want to block them. So for now I made a removable radio pod, it bolts to the bottom of the dash so I can remove it if necessary.
Have to have tunes, and I dont want to carry a ton of CDs around, so I picked up a JVC unit that is and AM/FM radio and has USB and AUX ports so I can play music from my phone or a USB stick.
Here is the initial fitting.
Cut out for the stereo

And final bolt up.
Also drilled the pilot holes for where my LEDs will be for turn signals, high beam indicator, and SES.
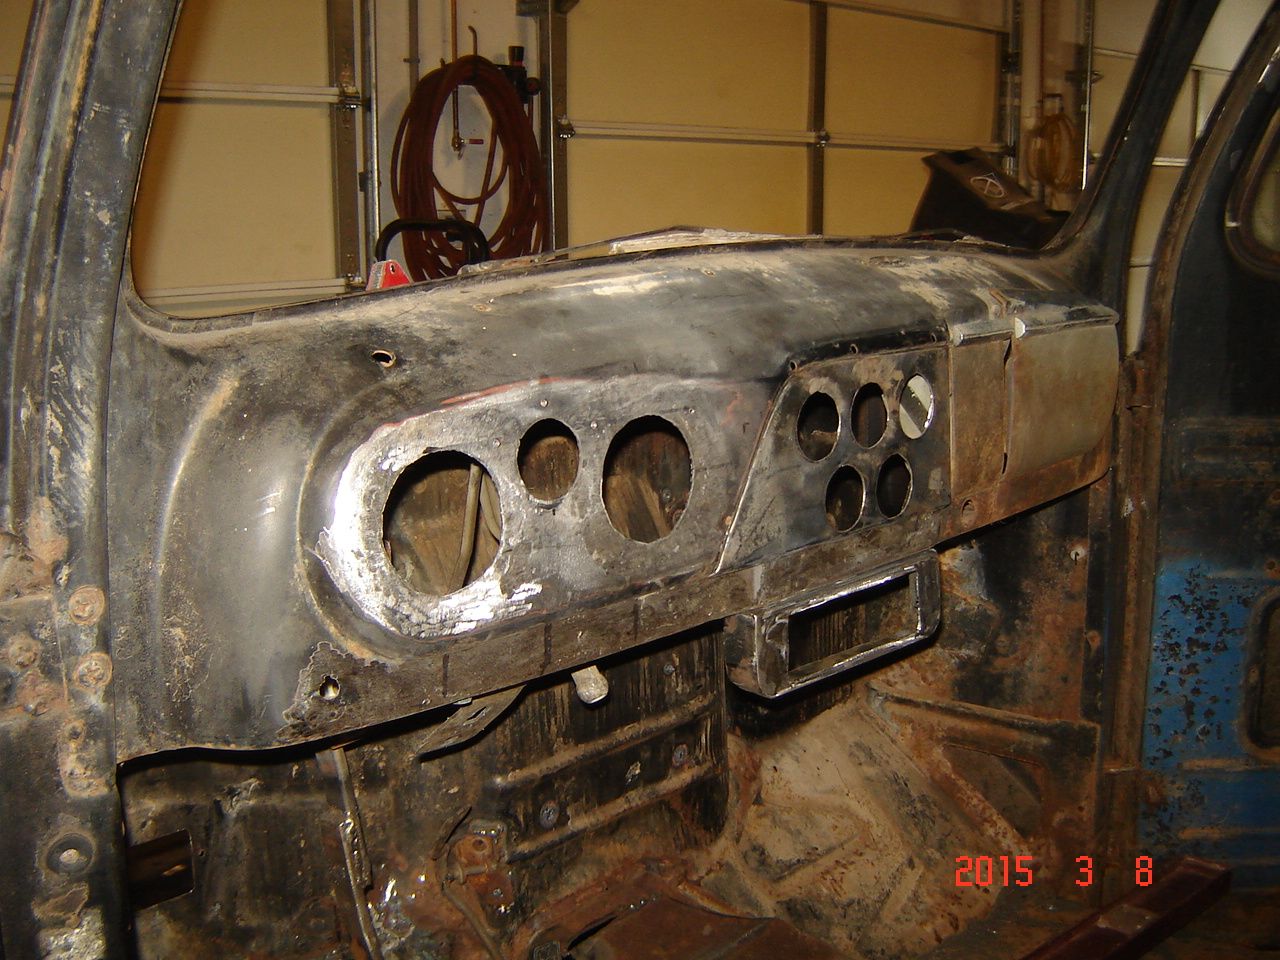
Next will be seat belt mounting.
I am not sure in the "end" if I will be installing A/C..if so I will make a dash extension, but I didnt do it now because I want to keep the factory cowl vent and ebrake and I dont want to block them. So for now I made a removable radio pod, it bolts to the bottom of the dash so I can remove it if necessary.
Have to have tunes, and I dont want to carry a ton of CDs around, so I picked up a JVC unit that is and AM/FM radio and has USB and AUX ports so I can play music from my phone or a USB stick.
Here is the initial fitting.

Cut out for the stereo

And final bolt up.
Also drilled the pilot holes for where my LEDs will be for turn signals, high beam indicator, and SES.

Next will be seat belt mounting.
#168
03-09-2015, 03:39 PM


#169
03-09-2015, 08:41 PM
Now finish up and get back to work, your truck was one of the first build threads I found when I joined!
#170
03-10-2015, 02:20 PM
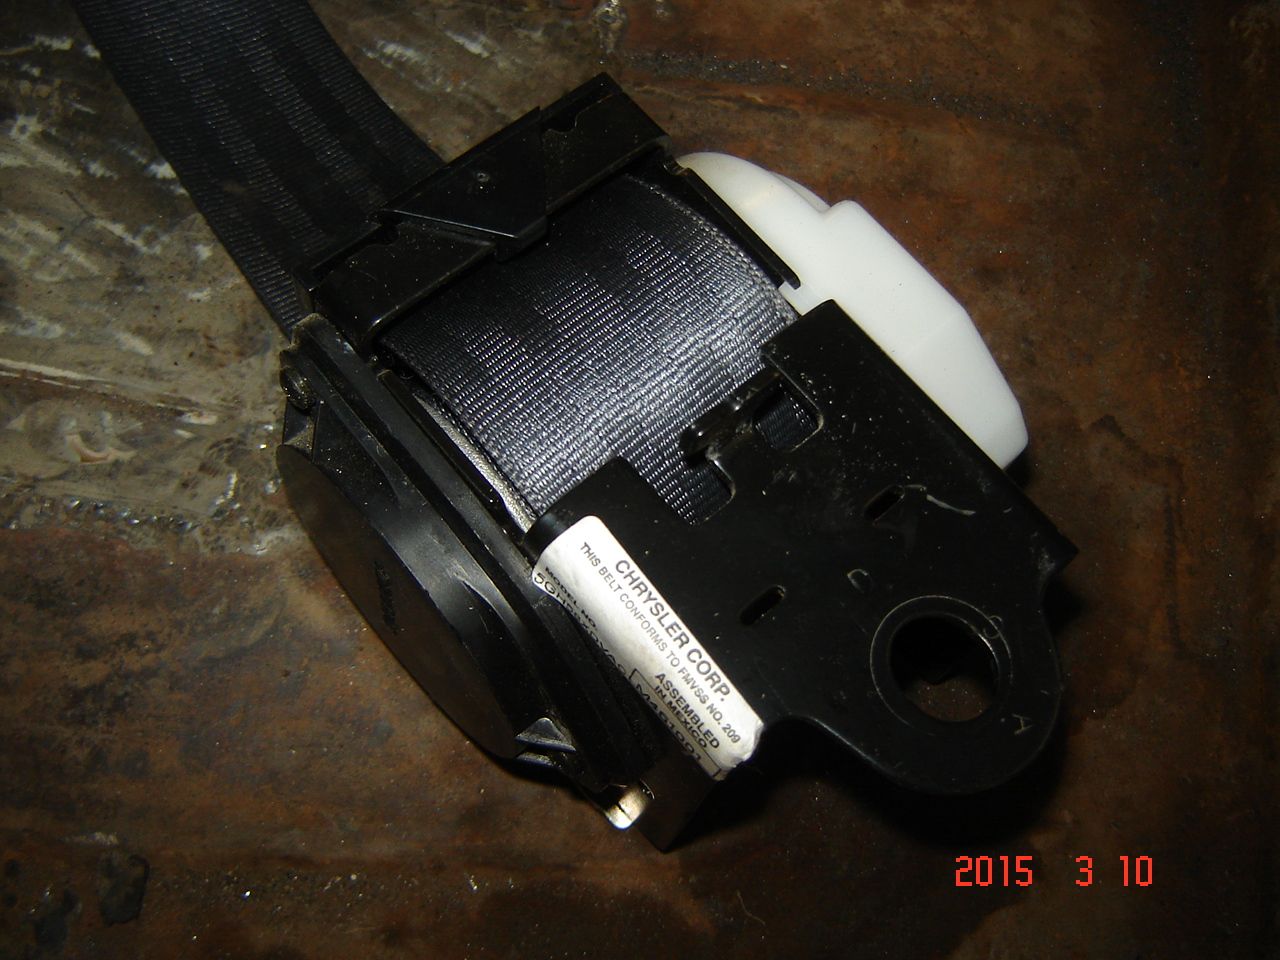
Put the Dakota seat belts in today, I had gotten these with the split bench seat.
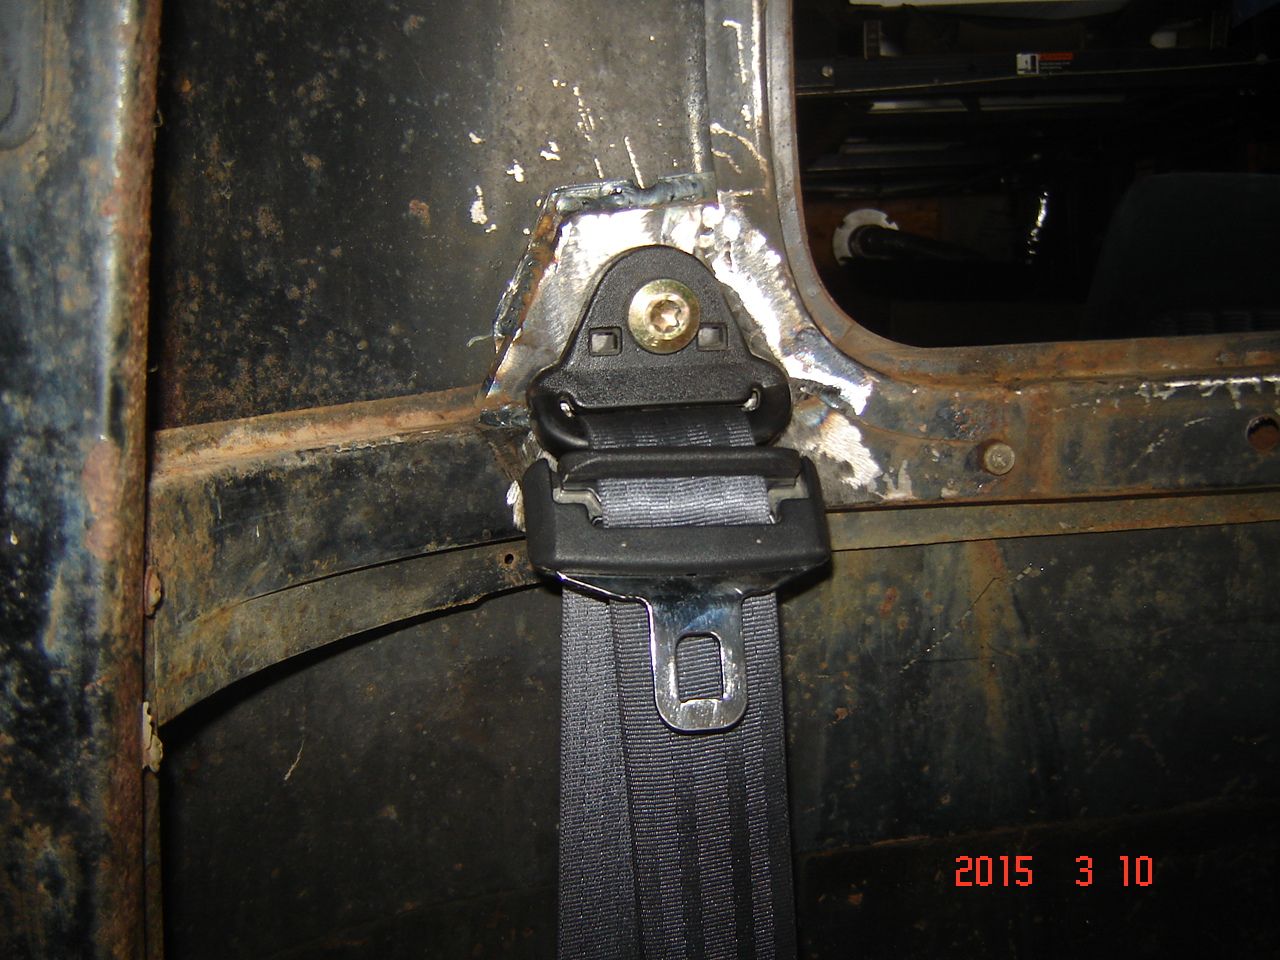
Most people put the upper belt attachment point in the corner between the door and rear window, and I was going to do that too, but I looked at my 2002 GMC and it has the upper belt mounted in the upper corner of the seat. I decided to do something like that by putting the upper seat mount just over and behind my shoulder.
So first I cut these plates from 1/4" thick steel.
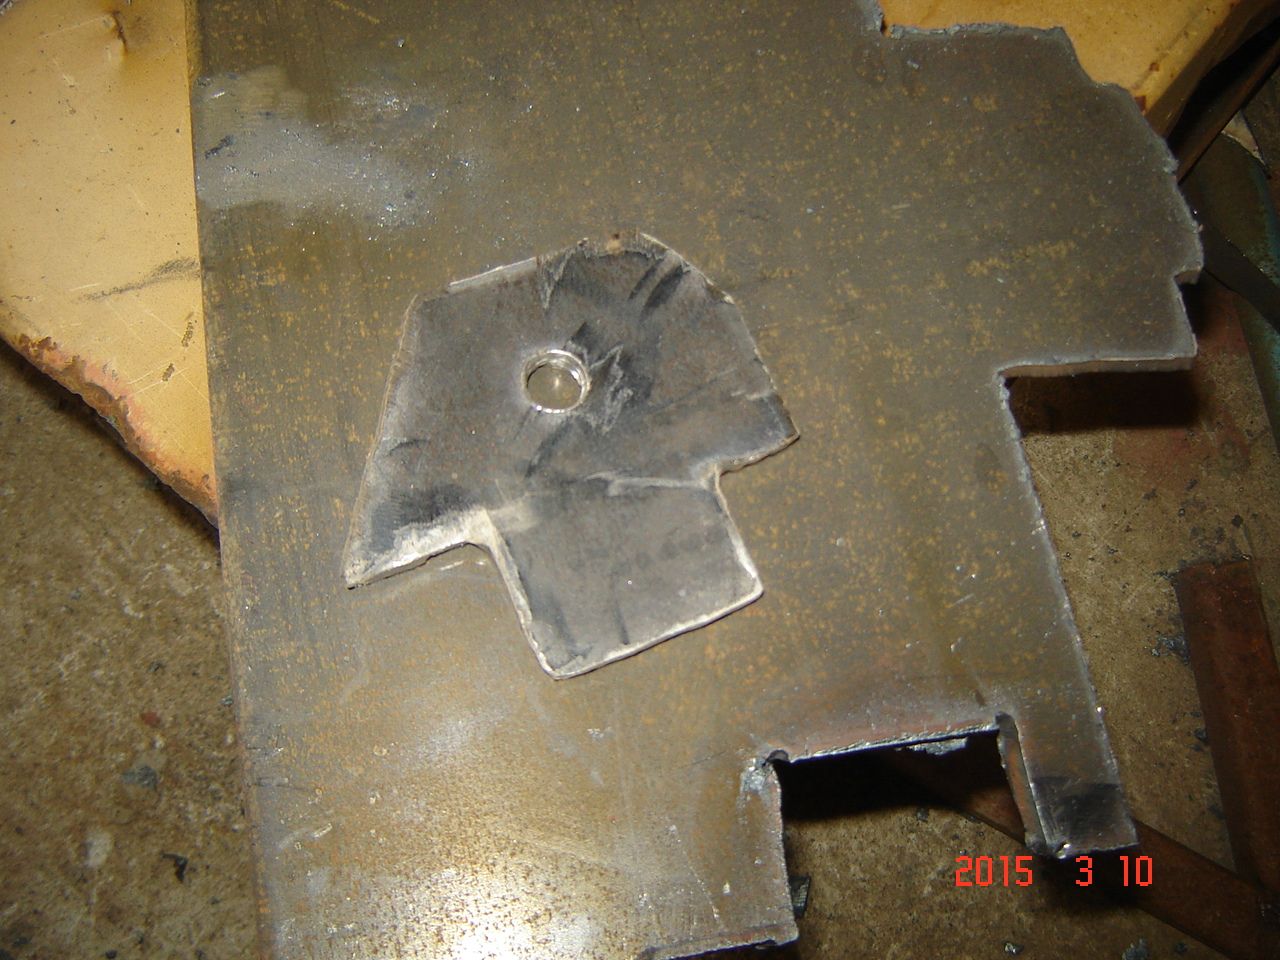
Cut out a couple of these nut plates from a parts dakota and they got welded to the back of the plates.
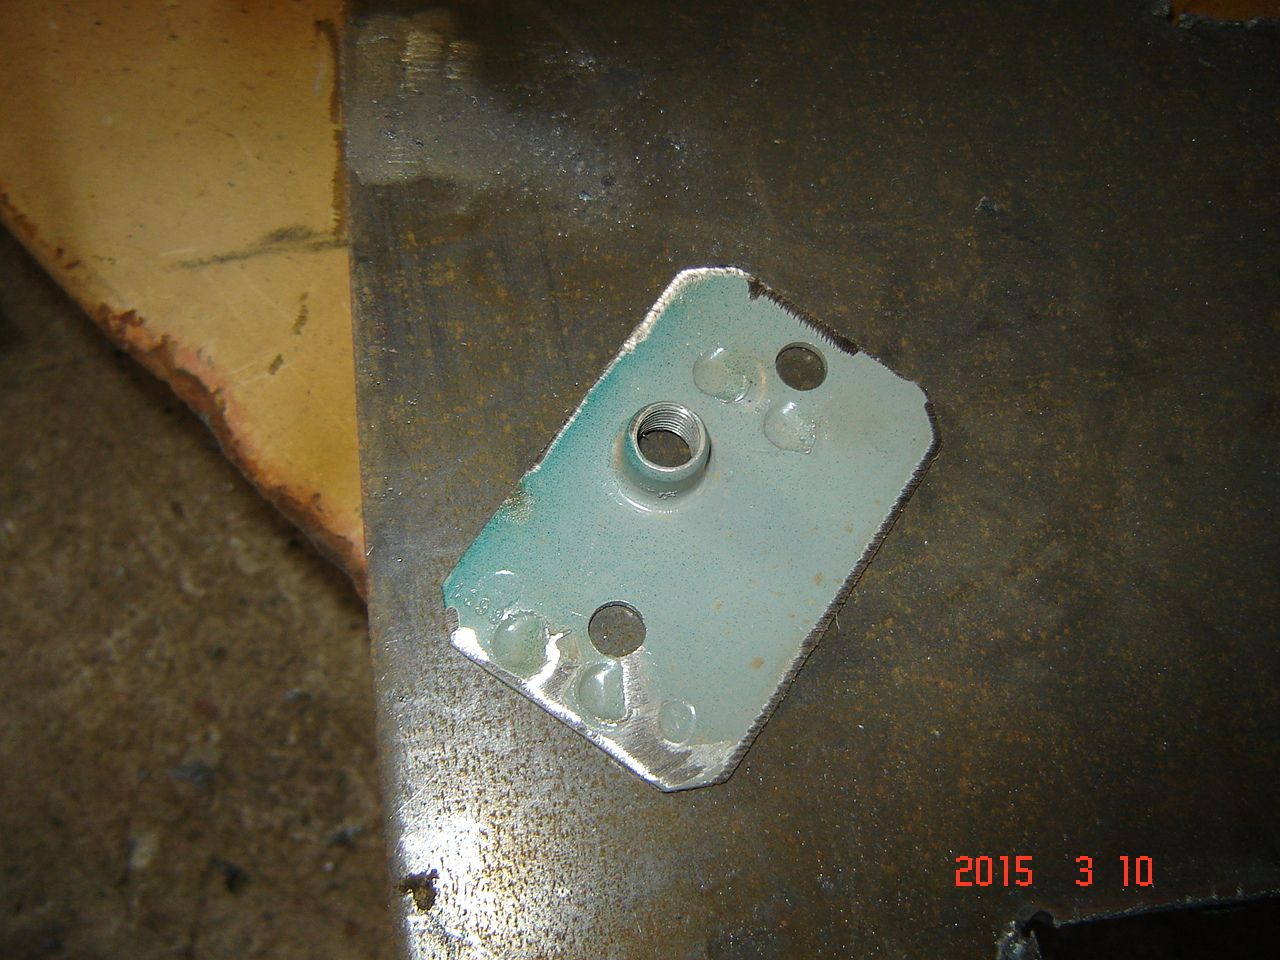
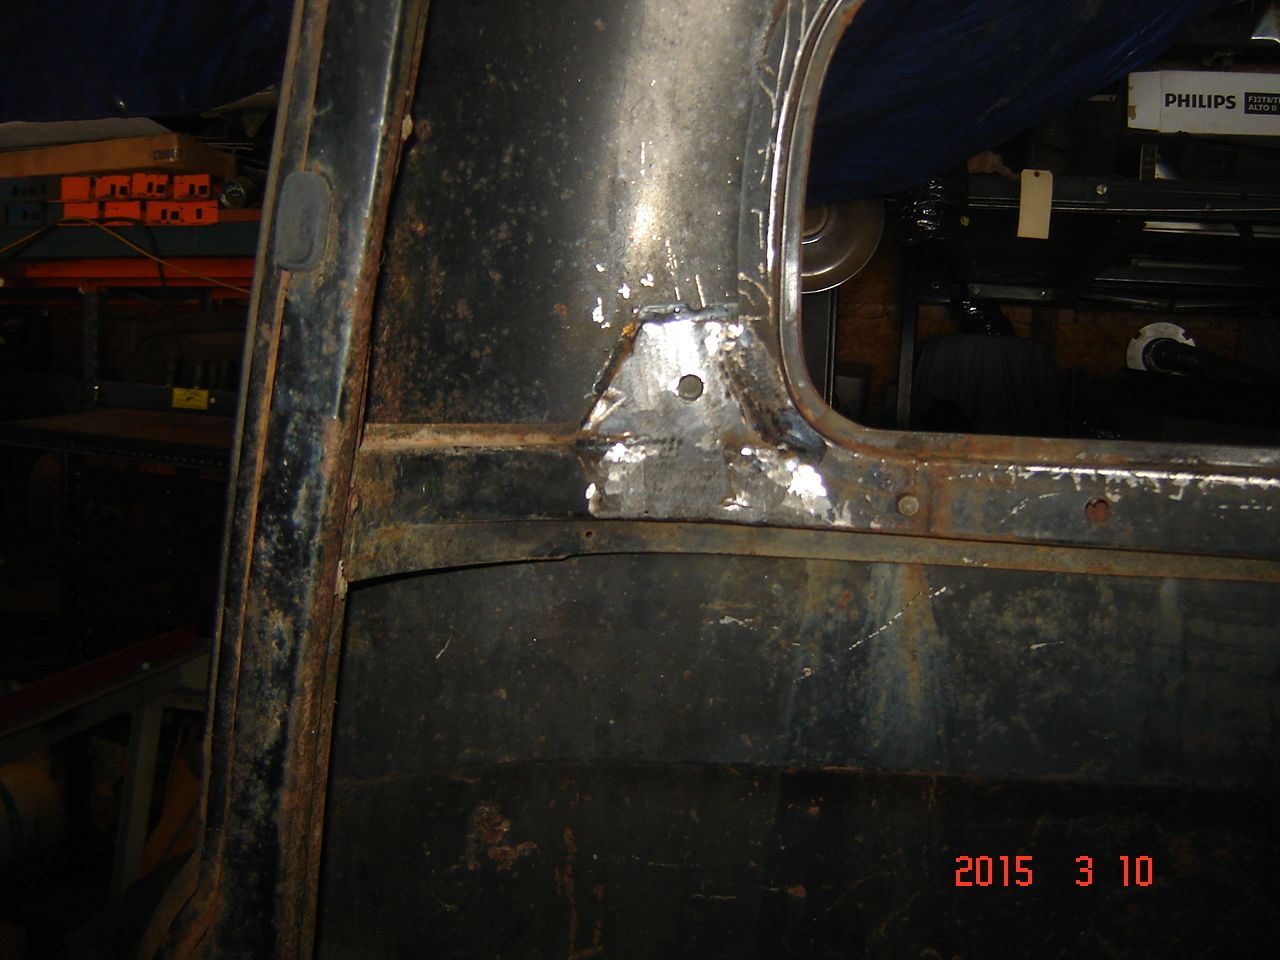
Cut a 1/4" deep notch in the cab support so the seat belt mounting plate could be welded to the cab support and the rear window as well.
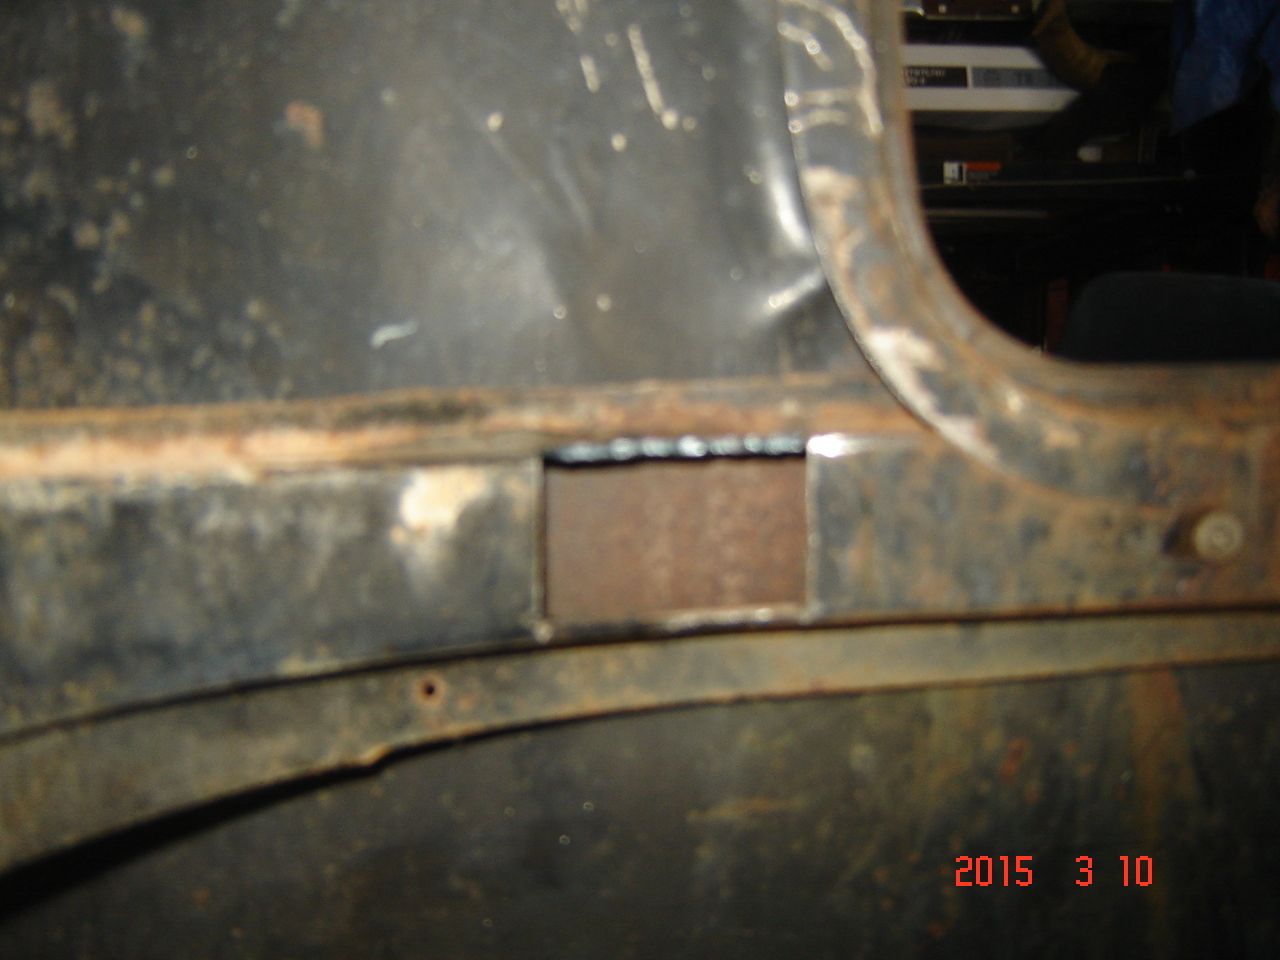
Welded in at a slight angle so they would fit behind the curved headliner piece.
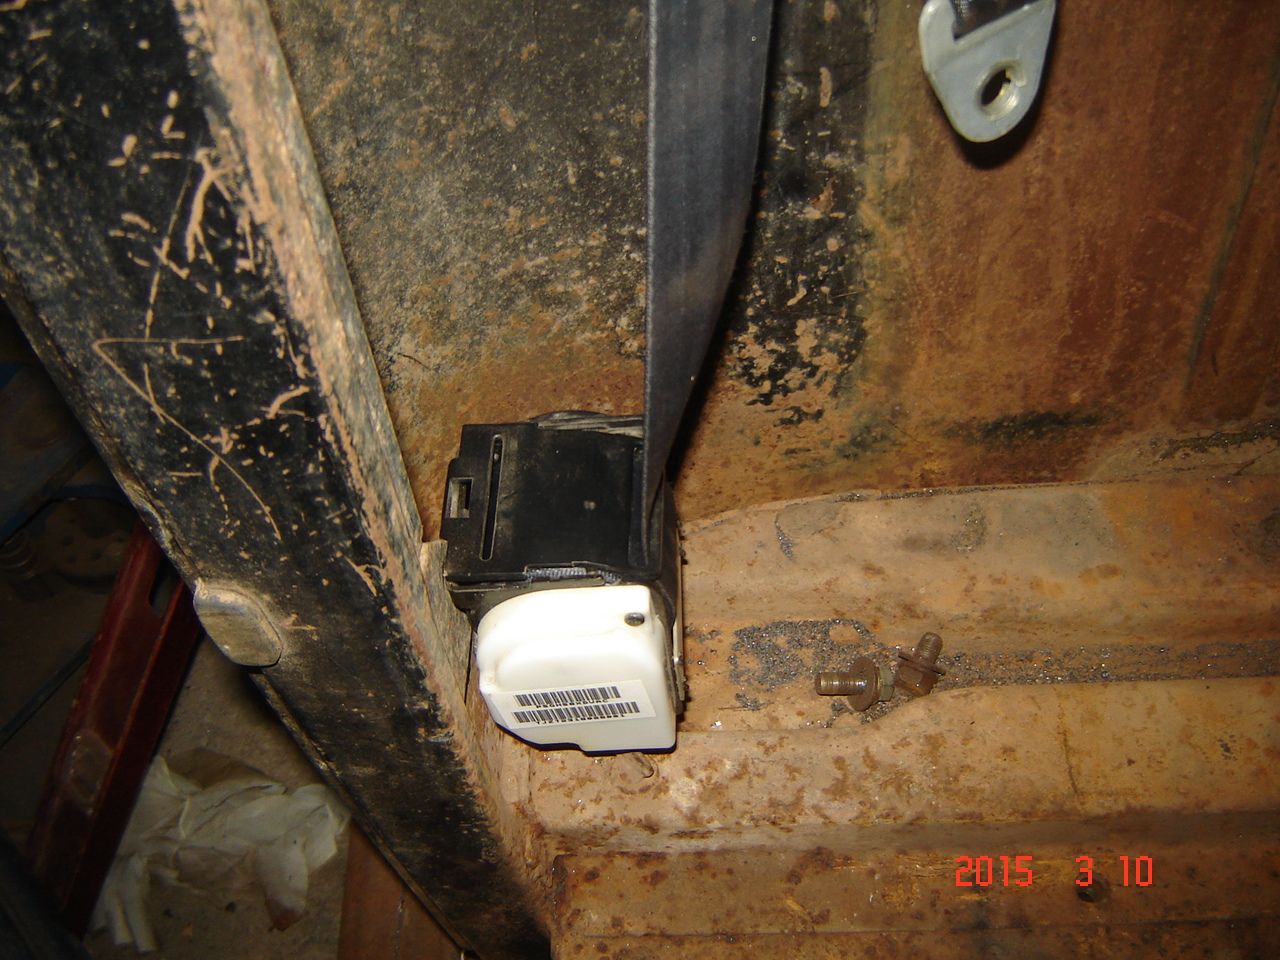
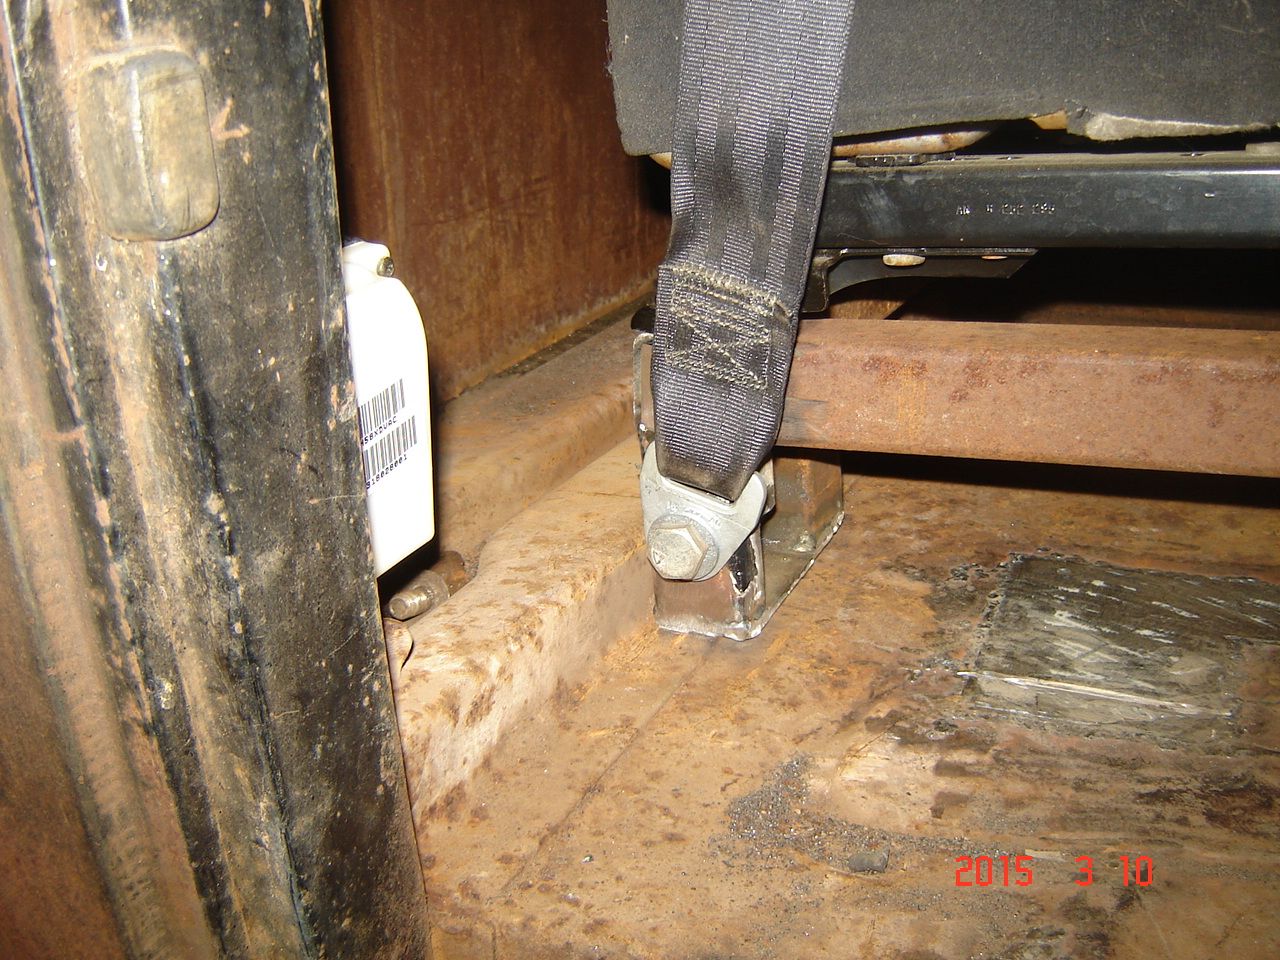
Dakota seat belt mounts with a "T" shaped tab that gets inserted and then slid over to lock into any flat steel. Then the bottom mounts with a 1/2" bolt. So I cut a small slit in the lower cab corners for the "T" to hook into and then bolted in.
Mounted
Upper mount
Lower belt attached to the seat frame with a 1/2" shouldered bolt so the belt loop can still rotate when the bolt is tightened down.
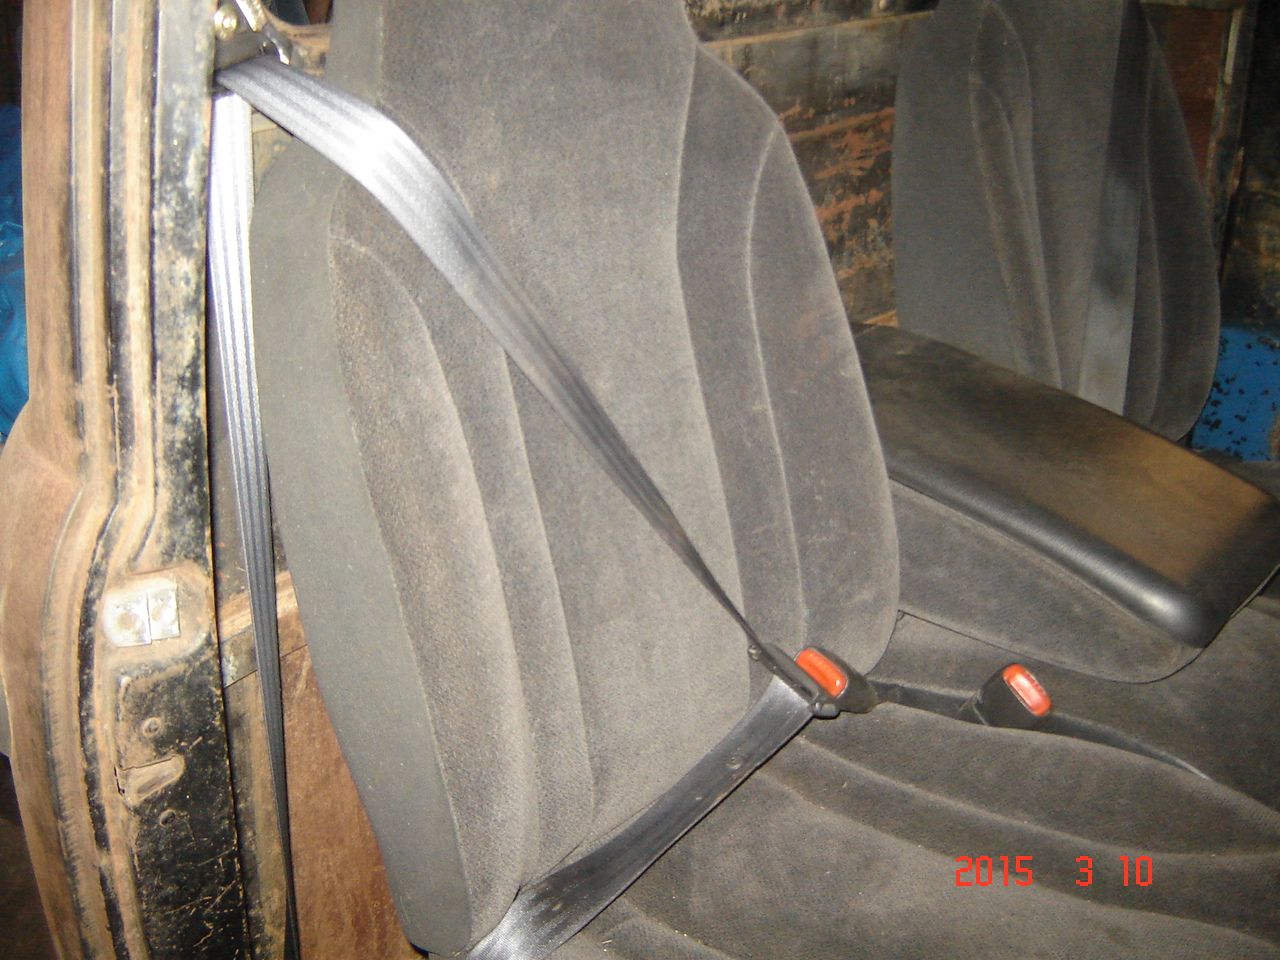
All done and they fit great. I actually have the seat belt hooked into the wrong latch, that one is for the middle seat, but you get the idea.
Most people put the upper belt attachment point in the corner between the door and rear window, and I was going to do that too, but I looked at my 2002 GMC and it has the upper belt mounted in the upper corner of the seat. I decided to do something like that by putting the upper seat mount just over and behind my shoulder.
So first I cut these plates from 1/4" thick steel.

Cut out a couple of these nut plates from a parts dakota and they got welded to the back of the plates.

Cut a 1/4" deep notch in the cab support so the seat belt mounting plate could be welded to the cab support and the rear window as well.

Welded in at a slight angle so they would fit behind the curved headliner piece.

Dakota seat belt mounts with a "T" shaped tab that gets inserted and then slid over to lock into any flat steel. Then the bottom mounts with a 1/2" bolt. So I cut a small slit in the lower cab corners for the "T" to hook into and then bolted in.

Mounted

Upper mount

Lower belt attached to the seat frame with a 1/2" shouldered bolt so the belt loop can still rotate when the bolt is tightened down.

All done and they fit great. I actually have the seat belt hooked into the wrong latch, that one is for the middle seat, but you get the idea.


#172
03-11-2015, 05:30 PM
Thanks, I put the steering column back in today as a final check and the belts feel good.
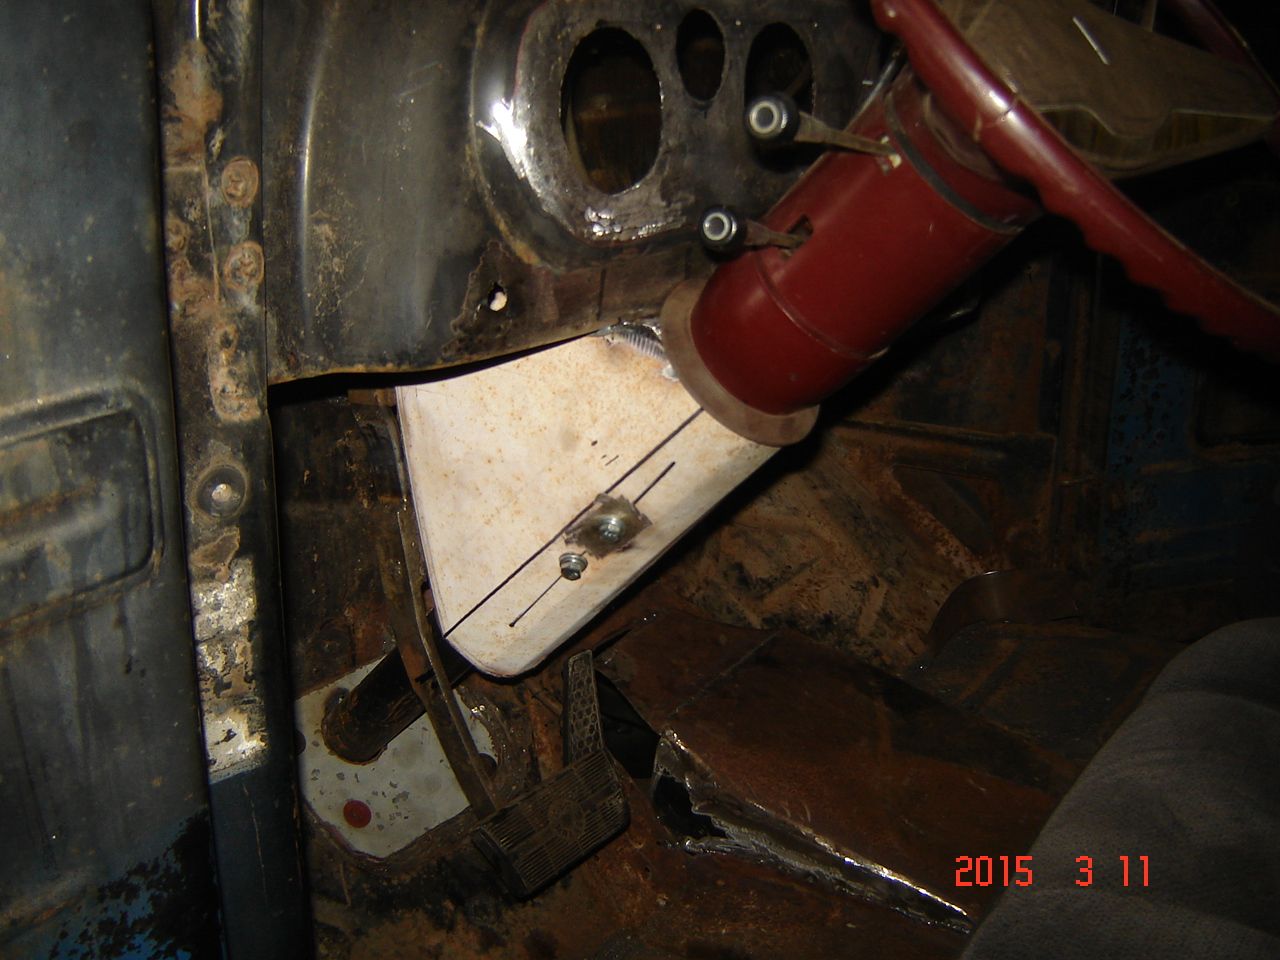
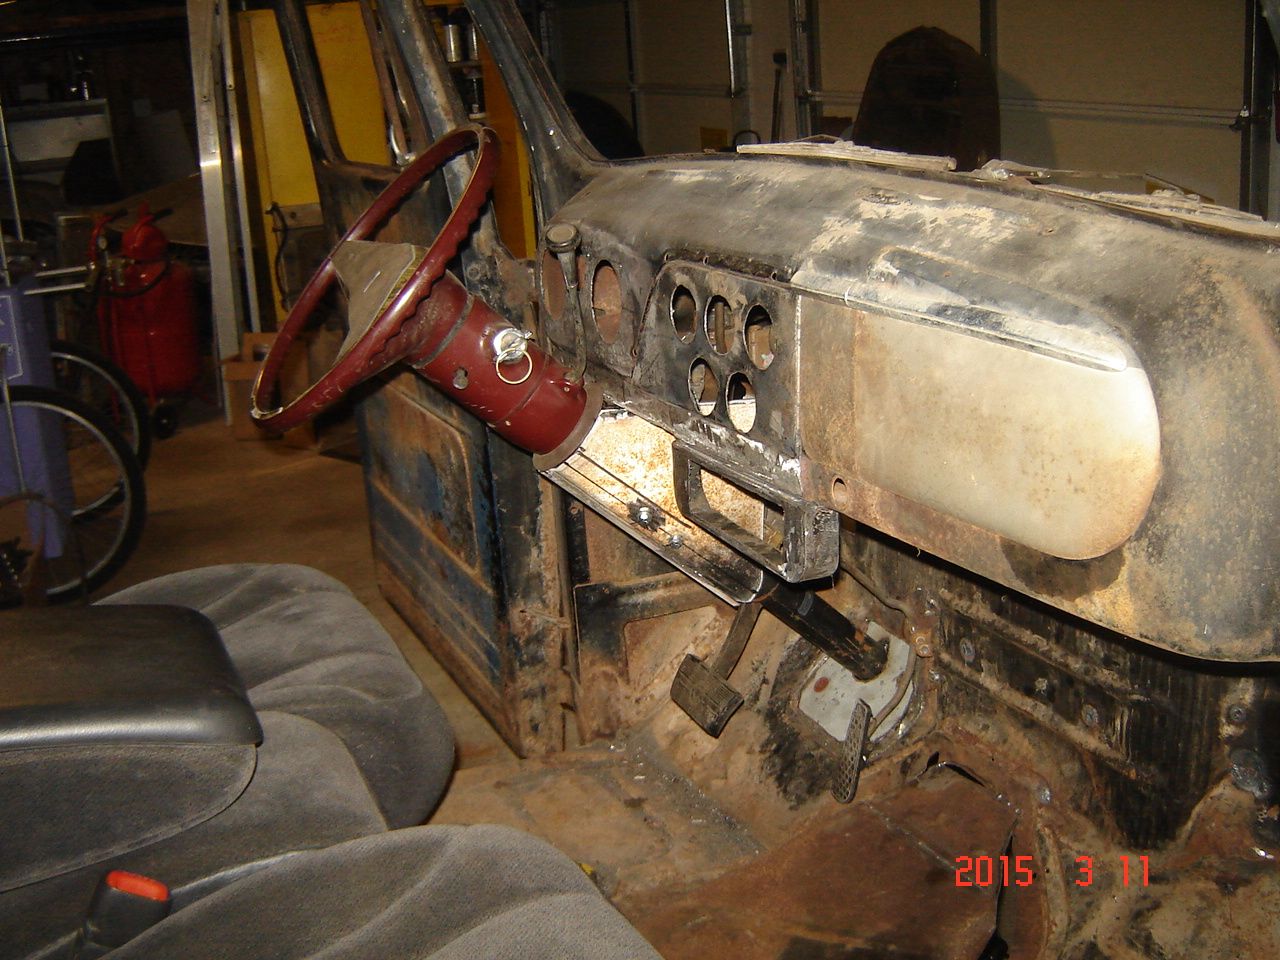
Last bit of interior work before taking everything back out to paint the dash and bedliner the floor. With the dash design of course you can see everything under the dash, and the new columns are not very nice looking on the lower end.
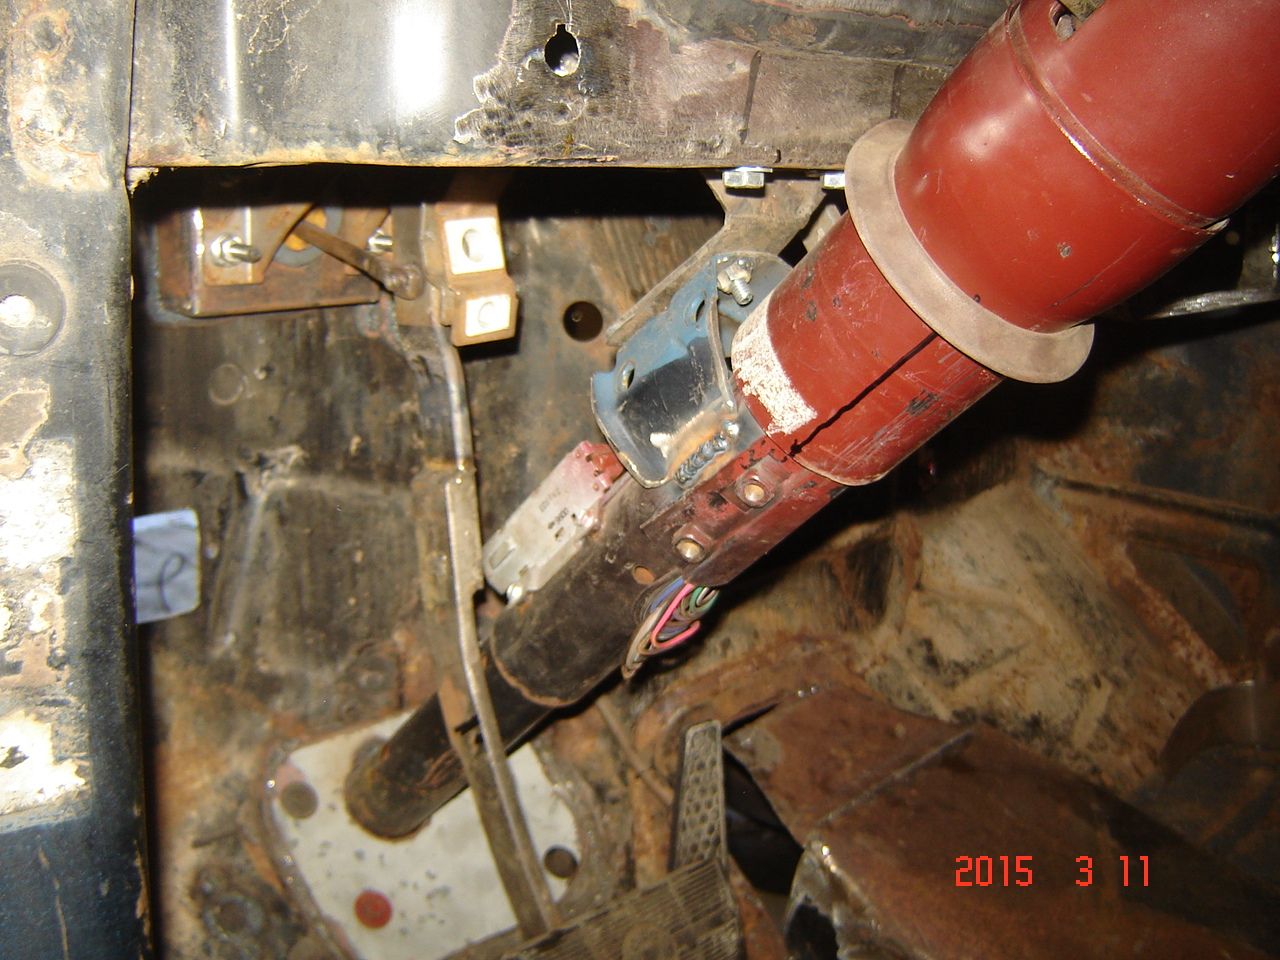
So I cut some flat steel (from a car hood!) and bent up a two piece cover that bolts to the column. Not show but cleans up the lower column. Once it is painted the same color as the column it should work well.


#173
03-16-2015, 10:13 PM
Another delay...
Tore down the core engine that I was going to build that had the rod knock, wasnt good
Found two spun rod bearings but that doesnt matter, the #2 main was spun bad and that does matter. Looks like some metal trash plugged the oil feed hole, spun the bearing, and wiped out the cap. Cap is trash and most of the rod bearings had been hammered so hard they didnt fit into the rods anymore.
This block will be scrap, time to tear down another one.

#175
03-17-2015, 08:48 AM

Another delay...
Tore down the core engine that I was going to build that had the rod knock, wasnt good
Found two spun rod bearings but that doesnt matter, the #2 main was spun bad and that does matter. Looks like some metal trash plugged the oil feed hole, spun the bearing, and wiped out the cap. Cap is trash and most of the rod bearings had been hammered so hard they didnt fit into the rods anymore.
This block will be scrap, time to tear down another one.
Tore down the core engine that I was going to build that had the rod knock, wasnt good
Found two spun rod bearings but that doesnt matter, the #2 main was spun bad and that does matter. Looks like some metal trash plugged the oil feed hole, spun the bearing, and wiped out the cap. Cap is trash and most of the rod bearings had been hammered so hard they didnt fit into the rods anymore.
This block will be scrap, time to tear down another one.
Dan
#176
03-17-2015, 09:49 AM
Pretty deep gouges in the cap and the bearing spun so badly that slivers of metal went thorugh the oil pump and into the oil galleries causing the rod bearings to spin. I have more blocks so not worth the money of the machine work and the worry that that one small piece of junk didnt get cleaned out of the block.
#178
03-17-2015, 03:35 PM
The two piece cover just bolts to the column, it is only sheet metal so it is sturdy enough as is. It is bolted up to the factory column nuts that were originally used for the mounting bracket that I cut and flipped over for my current mount.

#179
03-26-2015, 07:21 PM
Well crap!
I havent updated this in awhile because I am the point of possilby turning this whole drivetrain build upside down.
Original plan was to use an existing supercharged engine I have for parts to swap over to another block. Well things have not gone well during the teardown of the donor engine! Parts that were thought to be good just arent. Comp cam has pitting, rod bearings showed signs of detonation so rods may need resizing, main bearings were not spun but were wiped which put metal in the system and crank now needs grinding, etc..basically the budget engine build is not gonna happen.
So now I am at the point where it looks like the supercharger engine will have to wait.
Options on the shelf ready to go would be either
300 HP LT1 automatic or T56 6 speed
400 HP LT1 automatic or T56 6 speed
Not sure which way to go here! I should put this up for a vote.
