Lets do it again! 1951 Ford F1 LT1 supercharged, 4L80E, EFI, jag IFS, etc..
#106
 11-09-2014, 06:51 PM

#107
11-24-2014, 05:02 PM

Elder User
Join Date: Dec 2010
Location: Liberty Hill, Tx
Posts: 618
Likes: 0
Received 0 Likes
on
0 Posts
#108
11-24-2014, 05:51 PM
Thanks, glad the build is an inspiration..I need some myself!
Between work and other stuff I cant get time in the garage lately.
Got 15 minutes to work on the build yesterday, but nothing picture worthy. Started working on the bed, pulled the middle crossmembers and straightened them in the press, they were bent in a "U" shape, must of been hauling too much weight in the truck.
Today had to change the gas tank in my tow vehicle / plow truck, snow is supposed to hit here Wednesday so had to get it ready to go for that. Should be getting back on it next week to get the bed done and installed.
#109
11-24-2014, 06:09 PM
Tuned
Hi Dave,
So today I got my Jag IFS up under the frame, sliced the lower frame flange to allow for bending it down to meet the cross-member. Question: Did you use a wire feed welder to attach your cross-member to the frame? I am having a hard time seeing how I can get mine down in between the outside of the frame and the cross-member to get a bead started at the rear of the cross-member. Am I missing something?
So today I got my Jag IFS up under the frame, sliced the lower frame flange to allow for bending it down to meet the cross-member. Question: Did you use a wire feed welder to attach your cross-member to the frame? I am having a hard time seeing how I can get mine down in between the outside of the frame and the cross-member to get a bead started at the rear of the cross-member. Am I missing something?
#110
11-25-2014, 06:19 AM
Hi Dave,
So today I got my Jag IFS up under the frame, sliced the lower frame flange to allow for bending it down to meet the cross-member. Question: Did you use a wire feed welder to attach your cross-member to the frame? I am having a hard time seeing how I can get mine down in between the outside of the frame and the cross-member to get a bead started at the rear of the cross-member. Am I missing something?
So today I got my Jag IFS up under the frame, sliced the lower frame flange to allow for bending it down to meet the cross-member. Question: Did you use a wire feed welder to attach your cross-member to the frame? I am having a hard time seeing how I can get mine down in between the outside of the frame and the cross-member to get a bead started at the rear of the cross-member. Am I missing something?
I also used an oxy / acetelyne torch to heat up the frame where I bent it down so it moved easily without putting too much stress on the frame.
#111
11-25-2014, 05:20 PM

#112
12-03-2014, 09:23 PM
Back at it for a bit, had to take a break for other stuff taking up my time. My truck spun a rod bearing last week (1995 GMC with 200K miles), so will have to yank out the 454 in the spring and I think I will replace it with another LT1. In the mean time I was thinking of upgrading anyway so have been looking for another truck, picked up a decent 2002 GMC today. I drive my truck maybe once a month so no need to buy anything too new.
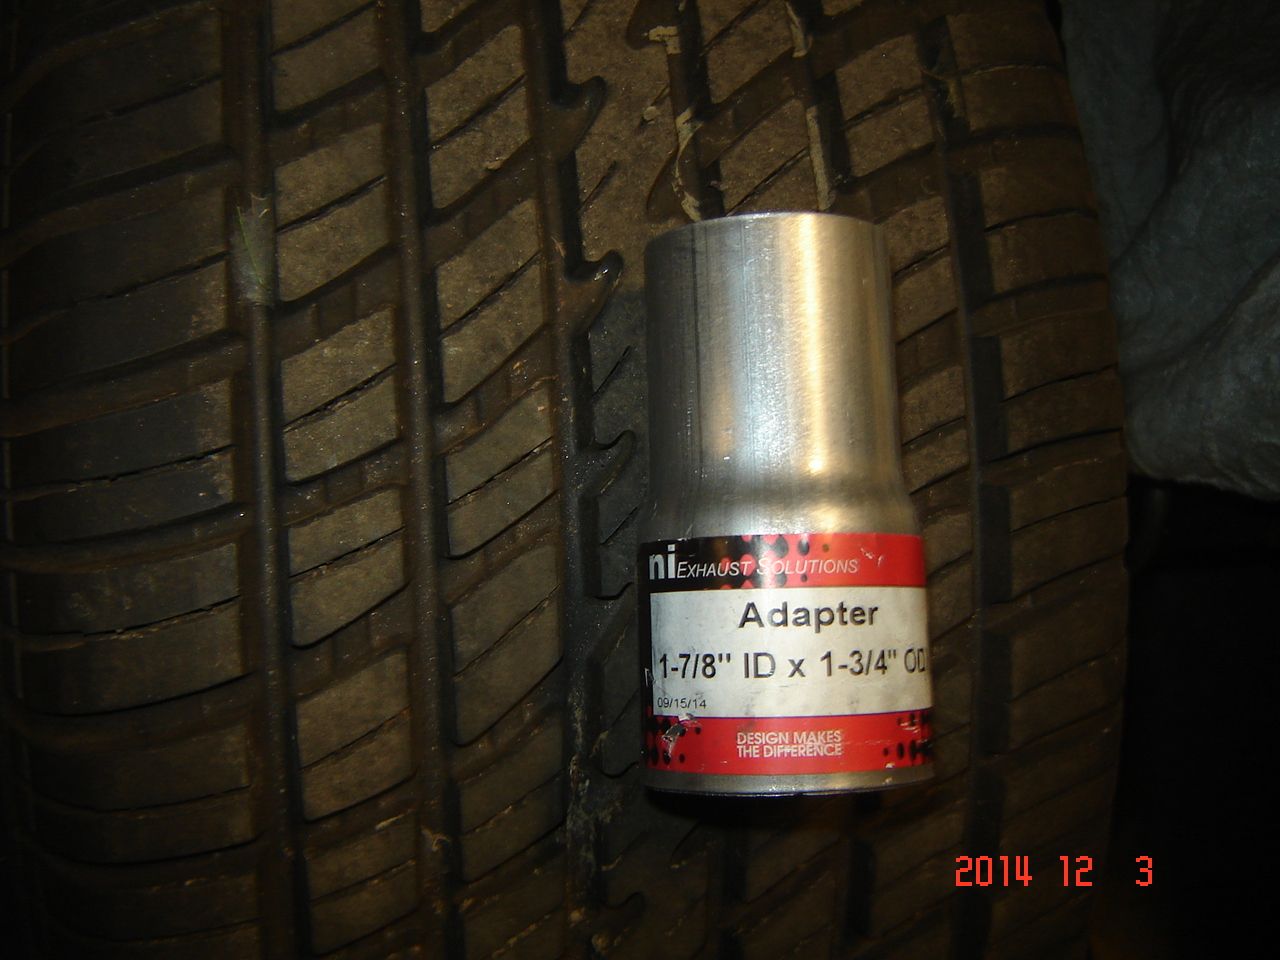
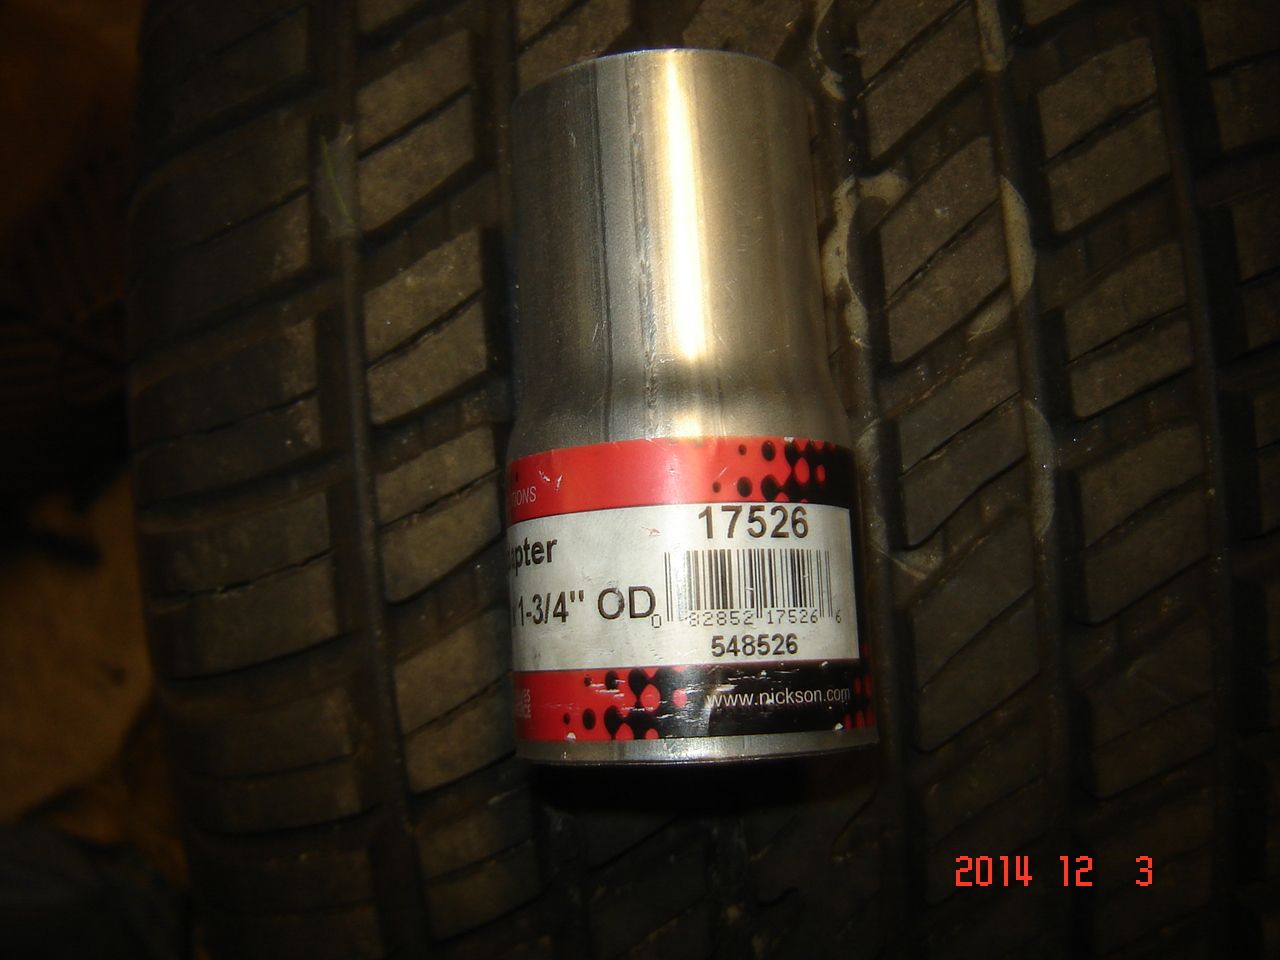
Meantime while picking up wipers for the DD I found this exhaust adapter in Autozone, perfect for the gas tank filler extension.
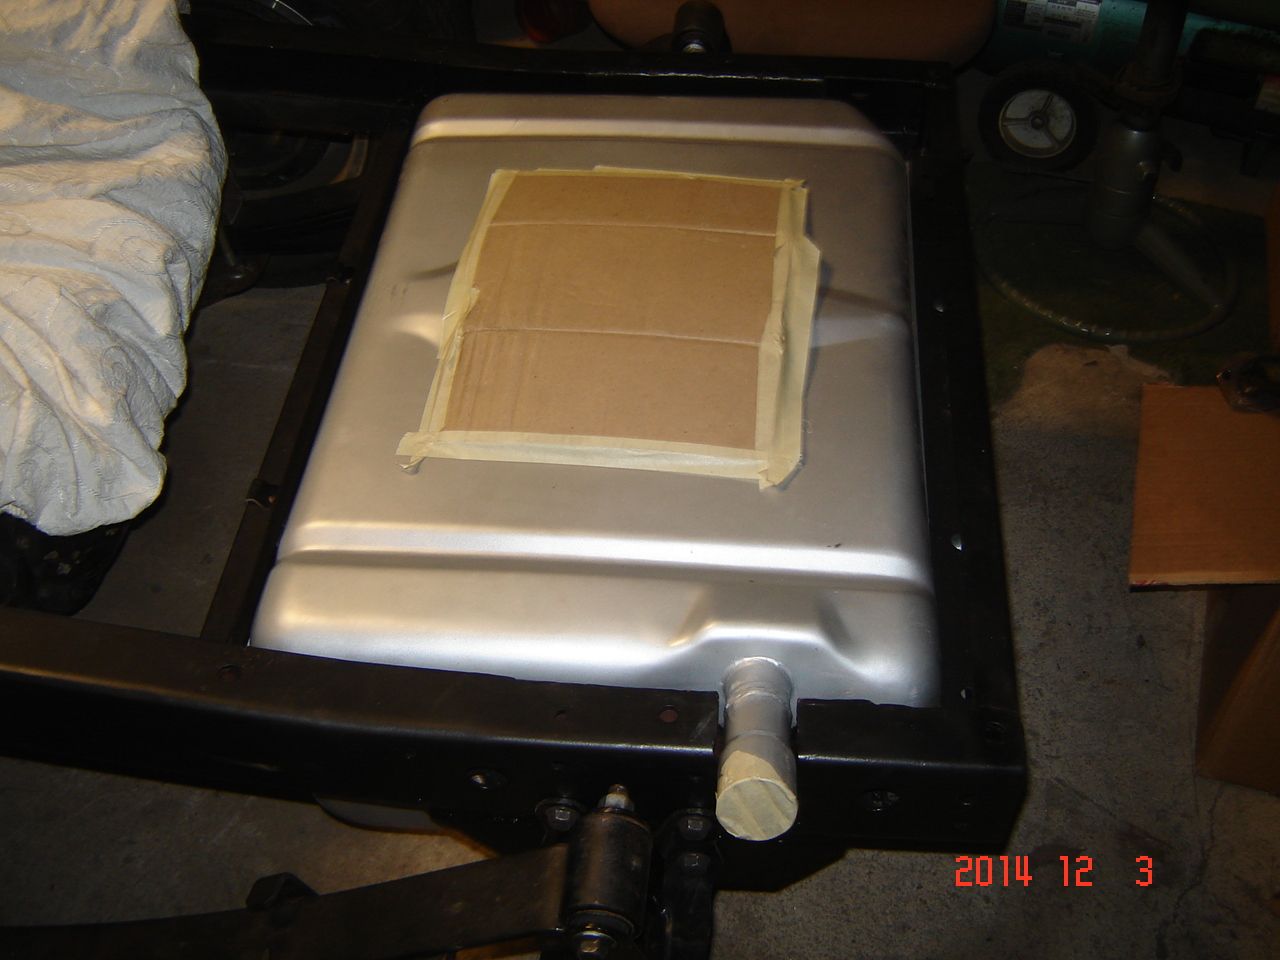
Welded to the tank and painted, perfect for the 2" filler hose I will be using.
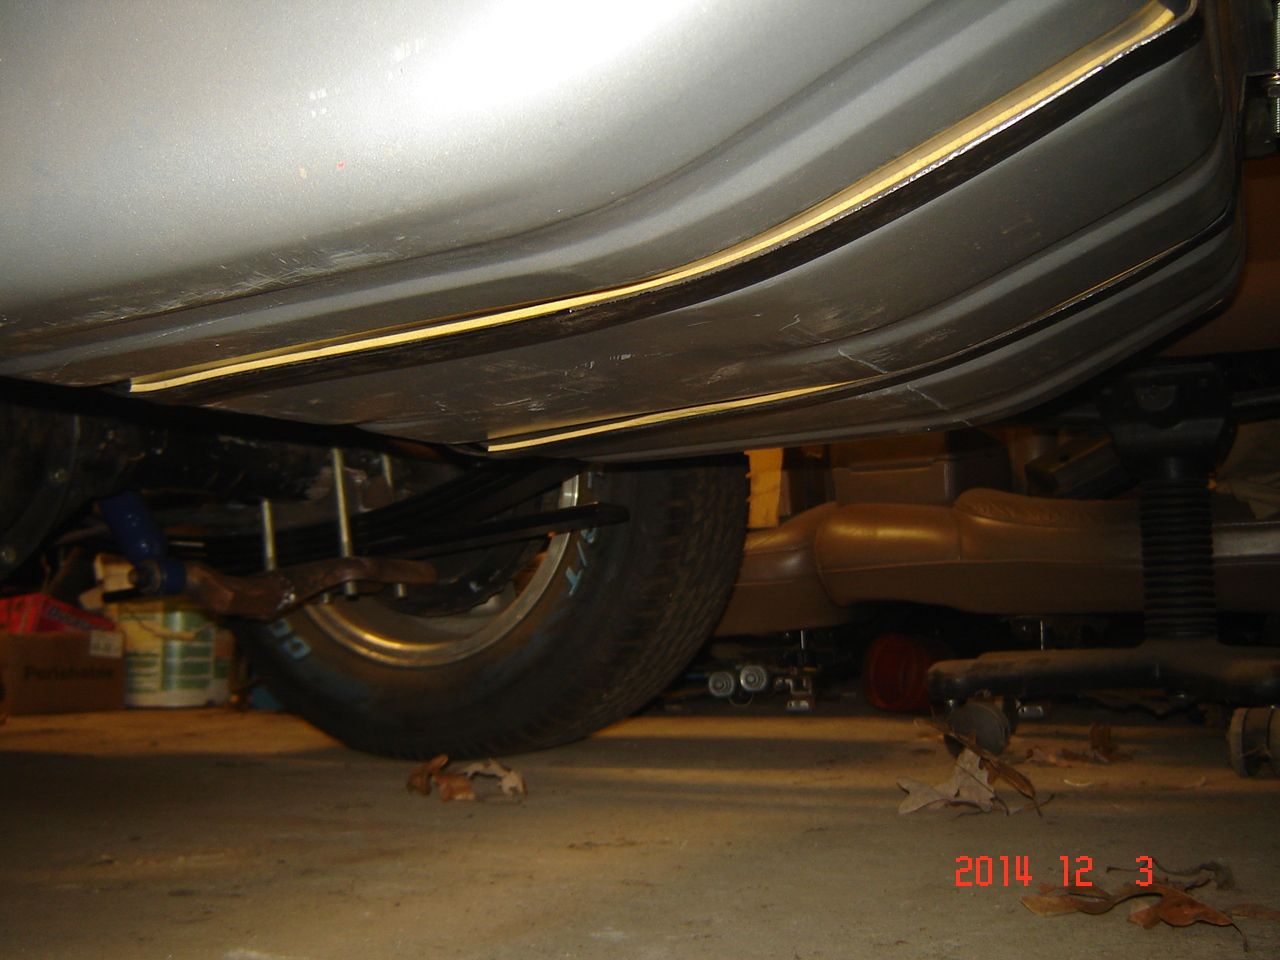
All strapped in, used 1/8" rubber strips on the sides of the tank so they will not rub on the frame rails and used 3M 1" wide foam tape on the straps. It just keeps things from squeaking and scraping up the metal.
Next will probably be fuel lines, and I am also messing with the bed as well.
Meantime while picking up wipers for the DD I found this exhaust adapter in Autozone, perfect for the gas tank filler extension.


Welded to the tank and painted, perfect for the 2" filler hose I will be using.

All strapped in, used 1/8" rubber strips on the sides of the tank so they will not rub on the frame rails and used 3M 1" wide foam tape on the straps. It just keeps things from squeaking and scraping up the metal.

Next will probably be fuel lines, and I am also messing with the bed as well.
The following users liked this post:
#113
12-08-2014, 06:15 PM
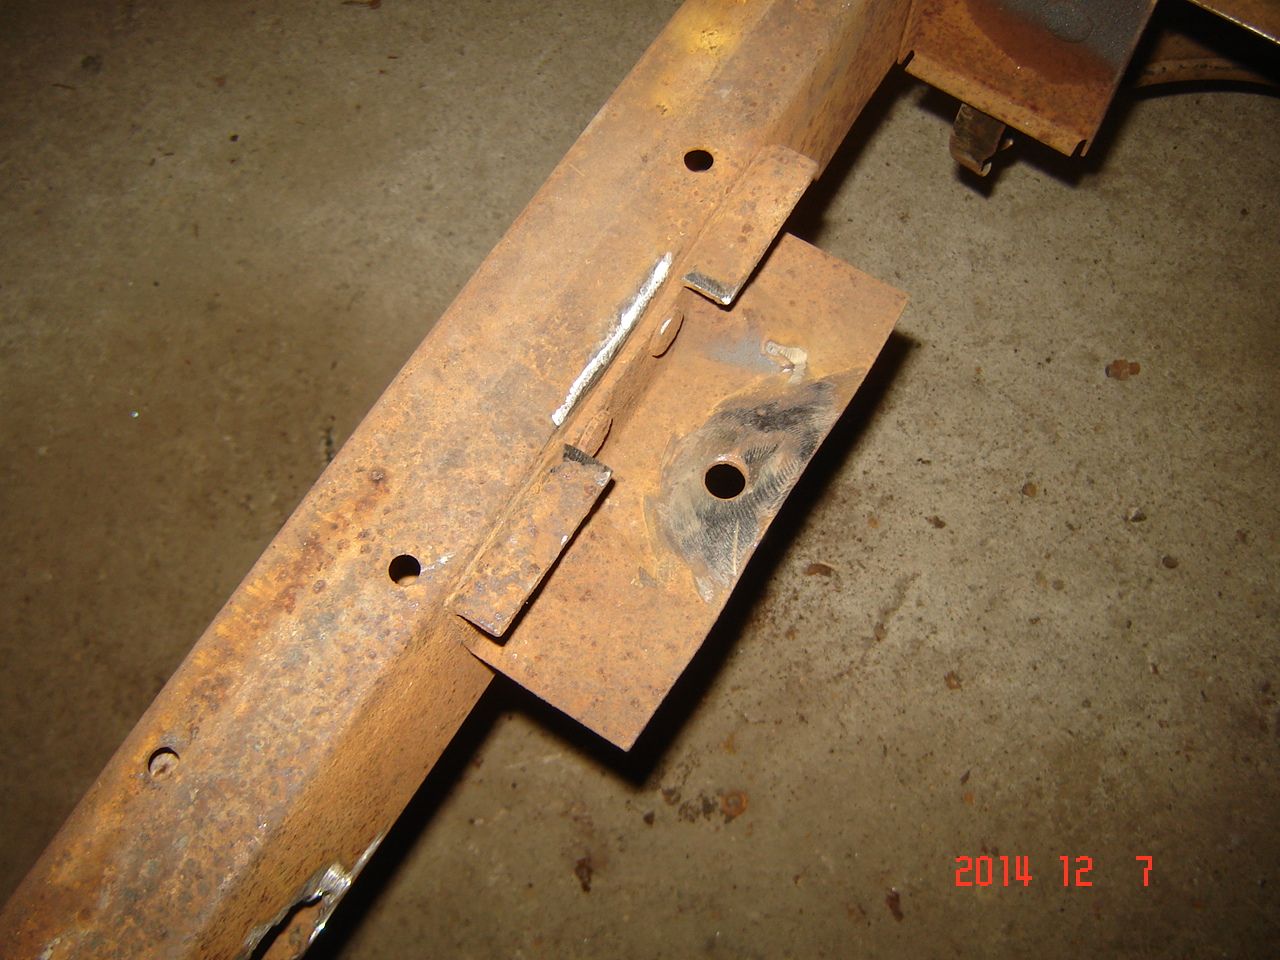
Quick mod to the rear most bed mounts.
With the gas tank all the way to the back of the frame there is no way to get to the rear bed bolts frame holes, so I had put in support tubes in the frame so the bolts could go all the way through the frame and the nuts would be on the bottom of the frame instead of inside the C channel. Same problem getting to the bed mounting tabs on the stock setup, no way to do it unless I left the bed wood off and mounted the bed..and then there is no way to get to the bed wood strip nuts. With the gas tank out there would be access but I would rather not have to drop the tank to remove the bed.
So the rear bed mounting bolts are going to go through the wood same as all the others.
Original tab
Modified with steel "L" and a support tube inside to keep it from collapsing when the bolt is tightened. Now I can completely pre assemble the bed and then bolt it down.
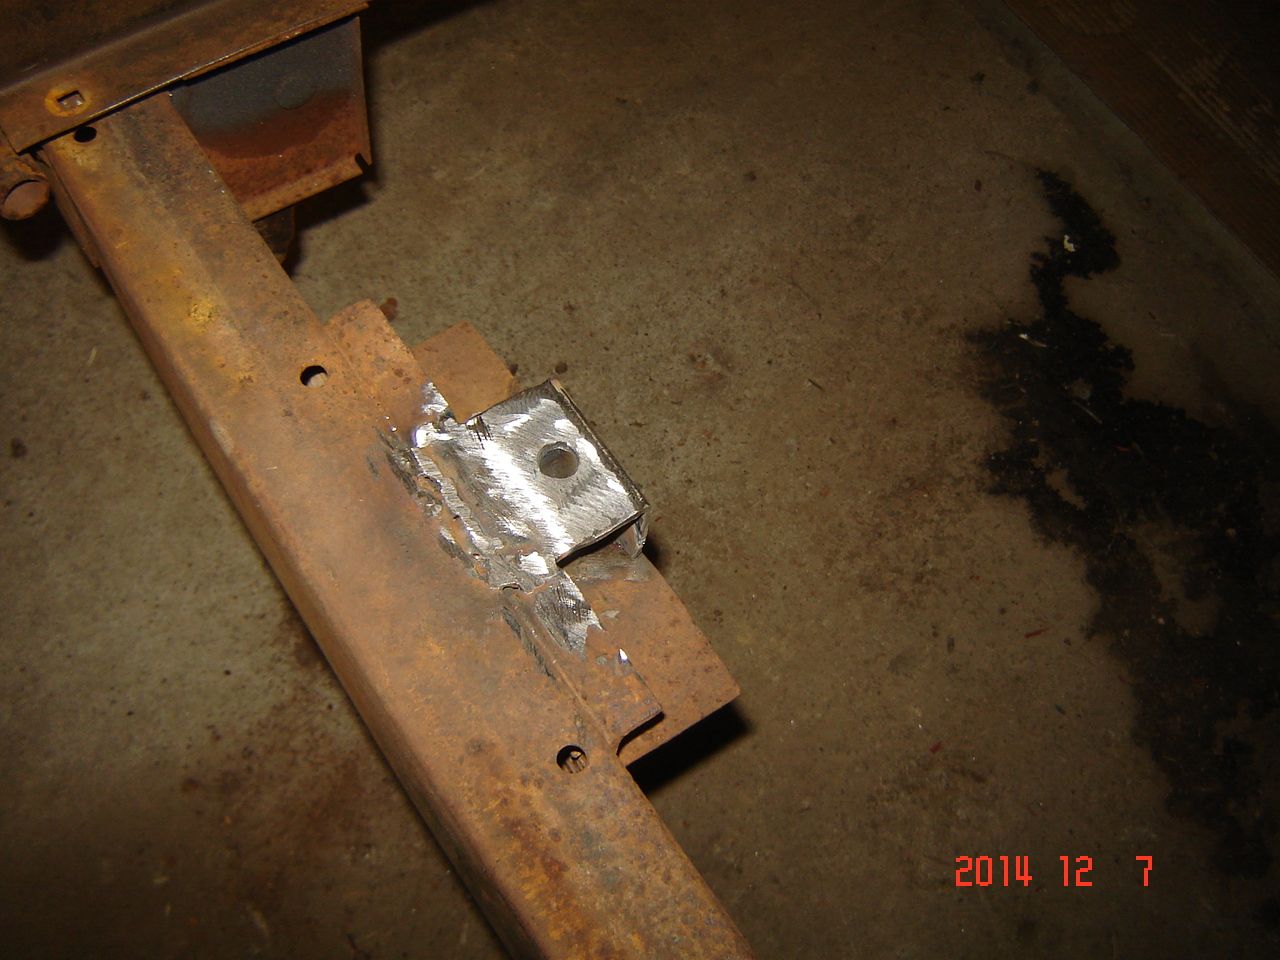
With the gas tank all the way to the back of the frame there is no way to get to the rear bed bolts frame holes, so I had put in support tubes in the frame so the bolts could go all the way through the frame and the nuts would be on the bottom of the frame instead of inside the C channel. Same problem getting to the bed mounting tabs on the stock setup, no way to do it unless I left the bed wood off and mounted the bed..and then there is no way to get to the bed wood strip nuts. With the gas tank out there would be access but I would rather not have to drop the tank to remove the bed.
So the rear bed mounting bolts are going to go through the wood same as all the others.
Original tab

Modified with steel "L" and a support tube inside to keep it from collapsing when the bolt is tightened. Now I can completely pre assemble the bed and then bolt it down.

#114
12-08-2014, 08:18 PM
Tuned
#115
12-09-2014, 09:31 AM
Thanks, really nothing special but figured it would be good to document it in case someone goes with the same tank setup as mine. You could leave the tank out and not have to do this, but then if the bed has to come off for any reason the tank would have to come out first.
Since this truck will be left "au natural" for now I want to be able to get the bed off for paint when the time comes with minimal disassembly.
Since this truck will be left "au natural" for now I want to be able to get the bed off for paint when the time comes with minimal disassembly.
#116
12-15-2014, 11:38 AM
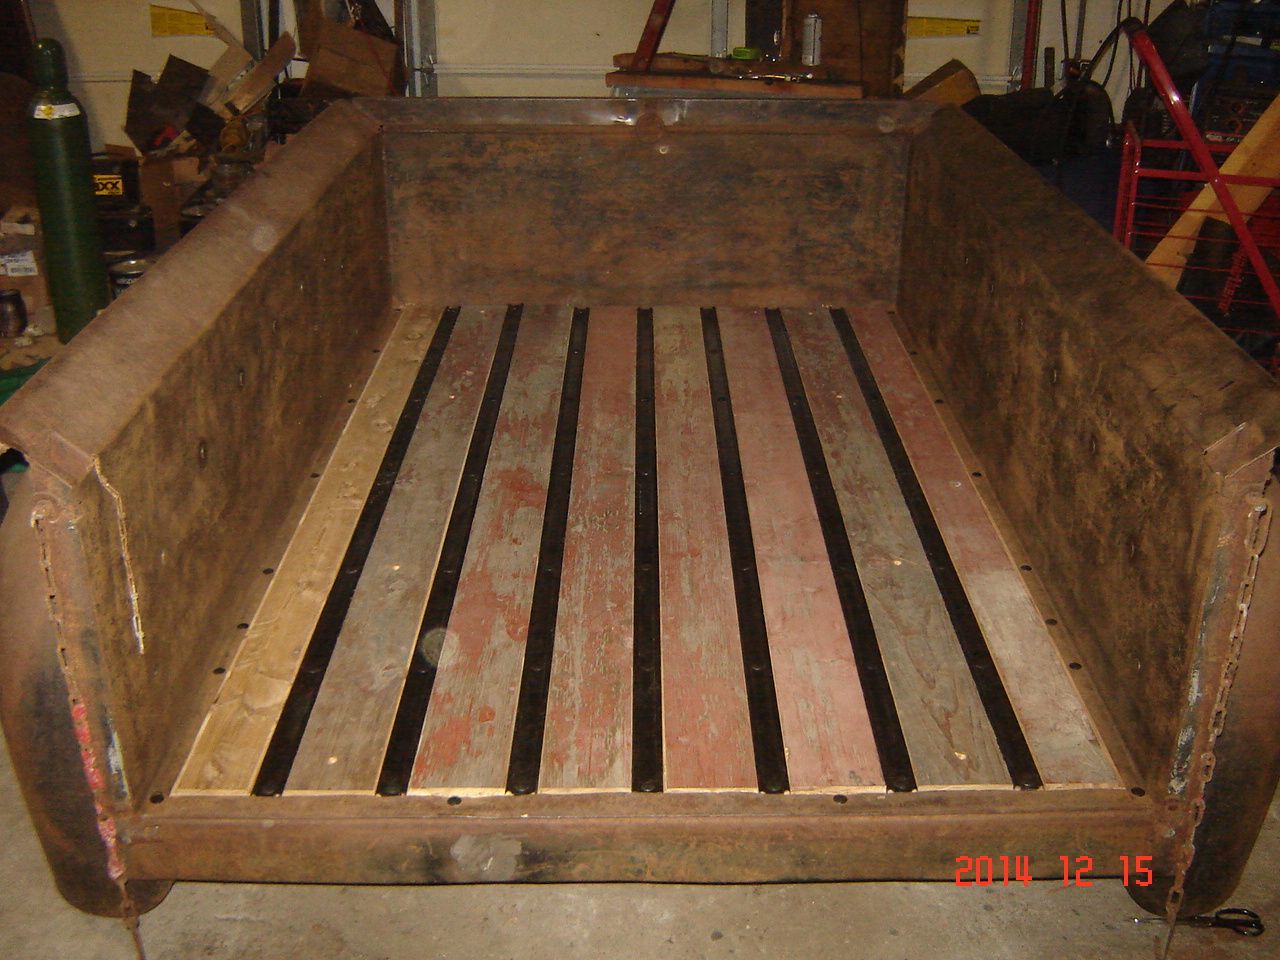
Bed is done and ready to install.
For wood I was going to use rough sawn pine, but I went super low buck, as in free! I had some cedar planks left over from a deck I had taken down for someone years ago so I decided to use them. I was going to run them through the planer, but since the "as is" look matched the patina look better. Threw them on the table saw and they fit fine.
Dividing strips were painted black since I dont know what color the truck will be painted in the future.
Underneath instead of using fender washers I made up some steel strips to support the wood better.
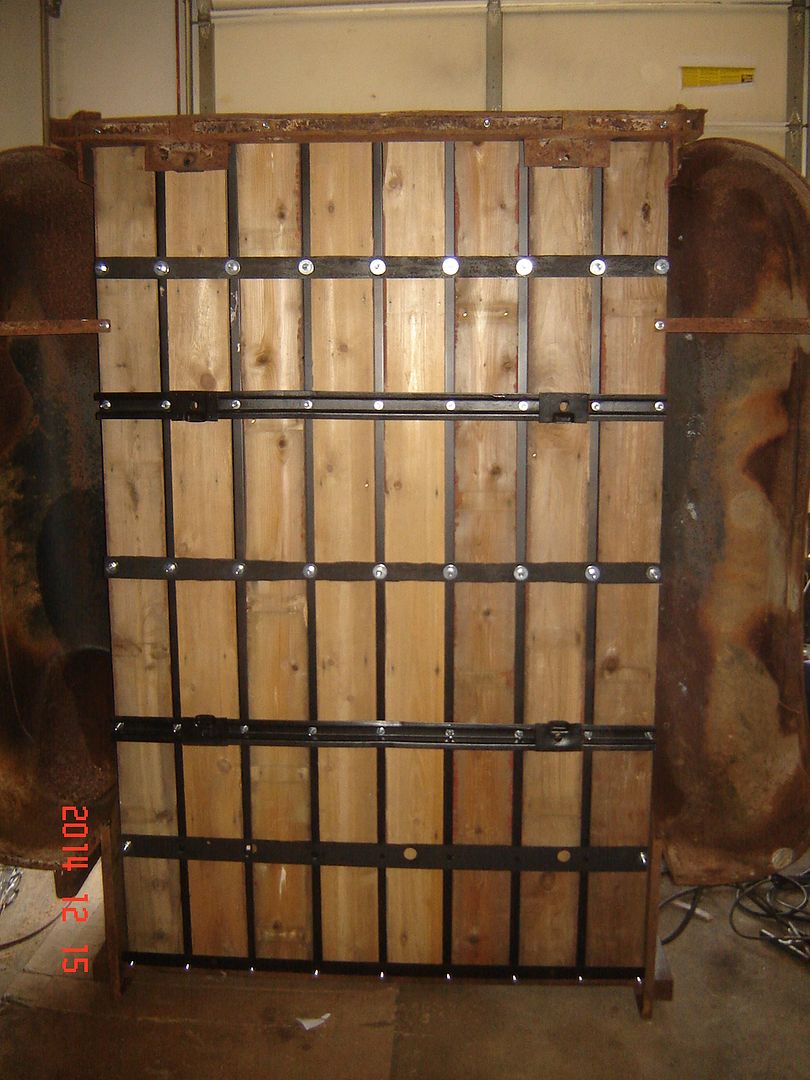
For wood I was going to use rough sawn pine, but I went super low buck, as in free! I had some cedar planks left over from a deck I had taken down for someone years ago so I decided to use them. I was going to run them through the planer, but since the "as is" look matched the patina look better. Threw them on the table saw and they fit fine.
Dividing strips were painted black since I dont know what color the truck will be painted in the future.

Underneath instead of using fender washers I made up some steel strips to support the wood better.

#118
12-16-2014, 11:05 AM

The following users liked this post:
#119
12-17-2014, 12:05 PM
Few things to button up before I can set the bed on the truck, need to get the rear section of fuel lines done. Because of the supercharger I have to run an 2nd high pressure fuel pump along with the high pressure pump in the tank. I already installed a new LT1 pump in the tank so had to make up a bracket for mounting the 2nd pump. Cheap is good but free is better  so I made my own bracket.
Cut a piece out of an old frame rail section for the mount back.

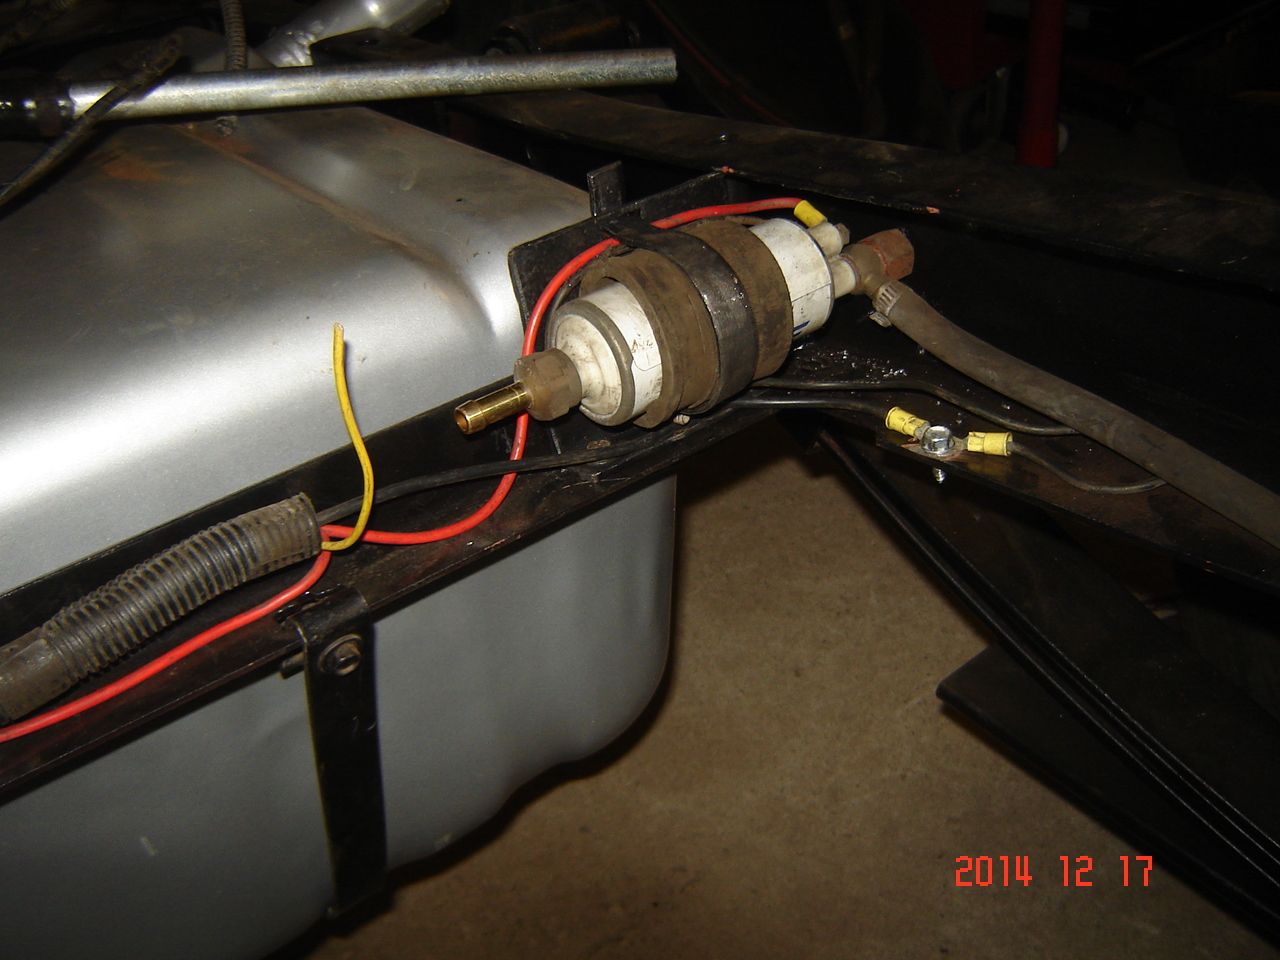
Cut another piece of steel and bent it up to fit the pump and rubber insulator. Clamp is hooked into the top so it can open up or be removed.
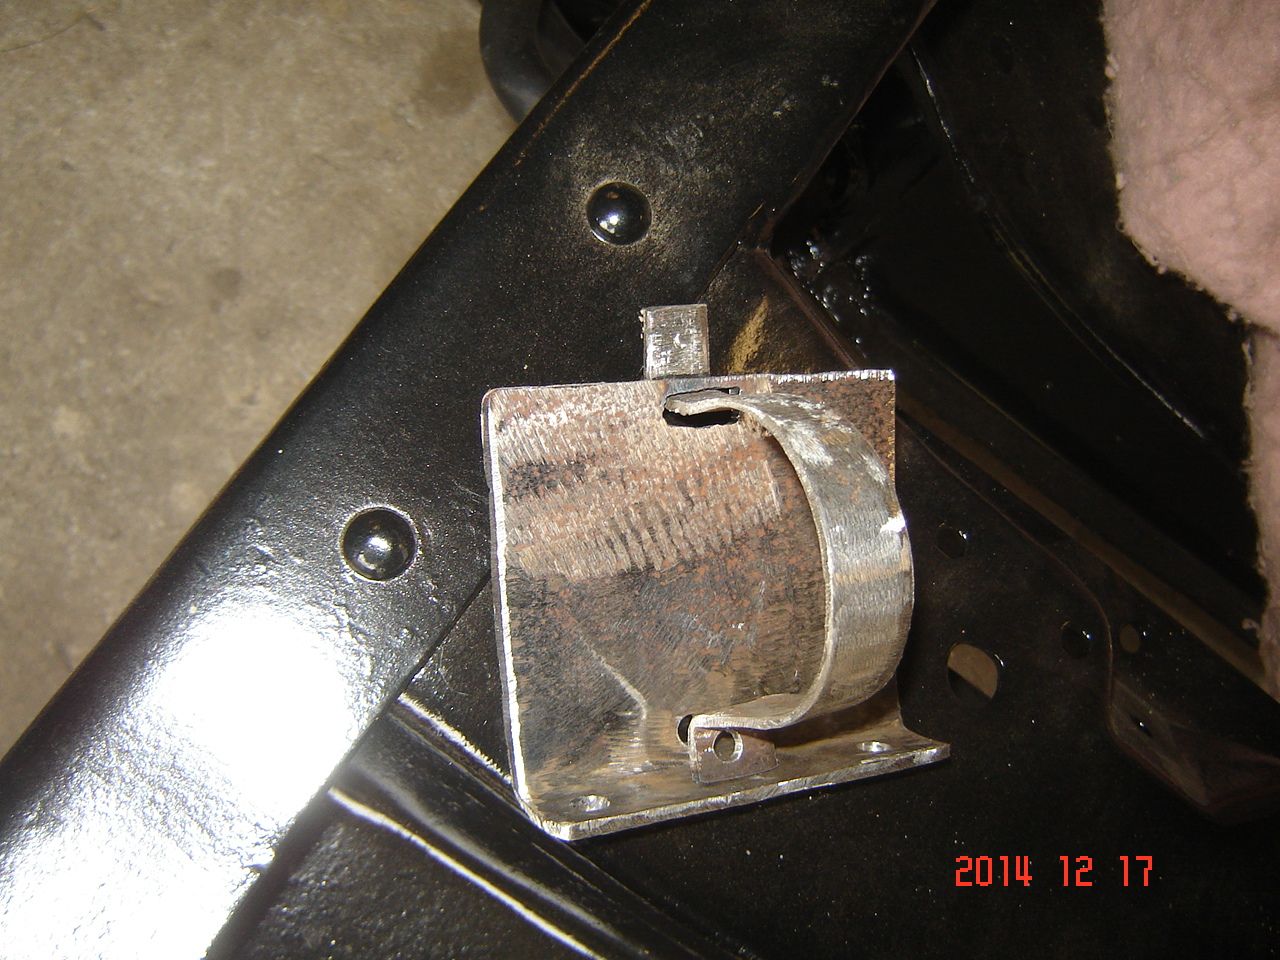
Painted and mounted. I bolted it in instead of welding so it can be removed if needed. Cost $0
so I made my own bracket. Cut a piece out of an old frame rail section for the mount back.

Cut another piece of steel and bent it up to fit the pump and rubber insulator. Clamp is hooked into the top so it can open up or be removed.

Painted and mounted. I bolted it in instead of welding so it can be removed if needed. Cost $0

#120
12-23-2014, 08:38 PM
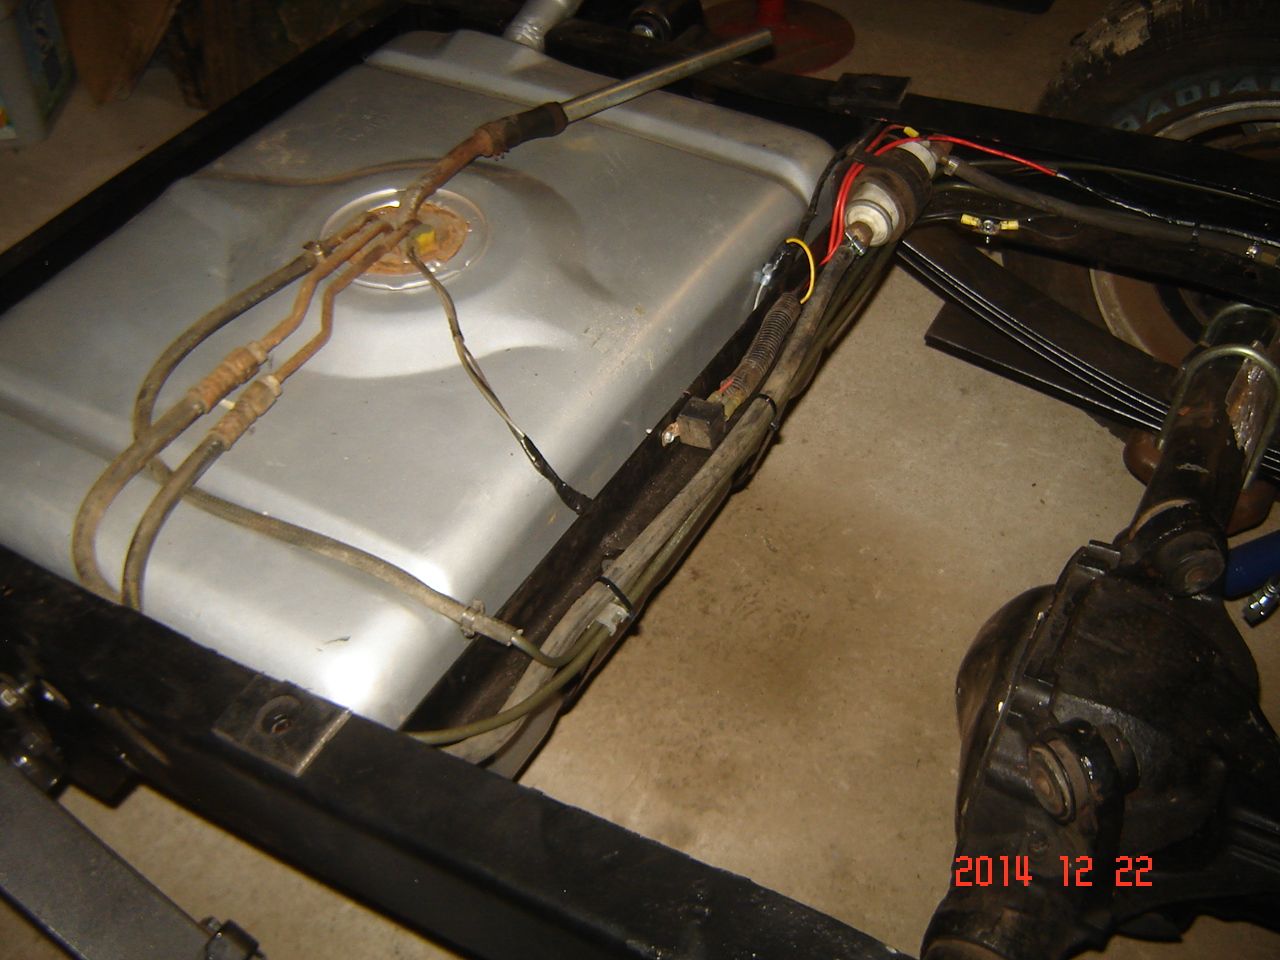
Finally got my fuel injection style hose clamps and finished off the rear section of the fuel lines and vent line.
The last swap meet I was at there was a guy selling cutoff sheets of reinforced 1/4" rubber for a few bucks a sheet, works great for body mounting pads. You can see them on the frame. Now ready to install the bed. Sorry I didnt armor all the hoses for the picture, we not building a show truck
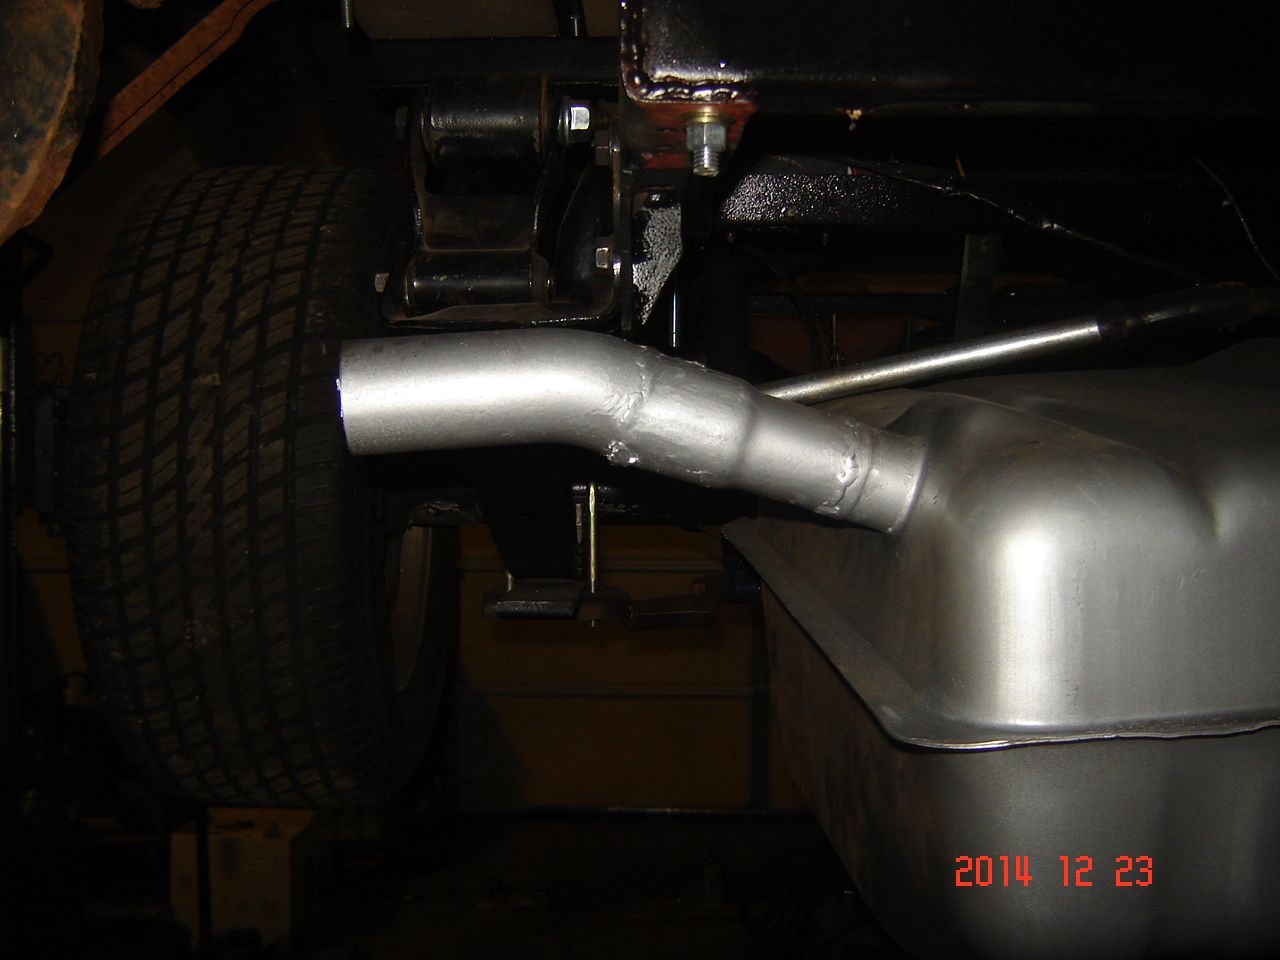
Installed and squared up the bed. Found that the gas tank filler did not stick out as far as I thought, so it needed to be modified.
Dropped the tank and added a stub to get the filler out to the end of the bed floor. Still not sure if I will be putting the filler door on the side of the fender or behind a tail light.
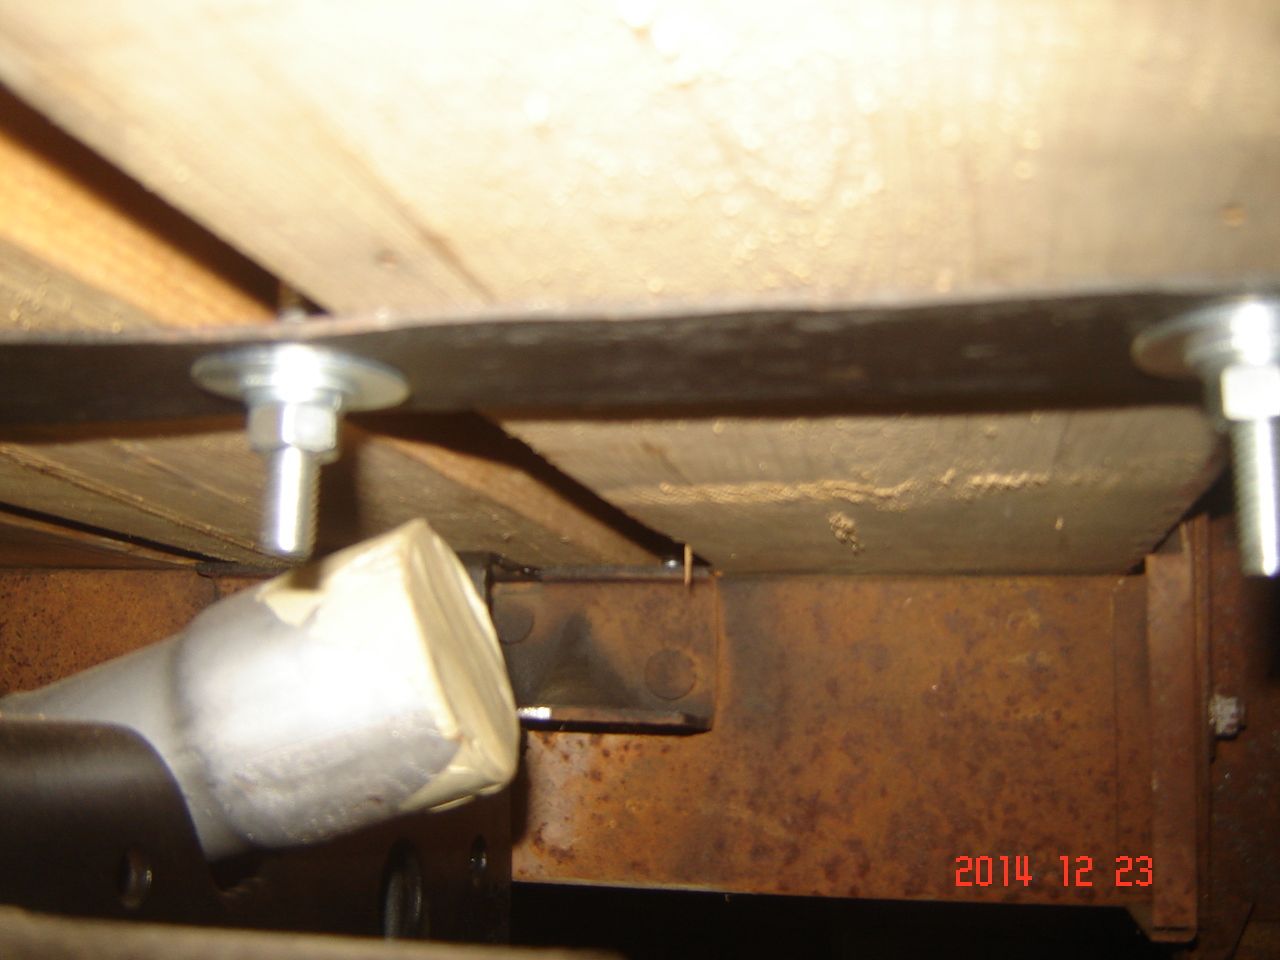
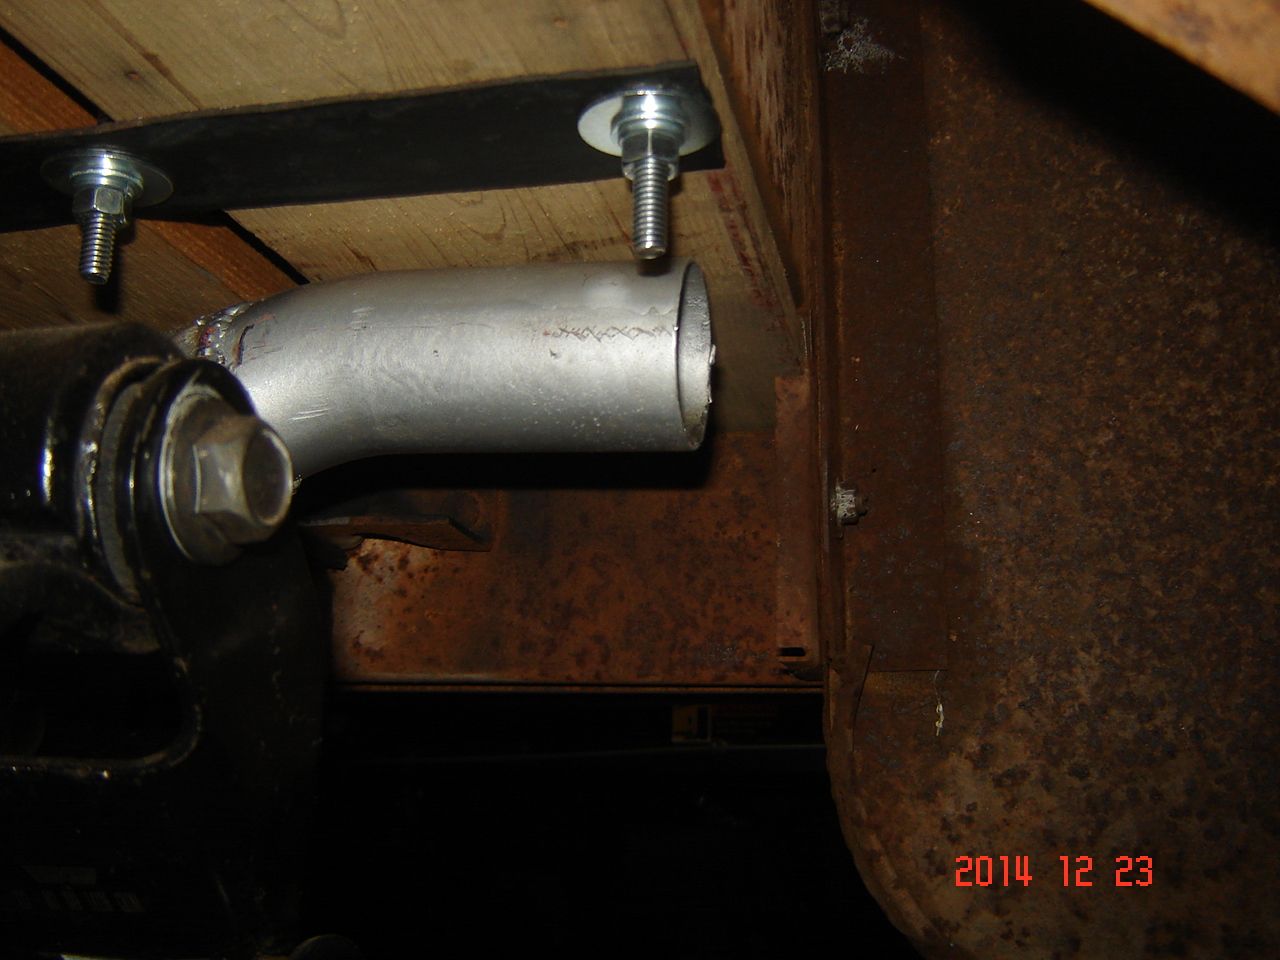
While the tank was down I made some plates to put behind the sides of the rear rails for more possible mounting points for a hitch or rear bumper. Have to be welded nuts since with the tank in place you cannot get to the inside of the rails.
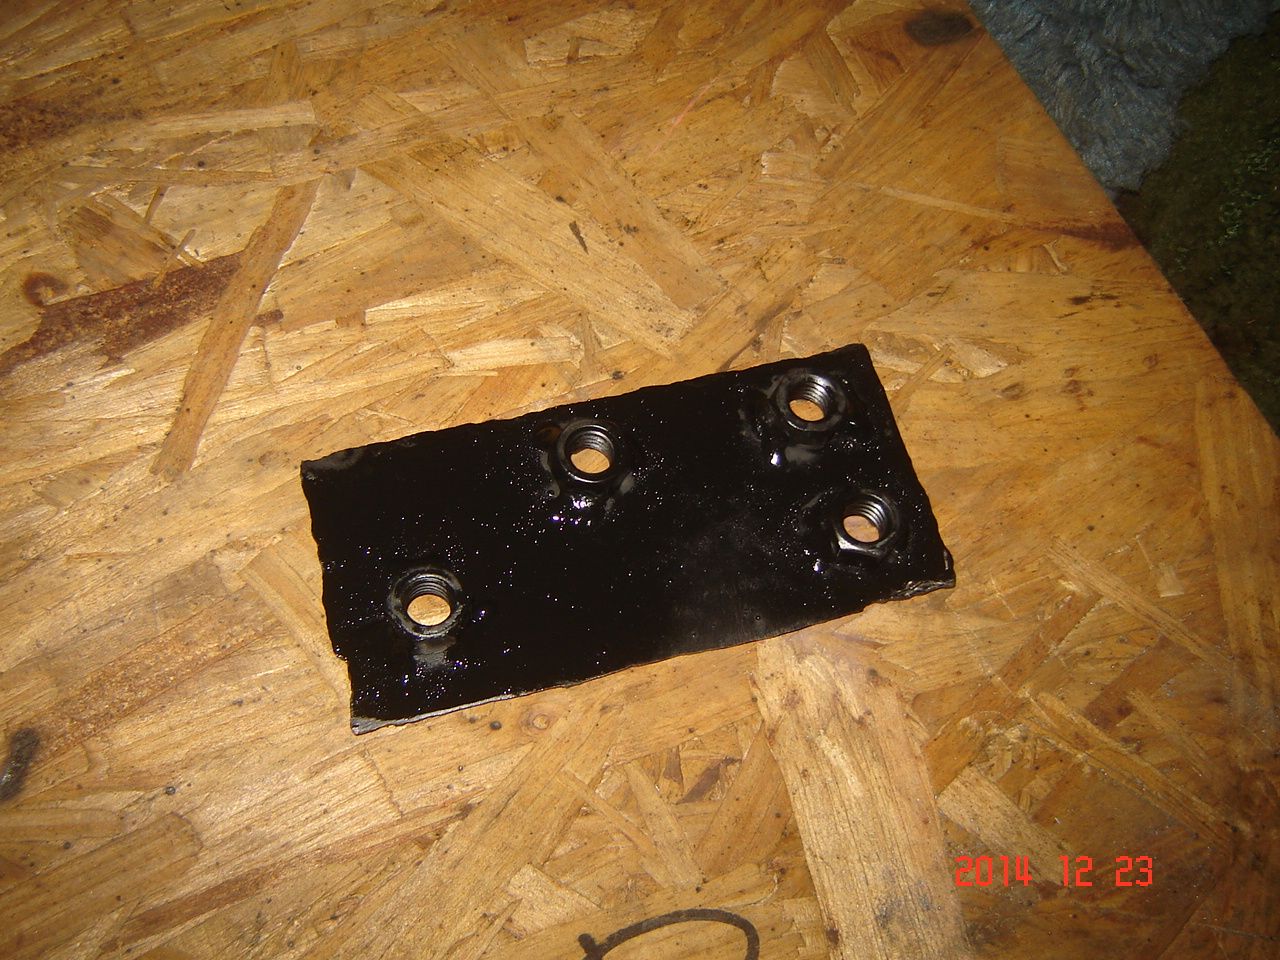
Bolted in place

Revised tank filler
The last swap meet I was at there was a guy selling cutoff sheets of reinforced 1/4" rubber for a few bucks a sheet, works great for body mounting pads. You can see them on the frame. Now ready to install the bed. Sorry I didnt armor all the hoses for the picture, we not building a show truck

Installed and squared up the bed. Found that the gas tank filler did not stick out as far as I thought, so it needed to be modified.

Dropped the tank and added a stub to get the filler out to the end of the bed floor. Still not sure if I will be putting the filler door on the side of the fender or behind a tail light.

While the tank was down I made some plates to put behind the sides of the rear rails for more possible mounting points for a hitch or rear bumper. Have to be welded nuts since with the tank in place you cannot get to the inside of the rails.

Bolted in place

Revised tank filler
