When you click on links to various merchants on this site and make a purchase, this can result in this site earning a commission. Affiliate programs and affiliations include, but are not limited to, the eBay Partner Network.
I have posted a couple of threads regarding trying to fix what hippies built (only kidding) and trying to remove emissions controls and bulk of the electronics and computers making the truck as simple as possible so I figured its time for a thread dedicated to the progress, adventures, (and misadventures) of modifying my truck. I have a 1982 F-150 4x4 regular cab short bed with a 351w and a granny 4spd that, due to not being my primary vehicle, has turned into a project truck that has been in my family for 32 years now (before I was born) that has appropriately nicknamed, Hoopie J. But, by the time I'm done, I am hoping to have to come up with a new nickname.
There she is, there's my Hoopie
As I make progress and or run into complications, pictures and details will be added.
So far the air pump, egr and accessories, canisters and the rest of the emissions components are gone. The dreaded Variable Venturi has been replaced with a 600 cfm edelbrock 1406 (currently removed for rebuild which explains the Holley) and a pertronix ready to run distributor with Ignitor II ignition.
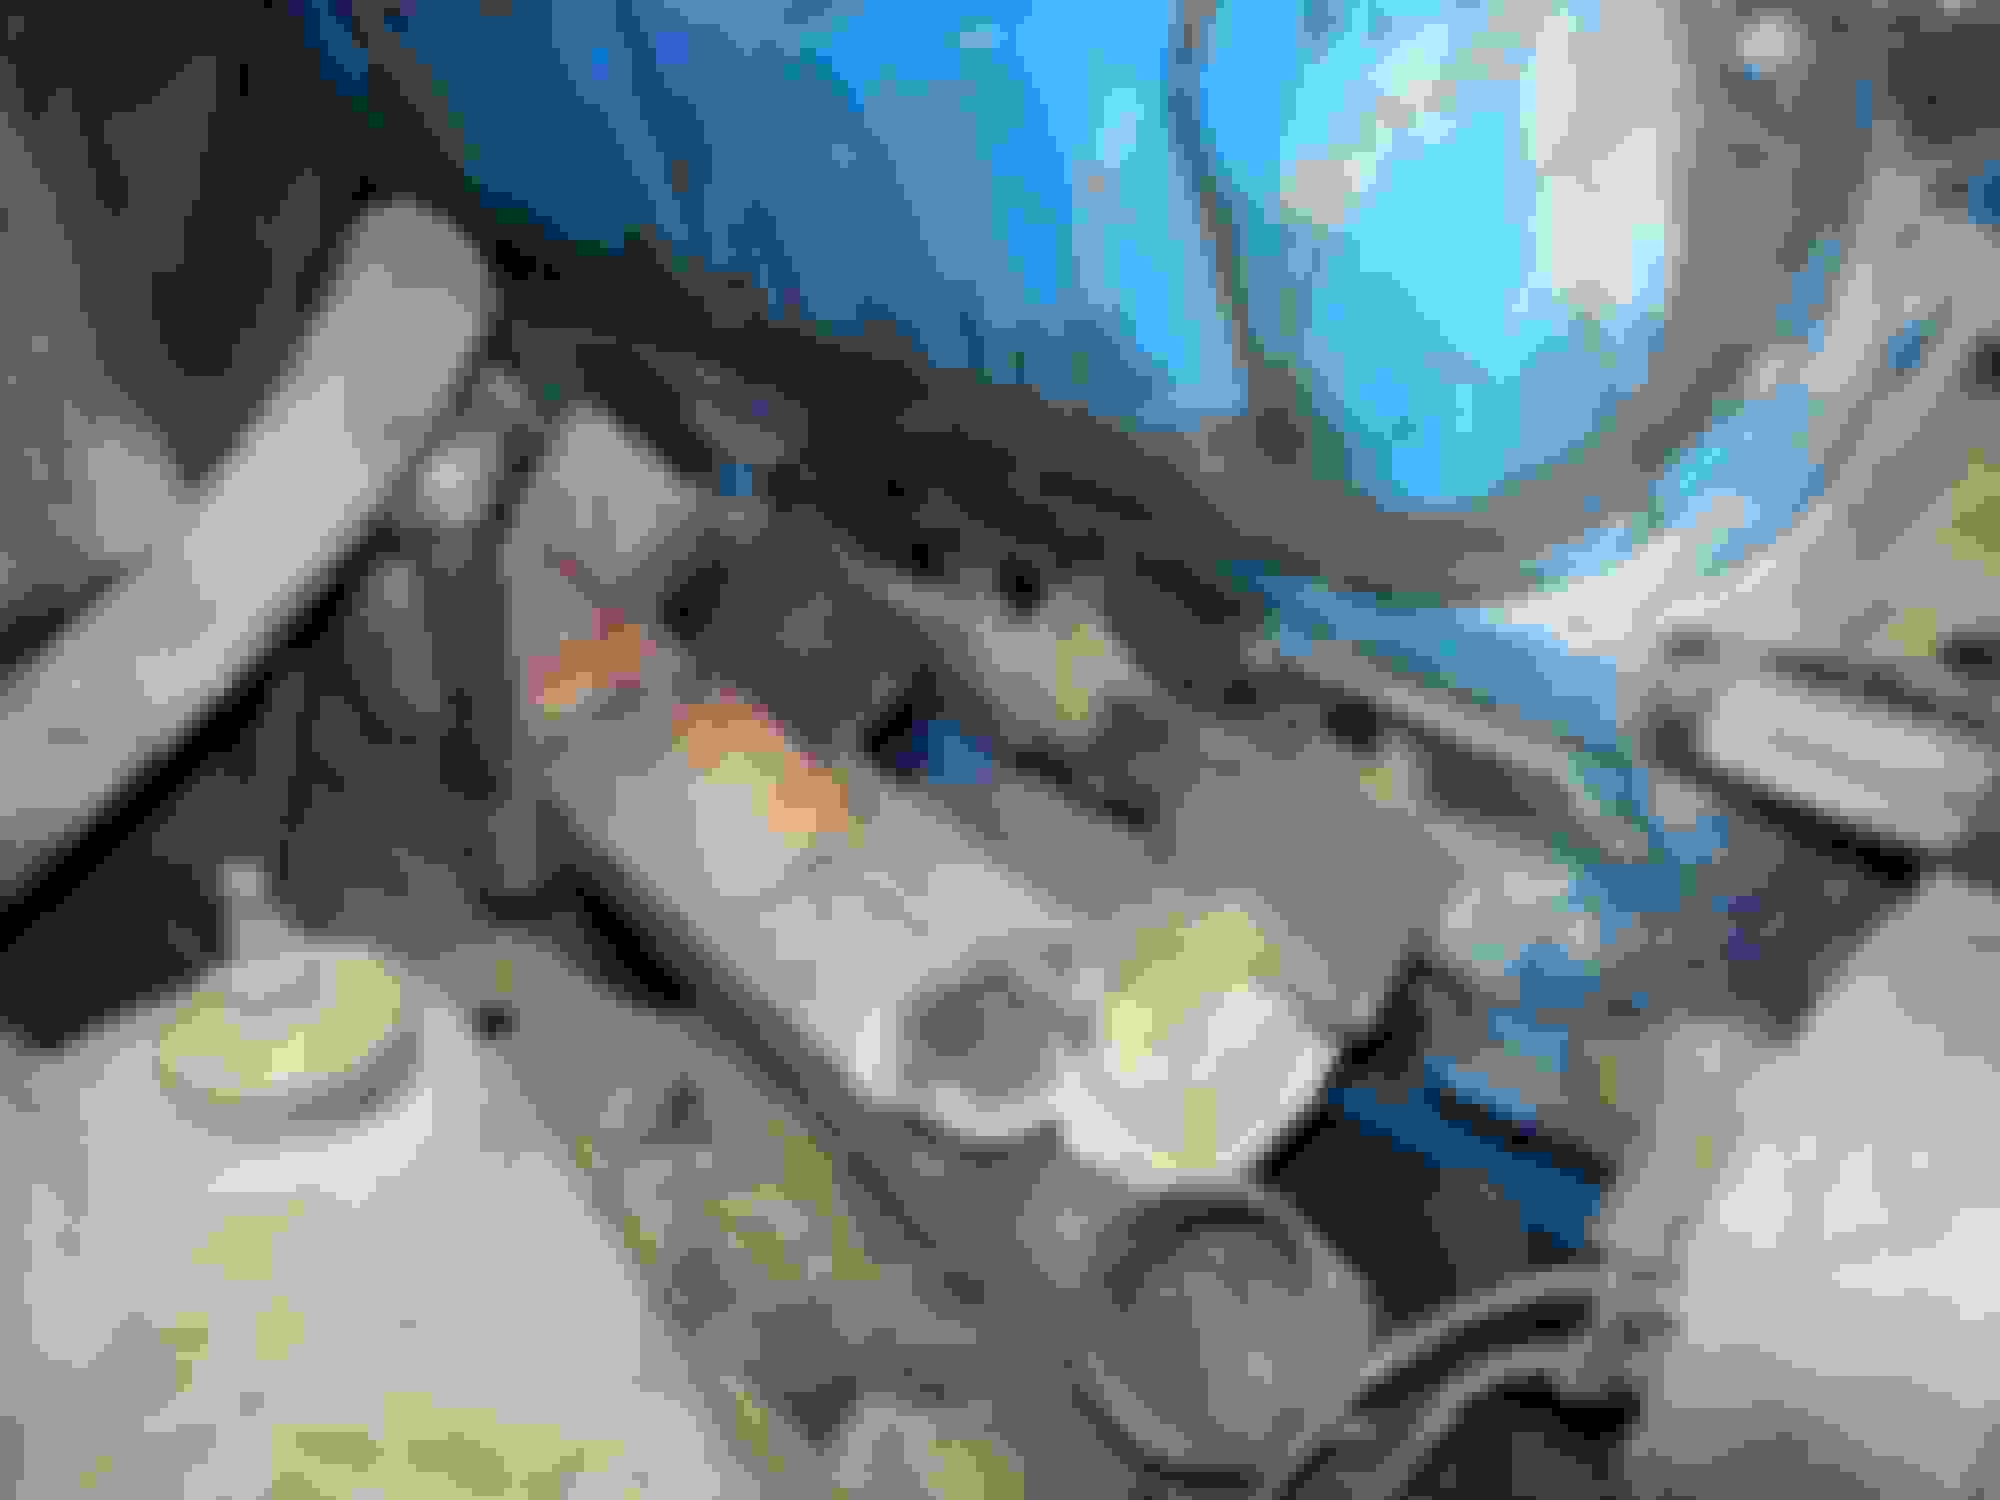
Today's progress has the driver side inner fender removed and almost got the drivers side inner fender removed but had 2 rusted screws and my drill battery was dead so I couldn't finish drilling it out. Once I get it removed next will be the radiator support so i will have easier access to get them wires cleaned up.
You can see my well labeled bag of bolts too haha. LABEL EVERYTHING!
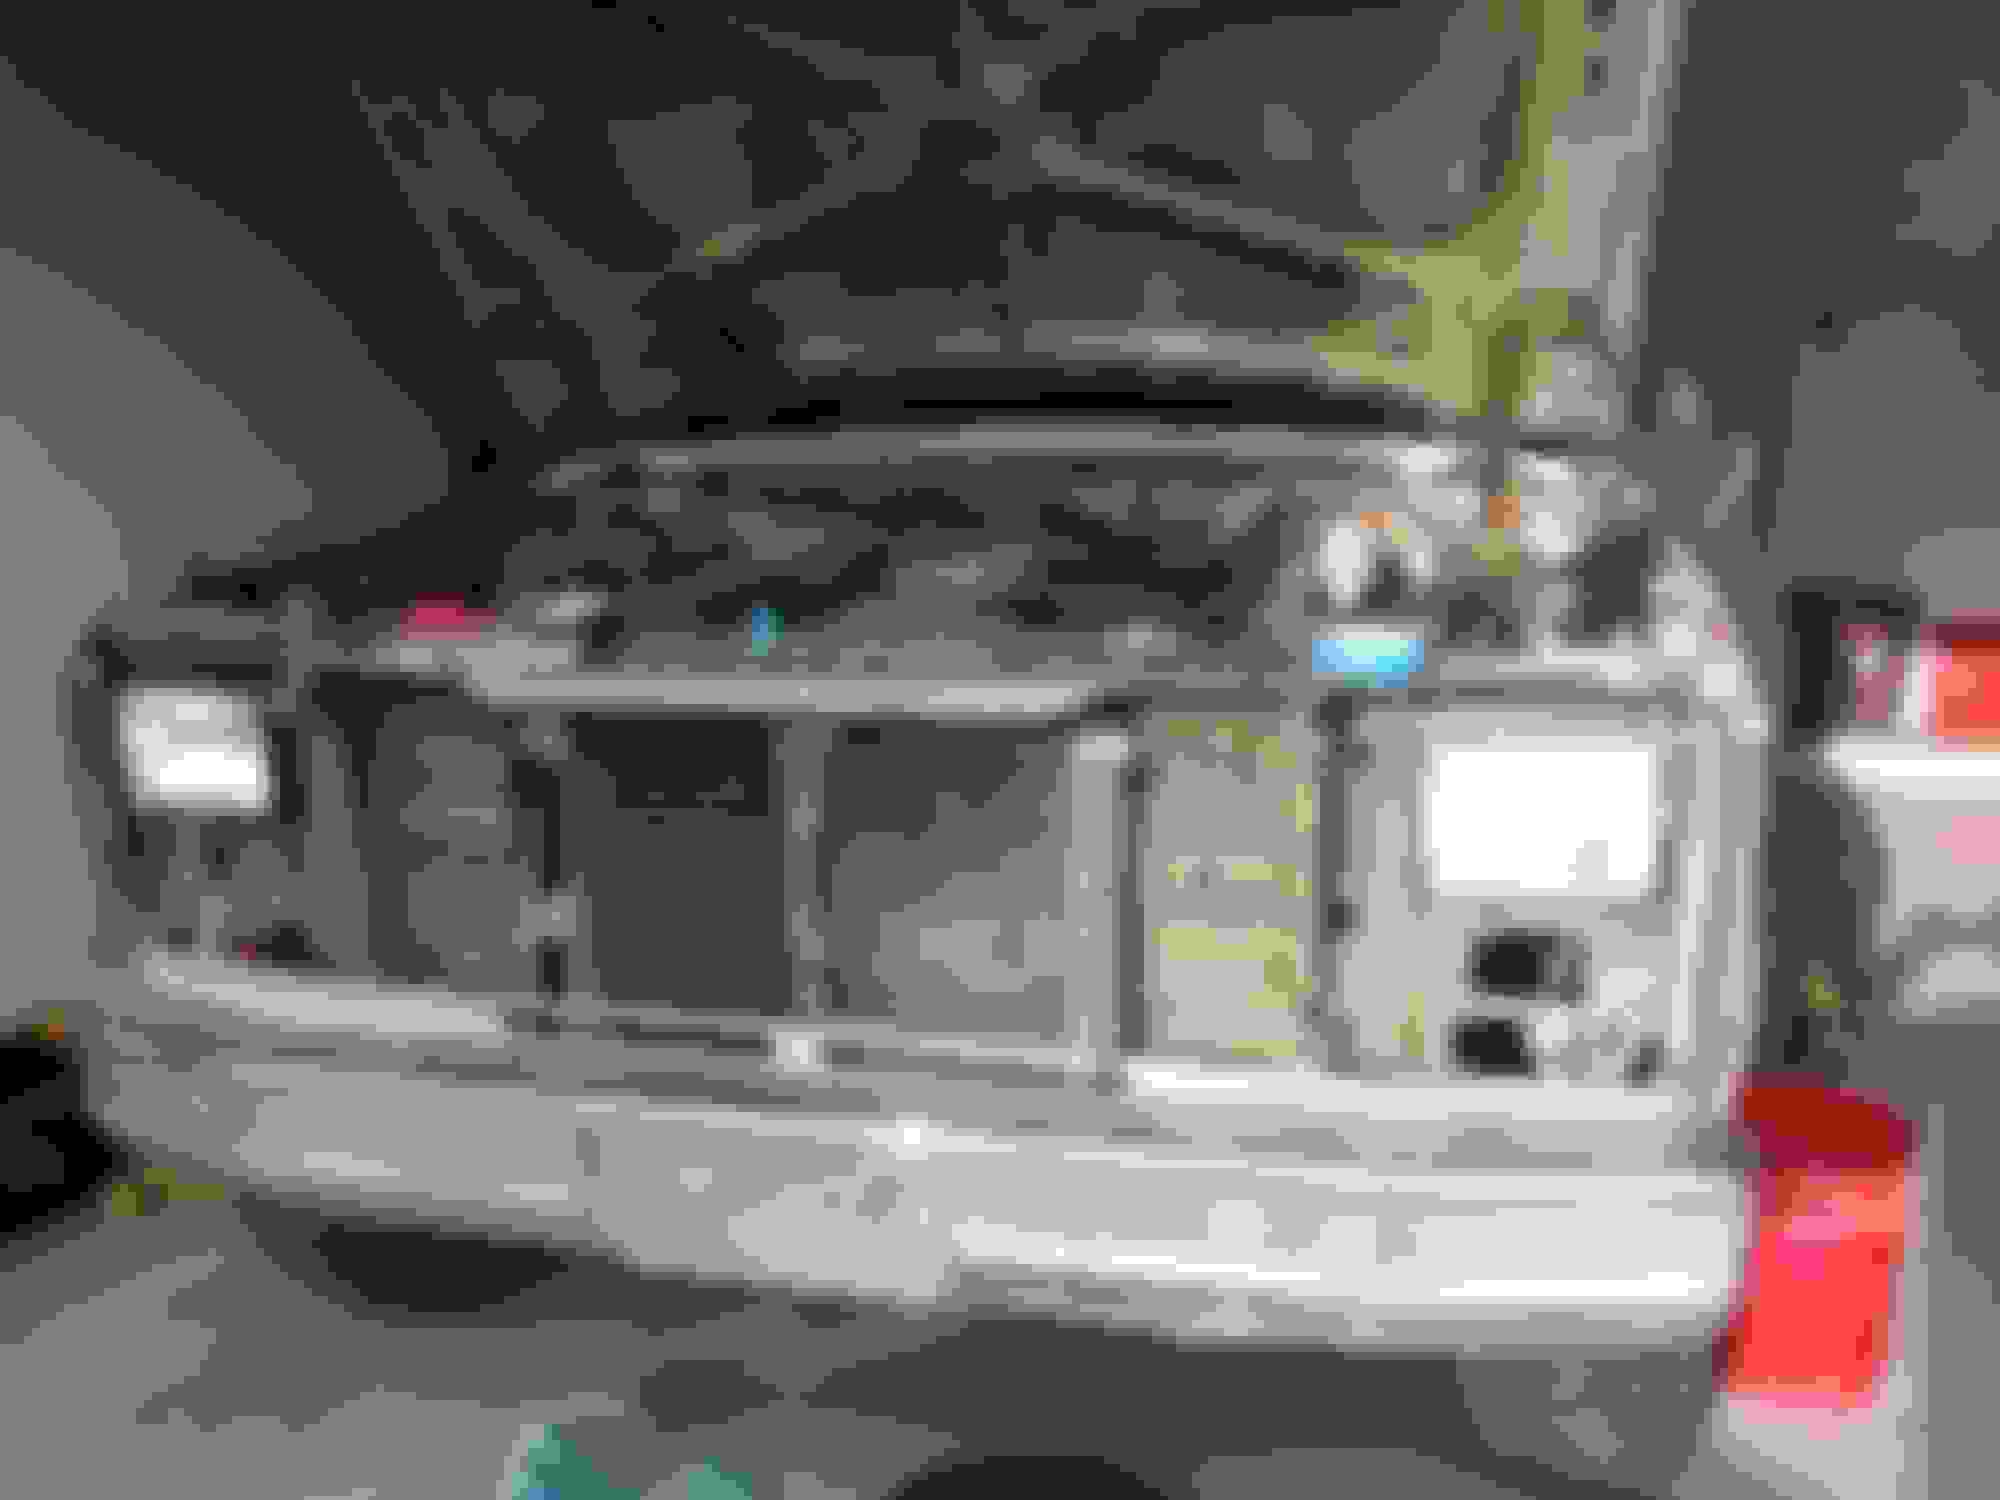
Making some progress so time for an update. Once I finally got the last of the rusted screws drilled out of the passenger side wheel well i was able to continue my pursuit of tearing her apart. Started with removing the grill shell, grill, and headlight housings.
All of the grill components removed
After remove that spoiler/deflector thing behind the front bumper, the radiator and fan shroud came out. Now I was ready get the radiator support out so the "fun" could begin in getting the excess wires removed.
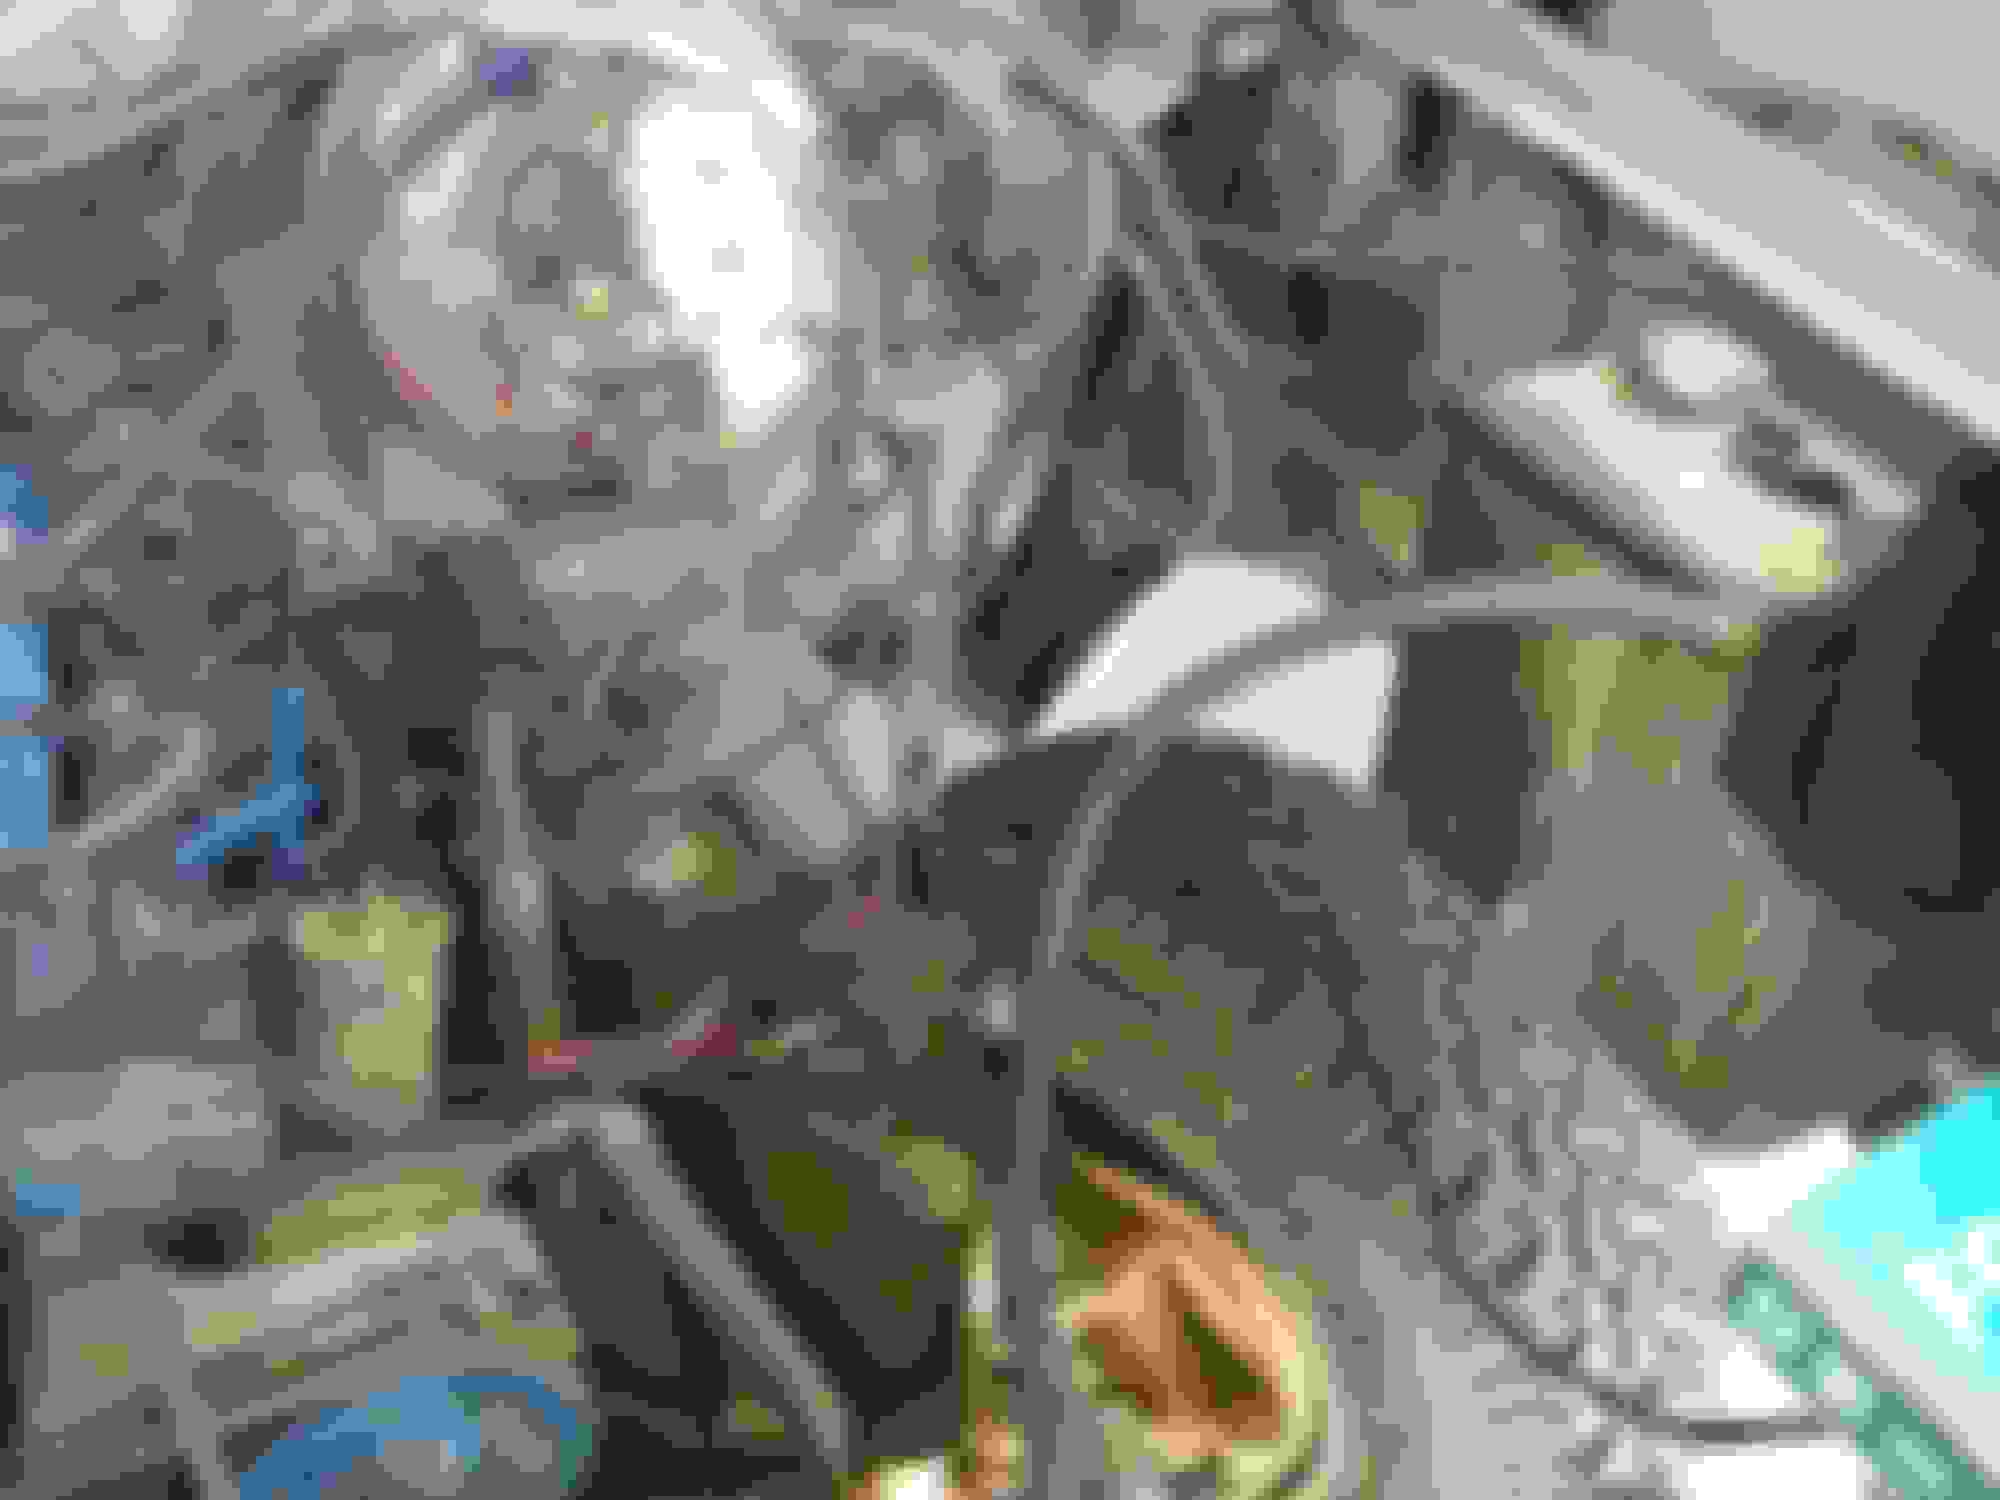
Now that I had some room to work its time to get some of those hideous (and now useless) wires removed. With the help of some other posters in the forum I was able to eliminate some of the redundant sensors so the wiring could removed. Here is a before picture of the wiring.
Wires EVERYWHERE!
Thankfully, Ford did a fantastic job isolating the wiring going to the ECM under the seat so after studying a wiring diagram with the most bewildered look on my face, I came to the conclusion that I no longer needed any wires from the ECM. I cut the wires at the computer and pulled the entire loom out past the front of my engine and then just started eliminating wires. What I thought was going to take me 2 weeks of wire tracing, instead took me about two hours.
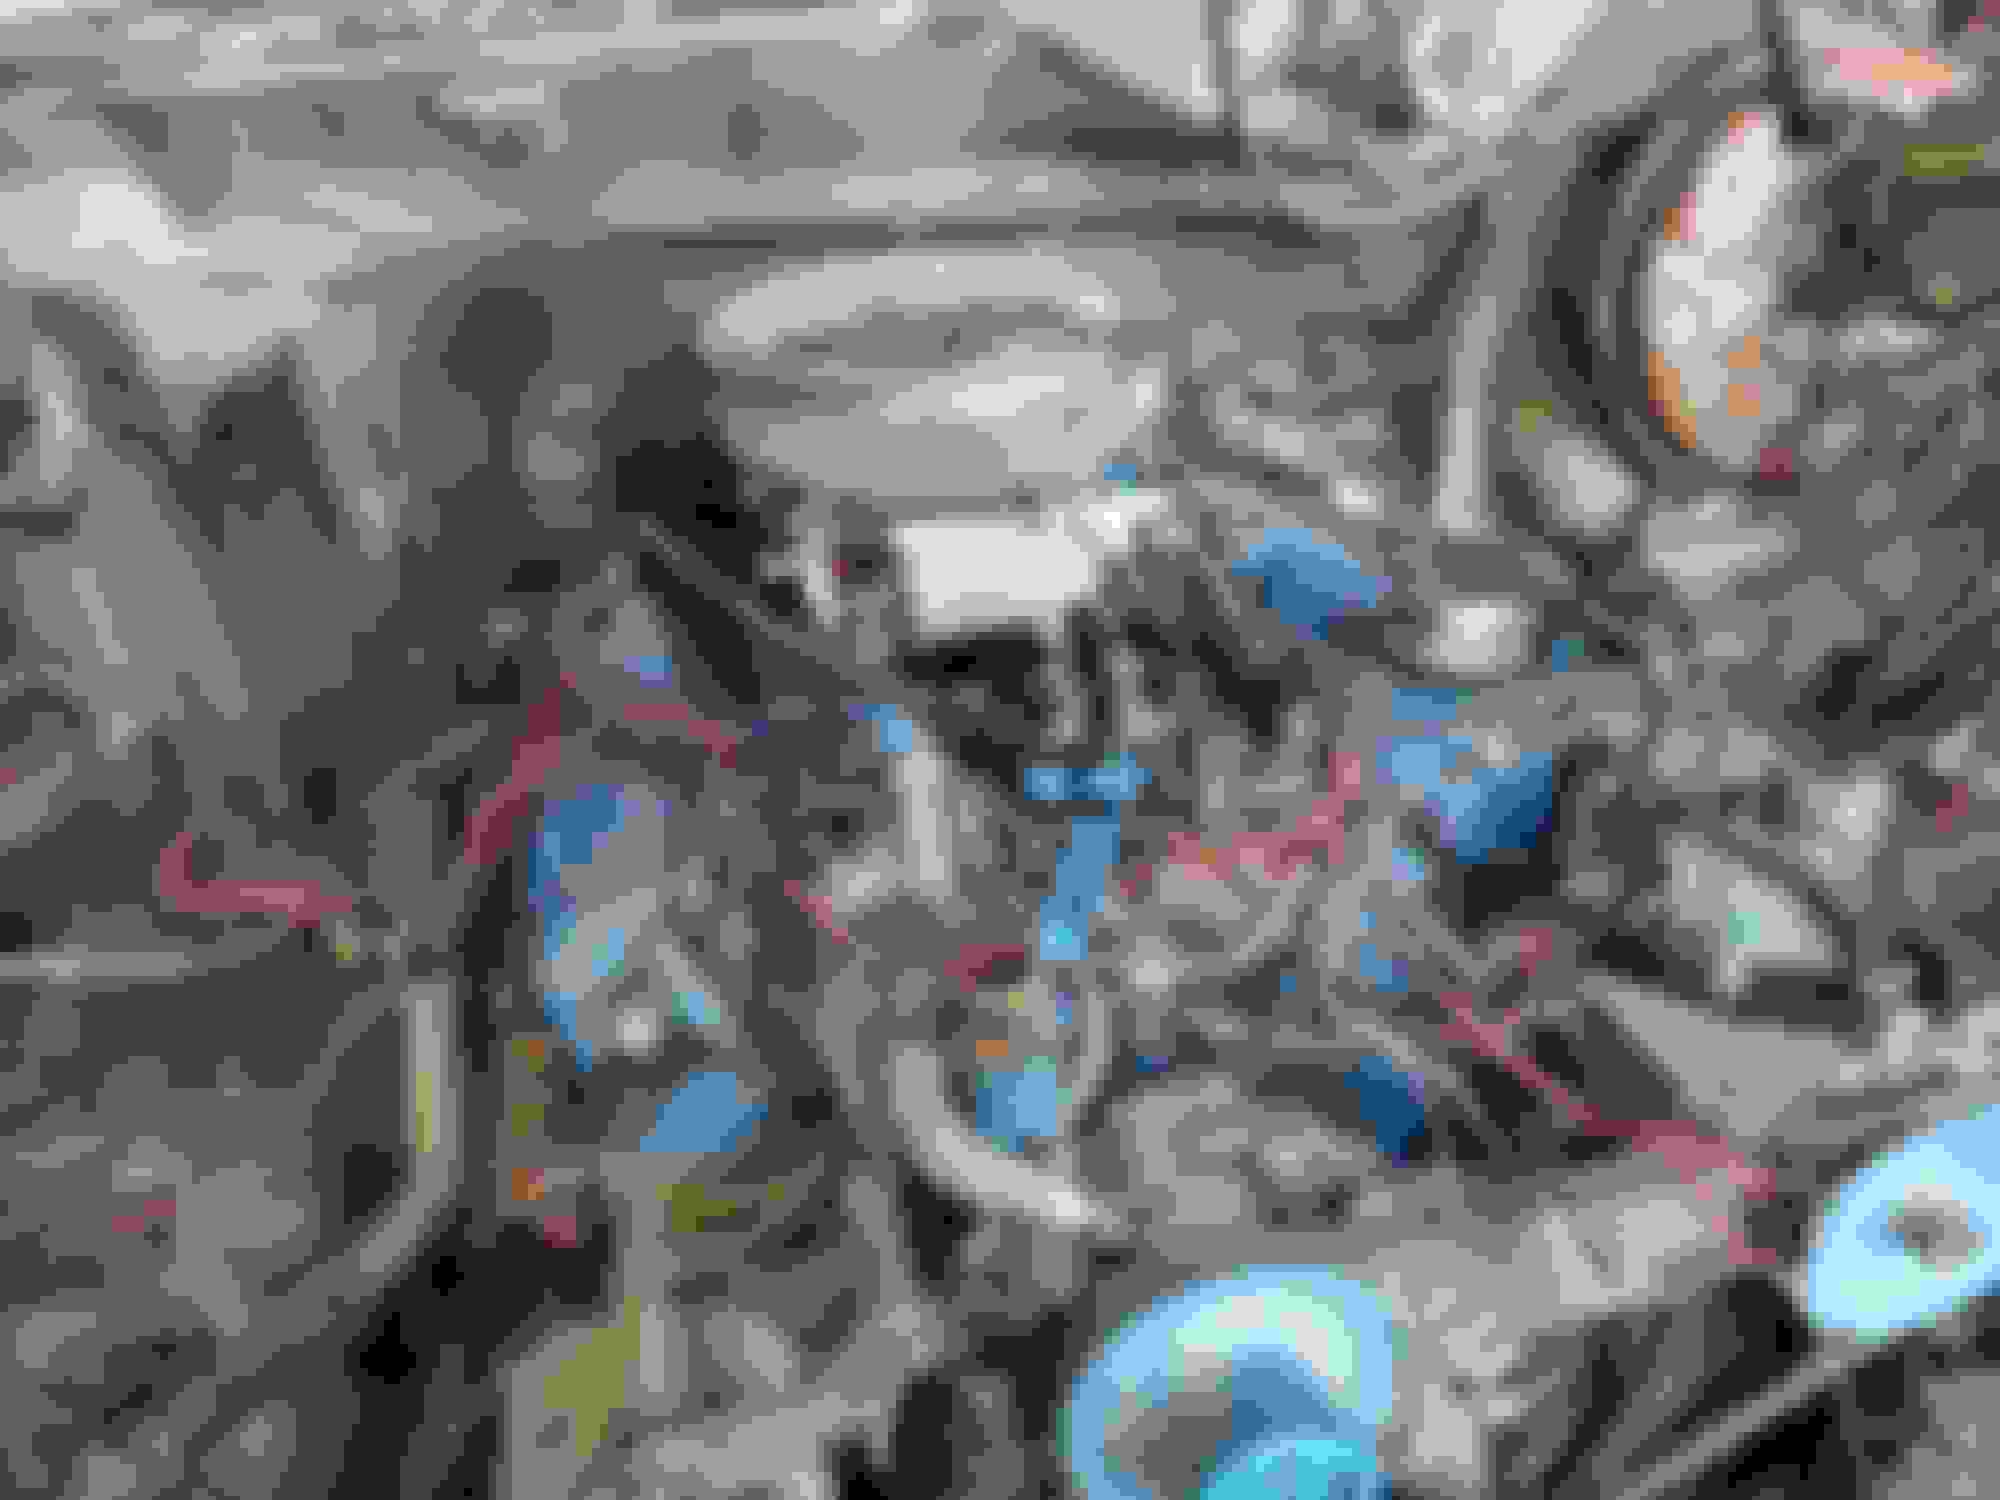
Despite the dirt she is looking much better without the wires
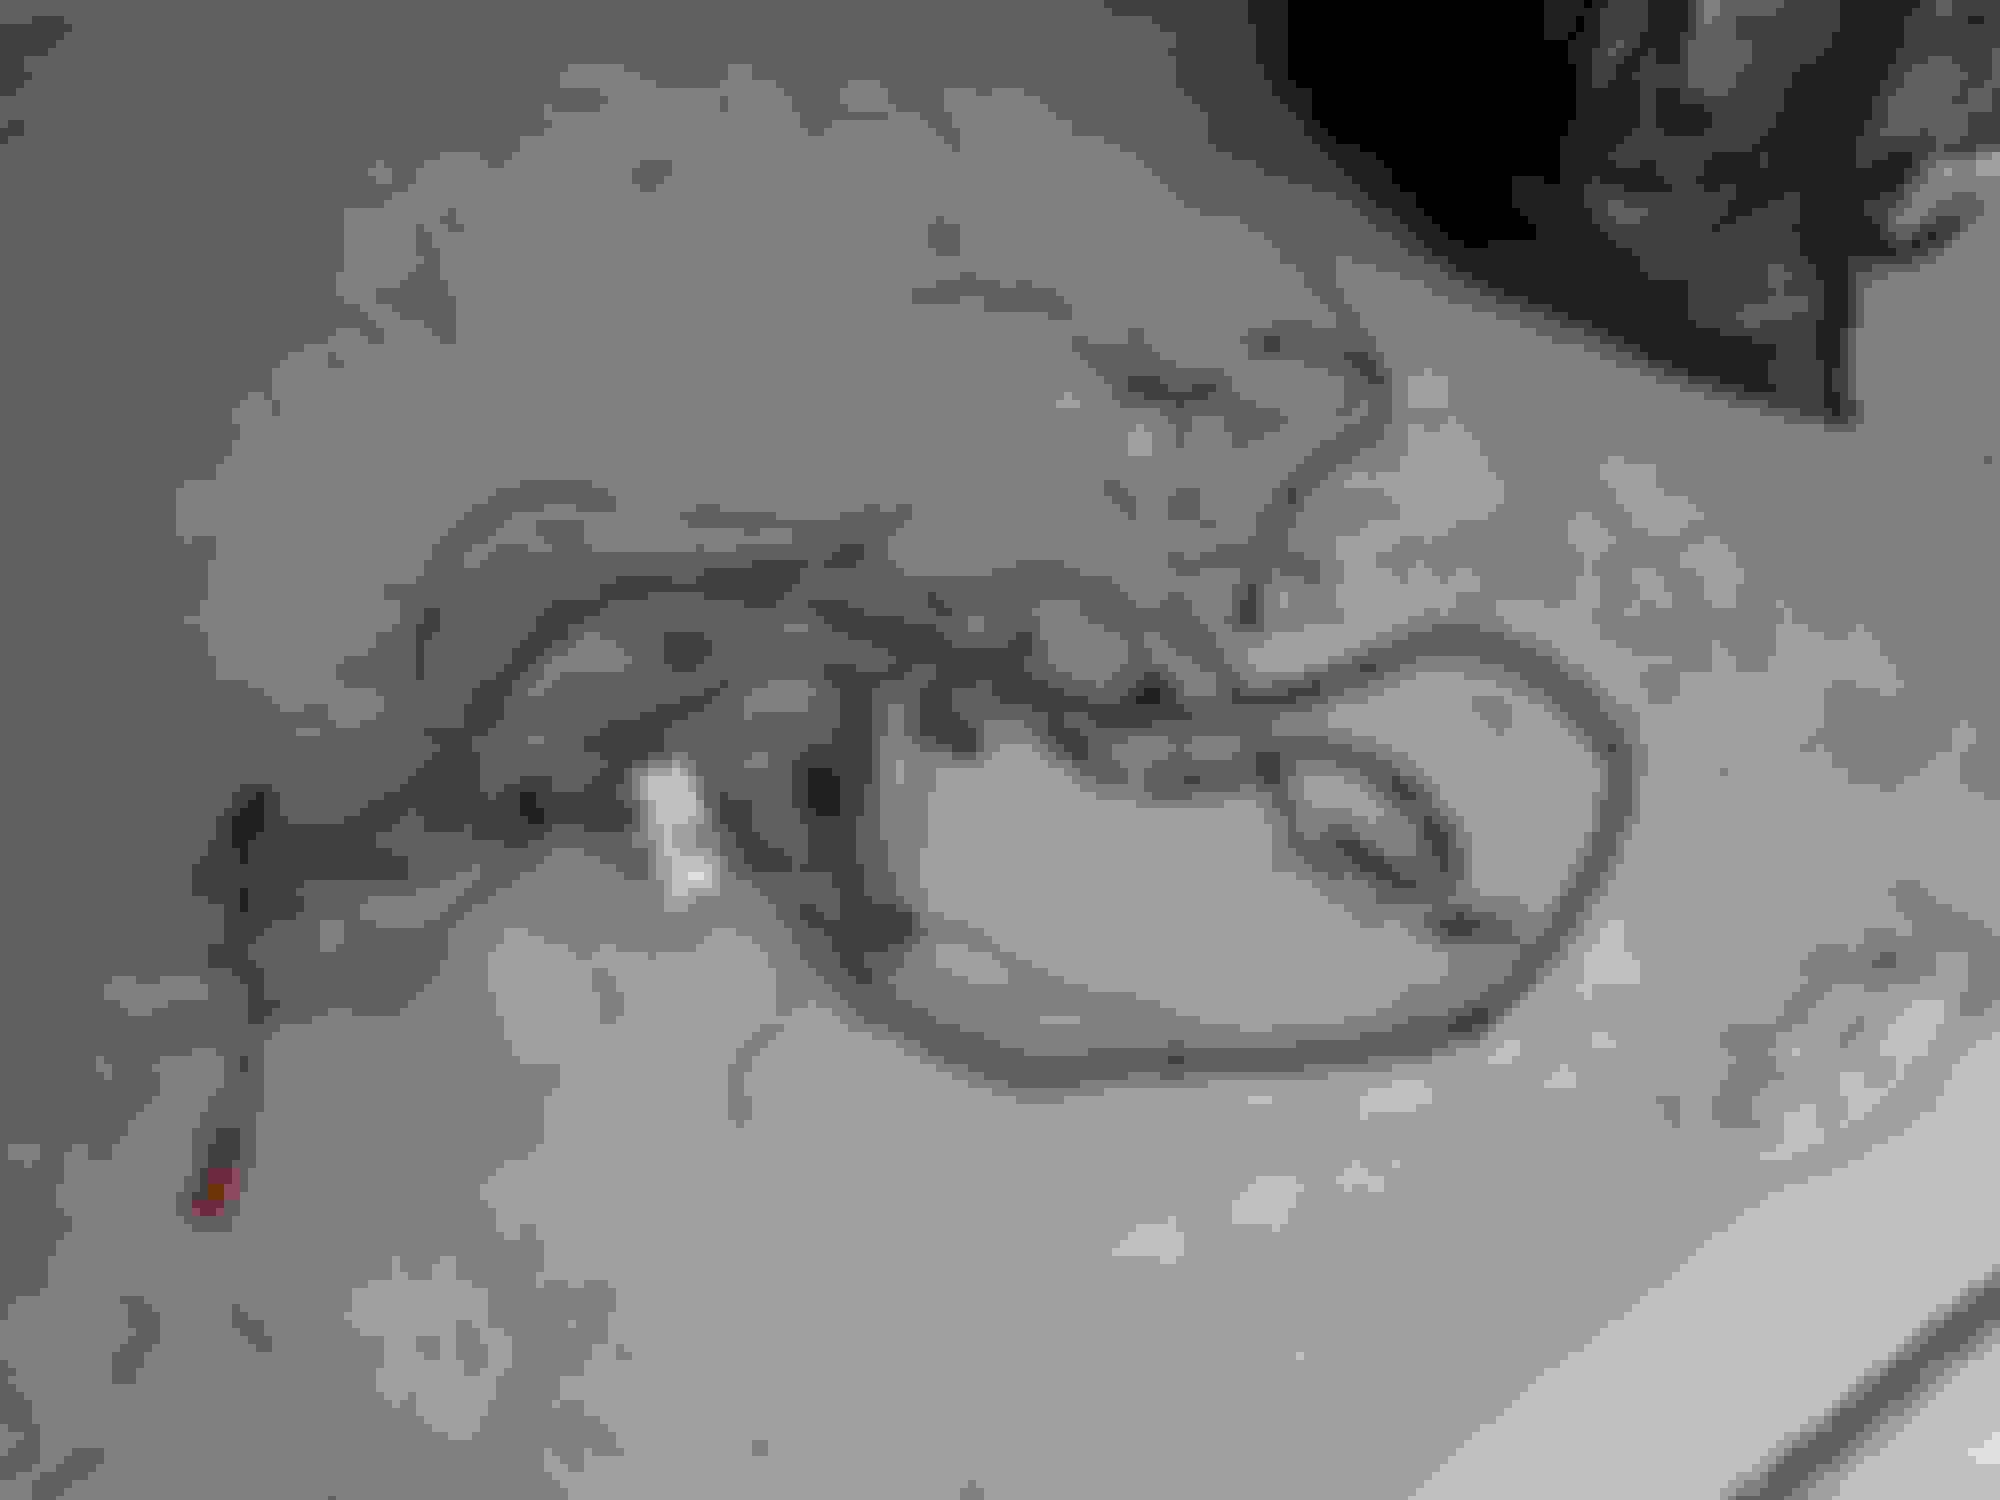
Now that all of the wiring is out of the way it is time for a makeover. This weekend I am pulling the motor so that I can clean the engine, replace the intake manifold, replace the water pump, throw in a mild torque/RV cam, replace all the gaskets. So I start a new adventure. I am prepping the motor for removal getting all the bolts loose removing the starter and some various odds and ends. Well its time to unbolt the Y-pipe from the exhaust manifolds aaaaaaand its no go. They are rusted pretty good but I'm not ready to cut quite yet. Instead I have decided to unbolt the exhaust manifolds from the motor and with the motor removed I can get in there with a breaker bar and hopefully get them loose. So I unbolt the manifolds and what do I find??? The source of my exhaust leak!
Yup you are seeing that correctly she is all broke up. So now I get to add new headers to list. "But honey I have to because its broken" is how the conversation went. So I will take plenty of pics this weekend as the motor is getting removed and post them shortly there after.
I was going to offer an exhaust manifold, but that would spoil your "story" so I won't. But, if you need it I might.
Anyway, it really still amazes me how much better the engine compartment looks with all of that "stuff" out of there. I even went to the extent of taking the relay stands off of the valve covers to clean them up.
Another thing you need to do is to replace the brittle cowl/hood gasket. I used a garage door weatherstrip that cost next to nothing and works well. Otherwise water runs onto the top of the air cleaner and then into the carb. Or, it puddles on and stains the intake manifold.
Oh yes, with the engine out you can replace the AIR system manifold that attaches to the back of each head. Kinda hard to get out with the engine in, but dead simple with it out.
I was going to offer an exhaust manifold, but that would spoil your "story" so I won't. But, if you need it I might.
Anyway, it really still amazes me how much better the engine compartment looks with all of that "stuff" out of there. I even went to the extent of taking the relay stands off of the valve covers to clean them up.
Another thing you need to do is to replace the brittle cowl/hood gasket. I used a garage door weatherstrip that cost next to nothing and works well. Otherwise water runs onto the top of the air cleaner and then into the carb. Or, it puddles on and stains the intake manifold.
Yeah I was looking at brackets on the valve covers and I found some reasonably priced chrome ones that I though would dress it up nicely. Good call on the cowl gasket I didn't even think about that. I want to throw some headers in it but I am running into some concerns because of the manual shift linkage. I wasn't sure if I could throw some mustang shorty's or I have a friend that owns a header shop so I could make up some customs but that is still going to be expensive and time consuming. Any feedback on headers?
I'm going with headers, but some of the more experienced people recommend not using them. However, if you know someone who makes them that's what I'd do. And, I'd have them coated. Mine will go to Jet-Hot. It is said that coating them cuts the under-hood temps dramatically.
Yeah that is probably the route that I will go. Plus the owner is a ford guy and is quite familiar with the small block fords. I will see what he recommends as far as keeping the underhood temps down. I not necessarily going for all out performance but I think the stock manifolds are quite ugly.
Made some progress this weekend so time for an update. The engine is officially out on the stand with no major issues so this week I will be prepping for teardown and cleaning. I see what everyone is talking about the choke of the exhaust with the small ports so I would like to get a head from the junk yard and practice porting. The engine compartment is filthy with 32 years of oil and grime so that will be a target of clean-up this week. Made a decision on the the headers, my buddy over at Redline Performance Manufacturing in Mesa, az told me I can go in and make my own so once the motor is back in the truck I can get started on that. More pictures will be posted as progress is made. My phone isn't adding the photos for some reason so I will post them tomorrow.
I ported a set of D8OE heads and even have a thread on that if you are interested. Includes drawings, pictures, and flow bench results. Just search for those heads and porting and you should find it.
I ported a set of D8OE heads and even have a thread on that if you are interested. Includes drawings, pictures, and flow bench results. Just search for those heads and porting and you should find it.
Awesome I found it that is going to be really helpful. I have a good die grinder and carbide bit. I just need to get some good sanding bits and I should be good to go. Its probably going to vary greatly from shop to to shop but do you recall what you paid to have the heads flowed? I haven't picked my cam yet and I would like to pick my cam with my ported head values.
 07-12-2014, 03:48 PM


 So I will take plenty of pics this weekend as the motor is getting removed and post them shortly there after.


